There’s a short, brilliant window called golden hour that makes everything look a little bit magical. If you learn a few simple moves, you’ll stop missing it.
I still remember the first time I chased that syrupy light across a beach and watched a whole scene change color in a single minute. Golden hour is not a trick. It is a set of predictable conditions that reward patience and tiny technical choices.
This article walks through what does golden hour mean, when you’ll find it, why it matters, 5 lighting techniques that work every time, and practical shooting tips you can use on your next session. I keep this practical and example-driven so you can go from reading to shooting.
What Is the Golden Hour in Photography?
 Photographers use specific language for simple things. If you have ever asked what golden hour means, this is the short version:
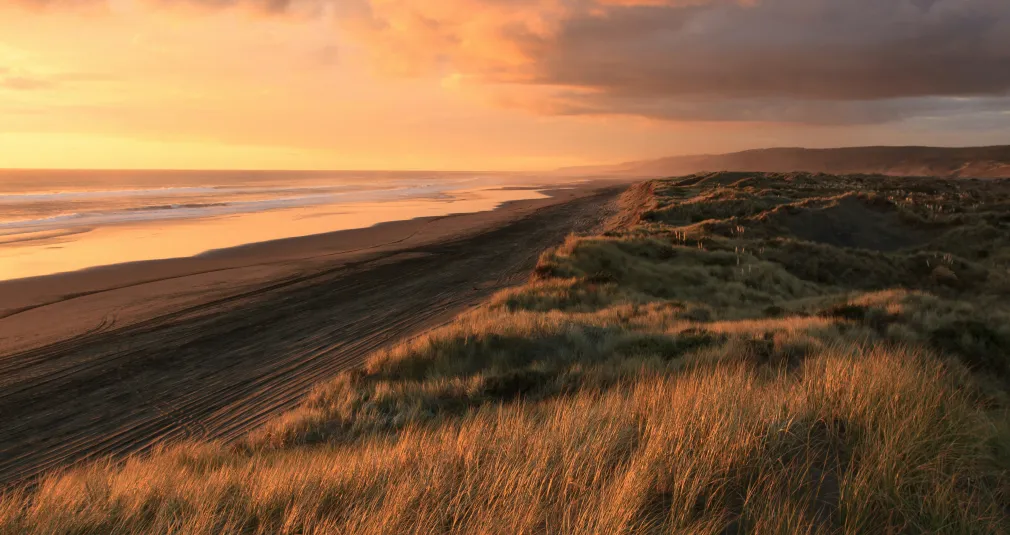
Golden hour is the stretch of soft, warm light immediately after sunrise and just before sunset. It is about the angle and color of light rather than the clock.
A clear way I explain it to students is to call it the moment when shadows become long but soft and colors shift toward warm ambers and roses. For those who prefer technical definitions, the golden hour definition photography, often used by educators, is the interval when the sun sits low enough to produce side-lit, warm-toned light that wraps subjects with gentle contrast. Some call it “magic hour.”
Exclusive Tools of Endless Possibilities in One Editor
When Is the Golden Hour?
People want precise times. The honest answer: it depends on where and when you are shooting. If you must pin it down, what time is golden hour changes by latitude and season. In summer it may be longer; near the equator it is short and intense. Rather than guessing, I use an app to check sunrise and sunset and then carve out the 30 to 75 minutes around those times. That is your baseline.
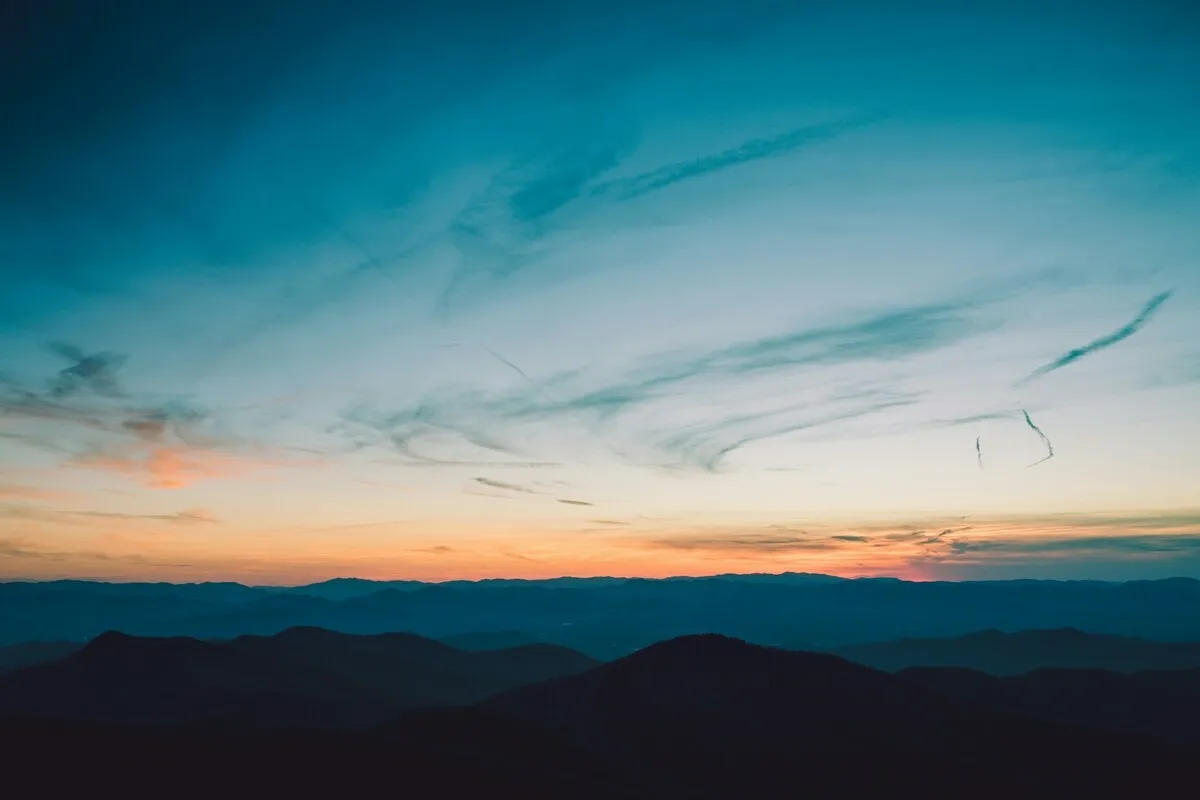
Many wonder when the best time for golden hour photos is. In practice, the ideal window is 20 to 60 minutes just after sunrise or right before sunset, so arriving early is essential to capture the light at its best. If you want to explore the contrast with the cooler blue light that follows sunset, read up on golden hour and blue hour for a clear comparison and planning tips.
What Makes Golden Hour So Special?
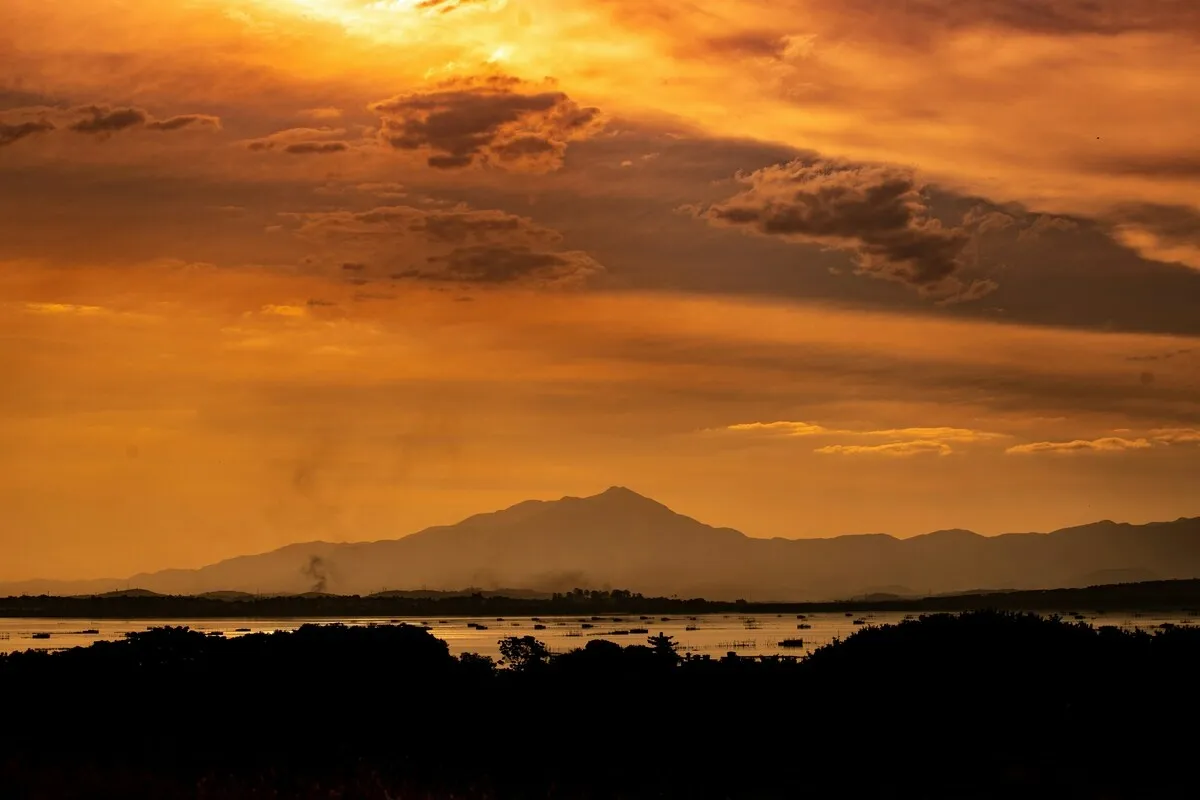
Golden hour looks special because the sun sits low in the sky and light travels through more atmosphere. That filters harsh highs and creates long, textured shadows. But the reason it is cherished goes beyond aesthetics. This light gives you latitude. It makes skin tones more forgiving, it softens specular highlights on metal and water, and it provides directional cues for composition.
Essential Lighting Techniques for Golden Hour Photography
The golden window is most useful when you match its mood with deliberate techniques. The following five golden hour photography techniques are the ones I rely on most.
Front Light
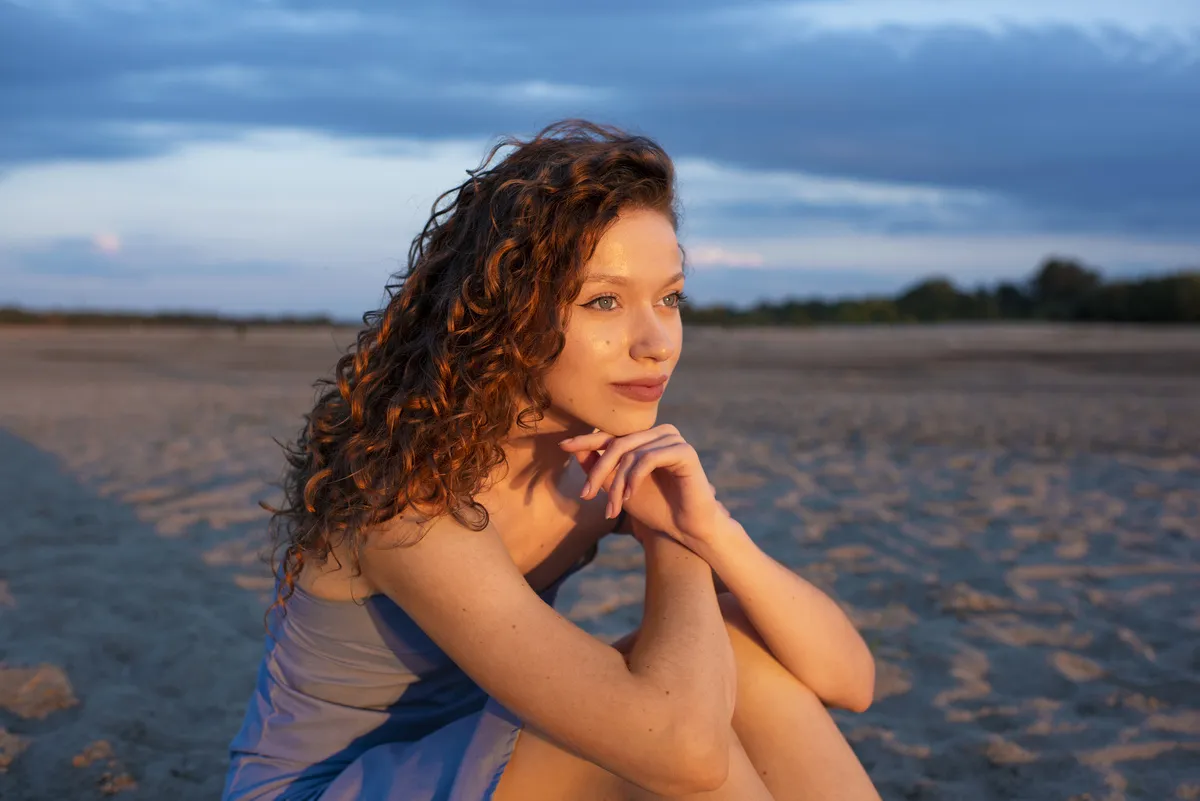 Front light during golden hour gives even, warm illumination with minimal shadow. For portraits, I position my subject facing the sun slightly off center. Exposure example: if the sun is weak and near the horizon, use an aperture around f/4 to f/5.6 and shutter speed that keeps the subject sharp without boosting ISO. Front light is forgiving for skin and great for product shots because it retains texture without heavy contrast.
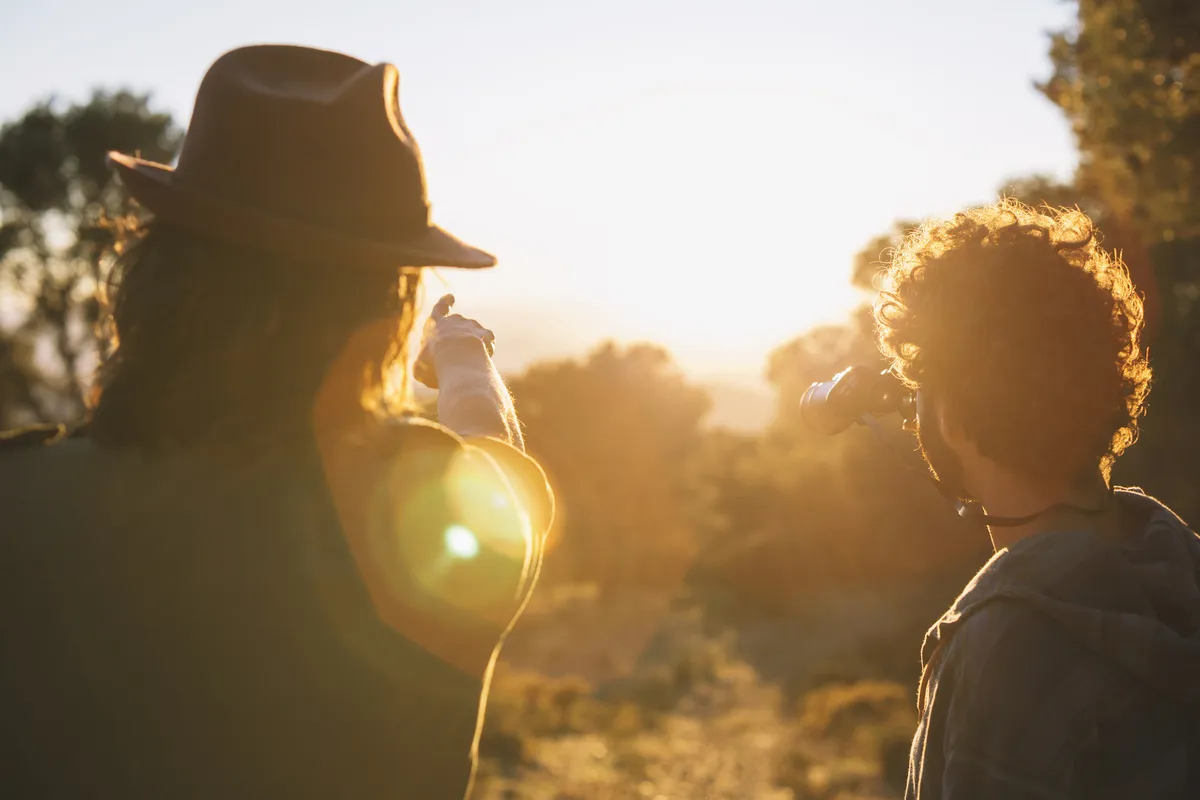
Backlight
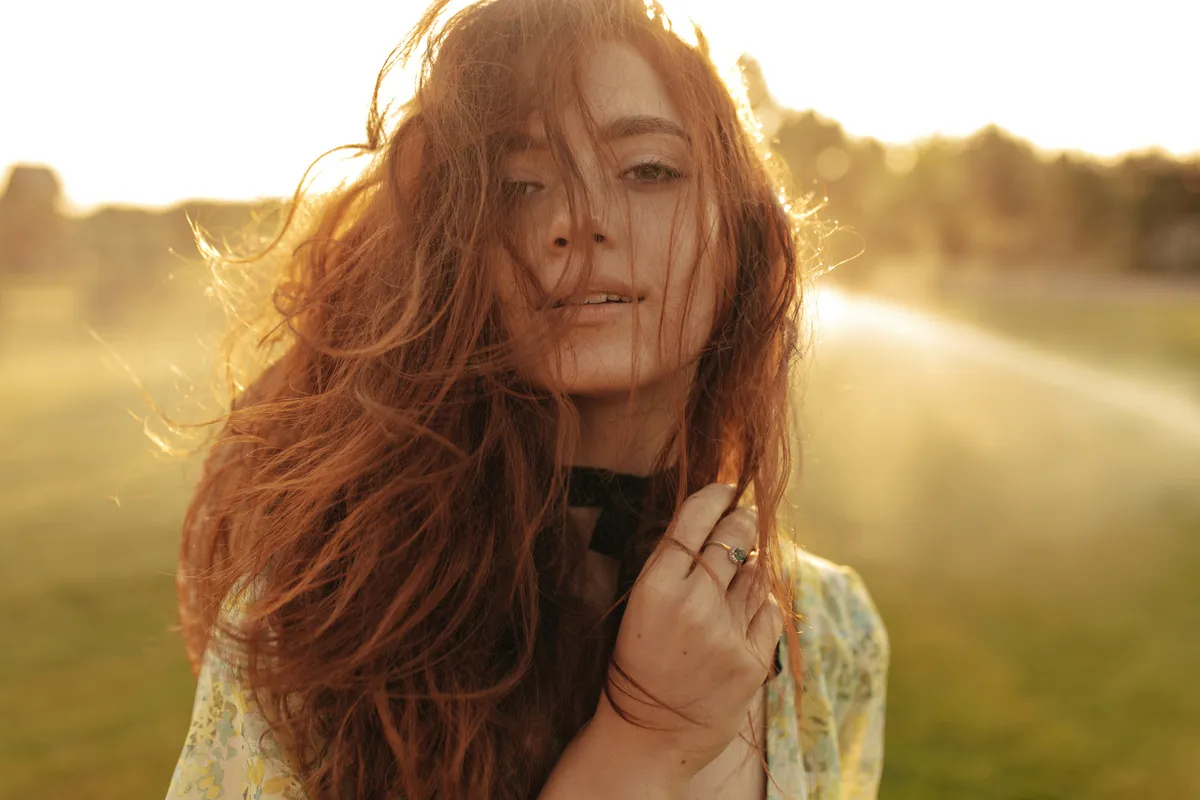 Backlight places the sun behind the subject, so light wraps edges and creates a glow. I shoot backlit portraits by exposing for the face while letting the background go bright or even blow out. A simple trick: move slightly to capture rim light on hair and use spot metering on the subject’s face. If you want to enhance softness after the shoot, consider adding a filter to the photo to accentuate warmth in a natural way.
Rim Light
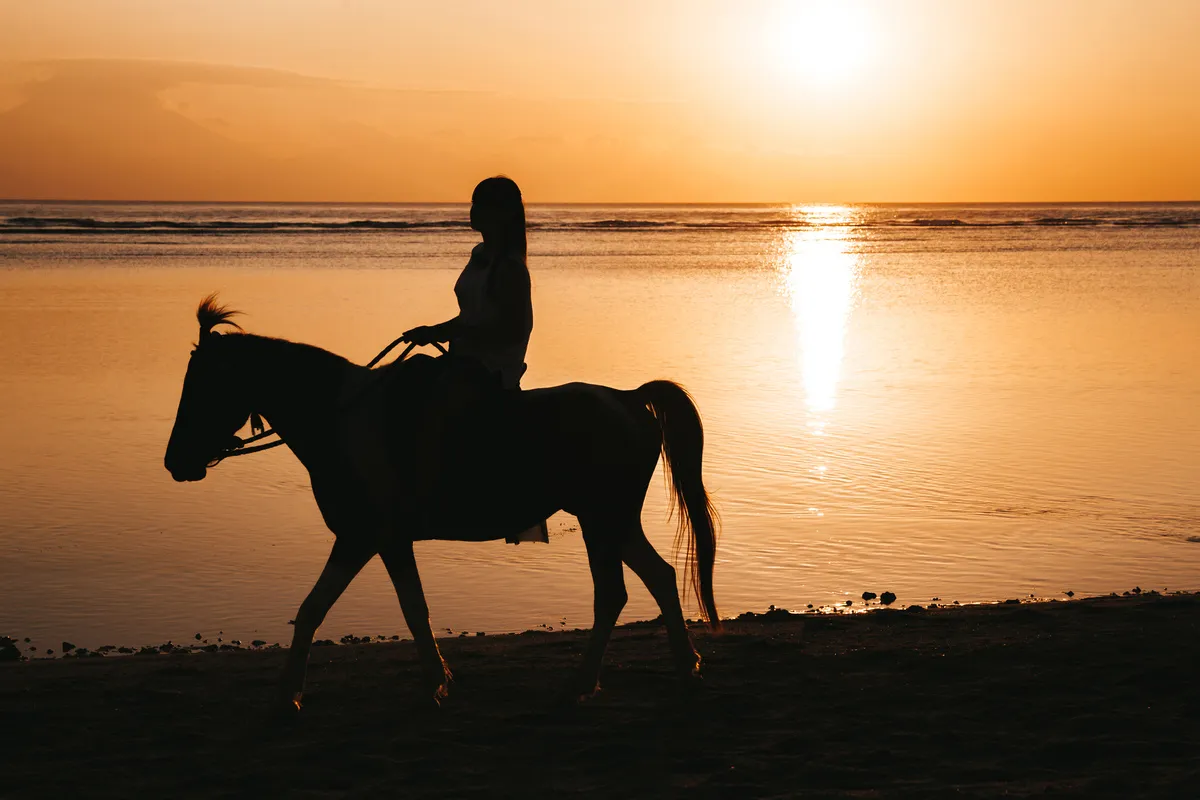 Rim light is a purposeful version of backlight in which only the subject’s edges catch sunlight, separating them from the background. I love this for landscape trees and riders on hills. To get strong rim light, expose for the shadows or midtones and increase the contrast in post. Try a narrow aperture like f/8 to preserve edge detail if you are shooting landscape subjects.
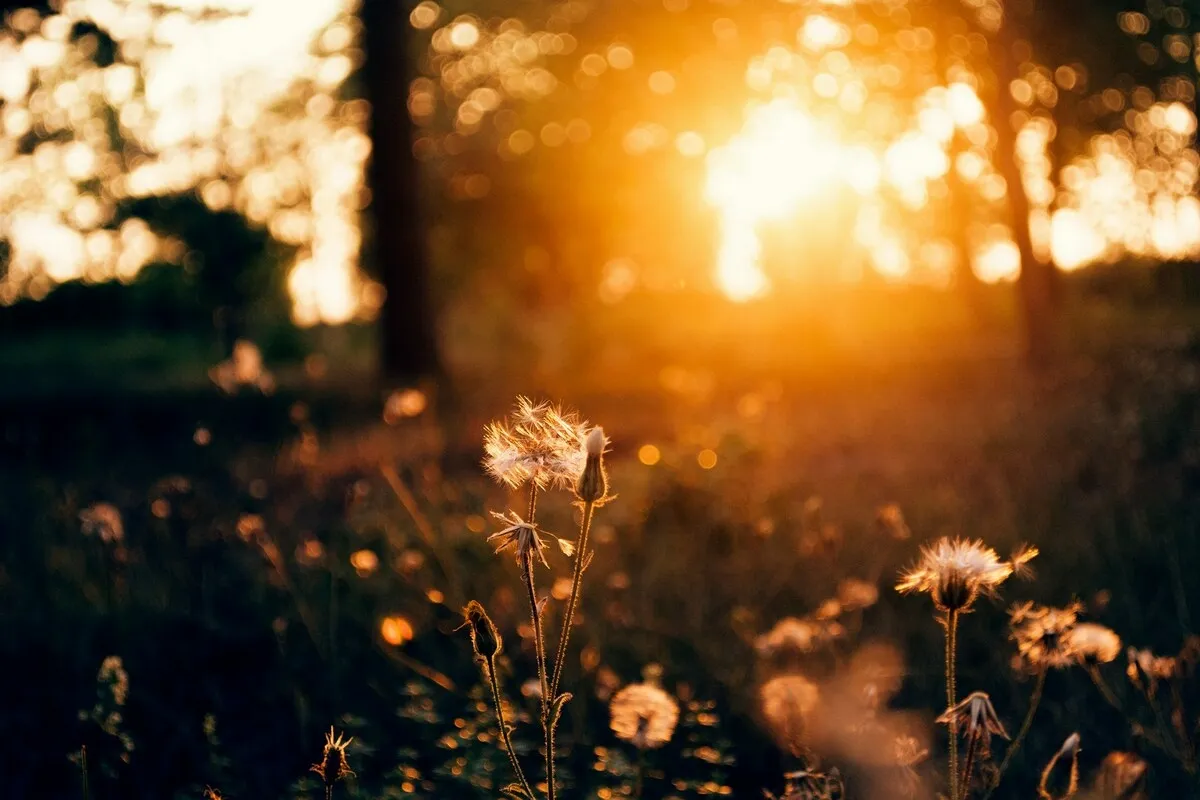
Sun Flare
 Sun flare can be dramatic or distracting. During the best time to take golden hour photos, I frame the sun near the edge and underexpose slightly by a third to half a stop to preserve its warm tones. Use a lens hood selectively; sometimes removing it creates interesting streaks and color shifts. If stray people wander into a perfect flare shot, a simple cleanup using a people remover tool is often faster than re-shooting.
Silhouette
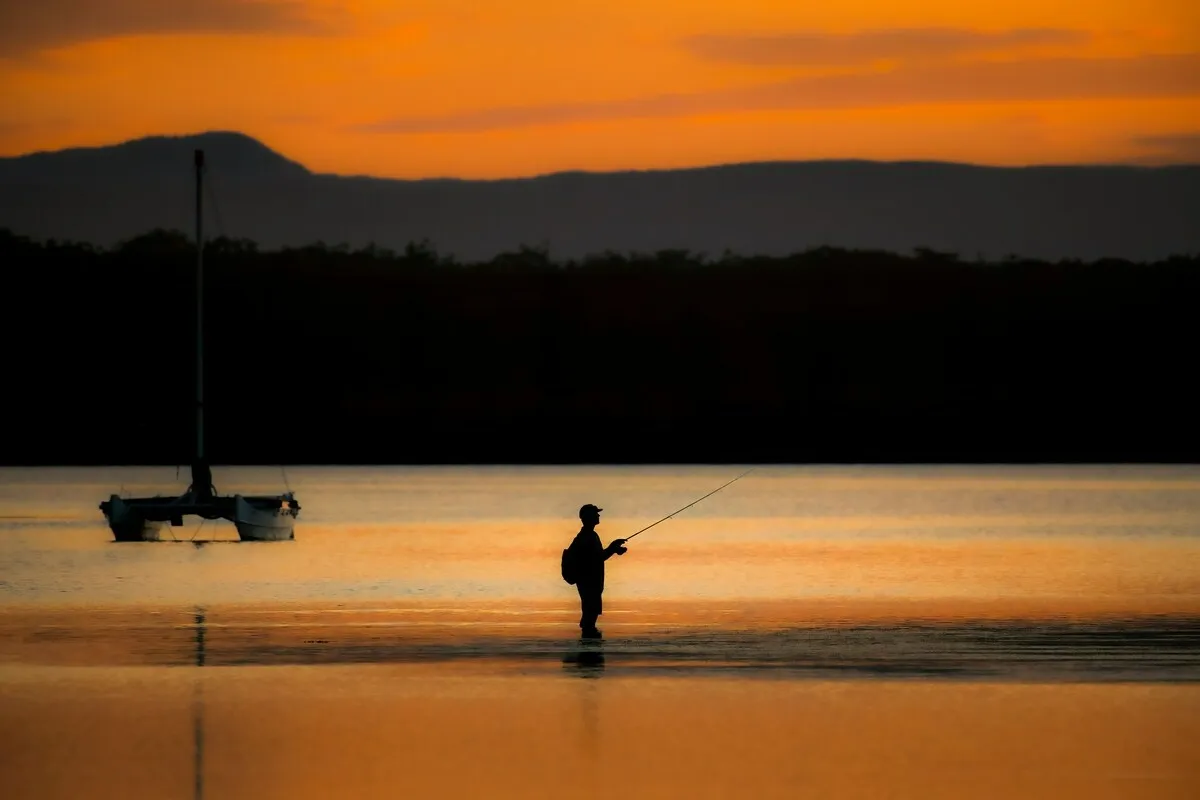 Silhouettes are golden moment staples because the bright, warm background lets you convert shapes into graphic statements. Expose for the sky and the subject will fall dark. Use strong shapes: a bicycle wheel, a folded palm, a child jumping. For example, I once framed a fisherman mid-cast and lowered exposure until only his outline was visible against a molten sunset. Tight curves in composition make the silhouette tell a story.
Infuse Your Photos with the Radiance of Golden Hour Light
Five Golden Hour Photography Tips
This is the section where tech meets preparation. Below, I include actionable golden hour photography tips that improved my keeper rate dramatically.
1. Plan Your Shoot in Advance
 Arrive early. Scout locations the day before. Walk the site to identify where the sun will rise or set and note potential foregrounds and backgrounds. I mark reference points on my phone so I can return precisely at the best time for golden hour photos, ensuring I capture the light at its most flattering.
2. Watch Out for Clouds
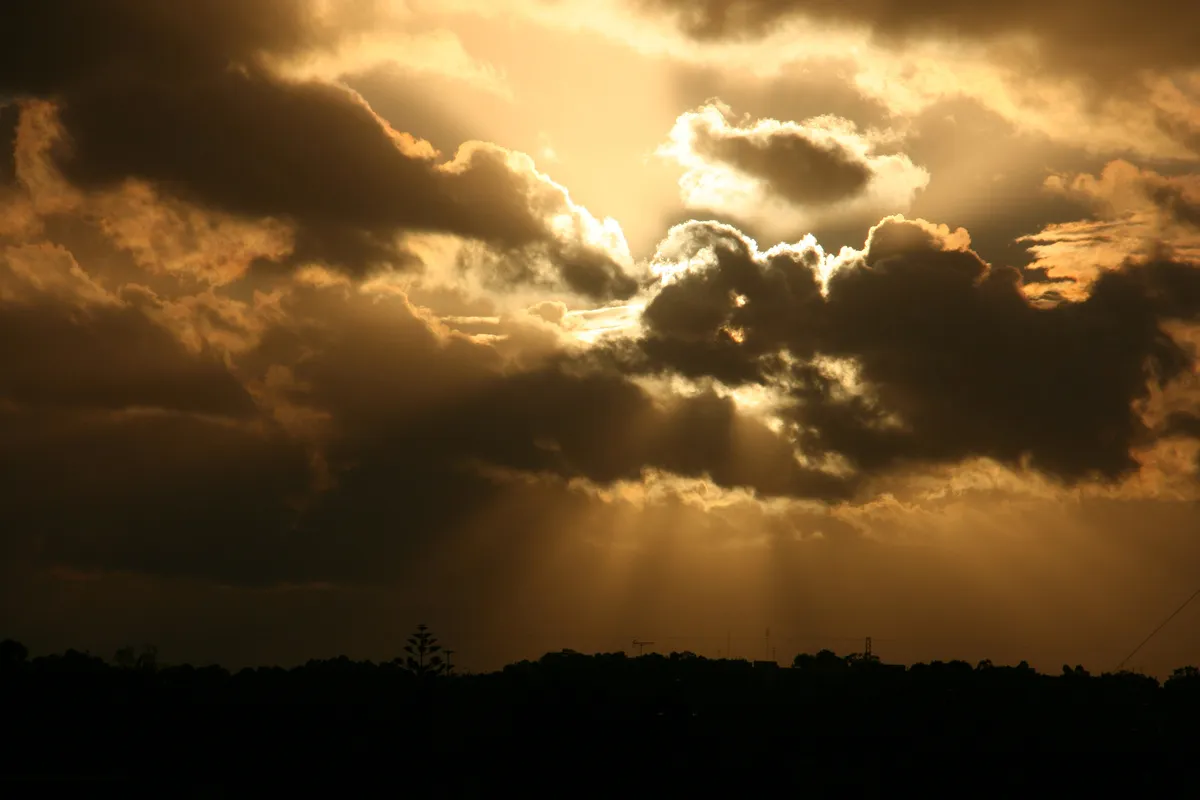 Clouds can be your ally or enemy. A thin veil softens light beautifully. Thick, low clouds kill color. Check the sky an hour before shooting. If clouds look promising, move to a wide view where the sun can break through gaps. Use a long lens to compress cloud layers and create layered drama.
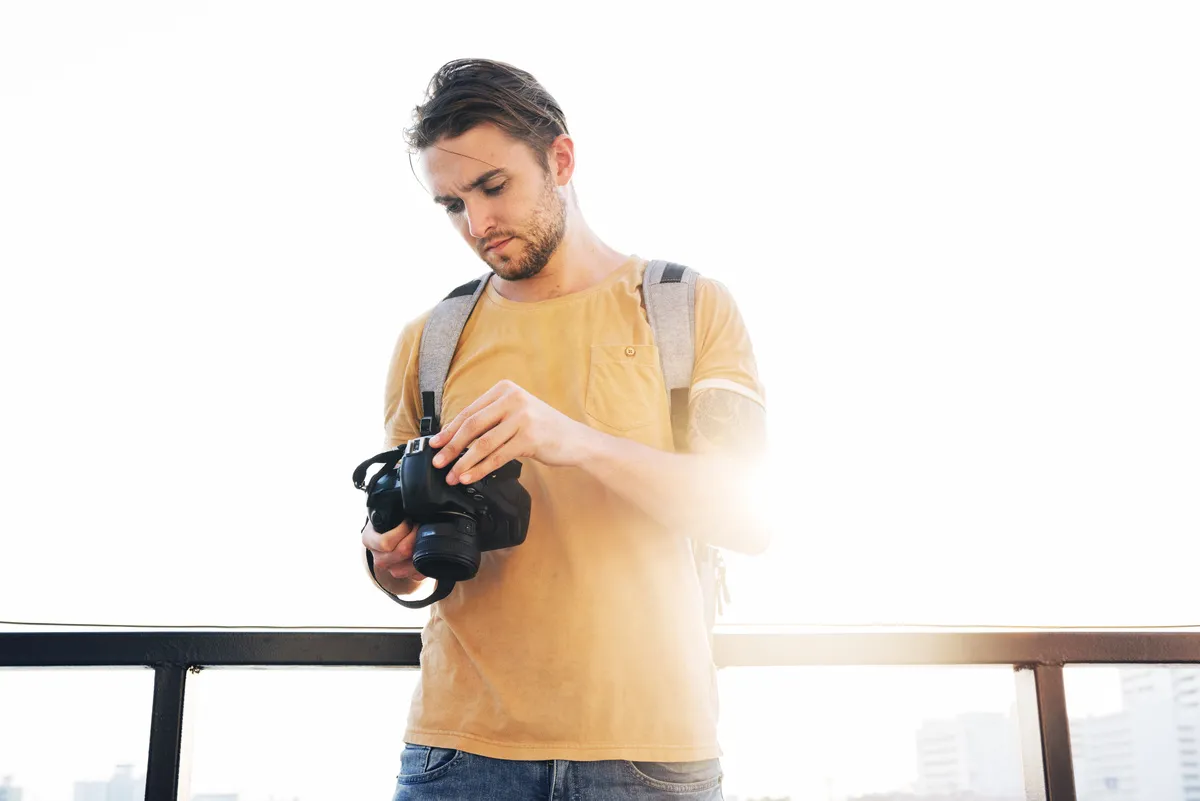
3. Set Your White Balance to Cloudy or Shade
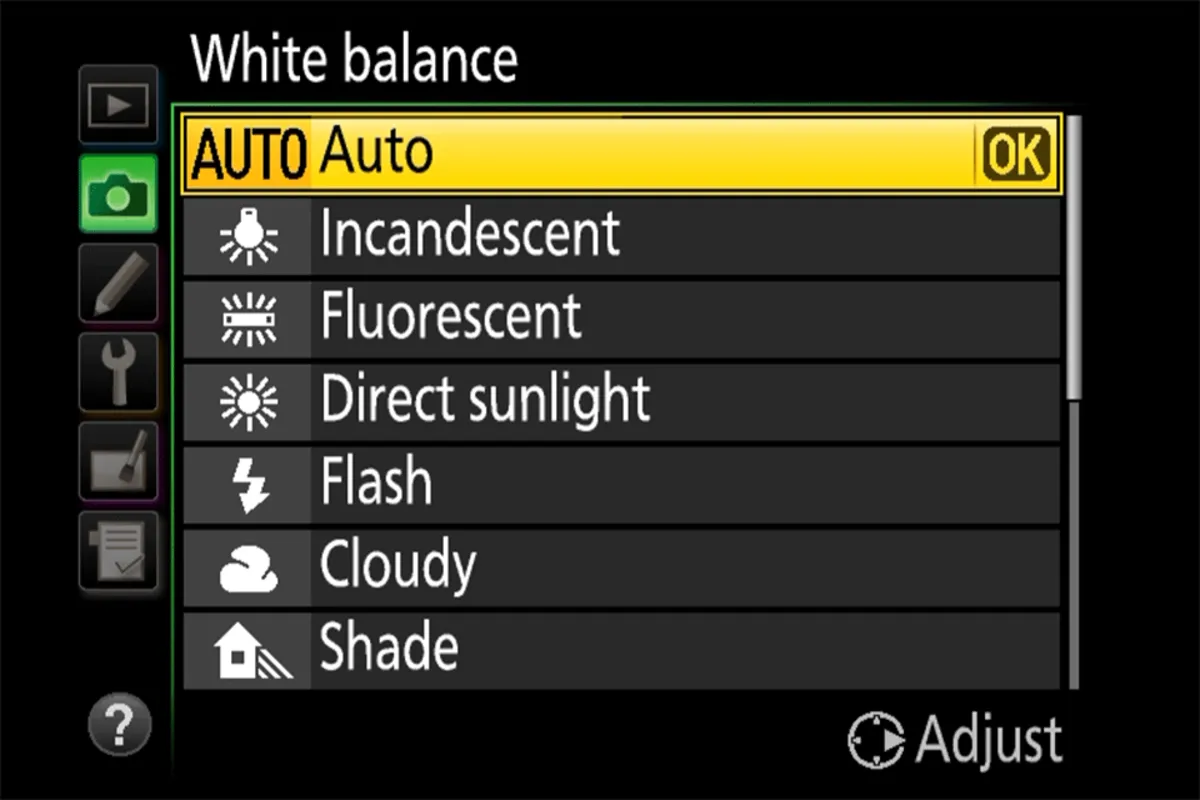 Set white balance to Cloudy or Shade to preserve warmth without overcooking orange tones. Understanding the golden hour meaning helps here: knowing that this period produces soft, warm light guides how you preview colors on the back of your camera. If you shoot RAW, I still start with Cloudy to preview warmer tones on the back of the camera. That helps with composition decisions on the fly.
4. Shoot With a Wide Aperture
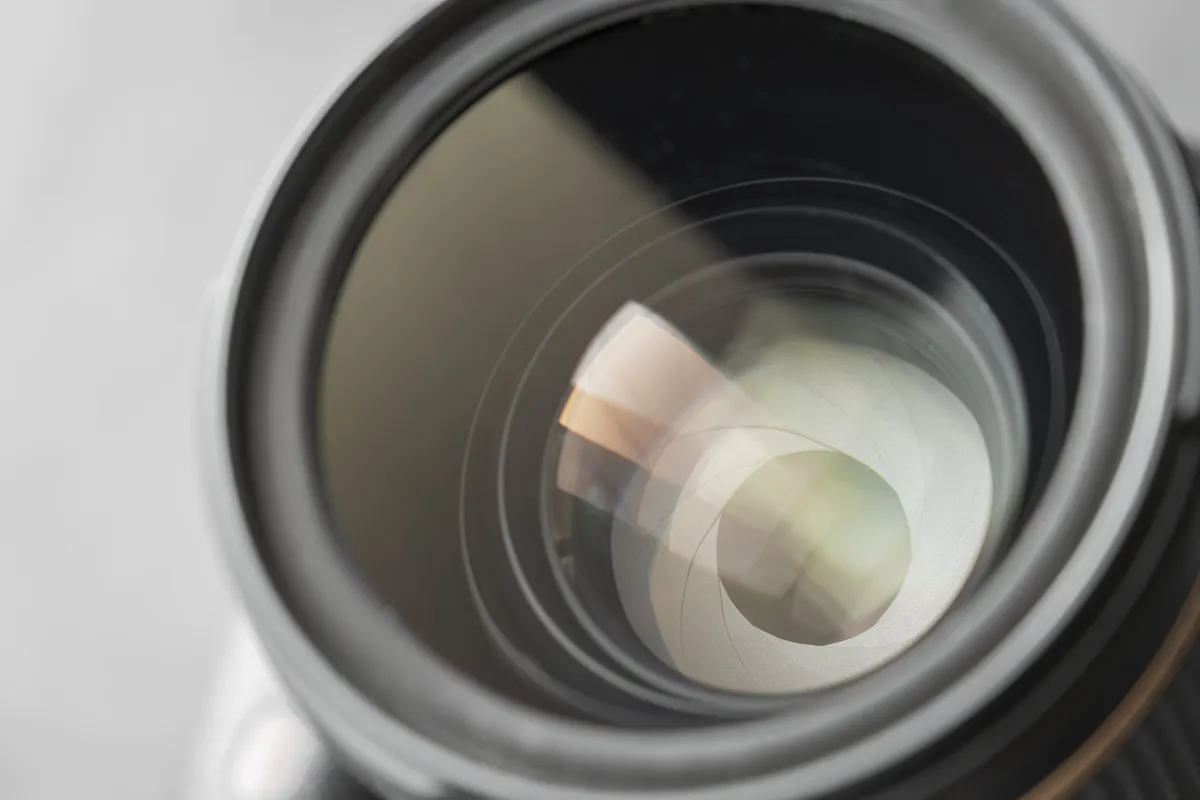 A wide aperture like f/1.8 to f/4 gives soft backgrounds and beautiful separation. Use this for portraits and small subjects when you want creamy bokeh. If you are after sharper landscapes with foreground detail, stop down to f/8 or f/11. For a quick reminder, here is a small checklist I keep in my camera bag:
-
Aperture priority with f/1.8 to f/4 for portraits.
-
f/8 to f/11 for landscapes with plenty of foreground.
-
Bracket one or two stops when exposure is tricky.
If you need to emphasize smooth backgrounds in post, try a digital background blur tool sparingly to keep photos natural.
5. Use a Low ISO
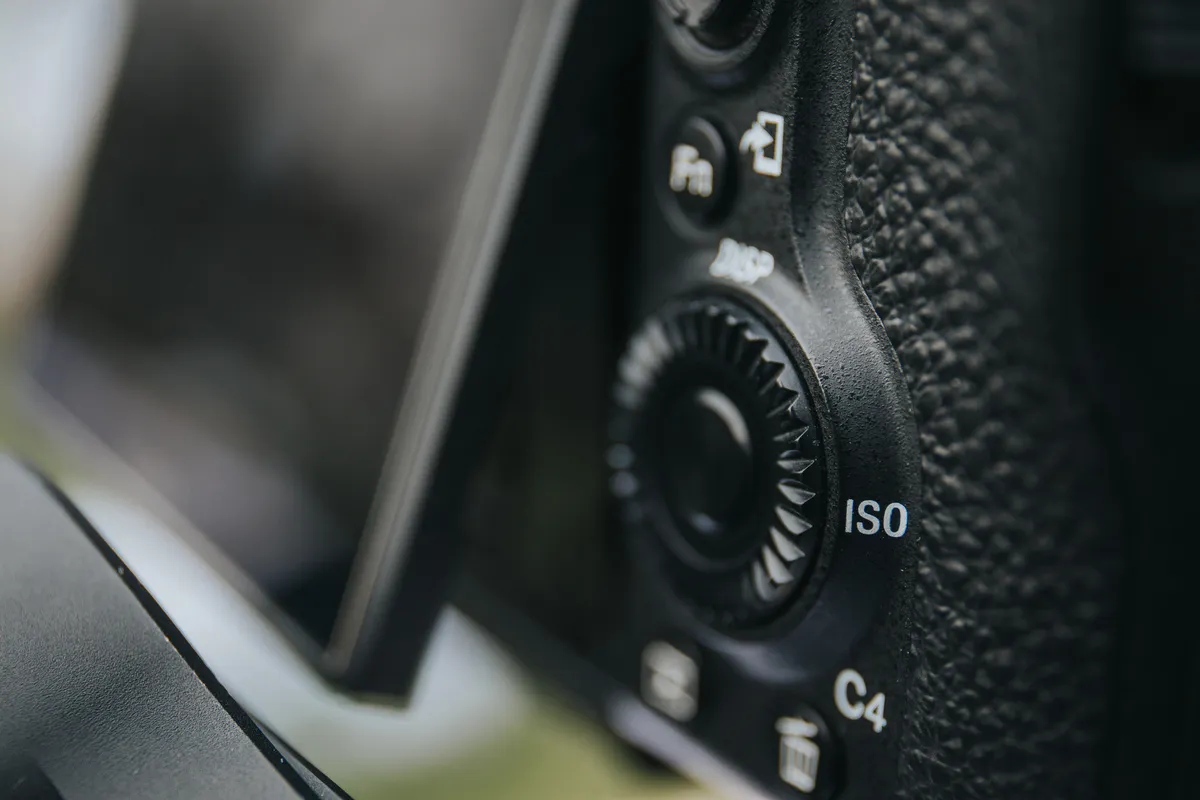 Golden hour photography time gives beautiful light, so keep ISO low to preserve texture. I aim for ISO 100 to 200 for static scenes and raise it only enough to avoid motion blur for moving subjects. For handheld shooting when light is very low, balance ISO and shutter speed instead of relying on heavy noise reduction in editing.
Your AI-Powered Photo Editor for MacOS and Windows
The Bottom Line
 Golden hour rewards the photographer who studies light, plans ahead, and simplifies choices. It is not magic in the mystical sense but a reliable combination of sun angle, color, and shadow that elevates an ordinary scene. Try the techniques and tips here, and you will find yourself making quicker, more confident decisions at sunrise and sunset.
Bring these takeaways to your next session: arrive early, expose intentionally, choose a lighting technique that matches your story, and remember small edits can lift an image without covering up compositional mistakes. Practice these specifics, and the magic hour meaning will stop feeling like luck and start feeling like skill.