Make apartment listings clearer and more inviting. Learn how to prepare each room, photograph its layout and light, and edit images realistically.
Good apartment photography does more than document a property. It helps viewers understand the layout, proportions, natural light, finishes, and overall condition of a space before they visit it. For real estate listings, clear and well-composed images can make it easier for potential buyers or renters to understand what a property offers.
Creating effective apartment photos involves more than using a good camera. Preparation, lighting, composition, camera position, and post-processing all influence the final result. In this guide, we’ll cover practical real estate photography tips for photographing apartments and show how Luminar can help refine the images afterward.
Don’t feel like reading the whole breakdown? We’ve pulled together a quick summary below.
Key Takeaways
Clean and declutter every room before photographing it.
Use a wide-angle lens carefully to show the layout without making the space look unnaturally large.
Keep the camera level and correct vertical lines to avoid distorted-looking walls and furniture.
Use natural light whenever possible and turn on practical lights when they contribute to the scene.
A tripod can help keep compositions consistent and makes exposure bracketing easier.
Take a combination of wide establishing images and closer detail shots.
HDR and exposure blending can help balance bright windows with darker interiors.
During editing, prioritize realistic color, natural contrast, straight lines, and consistency across the whole property.
Prepare the Apartment Before the Shoot
Good preparation can save considerable time during editing. Before taking pictures, walk through the apartment and look at each room from the camera’s intended position.
Start by:
Removing unnecessary personal belongings and clutter.
Cleaning floors, windows, mirrors, countertops, and reflective surfaces.
Hiding cables, bins, cleaning supplies, and other distracting objects.
Straightening cushions, curtains, bedding, and decorative items.
Rearranging furniture if it blocks important architectural features.
Opening curtains and blinds when the view outside contributes to the image.
Turning on practical lights when they help illuminate the room or create useful visual balance.
The goal isn’t to make the apartment look different from reality. Instead, the space should be presented in an orderly way so that its layout and features are easy to understand.
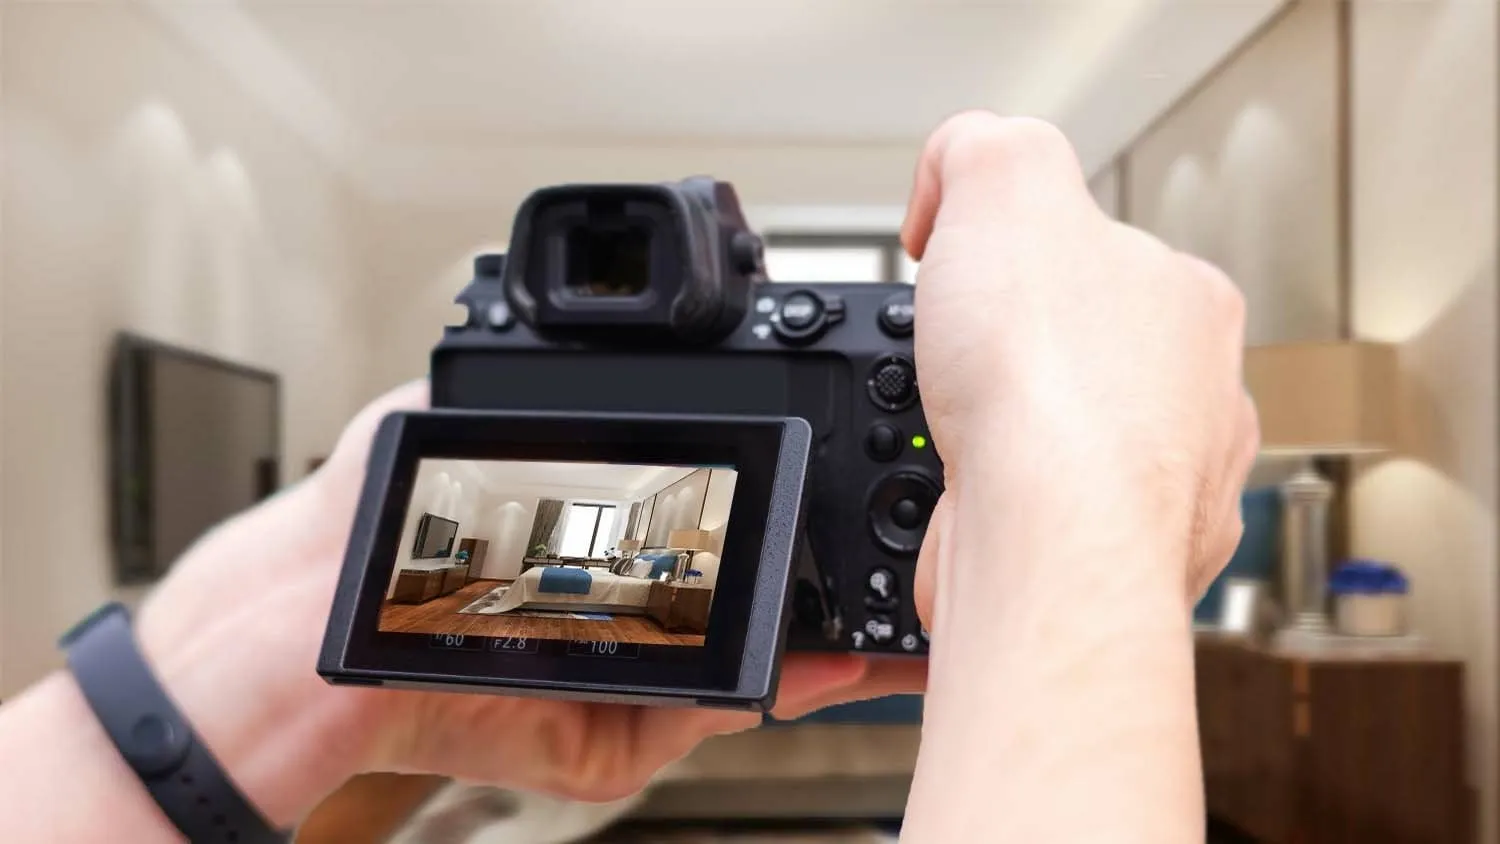
You don’t need the most expensive camera to photograph an apartment effectively. What matters more is choosing equipment that gives you control over composition, perspective, and exposure.
Camera
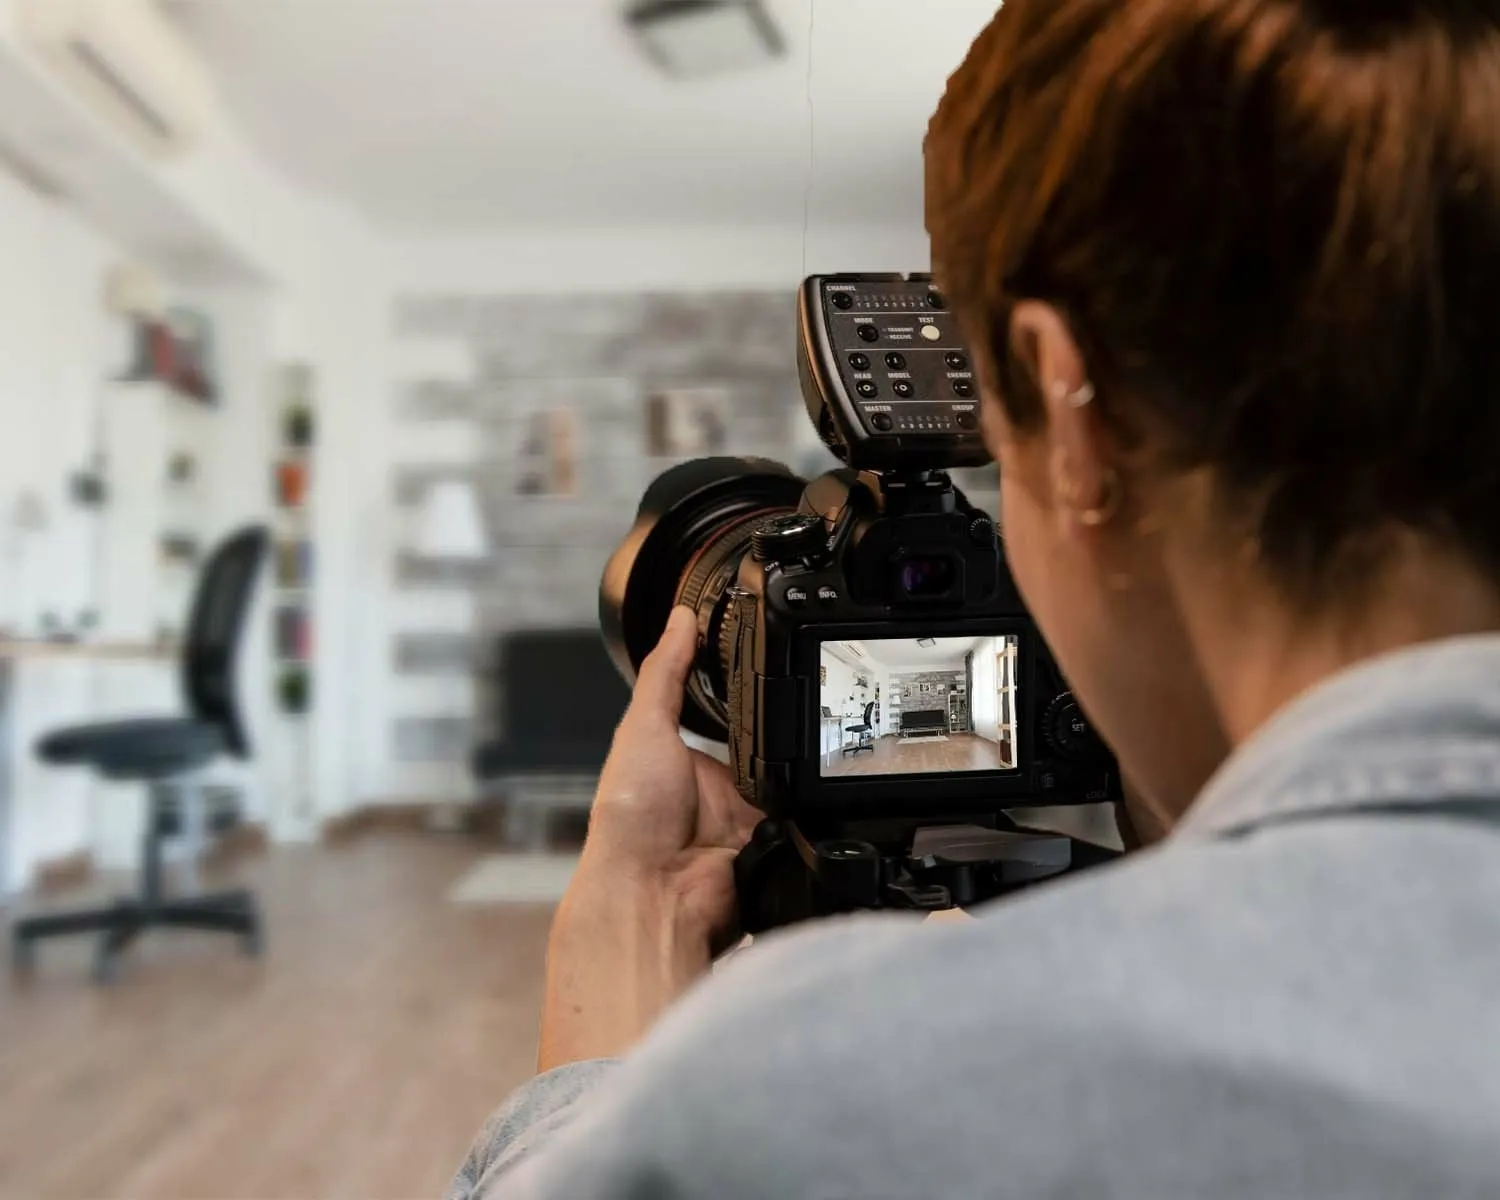
A DSLR or mirrorless camera gives you control over settings and can produce high-resolution RAW files for editing. A camera with good dynamic range is particularly useful when a room contains both bright windows and relatively dark areas.
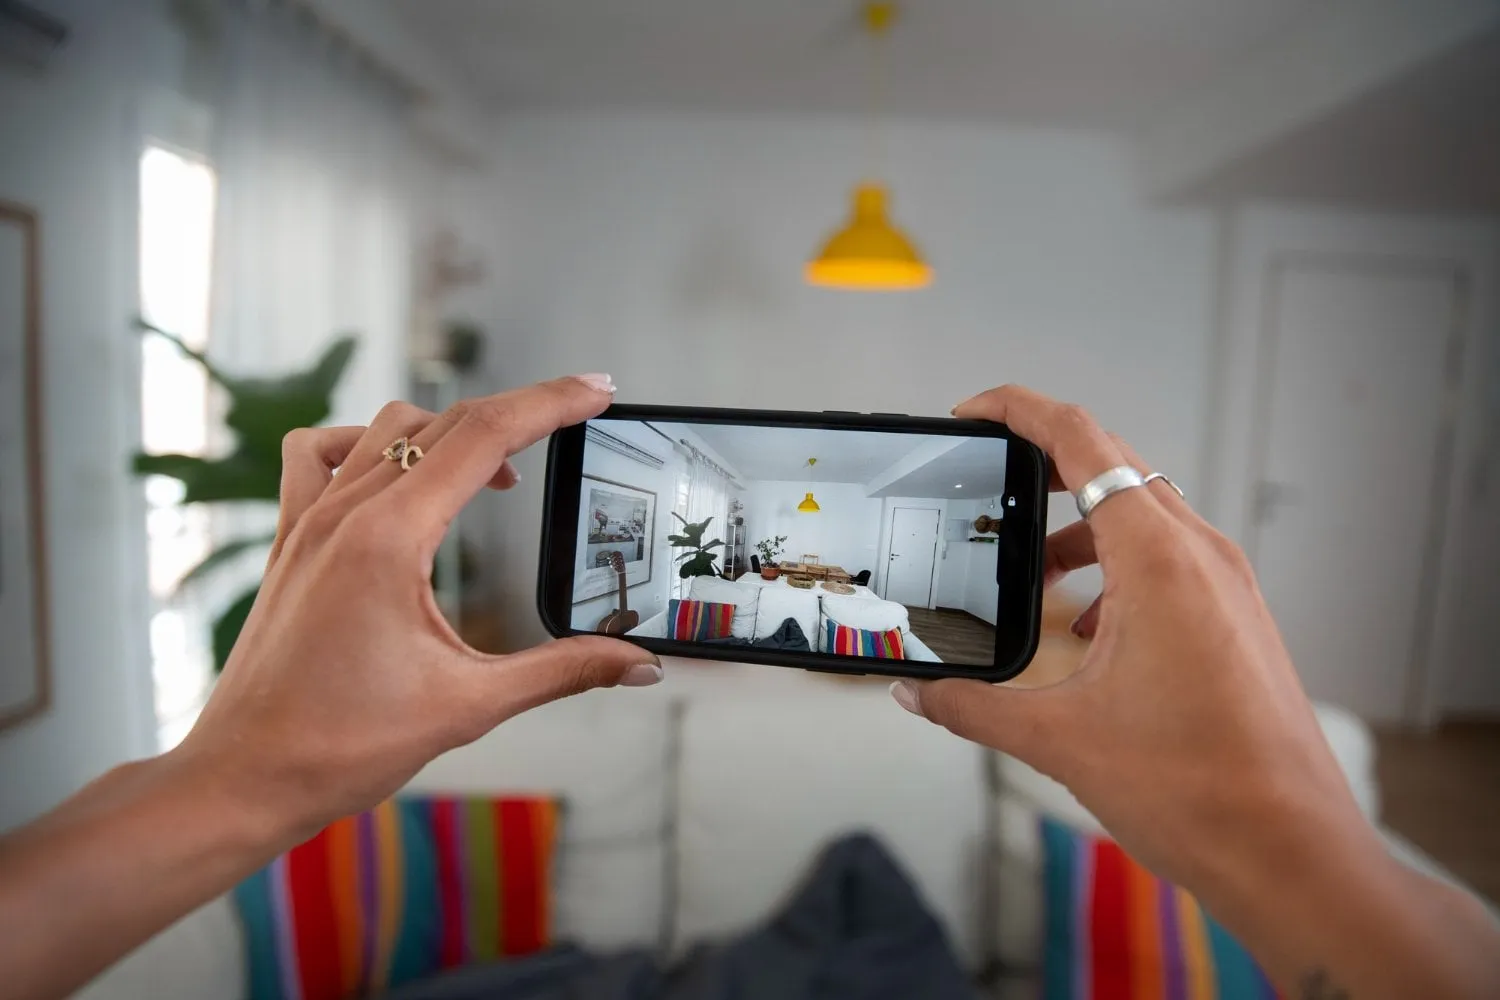
A modern smartphone can also work for some listings, especially in good light, but dedicated cameras generally provide more control over perspective and RAW processing.
Wide-Angle Lens
A wide-angle lens is useful for interior photography because it can include more of a room in a single frame. However, going excessively wide can make rooms and furniture look stretched or disproportionately large.
Choose a focal length that shows enough of the space while keeping architectural lines and furniture reasonably natural.
Tripod
A sturdy tripod helps keep the camera stable and makes it easier to maintain a consistent height and composition between shots. It is particularly useful when working with slower shutter speeds or shooting multiple exposures for HDR.
Additional Lighting
Portable lights, flashes, or LED panels can be useful when a room contains very dark areas. However, artificial light should complement the existing lighting rather than overpower it.
If you’re using flash, pay attention to shadows behind furniture, light fixtures, and other objects. Bouncing the light can create a softer result than pointing a flash directly at the room.
Master Lighting for Apartment Photography
Lighting strongly affects how an interior is perceived. The main challenge is often the difference between the brightness inside the room and the view through the windows.
Here are several approaches worth trying.
Use Natural Light
Open curtains and blinds when appropriate and use available daylight to illuminate the room. Avoid blocking windows with furniture or unnecessary objects.
Watch the direction of the light, though. Strong direct sunlight can create deep shadows and bright patches that make an interior harder to expose evenly.
Consider the Time of Day
The best time to photograph a property depends on its orientation, windows, surroundings, and the look you want to achieve.
Golden hour can work well for exterior images and for interiors where warm light entering through the windows adds visual interest. For many interior listing photos, however, consistent daylight may be more useful than deliberately waiting for golden hour.
Use Practical Lights
Turn on lamps and other useful light sources when they contribute to the composition. Different light sources can have different color temperatures, so check for obvious color casts before taking the final images.
Use Flash Carefully
Additional lighting can help reveal dark areas, but direct flash can produce hard shadows and distracting reflections. If you use flash, consider bouncing or diffusing the light and check the walls, mirrors, windows, and glossy surfaces for unwanted reflections.
Use Composition to Show the Space Clearly
Composition in real estate photography should make the apartment easy to understand. Instead of filling every frame with as much furniture as possible, look for compositions that explain how different parts of the room relate to one another.
Keep the Camera Level
One of the most important techniques for interior photography is keeping the camera level. Tilted cameras can cause vertical lines such as walls, door frames, and cabinets to converge.
A tripod with a level can make this easier. Perspective correction during editing can also help, but it is better to capture a reasonably corrected perspective in camera.
Elevate Your Photography with Our Advanced Software
Walls, floorboards, countertops, hallways, and furniture can all create lines that guide the viewer through the image.
Use these elements deliberately rather than allowing them to point toward distracting objects.
Show the Layout
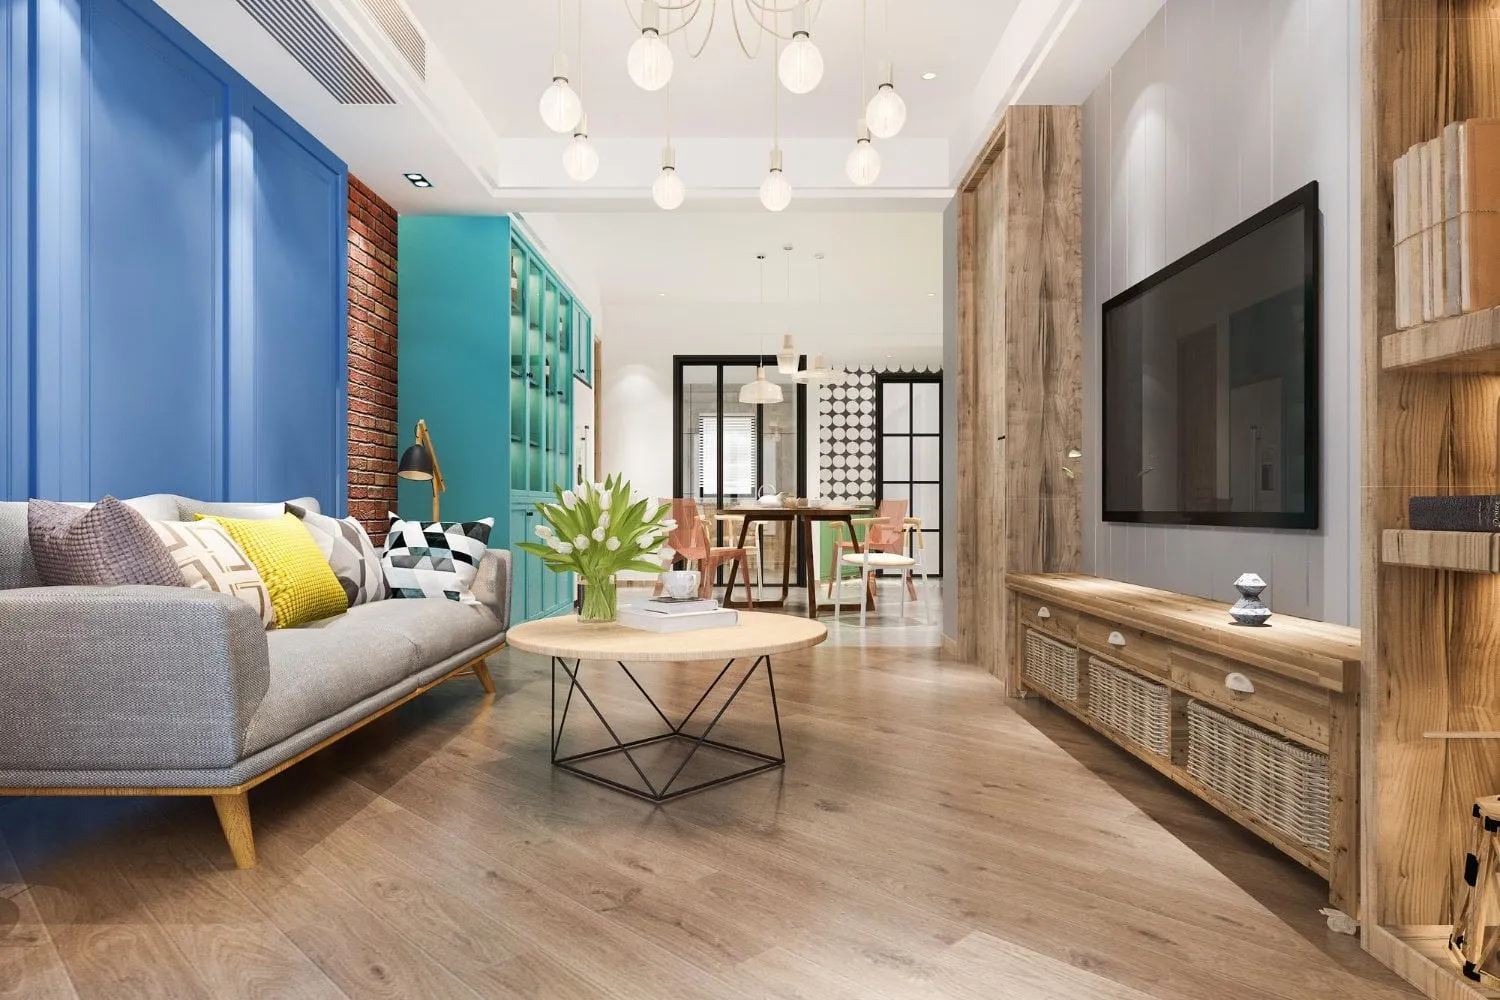
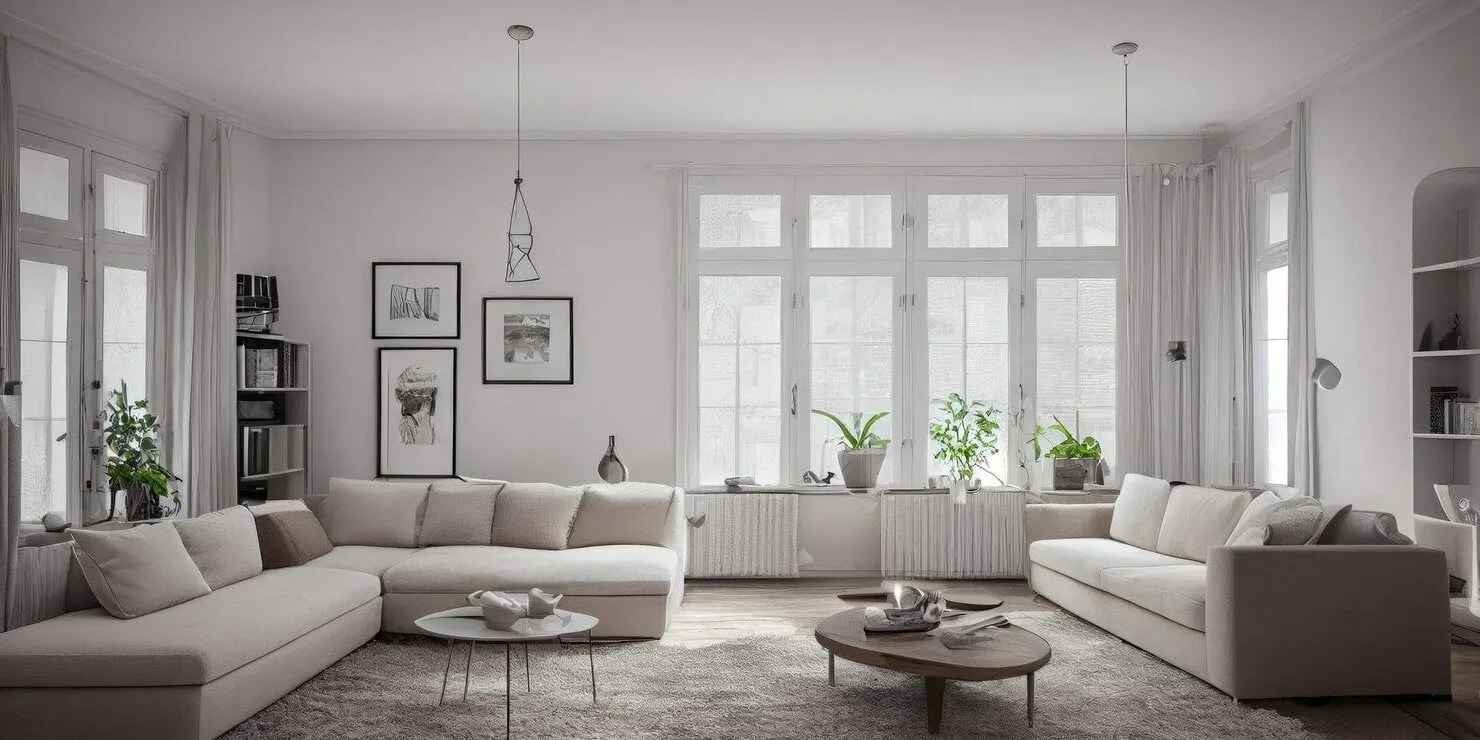
A wide composition can communicate the relationship between different parts of a room. Try photographing from a corner or doorway when this gives a clear view of the space.
Avoid placing the camera so close to a wall or piece of furniture that the foreground becomes disproportionately large.
Add Detail Shots
Wide images show the layout, but smaller details help communicate the character of the apartment. Photograph features such as:
Textures and materials
Architectural details
Kitchen finishes
Lighting fixtures
Decorative elements
Built-in storage
Views from balconies or windows
Props can be useful, but they should support the space rather than distract from it.
Plan Your Apartment Photography Shots
Before shooting, walk through the property and make a simple checklist. This reduces the chance of forgetting a room or important feature.
A typical apartment photography sequence can include:
Exterior or building entrance — when relevant to the listing.
Living room — usually one or more wide views showing the layout.
Kitchen — show both the overall space and notable finishes.
Bedrooms — photograph the room from an angle that communicates its proportions.
Bathrooms — keep mirrors, glass, and reflective surfaces clean.
Hallways and connecting spaces — include them when they help explain the layout.
Balcony or terrace — show the available space and relevant views.
Detail shots — highlight distinctive architectural or design elements.
Don’t rely exclusively on one wide-angle photograph for every room. A collection of carefully chosen images gives viewers a better understanding of the property.
Pay Attention to Perspective
Try several camera positions before taking the final frame. Small changes in height or position can significantly affect the relationship between furniture, walls, and windows.
Keep important architectural lines as straight as possible. Lens distortion and perspective can be corrected later, but excessive correction may reduce the usable area of the image.
Consider HDR for High-Contrast Interiors
Interior scenes with bright windows and darker furniture can exceed the dynamic range captured in a single exposure. In these situations, exposure bracketing can provide additional information for combining the images later.
HDR is particularly useful when you want to retain both interior detail and information outside the windows. The technique works best when the final image remains natural rather than heavily processed.
Edit Apartment Photos Carefully
Editing should make apartment photos clear and consistent while preserving an accurate impression of the property. Work through the images in the same order each time, then review the full set before publishing.
1. Balance Exposure and White Balance
Adjust overall brightness so the room looks naturally lit. Recover detail in bright areas where possible and lift shadows without making them look flat. Then correct color casts from daylight and artificial lighting. White walls and ceilings are useful references, but they do not need to appear perfectly white in every room.
2. Straighten Architectural Lines
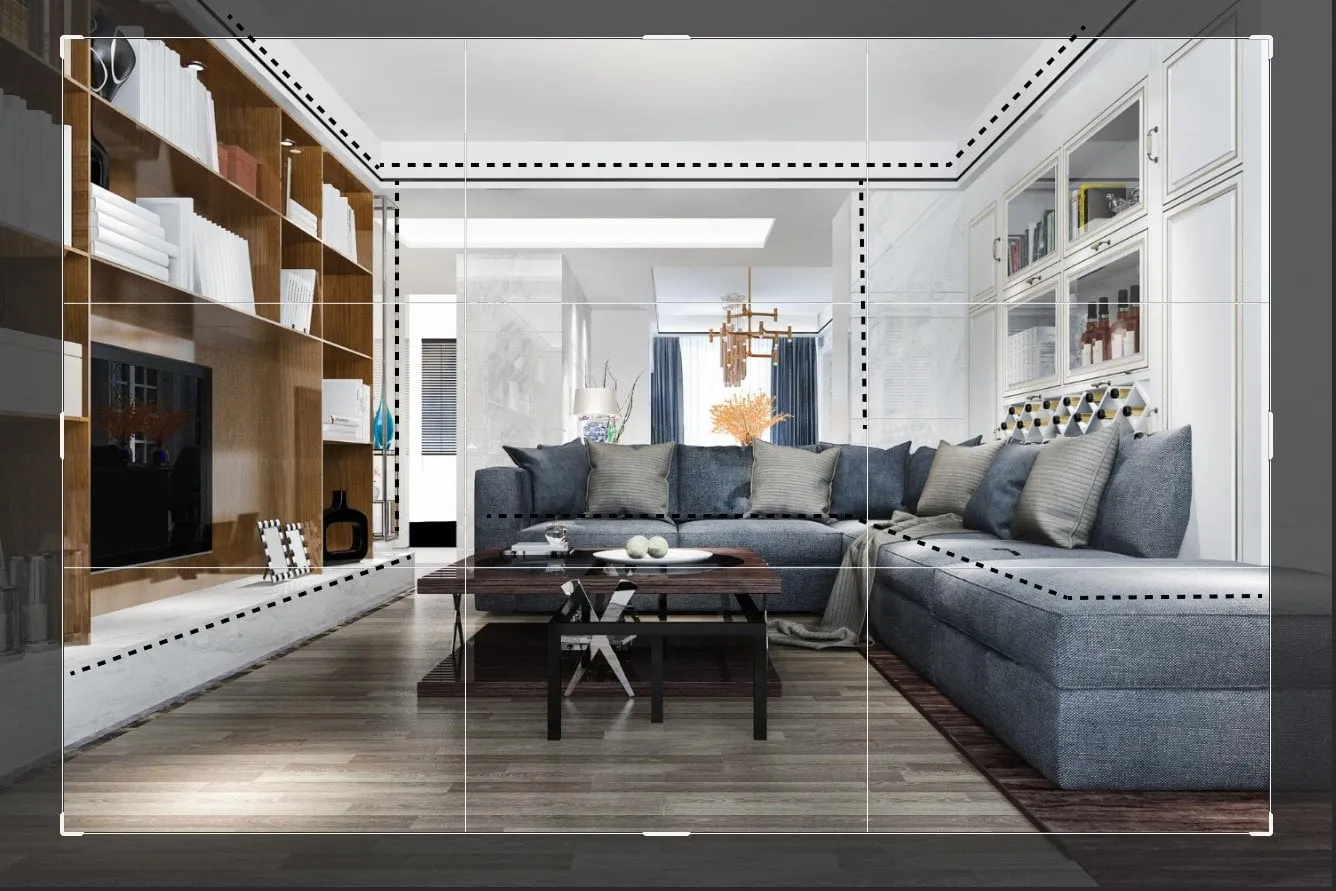
Correct lens distortion and perspective so doors, windows, cabinets, and walls appear natural. Keep vertical lines straight, but avoid corrections that stretch the room or make it look larger than it is.
3. Refine Color and Contrast
Make modest adjustments to contrast, saturation, and individual colors. Check that finishes, furniture, plants, and the view outside still resemble what a visitor would see in person.
4. Make Local Corrections Where Needed
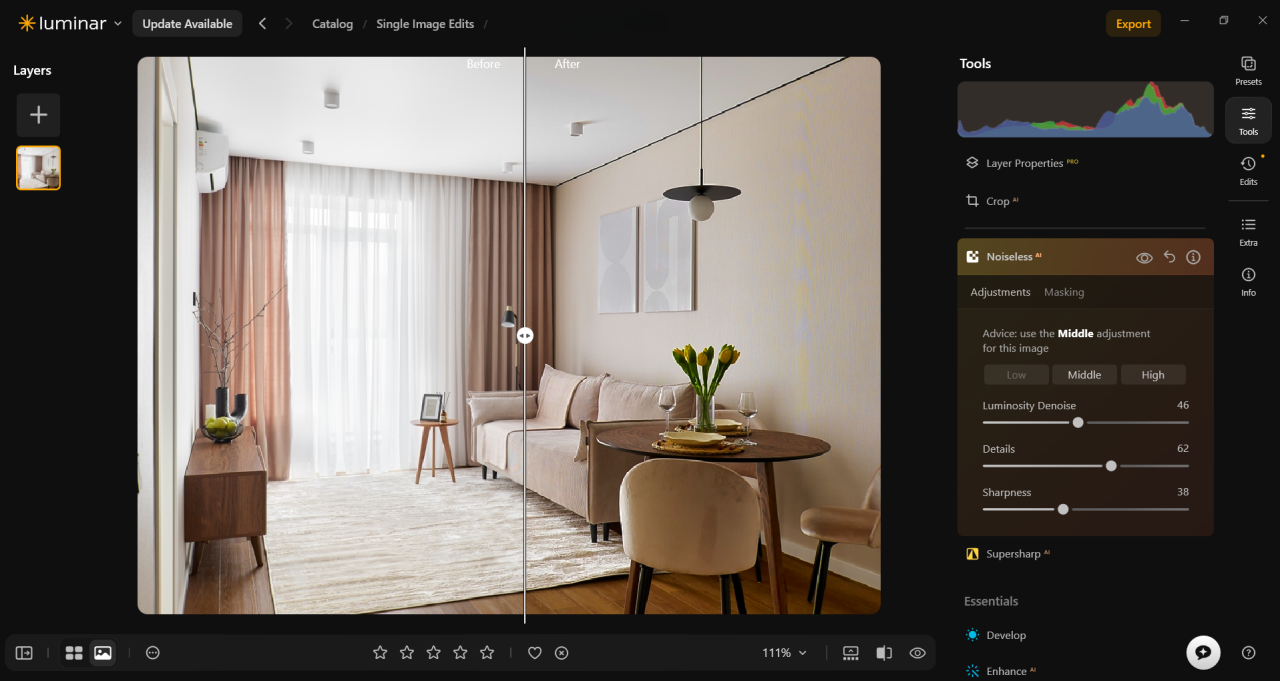
If one part of the image needs a different adjustment, use a mask rather than changing the entire frame. In Luminar, you can also use automatic photo editing tools as a starting point and refine the result manually.
For scenes with a bright window and a darker interior, HDR Merge can combine bracketed exposures. Review the result carefully to keep the transition around windows natural. Object removal can tidy up minor distractions missed during preparation, provided the edit does not hide a feature or condition of the property.
5. Crop, Reduce Noise, and Sharpen
Crop distracting edges and straighten the frame without cutting off features buyers need to see. Apply noise reduction to darker images when necessary, then sharpen gently. Watch for harsh outlines around windows, furniture, and other high-contrast edges.
6. Review the Photos as a Set
Place the finished images side by side. Exposure, white balance, contrast, saturation, perspective, and overall color should feel consistent from room to room. Presets or copied adjustments can speed up the first pass, but check each photo individually: rooms with different light sources and wall colors may need different corrections.
Your AI-Powered Photo Editor for MacOS and Windows
Good apartment photography starts before the camera comes out. Clean and organize the space, choose a suitable lens, keep the camera level, and look for compositions that clearly communicate the property’s layout.
During the shoot, prioritize balanced lighting and natural perspective. When a scene contains very bright windows and dark interiors, exposure bracketing and HDR can provide more flexibility.
In post-processing, concentrate on realistic exposure, color, perspective, and consistency rather than excessive effects. A careful workflow — supported by tools such as Luminar when appropriate — can make the final property images clearer and more cohesive while keeping the apartment recognizable as it is.
Frequently Asked Questions
What camera is best for apartment photography?
A DSLR or mirrorless camera with a suitable wide-angle lens is a versatile choice for apartment photography. The camera should provide enough resolution and dynamic range for the intended listing and editing workflow.
What lens should I use for real estate photography?
A wide-angle lens is commonly useful for interiors because it can show more of a room in one frame. Avoid excessively wide focal lengths if they make furniture or architectural features look unnaturally stretched.
Should I use a tripod for real estate photography?
A tripod is useful because it keeps the camera stable and helps maintain consistent framing. It is especially helpful when shooting at slower shutter speeds or capturing multiple exposures for HDR.
Should I use HDR for apartment photos?
HDR can be useful when a room contains a large difference between interior and exterior brightness. Bracketed exposures provide more information to balance shadows and highlights, particularly around windows.
How do I make real estate photos look natural?
Start with accurate exposure and white balance, keep architectural lines straight, and avoid excessive saturation or HDR effects. The edited image should remain a believable representation of the property.
Subscribe to know first
Our delivery owl will bring you our best deals and news about Skylum news.