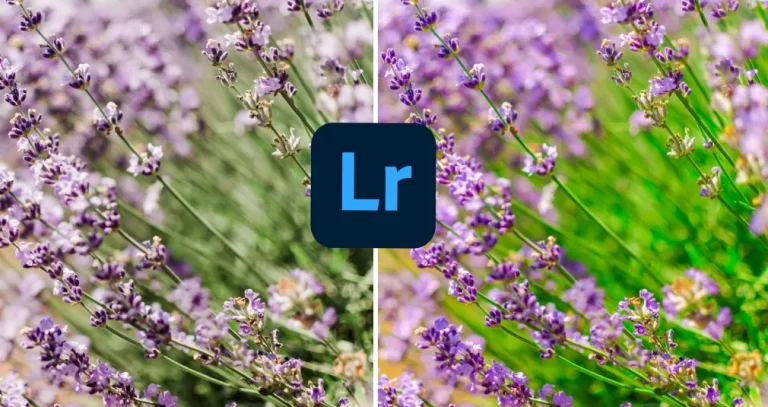
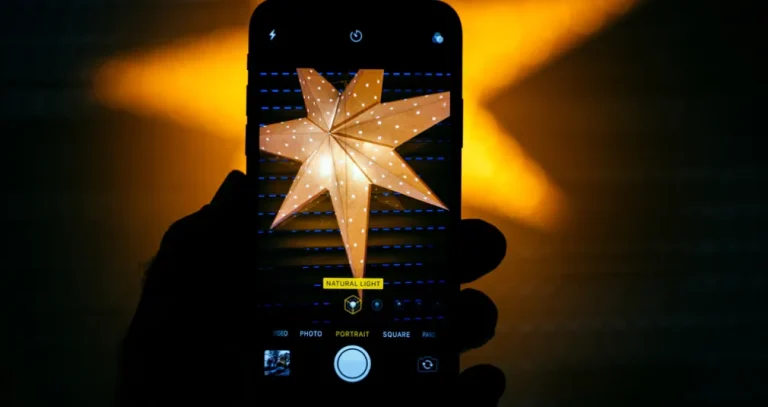
Learn how to take photos in manual mode with this practical camera settings cheat sheet. Master aperture, shutter speed, ISO, and improve your images with AI editing in Luminar Neo.
Mastering manual mode takes practice, but it gives you complete creative control over every shot. In this guide, you’ll learn how aperture, shutter speed, and ISO work together, when to use manual mode, and how to fix common exposure mistakes with AI-powered editing tools.
Key Takeaways
- Exposure Triangle. Mastery of manual mode depends on balancing aperture, shutter speed, and ISO, as these three variables work together to determine the final exposure.
- Creative Control. Manual settings allow photographers to consciously decide on artistic effects like bokeh or motion blur instead of letting the camera make those choices.
- Parameter Functions. Understanding that aperture controls light and depth, shutter speed manages motion timing, and ISO determines sensor sensitivity is essential for full image control.
- Practical Cheat Sheets. Using a personal reference guide helps beginners navigate different lighting environments while they build the experience needed for intuitive, faster adjustments.
- Mode Selection. Manual mode is best for consistent lighting and specific creative effects, whereas semi-automatic modes are often more practical for fast-paced or unpredictable situations.
- AI Post-Processing. Modern editing tools allow photographers to recover images by fixing technical mistakes like digital noise, motion blur, or incorrect exposure after the shoot.
Recommended Camera Settings for Beginners

Before we start adjusting the settings, let’s take a moment to consider what manual mode in photography is. For me, it’s first and foremost about responsibility. By taking photos with manual control over aperture, shutter speed, and exposure, the photographer conveys their vision and their style. So it feels a bit more personal than Auto mode.
But shooting in manual mode takes some practice. I always recommend that beginners create a cheat sheet for camera settings. Depending on the shooting conditions, the camera settings will need to be adjusted constantly to keep the image sharp. It’s hard to memorize the optimal settings, and the ability to adjust the configuration “by eye” requires a lot of experience.
This will be especially helpful for those who prefer to go out and shoot on location—places where you can’t just add another light source on a whim or ask the model to strike a specific pose. If that sounds like you, open up Google Docs or Notepad. We’re going to create a manual photography cheat sheet right now.
- Aperture or artistic vision. Decide what kind of background you want. Do you want to blur it to draw the viewer’s attention to the subject? Set the aperture to f/1.8-f/2.8. For landscapes and architecture, the image should be sharp. Therefore, set the aperture to f/8 or higher, adjusting it to suit the surroundings.
- Shutter speed or motion control. What are you photographing, and how? If the subject isn’t moving and you’re holding the camera in your hands, set the shutter speed to 1/125 of a second. But for fast-moving subjects, such as children playing or a galloping horse, you’ll need to adjust the shutter speed. I recommend using 1/500, but slightly shorter shutter speeds will also work for taking sharp photos.
- ISO or lighting search. Look at the exposure meter in the viewfinder (the scale with the needle). If the needle goes into the negative range, increase the ISO to 400-1600 until it returns to zero. Raising the ISO too high isn’t the best idea, since increasing the light sensitivity also makes digital noise more visible.
If the manual photography cheat sheet seems too basic, feel free to add another section to it: working with white balance. Basically, this setting compensates for unwanted color casts. Examples include the yellowish tint of incandescent bulbs or the blue cast of shadows. Thanks to white balance, the contrast appears softer, and the photo itself looks more natural.
Setting a custom white balance is a bit more complicated than adjusting the exposure triangle. To start, find something that’s completely white or light gray. I have special cards for setting white balance, but I usually use whatever happens to be on hand. An A4 sheet of paper or snow, if I’m shooting in winter. There’s definitely a difference between them, but in my opinion, it’s not that significant.
Point the camera at the selected subject and switch it to manual white balance mode. The camera will remember the lighting conditions and apply an Elatolon tint to even out the entire image. I love how the skin looks after switching modes. It looks more realistic—I almost want to touch it through the screen. But of course, these aren’t the only improvements you’ll notice.

Use manual mode…
- …when the lighting is constant. This includes a studio with strobes or a room with consistent artificial lighting. Once you’ve set up the camera, you’ll get perfectly consistent exposure across all the shots in the series.
- …if you want complete control. Capture silhouettes at sunset by intentionally darkening the frame, or take a “high key” portrait. With manual mode, you’re free to create as many “rule-breaking” shots as you like.
- …when working with specific effects. Blurring water into silky streams or turning car headlights into glowing lines at night. To achieve the desired effect, the shutter speed should be set to 1-2 seconds or longer. Automatic mode will never set these parameters.
Disable manual mode…
- …if the lighting is inconsistent. Taking a high-quality photo of a moving subject emerging from the deep shade of trees into bright sunlight is best left to the automatic mode. It’s impossible to set universal settings, and there’s not much point in constantly fiddling with the sliders.
- …when the focus is on a single setting. If you need to adjust a specific setting to capture the vision in the photo, change that setting and let the algorithms handle the rest. For example, to “freeze” water droplets, simply set the shutter speed to 1/1000 or faster. The optimal values for aperture and ISO will be automatically selected without any issues.
- …until you have experience. If the basic “exposure triangle” still leaves you stumped, don’t stress about it. Start with the semi-automatic modes (P, Av, Tv) to understand how the settings affect each other, and only then move on to full manual control.
Manual shoot editing in Luminar
Even experienced photographers make mistakes sometimes. That’s no big deal, as long as you recognize the problem in time and start thinking about how to fix it. Luminar is simply a handy tool in this process, bringing together in one place all the features a photographer might need during post-processing.
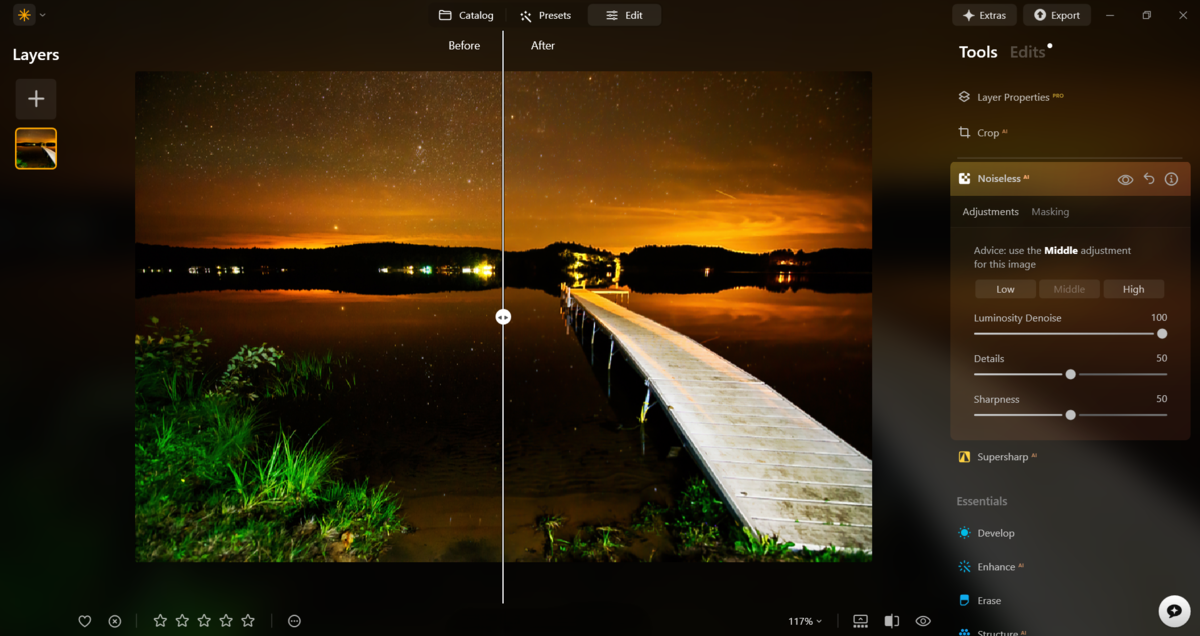
- High ISO settings. Noise is always present in photos, but the higher the sensitivity setting, the more noticeable it becomes. The “Noiseless AI” tool automatically distinguishes between main details and digital noise, cleaning up the image without making it look artificial.
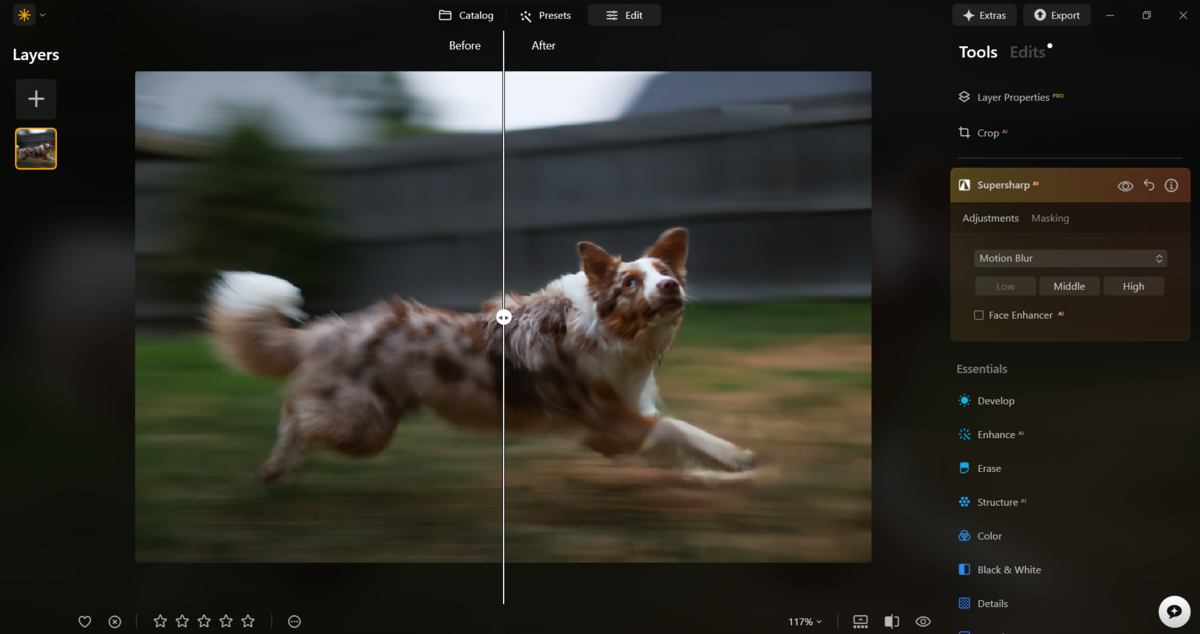
- Motion blur. If the shutter speed is too slow (for example, 1/30 sec instead of 1/250 sec), the subject will appear slightly blurred. Use the “Supersharp AI” extension in “Motion Blur” mode. The neural network calculates the trajectory of the camera or subject’s movement and restores sharpness to the edges.
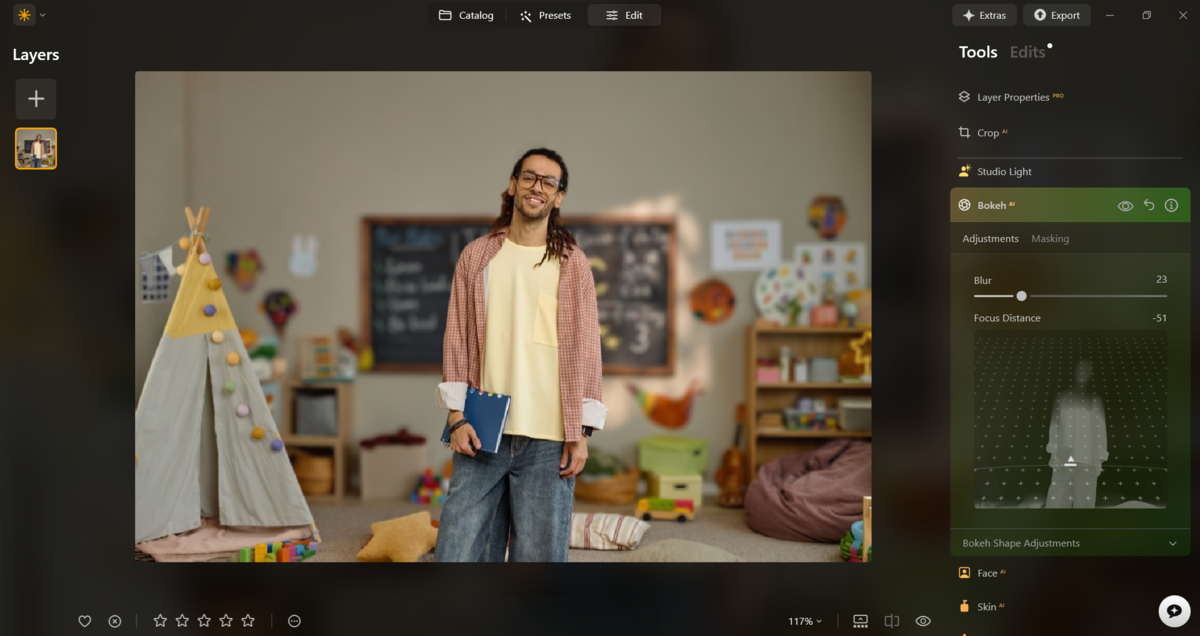
- Out-of-focus background. If you took a portrait at a narrow aperture (such as f/8) and the background turned out too sharp and distracting, use the “Portrait Bokeh AI” tool. The neural network automatically recognizes the person, creates a precise depth mask, and softly blurs the background, simulating expensive fast lenses (f/1.4-f/1.8).
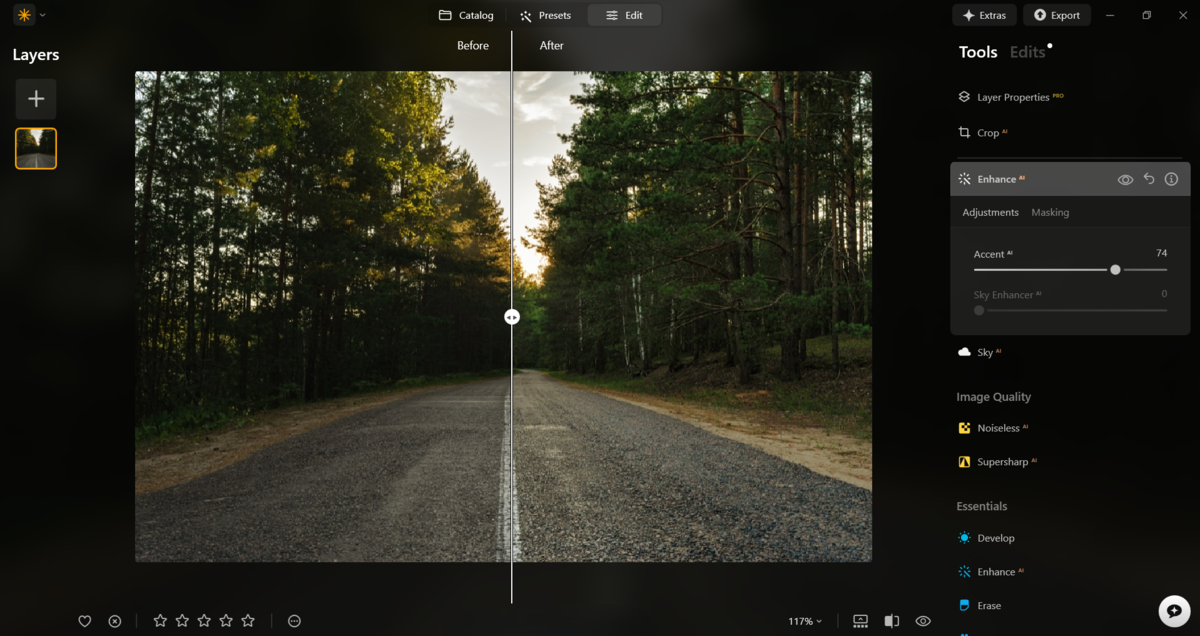
- Overexposure or underexposure. If your photo turned out too dark or washed out due to an incorrect balance of the three settings, don’t adjust the sliders manually. Turn on “Enhance AI” and move the “Accent AI” slider up. In a matter of seconds, the tool will bring out details in the shadows and tone down blown-out highlights.


Don’t discard your photos just because of minor flaws. With Luminar’s advanced tools, you can fix them in just a few clicks.