Drone photography isn’t just a hobby anymore — it’s a skill that can take your creative projects, business, or travel memories to an entirely new level.
Drone photography makes it possible to capture landscapes, architecture, events, and natural patterns from viewpoints that are difficult to reach from the ground. However, an expensive drone does not automatically produce a strong aerial photograph. The result still depends on light, composition, camera settings, flight planning, and post-production.
This drone photography guide explains how to choose a camera drone, prepare essential gear, adjust the camera, compose aerial images, fly safely, and edit drone photos.
Don’t feel like reading the whole breakdown? We’ve pulled together a quick summary below.
Key Takeaways
- Choose a drone according to its camera, weight, flight performance, and local operating requirements.
- Learn to fly safely before concentrating on complex camera movements.
- Photograph in RAW when the drone supports it.
- Keep ISO reasonably low, but prioritize a usable shutter speed and correct exposure.
- Use ND filters mainly to control shutter speed for video.
- Maintain visual line of sight and check local airspace restrictions before every flight.
- Use HDR and panorama techniques when a single drone image cannot capture enough detail or width.
- Correct haze, noise, perspective, and tonal imbalance during drone photo editing.
Edit Your Drone Images Like a Pro with Luminar
What Is Drone Photography?
Drone photography is the practice of capturing still images from an unmanned aircraft equipped with a camera. It is a form of aerial photography that allows the photographer to control the aircraft, camera angle, exposure, and composition from the ground.
A camera drone normally combines:
- An aircraft with several motors and propellers
- A camera and image sensor
- A stabilized gimbal
- A remote controller or mobile control system
- Satellite positioning and flight sensors
- A live video feed
- Automated shooting and tracking modes
The gimbal stabilizes the camera while the drone moves. Flight software uses information from positioning systems, vision sensors, and other onboard components to maintain the aircraft’s position and respond to control inputs.
Obstacle sensing and automated flight modes can assist the pilot, but they do not replace observation or responsibility for the flight.
How to Choose the Best Drone for Photography
The best drone for photography is one that provides sufficient image quality and flight performance without exceeding the operator’s skill, budget, or legal limits.
Compare these characteristics before buying:
- Sensor size: A larger sensor generally provides better dynamic range and low-light performance.
- RAW support: DNG or another RAW format offers more flexibility during editing.
- Lens options: Multiple focal lengths create more compositional possibilities.
- Gimbal stabilization: A three-axis mechanical gimbal helps keep images and video stable.
- Flight time: Manufacturer figures are measured under controlled conditions and will normally exceed real working time.
- Wind resistance: Lightweight drones are portable but may be less stable in strong wind.
- Obstacle sensing: More complete sensing can reduce risk but cannot detect every object.
- Aircraft weight: Weight affects portability and may determine registration, training, or operating requirements.
- Repairability: Check the availability of batteries, propellers, and replacement parts.
- Geographical availability: A model may not be sold or supported equally in every country.
Current Camera Drones Worth Comparing
Drone models change frequently. The following options represent several useful categories rather than a permanent ranking.
1. DJI Mini 5 Pro: Compact Drone for Photography
The DJI Mini 5 Pro is a compact camera drone designed for photographers who want strong image quality in a lightweight body.

Important features include:
- Approximate takeoff weight below 249 g with the standard configuration
- A 50 MP 1-inch CMOS camera
- RAW photo capture
- True vertical shooting
- Omnidirectional obstacle sensing
- Automated subject tracking
- Internal storage
- Up to 36 minutes of rated flight time with the standard battery
The 1-inch sensor is a significant advantage for a compact drone, particularly when photographing scenes with high contrast or lower light.
A sub-250 g drone may face fewer restrictions in some jurisdictions, but its weight does not make every flight automatically legal. Registration may still be required when the aircraft has a camera, and geographical zones or restrictions around people may still apply.
2. DJI Mini 4 Pro: Capable Lightweight Alternative
The DJI Mini 4 Pro remains a capable option for photographers who do not need the newer Mini 5 Pro.
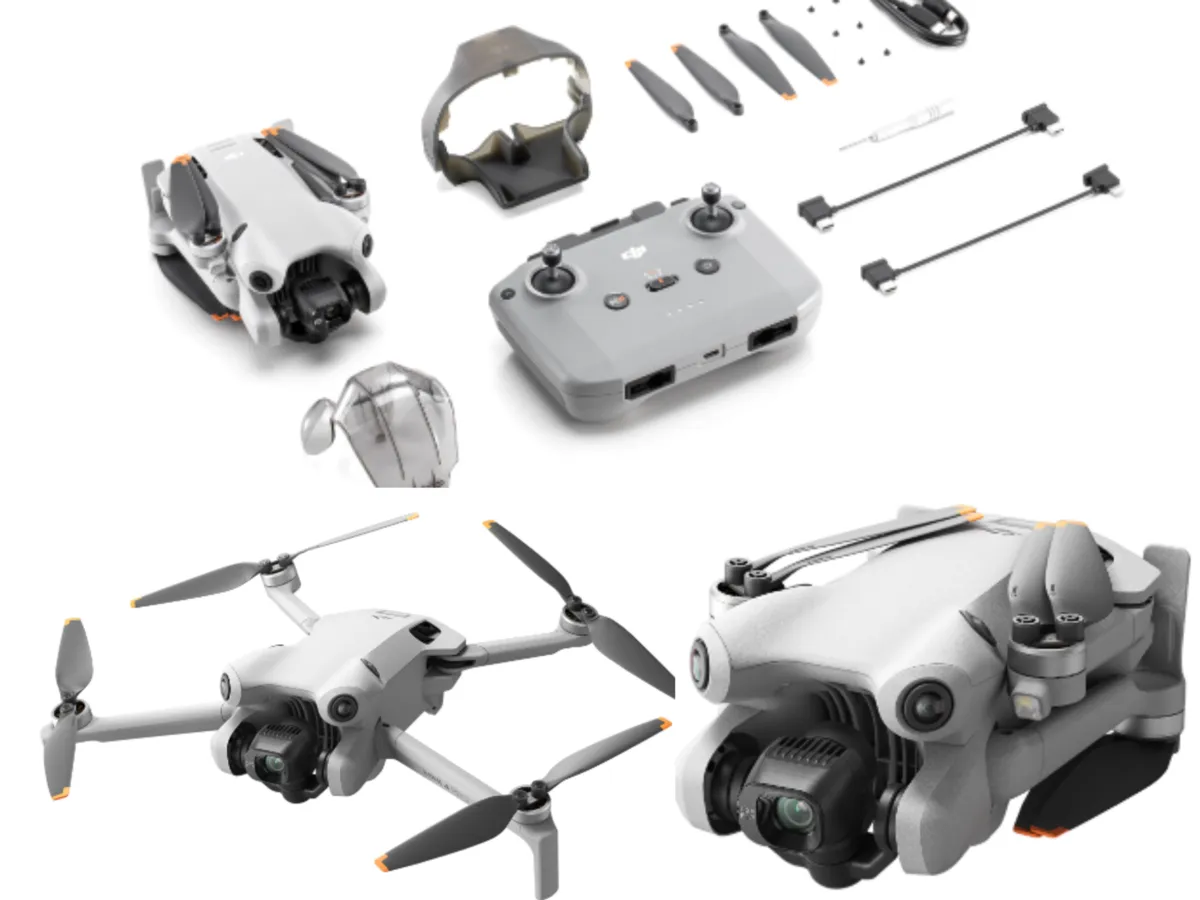
Its camera uses a 1/1.3-inch 48 MP sensor and supports JPEG and DNG files. It can record standard 4K video at up to 60 fps and 4K slow-motion footage at higher frame rates.
Other features include:
- True vertical photo and video capture
- Omnidirectional obstacle sensing
- ActiveTrack 360°
- Automated waypoint flights
- A rated flight time of up to 34 minutes with the standard battery
Actual flight time depends on wind, temperature, speed, camera use, battery condition, and the amount of reserve retained for landing.
3. DJI Air 3S: Versatile Mid-Range Camera Drone
The DJI Air 3S is a useful step up for photographers who want two focal lengths and improved image quality without moving to the largest professional systems.

It combines:
- A 50 MP 1-inch primary camera with a 24 mm-equivalent lens
- A 48 MP 1/1.3-inch medium telephoto camera with a 70 mm-equivalent lens
- RAW capture
- Omnidirectional obstacle sensing
- A rated flight time of up to 45 minutes
- Automated tracking, panorama, and flight modes
The medium telephoto camera can compress perspective and isolate a subject more effectively than a wide-angle view. This is useful for mountains, architecture, and environmental portraits.
The Air 3S is heavier than the Mini series and may therefore fall into a different operating category.
4. DJI Air 3: Older Dual-Camera Alternative
The DJI Air 3 remains useful when available at a lower price than the Air 3S.
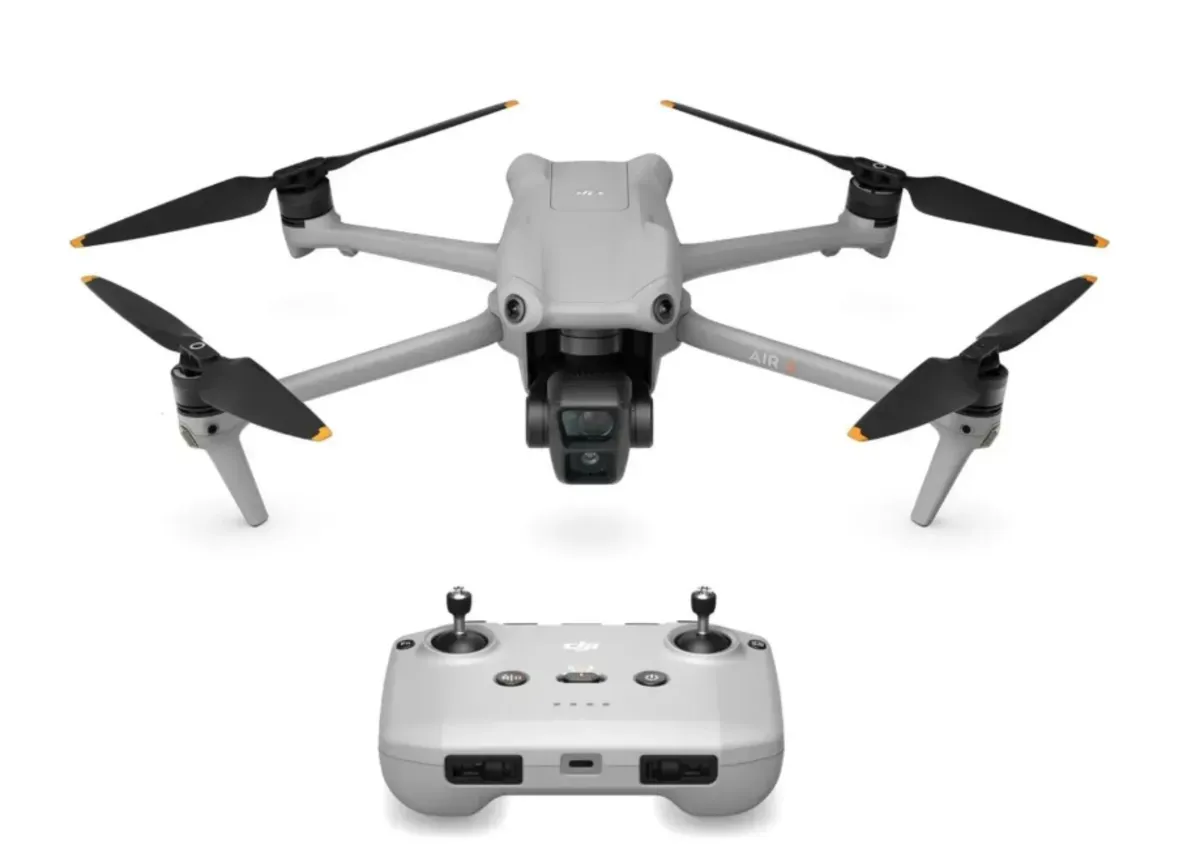
It includes two 48 MP 1/1.3-inch cameras with 24 mm- and 70 mm-equivalent focal lengths. Both cameras support RAW photography and 4K video.
The Air 3 has:
- A rated flight time of up to 46 minutes
- Omnidirectional obstacle sensing
- Automated subject tracking
- A three-axis gimbal
- Vertical video recording through a cropped format
The Air 3 does not physically rotate its camera for vertical photography in the same way as compatible Mini models.
5. DJI Mavic 4 Pro: Professional All-in-One Drone
The DJI Mavic 4 Pro is intended for professional photographers and filmmakers who need several focal lengths, higher resolution, and more flexible camera movement.

Its triple-camera system includes:
- A 100 MP 4/3 CMOS Hasselblad primary camera
- A 48 MP medium telephoto camera
- A 50 MP telephoto camera
- RAW photography
- A gimbal capable of expanded camera rotation
- A rated flight time of up to 51 minutes
- Advanced obstacle sensing and automated flight modes
The primary camera provides the strongest image quality in this group, while the telephoto options allow subjects to be photographed without relying heavily on digital zoom.
Its size, weight, price, and regulatory requirements make it more appropriate for experienced pilots and commercial work than for a first drone.
6. DJI Mavic 3 Pro: Older Professional Alternative
The DJI Mavic 3 Pro remains a capable professional drone when priced significantly below the Mavic 4 Pro.
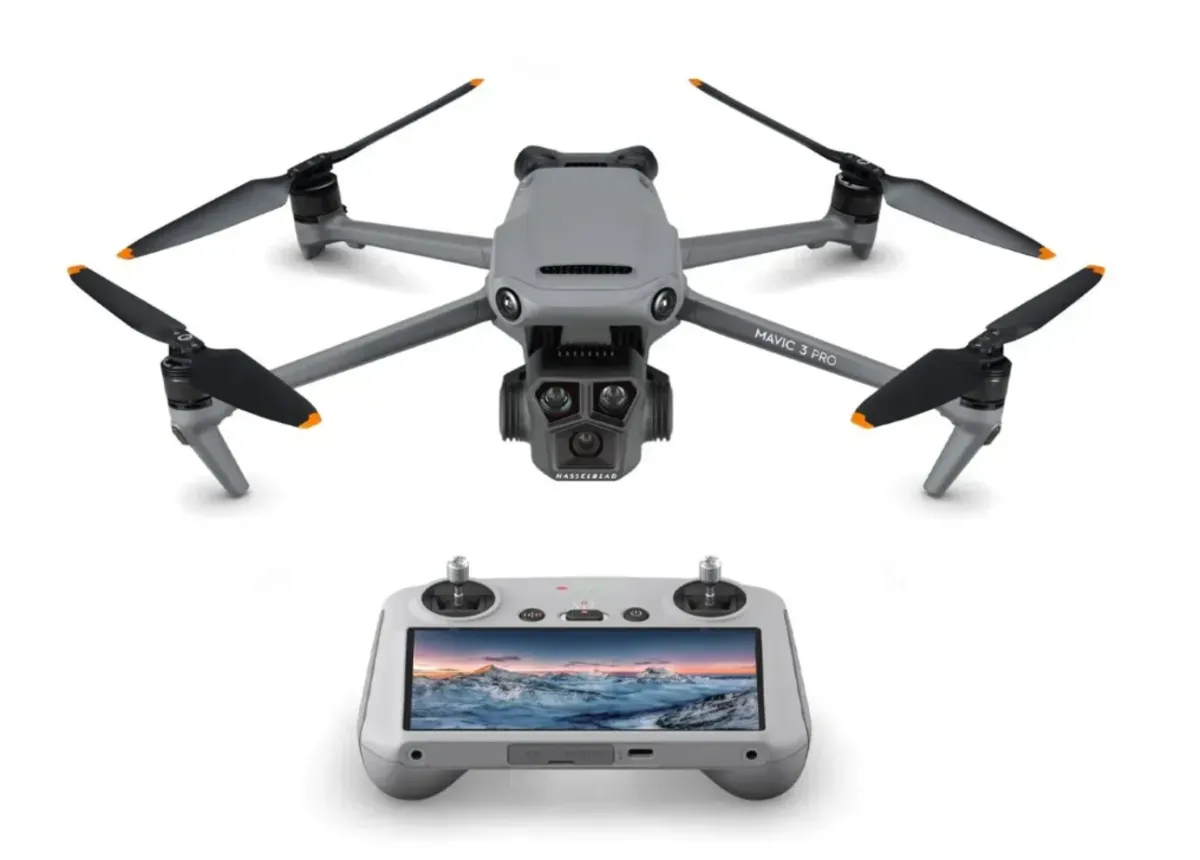
Its three cameras include:
- A 20 MP 4/3 CMOS Hasselblad primary camera
- A 48 MP 70 mm-equivalent medium telephoto camera
- A 12 MP 166 mm-equivalent telephoto camera
The original article incorrectly called the 70 mm camera a “medium format camera.” It is a medium telephoto camera, which describes its focal length rather than its sensor format.
The Mavic 3 Pro also provides omnidirectional obstacle sensing, waypoint functionality, and a rated maximum flight time of approximately 43 minutes.ion system, operators can achieve a transmission distance as wide as 15 km while maintaining superior signal quality.
Which Older Drones Were Removed From the Recommendations?
Several models from the original article should no longer appear in a list of current buying recommendations:
- Skydio 2 and 2+: Skydio discontinued consumer sales in 2023 and now focuses on enterprise and public-sector customers.
- Ryze Tello: It was useful as a basic educational quadcopter, but its 5 MP camera, short flight time, limited wind resistance, and inconsistent retail availability make it unsuitable as a current photography recommendation.
- Autel EVO Nano+: It offered competitive compact-drone specifications, but current availability and long-term consumer support are too inconsistent for a primary recommendation.
Existing owners can still use these drones, but a new buyer should check current support, battery availability, software compatibility, and local availability before purchasing discontinued hardware.
Essential Drone Photography Gear
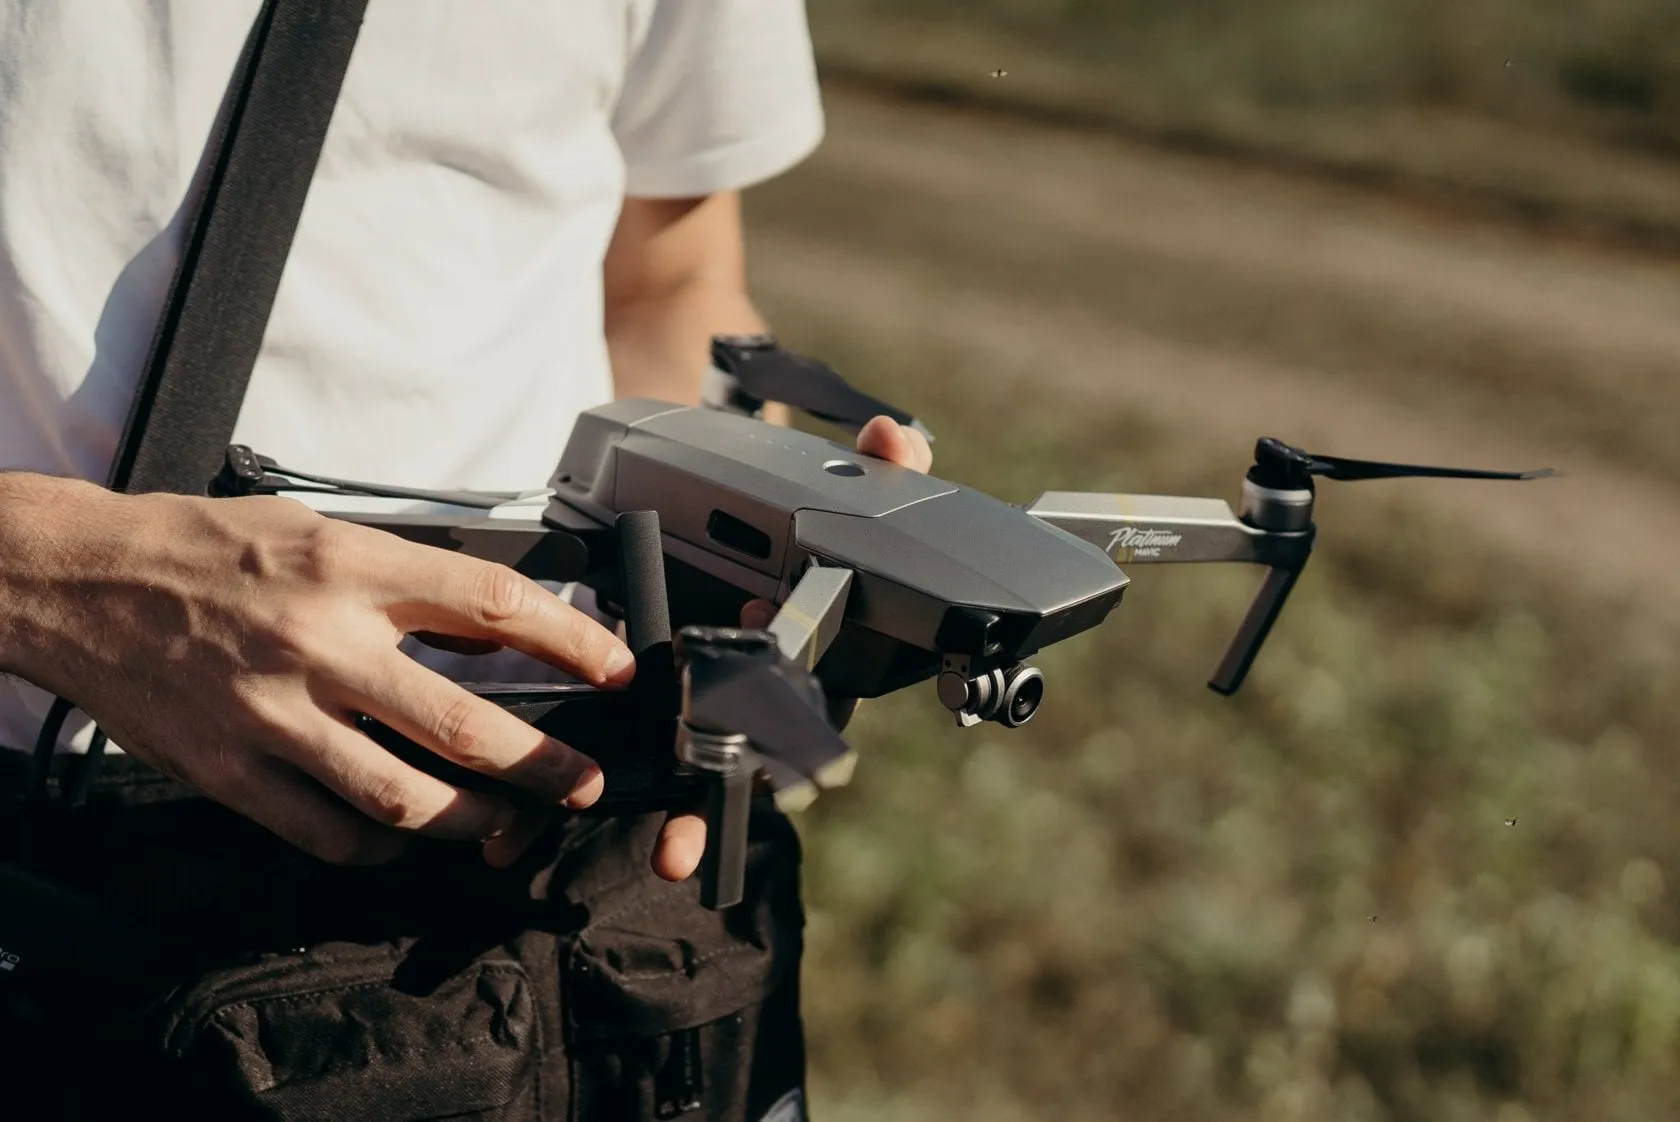
A compact set of reliable accessories improves flight safety and prevents avoidable interruptions.
Extra Batteries
A manufacturer’s maximum flight-time figure does not equal the amount of time available for photography. Part of every battery should be reserved for returning and landing safely.
Carry enough charged batteries for the planned location, but follow airline and transport requirements for lithium batteries.
Compatible ND Filters
Neutral density filters reduce the amount of light reaching the sensor. They are most useful for video because they allow the operator to maintain a slower, controlled shutter speed in bright conditions.
For example, a common starting point for natural-looking motion blur is a shutter speed approximately twice the frame interval:
- Around 1/50 second for 25 fps
- Around 1/60 second for 30 fps
- Around 1/120 second for 60 fps
This is a creative guideline rather than a compulsory setting.
ND filters are less essential for ordinary still photography. Using a filter that is too strong can force an unnecessarily slow shutter speed and increase the risk of softness caused by aircraft movement or wind.
Approved Memory Cards
Use a memory card that meets the drone manufacturer’s speed and capacity requirements. High-bitrate 4K or higher-resolution recording commonly requires a U3 or V30-rated card, but requirements vary by model and recording mode.
Carry several smaller cards rather than relying entirely on one large card. Format cards in the aircraft after the files have been backed up.
Spare Propellers and the Correct Tools
Inspect propellers before every flight. Replace blades that are chipped, cracked, bent, or incorrectly mounted.
Use the correct replacement parts and screws for the aircraft. A general multitool is not always suitable for the small fasteners used by a drone.
Protective Case or Backpack
A padded case should prevent pressure on the propellers, camera, and gimbal. Use the gimbal protector recommended by the manufacturer during transport.
Choose a weather-resistant backpack for hiking or outdoor work, but do not assume the aircraft itself is waterproof.
Landing Pad
A landing pad creates a visible, relatively clean surface over sand, dust, snow, or tall grass. It can reduce the chance of debris reaching the motors or gimbal during takeoff and landing.
A hand launch or landing should only be attempted when it is legal, necessary, supported by the aircraft, and safe for the operator.
Screen Shade or High-Brightness Controller
A clear screen helps with composition and exposure. Use a shade or a controller with sufficient brightness, but continue observing the aircraft directly rather than watching only the display.
Edit Your Drone Images Like a Pro with Luminar
Drone Photography Tips for Beginners
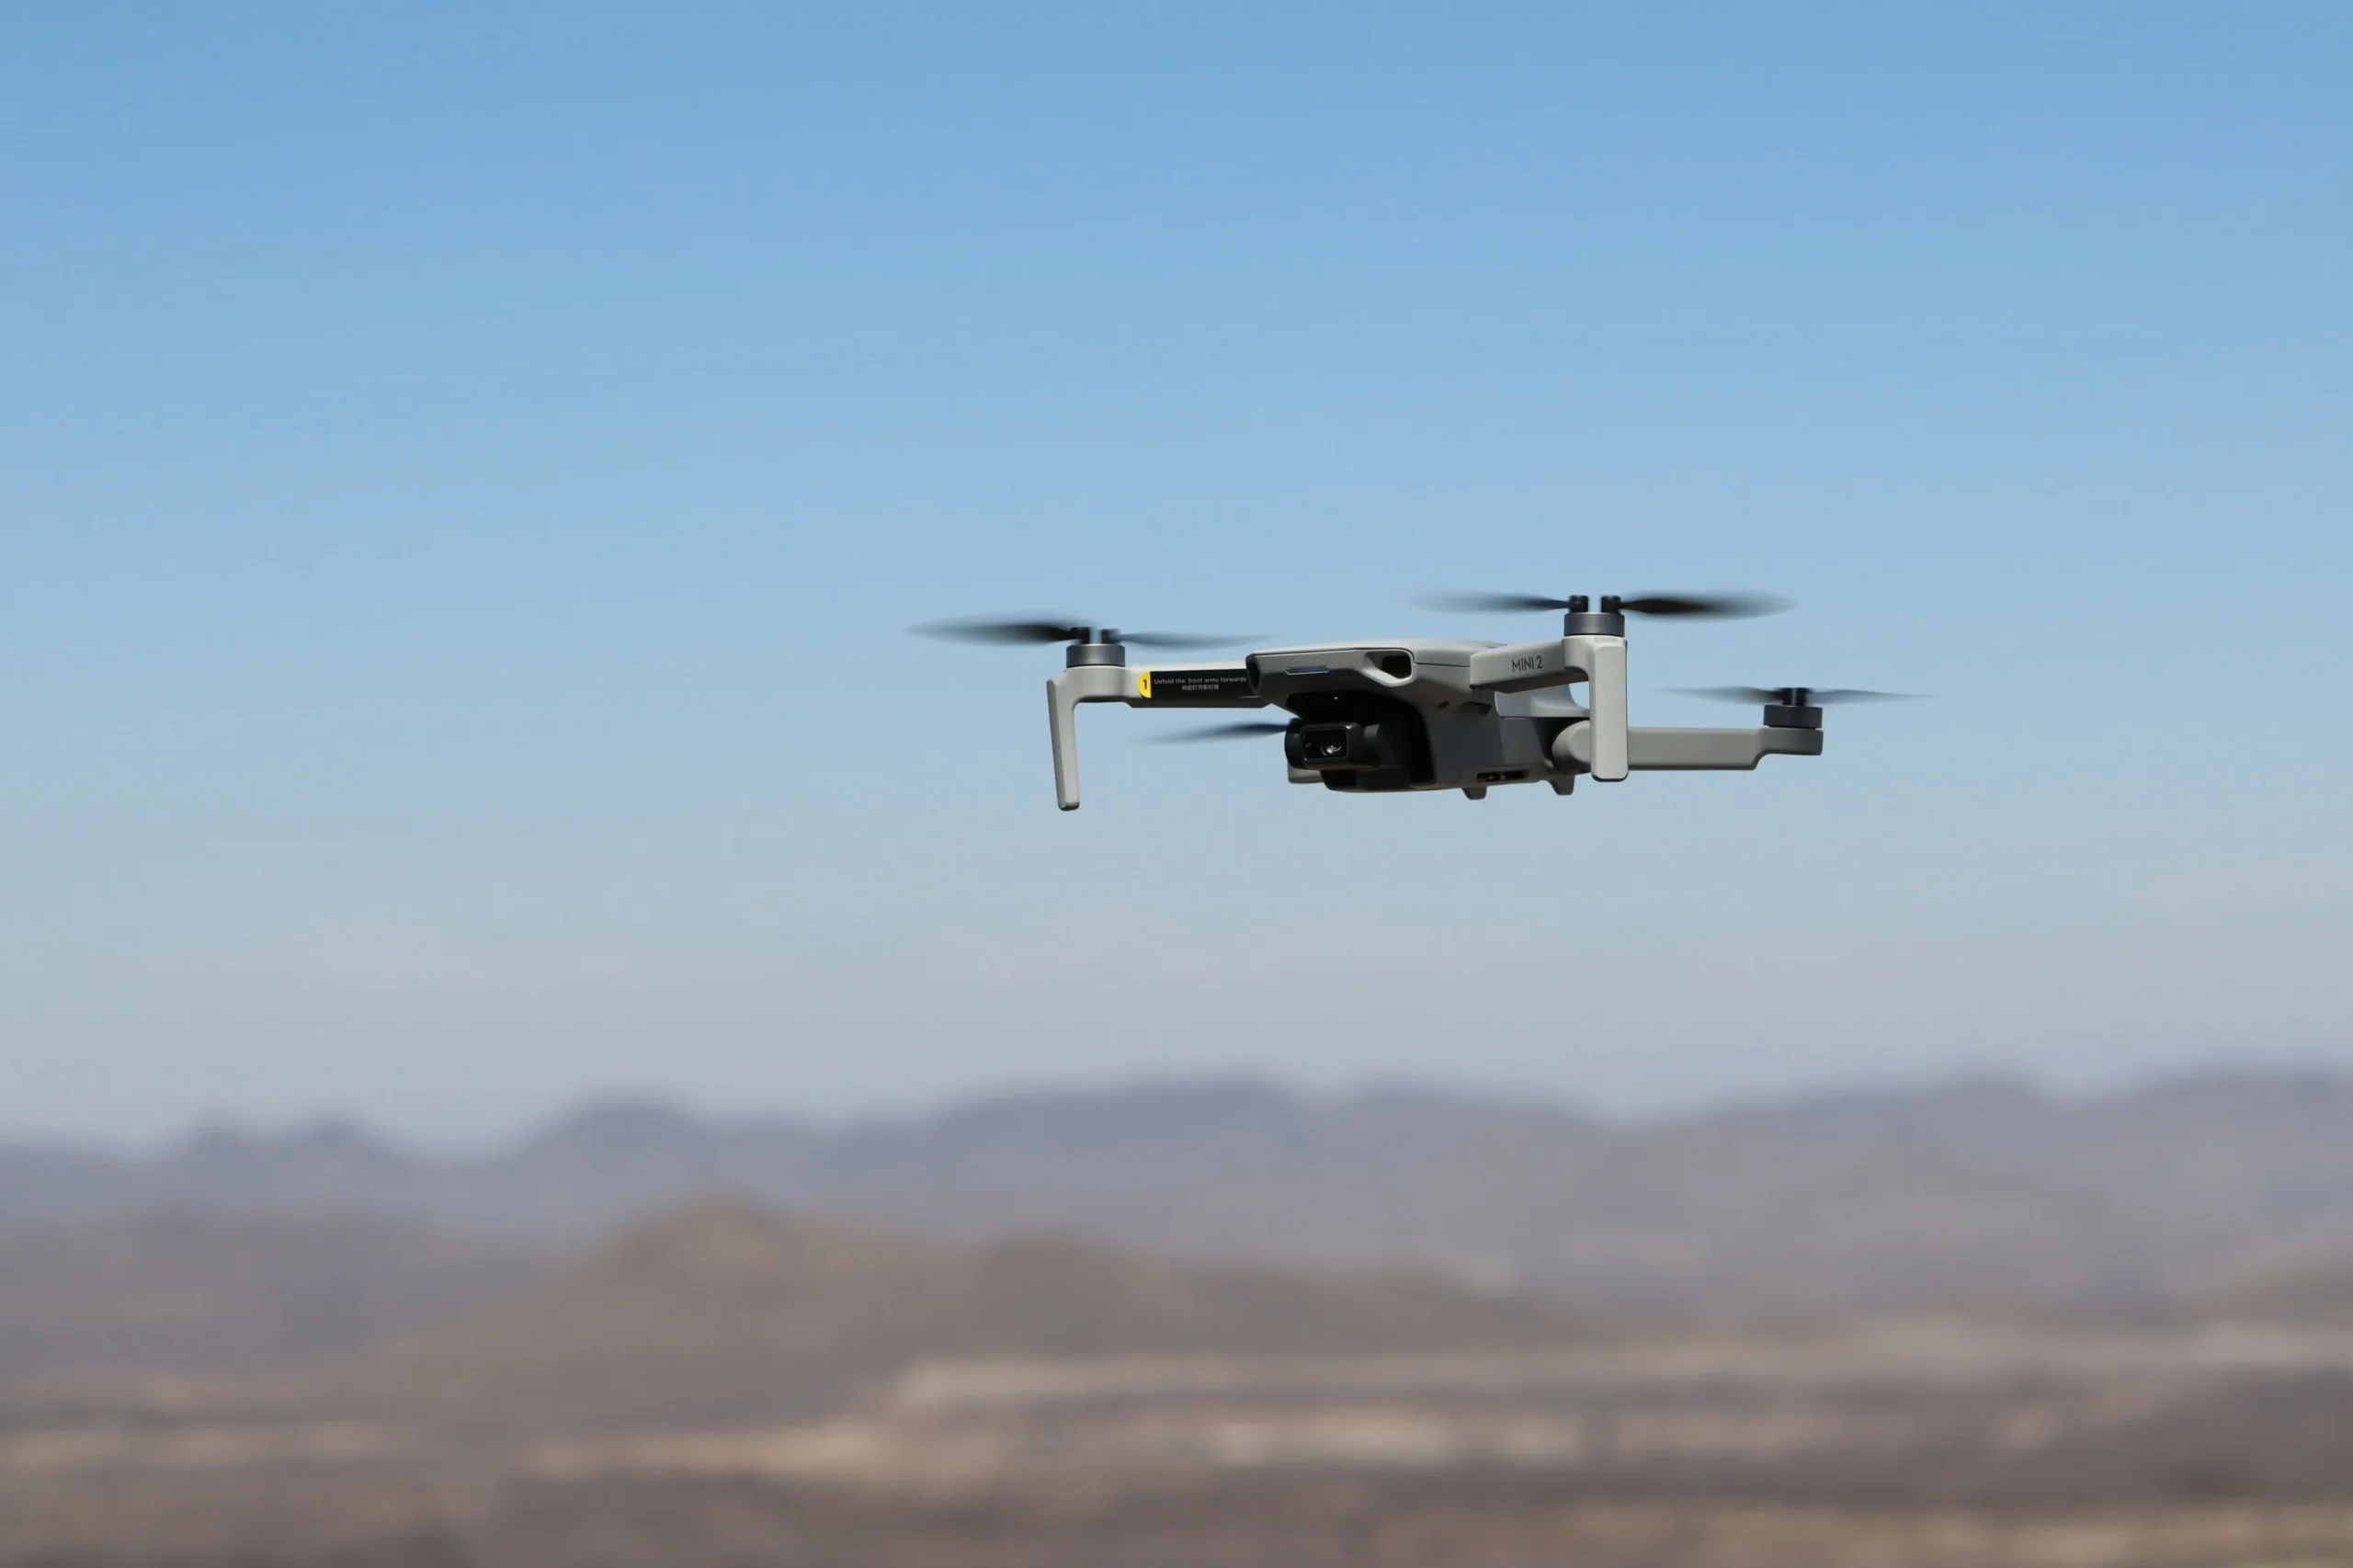
These drone photography tips focus on still images, although several principles also apply to aerial video.
1. Complete a Pre-Flight Check
A pre-flight check confirms that the aircraft, location, weather, and flight plan are suitable before takeoff.
Check:
- Airspace and local geographical restrictions
- Weather and wind at the planned altitude
- Aircraft, controller, and phone battery levels
- Propeller condition and installation
- Memory-card capacity
- Satellite and compass status
- Home-point location
- Return-to-home altitude
- Camera settings
- Nearby people, trees, cables, buildings, and aircraft
- A safe takeoff and landing area
Do not launch simply because the flight application allows it. The pilot remains responsible for determining whether the operation is safe and legal.
2. Learn Basic Flight Controls Before Using Automated Modes
Practice:
- Stable hovering
- Slow forward and backward movement
- Controlled turns
- Ascending and descending
- Changing the camera angle
- Returning manually
- Landing precisely
- Responding to a low-battery warning
Then introduce one automated movement at a time. An orbit, reveal, waypoint route, or tracking mode should be monitored continuously.
Automated modes can lose a subject or fail to detect thin branches, cables, reflective surfaces, or obstacles in poor light.
3. Shoot Drone Photos in RAW
RAW files retain more image data than processed JPEG files and provide greater flexibility for correcting exposure, white balance, and color.
Not every drone supports RAW capture. On compatible models, select JPEG+RAW if you want a quick preview file and a more flexible editing file.
RAW does not automatically improve a photograph. It provides more room for careful post-production.
4. Choose ISO According to the Conditions
The original recommendation to “always set ISO to 100” was too rigid and included a logical error: ISO 100 does not itself cause noise and grain.
A lower ISO generally produces cleaner results and greater dynamic range. However, the best setting depends on light, wind, sensor performance, aperture, and shutter speed.
Use the lowest ISO that still permits:
- Correct exposure
- A sufficiently fast shutter speed
- A stable result
- The required depth and tonal detail
Raising ISO modestly can be preferable to using a shutter speed that produces a blurred image.
5. Use a Suitable Shutter Speed
For still photography, shutter speed should account for aircraft movement, wind, and movement within the scene.
A faster shutter speed helps when:
- The drone is moving.
- Wind is causing instability.
- The subject contains vehicles, people, waves, or trees.
- A telephoto camera is being used.
- Maximum sharpness is required.
Slower shutter speeds can create intentional motion blur in water or traffic, but the aircraft must remain stable and several frames should be captured to improve the chance of a sharp result.
6. Lock White Balance for Video and Panoramas
Automatic white balance can change between frames or during a continuous video clip. A fixed white balance creates more consistent color.
For still photographs, RAW capture allows white balance to be refined later. For panoramas, maintaining consistent exposure and white balance across the sequence makes stitching easier.
7. Use Exposure Bracketing in High-Contrast Scenes
Bright skies and dark land may exceed the dynamic range of one exposure. Automatic Exposure Bracketing captures several images at different exposure levels.
Bracketed drone photos can later be combined into an HDR image. This works best when:
- The drone is hovering steadily.
- The scene contains limited movement.
- Highlights and shadows both contain important details.
- A natural result is maintained during tone mapping.
Luminar’s HDR Merge aligns bracketed images and combines their tonal information.
8. Compose Specifically for an Aerial View
Drone photography composition should do more than reproduce a ground-level image from greater height.
Look for:
- Roads, rivers, and shorelines as leading lines
- Repeated trees, fields, roofs, or waves
- Color contrast
- Symmetry
- Isolated subjects
- Long shadows
- Geometric shapes
- Transitions between natural and constructed areas
- Scale created by a person, vehicle, or building
The rule of thirds is a useful starting point but not a requirement. Centered composition often works well for symmetrical or top-down aerial images.
9. Change Altitude Instead of Always Flying Higher
The highest legal or possible viewpoint is not automatically the most interesting. Lower aerial positions can preserve depth and create a stronger relationship between foreground and background.
Compare:
- A straight-down topographic view
- A low oblique angle
- A medium-altitude establishing shot
- A tighter telephoto composition
- A panorama made from several frames
Choose the lowest safe altitude that provides the intended composition.
10. Plan Around Light and Weather
Golden-hour light can produce long shadows and reveal the shape of terrain. Overcast conditions may work better for forests, waterfalls, and scenes with strong reflections.
Midday light is not automatically unusable. It can emphasize graphic shapes, water color, and strong top-down patterns.
Do not fly in weather outside the aircraft’s operating limits. Lightweight drones can be carried away by wind that feels moderate at ground level but is stronger above surrounding obstacles.
Drone Photography Ideas to Try
Once basic flight and camera control feel comfortable, experiment with these aerial photography ideas:
- A straight-down abstract composition
- A slow panorama across a wide landscape
- Repeated patterns in fields or buildings
- A person surrounded by negative space
- Long shadows at sunrise or sunset
- A road or river used as a leading line
- An exposure-bracketed cityscape
- Seasonal changes photographed from the same position
- A reveal from behind a natural foreground element
- A comparison between natural and urban areas
- Reflections in calm water
- A vertical composition for mobile platforms
Avoid repeating automated orbit shots without a clear subject or visual purpose.
How to Create a Drone Panorama
A drone panorama combines several overlapping photographs into a wider or higher-resolution image.
For a consistent panorama:
- Choose and stabilize the drone’s position.
- Set exposure and white balance manually where possible.
- Capture overlapping frames.
- Avoid changing altitude or moving forward between frames.
- Include enough extra space for the final crop.
- Review the sequence before leaving the location.
- Stitch the images during post-production.
Luminar’s Panorama Stitching can combine overlapping aerial photographs into a wider image.
Automated panorama modes are convenient, but manual capture provides more control over framing and exposure.
Drone Registration and Legal Basics
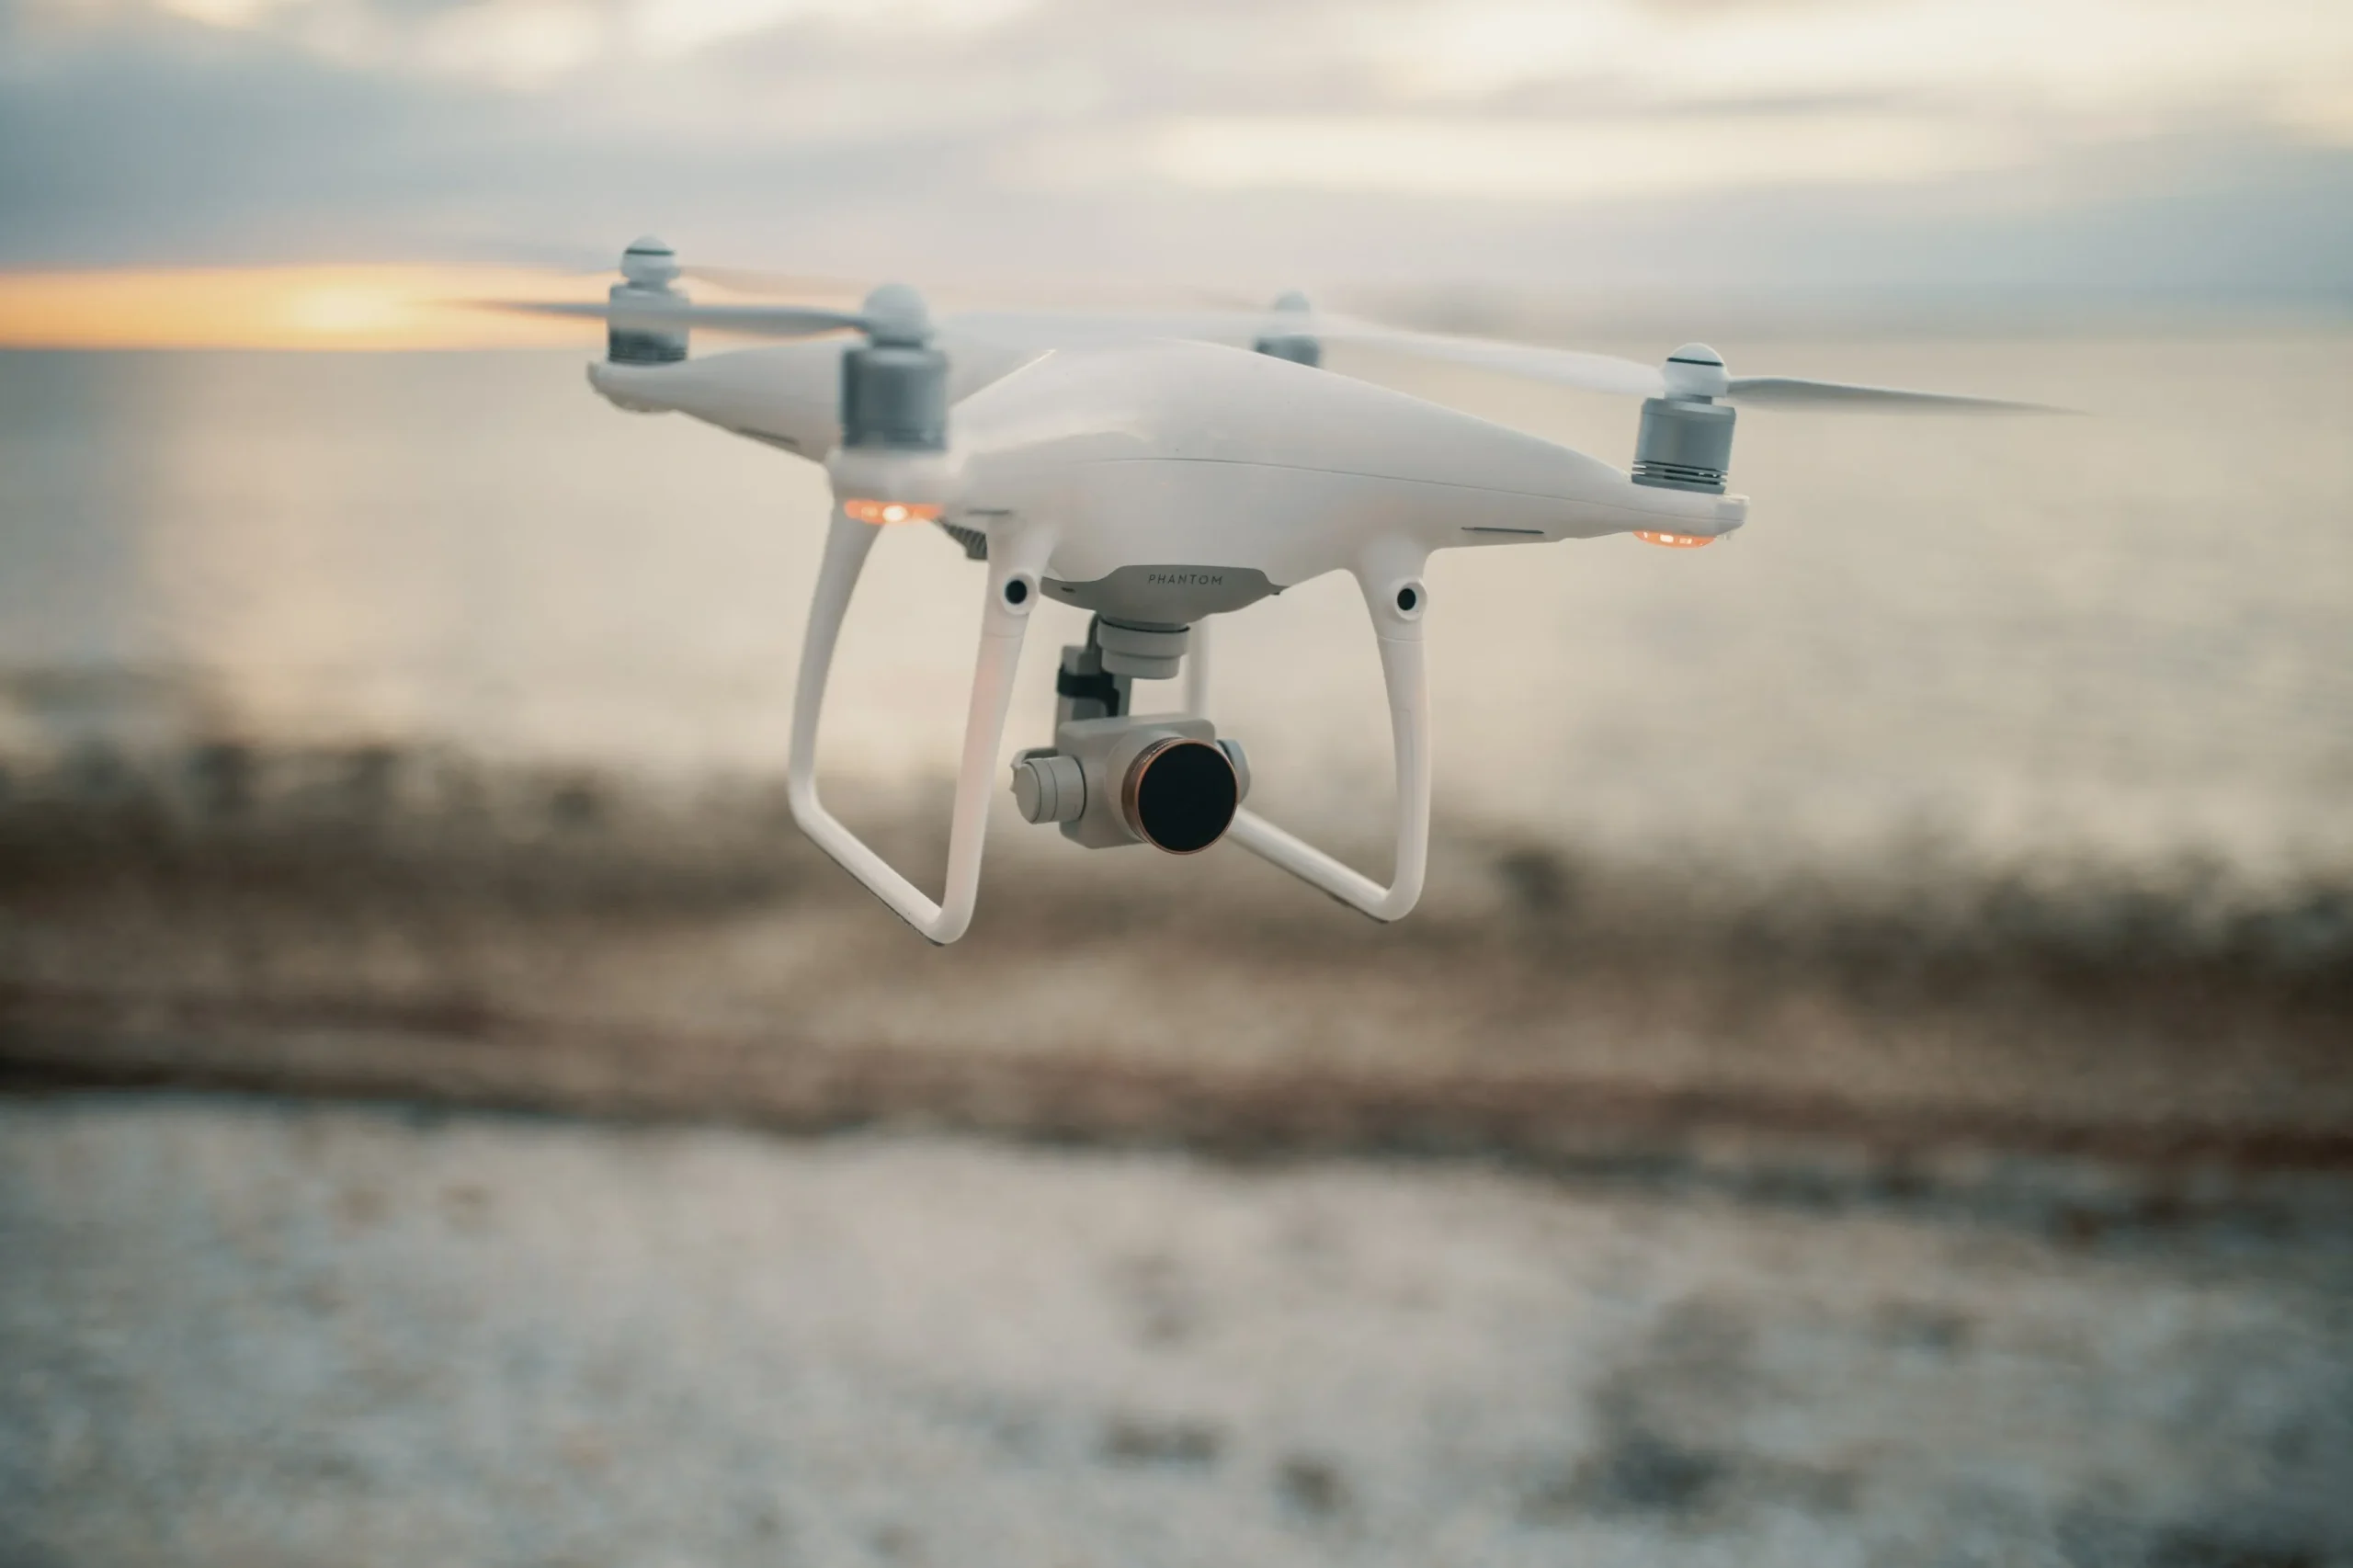
Drone laws depend on the country, aircraft class, location, purpose, and type of operation. There is no universal rule requiring every drone to remain exactly 25 feet from people or property.
Always check the current requirements of the aviation authority responsible for the location where the flight will occur.
Common Safety and Legal Principles
Many jurisdictions require pilots to:
- Keep the aircraft within visual line of sight.
- Stay below a specified maximum altitude.
- Avoid airports and controlled airspace without authorization.
- Give way to crewed aircraft.
- Respect geographical flight restrictions.
- Avoid flying over crowds.
- Follow rules concerning uninvolved people.
- Register the operator or aircraft when required.
- Complete training or certification for some operations.
- Respect privacy, property, and local filming rules.
- Obtain additional authorization for commercial or higher-risk operations.
Obstacle sensors, zoom lenses, long transmission ranges, and automated routes do not override these requirements.
United States
In the United States:
- Recreational drones weighing more than 0.55 lb, or approximately 250 g, generally require FAA registration.
- Recreational pilots must complete the TRUST safety test.
- Flights conducted under Part 107 require an appropriate Remote Pilot Certificate.
- Operations must normally remain within visual line of sight.
- Controlled airspace may require prior authorization.
- Additional requirements apply to Remote ID and operations over people.
- Local takeoff and landing restrictions may still apply even when the airspace itself is available.
The purpose of a flight is determined by its actual intent, not simply by whether the pilot receives payment.
European Union
Within the EASA framework:
- Many lower-risk flights fall within the open category.
- The usual maximum height in the open category is 120 m above the nearest point of the ground.
- Requirements depend on the aircraft’s class and whether the operation falls into A1, A2, or A3.
- Operator registration may be required even for a drone below 250 g when it carries a camera.
- Online training or an examination may be required depending on the drone and subcategory.
- Flights over assemblies of people are not allowed in the open category.
- Member states define geographical zones and may impose additional national requirements.
Commercial intent alone does not automatically move every EU flight outside the open category. The risk and operating conditions determine the category.
Regulations change, so these summaries should not replace current guidance from the relevant aviation authority.
Conclusion
Drone photography combines piloting, photographic technique, planning, and legal responsibility. Begin with safe, controlled flights and learn how the aircraft responds before attempting complex tracking or automated routes.
For each flight, focus on one technical and one creative objective. Practice a precise takeoff and landing, then photograph one subject from several heights and angles. This provides more useful experience than flying far or high without a defined composition.
Frequently Asked Questions
A drone camera is mounted on a stabilized gimbal and controlled remotely. The pilot views a live feed, changes camera settings, adjusts the gimbal angle, and captures photographs while the aircraft’s flight systems maintain its position.
A lightweight model with RAW capture, a stabilized camera, reliable return-to-home behavior, and obstacle sensing is a practical choice. The DJI Mini 5 Pro and Mini 4 Pro are current examples, but availability and legal requirements vary by country.
There are no universal settings. Use RAW, select the lowest practical ISO, maintain a shutter speed suitable for wind and subject movement, and monitor highlights. A fixed white balance is useful for video and panoramas.
No. ISO 100 often produces the cleanest image in bright conditions, but a higher ISO may be necessary to maintain a sufficiently fast shutter speed or correct exposure.
An ND filter is most useful for controlling video shutter speed in bright light. It may also support creative long-exposure stills, but it is not required for every drone photograph.
Many photography-oriented drones can save DNG or another RAW format. Entry-level models may provide only processed JPEG files, so check the specifications before purchasing.
Use good light, avoid unnecessary digital zoom, photograph in RAW, keep the lens clean, expose carefully, and use suitable post-production. HDR bracketing and panoramas can capture information unavailable in a single frame.
No. A weight below 250 g may reduce some requirements, but restrictions concerning airspace, crowds, privacy, geographical zones, and visual line of sight can still apply.