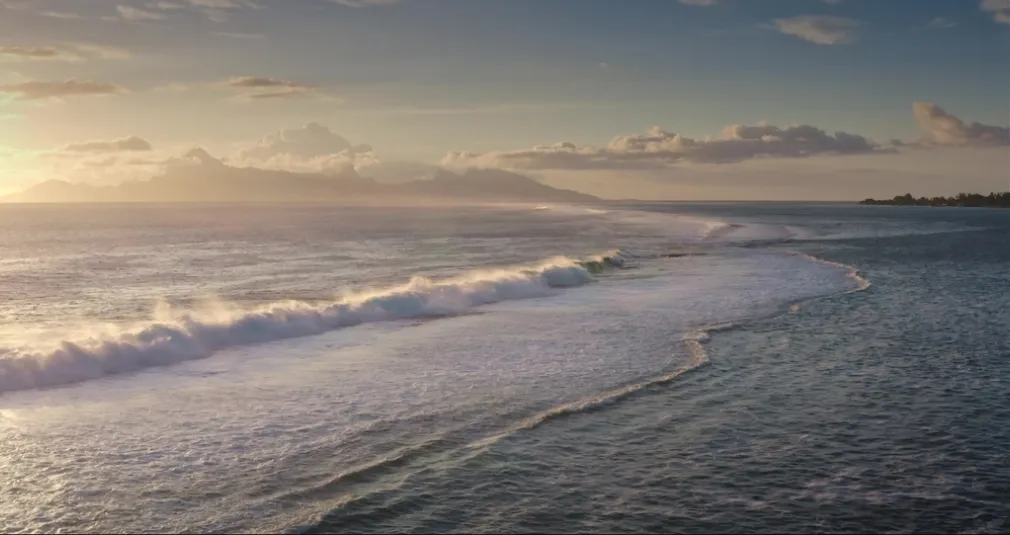
Are your river landscapes not turning out as planned? Here are some camera settings that actually work. Let’s break down how shutter speed, ISO, aperture, and filters affect the final result.
A river can appear either still and sharp or soft and blurred—it all depends on the settings. The difference comes down to a few decisions made before pressing the shutter button. This article compiles the camera settings that matter when photographing rivers. Everything from equipment and shutter speed to compositional details that distinguish a flat shot from a photo that captures the water’s true movement.
Don’t feel like reading the whole breakdown? We’ve pulled together a quick summary below.
Key Takeaways
- Standard equipment: a tripod, a polarizing filter, and ND filters are essential for shooting water with a long exposure and eliminating glare.
- Lighting conditions: overcast weather is better than sunny weather, since diffused light prevents harsh highlights on wet rocks.
- Shutter speed settings: 1/1000 s freezes the spray; speeds of 1/2 s or longer blur the flow; and the range of 1/60–1/250 s preserves the natural dynamics of the current.
- Depth of field and ISO: Stop down the aperture to f/11–f/16 to ensure the entire landscape is in focus. Keep the ISO at a minimum, compensating for exposure using a tripod.
- Focusing: Autofocus always fails on water, so focus on a nearby stationary object and lock it immediately in manual mode.
- File format: Shoot exclusively in RAW to preserve the high contrast between deep shadows and bright water for later processing.
- Composition: Lower the camera as close to the water as possible, and be sure to include a stationary object in the frame to visually convey the speed of the current.
Choosing Equipment for Photographing Rivers

A tripod is the most useful tool for these shots. Most water effects require a long exposure, and it’s difficult to shoot this way handheld. A wide-angle lens effectively captures the river on a large scale. Meanwhile, a mid-range zoom lens allows you to isolate a specific section of rapids or a waterfall.
You should also bring a polarizing filter. It removes glare from the water’s surface, revealing rocks and colors beneath the water that would otherwise be obscured by reflections. For photographing water, you’ll need an ND (neutral density) filter.
It reduces the amount of light hitting the sensor, allowing you to use long exposures even at midday. Photo editing software like Luminar can salvage a shot during post-processing, but having the right equipment from the start saves hours of work.
Exclusive Tools of Endless Possibilities in One Editor
Optimal Lighting Conditions for River Shots

Overcast days are much better for photographing rivers than sunny ones. The even, diffused light eliminates harsh highlights on wet rocks and moving water. The contrast of the entire scene remains manageable. Morning or late-afternoon light provides warmth without the deep shadows of the midday sun, and the color of the water itself looks better.
The low sun illuminates the spray and mist, instantly adding texture to the image. If the shoot runs long or the sun unexpectedly disappears behind the clouds. Using the golden hour filter, you can recreate this effect of low, warm light in post-processing.
Mastering Shutter Speed for Capturing Water Motion

Shutter speed affects the appearance of water more than any other camera setting. A fast shutter speed (1/1000 of a second or faster) freezes individual droplets. The water appears sharp and rigid. A slow shutter speed, from half a second to several seconds, blurs it. This is the same soft, “silky” effect often seen in waterfall photos.
| Shutter speed | Effect on water | Best for |
| 1/1000s or faster | Frozen droplets, sharp texture | Rapids, splashes, close detail |
| 1/60s to 1/250s | Slight blur, still shows motion | General river scenes |
| 1/2s to 2s | Smooth, silky water | Waterfalls, calm flowing sections |
| 5s or longer | Misty, almost fog-like water | Long exposures with an ND filter |
Between these extremes lies a middle ground—somewhere between 1/60 and 1/250 of a second. It captures the movement without the extremes of freezing or complete blurring. This range looks the most natural. If a shot doesn’t come out with quite the right amount of motion blur, water enhancer software can add or adjust that silky effect afterward. It is useful when conditions in the field didn’t allow for the exact shutter speed a scene called for.
Adjusting Aperture to Control Depth of Field

The aperture determines exactly what will remain in focus—from the rocks under your feet to the trees in the background. Aperture settings of f/11–f/16 keep the entire scene in focus. This is the standard for scenic photography.
A wide aperture, such as f/2.8 or f/4, will simply blur the background and highlight a single subject, whether it’s a rock or a section of the rapids. This works well for close-ups and details. You shouldn’t shoot an entire scene this way—most of the frame will be out of focus.
Your AI-Powered Photo Editor for MacOS and Windows
Setting ISO for Clear and Crisp River Images

Keep it as low as possible. This minimizes noise and preserves the fine texture of the water and rocks. During the day, start with ISO 100. With a tripod, you may not need to increase this setting at all, as you can achieve the right exposure with a long shutter speed.
If you’re in a dense forest or shooting handheld in overcast weather, you’ll need to increase the ISO. Otherwise, the exposure time will be too long and the image will be blurred (camera shake). A tripod solves this. You keep the ISO at its minimum, set a long exposure, and don’t have to worry about low light.
Focusing Techniques for Sharp River Photos

Autofocus often loses focus on water. Constant movement throws off the camera’s system. It’s more reliable to focus on a stationary object near the current, such as a rock, and then recompose the shot. This works much better than continuously focusing on the water itself.
For long exposures, switch to manual mode. The shutter stays open for a long time, and even the slightest shift in focus will ruin the shot. Once you’ve locked focus and set up your tripod, switch to manual mode immediately.
The camera will no longer try to refocus in the middle of the exposure. Before shooting, check the sharpness on the screen at maximum magnification. It’s easier to spot a minor focus error right away than after you’ve already taken the shot. During post-processing, a landscape photo editor will bring out the fine texture on rocks and leaves.
Best File Formats for River Photography

RAW offers much more flexibility than JPEG. This applies to exposure correction, white balance adjustment, and recovering blown-out highlights. A river is a high-contrast scene. A single frame can contain bright highlights on wet rocks and deep shadows under trees. RAW preserves this entire dynamic range for further editing.
JPEG is suitable for quick sharing or when memory card space is limited. But for serious editing, you need RAW, regardless of file size. Back up your RAW files in multiple locations. Losing a single memory card or hard drive means losing an entire day’s worth of shots, and a JPEG copy won’t make up for it. Also, check current prices for editing software before you shoot—RAW files always need to be processed to look their best.
Elevate Your Photography with Our Advanced Software
Composition Tips to Enhance River Photos

The river’s natural curves act as leading lines. They draw the eye from the foreground into the distance. Lower your camera as close to the water as possible. This will increase the effect and add a sense of scale that is lost when shooting from a high angle. Include a static element in the frame. This serves as a visual anchor next to the moving water, helping viewers gauge the actual speed of the current.
The rule of thirds works perfectly here. Position the water in one-third of the frame. Dedicate the rest of the frame to the surroundings. Walk the entire location before setting up your tripod. Even a short stretch of the riverbank offers several completely different compositions depending on the angle and distance from the water. The weather and season completely change the character of the river.