Discover what gives cyberpunk photography its distinctive atmosphere and how to build the look through lighting, composition, storytelling, and editing.
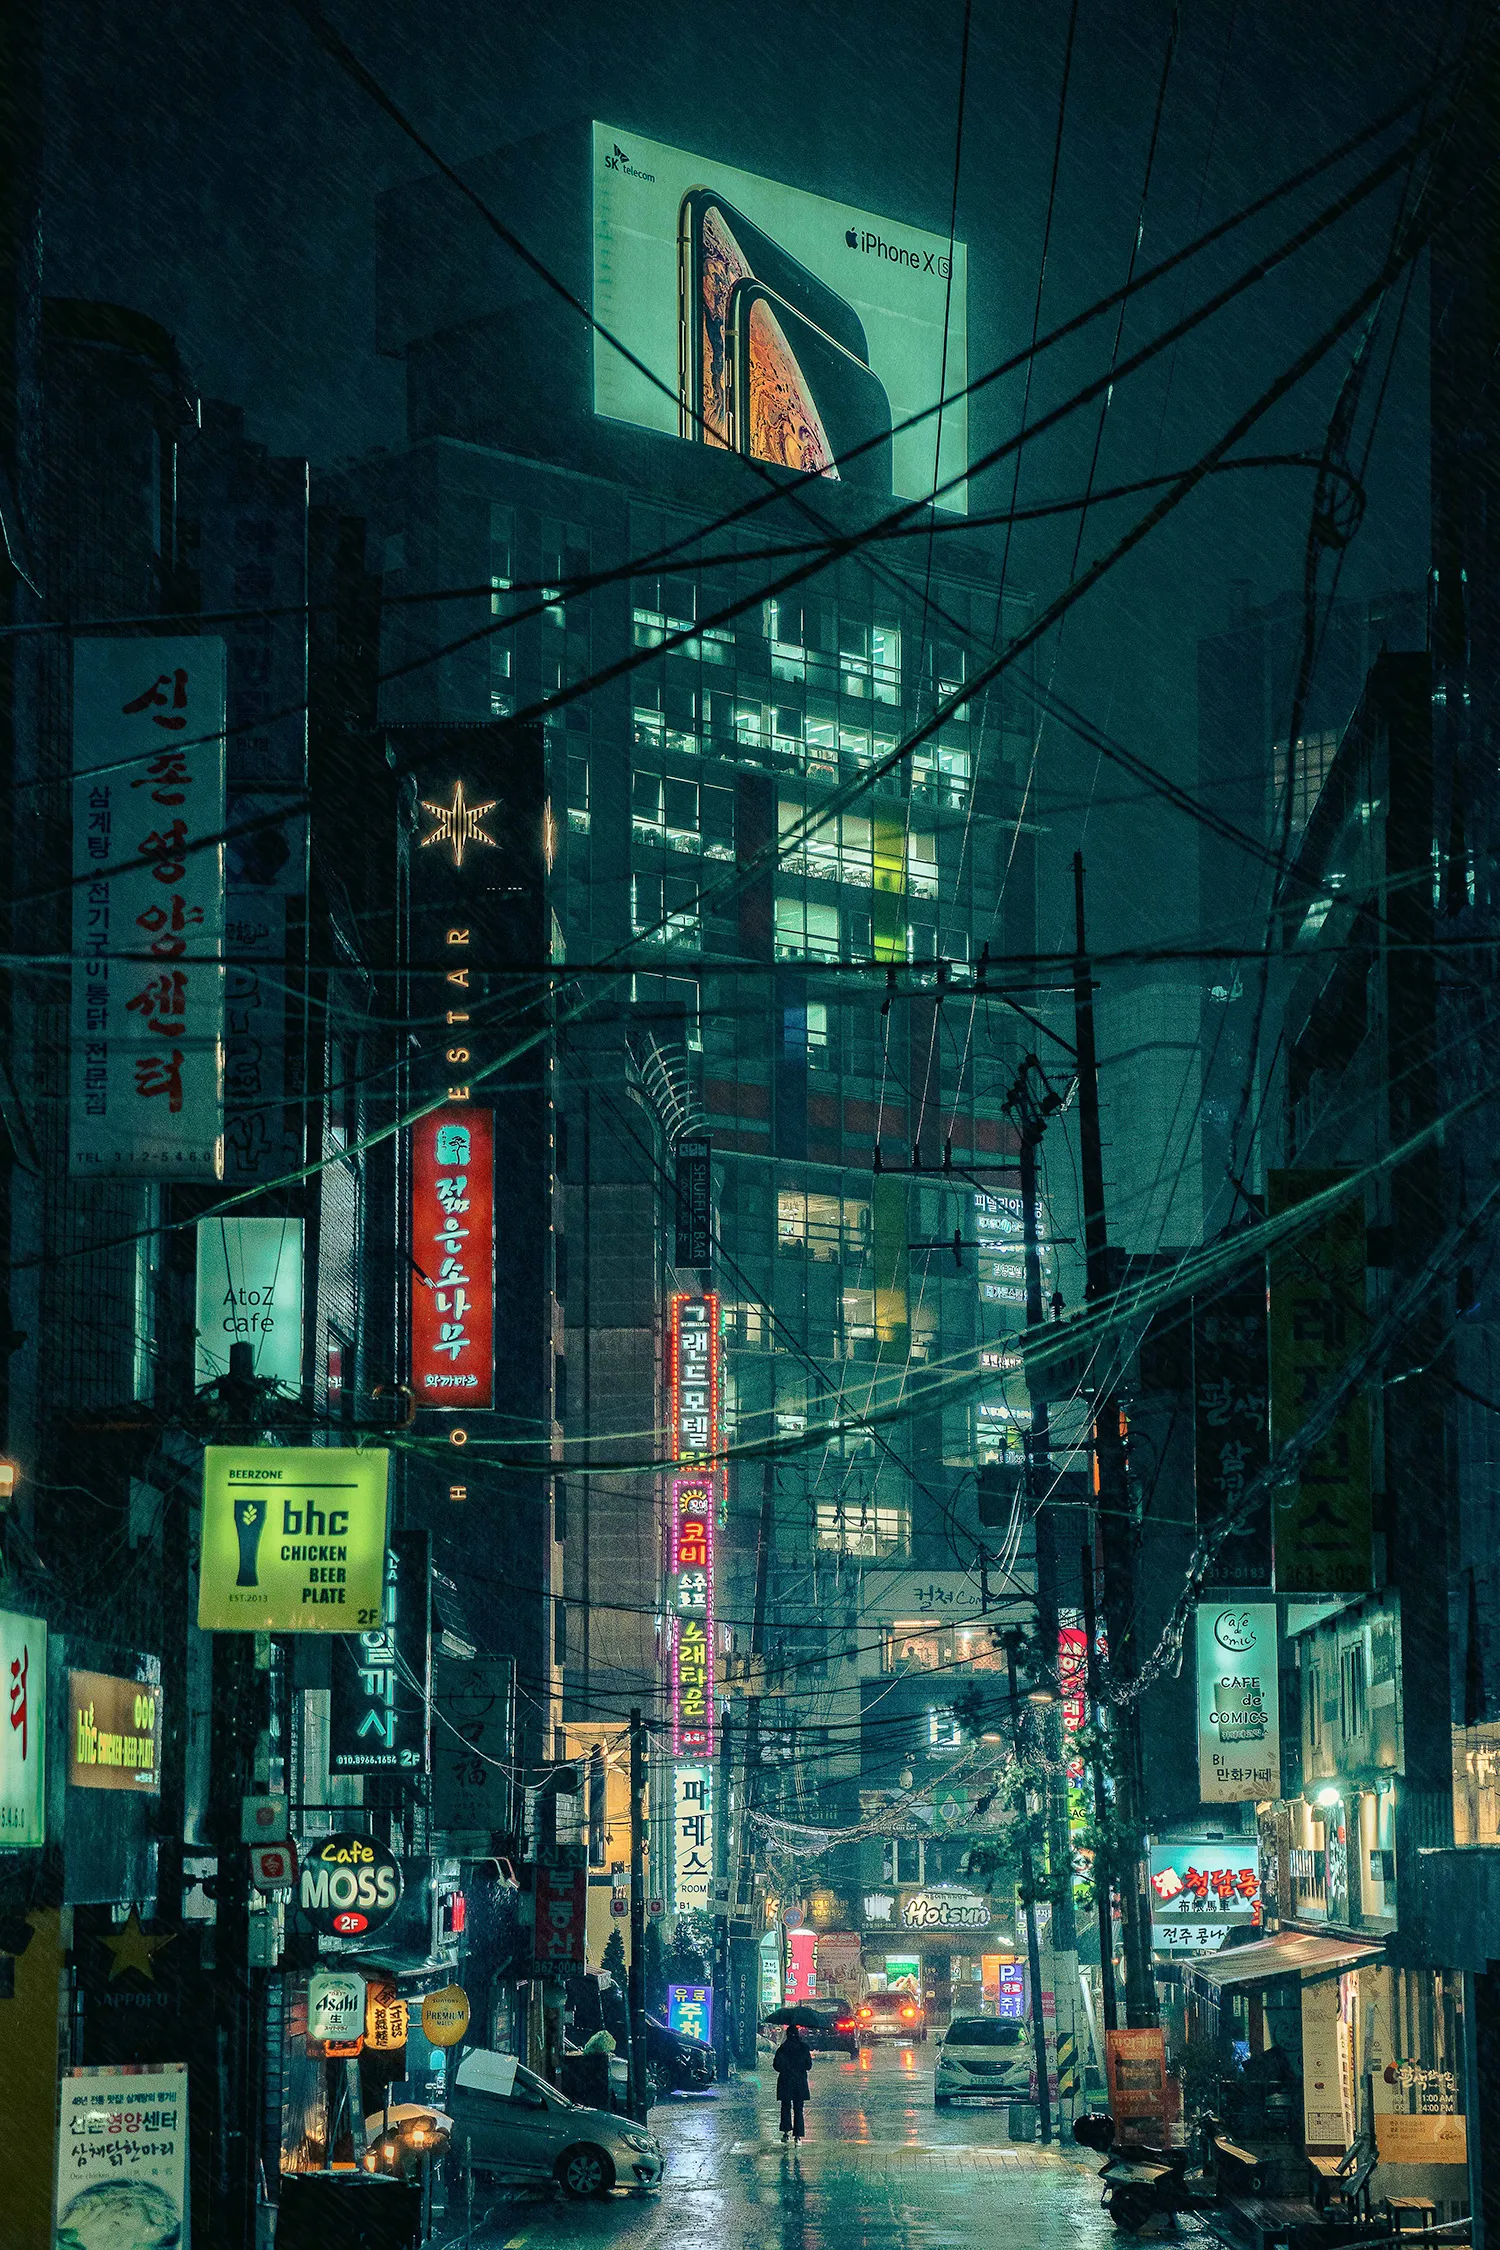
During Seoul’s summer rainy season, I head out with my camera as other people hurry for shelter. After dark, illuminated signs reflect across the wet streets, turning familiar corners into scenes that feel almost futuristic. Those nights are where I fell in love with cyberpunk photography. You do not need to travel to Seoul or Tokyo to explore this style. A shop window, a crowded street, or a lone figure beneath a bright advertisement can provide the starting point. The challenge is to connect the light and setting with a story.
Don’t feel like reading the whole breakdown? We’ve pulled together a quick summary below.
Key Takeaways
The cyberpunk aesthetic combines advanced technology with social tension, inequality, and questions about identity.
Neon colors are recognizable visual cues, but a convincing image also needs a subject, composition, or narrative.
Rain creates reflective surfaces, while fog can separate layers of the scene; neither is essential.
Protect important highlights so illuminated signs retain color and detail.
Choose shutter speed around the intended motion: sharp pedestrians and blurred traffic require different approaches.
A distant viewpoint with a longer lens can make urban layers appear more compressed; zooming alone changes framing.
Build the color grade around existing light rather than forcing every photograph into blue and pink.
Added fog or generated elements change the scene and should be treated as creative manipulation.
Cyberpunk is a science-fiction genre that often places advanced technology alongside inequality, corporate power, and marginalized lives. The phrase “high tech, low life” summarizes that tension.
Its stories frequently explore surveillance, artificial intelligence, altered bodies, and the boundary between human and machine. Familiar references include Blade Runner, Ghost in the Shell, and William Gibson’s Neuromancer, the first novel in the Sprawl trilogy.
In photography, the cyberpunk aesthetic translates these ideas into visual relationships: a small person beneath a large screen, new technology inside a worn environment, or an illuminated street that still feels isolated.
How Is Cyberpunk Photography Different from Neon Photography?
Neon photography focuses on colored light. Cyberpunk photography uses that light, or other urban details, to suggest a world and its tensions.
A brightly lit portrait can be visually striking without communicating anything dystopian. Adding a meaningful setting, an ambiguous interaction, or a contrast between human scale and surrounding technology gives the photograph a stronger connection to cyberpunk.
What Makes a Photograph Look Cyberpunk?
A cyberpunk photograph usually combines several visual elements rather than relying on one effect. Choose the details that support your subject and leave out those that only add clutter.
Element
Visual effect
Practical approach
Colored artificial light
Creates a technological atmosphere
Use signs, screens, shop windows, or controlled portrait lighting
Wet surfaces
Repeat light and color through reflections
Look for pavement, puddles, glass, and polished surfaces
Large architecture
Suggests scale and power
Frame a person against buildings or illuminated structures
Worn urban textures
Contrasts with polished technology
Include cables, shutters, concrete, and weathered surfaces
Layered composition
Makes the city feel dense
Combine foreground reflections, a subject, and a background
Human presence
Gives the setting emotional meaning
Capture a gesture, pause, or interaction
Controlled color palette
Connects different parts of the frame
Emphasize a dominant hue and selected supporting colors
Look for Light Before Looking for a Location
Start with a useful light source, then decide what can happen around it. An ordinary doorway may become an effective portrait setting when a sign illuminates one side of the face.
True neon signs are only one option. LED displays, vehicle lights, vending machines, and fluorescent interiors can also contribute to neon street photography.
Watch the direction of the light as well as its color. Side lighting can reveal texture; backlighting can outline a figure; a bright background can create a silhouette.
Use Rain and Reflections Selectively
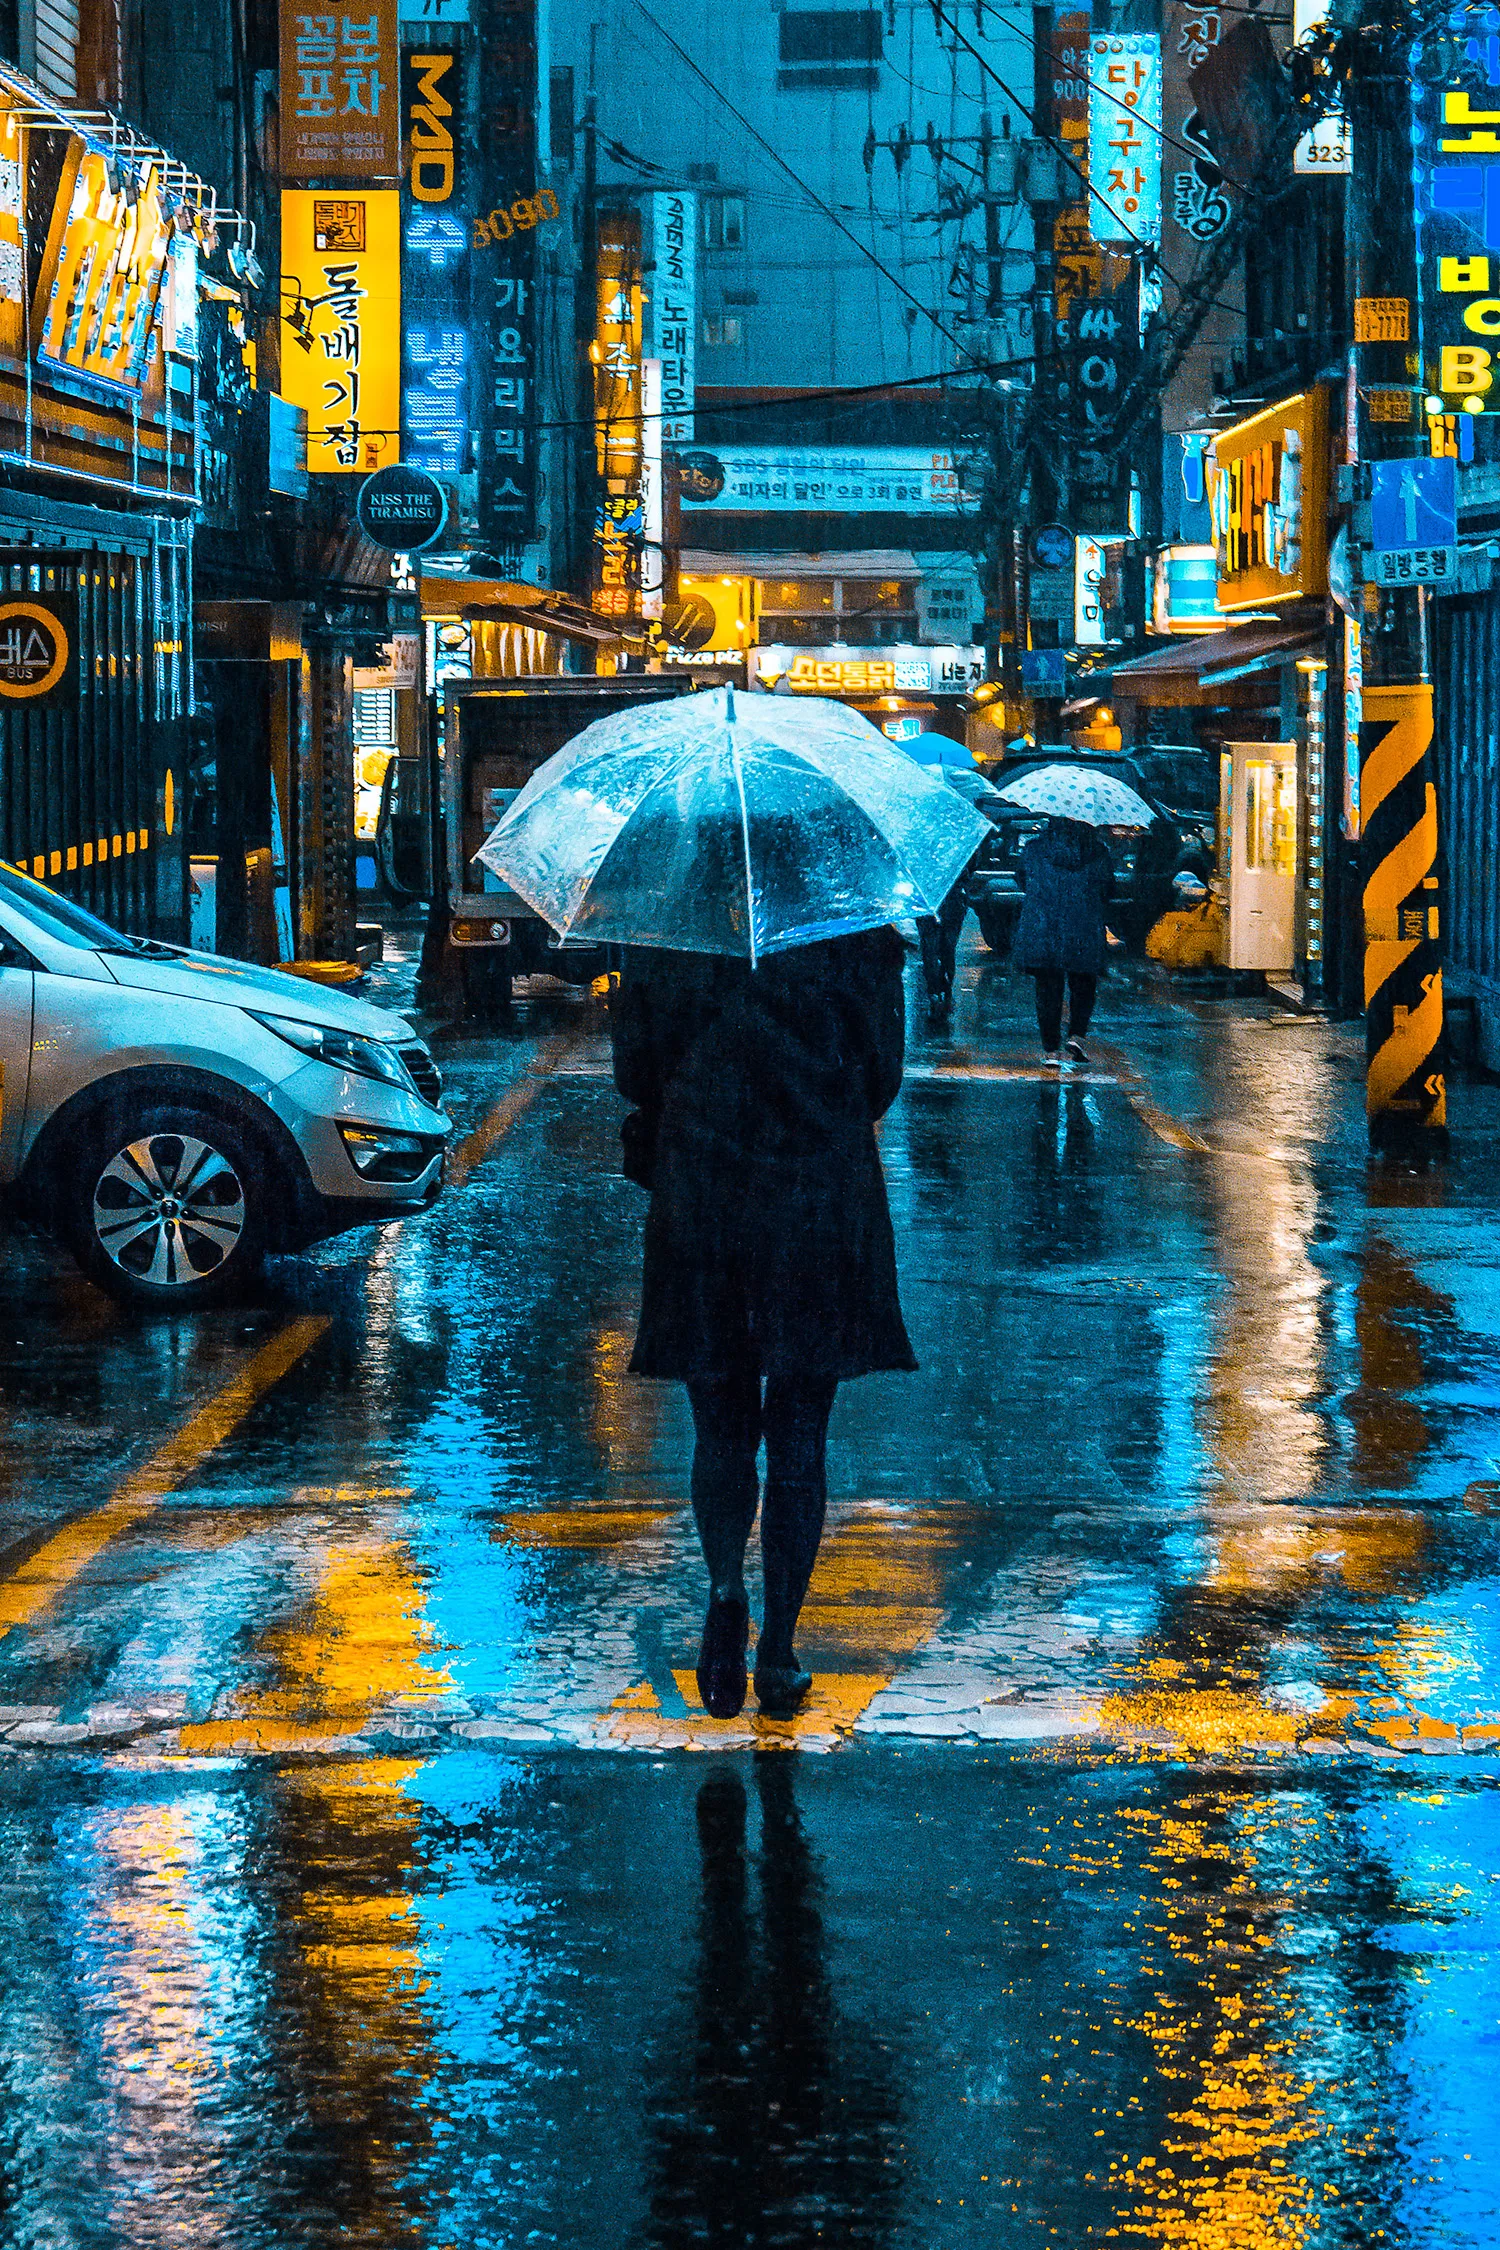
Wet pavement can spread the colors of a small sign across a much larger area. Lowering the camera may help include that reflection without needing more lights.
You can also photograph after the rain has stopped. Look for sheltered viewpoints, keep the front of the lens clear, and use rain protection appropriate to your equipment.
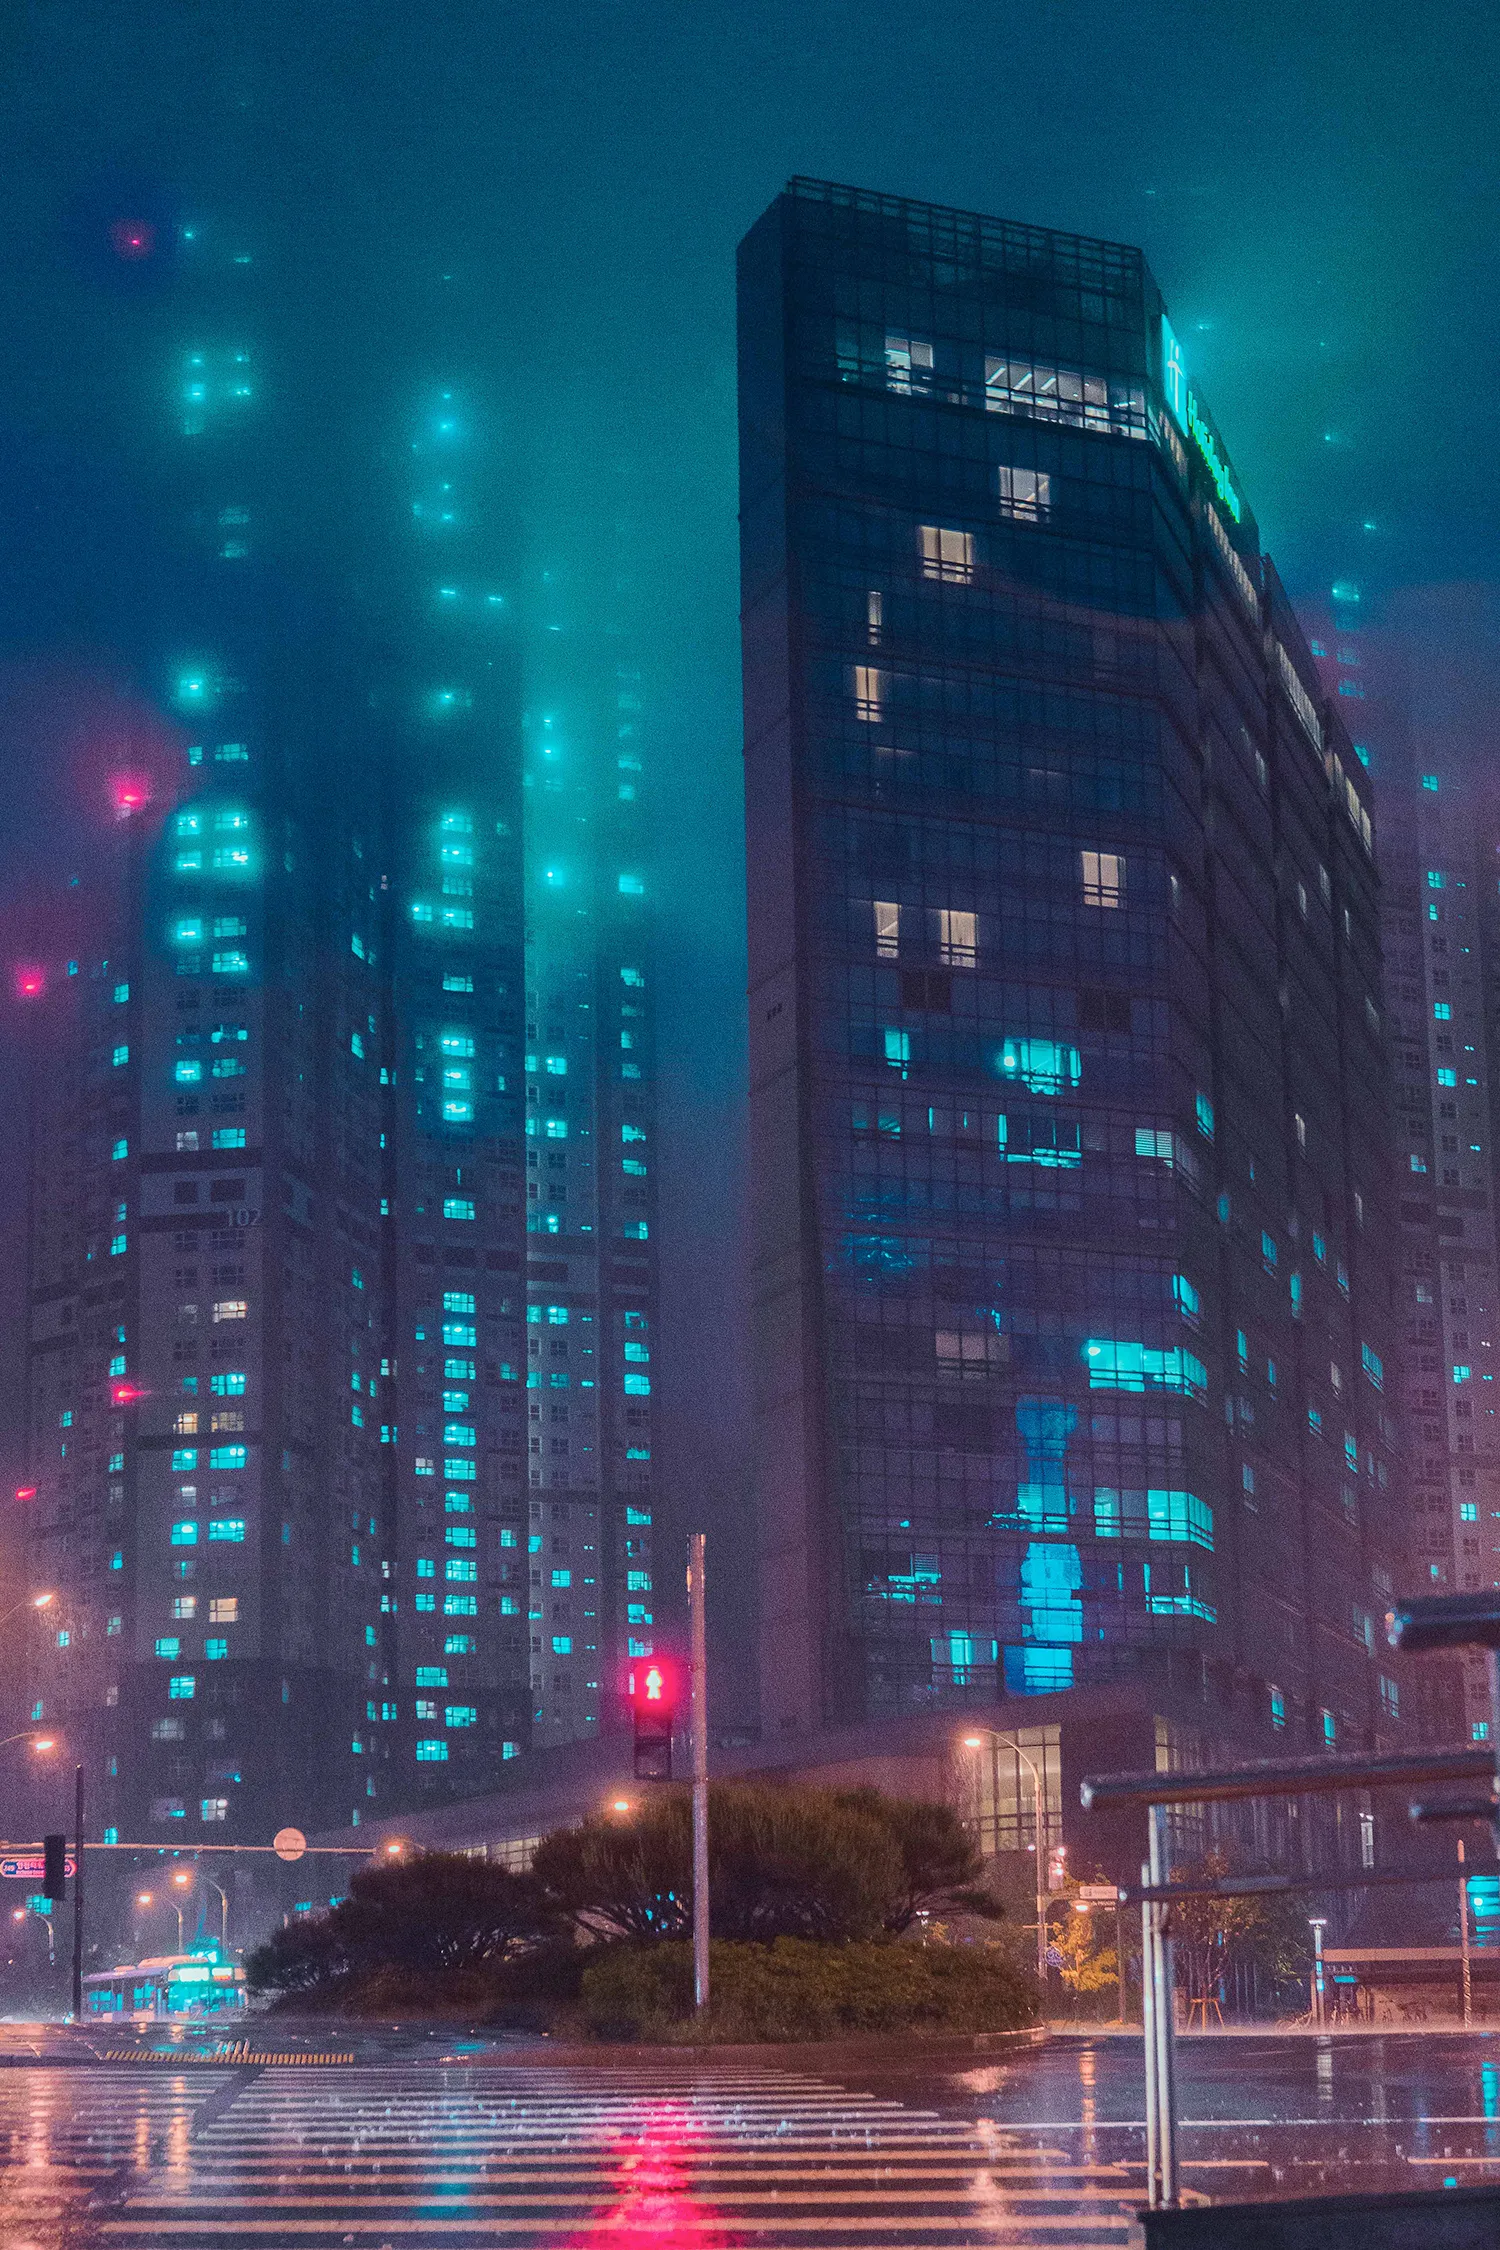
Fog and mist can make distant objects less distinct and help separate layers. Clear nights still offer useful alternatives through shadows, glass, and overlapping structures.
Make Architecture Part of the Story
A low viewpoint can make buildings dominate the frame. Include a person, doorway, or vehicle to establish scale rather than photographing architecture without a visual reference.
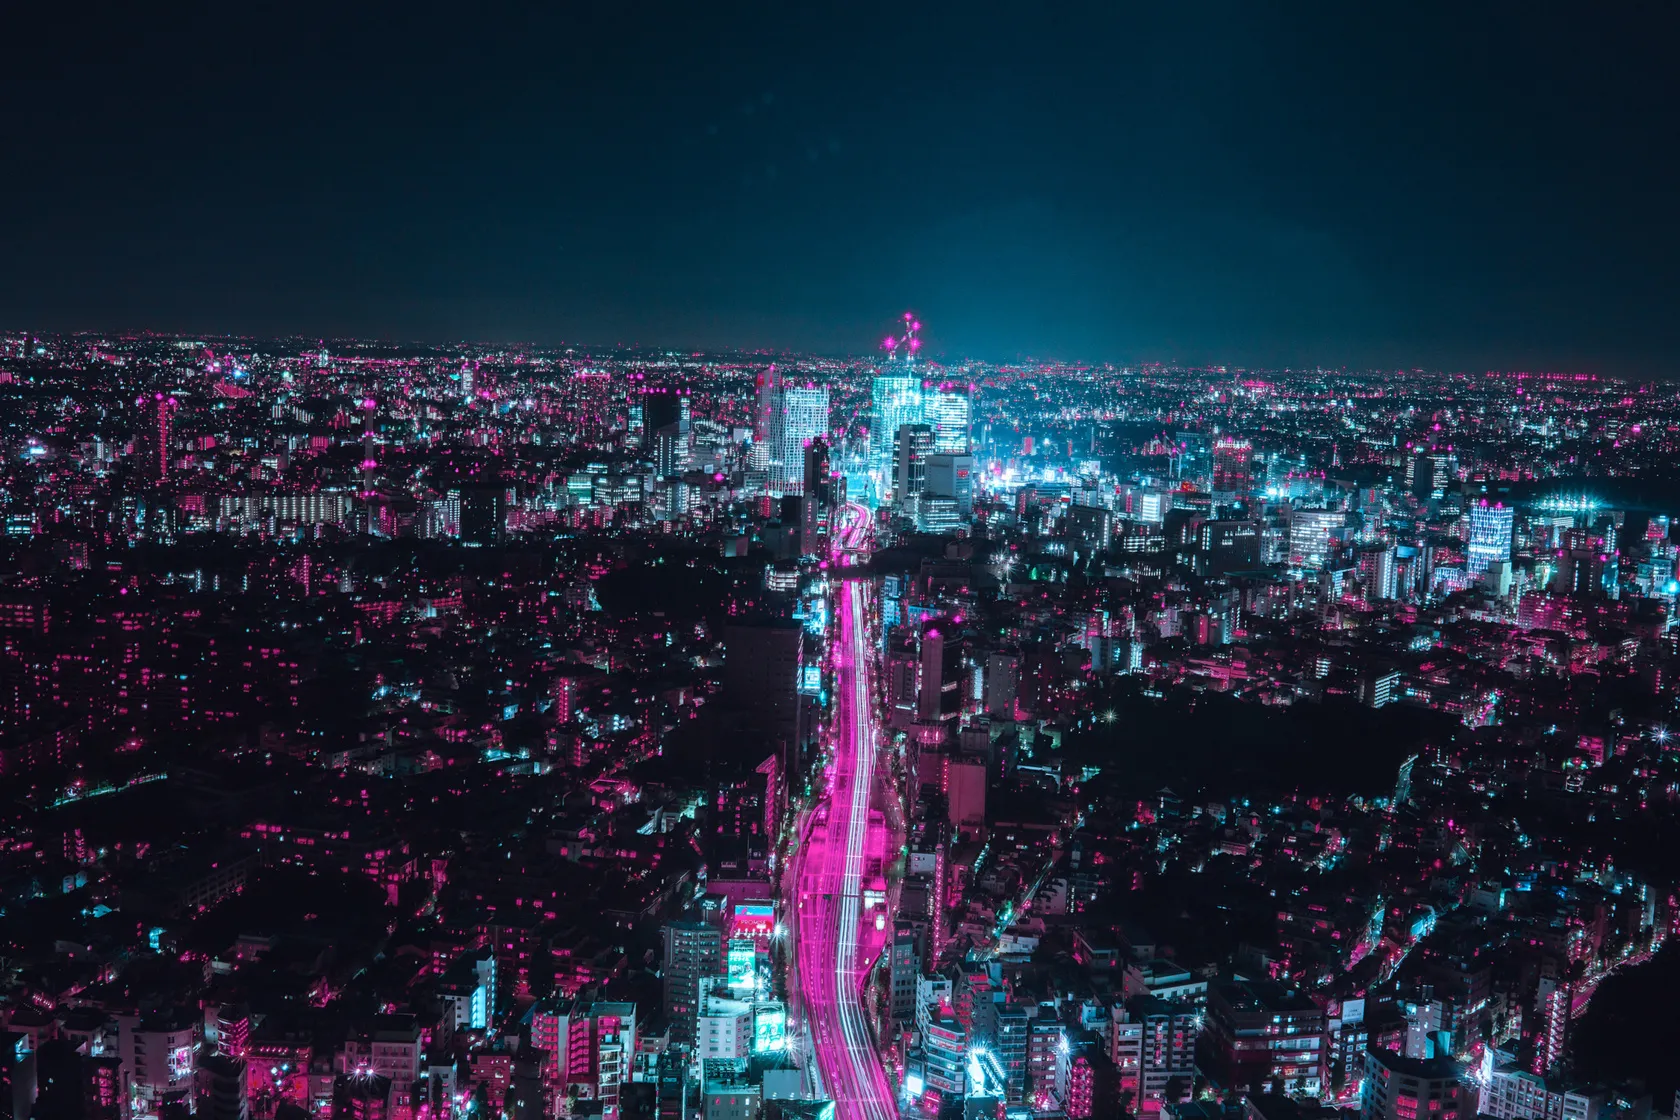
For a more compressed arrangement, move farther from the scene and use a longer focal length to maintain the framing. The change in viewpoint alters perspective; zooming from the same position primarily changes how much of the scene appears in the frame.
Combine Old and New
Look for modern screens beside worn storefronts, exposed wiring near polished buildings, or bright advertisements above quiet streets. These contrasts can suggest the genre’s tension without elaborate props.
Avoid treating every aging neighborhood as shorthand for dystopia. Choose specific details and relationships that support the photograph’s intended meaning.
What Camera Settings Work for Cyberpunk Photography?
Choose settings according to movement, available light, and the depth of field you need. There is no single exposure recipe for night photography.
These are practical starting points to test and adjust:
Scene
Starting aperture
Starting shutter speed
Main check
Walking pedestrians
f/1.8–f/2.8, if available
Around 1/250 second or faster
Whether the person is sharp enough
Stationary portrait near a sign
f/2–f/4
Around 1/125–1/250 second
Subject movement and eye focus
Static urban scene on a tripod
f/5.6–f/8
As required by the exposure
Highlight detail and camera stability
Deliberate traffic trails
f/5.6–f/11
Start around 1–5 seconds
Trail length and overexposed lights
Adjust ISO to support the chosen aperture and shutter speed. A wider aperture admits more light, but it also reduces depth of field.
Exclusive Tools of Endless Possibilities in One Editor
Bright signs can lose texture and turn into flat patches when highlights clip. Review the histogram and highlight warnings, then reduce exposure when important illuminated areas are losing detail.
Do not make the entire image excessively dark to preserve every tiny light. Decide which highlights matter to the composition and balance them against the subject.
Shoot RAW when available for greater flexibility in adjusting exposure and white balance. RAW files cannot reliably restore detail that was never captured in clipped highlights.
Choose Sharpness or Motion Blur Deliberately
Use a faster shutter speed when the person’s expression or gesture needs to remain clear. Slower exposures can communicate movement through traffic trails or blurred crowds.
A tripod or stabilization can reduce camera shake, but it cannot freeze a moving person. If the subject is unintentionally blurred, shorten the exposure and adjust the other settings.
How Do You Create Cyberpunk Portraits?
Combine a clear lighting idea with styling and a setting that belong to the same imagined world. One intentional detail often communicates more than a collection of unrelated futuristic accessories.
Try these portrait concepts:
Shop-window portrait: Place the subject near colored window light and include reflections.
Two-color lighting: Use a main light on the face and a contrasting light behind or beside the subject.
Urban silhouette: Photograph the subject against an illuminated display or doorway.
Technology and texture: Pair contemporary clothing or a device with concrete, shutters, or exposed cables.
I often use dark alleys for portraits and bring my own lighting. This gives me more control over where the light falls while keeping the urban background.
Coordinate makeup, clothing, and props with the concept. Reflective materials can be useful, but check their highlights so they do not distract from the face.
How to Build a Cyberpunk Narrative
Give the photograph a question or relationship for the viewer to interpret. A person surrounded by technology might appear connected, watched, excluded, or simply absorbed in everyday life.
For a short series, plan three kinds of images:
Establish the world. Use a wide frame to show the location and its dominant light.
Introduce the person. Capture a gesture or interaction within that setting.
Add a detail. Photograph a reflection, screen, hand, or object that connects the sequence.
A documentary street photograph records an observed moment; a staged portrait constructs one. Both can use cyberpunk visual language, but their relationship to reality is different.
How to Create a Cyberpunk Photo Edit in Luminar
Start with exposure and color correction, then develop the mood through selective color and light adjustments. A cyberpunk photo edit works best when it strengthens the photograph’s existing structure.
Color correction addresses unwanted exposure or color problems. Color grading makes deliberate color choices to establish a style.
1. Establish Exposure and White Balance
Use Develop or Develop RAW to set overall brightness and balance highlights and shadows. Retain enough shadow information to show important clothing, surfaces, and architectural details.
Adjust Temperature and Tint according to the light in the scene. A cooler balance may suit the image, but it is not a requirement for the cyberpunk aesthetic.
Mixed lighting rarely becomes neutral everywhere. Decide which color casts contribute to the atmosphere and which interfere with the subject.
2. Choose a Dominant Color Palette
Select a palette that relates to the captured light. These combinations are starting points, not rules:
Palette
Where it can work
What to watch
Cyan and magenta
Signs, reflective streets, staged portraits
Excessive magenta on skin
Blue and amber
Cool streets with warm windows or lamps
Losing useful warm accents
Green and red
Screens, traffic lights, industrial scenes
Too many competing focal points
Mostly one hue
Minimal portraits and isolated figures
Insufficient separation between subject and background
Use Luminar’s photo color editor to refine hue, saturation, and luminance selectively. Reduce distracting colors before increasing the intensity of the main palette.
For a quieter approach, analogous colors such as blue, violet, and magenta can connect different areas of the photograph.
3. Refine Tonal Color with Color Harmony
In Color Harmony, use Color Balance to adjust Shadows, Midtones, and Highlights separately. For example, shift shadows slightly toward cyan while retaining warmer highlights from a shop window.
Make small changes and compare the result with the original. Strong adjustments can flatten color differences or introduce unwanted casts.
Curves in Develop provide another way to refine brightness and contrast. Preserve useful midtone detail rather than pushing every shadow toward black.
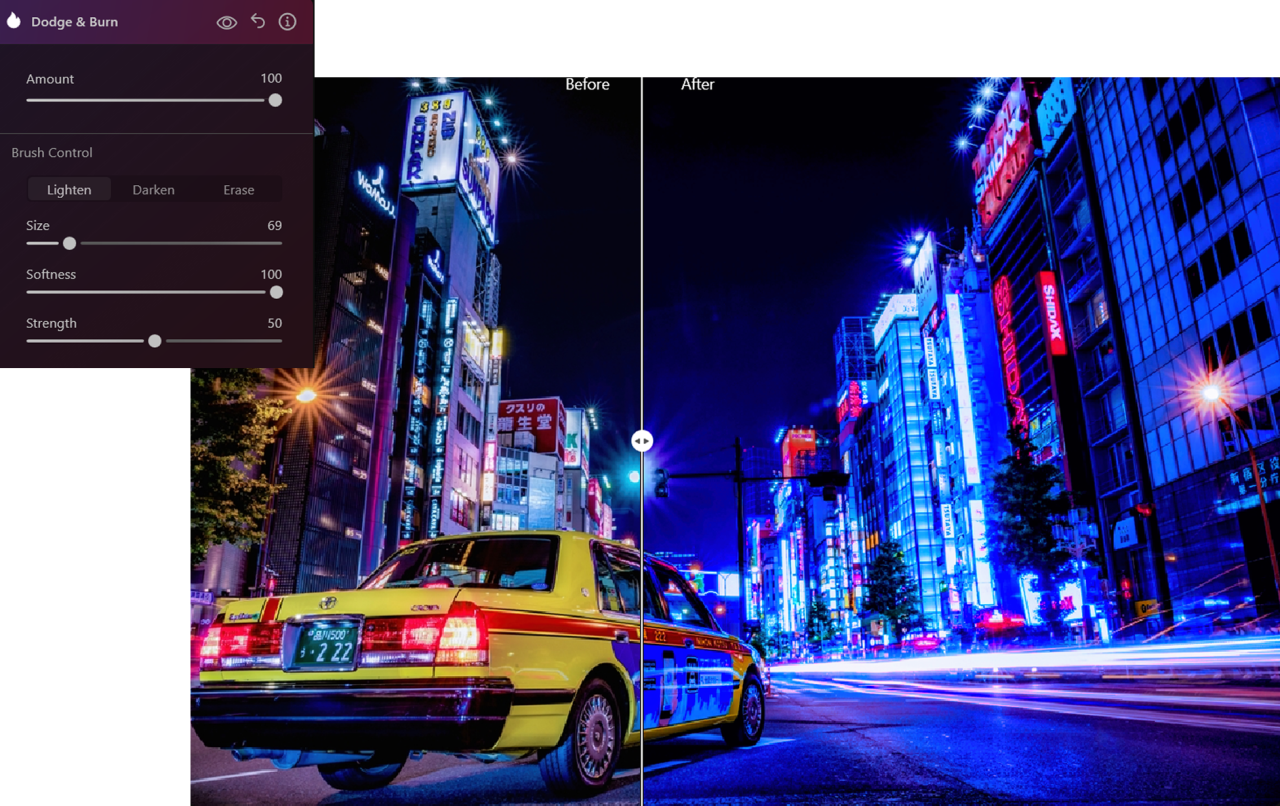
4. Guide Attention with Dodge & Burn
Use Dodge & Burn to lighten a focal area or darken a distracting patch. A subtle lift on the subject’s face or reflected light can make the scene easier to read.
Work with a soft brush and low strength, then review the overall effect. These Dodge & Burn tools support local brightness adjustments; they do not replace a clear composition.
Your AI-Powered Photo Editor for MacOS and Windows
For a creative interpretation, Atmosphere AI can add fog, mist, or haze. Adjust Amount, Depth, and Lightness, then inspect the effect around the subject and buildings.
Fog generally reduces contrast in the areas it covers. Keep that behavior consistent instead of combining dense haze with equally hard contrast across the entire scene.
Added fog changes the captured conditions. For documentary work, preserve the original atmosphere; for staged or clearly stylized work, use the effect according to the intended presentation.
6. Review Noise, Detail, and Consistency
Inspect the photograph at 100% for noise, sharpening halos, and color artifacts. Use noise reduction conservatively so faces, lettering, and textured surfaces retain useful detail.
Check a series together for consistent color and contrast, then adjust individual photographs for their different lighting.
Conclusion
Start with one useful light source, one clear subject, and a setting that supports the story. Capture the important colors and details, then use Luminar to refine the palette and direct attention. The strongest cyberpunk photographs connect their futuristic atmosphere with a recognizable human moment.
Frequently Asked Questions
Do you need neon signs for cyberpunk photography?
No. Screens, shop windows, vehicle lights, and industrial lighting can create a similar visual atmosphere. The relationship between people, technology, and the setting matters more than the type of light source.
Can you create cyberpunk photos without rain?
Yes. Glass, polished surfaces, layered architecture, and strong directional light can provide visual depth on a dry night. Rain adds reflections, but it is optional.
Can you take cyberpunk photos with a phone?
Yes, especially around bright signs and windows. Keep the phone steady, check exposure on illuminated areas, and remember that multi-frame night modes can produce blur or artifacts when people move.
Why do neon colors disappear in my photos?
Overexposure can clip one or more color channels, making bright signs lose their color or texture. Reduce exposure when necessary and check whether the original file contains recoverable highlight detail.
Does every cyberpunk photo need blue and pink colors?
No. Blue and pink are familiar choices, but green, amber, red, or a restrained single-color palette can also work. Build the grade around the scene and its narrative.
Subscribe to know first
Our delivery owl will bring you our best deals and news about Skylum news.