City long exposure photography transforms traffic, crowds, water, and clouds into visible paths of motion while buildings remain sharp. This guide explains the shooting process you need to create balanced urban long exposures.
A city rarely stands still. Cars pass through intersections, pedestrians move between buildings, reflections shift across wet streets, and clouds sweep above the skyline. A normal shutter speed freezes only a fraction of that activity, while a longer exposure can combine several moments into one frame and reveal patterns that are difficult to notice in real time.
The technique can look complicated at first, but successful results come down to a few practical decisions: keeping the camera stable, choosing a shutter speed that suits the subject, and controlling bright urban highlights. Below, we’ll work through the complete process, from equipment and starter settings to creative ideas and common mistakes.
Don’t feel like reading the whole breakdown? We’ve pulled together a quick summary below.
Key Takeaways
Use a tripod or another stable surface whenever the exposure is too slow to shoot sharply by hand.
Start at ISO 100, choose an aperture around f/8, and adjust the shutter speed for the movement you want to record.
Try 1/2–2 seconds for moving people, 5–20 seconds for traffic trails, and longer exposures for clouds or smooth water.
An ND filter is mainly needed when ambient light is too bright for the shutter speed you want.
Check the histogram and highlight warnings, because signs and headlights can overexpose long before the rest of the cityscape.
Shoot RAW when possible so you have more flexibility to recover highlights, correct color, and reduce noise in Luminar.
Long exposure photography uses a slow shutter speed to record movement over time. Static elements such as buildings, railings, and bridges remain sharp when the camera is stable, while moving subjects become blurred, translucent, or stretched into trails.
In a city, the technique can turn:
headlights and taillights into continuous lines;
pedestrians into soft blurs or ghostlike figures;
fountains and rivers into smooth surfaces;
clouds into sweeping streaks;
moving trains into bands of color and light.
There is no single shutter speed that qualifies as a long exposure. The useful duration depends on the subject’s speed, the available light, and the intended effect. A one-second photograph can dramatically blur a pedestrian, while slowly moving clouds may require a minute or more.
Essential Gear for Urban Long Exposures
Before diving into the specific settings for long exposure photography, it’s crucial to have the right equipment to ensure a strong start. Here are the essentials:
A Camera With Manual Exposure Control
A mirrorless camera or DSLR gives you the most control, but some compact cameras and smartphones also offer manual or dedicated long exposure modes. The camera should let you choose the shutter speed, aperture, and ISO independently. Bulb mode is helpful when you need an exposure longer than the camera’s standard 30-second limit.
A Stable Tripod
A tripod is the most dependable way to keep buildings and other stationary details sharp. In a busy city, choose a stable model that does not extend unnecessarily into pedestrian space. Keep the center column low, spread the legs securely, and avoid raising the tripod higher than the composition requires.
If a tripod is unavailable or prohibited, place the camera on a wall, railing, bench, or other solid surface. Use a folded cloth or small beanbag to level it and prevent scratches. Never place equipment where it creates a hazard.
A Remote Release or Self-Timer
A remote shutter release is useful, but it is not essential. A two-second self-timer, camera app, or electronic cable release can prevent movement caused by pressing the shutter button. For exposures longer than 30 seconds, a locking remote or intervalometer makes Bulb mode easier to control.
Neutral Density Filters
A neutral density filter reduces the amount of light entering the lens, allowing a slower shutter speed without overexposing the image. It is most useful for daytime city photography, smooth water, moving clouds, or removing some pedestrian traffic through very long exposures.
ND strength
Light reduction
Example: 1/30 sec becomes
Typical use
ND4
2 stops
1/8 sec
Mild motion blur in low light
ND8
3 stops
1/4 sec
Blue hour or shaded streets
ND64
6 stops
2 sec
Daytime crowds and water
ND1000
10 stops
About 30 sec
Strong daylight long exposures
The conversion follows a simple rule: each stop doubles the exposure time. A 10-stop filter changes 1/30 second to roughly 30 seconds.
A graduated ND filter darkens only part of the frame and can help balance a bright sky against darker buildings. It does not replace a standard ND filter when the aim is to slow the entire exposure.
Optional Accessories
A lens hood helps shield the glass from streetlights, while a microfiber cloth removes rain or fingerprints that may flare around bright sources. Carry a spare battery because long exposures, image review, and cold weather can shorten battery life. A small flashlight is useful for changing settings without illuminating other photographers’ scenes.
Exclusive Tools of Endless Possibilities in One Editor
Best Camera Settings for City Long Exposure Photography
The settings below are starting points rather than fixed rules. Take a test image, examine the motion and highlights, and refine one variable at a time.
Shoot in RAW
RAW files preserve more tonal and color information than JPEGs. That extra flexibility is valuable when a frame contains both deep shadows and bright headlights, windows, or signs. You can still shoot RAW+JPEG if you want an immediate preview or shareable file.
Use Manual Mode or Shutter Priority
Manual mode provides consistent control over shutter speed, aperture, and ISO. Shutter Priority can also work when the duration of motion matters most, but watch for the camera reaching the lens’s aperture limit and overexposing bright areas.
If you are still learning exposure, our manual camera settings guide explains how shutter speed, aperture, and ISO work together.
Start With ISO 100
Use your camera’s base ISO—commonly ISO 100 or 200—to preserve detail and dynamic range. Increase ISO only when you cannot achieve the required exposure another way. In most tripod-based city scenes, there is little benefit to raising it.
Choose an Aperture Around f/8
An aperture between f/8 and f/11 is a practical starting point for deep focus and clean architectural detail. Smaller apertures such as f/16 can lengthen the exposure and create pronounced starbursts around point lights, but diffraction may soften fine detail. Avoid selecting the smallest aperture automatically; use an ND filter when you need substantially more time.
Match Shutter Speed to the Subject
Subject or effect
Starting shutter speed
What to expect
Walking pedestrians
1/2–2 seconds
Recognizable blur or ghostlike movement
Cyclists and close traffic
1–5 seconds
Short motion trails
Continuous traffic
5–20 seconds
Longer, connected light trails
Fountain or moving water
1–10 seconds
Smooth but still textured water
River, lake, or canal
10–30 seconds
More glasslike surface
Moving clouds in daylight
30 seconds–several minutes
Stretched cloud patterns; ND filter usually required
Removing moving crowds
Several minutes or multiple exposures
Many moving people may disappear, but stationary people remain
The speed and direction of movement matter. Fast vehicles crossing the entire frame may create a complete trail in a few seconds, while light traffic can leave distracting gaps during a 20-second exposure.
Focus Before Starting the Exposure
Autofocus on a well-lit building edge or another high-contrast subject, then switch to manual focus so the camera does not hunt between frames. Magnify the live view to confirm sharpness. Focusing at infinity is not always the best choice when the composition includes a close foreground.
Turn Off Features That Can Introduce Movement
On a tripod, image stabilization may occasionally cause slight movement as it searches for vibration that is not present. Many newer systems detect tripod use correctly, so follow the recommendation in your camera or lens manual rather than treating stabilization as a universal on/off rule.
With a DSLR, live view, electronic front-curtain shutter, or mirror lock-up can reduce internal vibration. Mirrorless cameras do not require mirror lock-up.
Check the Histogram and Highlight Warnings
City scenes contain small, intense light sources that can clip even when the overall image appears dark. Review the histogram and highlight warnings after each test shot. Some bulbs may still lose detail, but illuminated signs, windows, and building surfaces should not become large featureless patches.
Suggested alt text: Adjusting camera settings for a long exposure city photograph
A Step-by-Step City Long Exposure Workflow
Scout the location before setting up. Look for moving subjects, strong architecture, safe tripod placement, and light trails that will lead through the frame.
Compose around stationary elements. Buildings, bridges, signs, or road markings give the moving light a stable visual anchor.
Mount and level the camera. Make sure the tripod is secure and does not obstruct pedestrians.
Shoot a normal exposure first. Use it to check composition, focus, and the brightest highlights.
Set base ISO and the required aperture. Start near ISO 100 and f/8 unless the scene suggests otherwise.
Choose the shutter speed for the desired motion. Do not select a duration merely because it sounds like a “long exposure.”
Add an ND filter if the image is too bright. Focus before attaching a very dark filter if the camera struggles to see through it.
Trigger the camera without touching it. Use a remote, app, or self-timer.
Review sharpness, motion, and highlights. Zoom into buildings and examine the histogram.
Make several variations. Traffic and pedestrians change from one exposure to the next, so the first technically correct frame may not have the best pattern.
Creative City Long Exposure Ideas
Capture Traffic Light Trails
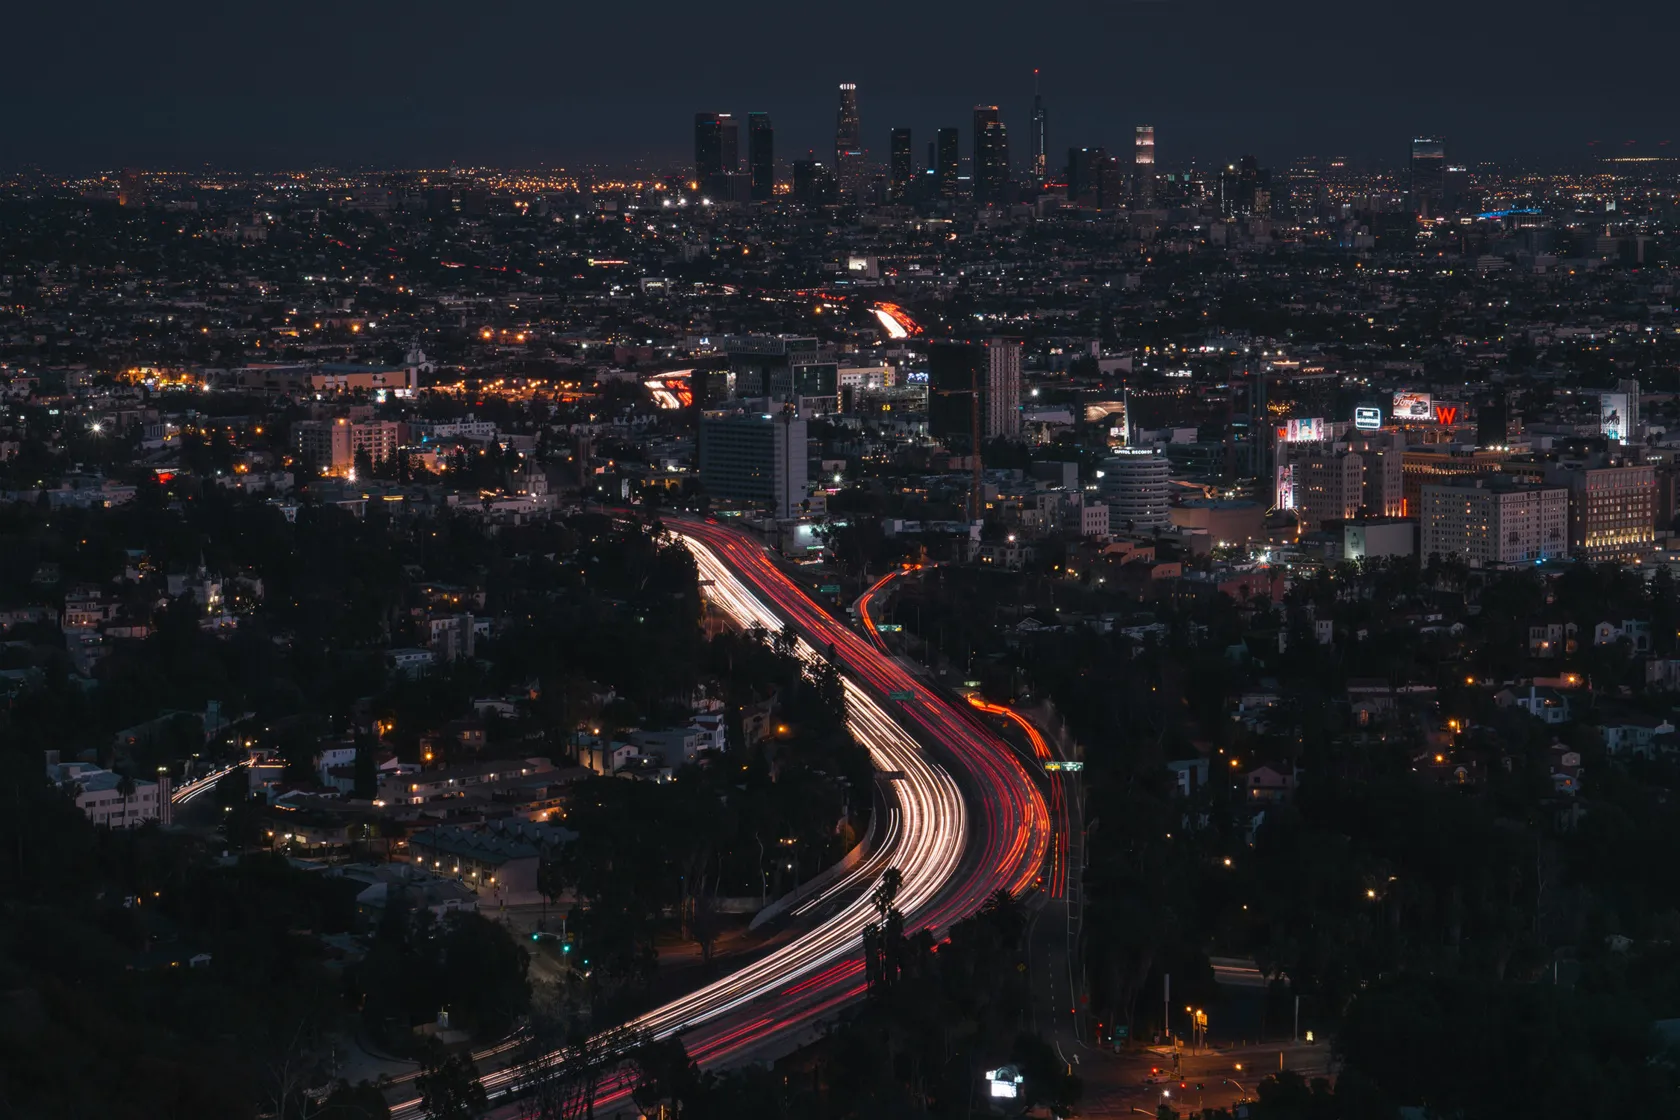
Find a position where roads curve, intersect, or recede between buildings. Red taillights and white headlights can create opposing lines, while buses add higher bands of light. A shutter speed of 5–20 seconds is a useful starting range, but time the exposure for the density and speed of traffic.
Avoid placing the tripod in a road, cycle lane, or narrow walkway. Elevated viewpoints and broad sidewalks often provide safer and cleaner compositions.
Blur Crowds Into Ghostlike Figures
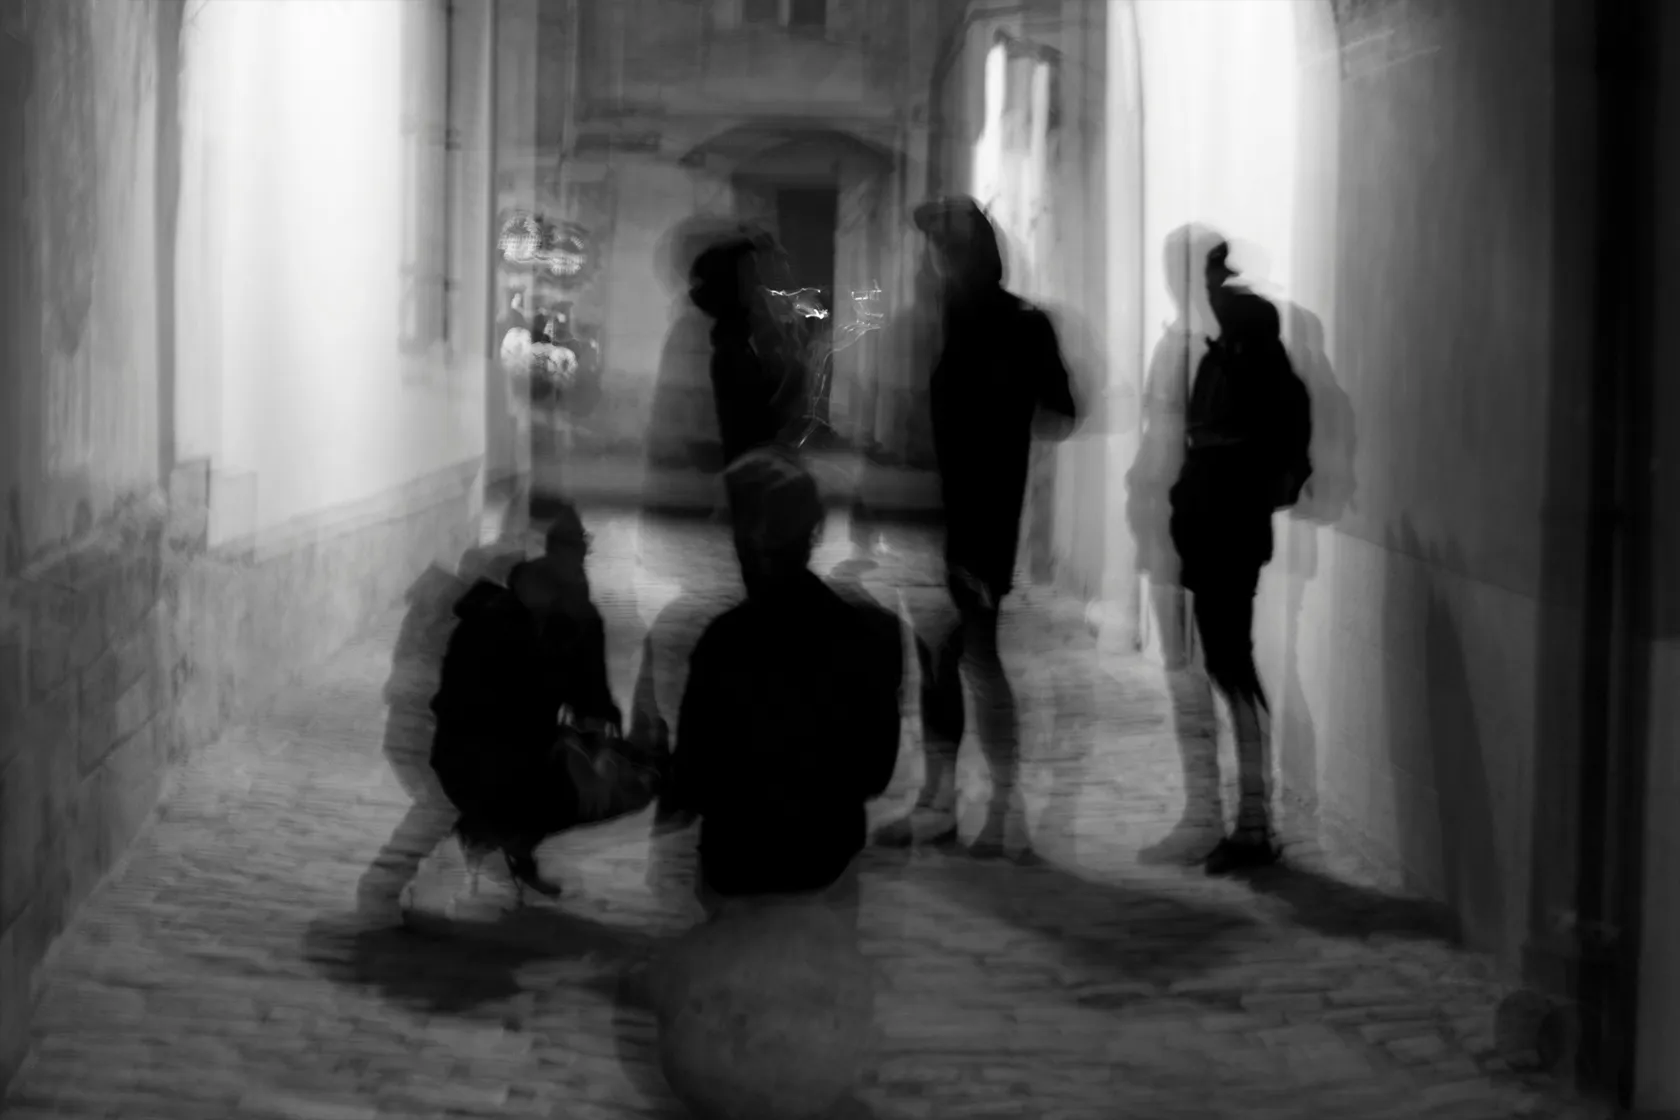
Use approximately 1/2–2 seconds when you want people to remain recognizable but visibly moving. Longer exposures make fast walkers more transparent. The effect works best when at least one architectural element or stationary person remains sharp.
If the goal is to make a busy square look empty, a single long exposure may not remove people who pause. Several frames combined later can produce a cleaner result.
Photograph Trains and Public Transport
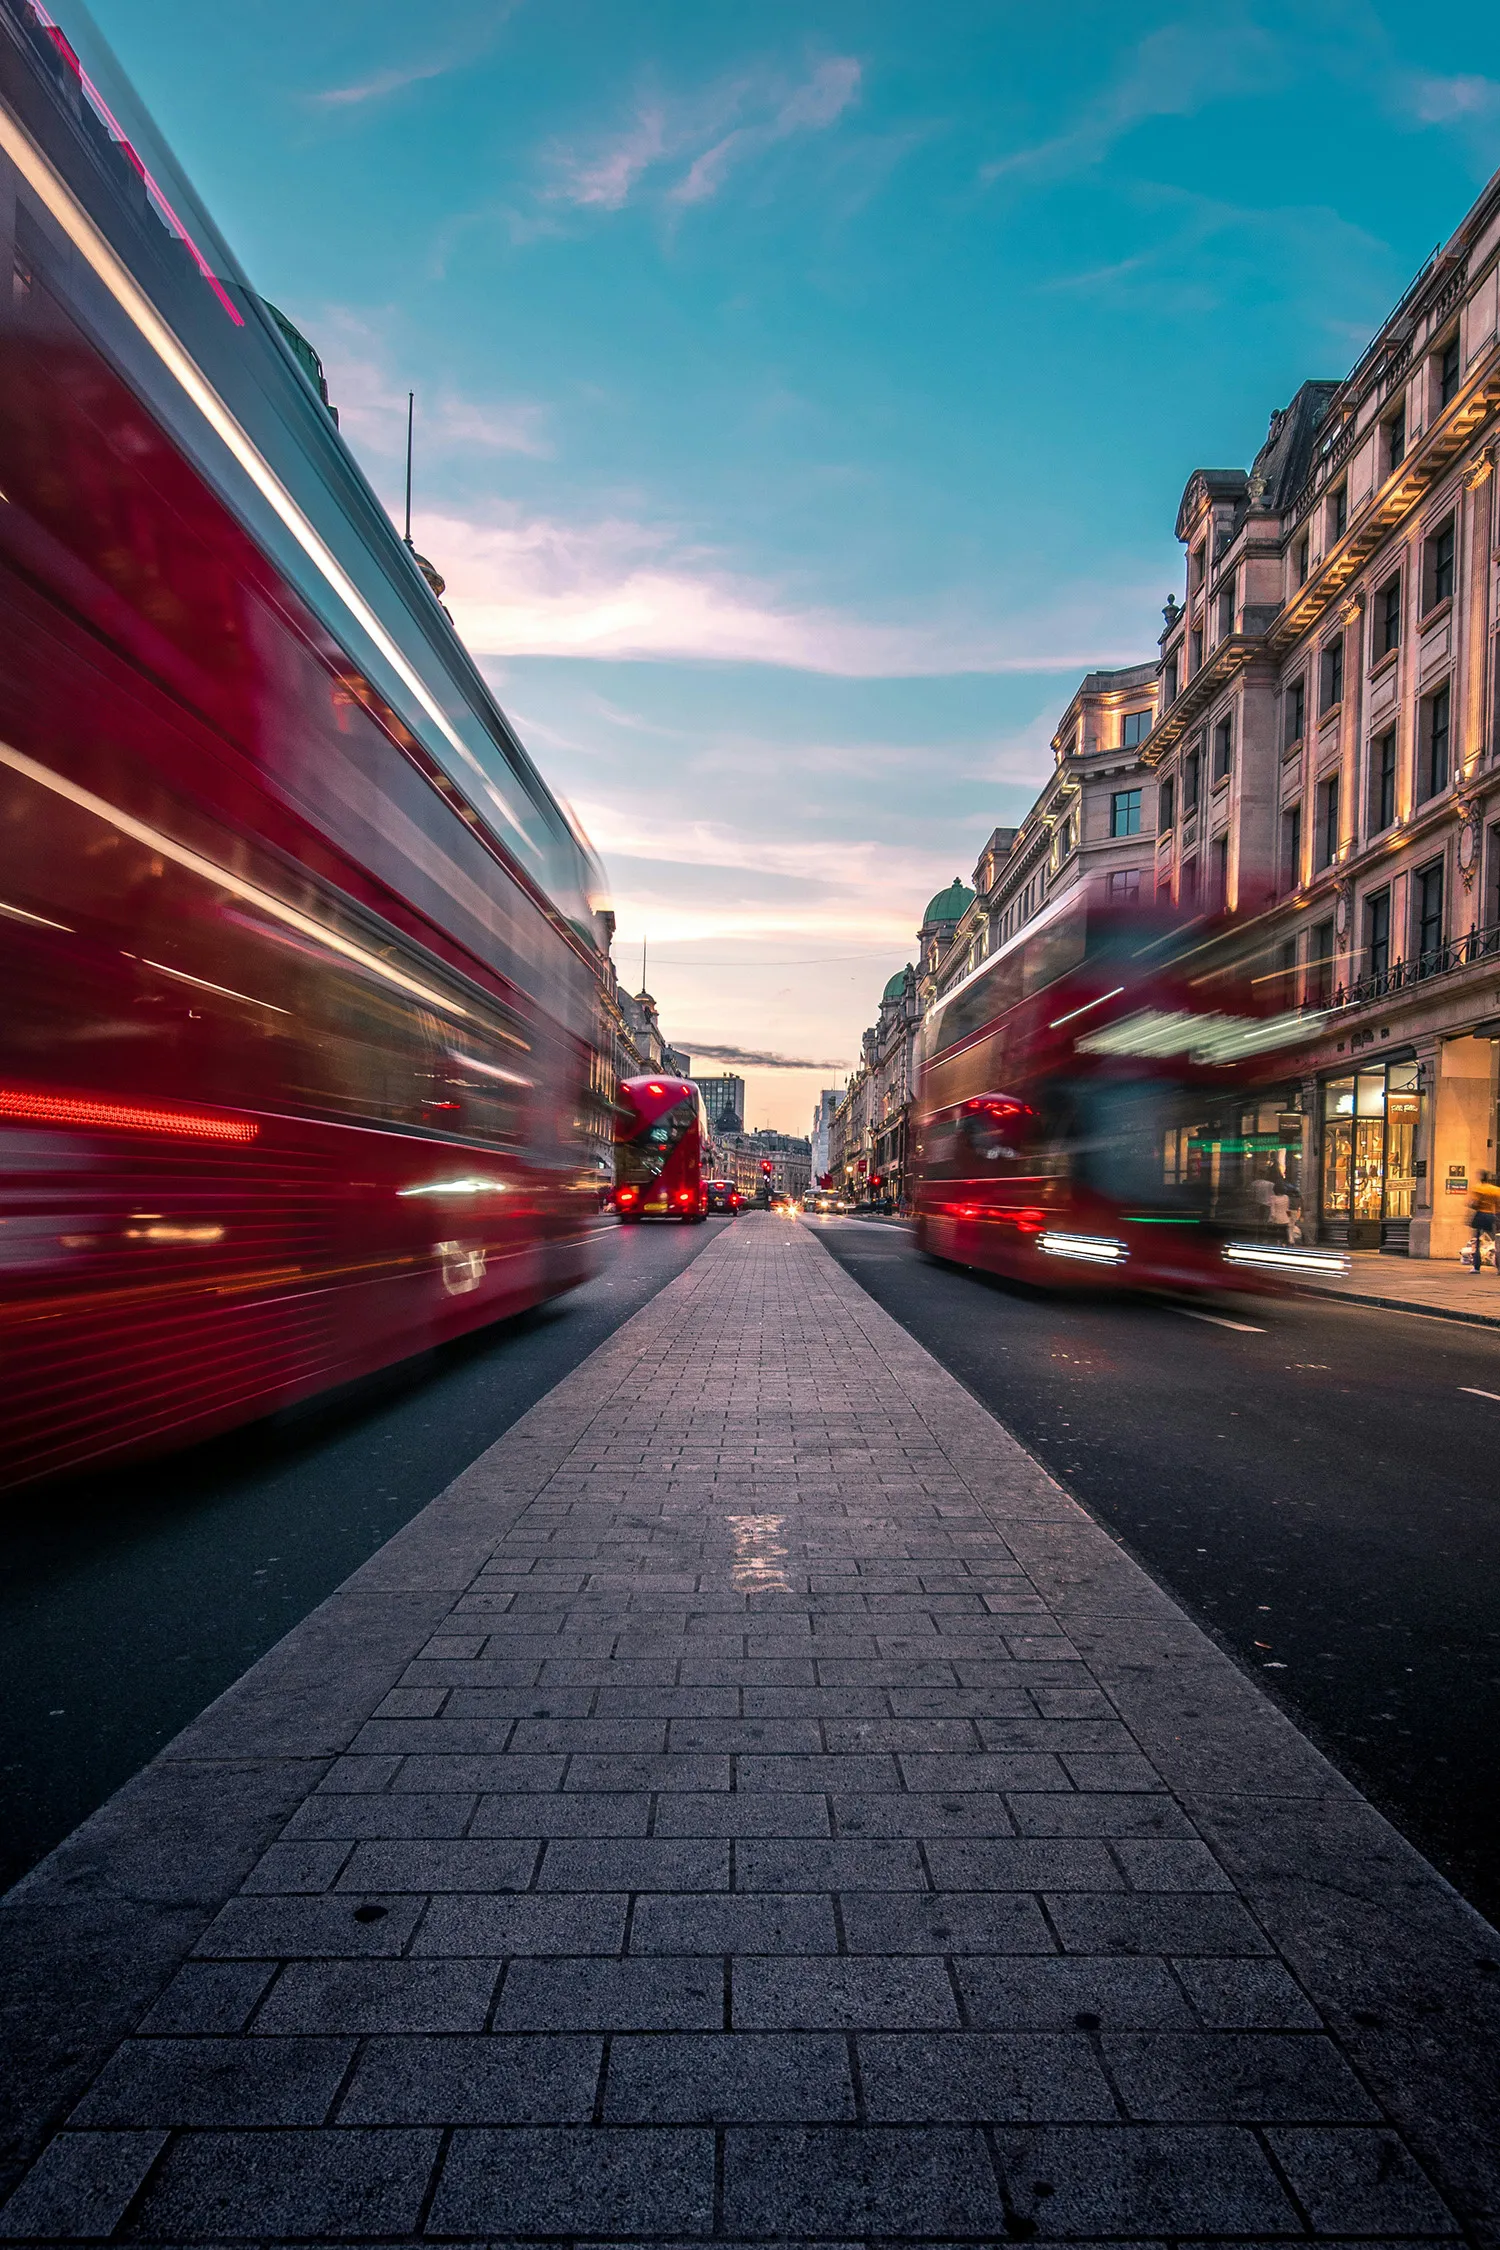
A moving tram, bus, or train can become a broad ribbon of color. Try placing the vehicle between the camera and a recognizable building. Exposures from one to several seconds preserve some structure; longer times create a more abstract result.
Smooth Rivers, Canals, and Fountains
Reflections become calmer as the exposure lengthens, but perfectly smooth water is not always the most interesting result. Compare a one-second frame with a 10- or 30-second version and choose the amount of texture that supports the scene.
Stretch Clouds Above Architecture
Cloud movement can add direction to a static skyline. This technique normally requires a 6- or 10-stop ND filter in daylight. Compose so the cloud movement reinforces the building lines rather than pulling the eye out of the frame.
Create Light Starbursts
Small apertures can turn streetlights into starbursts. Start around f/11 and keep the lens clean, because dust, rain, and fingerprints become especially visible around bright lights. The number and shape of rays depend on the lens’s aperture blades.
Combine Blue Hour and Artificial Light
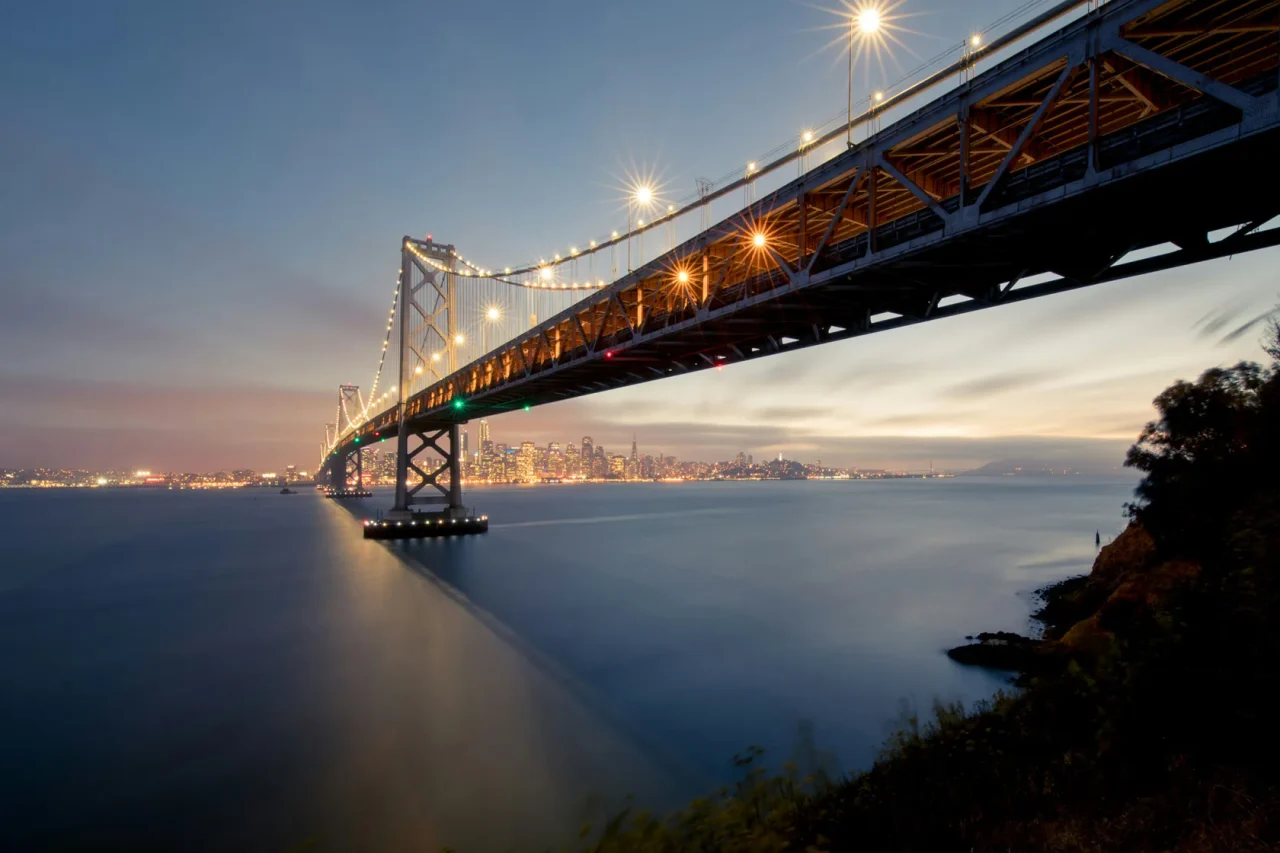
Blue hour often provides the best balance between the sky and city lighting. The remaining ambient light keeps building edges visible, while traffic and windows already produce vivid trails and reflections. Arrive before sunset so you can compose safely and capture several stages of changing light.
How to Avoid Common Long Exposure Mistakes
Everything Looks Soft
Check the tripod, focus, wind, camera strap, stabilization behavior, and shutter-release method. A lightweight floor or bridge can vibrate when people or vehicles pass, even if the tripod itself is stable. Wait for the vibration to stop or change position.
Highlights Are Blown Out
Shorten the exposure, lower ISO to its base value, or capture a separate shorter frame for the brightest areas. Do not rely on stopping the lens down indefinitely, because diffraction will eventually reduce sharpness.
Light Trails Have Gaps
Wait for denser traffic, extend the exposure, or begin just before vehicles enter the composition. Several shorter frames can also be blended when one long exposure does not create a clean pattern.
The ND Filter Adds a Color Cast
Some strong or variable ND filters shift colors. Set a custom white balance or correct the RAW file later. Avoid stacking low-quality filters, as this can increase flare, reflections, and loss of detail.
The Frame Contains Flare and Reflections
Use a lens hood, clean the glass, and shield the lens from nearby lights without entering the frame. When using square filters, cover gaps between the holder and lens during very long exposures.
The Image Has Hot Pixels or Excessive Noise
Long exposures can heat the sensor and reveal hot pixels. Use base ISO, avoid unnecessary multi-minute exposures, and allow the camera to cool during an extended session. In-camera long exposure noise reduction can help by recording a dark frame, but it also makes the camera unavailable for roughly the duration of the original exposure.
Elevate Your Photography with Our Advanced Software
Long exposures often need less editing than expected. The movement already provides a strong visual effect, so begin with basic corrections rather than heavy processing.
In Luminar, correct the white balance, recover highlights, and set the overall contrast. Use local adjustments to reduce the dominance of bright signs or lift important architectural details without flattening the night atmosphere.
High-ISO or very long exposures may show luminance and color noise. Apply Noiseless AI at a restrained strength and check buildings at 100% magnification so fine textures remain natural. Remove sensor spots or distracting small objects only when they do not change the truth of the scene.
If you captured several exposures for highlights and shadows, combine them carefully so the result still looks consistent with the direction and timing of the movement. Avoid using different traffic moments in ways that create broken or physically implausible light trails.
Safety and Location Etiquette
City photography is easier when the setup does not interfere with other people. Keep tripod legs visible, leave a clear path, and avoid building entrances, cycle lanes, platform edges, and emergency routes. Do not climb barriers or step into traffic for a cleaner angle.
Rules for tripods and commercial photography vary between stations, shopping centers, rooftops, and privately managed public spaces. Check local restrictions and ask permission when required. At night, work with a companion when possible and keep valuables close.
The Bottom Line
Successful city long exposure photography is not about making every exposure as long as possible. It is about choosing a shutter speed that translates a specific type of movement into the frame while the important stationary elements remain sharp.
Begin with a stable camera, base ISO, an aperture around f/8, and a short test exposure. Then adjust the shutter speed for pedestrians, traffic, water, or clouds, adding an ND filter only when the available light demands it. Review the histogram, protect the highlights, and capture several variations—the rhythm of the city will make each frame different.
Frequently Asked Questions
What shutter speed should I use for city long exposure photography?
Start around 1/2–2 seconds for moving pedestrians and 5–20 seconds for traffic trails. Water may need 1–30 seconds, while clouds in daylight can require 30 seconds or several minutes with an ND filter.
Do I need an ND filter for night city photography?
Usually not. Night scenes are often dark enough to use slow shutter speeds without one. An ND filter becomes useful when city lights are unusually bright or when you want a much longer exposure than the ambient light allows.
Can I take a long exposure without a tripod?
Yes, if you place the camera securely on a wall, bench, railing, or another stable surface and use a timer or remote trigger. Handheld long exposures are possible with stabilized cameras, but they create a different look and cannot match a tripod for sharp architecture.
Should I use autofocus or manual focus?
Autofocus first on a bright, high-contrast detail, then switch to manual focus to lock the distance. This prevents the camera from hunting or changing focus between exposures.
Why is my long exposure photo overexposed?
The shutter stayed open longer than the chosen aperture and ISO allowed. Shorten the exposure, lower ISO, use a smaller aperture within a sensible range, or add an ND filter. Always check bright signs and headlights separately from the overall scene.
Subscribe to know first
Our delivery owl will bring you our best deals and news about Skylum news.