Learn to add and organize custom skies in Luminar Neo. Elevate your photography with our easy-to-follow guide and creative tips.
Being able to do a sky replacement with Luminar Neo is a game-changer.
But if you take some sky images of your own and add them to Luminar Neo one by one, eventually you’ll end up with a big mess. When you have all your skies in the Custom Skies folder it makes it hard to find the one you want when you have to scroll through 20 or more, right?
But what if there was an easy way to organize your skies? Well, guess what, there is, and in this video, I’ll show you how to do that step-by-step.
How to Replace Skies in a Photo with Luminar Neo
-
Start with Luminar Neo: Launch the software and head to the “Catalog” section to add your photo. Then, switch back to the “Edit” section.
-
Dive into Sky AI: In the editing options on the right, find and select “Sky AI” under the “Favorites” tab. Here, a variety of sky choices await – pick one that catches your eye.
-
Customize: With your sky selected, play around with the sliders. Adjust how the sky sits in the photo or tweak reflections, especially if there’s a water element.
-
Harmonize the Atmosphere: Ensure the sky vibes with your photo’s feel. The “Sky Adjustments” option helps match lighting and color to create a unified mood.
-
Check Your Progress: Use the “Before/After” feature to contrast your revamped photo with the original. It’s a great way to appreciate the change!
-
Seal the Deal: Once satisfied, head over to the “Share to” option and save your enhanced image where you want and in your preferred format.
And that’s it! In a few straightforward steps, Luminar Neo’s Sky AI can transform your skies from bland to grand!
Change the Mood of Your Photos with Luminar Neo’s Sky AI
The Luminar Neo Advantage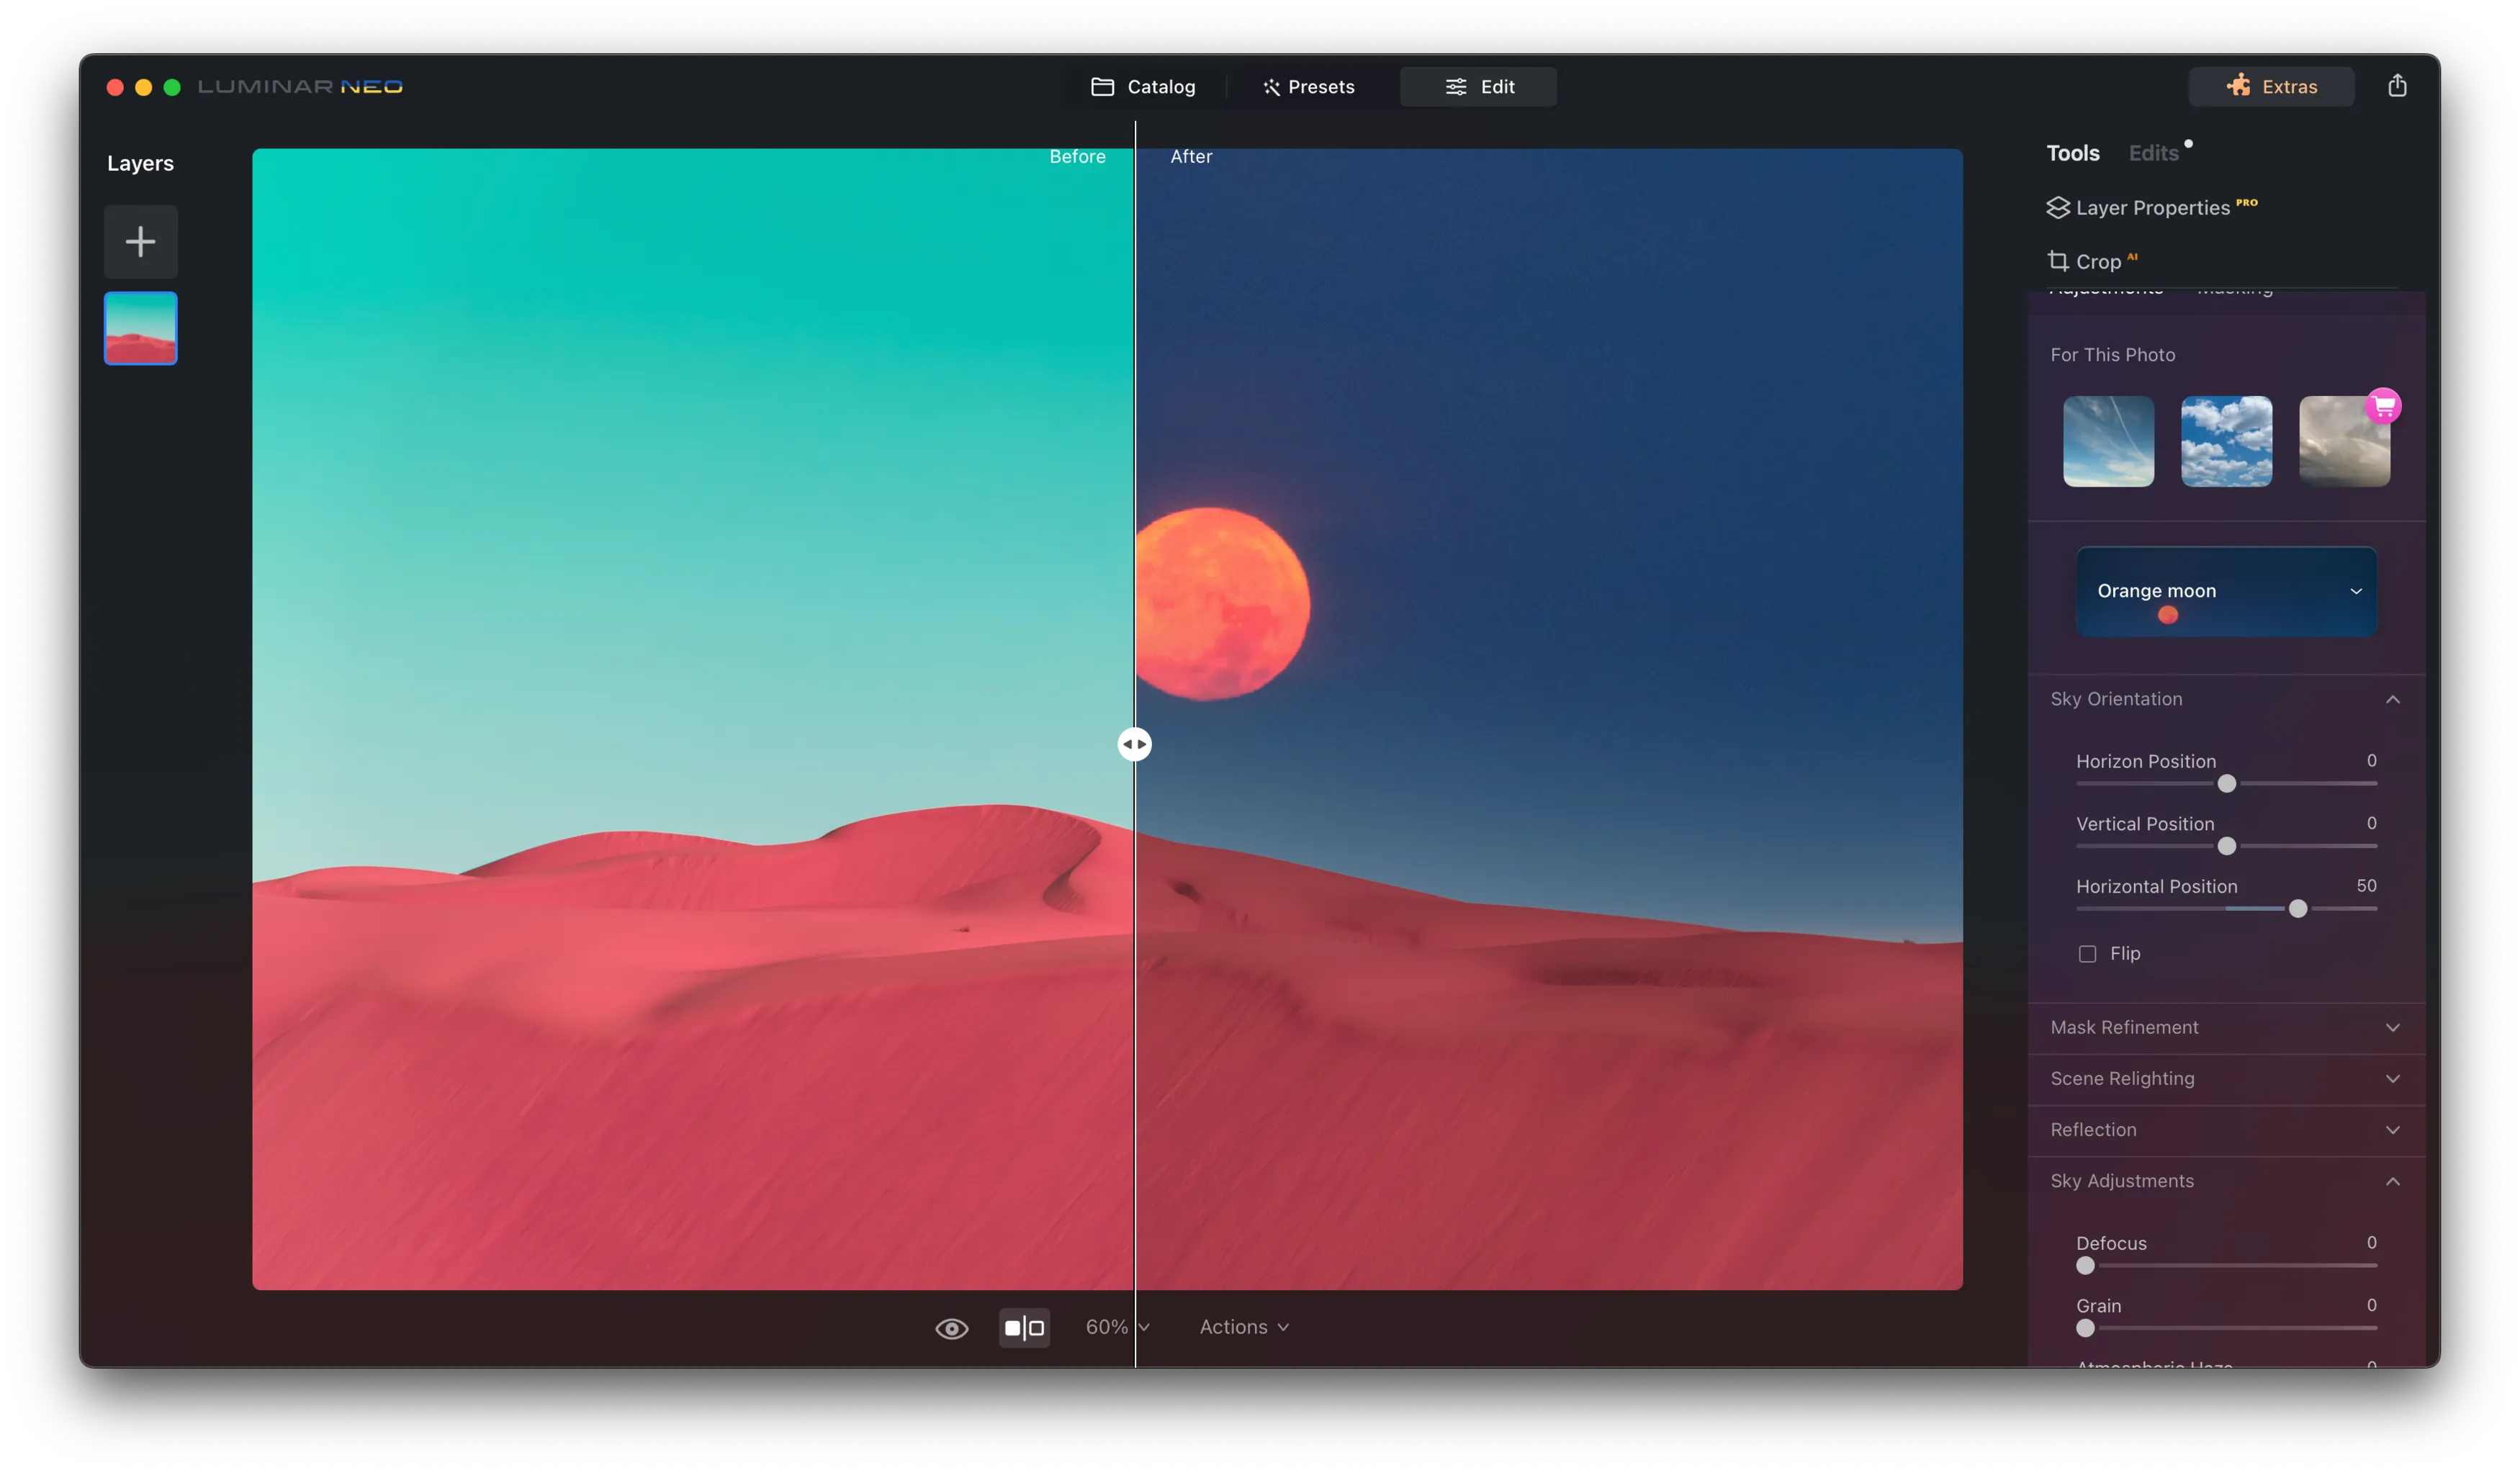
One of the standout features of Luminar Neo is just how efficient and time-saving it is when it comes to tasks like how to do a sky overlay. Gone are the days of spending hours tweaking and fine-tuning every little detail of the sky. With Luminar Neo, those meticulous edits are achieved in a fraction of the time. For more information, read this article.
But it’s not just about speed. Luminar Neo is a doorway to limitless creativity. Want a fiery sunset or a serene, cloudy afternoon? No problem! A simple click lets you try out all sorts of skies, allowing you to find the one that captures your vision best. It’s like having an infinite sky library at your fingertips.
We’ve all taken pictures where everything looks good except the top blue part. Sometimes, we forget or delete these pictures. But with Luminar Neo, we can change that dull part to something bright and cool. This can make a normal picture look really special.
A 7-day Free Trial of Luminar Neo with No Obligation
Tips for Realistic Results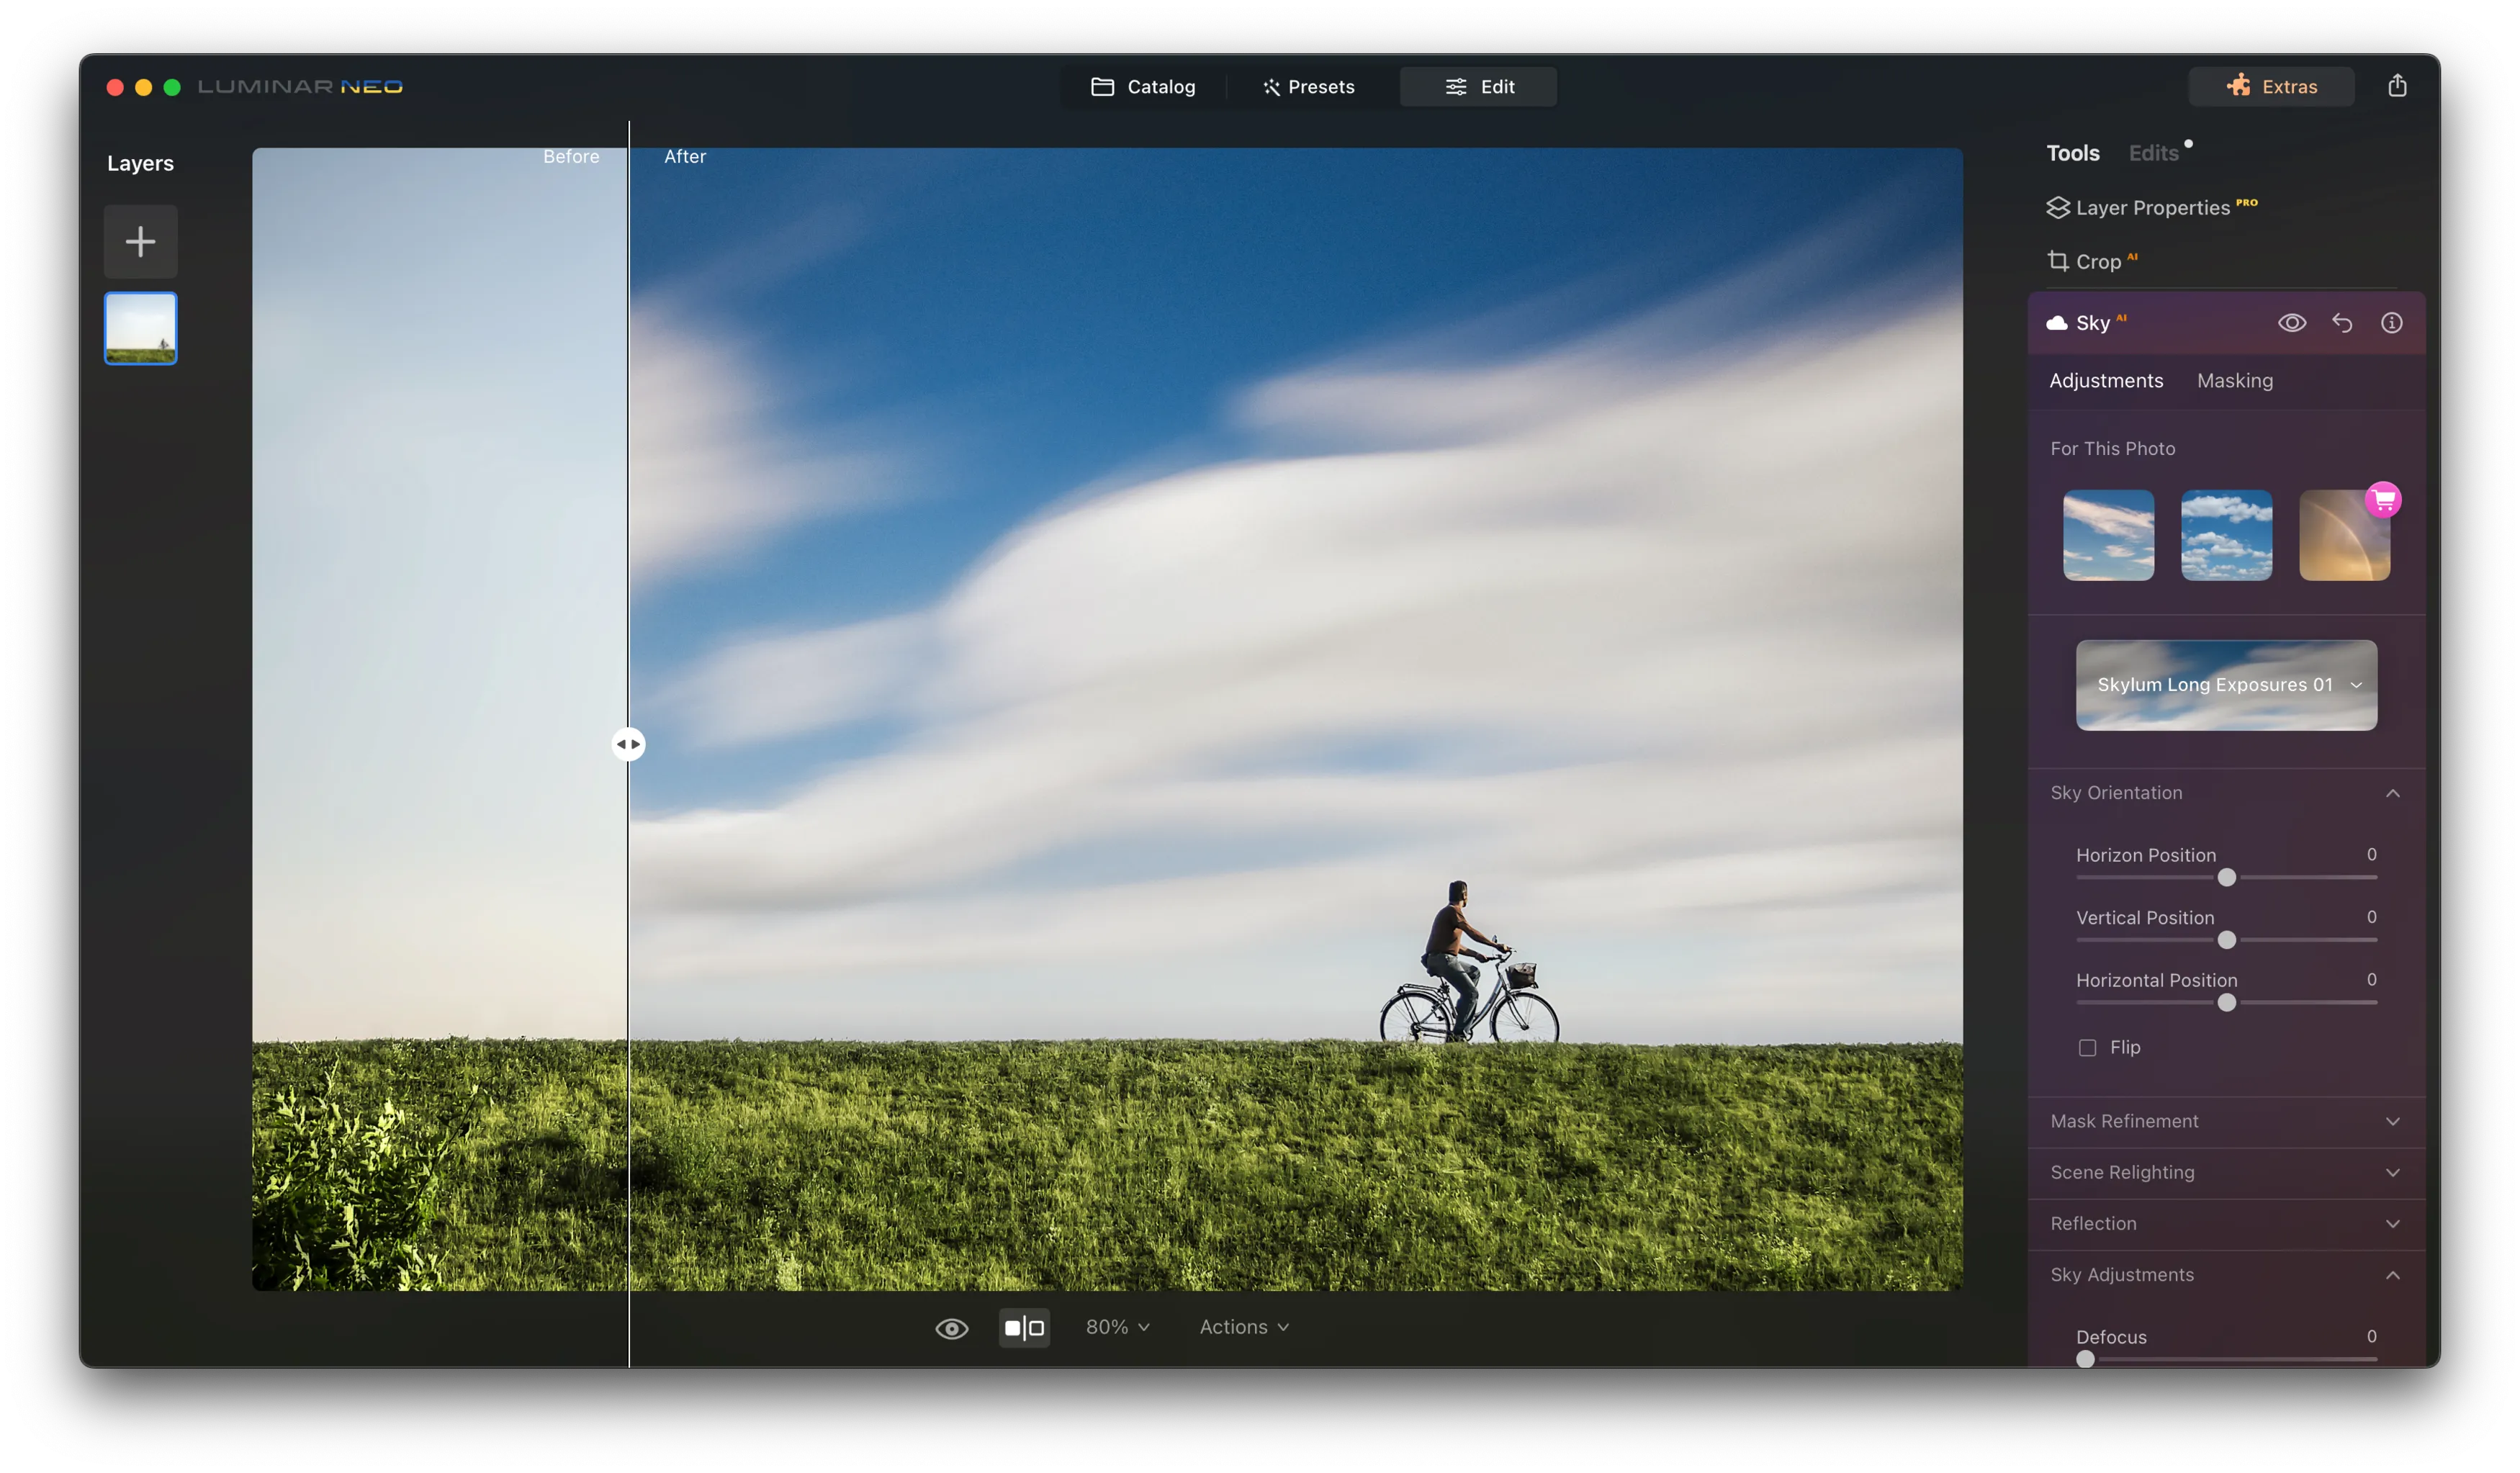
Achieving AI-powered transformations in your photos is exciting, but for the edits to shine, they must retain a touch of authenticity. Here’s how to make sure your AI-generated skies in Luminar Neo still look realistic:
-
Stay True to Nature’s Lighting: Remember the direction of light in your original photo. If the sun was setting to the left, ensure that your replaced sky aligns with that direction. Mismatched lighting can give away an edit instantly.
-
Mind the Ambient Light: Every sky brings with it a certain tone and mood. A stormy sky would naturally cast a darker, cooler tone over the landscape, while a sunset might drench the scene in warm hues. When selecting a sky, consider its impact on the ambient light of the whole scene.
-
Reflections are Key: If your photo has water bodies or reflective surfaces, they should mirror the sky above. Luminar Neo’s tools can help ensure that reflections in water or glass align with the sky you’ve chosen.
-
Tweak the Intensity: Sometimes, subtlety is the key. Instead of opting for a dramatic sky with full intensity, reduce it a bit to make the scene blend more seamlessly.
-
Check the Horizon: Ensure the horizon lines of the original image and the new sky mesh well. Avoid skies with distinctive horizon features unless they align perfectly with your photo’s natural horizon.
By paying attention to the details, your sky replacements will not only be stunning but also believably realistic. The goal is to make viewers wonder whether the sky was genuinely that breathtaking when you took the shot!
Are you looking for how else to improve your landscape shots? Check out our easy composition tips in this post as well!