Learn how to style and photograph dishes to bring out their natural textures, vibrant colors, and appetizing details.
Studies confirm that visuals directly influence consumers’ perception of a product’s quality. What is curious is that, despite the polished, “glossy” look of professional photos, consumers often place more trust in “authentic” and realistic food photography.
Don’t feel like reading the whole breakdown? We’ve pulled together a quick summary below.
Key Takeaways
- Authenticity over perfection: Viewers place more trust in realistic food captures than in overly polished studio advertisements, as a natural presentation triggers stronger subconscious approval and appetite.
- Contextual decor: Props must complement the arrangement without distracting from the food. Introducing raw ingredients straight from the recipe—such as spices, zest, or fresh berries—serves as an excellent styling solution.
- Aligning angles with geometry: The camera tilt should match the shape of the culinary creation. Flat dishes display beautifully at a 90-degree angle (flat lay), voluminous plates open up at 45 degrees, and tall, multi-layered structures require a straight side view.
- Organic framing: Constructing natural borders with crumpled napkins, trays, or scattered elements isolates the hero dish, focuses viewer attention, and adds a sense of depth to the frame.
- Side and backlighting setups: Front-on light makes a dish look flat and unappealing. Side and backlighting illuminate steam, bring out liquid textures, and define shadows, while reflectors on the opposite side soften dark spots.
Planning Your Food Photography Composition

Your food styling photography needs to be quick and well-planned. Food doesn’t last forever, so before you know it, the greens wilt, sauces form a crust, and ice cream melts.
- Defining the concept and mood. Every successful photograph begins with a clear vision of the dish’s story—from a cozy home breakfast with warm wooden surfaces and crumbs on the table to an elegant restaurant dinner.
- Creating a mood board. To visualize the future atmosphere, style, and color palette in detail, it’s worth gathering references in advance on platforms like Pinterest or Instagram.
- Stick to the rules of context and moderation. All items in the frame should complement the main dish. A great solution is to use ingredients from the recipe itself, sprinkled spices, zest, or fresh berries.
Hours have passed at the restaurant, and the food doesn’t look quite as appetizing anymore. Don’t be quick to get discouraged and put off taking your photos. A smart photo editor, such as Luminar AI, can help restore your photos to their former vibrancy and preserve them on your Instagram forever.
Your AI-Powered Photo Editor for MacOS and Windows
Choosing the Right Camera Angle

Does it make sense to shoot from a certain angle? What difference does it really make when you photograph an apple from above, looking at the stem, or from below? It all depends on the dish. The wrong angle can instantly distort the dish’s proportions or make a voluminous culinary installation look flat and unappetizing. Sounds like a lot of work?
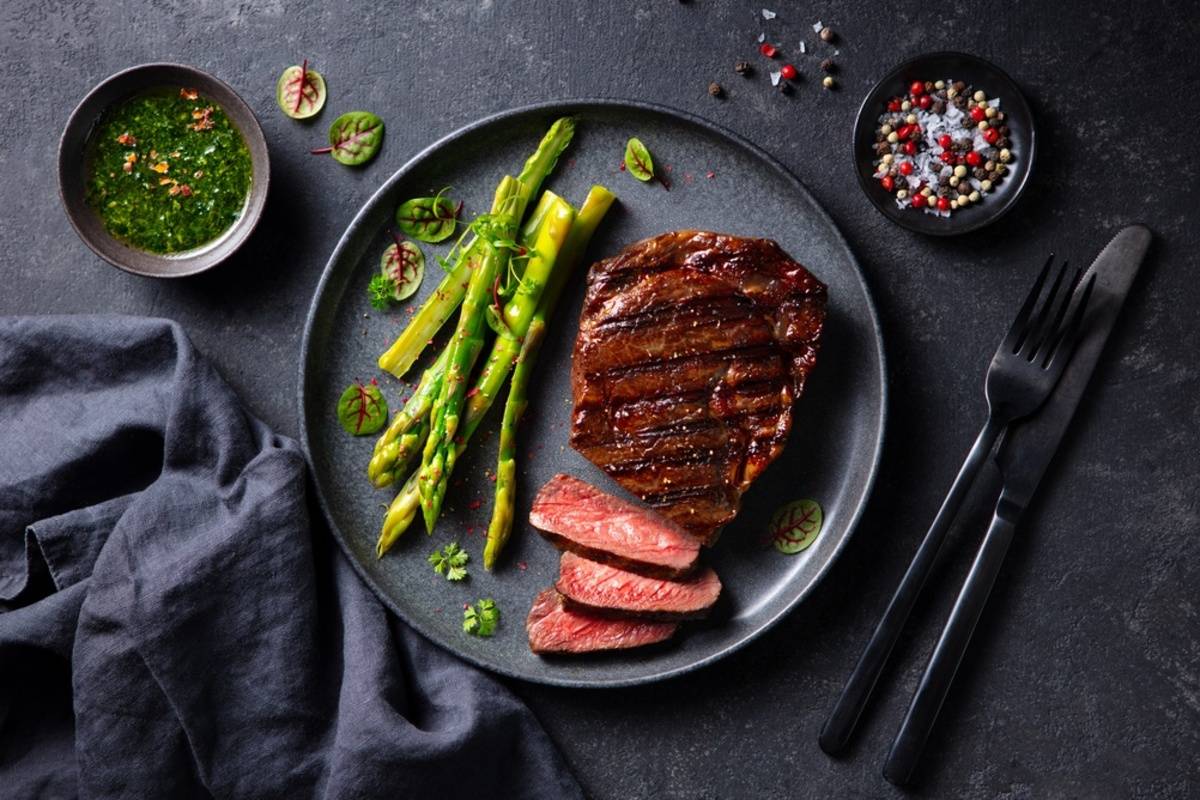
- Flat lay. The 90° angle transforms three-dimensional space into a graphic canvas where it’s easy to create patterns and balance objects.
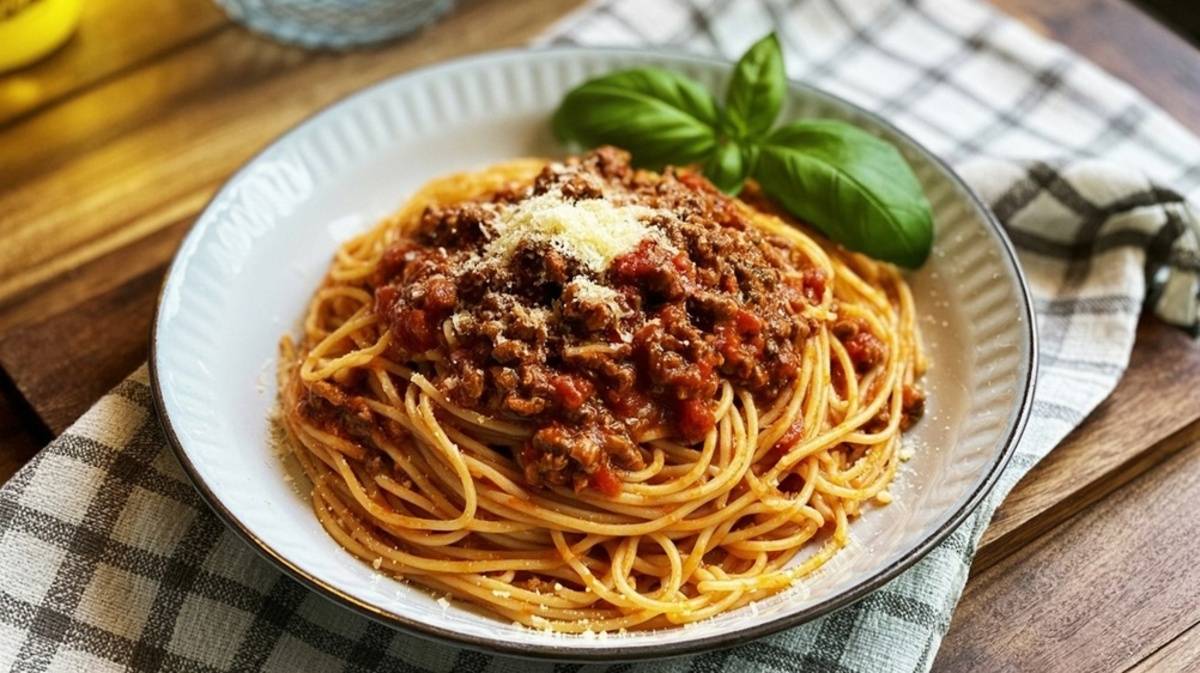
- 45-degree angle. This is the classic “guest’s view” from a seat at a restaurant table. It’s versatile as it shows both the top of the dish and its sides. Suitable for salads, pasta, and steaks.
- Eye level (0–15 degrees). If your dish has vertical layers (burgers, tall cakes, stacks of pancakes, drinks), shoot strictly from the side.
Modern composition also involves photo editing. Figure out which method you’d prefer, manually or with a Luminar assistant. It all depends on your skills and patience. Whether you use the assistant or do it yourself, these food styling tips will help you either way.
Exclusive Tools of Endless Possibilities in One Editor
Mastering the 45-Degree Angle

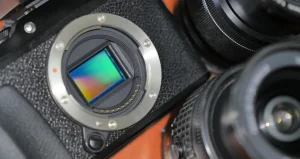
The biggest mistake when shooting from this angle is using wide-angle lenses (such as 24mm or 35mm), which distort the proportions of the tableware. Round plates appear oval, and the foreground looks too bulky. A 50mm or 90-105mm telephoto lens will help preserve the correct geometry, as these lenses compress the space, create ideal proportions, and let you beautifully separate the main subject from the background.
Photographers often share two simple food styling techniques that come into play when you look at food from an angle and notice ingredients that aren’t visible from above.
- The layering effect. Arrange ingredients in a “mound” or create small cascades. A salad shouldn’t lie flat on the bottom of the plate; its elements should rise upward.
- The “front” of the dish. Since the camera sees the dish from the side, rotate the plate and find its most photogenic “front.” The most attractive pieces, fresh greens, or glossy sauce should be facing directly toward the lens.
- Aperture. Emphasize the edge of a particular piece by setting the aperture to f/2.8. You can widen the depth of field from the edge to the plate by closing the aperture to f/5.6 or f/8.
Go all out. If you can control the lighting in any way, use small white reflectors or pieces of foam board on the side opposite the light source. This will illuminate the shaded areas of the dish without losing the shadow details.
Exploring the Overhead 90-Degree Shot

Photography food shooting from above, or the so-called “flat lay,” levels out the height of objects, forcing the viewer to focus exclusively on shape, lines, color combinations, and patterns. At a 90-degree angle, any mistake in the placement of a fork or sauce boat immediately catches the eye.
If the light during a flat lay shoot turns out to be too diffused and flat, the food photo editor can help locally polish microcontrast. These tools analyze the food’s texture and enhance sharpness. In addition, in a top-down shot, the background takes up to 70% of the frame. You’ll need to tone down the saturation of a wooden or concrete table so it doesn’t distract from the dish’s bright, vibrant hues.
Elevate Your Photography with Our Advanced Software
Utilizing Lines and Layers in Styling
Composition in food photography relies on a clear framework. Since food is inherently a static subject, the photographer guides the viewer’s gaze, creates a sense of movement, and draws the viewer into the image through the use of lines and the layering of elements.
- Straight lines from props. Use elongated objects such as cutlery (a knife, the elongated handle of a fork), long wooden boards, chopsticks, or the pleats of a napkin. Arrange them so that they point toward the most appetizing element of the dish.
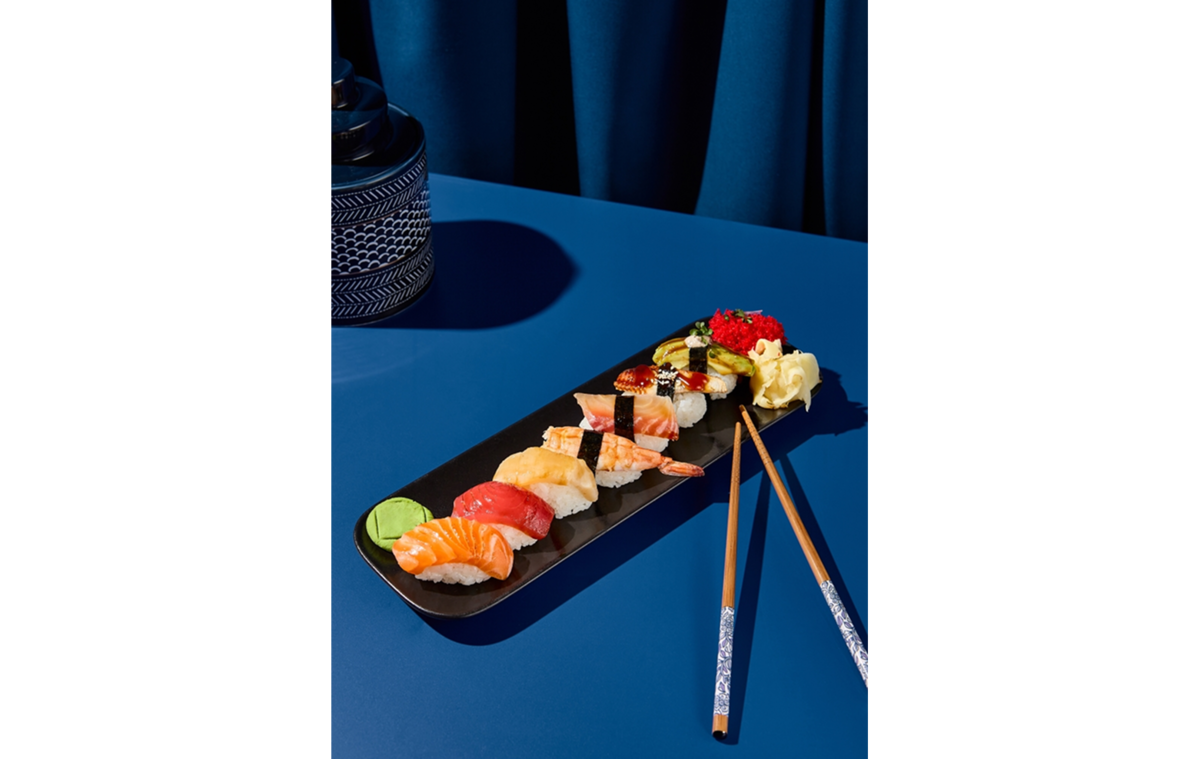
- Natural and diagonal lines. The food itself can create lines, whether they’re streaks of sauce on a plate or long stems of greens. Diagonal lines always work better than strict verticals or horizontals because they add cinematic movement and energy to the composition.
- Textural base. Start building the layers from the very bottom. First comes the table or photo backdrop (for example, rough concrete or old wood); place a fabric napkin with a distinct texture (linen, jute) on top of it, followed by a wooden board or a woven mat.


Once you’ve figured out the composition, set up the proper lighting. Textural transitions between layers of fabric, ceramics, and food often require precise AI color grading to prevent the shot from blending into a single, indistinct mass. For example, try making the shadows between the layers of tableware and textiles cooler and deeper, while illuminating the dish itself and its top textural accents with warm, rich tones.
Incorporating Patterns and Shapes

The foundation of any visualization is basic geometry. It helps organize the clutter in the frame and makes the composition balanced and pleasing to the eye. Together with patterns, they can capture attention because the human brain is evolutionarily programmed to look for patterns and repetition in the surrounding environment.
- neat rows of sliced cucumbers—arranged one after another on a tart;
- rectangular or square objects—adjusted their corners to form imaginary triangles;
- textiles with geometric micro-patterns—napkins with thin stripes or a checkered pattern.
Patterns from cookies, symmetrical plates, mint leaves… Any contrasting break from the geometry will make your food photography come alive and feel a bit unique. This is especially helpful for those who are tired of monotonous Mukbank content on Instagram.
Effective Framing Techniques

Framing in food photography separates the main dish from the rest of the space, draws the viewer’s attention to the desired point, and adds depth to the shot. To create a framing effect, all you need are a few basic household items that are sure to serve their purpose.
- a slightly crumpled linen napkin—defines the space and draws the eye to the center;
- trays or platters as a primary frame—focus attention on the contents;
- scattered coffee beans or cinnamon sticks—highlight the context of the dish.
During post-production, you may notice the vignetting effect—a kind of darkening applied by photo retouching software to draw attention to the food. Additionally, cropping algorithms help automatically correct perspective and find the ideal aspect ratio.
Lighting Strategies for Food Photography

The biggest mistake is using direct “front-on” lighting, which makes the dish look flat and creates unflattering glare; therefore, side or backlighting is considered the industry’s gold standard. Side lighting gently outlines the contours of the ingredients, while backlighting highlights steam and liquid textures beautifully and creates deep, artistic shadows.
Depending on whether you’re working with soft natural light from a window or with softboxes, always use reflectors on the opposite side to control contrast and prevent the dish’s details from disappearing into too-dark, too-deep shadows.