Learn to create professional-looking images for your business even if you don’t practice photography! Here’s how to take great photos for your social media accounts and your website without breaking the bank.
Respecting your budget
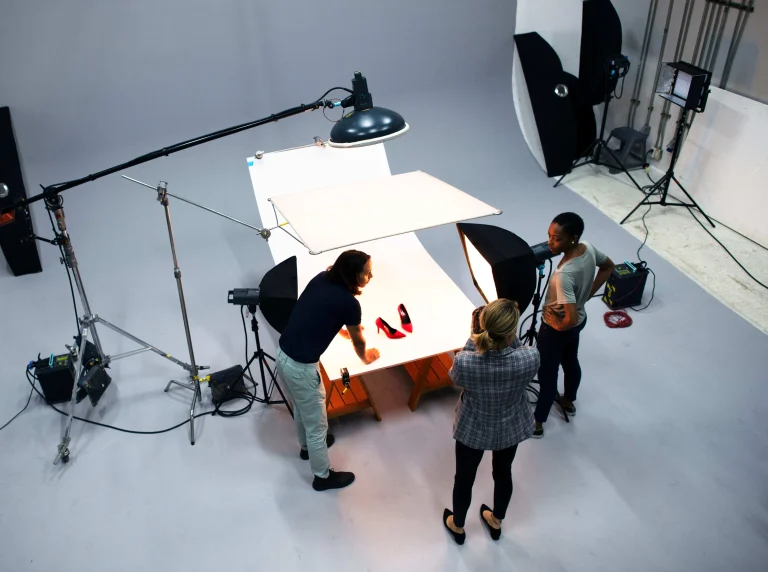
The most obvious way to get professional images for your business is to hire a pro photographer. But if you’re on a tight budget, this might not be an option.
Here are some useful tips to take great-looking images and get that wow effect with simple editing. This technique uses minimal equipment to help you achieve corporate-style pictures to promote yourself as well as your products and services.
Required/suggested equipment
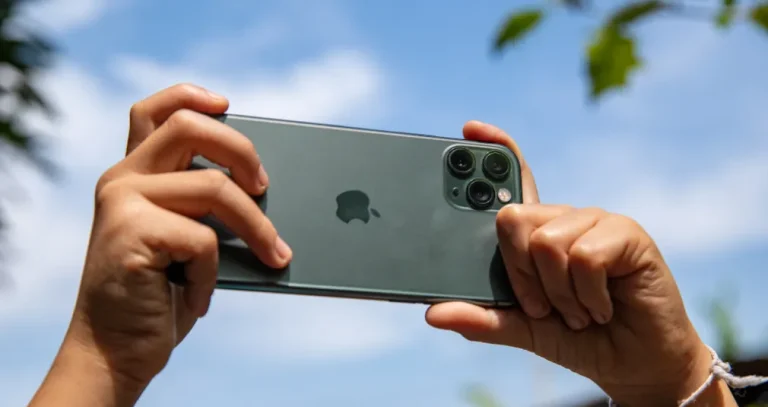
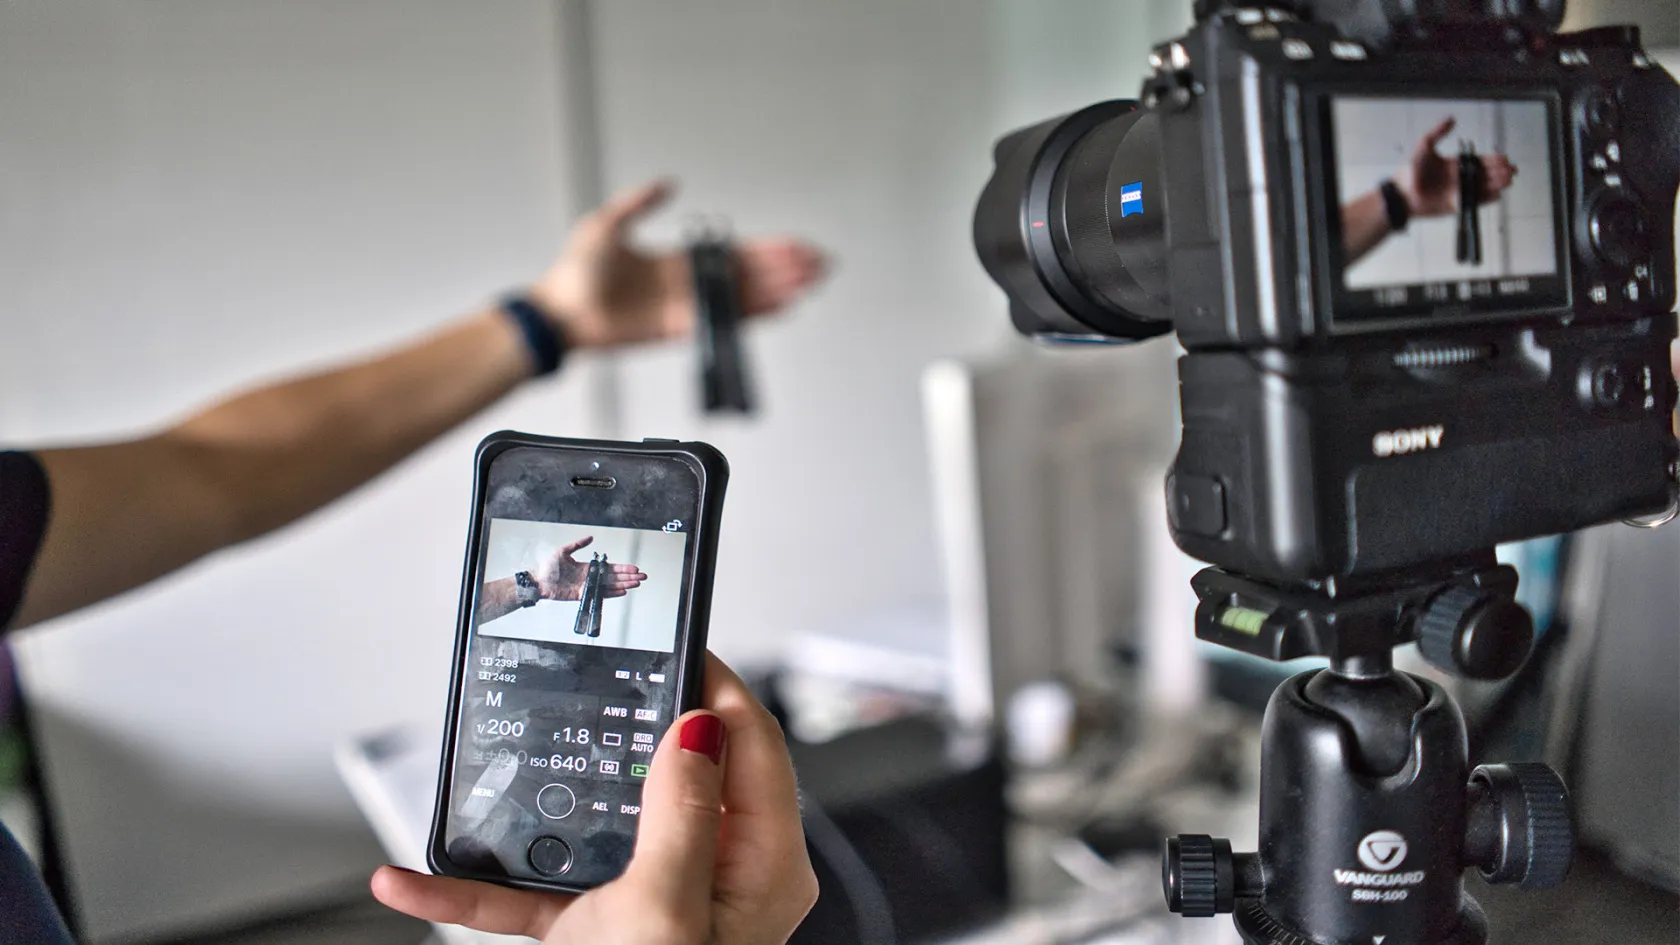
All you’ll need is a camera (DSLR or mirrorless), a smartphone, and a tripod. You could use a chair or a table instead of a tripod, but investing that extra hundred bucks will make your life that much easier and more enjoyable — believe me. Also, make sure your camera has built-in Wi-Fi so you can shoot remotely from your smartphone.

Lens
Any type of lens will create great pictures. However, some lenses are more convenient and will get you better results. I suggest a focal length between 35mm and 70mm. That way you’ll be able to place the camera relatively close to yourself while not getting your entire environment in the frame. A lens in the range of 35mm to 70mm is also more flattering for portraits than a wider angle lens (like a 20mm, for example).
You can either pick a zoom lens (for example, 18–55mm) or a prime lens (for example, 50mm) depending on your budget and preferences. Most basic camera kits come with an 18–55mm lens, which is perfect to begin with.
Camera settings
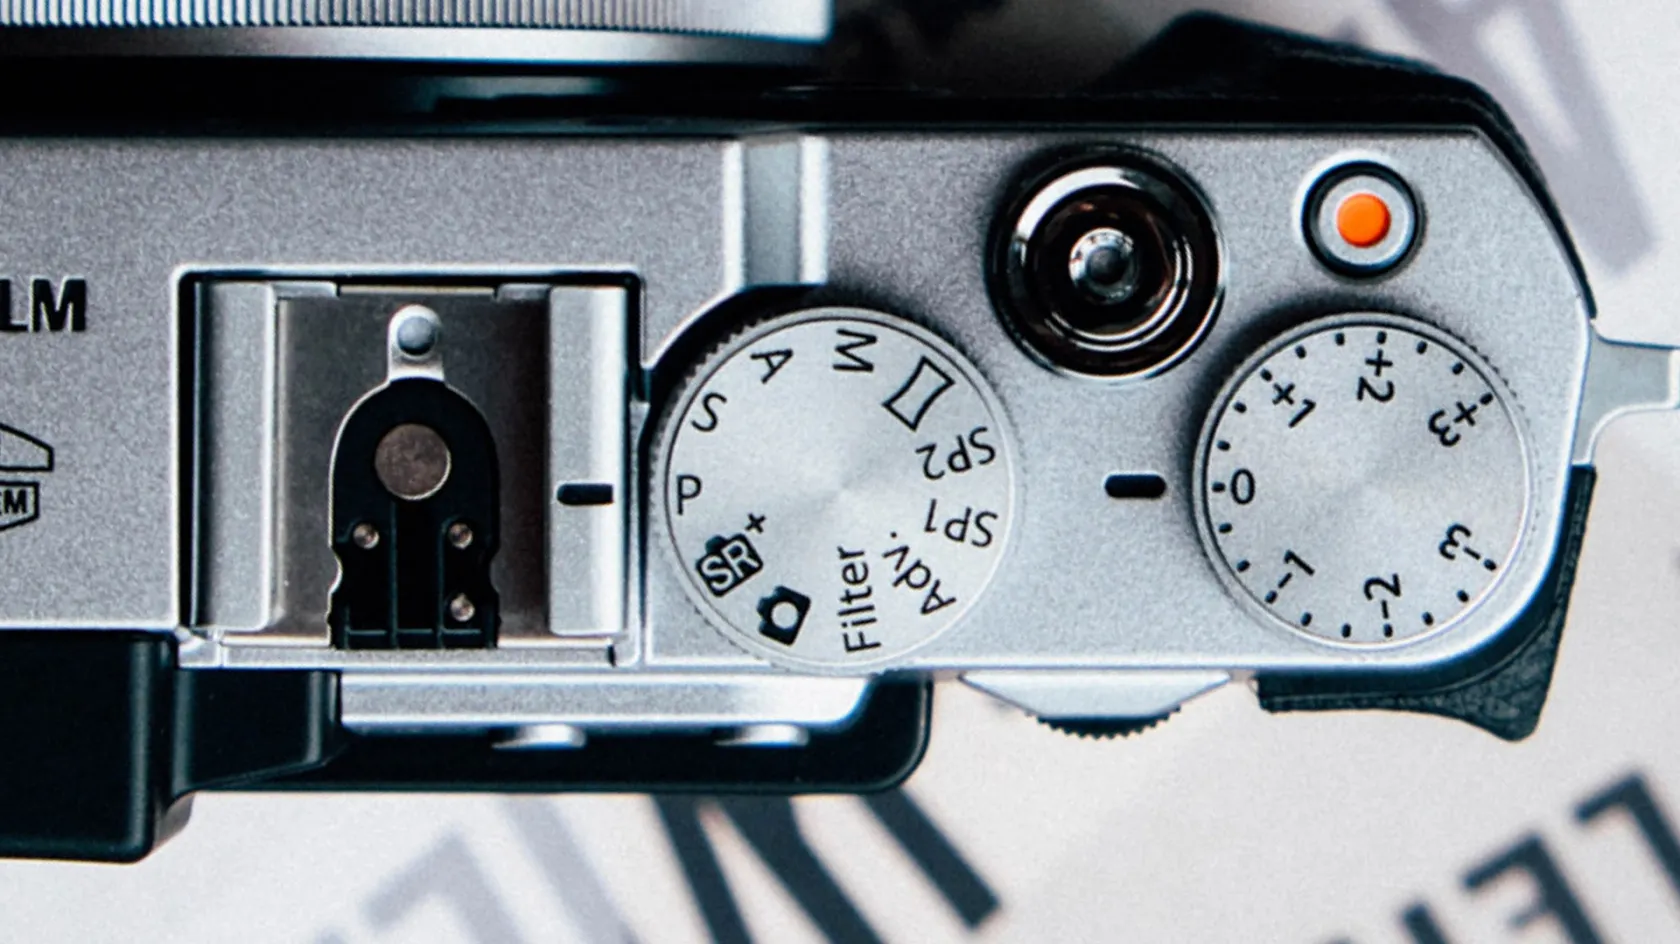
If you’re not familiar with cameras and photography in general, just stick to Automatic mode. It’s a no-brainer and — just like the AI technology in the latest software — it’s effective and accurate.
If you have some basic knowledge and feel comfortable taking a little more control, I suggest selecting a semi-automatic option such as aperture priority (A or Av) from your camera’s mode dial. Setting your lens to the largest available aperture will help you introduce more of a blurry effect — which creates a corporate look. In aperture priority mode, the camera will take care of the shutter speed and ISO by itself.
Lighting
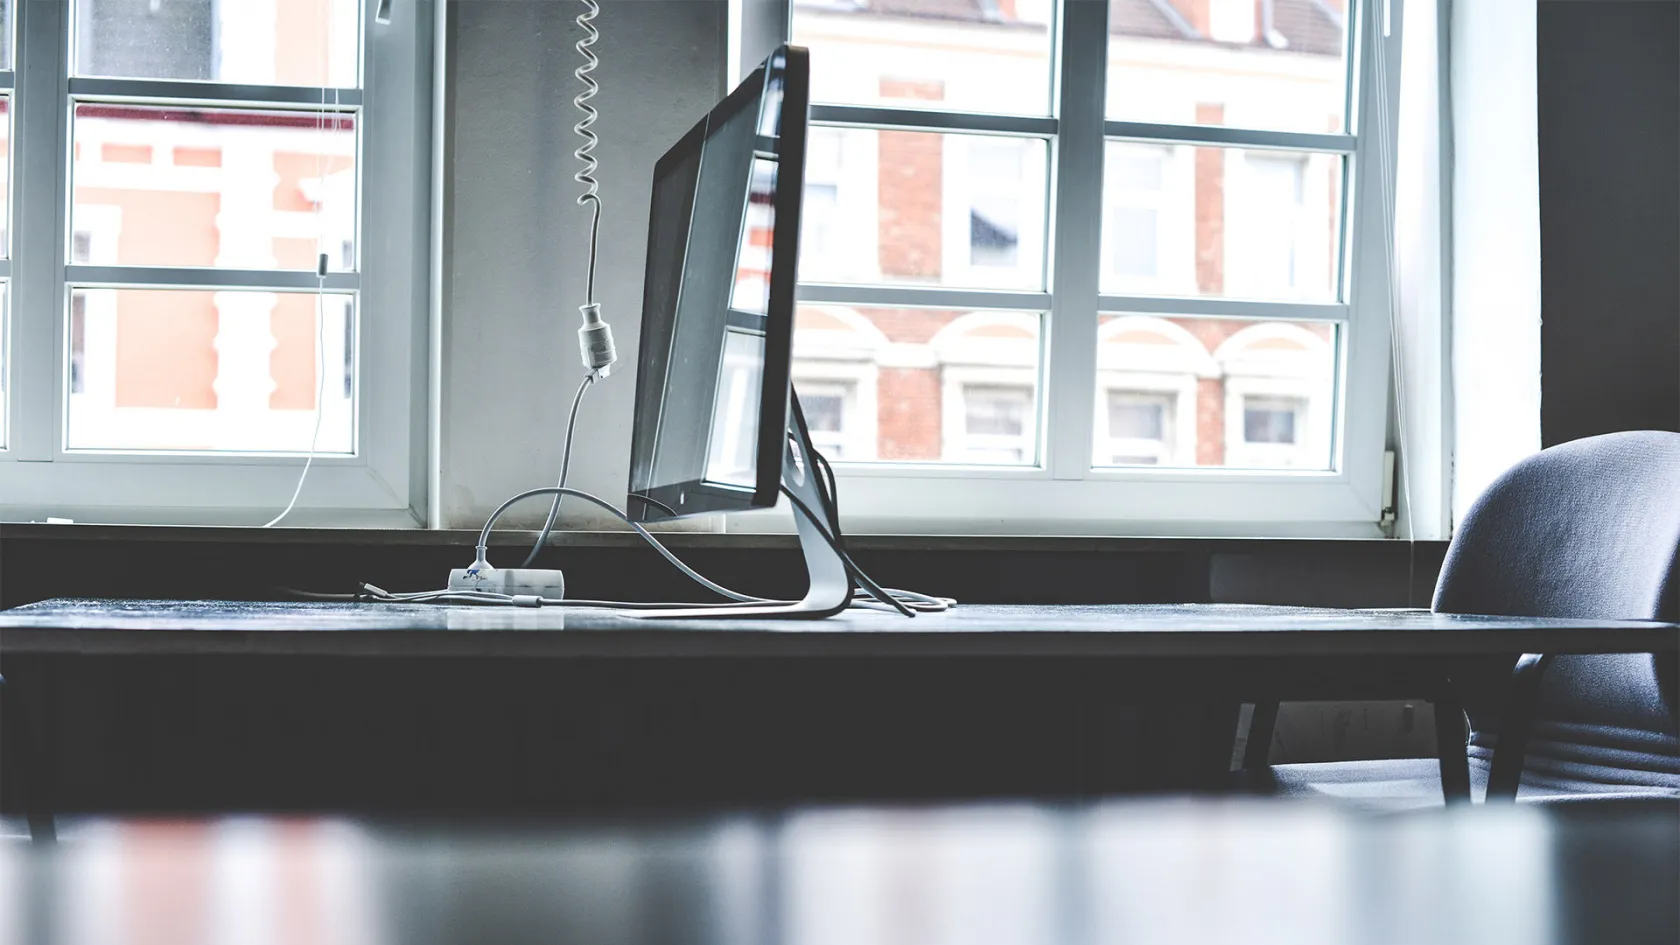
Find a place with lots of natural light. It can be outdoors or indoors near a large window. If needed, you can also get a white cardboard box from the Dollar Store to use as a reflector.

Background
Look for a clean background. Brightly coloured walls are likely to reflect their color. If you’re standing next to a blue wall, for instance, your face might have a blue cast. Try to be surrounded by neutral colours like whites, beiges, and greys.
Also, try to place yourself a few feet away from the wall. This will help make the wall look blurry, create separation between you and the background, and prevent shadows from appearing behind you.
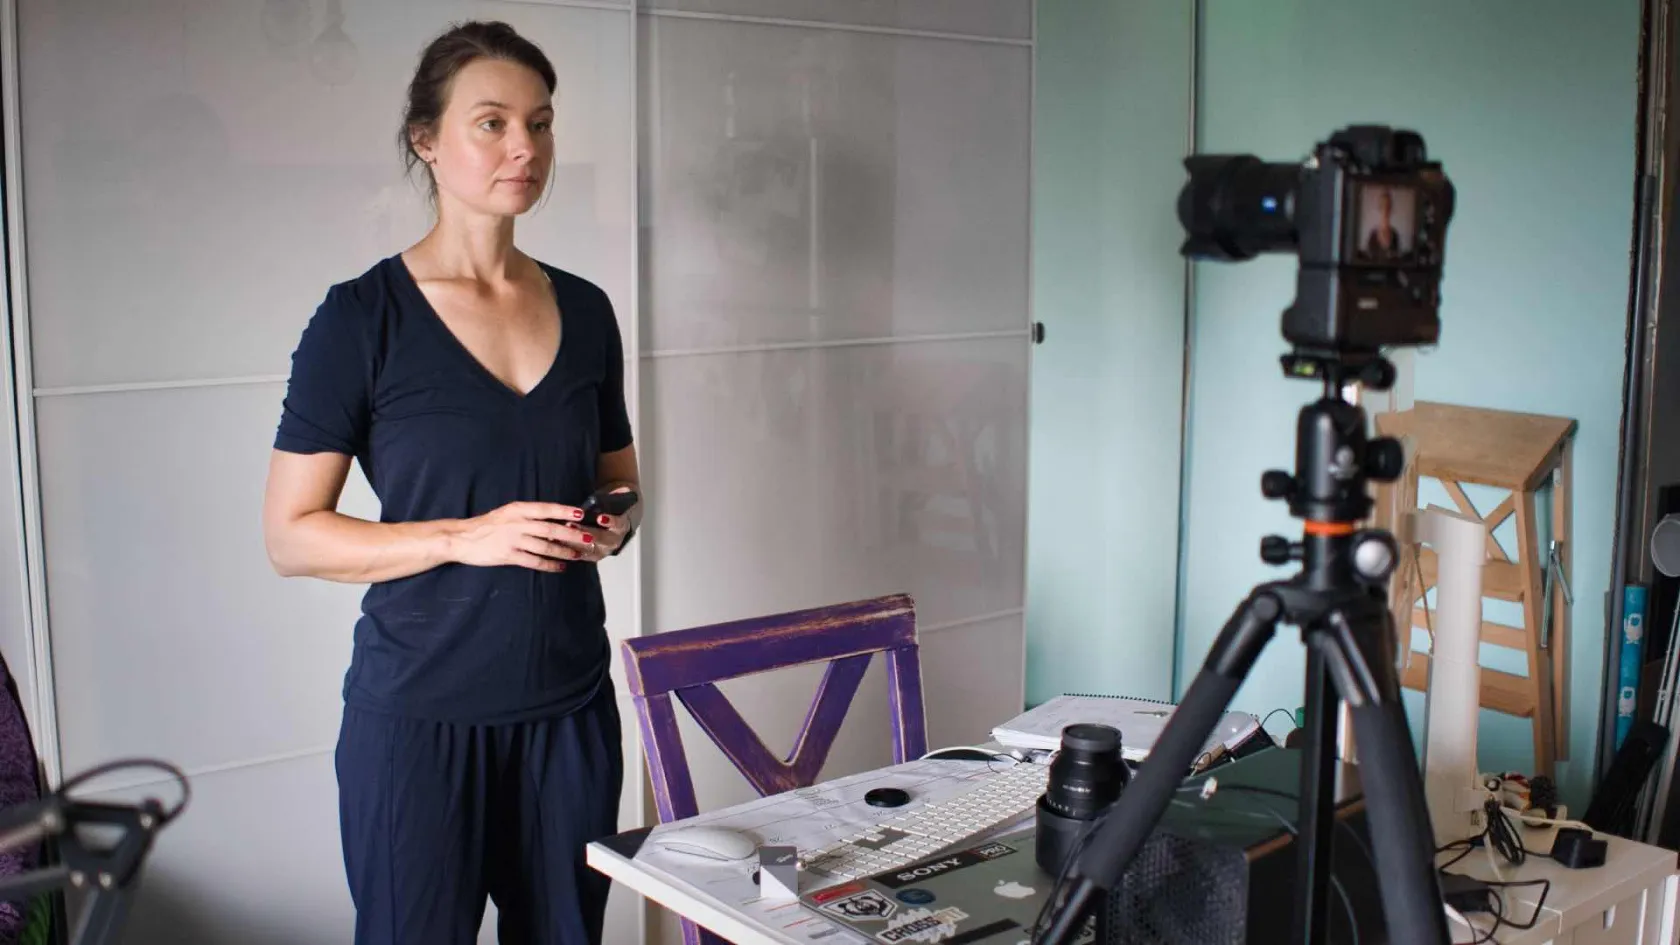
As a side note, you absolutely do NOT need a professional studio to obtain great results. You can hold your photoshoot at your office, your warehouse, or even at home. All you need is a small and naturally lit area.
How to take headshots
Whether it’s to update your website, LinkedIn profile, or Facebook profile or to submit along with a featured article, a nice-looking headshot is a must for any business owner.
Tips for taking a great headshot:
- Place your tripod at eye level. This will create a visual connection between you and the viewer.
- Set up the camera. Choose either automatic or aperture priority mode and make sure autofocus is enabled so the camera accurately focuses on your face/eyes.
- Compose the frame. Find an interesting composition with a clean background.
- Take lots of pictures! Use your cellphone as a remote shutter release for your camera.
Click here for more self-portrait tips.
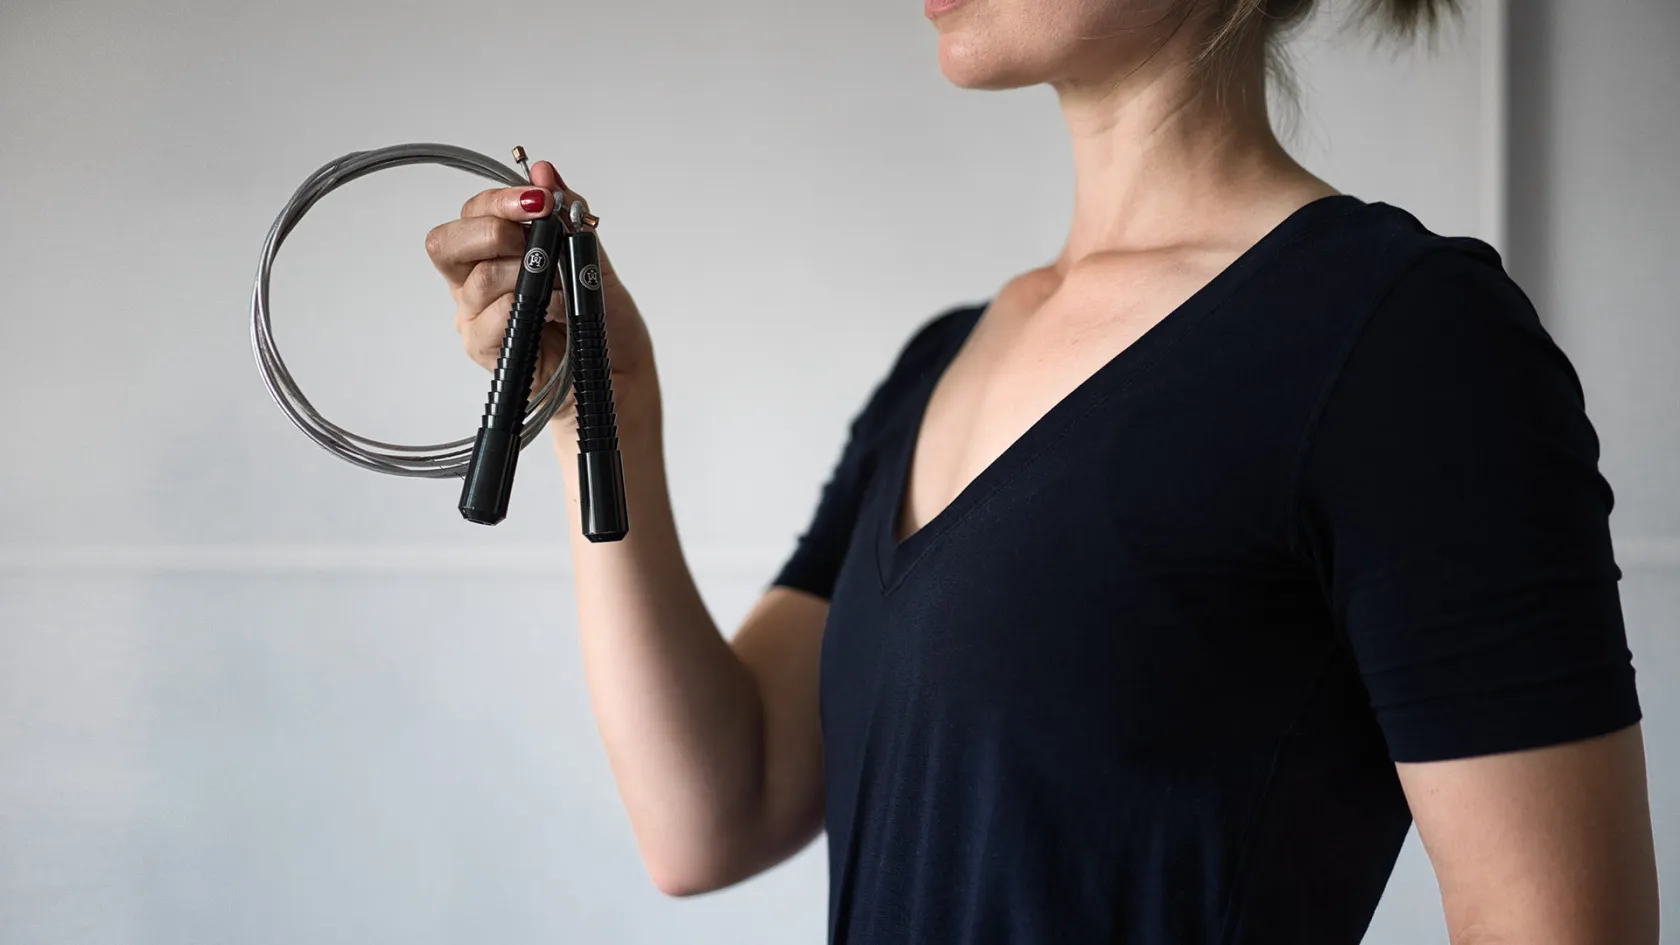
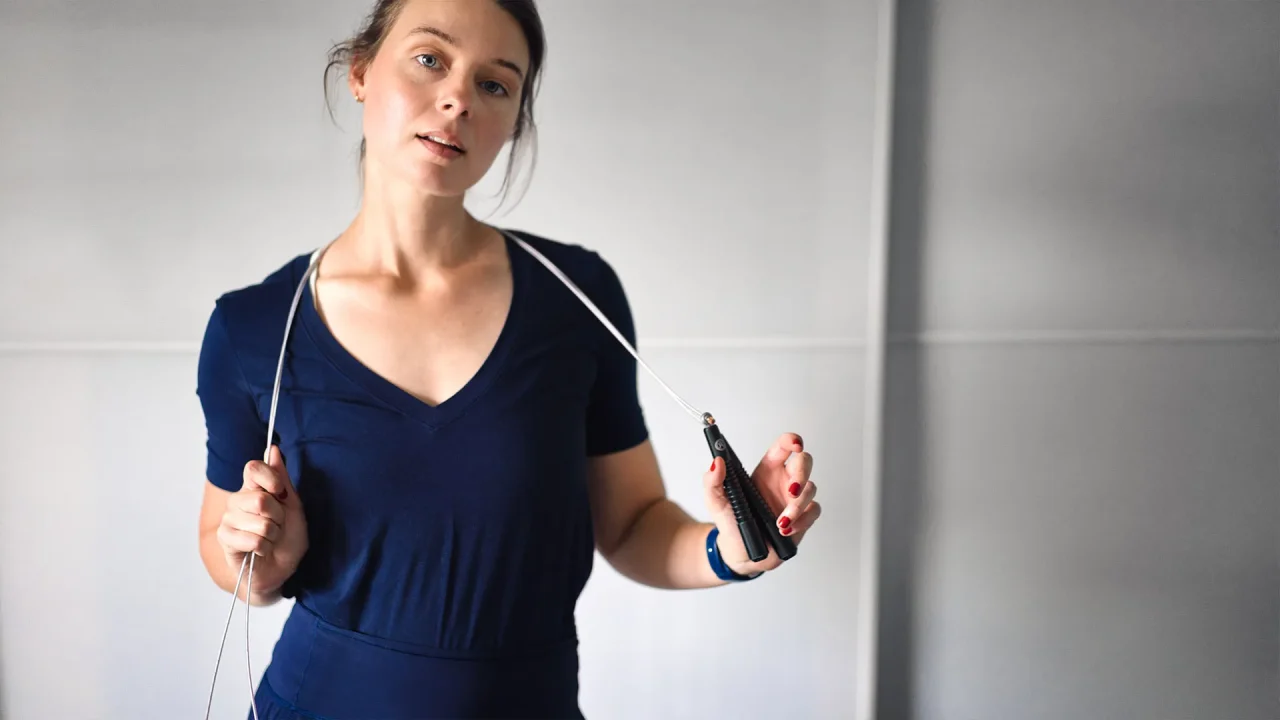
How to take product shots
No model? No problem!
Follow the same steps as for a headshot and become your own model! Your camera’s two-, five-, or ten-second delay is a very handy option to allow yourself some time to strike a pose.
Don’t be afraid to try different compositions: It will create dynamism. Move around and get closer shots to get small details or full-body shots to show how to use a product. Place yourself in the middle or on the left or the right of the frame. Variety is key.
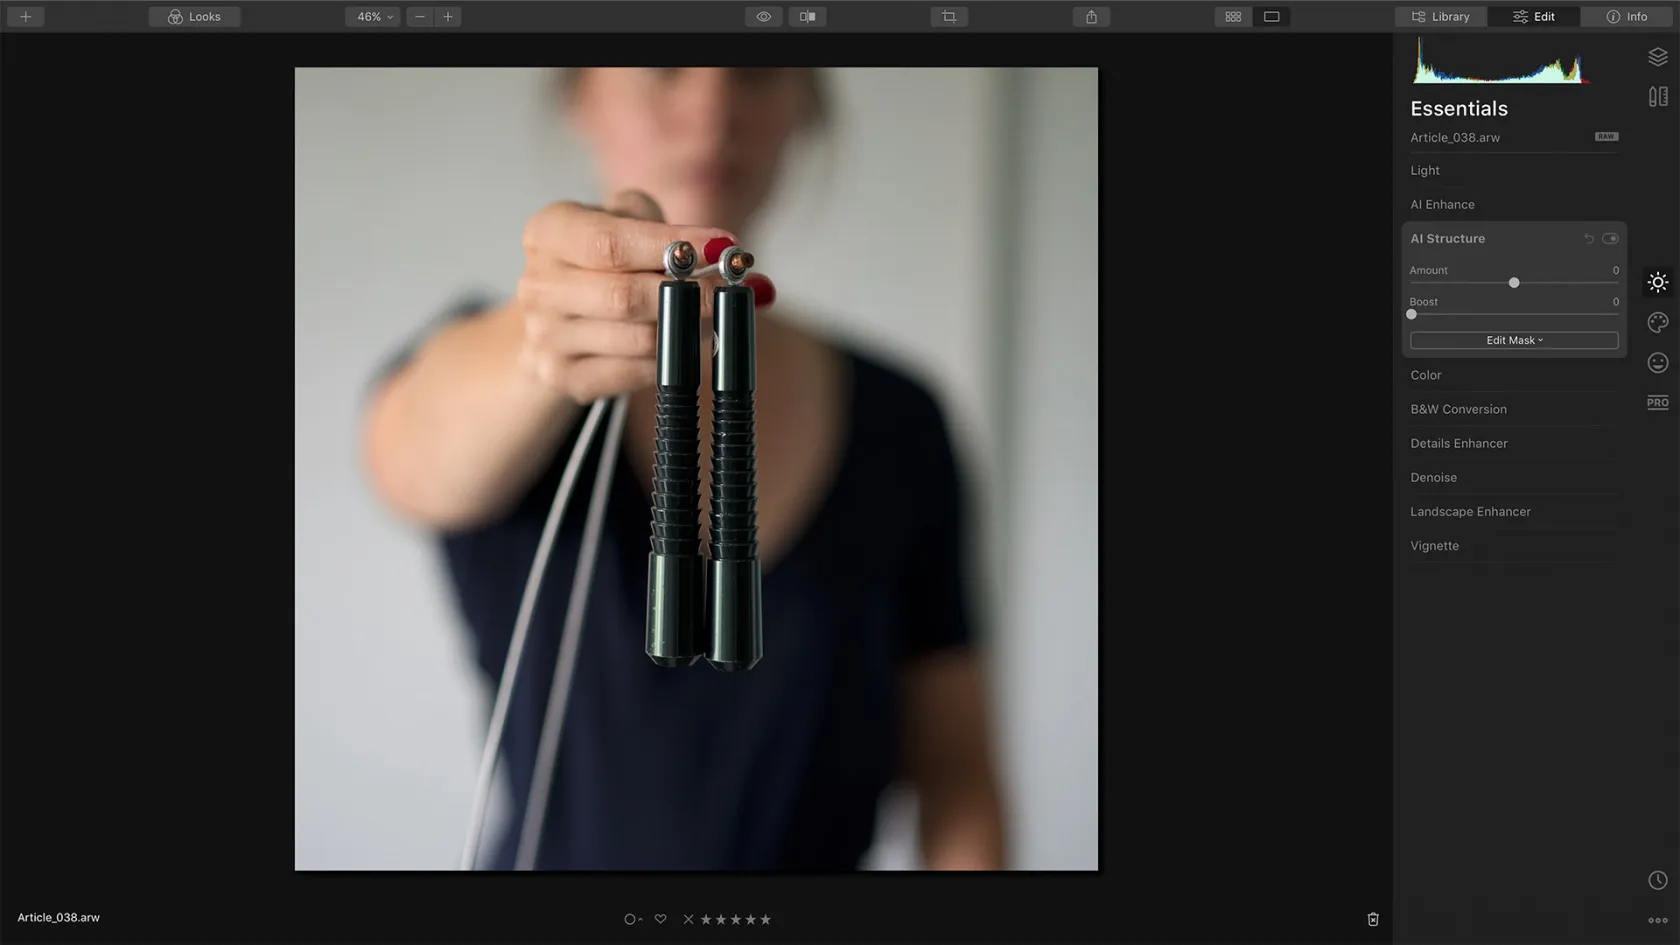
Now that you’ve got plenty of nice shots, it’s time to elevate them with Luminar 4! Follow these steps to create an editorial look:
- Crop. Instagram? Facebook? YouTube? Website banner? Make sure you’ve got the perfect ratio for maximum impact.
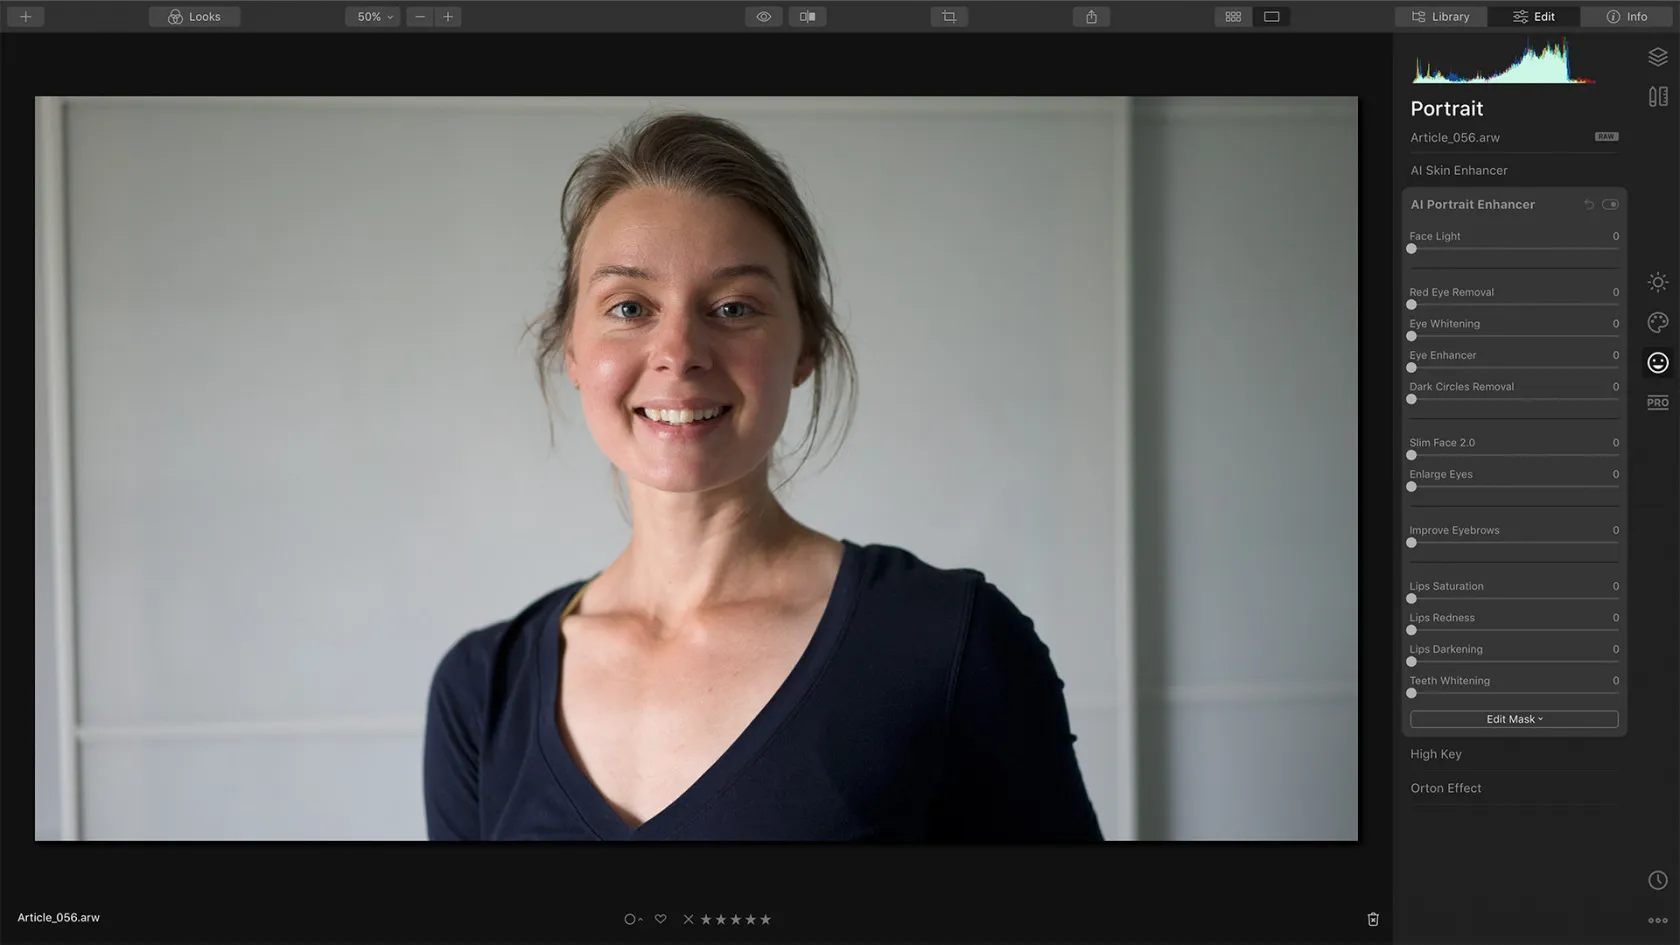
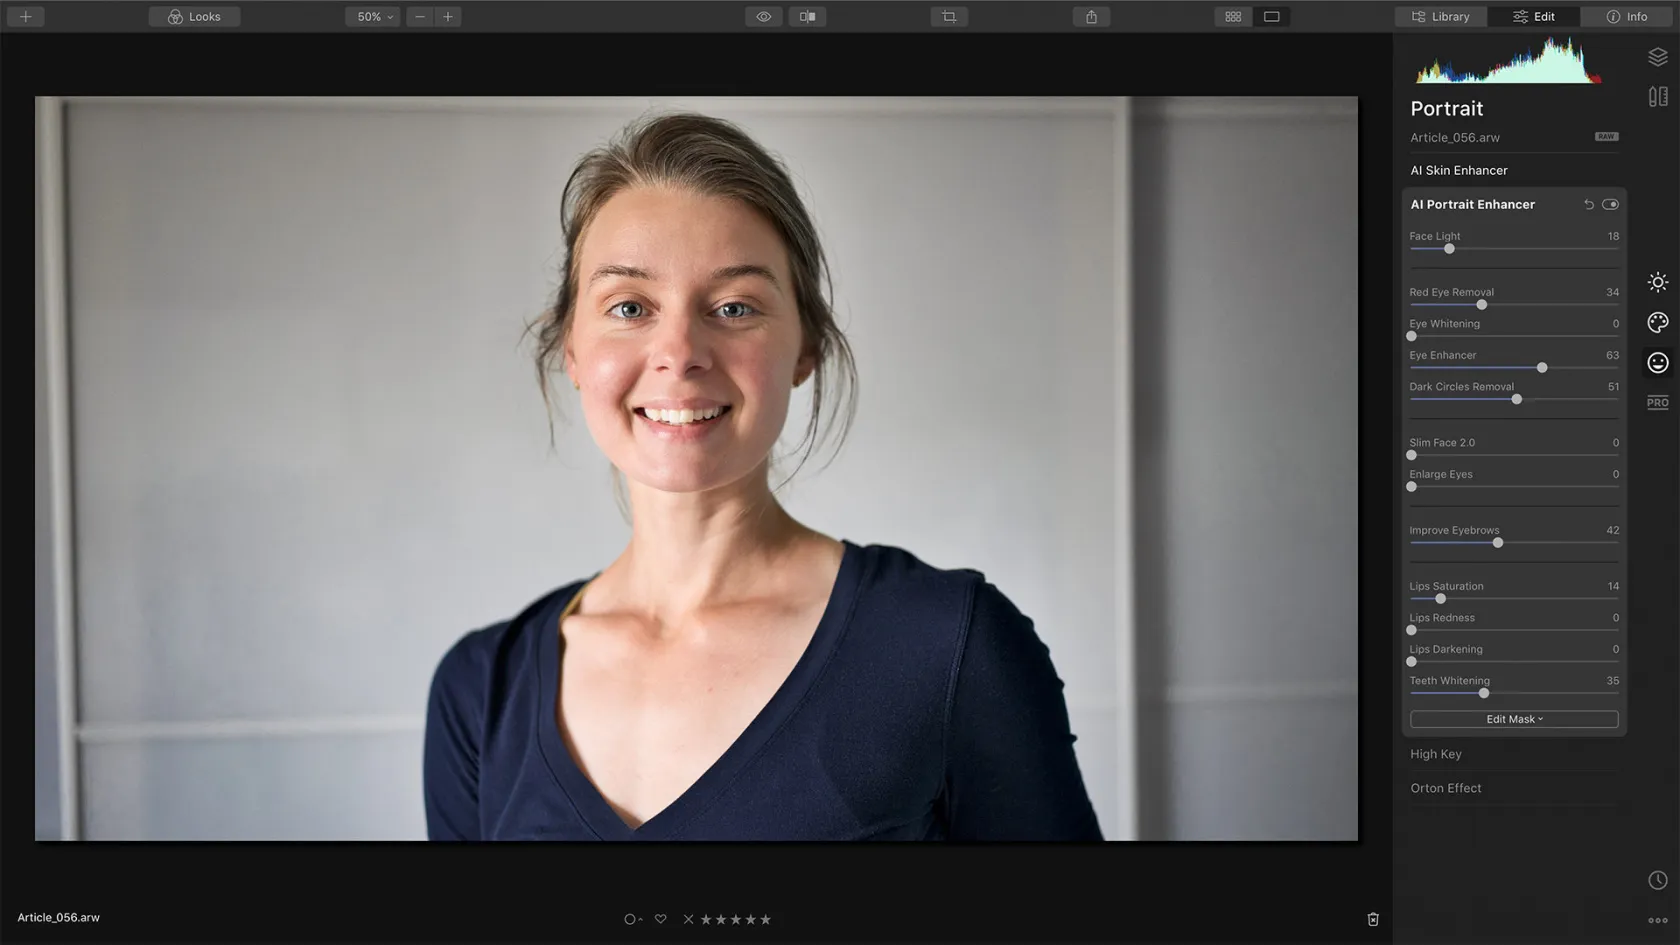
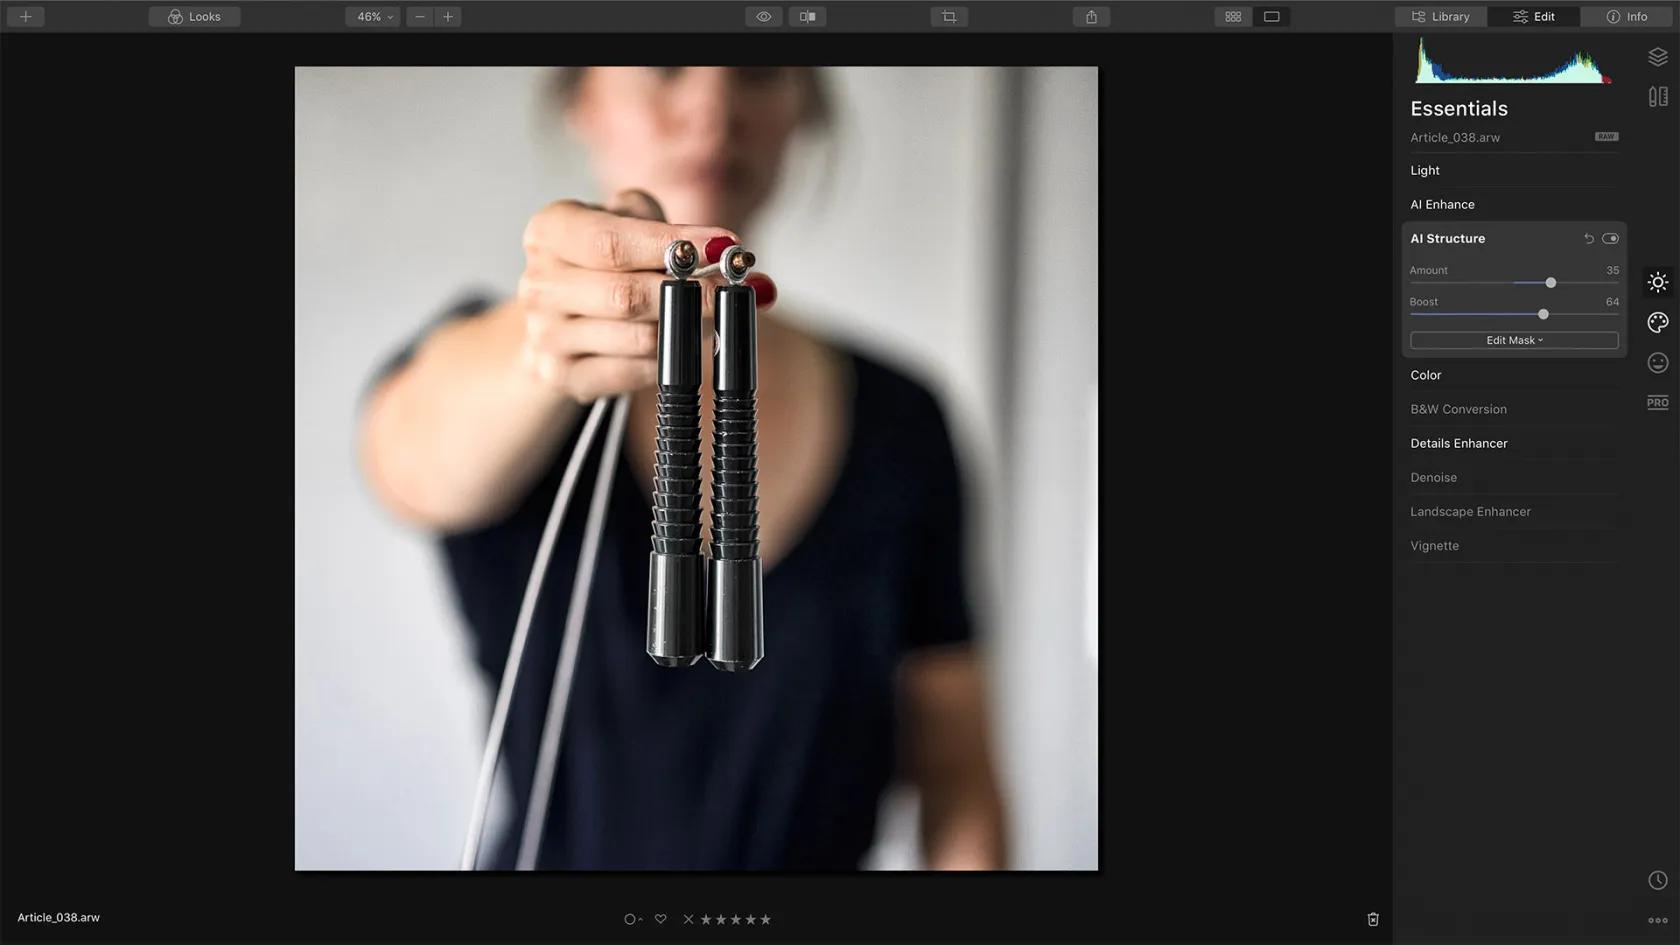
- Take advantage of AI technology. Not a fan of post-production? In a hurry? Want the best result in the least time? Look for AI-powered tools such as AI Enhance, AI Structure, AI Skin Enhancer, and AI Portrait Enhancer to automatically bring out the best in your pictures. Play with the sliders, watch what they do, and add as little or as much of an effect as you want. That’s it.
- Save your Look for next time. Once you’re happy with the look you’ve achieved, save your own custom Look for future photoshoots. This will ensure consistency in your branding AND save you a lot of time in your next post-processing workflow!
If you’re interested in learning more about editing natural-looking portraits, head to this article!
Be confident. You can do it!
If you’re looking to bring more awareness to your brand on the web, you’ll need stunning pictures (and quite a few of them!). The good news is that you can take them yourself with little to no photography skills. Take advantage of technology (the automatic mode on your camera and the AI tools in Luminar 4) to create your next campaign.
You have the power right now to start your new visual project. Be confident, let your imagination and creativity flow, and most of all, have fun!