The newest iPhone photo edit settings trend proves you don’t need heavy filters to make your pictures stand out.
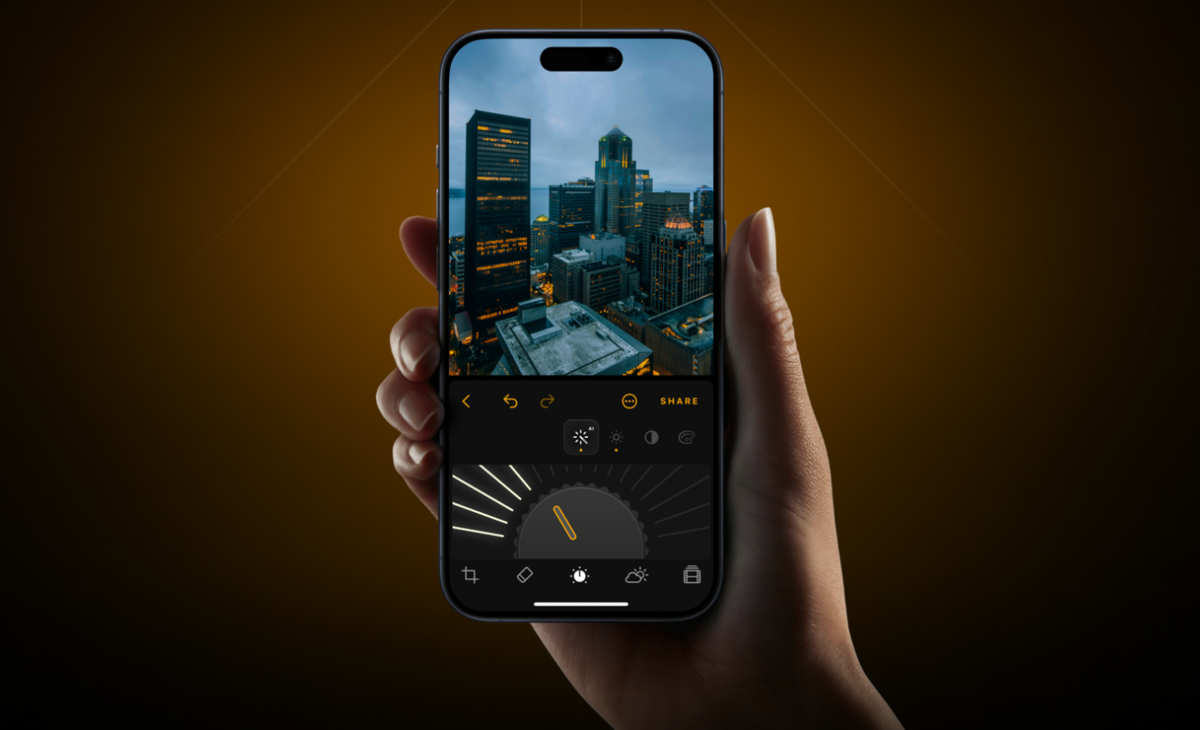
Forget heavy filters. The latest iPhone editing trend is all about subtle manual adjustments that make photos brighter, sharper, and more natural using Apple’s built-in Photos app. By fine-tuning tools like Brilliance, Highlights, Shadows, Definition, and Vibrance, you can enhance detail without making your images look overprocessed. Apple’s Photos app uses non-destructive editing, so you can always revert to the original images if needed.
Avoid blindly copying other people’s settings from the internet. Once you do, editing becomes much more intuitive, and you’ll naturally develop a style that’s uniquely yours.
Key Takeaways
- Using Brilliance is likely to yield a more natural improvement than simply increasing the Exposure setting.
- Lowering Highlights and raising Shadows usually recovers more information in bright skies and dark foregrounds.
- In many cases, adjustments between 5 and 25 points create a more natural-looking result than extreme edits.
- Definition and Sharpness improve texture differently, so they should be used together carefully to avoid digital artifacts.
- Apple’s built-in Photos app is powerful enough for most everyday photography, eliminating the need for expensive third-party apps.
iPhone Photo Editing Techniques Trending Now
Today’s iPhone photography trends focus on enhancing lighting and colors rather than applying dramatic filters.
A simple editing workflow is:
- Straighten and crop.
- Adjust Exposure or Brilliance.
- Recover Highlights and Shadows.
- Fine-tune Contrast and Black Point.
- Enhance color with Vibrance or Saturation.
- Apply Noise Reduction if needed.
- Finish with Definition and Sharpness.
Professional Editing. Now in Your Pocket.
Download Luminar on your Mobile Device
Exposure
Exposure controls the brightness of the whole picture. You need to use it when your entire picture looks too dark or too light.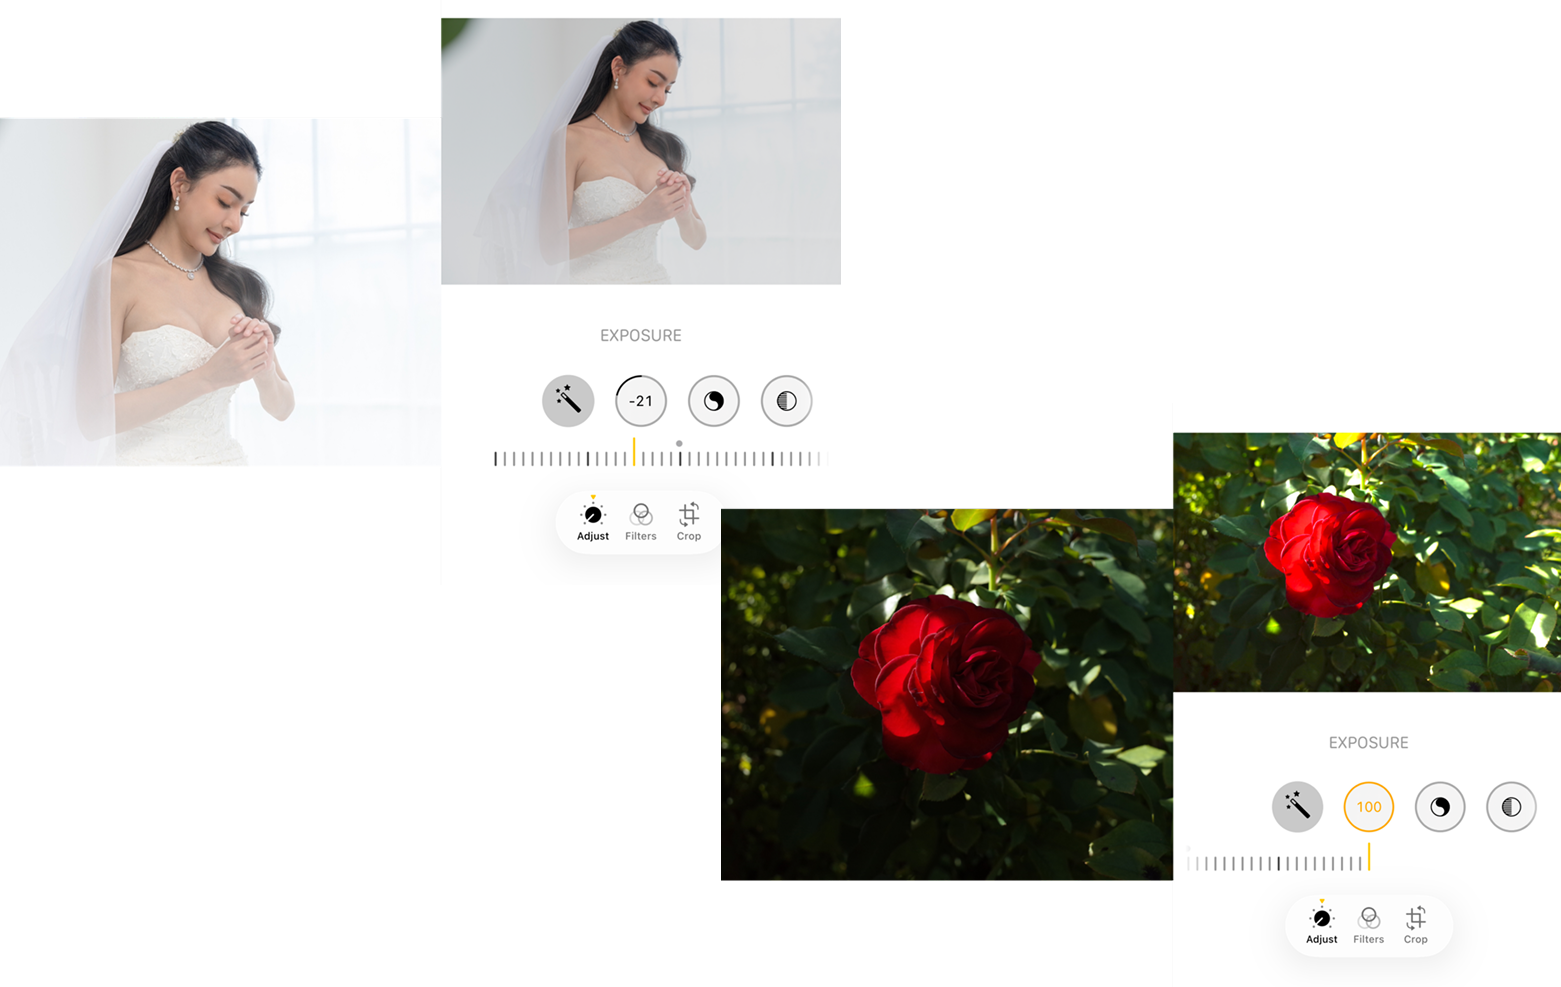
Brilliance
Brilliance brightens shadows, tones down highlights, and adds subtle contrast, making photos look richer without changing colors too much.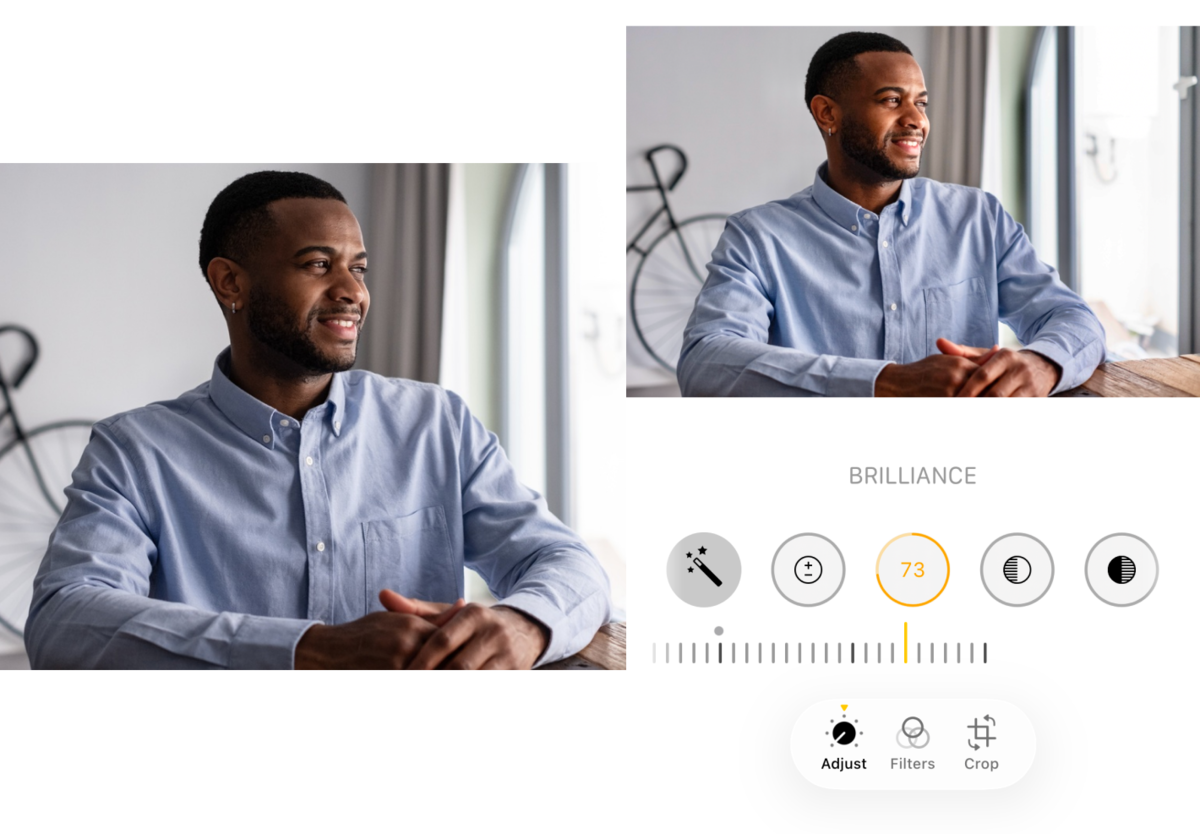
Highlights
Lower Highlights to recover detail in bright skies, reflections, or other overexposed areas.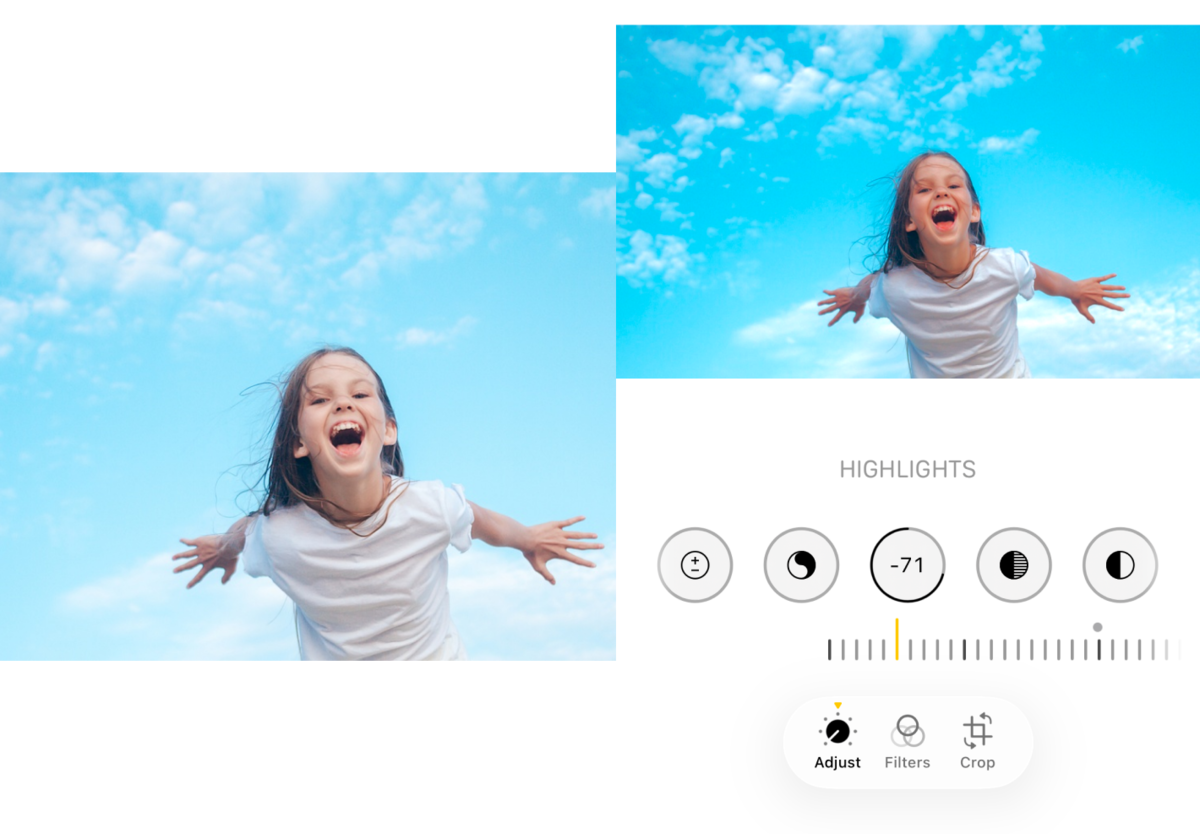
Shadows
Raise Shadows to reveal detail in darker areas while maintaining natural depth.
Contrast
Contrast increases the difference between light and dark tones. Small adjustments add depth, while excessive contrast can hide fine details.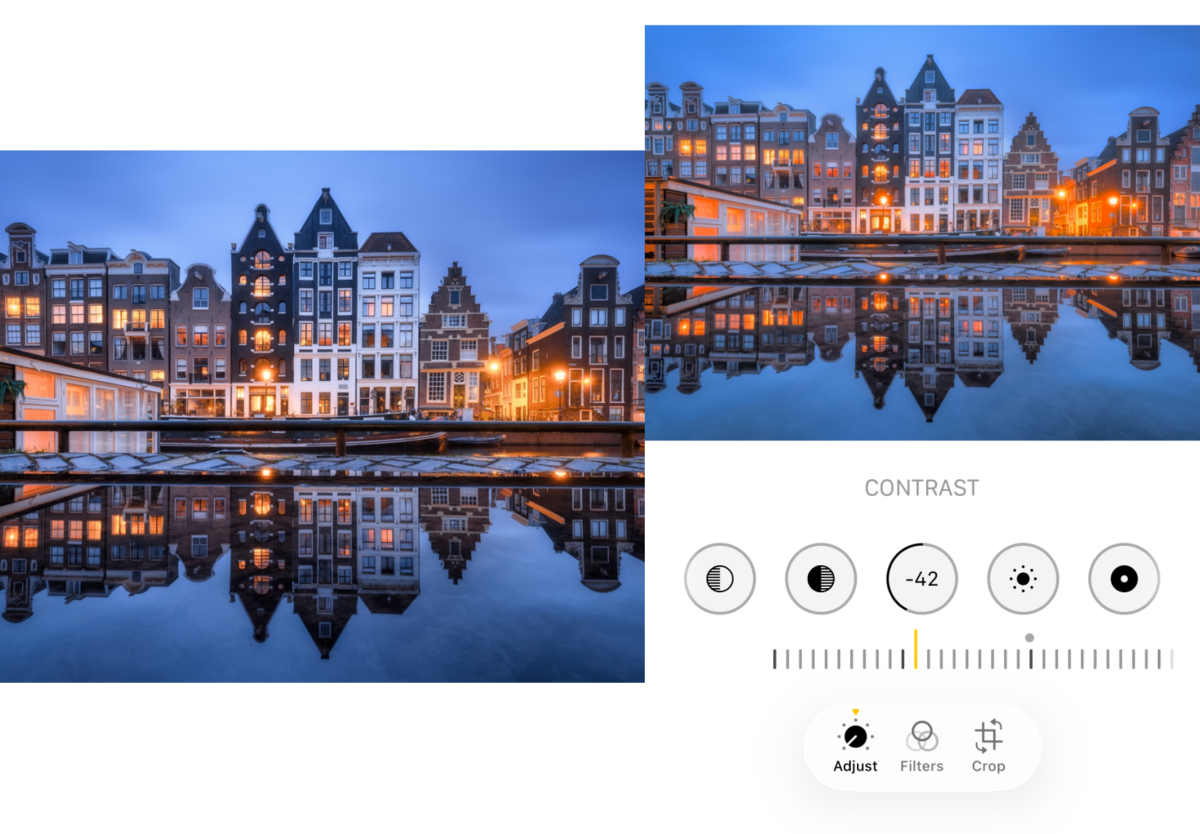
Black Point
Black Point deepens the darkest tones, giving photos more richness and stronger contrast.
Vibrance vs. Saturation
Vibrance boosts muted colors while keeping skin tones more natural. Saturation increases the intensity of all colors equally.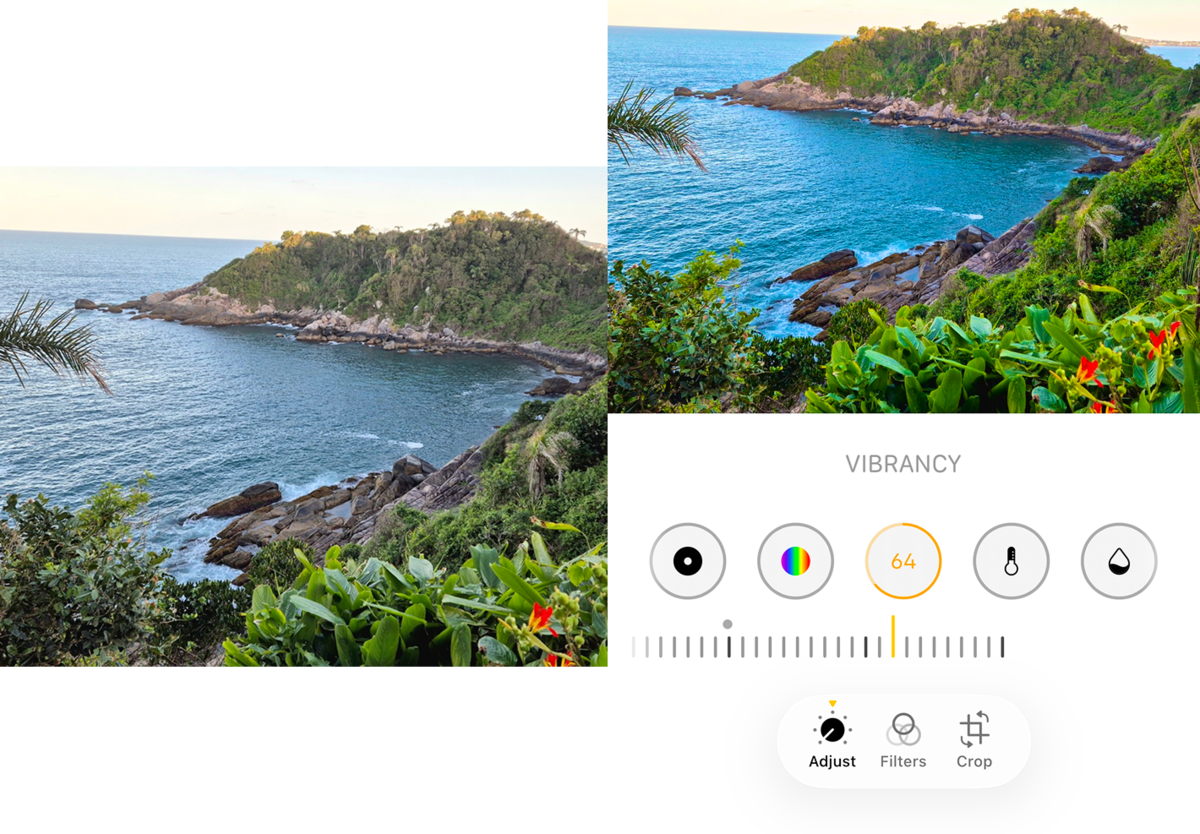
Definition and Sharpness
Definition increases texture and local contrast, while Sharpness enhances edges. Both should be used cautiously since they can produce unnatural results.
Many creators share this workflow as an iPhone photo edit formula, but there isn’t a single setting that works for every image. Adjust each slider based on your lighting and subject.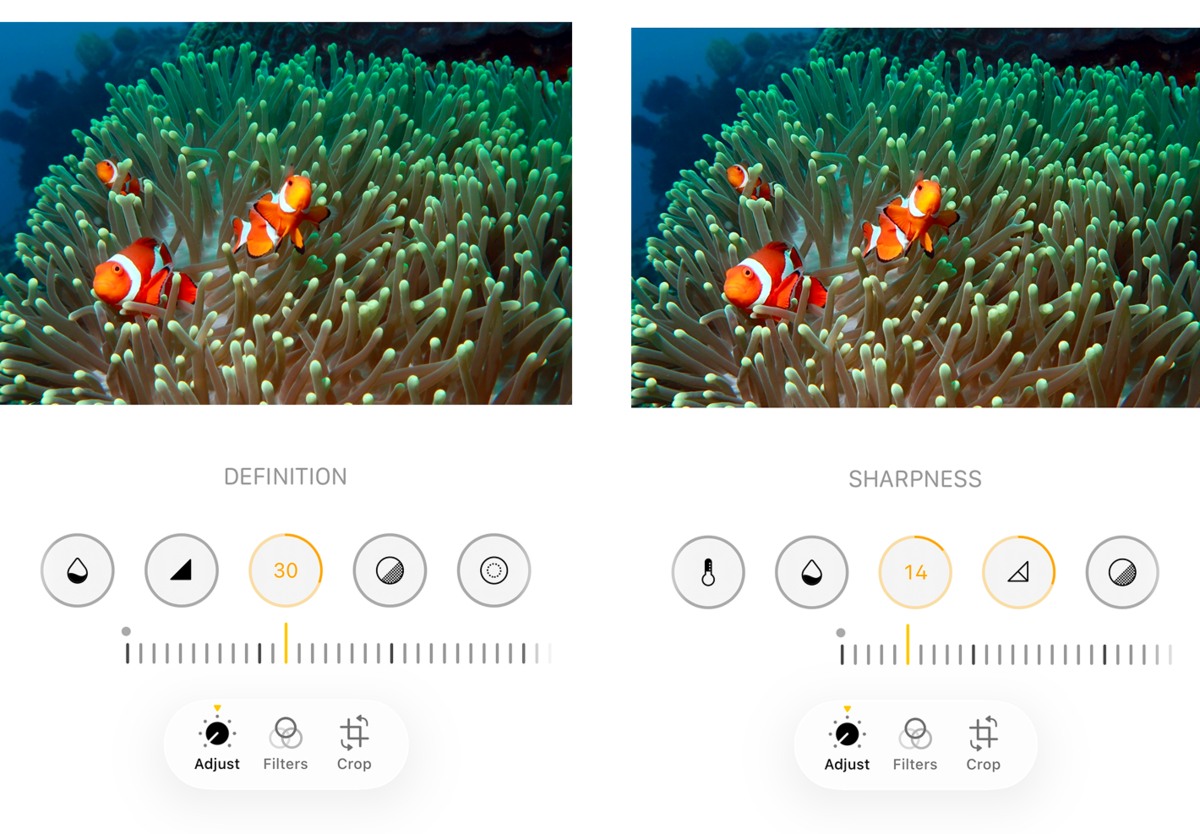
Popular Editing Styles
Different scenes benefit from different approaches. Instead of using the same settings for every photo, adjust your edits based on the lighting and subject.
1. Bright Lifestyle Photos
Lifestyle photos often look best with increased Brilliance, reduced Highlights, lifted Shadows, and a touch of Vibrance. These enhancements result in bright yet clean shots, where the skin tones still appear natural.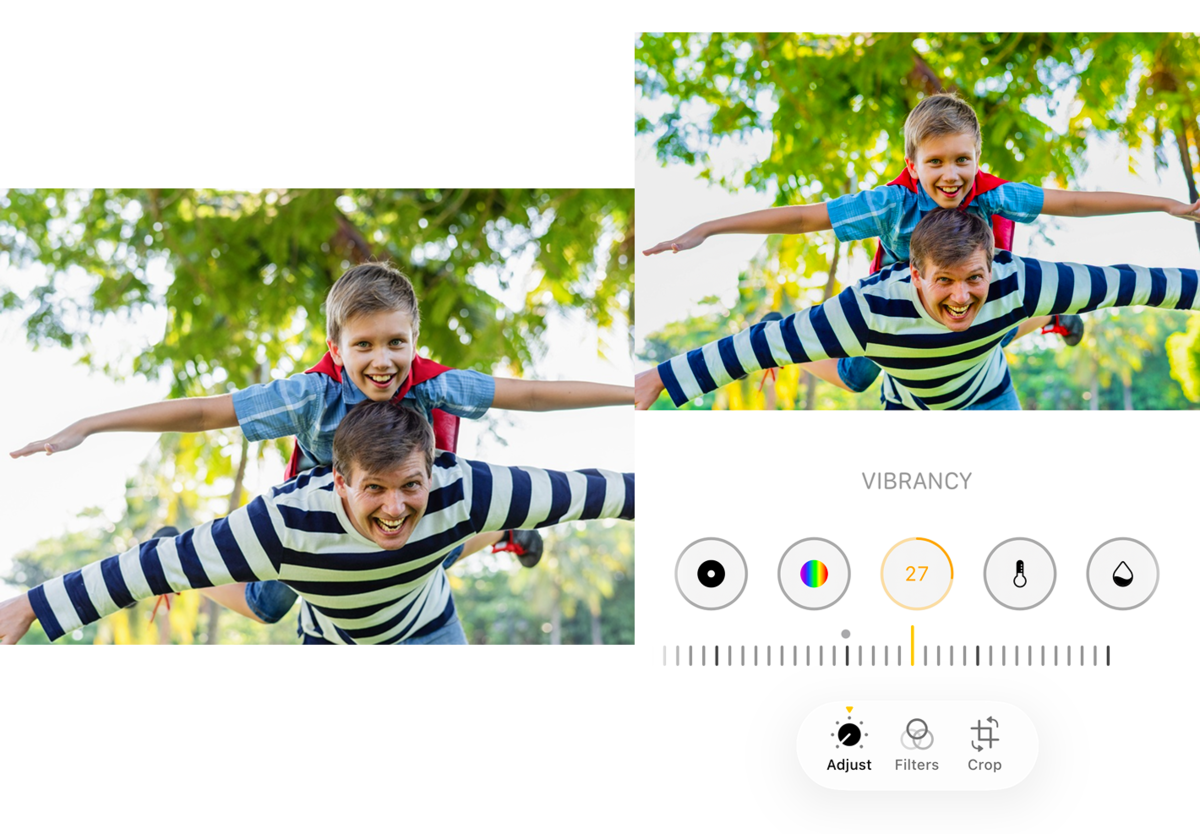
2. Travel Photography
Landscapes and travel pictures should have higher Contrast levels, increased Black Point settings, decreased Highlight levels, and increased Definition settings for maximum texture and depth.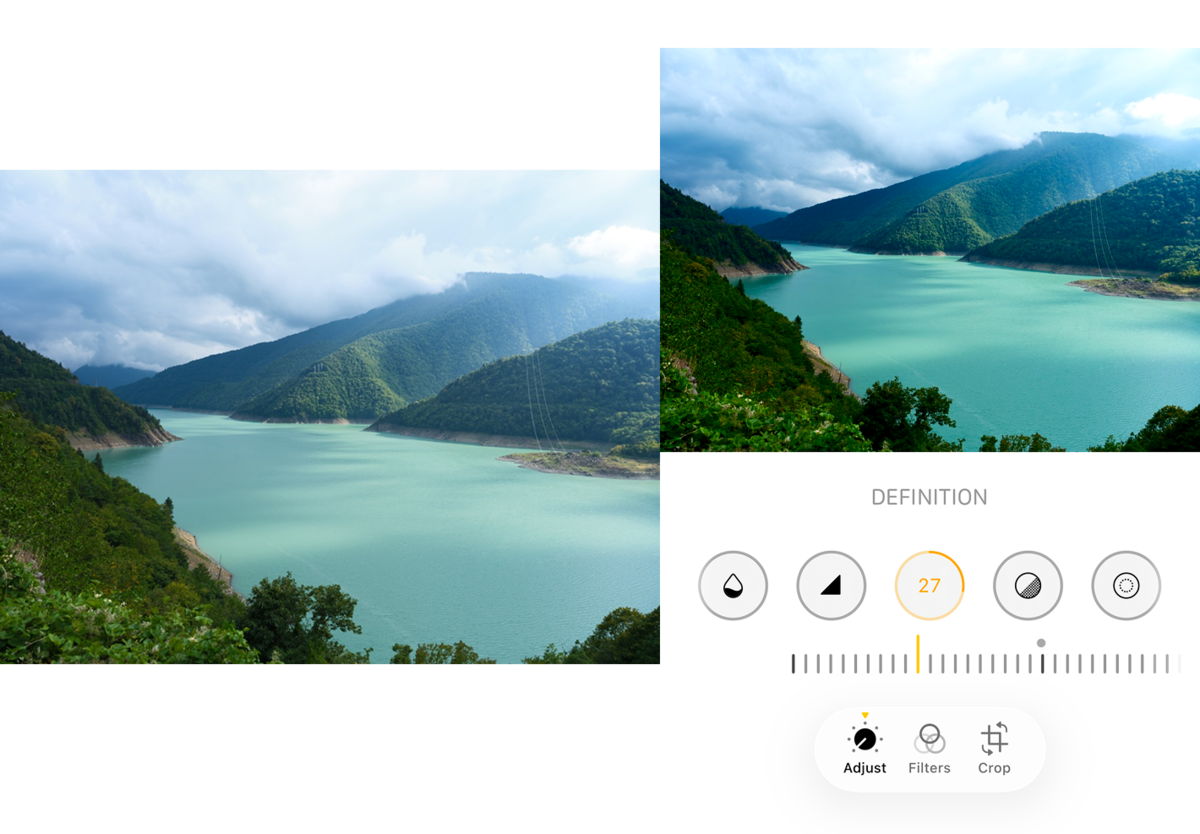
3. Minimalist Aesthetic
Minimalist editing involves working with natural lighting, clean compositions, and natural color palettes. Use a lower level of Saturation, along with proper Contrast, to achieve a minimalistic yet processed look.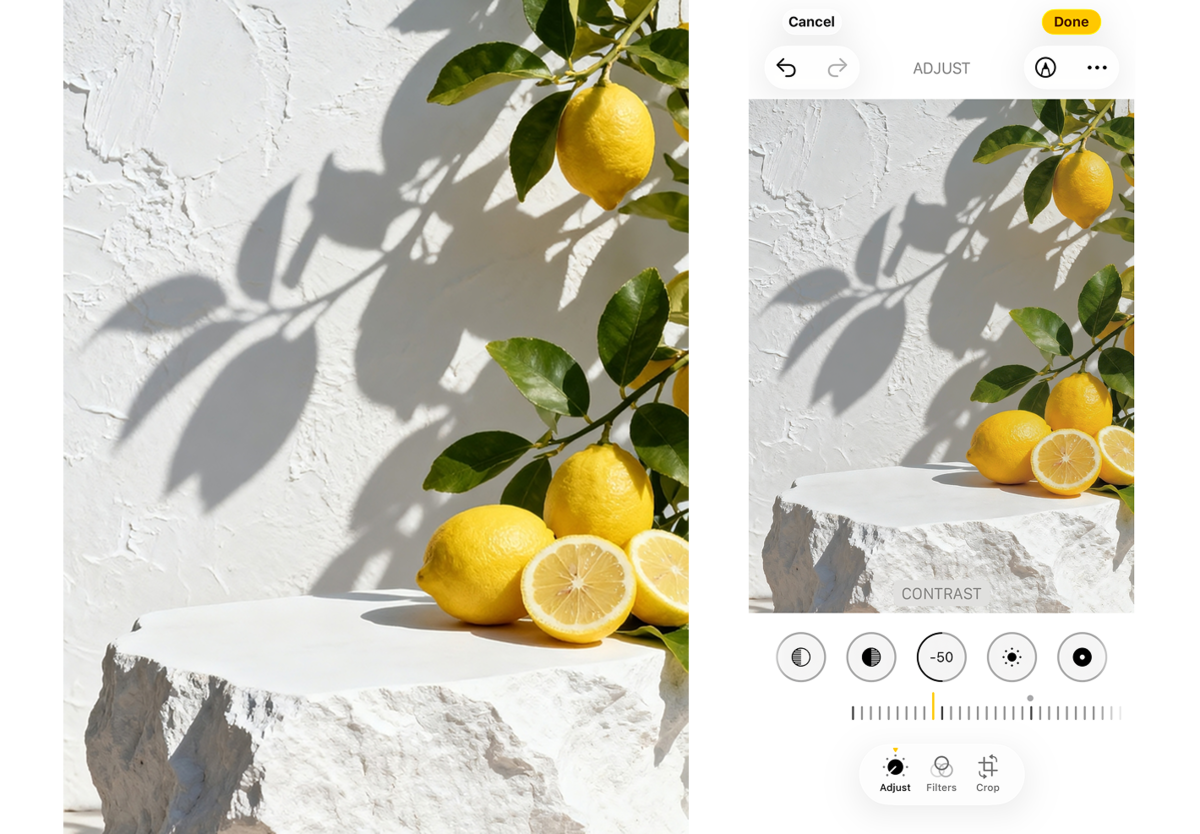
4. Warm Golden-Hour Edits
A small amount of Warmth and Vibrance enhances the colors at sunset while maintaining their natural golden effect. Do not apply too much Saturation because it will look unnatural.
The best edits enhance the original lighting rather than completely change it.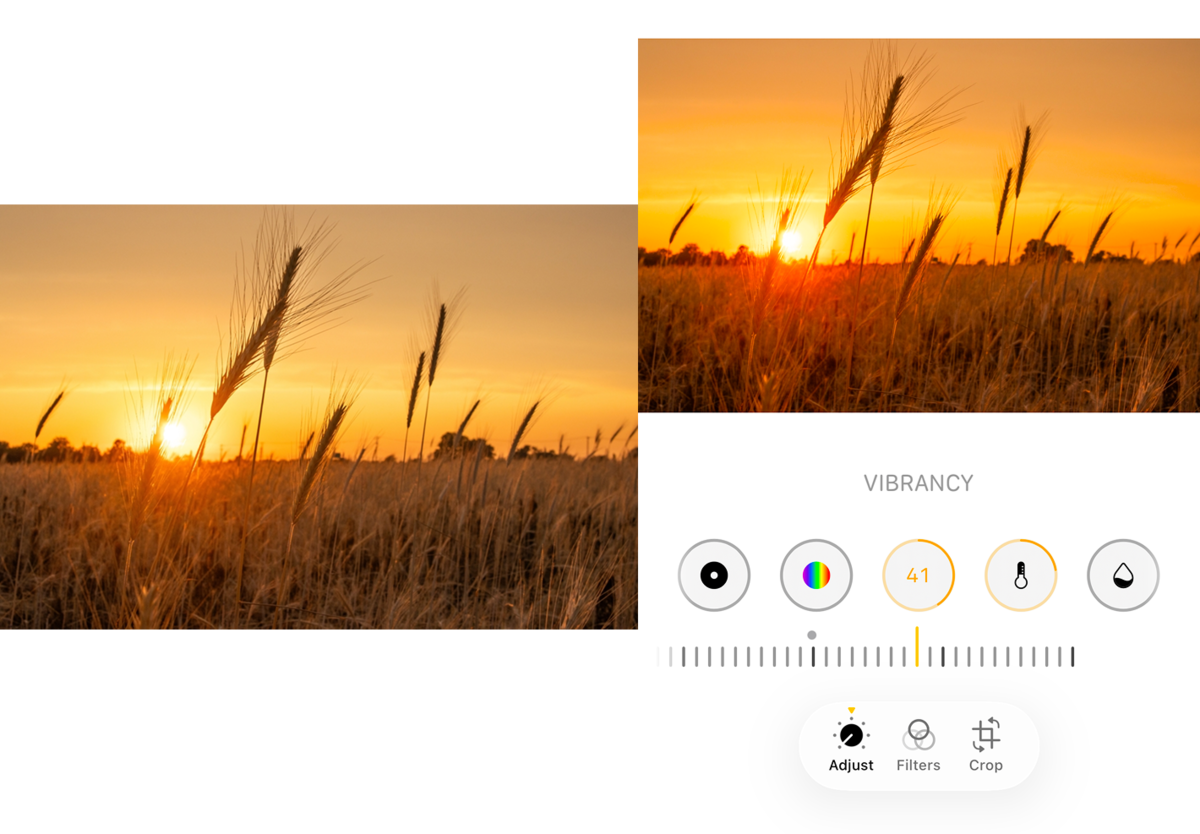
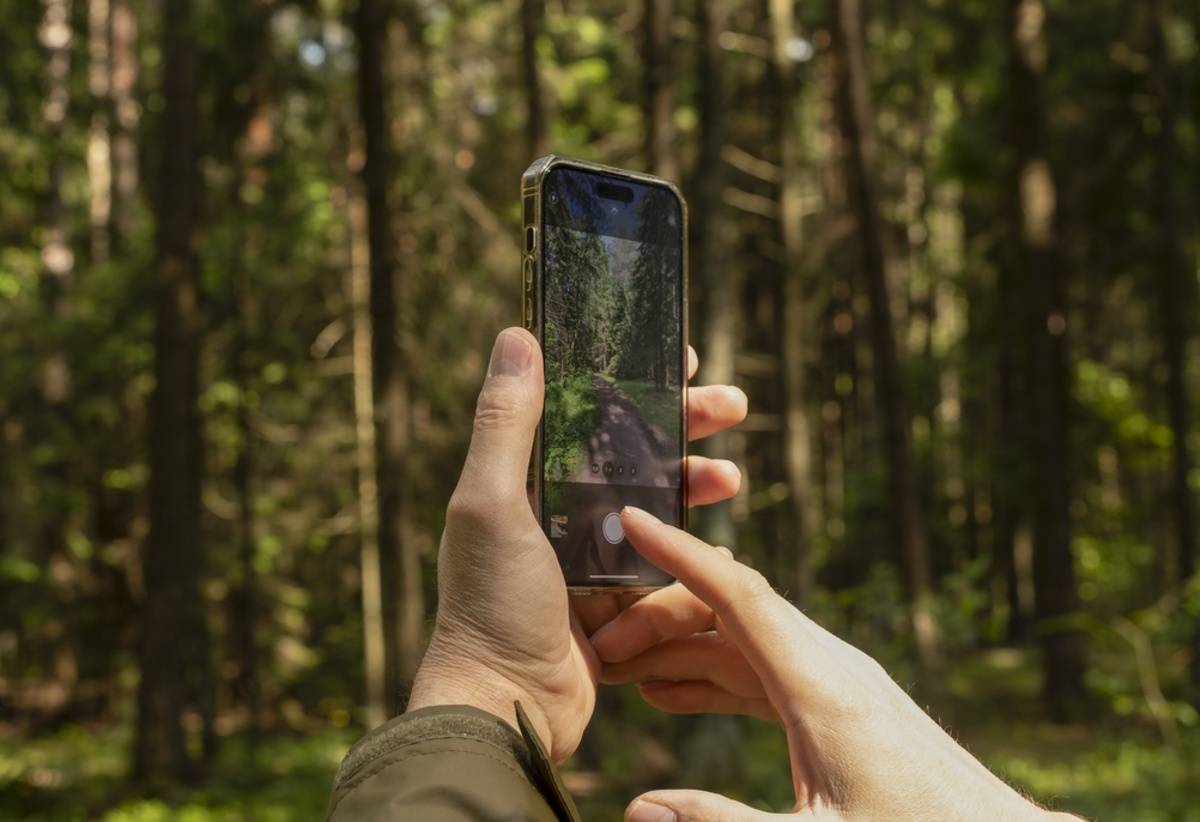
Tips for Capturing Stunning Photos with iPhone

Great editing starts with a well-composed shot. These simple habits can improve image quality before you even open the Photos app.
- Shoot in good light. Soft natural light during the morning or late afternoon creates balanced exposure and smoother shadows.
- Tap to focus and adjust exposure. Tap your subject to set focus, then drag the exposure slider up or down to brighten or darken the image before taking the shot.
- Keep the lens clean. Fingerprints and dust can reduce sharpness, contrast, and overall image quality.
- Turn on the Camera Grid. The grid helps you apply the rule of thirds for more balanced and visually appealing compositions.
- Try different angles. Capture several shots from different perspectives to give yourself more options during post-processing.
These small adjustments can significantly reduce the amount of editing needed later.
Best Apps for Enhancing iPhone Photos
Although the built-in Photos app is surprisingly capable, some situations require additional tools.
Luminar Mobile
Luminar Mobile makes it easy for users to achieve professional-looking results without complicated processes. With its intelligent tools, users can easily edit their pictures by automatically enhancing lighting and detail in portraits and landscapes in a completely natural way. It also includes RAW editing, object removal, filters, and advanced color tools.
Snapseed
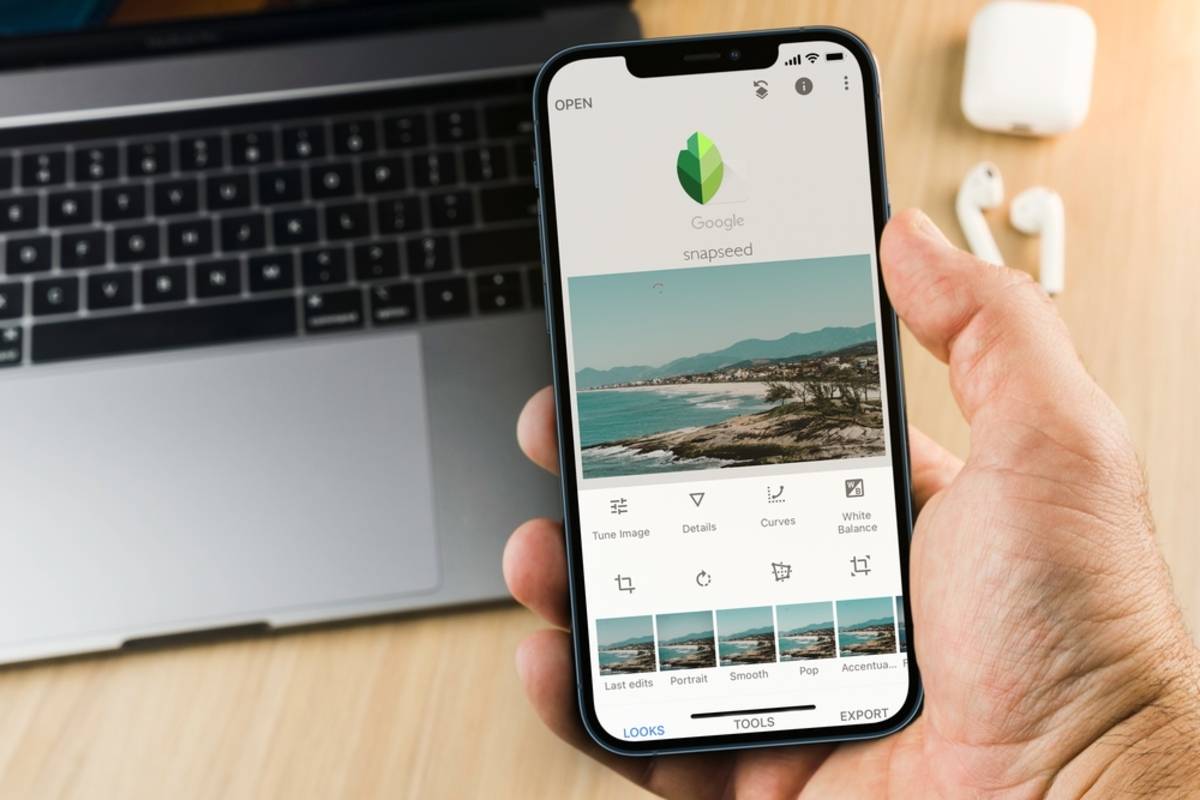
Snapseed offers selective editing, healing, curves, and masking, all available for free.
Adobe Lightroom Mobile
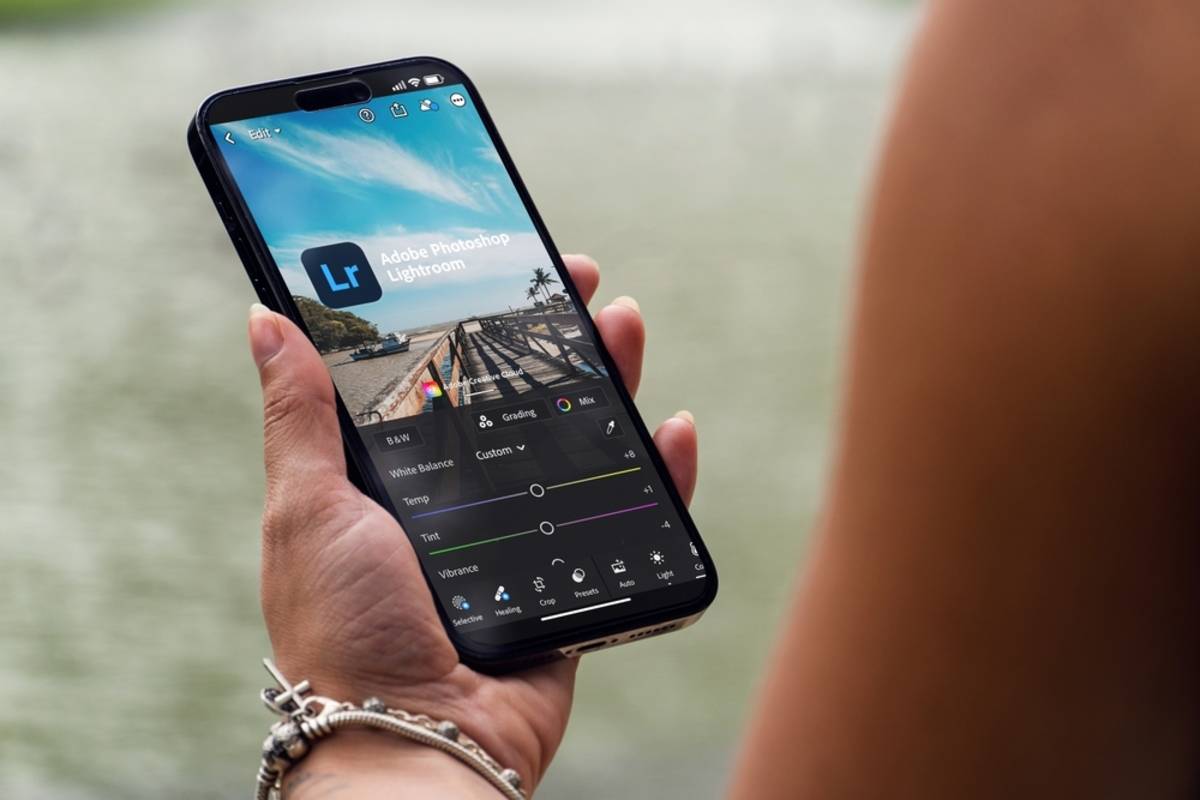
Lightroom is known for providing pro-level color grading, RAW image editing, local masking, and cloud syncing.
VSCO
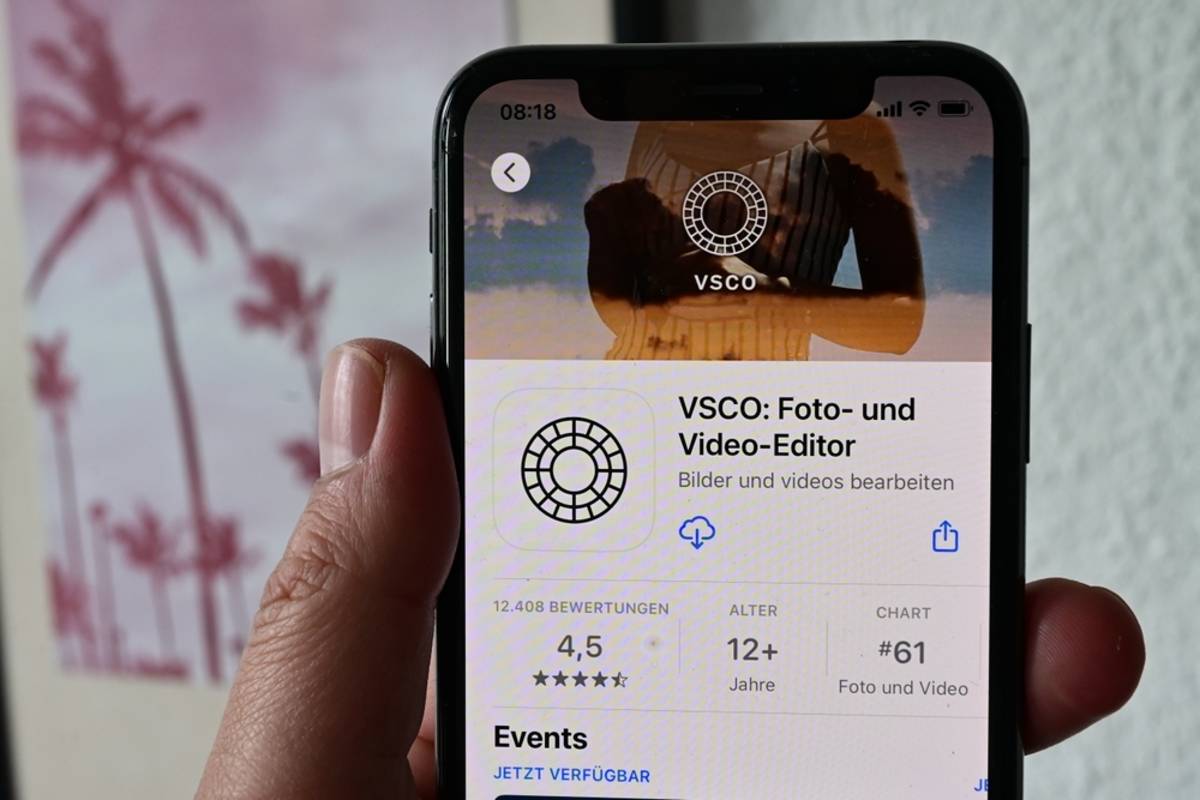
VSCO is popular due to its subtle film presets and color grading for Instagram galleries.
The best workflow uses Apple’s native editor for quick fixes and third-party apps only when necessary.
Editing Settings for Nighttime Photography
Nighttime photography poses unique challenges because increased brightness often comes with higher noise in the picture.
In most cases, using a balanced process would be more appropriate than a big increase in the Exposure setting.
Try this order:
- Slightly increase Brilliance.
- Raise Shadows carefully.
- Reduce Highlights if streetlights appear blown out.
- Apply moderate Noise Reduction.
- Finish with a small amount of Definition instead of excessive Sharpness.
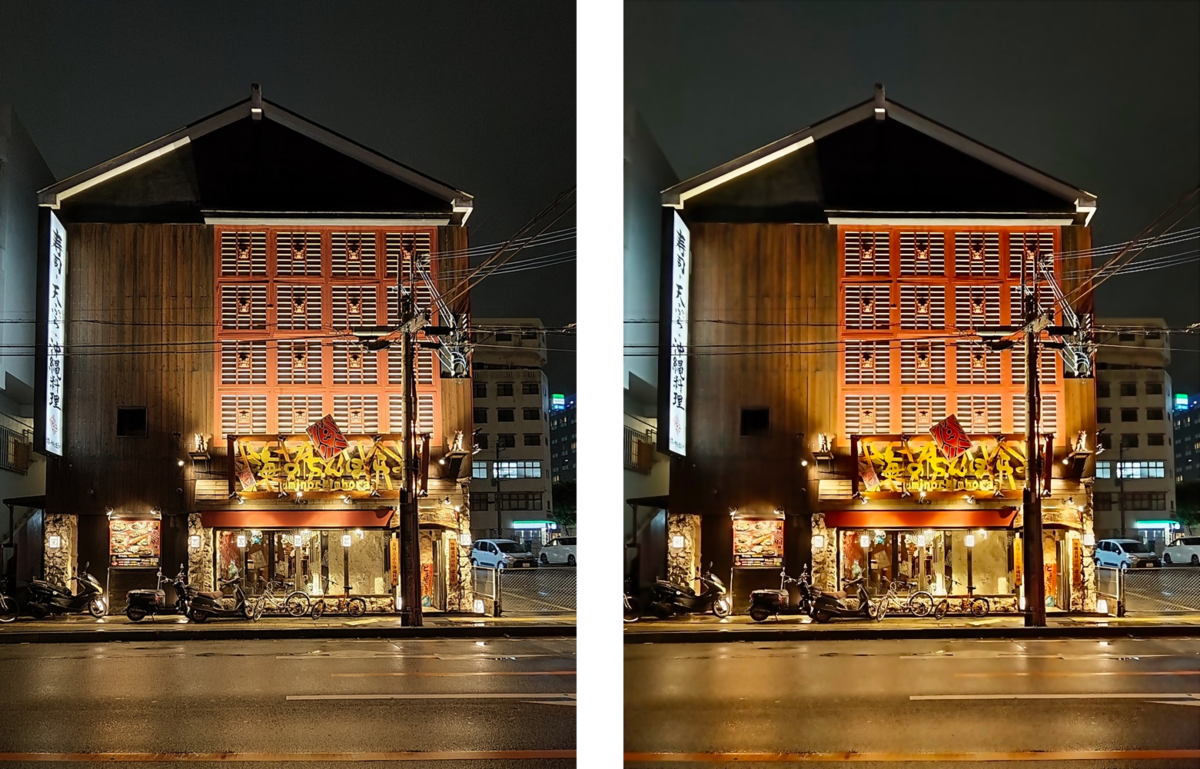
These corrections help retain the details while keeping noise levels in check. The Photos application from Apple is equipped with editing capabilities that can be corrected or undone anytime.
Comparing Edited vs. Unedited iPhone Photos
Small corrections often produce surprisingly dramatic improvements.
An unedited image may have:
- Flat lighting
- Dull colors
- Bright skies without detail
- Dark shadows hide important subjects
- Limited texture
A carefully edited version typically includes:
- Balanced exposure
- Visible cloud detail
- More realistic color separation
- Better subject emphasis
- Sharper textures without appearing artificial
The difference comes from thoughtful adjustments rather than strong filters.
Step-by-Step Guide to Basic iPhone Photo Editing
If you want a reliable workflow for almost any picture, follow these steps.
Step 1: Crop and straighten the composition.
Step 2: Increase Brilliance slightly before adjusting Exposure.
Step 3: Lower Highlights until bright areas recover detail.
Step 4: Raise Shadows only enough to reveal hidden information.
Step 5: Fine-tune Contrast and Black Point to add depth.
Step 6: Increase Vibrance before considering Saturation.
Step 7: Apply moderate Definition and only a small amount of Sharpness.
Step 8: Zoom to 100% and inspect the image before saving.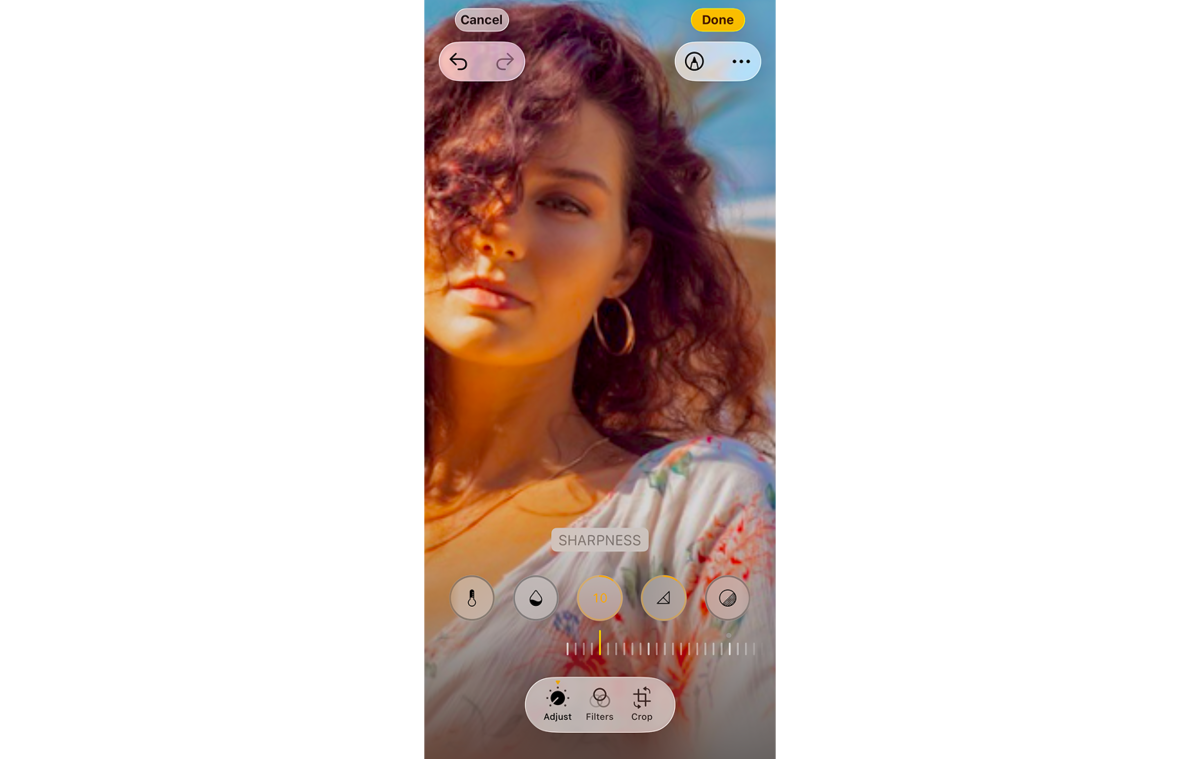
This simple workflow is one of the most practical iPhone photo editing hacks because it works consistently across portraits, travel photos, and everyday snapshots.
Showcasing Creative Photo Projects Using iPhone
Maintaining consistency in editing style is one of the simplest ways to add professionalism to your photographs. In other words, whether it’s your family vacation photos or your Instagram feed, using the same levels of brightness, color, and contrast can enhance your gallery.
If you are working on different pictures taken at the same time and don’t want to make all the changes anew, Apple lets you copy the changes made to one picture and apply them to other images as well.
One quick way to edit an iPhone photo is to develop your own visual style instead of relying on trending presets. For instance, apply Vibrance, Contrast, and Black Point to all photographs using similar settings, and adjust only Exposure and Highlights to meet the image requirements.
Master Your iPhone Photo Edits
You don’t need dozens of filters to make a photo stand out. One useful iPhone photo edit hack is to skip heavy filters and learn what each adjustment actually does. A few small changes to exposure, contrast, color, and sharpness can bring out the best in your photo without making it look unnatural.