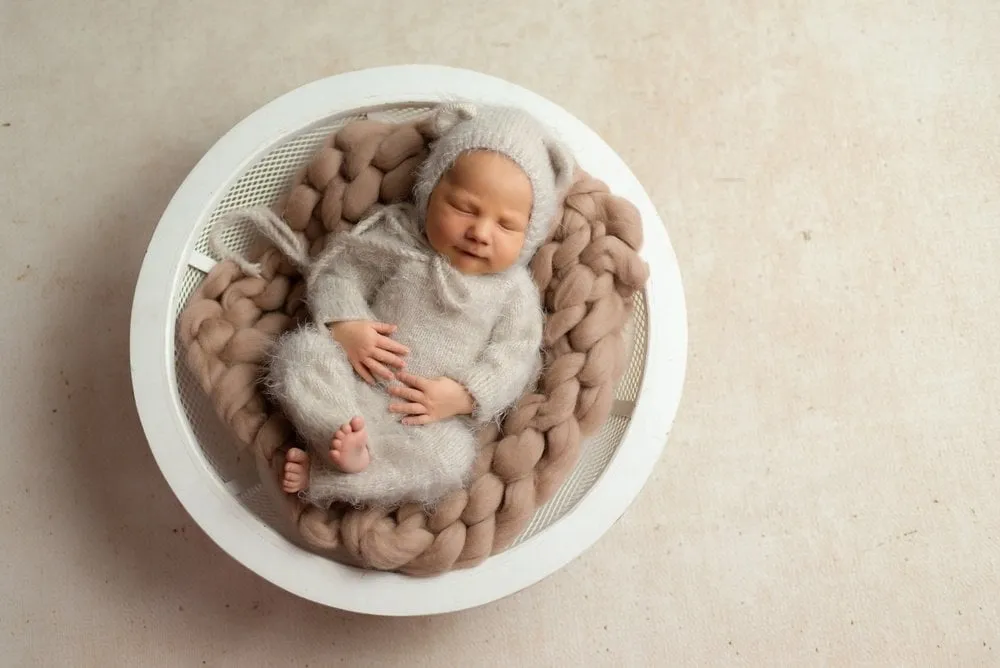
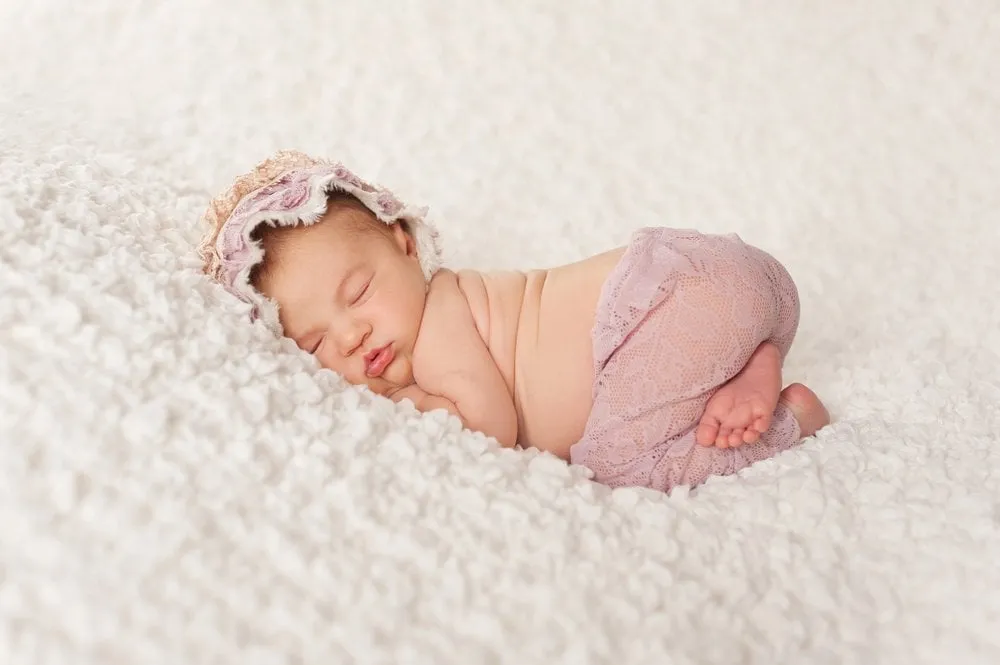
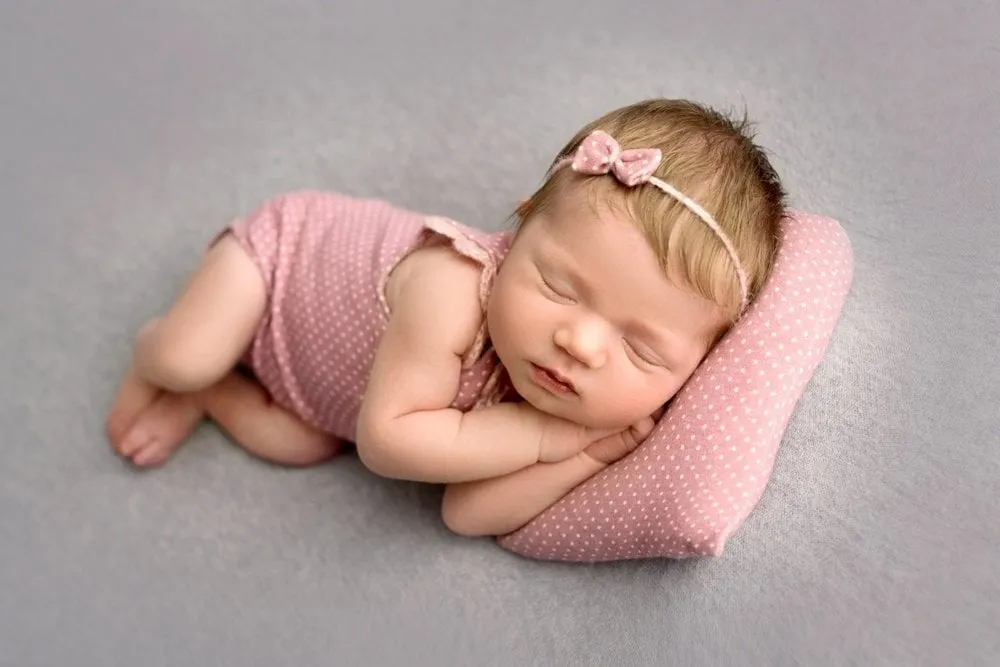
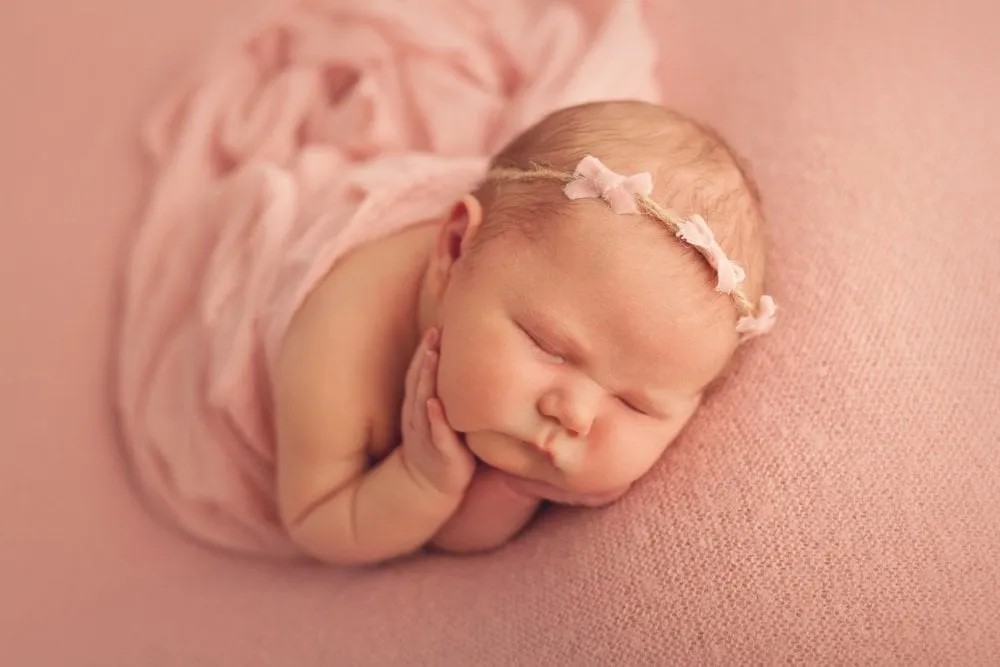
A newborn photoshoot is about more than getting a perfectly posed picture. The tiny details, sleepy expressions, family connections, and familiar surroundings can all help tell the story of your baby’s first days.
You don’t need an elaborate studio setup to create meaningful newborn photos. A window, a simple blanket, a few personal details, and plenty of patience can be enough. Whether you’re working with a professional newborn photographer or taking photos at home, the most important priorities are your baby’s comfort and safety.
Here are practical newborn photography ideas, pose suggestions, and editing tips to help you create a varied collection of memories.
Don’t feel like reading the whole breakdown? We’ve pulled together a quick summary below.
Key Takeaways
Plan a newborn session around your baby’s needs rather than trying to follow a strict schedule.
Keep newborn poses simple and never force a baby’s body into an uncomfortable position.
Complex poses such as hands-under-chin or “bum up” require appropriate newborn-posing training and careful support.
Photograph tiny details such as fingers, toes, eyelashes, hair, and the baby’s hands in a parent’s hands.
Use soft natural light and avoid exposing a newborn to excessive heat or direct harsh sunlight.
A home photoshoot can create meaningful images by incorporating the nursery, blankets, and other familiar objects.
Include parents, siblings, and pets only when the baby can remain safely supported and everyone is calm.
During editing, keep skin tones natural and use retouching selectively rather than removing every mark or characteristic.
Best Time for Newborn Photos
There is no single medically defined “perfect” age for newborn photography. Many photographers prefer to schedule traditional posed sessions during the first couple of weeks, when babies often sleep for longer periods and naturally curl their limbs.
However, the best timing depends on the baby, the family’s circumstances, and the type of photographs you want.
If you want sleepy, curled-up images, discuss timing with your photographer before the session. If you prefer more alert photographs, facial expressions, eye contact, and interaction with parents, you may have more flexibility.
Rather than planning the entire session around a rigid timetable, allow plenty of time for feeding, changing, soothing, and breaks.
If you’re photographing your own baby, keep the session relaxed. A well-fed and comfortable baby is more important than getting through a particular shot list.
Exclusive Tools of Endless Possibilities in One Editor
Newborn photography should never require forcing a baby into a pose or balancing them in an unstable position.
Some popular newborn poses are more complicated than they appear in photographs. For example, the baby’s head and hands may look naturally supported in a finished image even though an assistant or parent was holding the baby outside the frame.
The Professional Photographers of America recommends that photographers receive appropriate training before attempting poses such as “bum up,” hands-under-chin, or womb-style poses.
Keep these principles in mind:
Never leave a newborn unsupported on a posing surface.
Keep a parent, assistant, or photographer within immediate reach when a pose requires support.
Never force a baby’s limbs, neck, or back into a position.
Keep the baby’s face and airways unobstructed.
Avoid unstable props, elevated surfaces, and complicated setups.
Keep blankets and props clean and washable.
Avoid overheating the baby.
Stop the pose if the baby shows signs of discomfort.
Treat the baby as the subject, not as a prop.
Safe-sleep recommendations also should not be confused with photographic posing. The American Academy of Pediatrics recommends placing infants on their backs for sleep on a separate, appropriate sleep surface.
Newborn Poses and Photo Ideas
The best newborn poses are often the simplest ones. Instead of trying to reproduce every popular studio pose, look for comfortable positions that let you capture your baby’s natural expressions and tiny details.
1. A Natural Curled-Up Pose
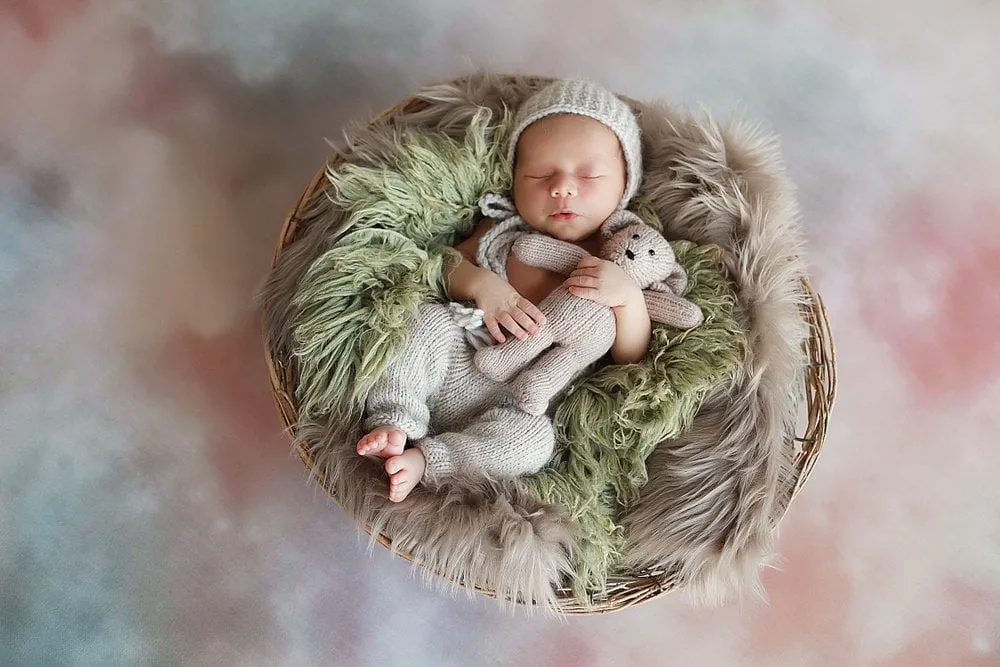
A naturally curled position can emphasize the characteristic shape of a newborn while keeping the setup simple.
If you’re working with a professional photographer, they may use a trained posing technique to create a curled-up image. At home, however, avoid attempting advanced poses without proper instruction.
Keep the baby securely supported and concentrate on the expression, hands, feet, and overall composition rather than forcing a particular shape.
2. The Side Profile
A side profile is one of the easiest ways to highlight a newborn’s delicate features.
Try photographing:
eyelashes
nose and lips
cheeks
fine hair
tiny ears
the curve of the forehead
Move your camera rather than repeatedly moving the baby. A slight change in your shooting angle can create several different compositions without disturbing them.
3. Hands and Face
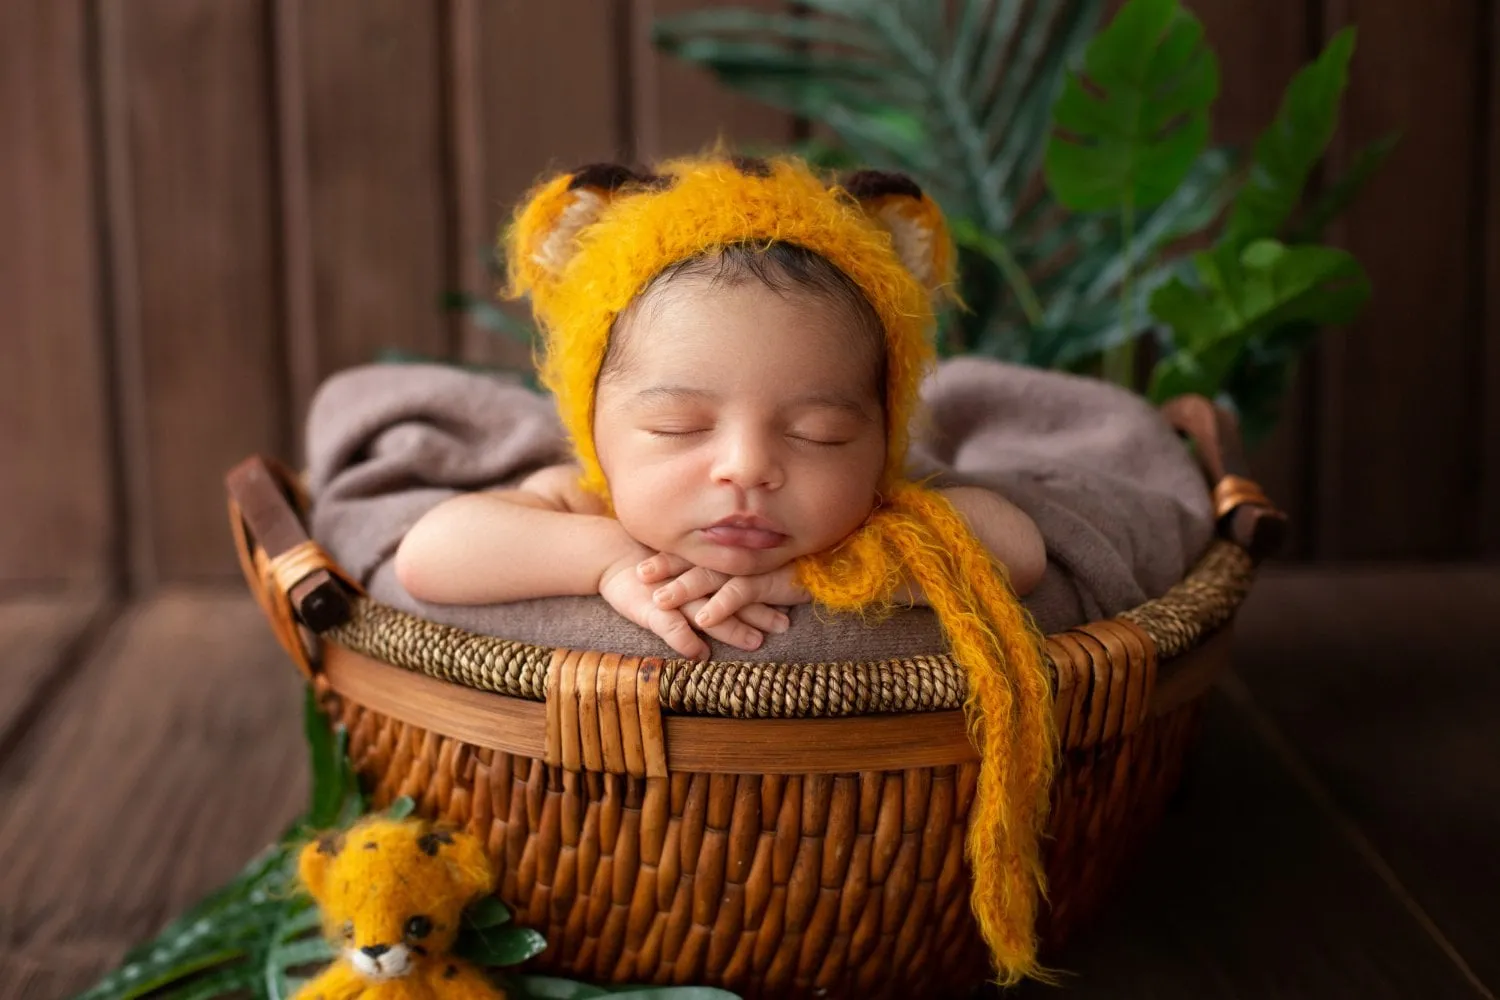
Instead of recreating a complicated “chin on hands” pose, photograph the baby’s hands naturally near their face.
This gives you a similar visual emphasis while avoiding the need to position a newborn into a potentially unsafe setup.
If you are working with a trained newborn photographer, ask how any supported pose will be performed and whether a parent or assistant will provide hands-on support.
4. Lying on the Back
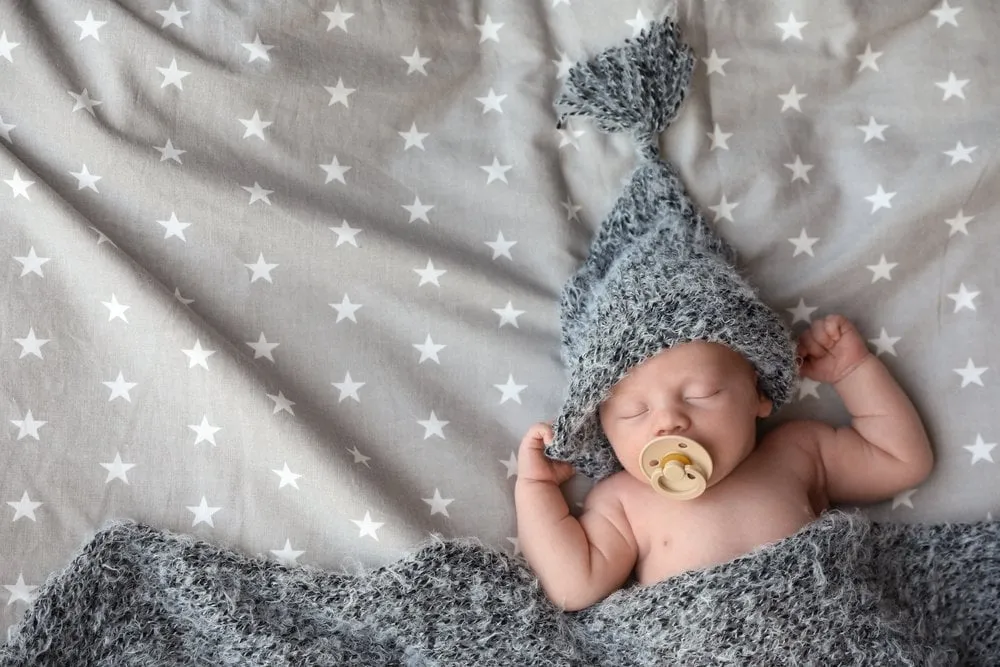
A simple back-lying position can produce beautiful images with minimal posing.
From above, you can create a clean portrait surrounded by a neutral blanket. From the side, you can emphasize the baby’s profile and tiny body.
You can also photograph details such as the baby’s feet, hands, or facial expressions from this position.
Remember that a photographic pose is not the same thing as an unattended sleep environment. Never leave a newborn unattended on a posing surface.
5. Close-Up Portraits
Newborns can make surprisingly expressive subjects. Instead of waiting for a complicated pose, watch for moments when the baby opens their eyes, yawns, stretches, frowns, or briefly smiles.
Use a longer focal length or move closer carefully to create a portrait that fills the frame with the baby’s face.
Don’t worry if the expression changes immediately. Those fleeting moments are part of what makes newborn photography special.
6-Month Photo Shoot: How to Make Everything Perfect?
Some of the most memorable newborn photos don’t show the entire baby.
Create a series of close-up images of:
tiny fingers
curled toes
eyelashes
wisps of hair
lips
ears
wrinkles on hands and feet
a baby’s hand holding a parent’s finger
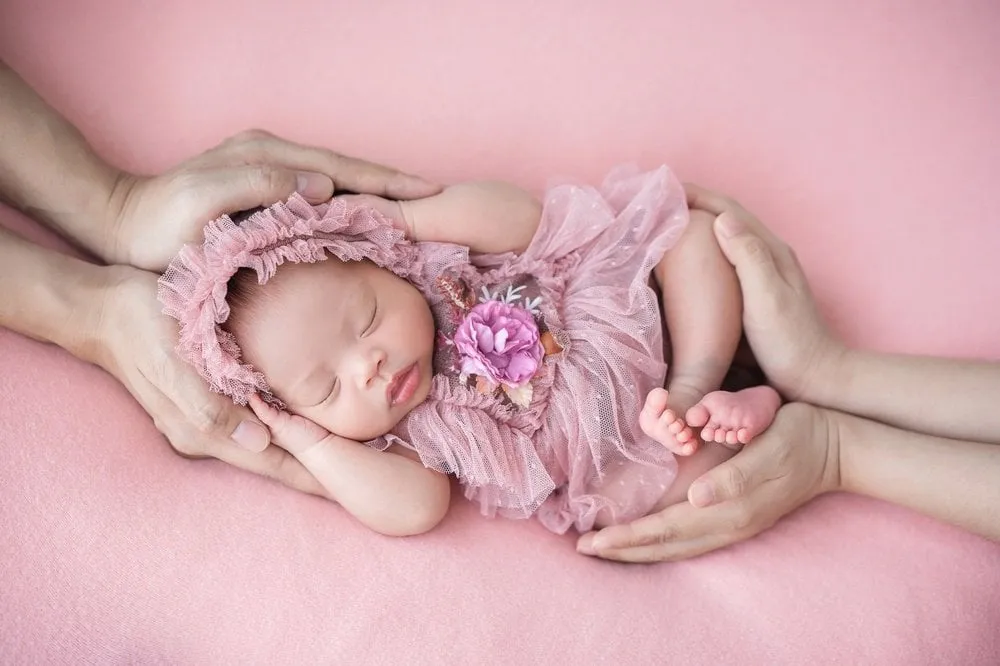
For an especially meaningful photograph, place the baby’s hand next to a parent’s hand. The difference in scale naturally communicates how small the baby was during those first days.
You don’t necessarily need a dedicated macro lens. Many standard lenses can produce effective close-up photographs while giving you enough working distance to avoid disturbing the baby.
Try Backlighting
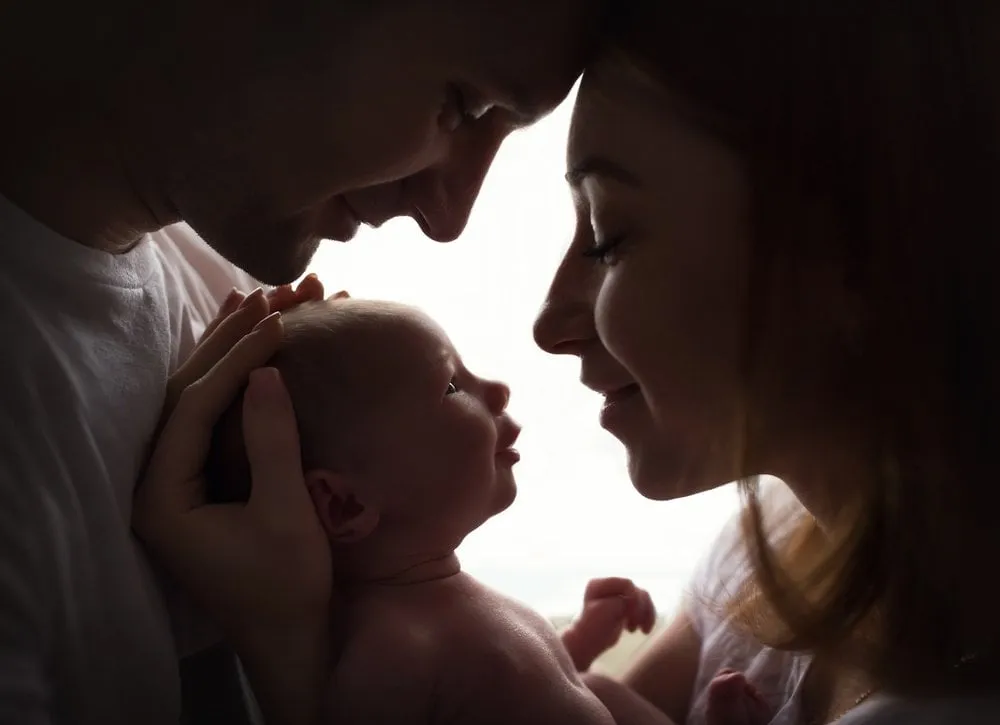
Soft backlighting can create a gentle glow around a baby’s hair and outline.
A large window can work particularly well for this technique. Position the baby safely away from the glass and use the window as a light source rather than placing the baby directly in strong sunlight.
Watch your exposure carefully. Bright light behind the subject can make the baby’s face too dark, so adjust your position or exposure to retain detail in the skin.
A reflector can also help bring a little light back onto the baby’s face without making the lighting look harsh.
Photograph From Different Angles
You can make one simple setup look like several different photographs by changing your camera position.
Try:
A wider photograph showing the surrounding environment.
A medium shot showing the baby’s whole body.
A close-up of the face.
A detail shot of the hands or feet.
A side profile.
A photograph from directly above, when the baby is safely positioned and continuously supervised.
This approach gives you variety without constantly changing the baby’s position.
How to Do a Newborn Photoshoot at Home
A home newborn photoshoot has one major advantage: the environment is familiar.
Instead of trying to recreate a studio, use the spaces and objects that are already meaningful to your family. The nursery, crib, favorite blanket, rocking chair, or a parent’s bedroom can all become part of the story.
Natural window light is often enough. Turn off distracting overhead lights when possible and position the baby near a large window where the light is soft.
Keep the room comfortably warm, but avoid overheating. Professional newborn photographers specifically warn against excessive heat and unsafe heating methods such as electric heating pads.
Most importantly, don’t rush. A newborn session may include several pauses for feeding, changing, cuddling, and calming the baby.
Props and Bedding
Simple props usually work better than a crowded setup.
Choose:
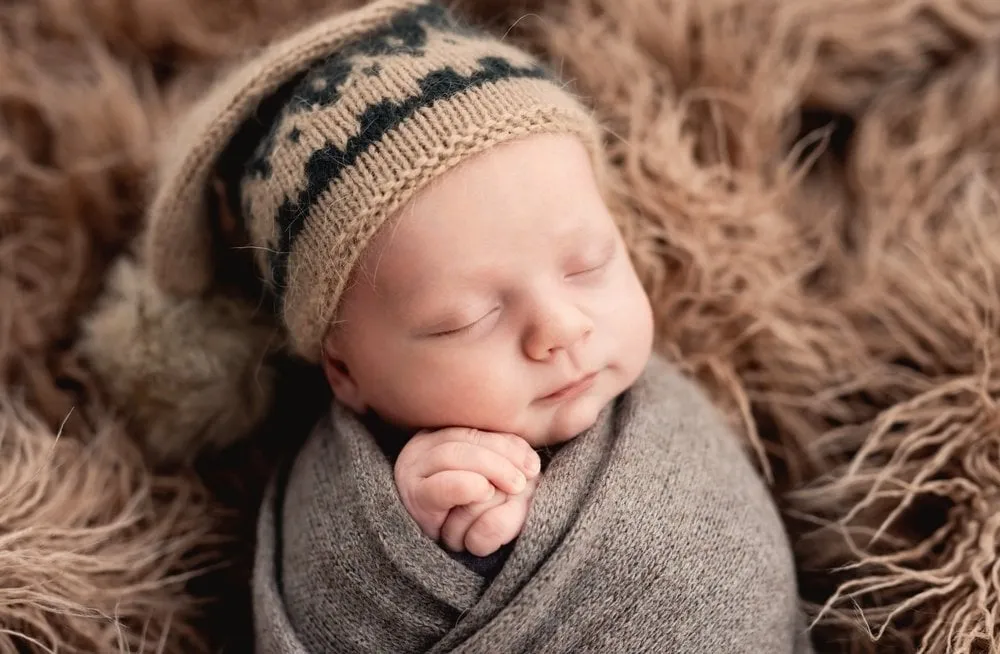
neutral or muted blankets
simple textures
clean, washable fabrics
a small number of meaningful accessories
colors that complement the nursery
Avoid placing loose objects near the baby’s face or using anything that could create an airway obstruction.
You also don’t need a large collection of matching newborn props. One blanket, a simple wrap, and a meaningful family item can provide enough variety.
Keep backup blankets and clothing nearby because accidents are part of photographing newborns.
Include Parents and Siblings
Newborn photographs become more meaningful when they show relationships rather than only the baby.
Parent and Baby Photos
Try simple interactions:
a parent holding the baby
the baby’s hand around a parent’s finger
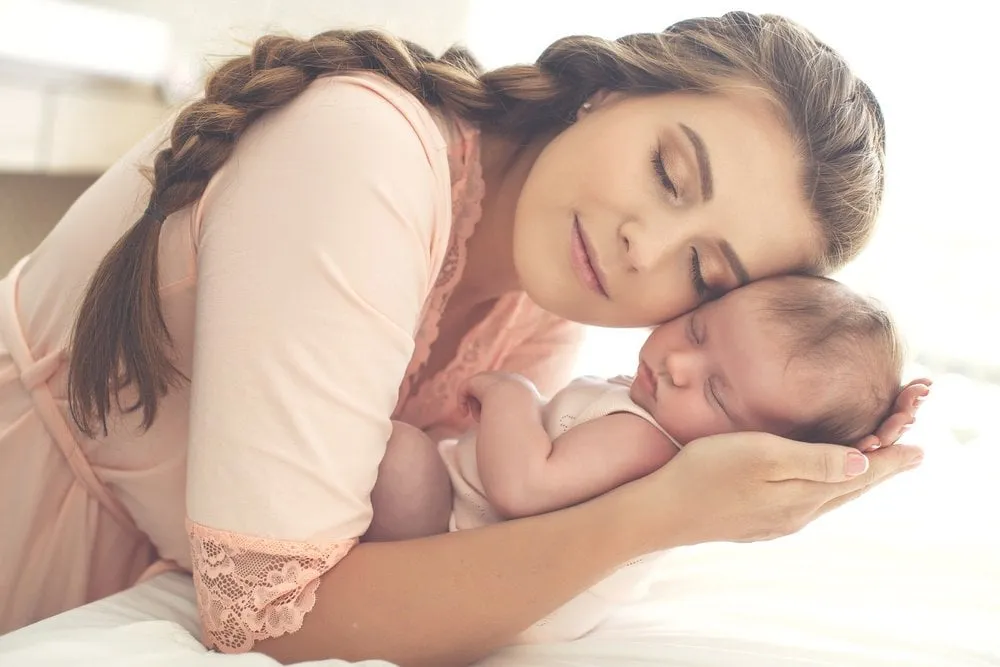
a close-up of a parent kissing the baby’s forehead
the baby resting against a parent’s chest
both parents looking at the baby
a wider photograph showing the family in their home
For skin-to-skin photographs, the baby’s face should remain visible and the airway unobstructed. The American Academy of Pediatrics emphasizes maintaining a clear view of the infant’s face and ensuring the nose and mouth are not covered during skin-to-skin care.
Sibling Photos
Don’t force an older child to hold the baby if they are uncomfortable.
Instead, consider simpler compositions:
sibling sitting next to the baby
sibling looking at the baby
sibling touching the baby’s foot with an adult nearby
both children lying or sitting safely on the floor with an adult supervising
Keep the interaction brief if the older child becomes restless.
Avoid using food as a bargaining tool during the shoot when it could create a choking risk or make the child uncomfortable. A short break, a favorite toy, or another age-appropriate reward can work just as well.
Including Pets
Pets can be part of a beautiful family photograph, but safety should always come first.
Never leave a newborn alone with a pet, even if the animal is normally calm and gentle.
For a photograph with both a baby and a pet:
have another adult control the animal
keep the baby securely supported
avoid forcing the animal to stay close
stop immediately if the pet becomes anxious or agitated
consider photographing the pet beside the family rather than directly next to the baby’s face
The goal is to capture the relationship without creating an unnecessary safety risk.
Tips for Parents Preparing for a Newborn Photoshoot
New parents don’t need to look or feel perfectly prepared for a photoshoot. The session should fit around the baby’s needs and the family’s energy level.
Before the photographer arrives:
Choose comfortable clothing without large logos or distracting patterns.
Keep a spare outfit nearby.
Prepare diapers, wipes, and feeding supplies.
Have a few meaningful blankets or family items ready.
Keep the room comfortable.
Give yourself more time than you think you’ll need.
Don’t worry if the baby needs several breaks.
For family portraits, neutral colors and coordinated textures can help keep the focus on the people rather than the clothing. But comfort matters more than following a particular color scheme.
Most importantly, don’t put pressure on yourself to recreate a particular photograph from social media. Your baby’s expressions, movements, and personality will make the images unique.
Editing Newborn Photos
Editing can help refine newborn photographs without making them look artificial.
Start with the basics:
Correct exposure and white balance.
Adjust contrast gently.
Keep skin tones natural.
Crop distracting elements.
Remove temporary distractions when appropriate.
Reduce minor blemishes without removing natural characteristics.
Apply similar adjustments across the session for a consistent gallery.
Newborn skin can naturally have redness, peeling, tiny marks, or uneven tones. Retouching doesn’t have to remove every detail. In many cases, subtle adjustments create a more natural result than heavy skin smoothing.
For photo retouching, Luminar can help simplify common editing tasks while giving you control over the final image.
If the background contains an unwanted distraction, you can also use AI photo masking to make a more precise selection before applying an adjustment.
Sometimes the room simply isn’t ready for photographs. There may be toys, cables, furniture, or other distracting elements in the frame.
Instead of rebuilding the entire setup, you can use Luminar’s background tools to isolate the subject and make controlled changes. The software can remove a background and allow you to add another one or work with the isolated subject.
Use this technique carefully with newborn photography. If the photograph is intended to document the baby’s real surroundings, replacing the background changes the scene and should not be presented as an unaltered documentary image.
The goal of editing should be to support the memory, not make the photograph look disconnected from the moment.
Conclusion
The best newborn photos don’t necessarily require elaborate props or complicated poses. A sleepy expression, a tiny hand around a parent’s finger, a favorite blanket, or a quiet moment in the nursery can tell a much more personal story.
Keep the session flexible, prioritize your baby’s comfort and safety, and look for small details as well as traditional portraits. With thoughtful shooting and restrained editing in Luminar, you can create a collection of photographs that preserves not only what your baby looked like, but what those first days felt like.
Frequently Asked Questions
What is the best age for a newborn photoshoot?
Many photographers prefer to photograph traditionally posed newborn sessions during the first couple of weeks, but there is no single ideal age for every baby. The right timing depends on the baby’s temperament and the type of photographs you want.
How can I take newborn photos safely at home?
Keep the setup simple, use a stable surface, continuously supervise the baby, and never attempt complex poses without appropriate training. The baby’s airway should remain clear, and the baby should never be left unattended on a posing surface.
What are some easy newborn photography ideas?
Natural close-ups, side profiles, photographs of tiny hands and feet, parent-and-baby portraits, nursery details, and simple back-lying photographs are all accessible options.
How do I make newborn photos look natural?
Use soft light, simple backgrounds, gentle editing, and authentic expressions. Avoid excessive skin smoothing or removing every natural mark from the baby’s skin.
Can I include siblings and pets in newborn photos?
Yes, but interactions should be closely supervised. Siblings and pets should never be left alone with the baby, and the setup should be stopped if anyone becomes uncomfortable or unpredictable.
Subscribe to know first
Our delivery owl will bring you our best deals and news about Skylum news.