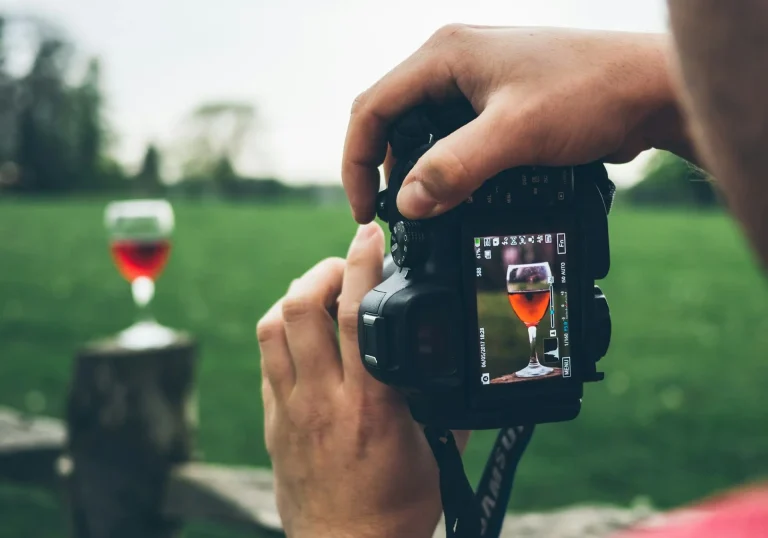
Build your skills with ten practical photography tips for beginners. Learn the essentials of camera settings, light, composition, equipment, editing, and regular practice.
Digital photography makes it easier than ever to start taking pictures. You can begin with a smartphone, an entry-level mirrorless camera, or a DSLR without buying a large collection of expensive gear. What matters most at the beginning is learning how your camera works, understanding light and composition, and giving yourself plenty of opportunities to practice.
If you’re wondering how to start photography, these ten beginner photography tips will help you build a solid foundation and develop your own way of seeing.
Don’t feel like reading the whole breakdown? We’ve pulled together a quick summary below.
Key Takeaways
- Learn how to use your current camera before buying more equipment.
- Practice regularly and review both successful and unsuccessful shots.
- Photograph subjects you genuinely enjoy to stay motivated and develop your style.
- Explore familiar locations instead of waiting for the perfect trip.
- Learn the basics of aperture, shutter speed, ISO, focus, exposure, and composition.
- Pay attention to the direction, quality, color, and intensity of light.
- Organize and back up your photos from the beginning.
- Experiment with different angles, distances, framing, and perspectives.
- Use a tripod when stability, precise framing, or longer exposures require it.
- Learn basic post-processing while keeping edits purposeful and natural.
1. Get to Know Your Camera
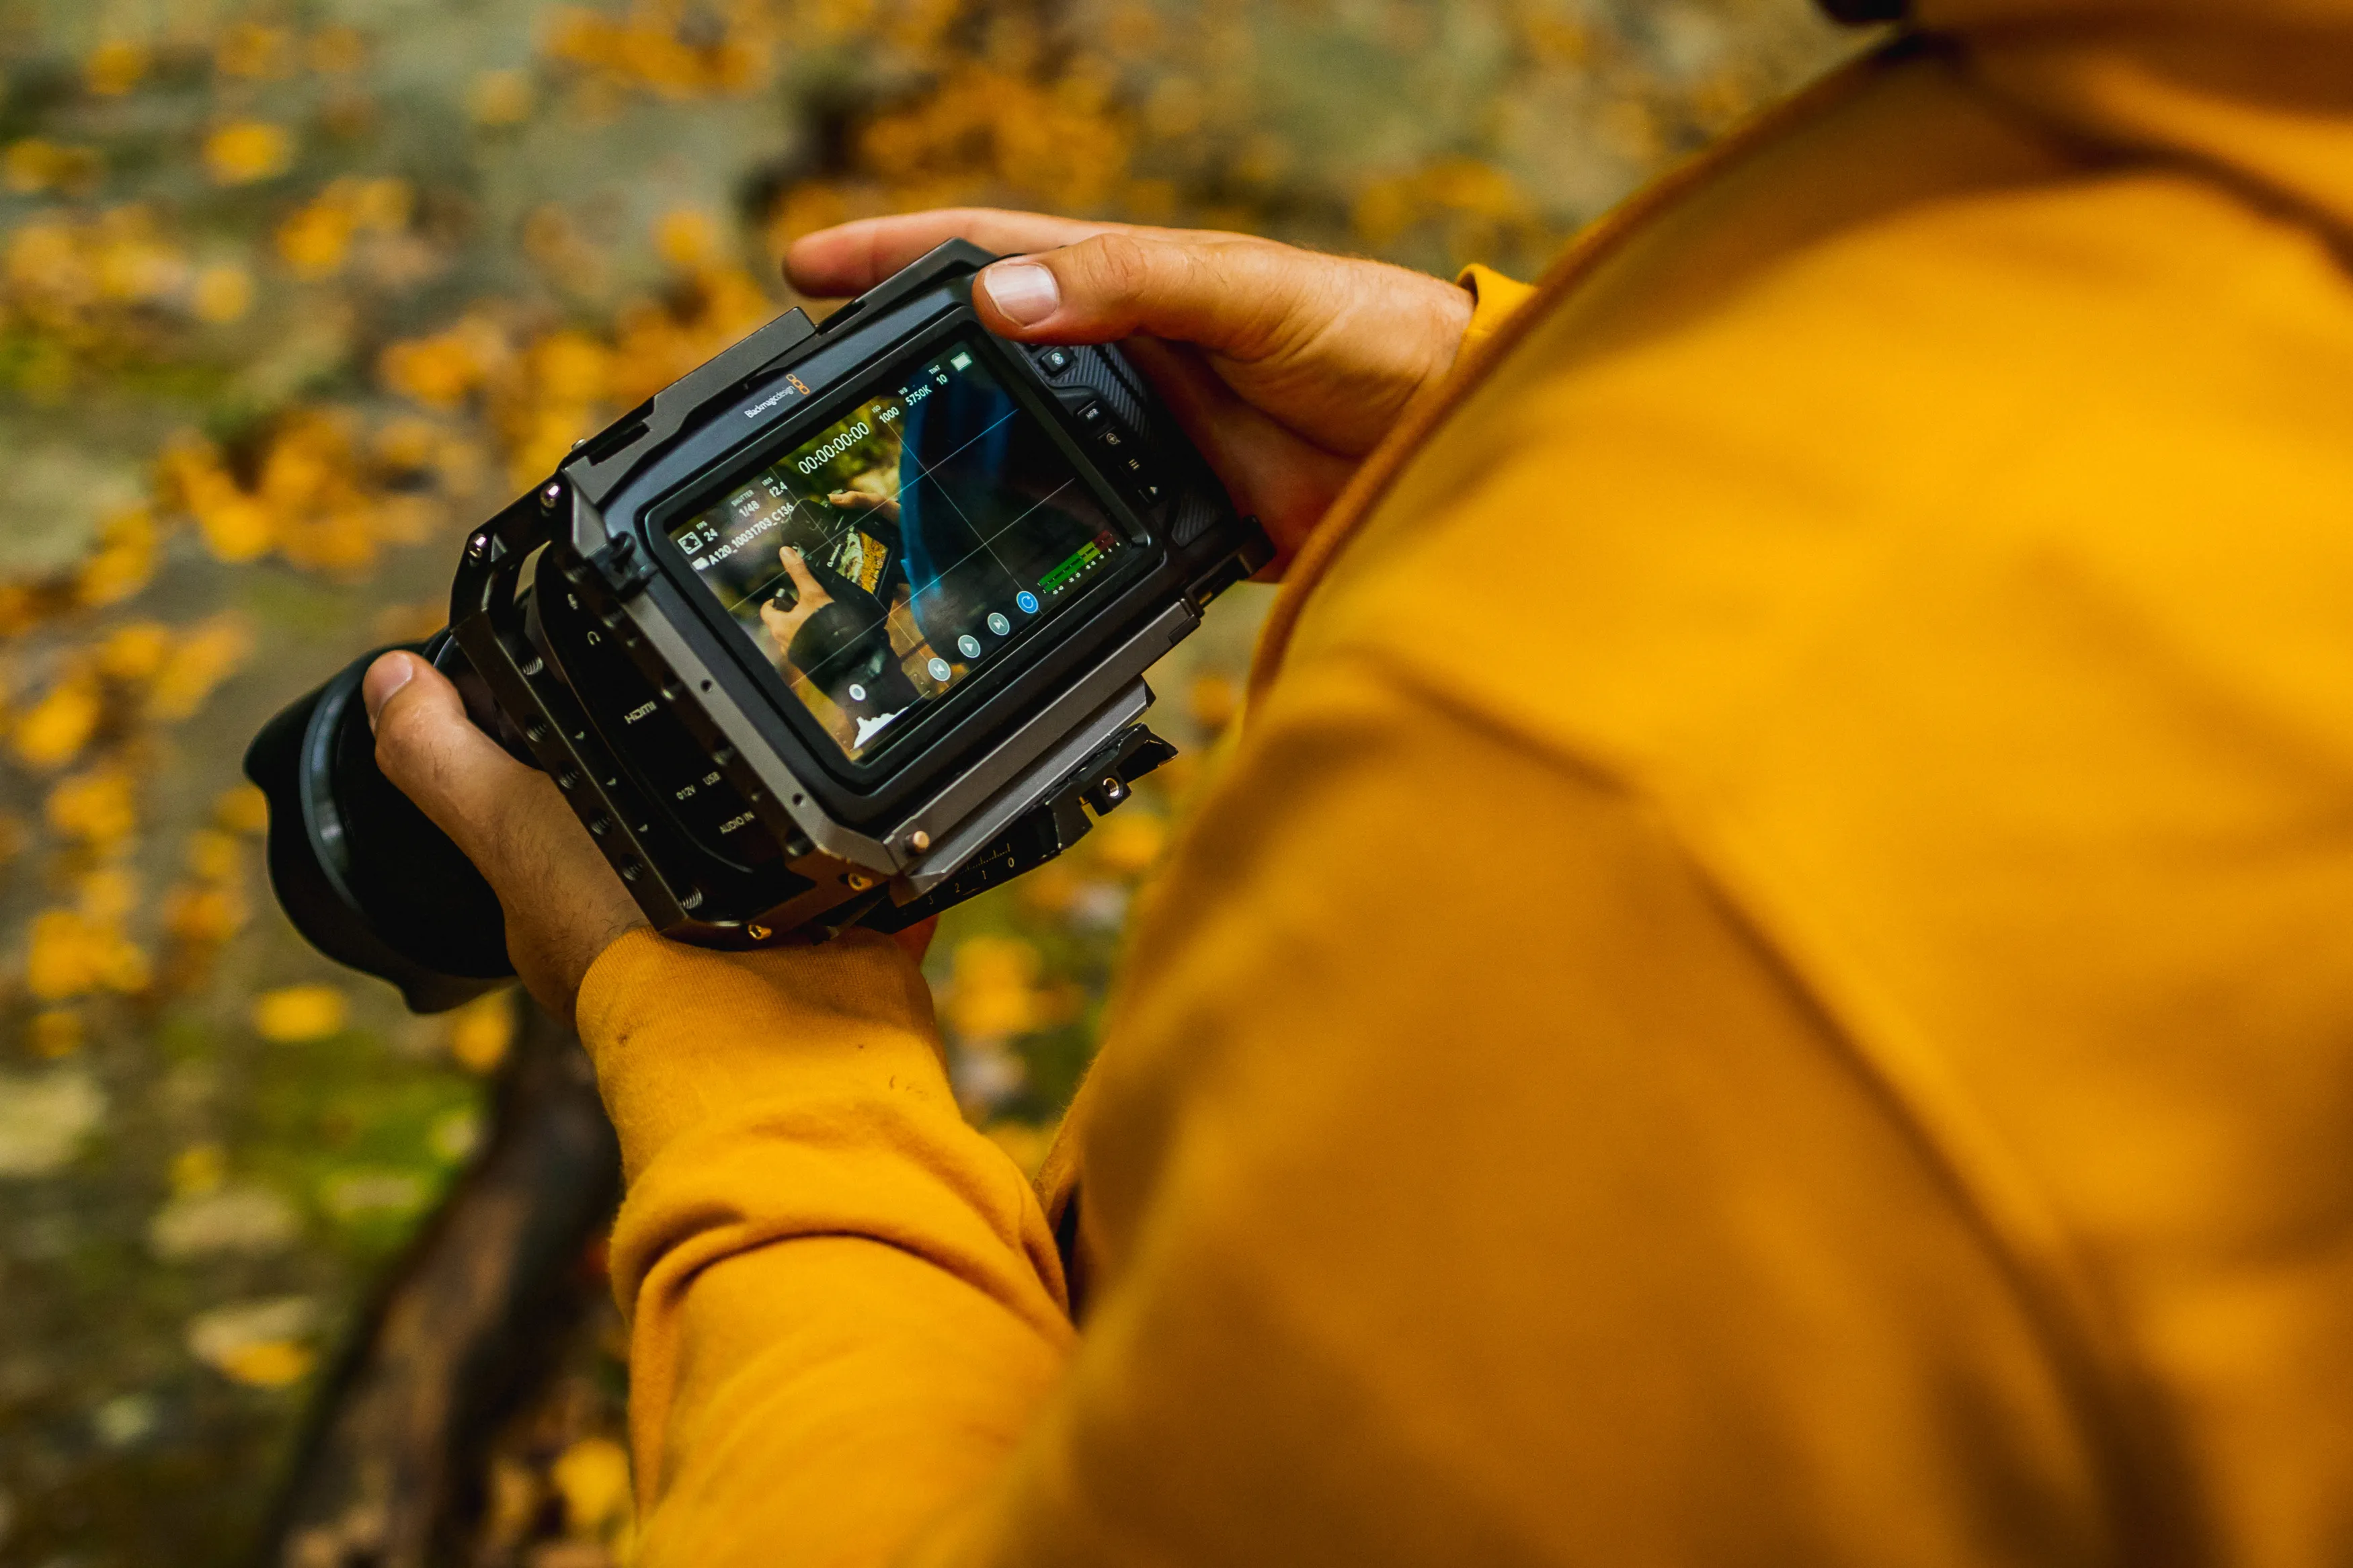 One of the best photography tips for beginners is also one of the simplest: learn what your camera can actually do.
Start with the basics. Find out how to change the shooting mode, ISO, aperture, shutter speed, focus mode, white balance, and exposure compensation. Learn where the important buttons and controls are so you can adjust them without constantly searching through menus.
Read the manual, but don’t stop there. Take your camera outside and experiment. Photograph the same subject using different apertures, shutter speeds, and ISO settings, then compare the results.
If you’re using a smartphone, explore its camera modes and settings in the same way. Understanding your equipment is more useful than simply upgrading it.
Exclusive Tools of Endless Possibilities in One Editor
2. Practice Regularly
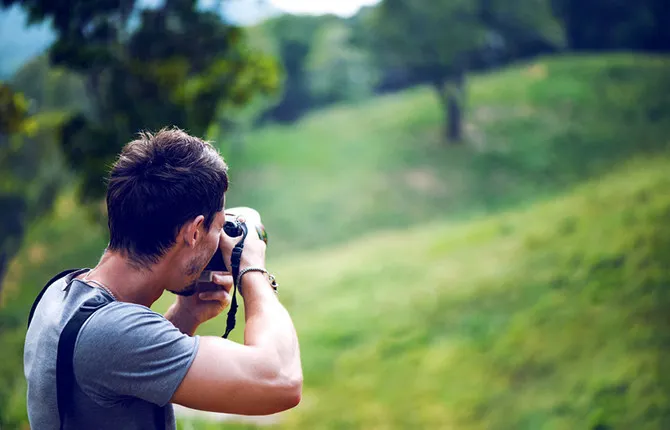
Photography is a practical skill, and experience matters.
Take your camera with you when you can and give yourself small photography exercises. Photograph the same subject at different times of day. Try a wide composition and then move closer. Photograph something from several angles.
Don’t worry if many of your early images aren’t keepers. Reviewing unsuccessful photos can be just as useful as looking at your best ones. Ask yourself why an image feels too dark, blurry, cluttered, or unbalanced.
Regular practice helps you recognize these problems before you press the shutter.
3. Photograph What You Enjoy
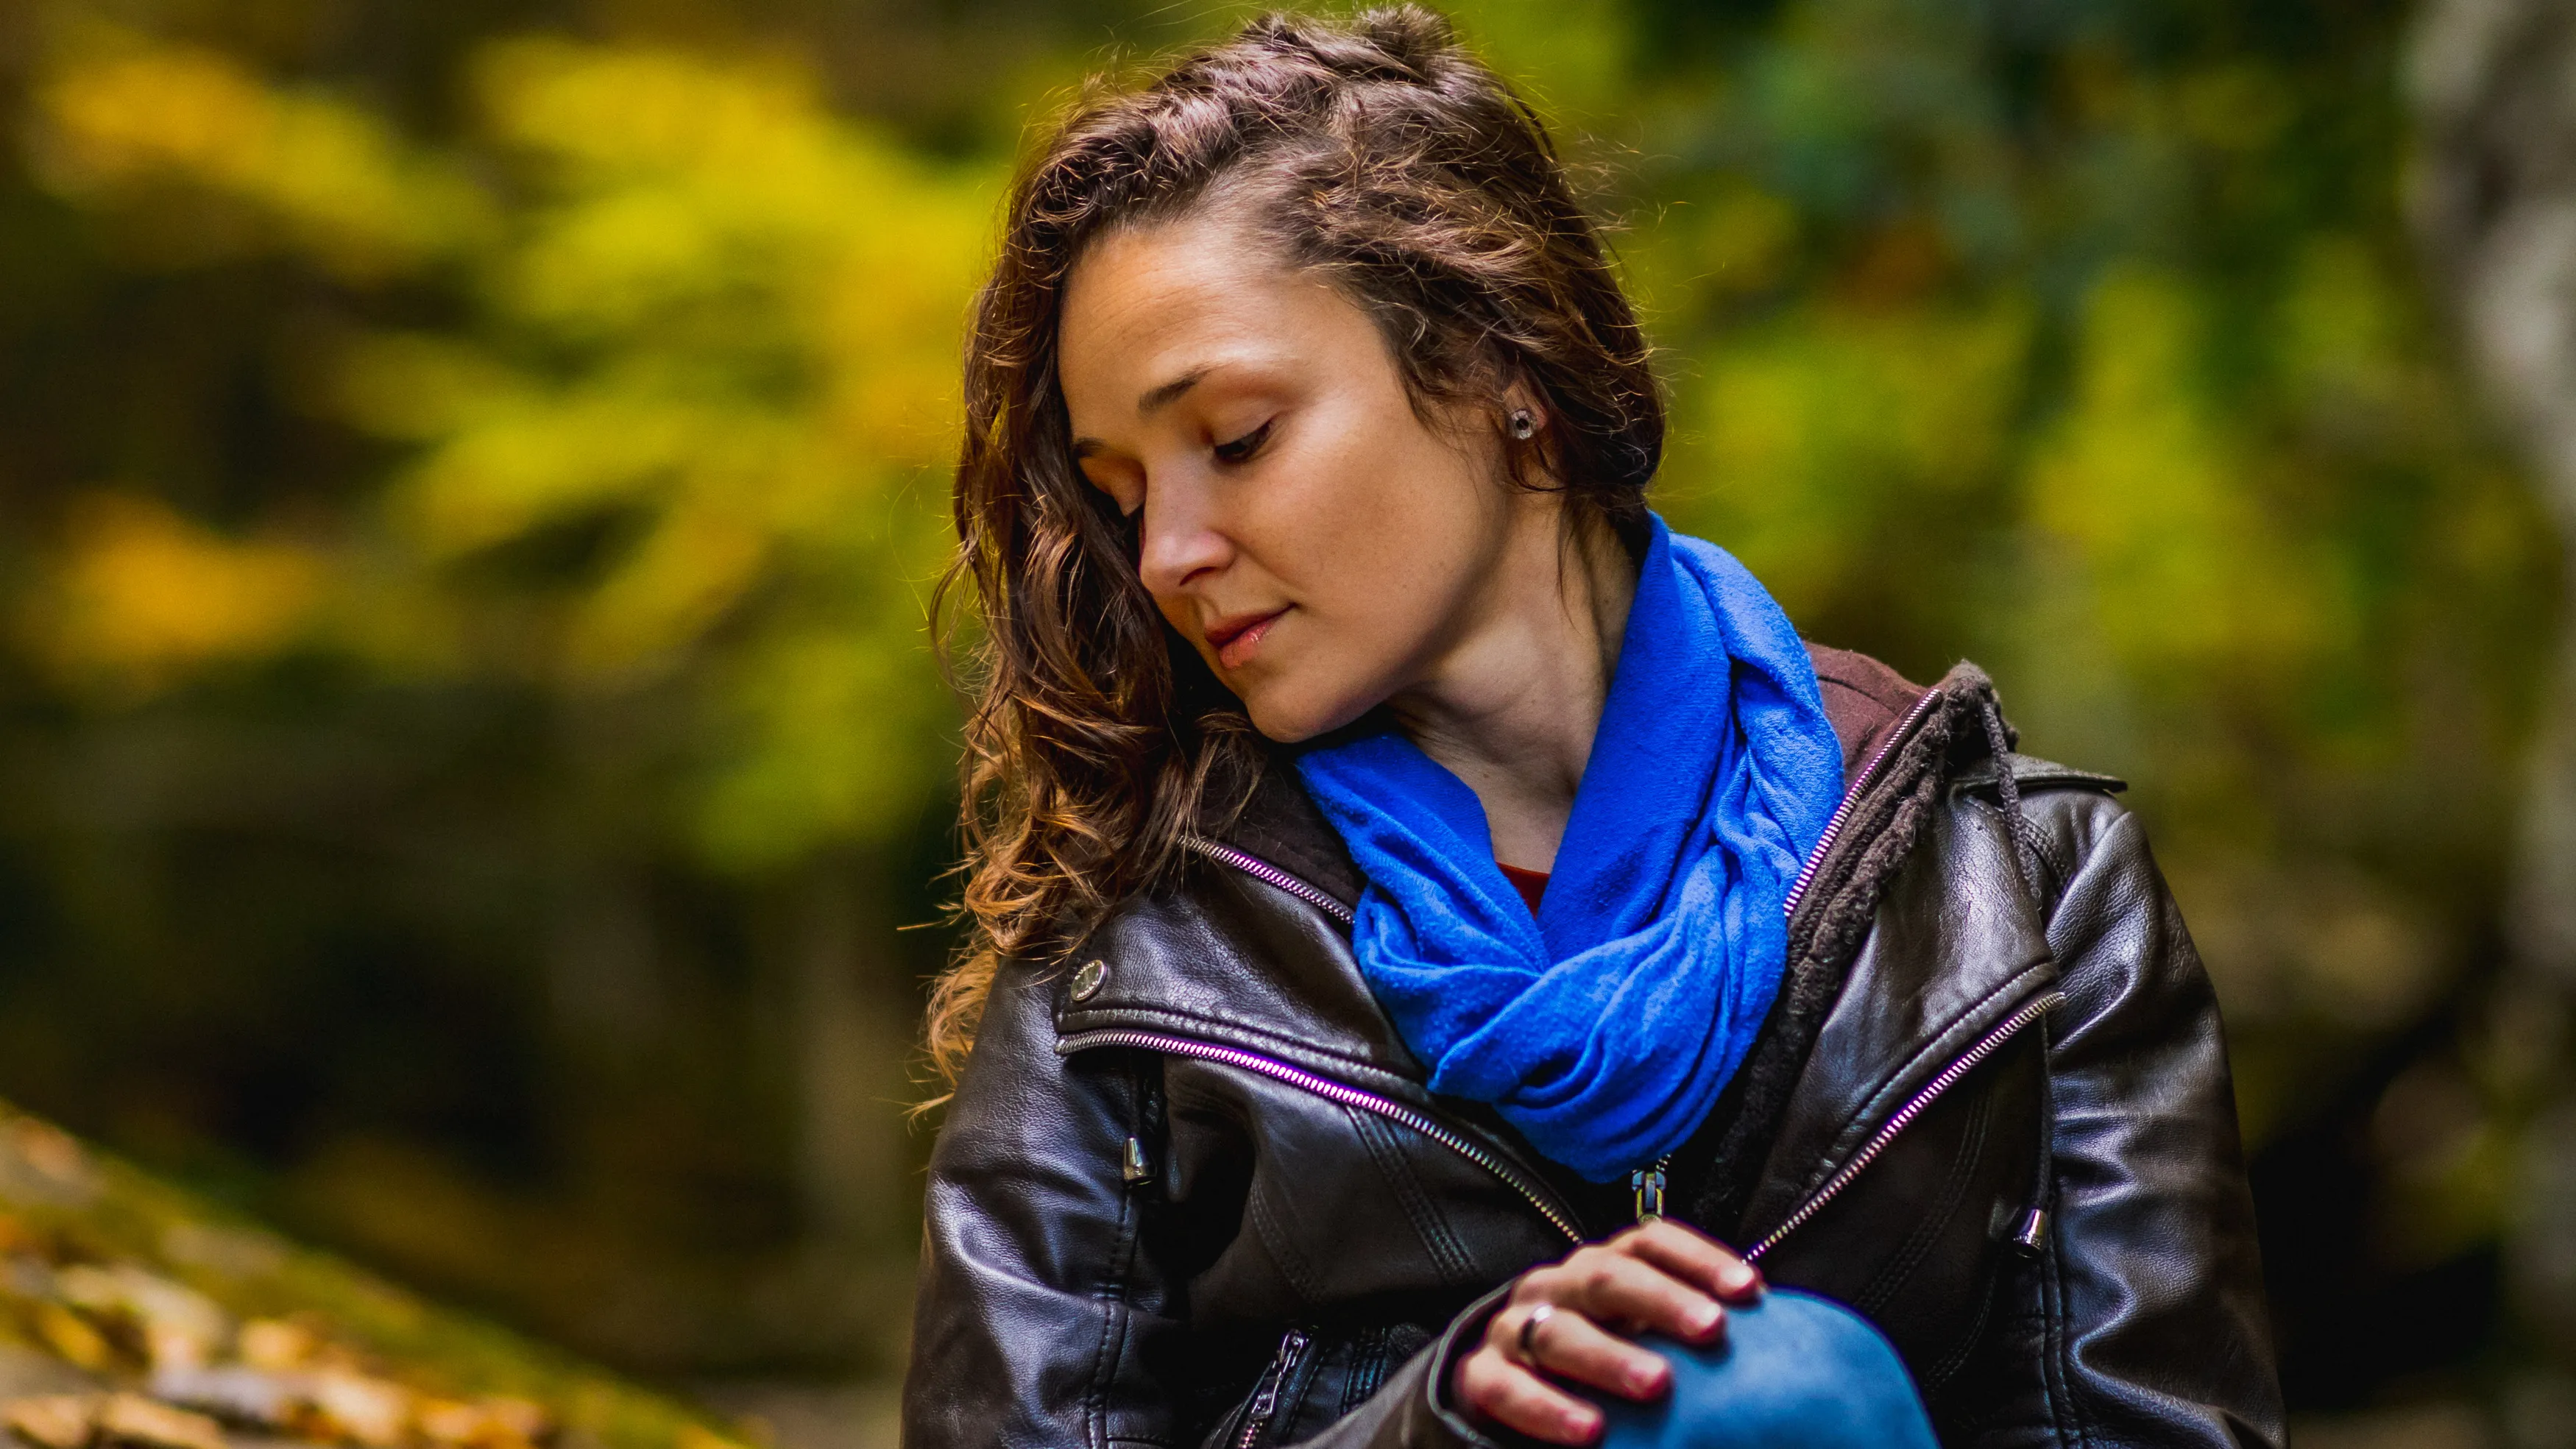 If you’re interested in architecture, flowers, food, pets, people, cars, or landscapes, start there.
Enjoying your subject gives you a reason to keep practicing. It also encourages you to pay attention to small details that you might otherwise overlook.
You don’t need to choose a single photography genre immediately. Experiment with portraits, street scenes, nature, architecture, or still life. Your interests may change as you discover what you enjoy photographing most.
Once you start editing your images, tools such as photo presets can also provide a useful way to explore different approaches to color and tone. Just remember that presets are a starting point, not a substitute for learning how an image can be adjusted.
4. Look for Photos Close to Home
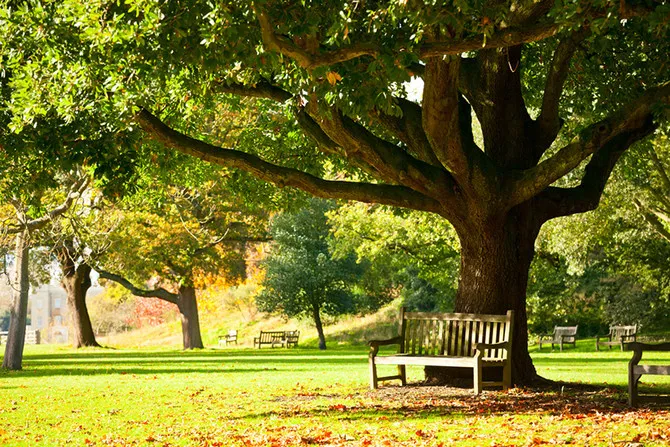
You don’t need to travel to an exotic location to practice photography.
Your neighborhood can provide plenty of subjects: buildings, streets, parks, local businesses, people, pets, plants, and changing weather. Try visiting the same place at different times of day and photographing it from different positions.
This exercise teaches you to notice changes in light, shadows, colors, and composition. It can also help you develop the habit of looking for photographs instead of waiting for them to appear.
A familiar location can become surprisingly interesting when you approach it with a different perspective.
5. Learn the Photography Basics
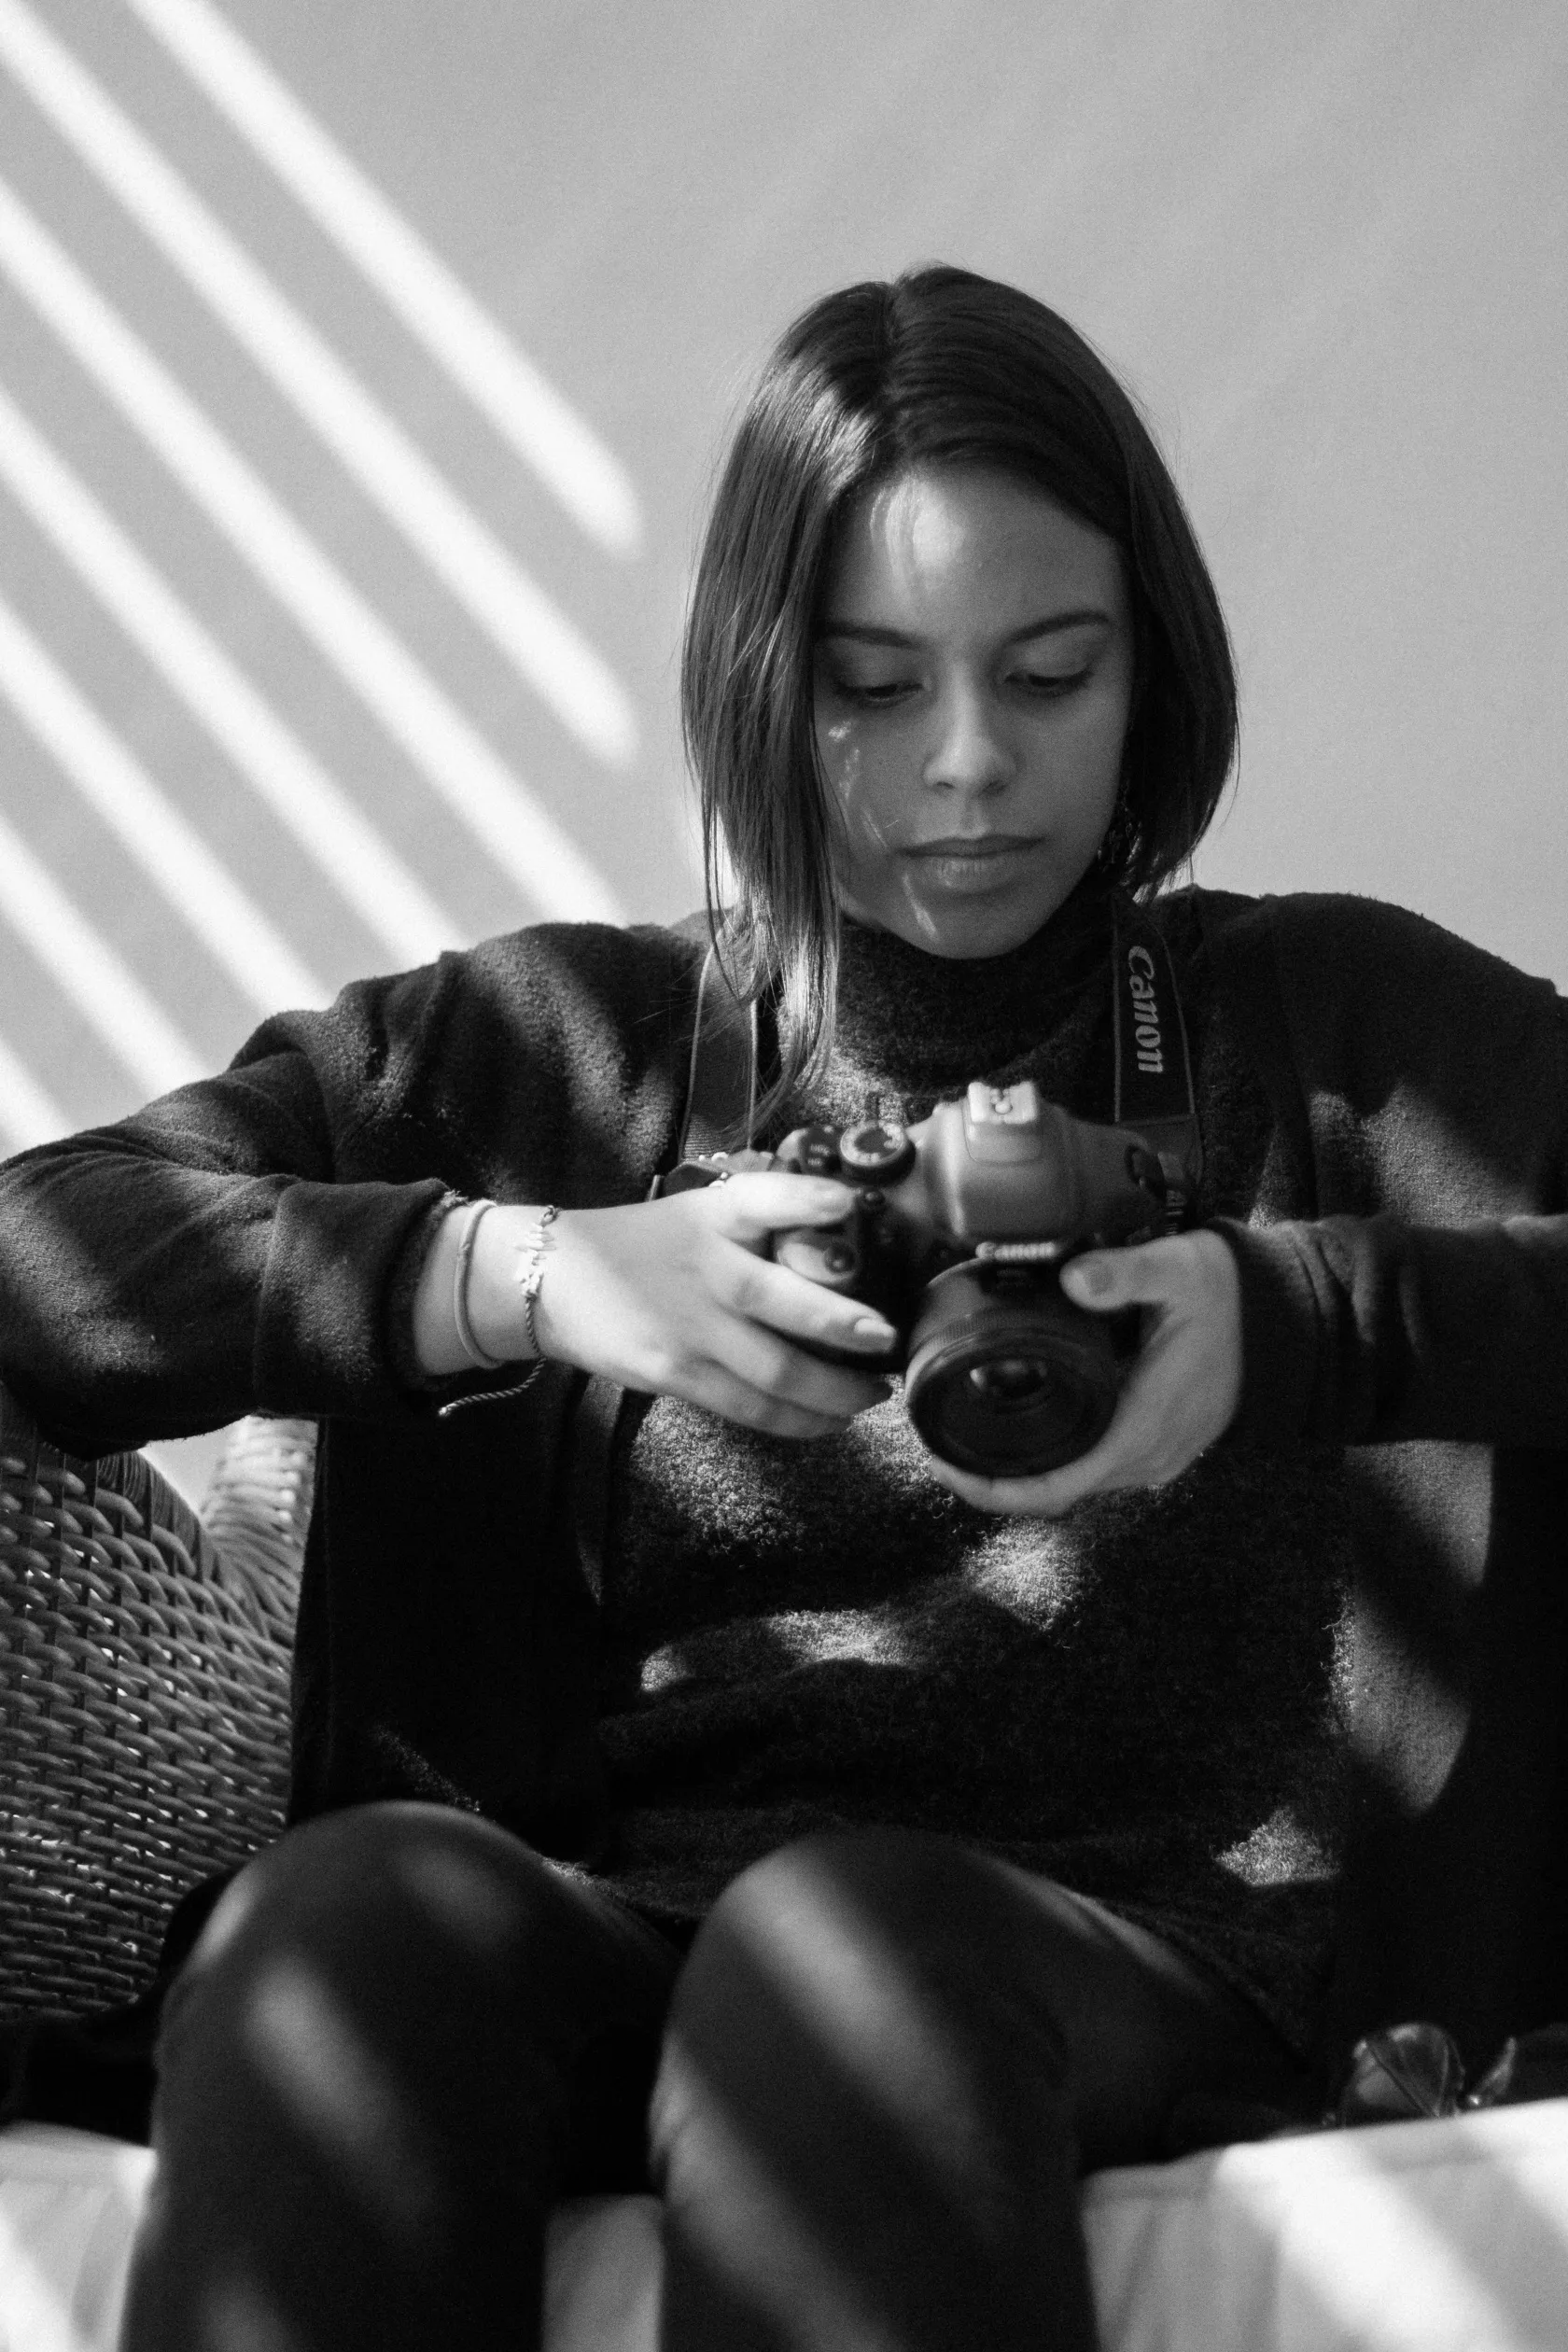 Understanding the technical side of photography gives you more control over your images.
Start with these concepts:
- Aperture: controls the amount of light entering the lens and influences depth of field.
- Shutter speed: determines how long the camera records light and affects motion blur.
- ISO: affects the camera’s sensitivity to light and can influence image noise.
- Exposure: describes how light or dark an image appears.
- Focus: determines which part of the scene appears sharp.
- Composition: describes how subjects and other elements are arranged within the frame.
- White balance: helps control the color temperature of an image.
You don’t have to master everything at once. Pick one setting, change it deliberately, and observe what happens.
Composition deserves just as much attention as camera settings. Start with simple techniques such as the rule of thirds, leading lines, symmetry, framing, and negative space.
For more practice, try photography exercises for beginners. Structured exercises can make learning more productive than simply taking random pictures.
6. Pay Attention to Light
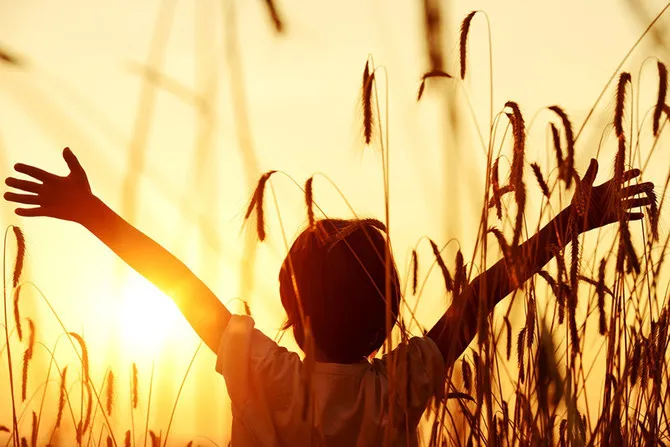 Photography is fundamentally about recording light, so learning to observe it is essential.
Before taking a picture, ask yourself:
- Where is the light coming from?
- Is it hard or soft?
- Is the subject evenly lit?
- Are there distracting shadows?
- Would the scene look different at another time of day?
Direct midday sunlight can create strong shadows, while cloudy conditions often produce softer, more even illumination. Backlighting can create silhouettes or glowing edges, while side lighting can emphasize texture and depth.
The golden hour around sunrise or sunset is popular because the sun is lower in the sky and the light can be softer and warmer. But don’t limit yourself to one type of light. Different conditions can produce very different photographic results.
The important skill is learning to recognize what the existing light is doing before you take the shot.
Elevate Your Photography with Our Advanced Software
7. Organize and Back Up Your Photos
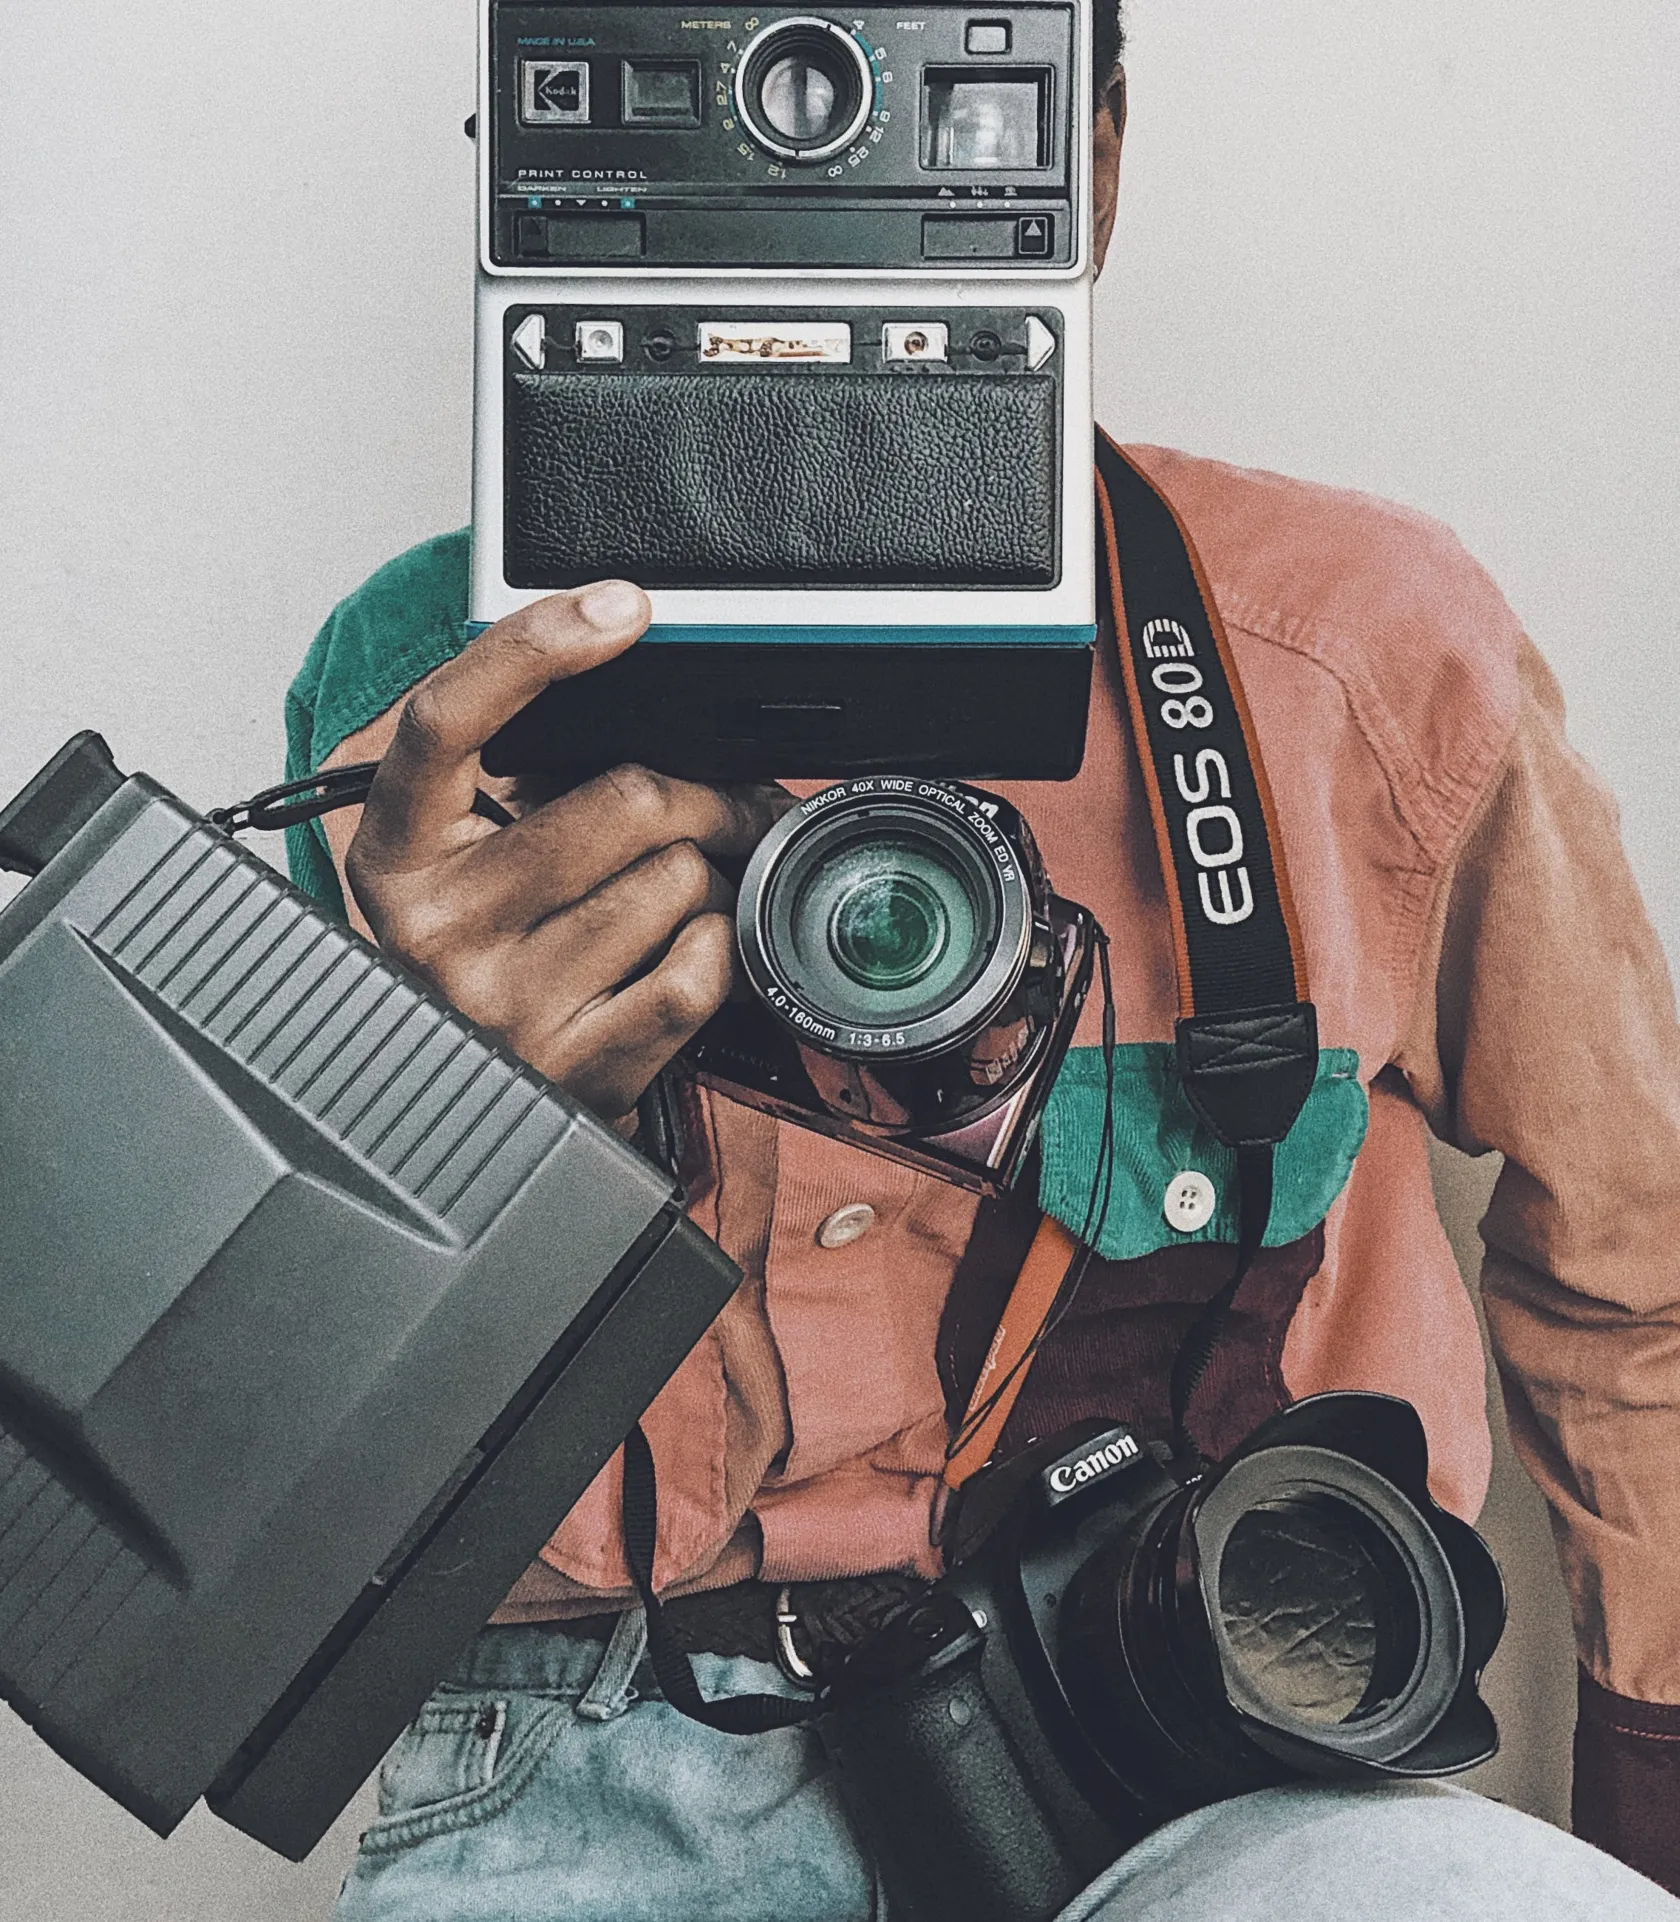 Good file management may not sound exciting, but it becomes increasingly important as your photo collection grows.
Create a simple system from the beginning. You might organize images by year, month, location, project, or subject. Use descriptive folder names and keep your original files separate from edited exports.
More importantly, don’t keep the only copy of your photographs on your computer or memory card.
A practical backup system can include an external drive plus a cloud or other separate backup. The exact setup depends on how much you photograph, but the principle is simple: important images should exist in more than one location.
Also remember to back up your RAW files if you shoot RAW. They are your original image files and can be valuable if you want to revisit an edit later.
8. Change Your Point of View

Many beginners take photographs from the same height they see the world every day. Changing your position can immediately make a composition more interesting.
Try:
- Getting closer to your subject.
- Photographing from a low angle.
- Shooting from above.
- Moving to the side.
- Looking for reflections.
- Using foreground objects to create depth.
- Leaving more negative space around the subject.
This is especially useful when photographing children, pets, architecture, and street scenes.
Before pressing the shutter, take a few seconds to move around. A small change in camera position can completely alter the relationship between the subject and background.
If you like the composition but notice an unwanted object afterward, a tool such as Erase can help remove distracting elements during post-processing.
9. Use a Tripod When You Need One
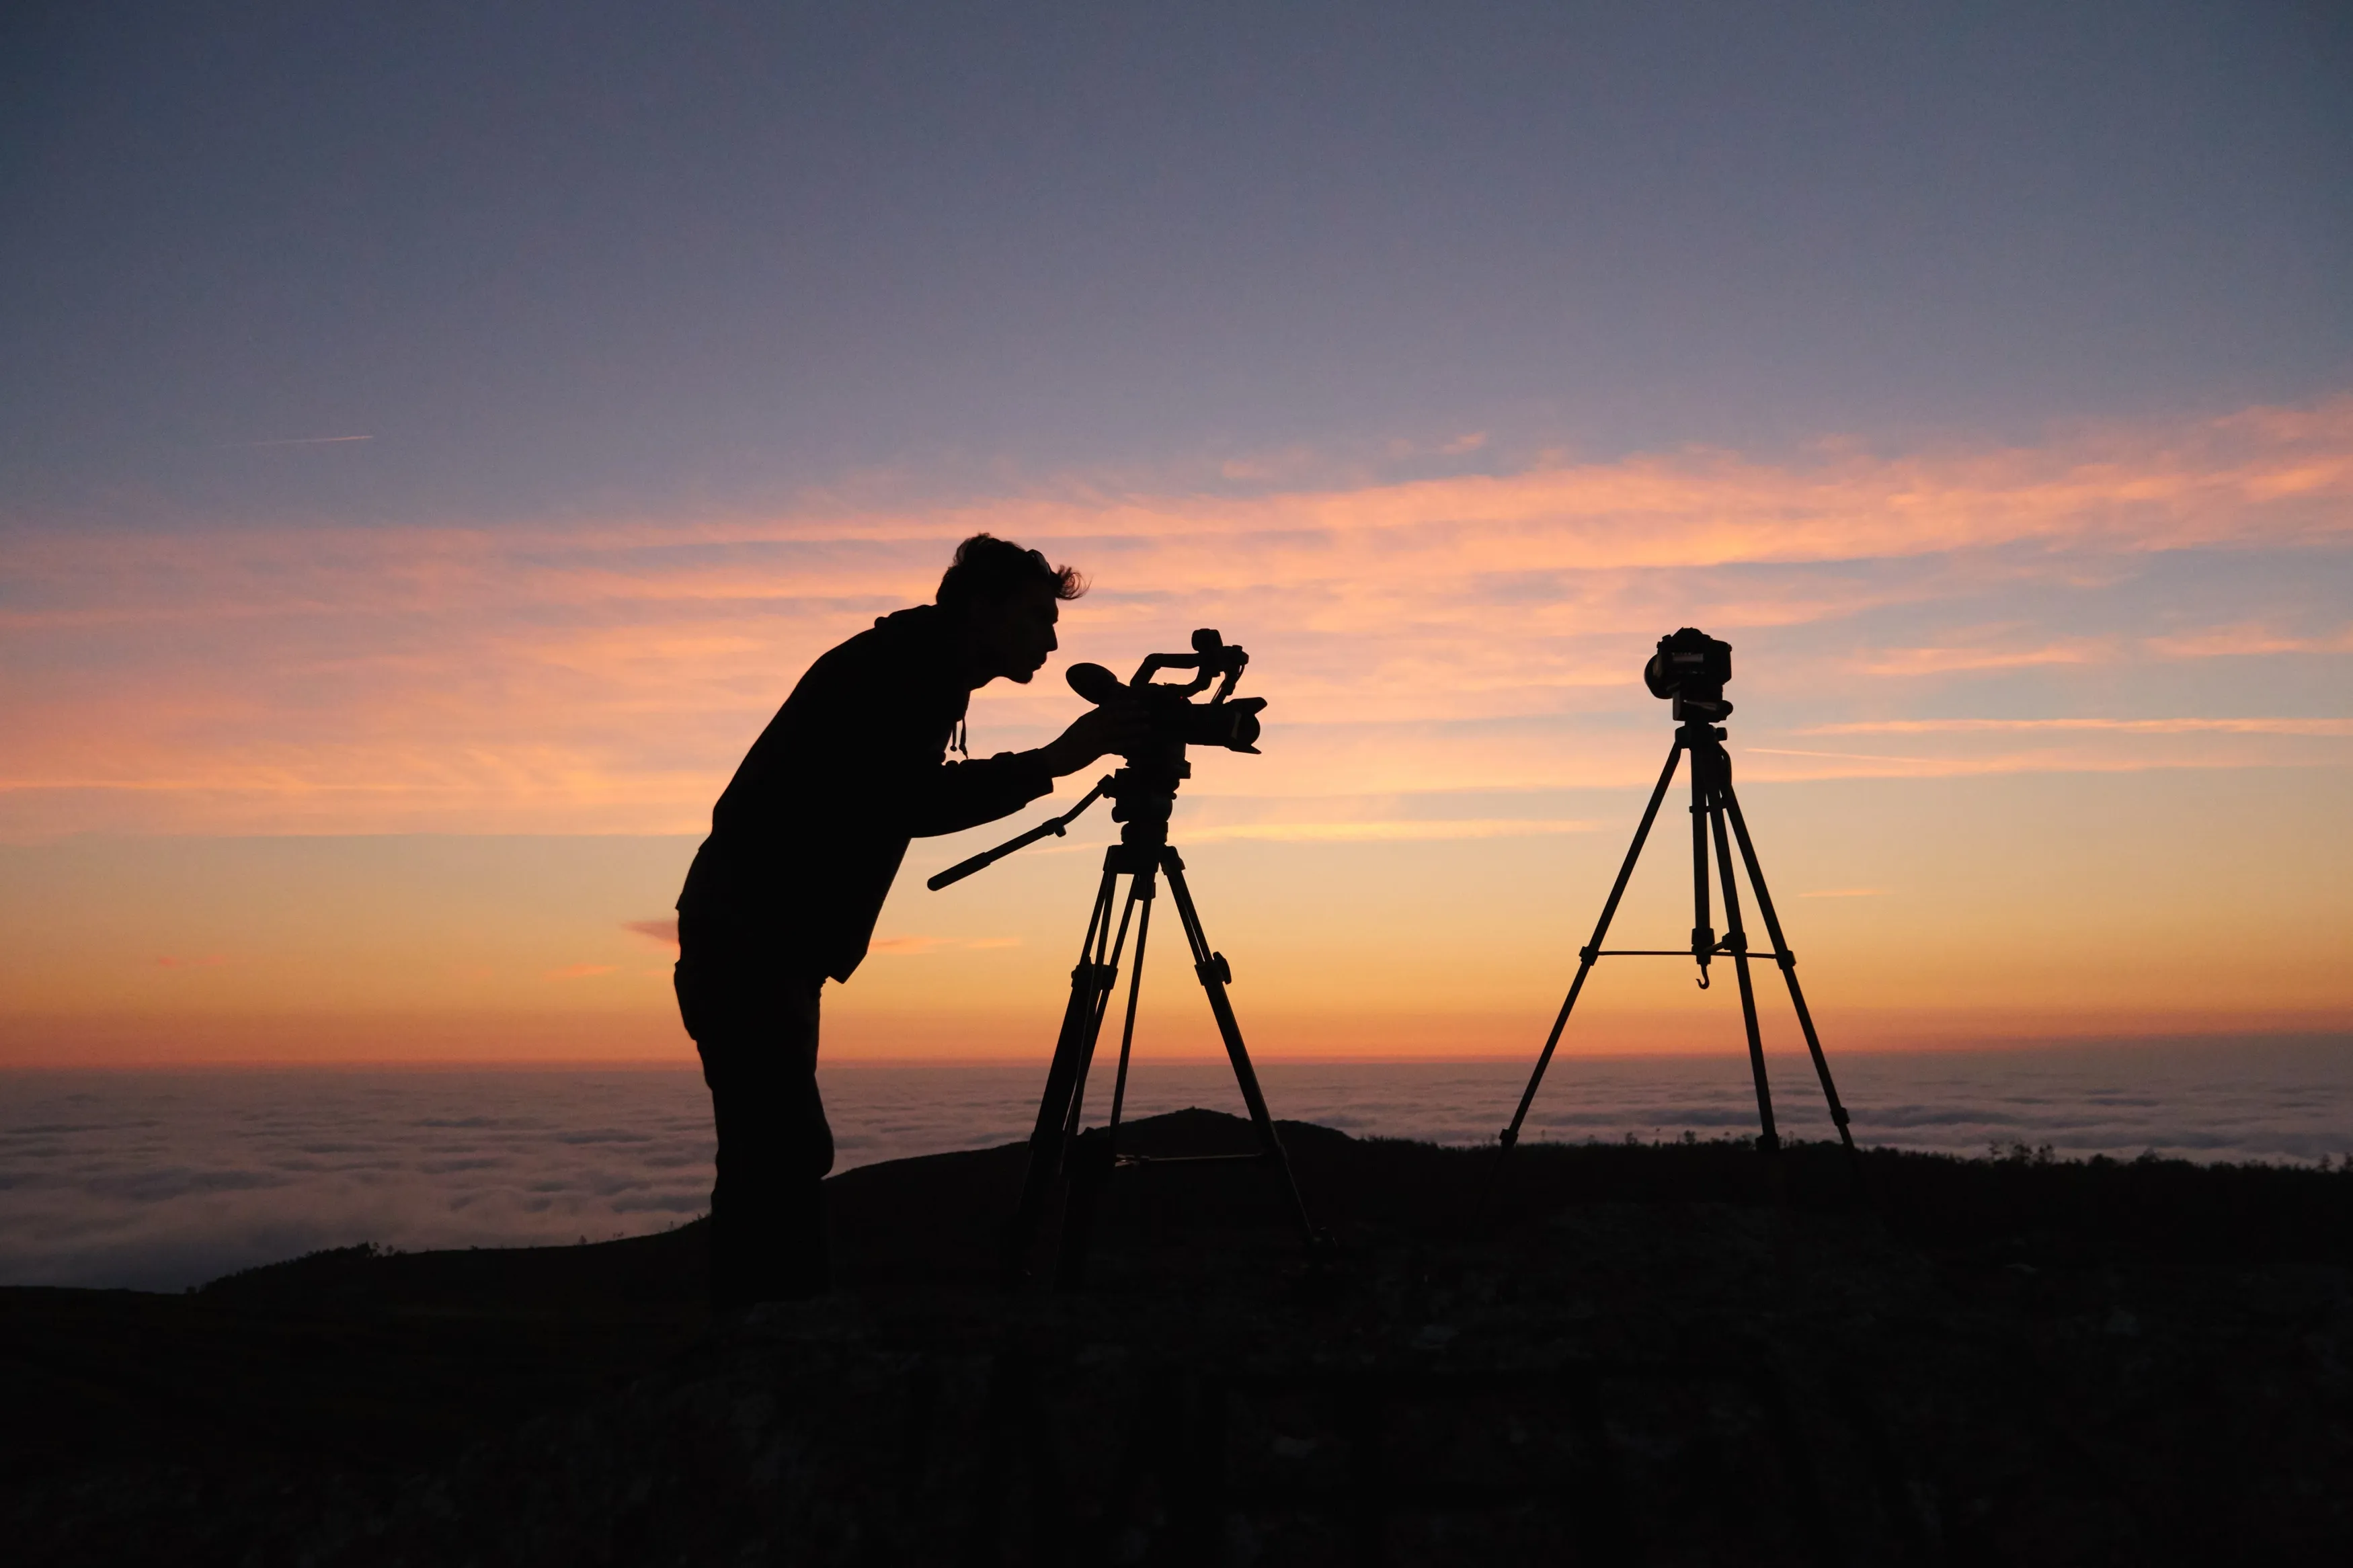 A tripod isn’t necessary for every photograph, but it can be extremely useful when you need maximum stability.
Consider using one for:
- Long exposures.
- Night photography.
- Landscapes with precise compositions.
- Product and still-life photography.
- Bracketing or HDR workflows.
- Self-portraits.
- Video or time-lapse work.
When choosing a tripod, make sure it can safely support your camera and lens combination. Also consider its weight, folded size, maximum height, and how often you’ll actually carry it.
For some handheld situations, image stabilization and good shooting technique may be enough. The goal isn’t to use a tripod all the time; it’s to recognize when additional stability will improve the result.
10. Learn Basic Post-Processing
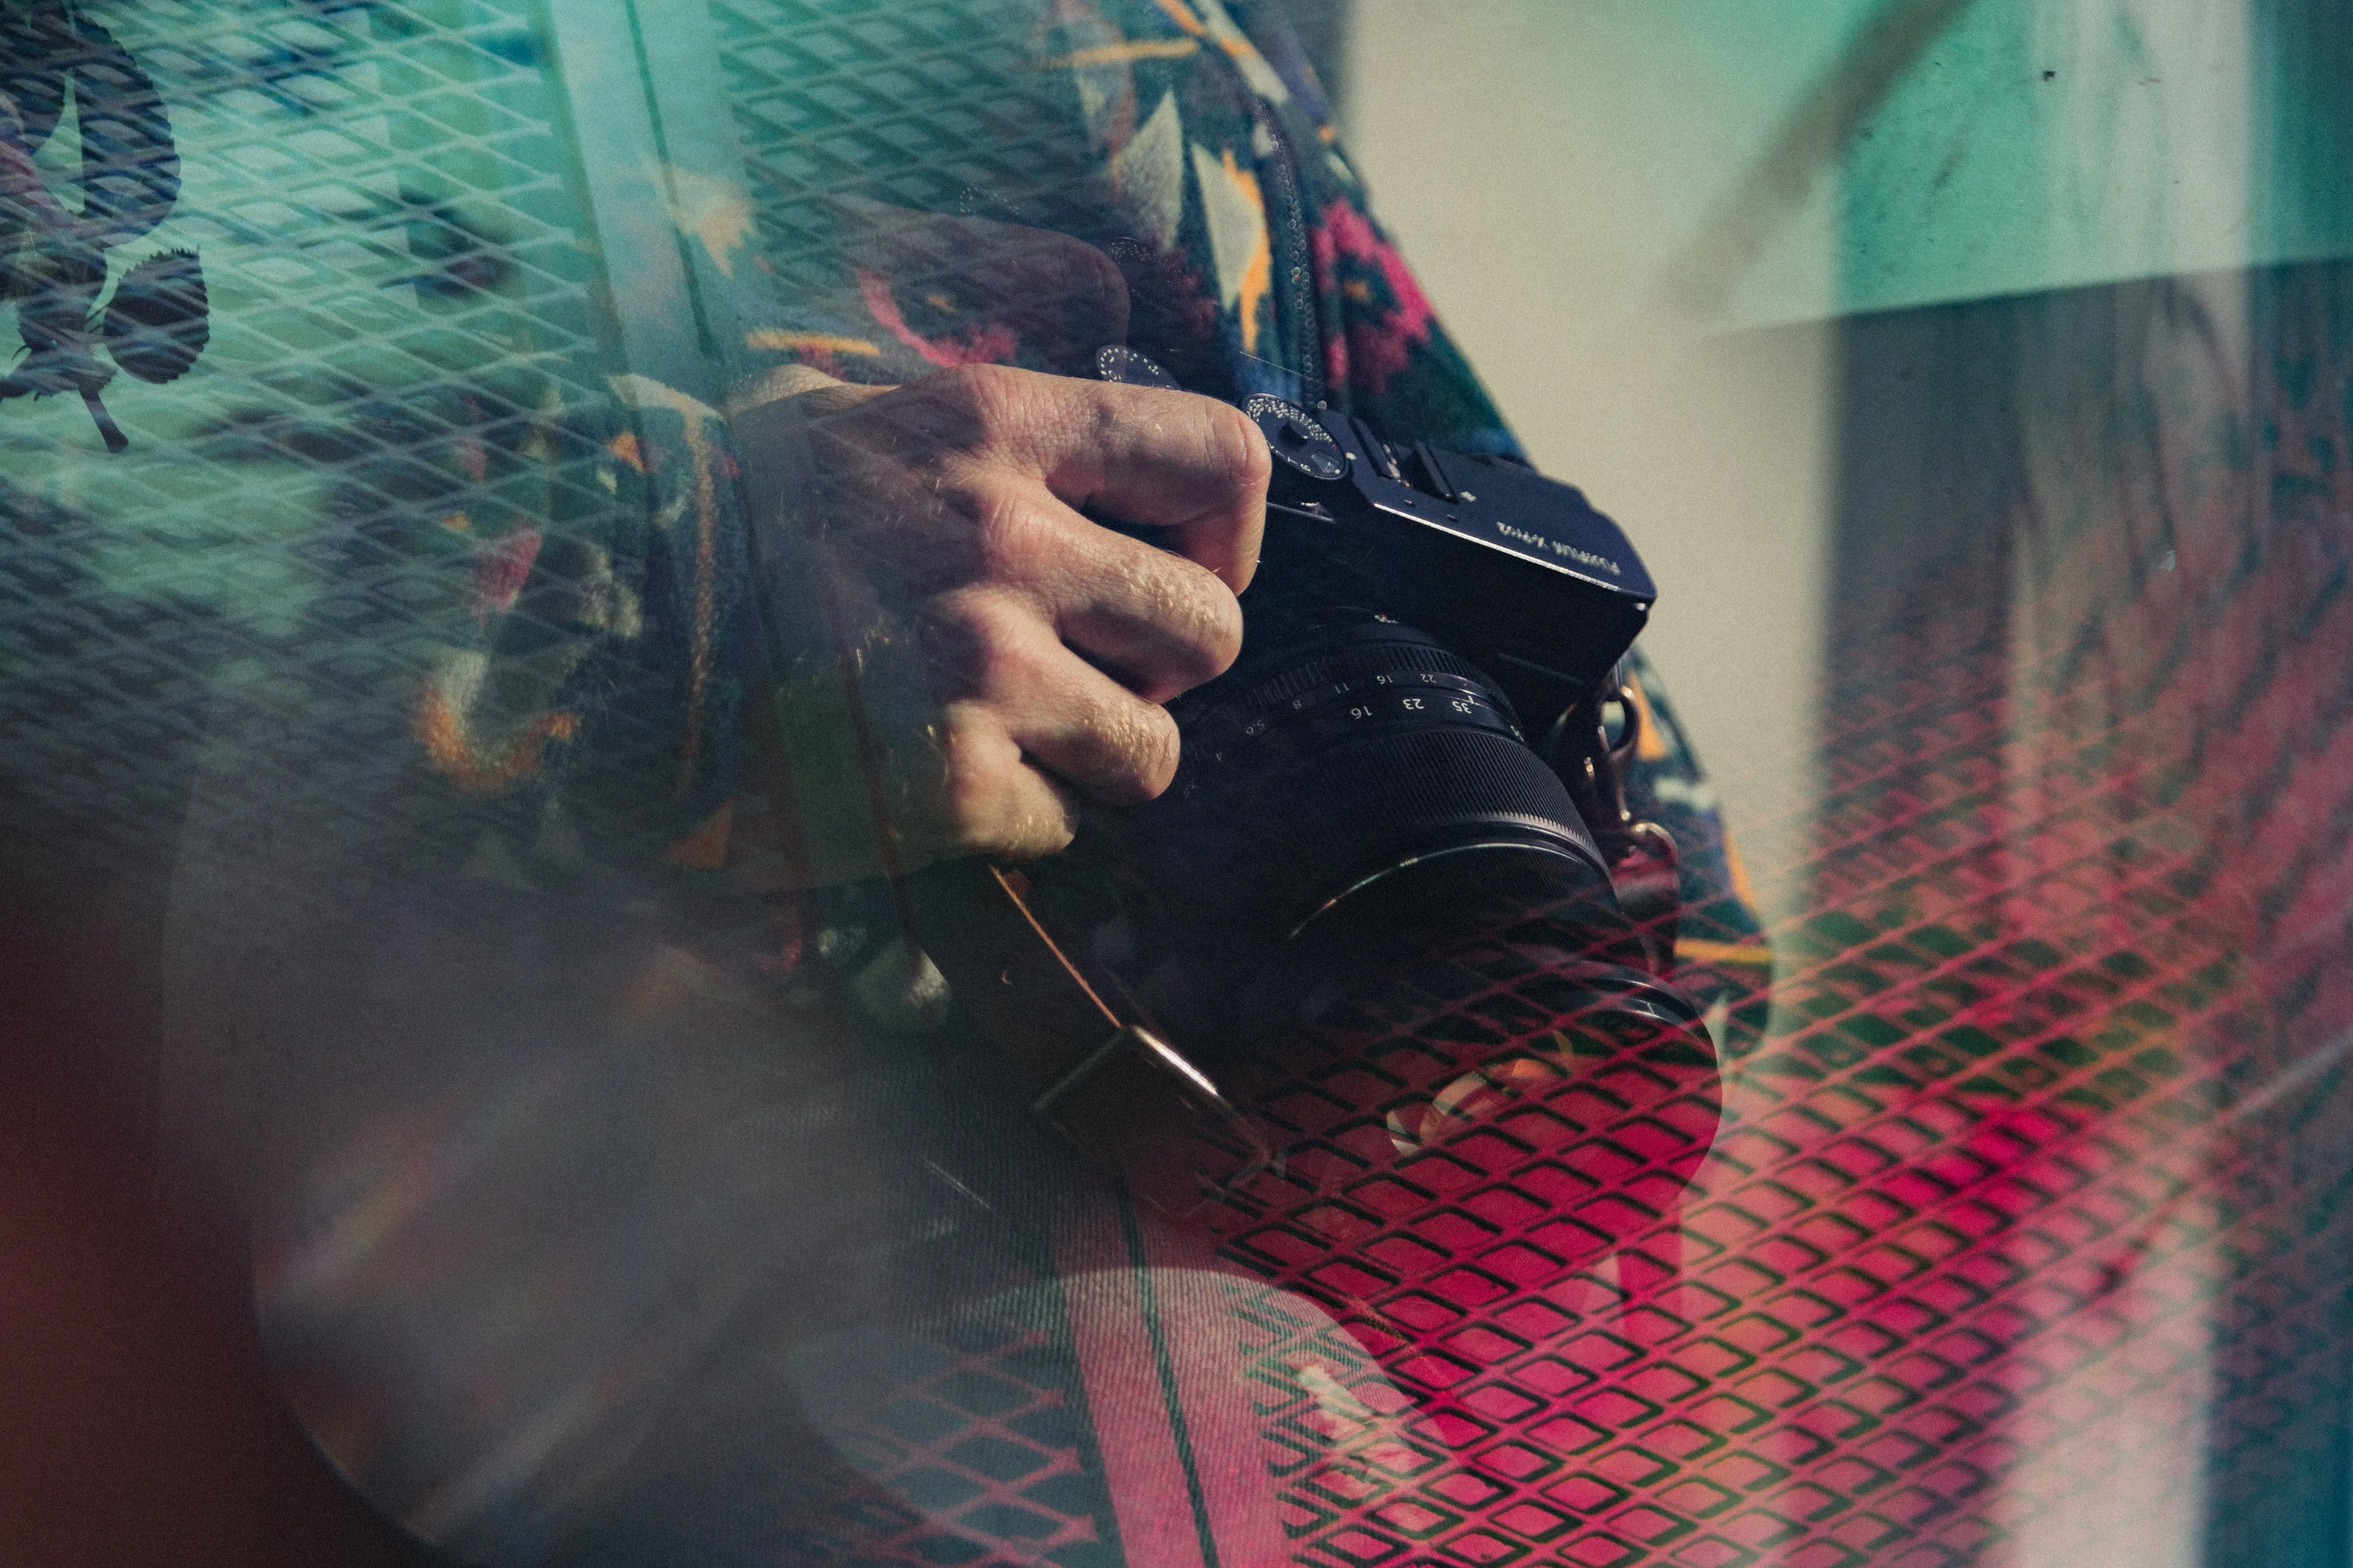 Taking the photograph is only part of the digital photography workflow. Learning how to edit your images is another important skill.
You don’t need to begin with complicated retouching. Start with basic adjustments such as:
- Exposure and brightness
- Contrast
- Highlights and shadows
- White balance
- Color and saturation
- Cropping and straightening
- Sharpening and noise reduction
The goal isn’t to change every photograph dramatically. Good editing often means making targeted adjustments that help the image communicate what you saw when you took it.
Modern editors such as Luminar can also automate or simplify some editing tasks, which can be useful while you’re learning the fundamentals. For example, AI-powered tools can help with removing distractions, extending a composition, or reducing noise, while traditional adjustment tools give you more direct control.
As your skills develop, pay attention not only to which edits look attractive but also to whether they support the original photograph.
Your AI-Powered Photo Editor for MacOS and Windows
Common Beginner Photography Mistakes
Learning what not to do can save you plenty of frustration. Some common mistakes include:
| Mistake | What to Try Instead |
| Buying too much gear too soon | Learn your current camera first |
| Ignoring the background | Check the entire frame before shooting |
| Using automatic settings without understanding them | Experiment with one setting at a time |
| Taking every photo from eye level | Change your height and position |
| Shooting only in harsh midday light | Explore shade, overcast weather, and golden hour |
| Overediting images | Make small adjustments and compare before/after |
| Keeping photos only on one drive | Maintain at least one additional backup |
| Taking hundreds of similar shots without reviewing them | Regularly select and analyze your strongest images |
Conclusion
Learning photography doesn’t require the most expensive camera or a large collection of accessories. The most useful investment at the beginning is time spent practicing, observing light, understanding your camera, and reviewing your own work.
Start with the basics, photograph subjects you genuinely enjoy, and experiment with different compositions and lighting conditions. As you become more comfortable, gradually introduce new techniques and editing tools.
Most importantly, give yourself permission to make mistakes. Some of your photographs won’t work, and that’s part of learning. Every unsuccessful frame can teach you something about light, composition, timing, or technique.
Photography is a skill you can keep developing for years. Start with what you have, keep shooting, and let your interests guide where you go next.
FAQ
The most important skills are understanding exposure, aperture, shutter speed, ISO, focus, lighting, and composition. Basic file organization and photo editing are also useful parts of a modern photography workflow.
Start by learning how your camera works and how aperture, shutter speed, and ISO affect exposure. Then practice composition and lighting while photographing different subjects.
No. A beginner can learn photography with a smartphone, entry-level camera, or existing equipment. Understanding light, composition, timing, and camera settings generally matters more than owning expensive gear.
Yes, the rule of thirds is a useful starting point for learning composition. However, it is a guideline rather than a requirement. Centered compositions, symmetry, leading lines, and other approaches can work just as well depending on the image.
Practice regularly, review your images critically, and focus on one skill at a time. Try photographing the same subject under different lighting and from different angles, then compare the results.