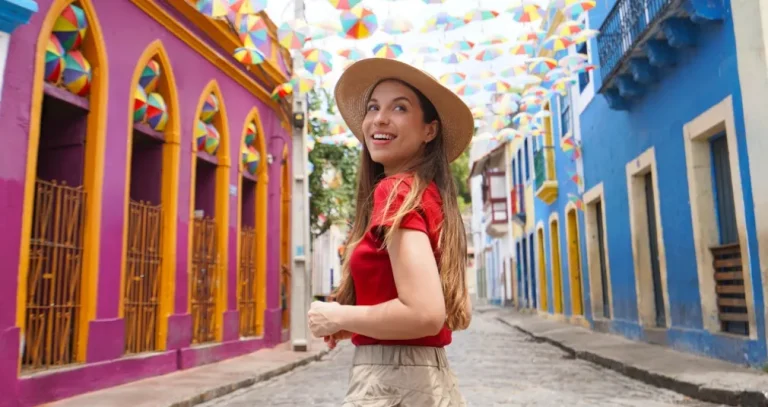
Use natural light from the window to create striking, soft portraits that highlight details with warmth and clarity.
Want to take a high-quality photo but can’t afford expensive lighting equipment? Look around—the best free solution available is just a few meters away from you. A standard window opening produces a soft, diffused light that professionals usually mimic using bulky attachments. Natural glow gently contours facial features and brings the photo to life. Harnessing this source frees you from dependence on equipment and extra expenses. To turn a living space into a personal studio, all you need is an appreciation of how to organize it.
Elevate Your Photography with Our Advanced Software
Don’t feel like reading the whole breakdown right now? Here’s a tighter, more practical summary of what actually changed.
Key Takeaways
- Window light behaves predictably: it falls from one main direction and fades deeper into the room, creating softer transitions and more depth than overhead chandelier light.
- Midtones stay cleaner with daylight, which is why window-light portraits keep eyelashes, lip texture, and fabric folds visible without the face looking flat.
- Placement controls the result. The text warns that random positioning can cause white spots or harsh shadows even with soft window light.
- Four classic setups do the heavy lifting: side lighting, Rembrandt, butterfly, and split lighting are described with specific turning angles and the intended mood/contrast.
- A reflector or light wall solves the “shadow side”, using a white wall/reflector near the subject, or building a diffused “light wall” plus extra lamps (main at 45° to camera + fill) when you need a fake-window look.
- Post-work should stay minor. The guide suggests white-balance fixes for grey/yellow skin, taming highlights, deepening shadows when needed, and using AI tools for quick skin cleanup without damaging texture.
The Effects of Natural Light on Photography

Natural light is valued in photography for its predictable behavior within the frame. The light flows from a single source, gradually fading toward the back of the room and creating shadows without harsh transitions. As a result, faces retain their shape, objects do not appear flat, and the scene gains depth. Using a chandelier as a light source is not recommended. It spreads light from top to bottom, which makes the sense of depth less pronounced.
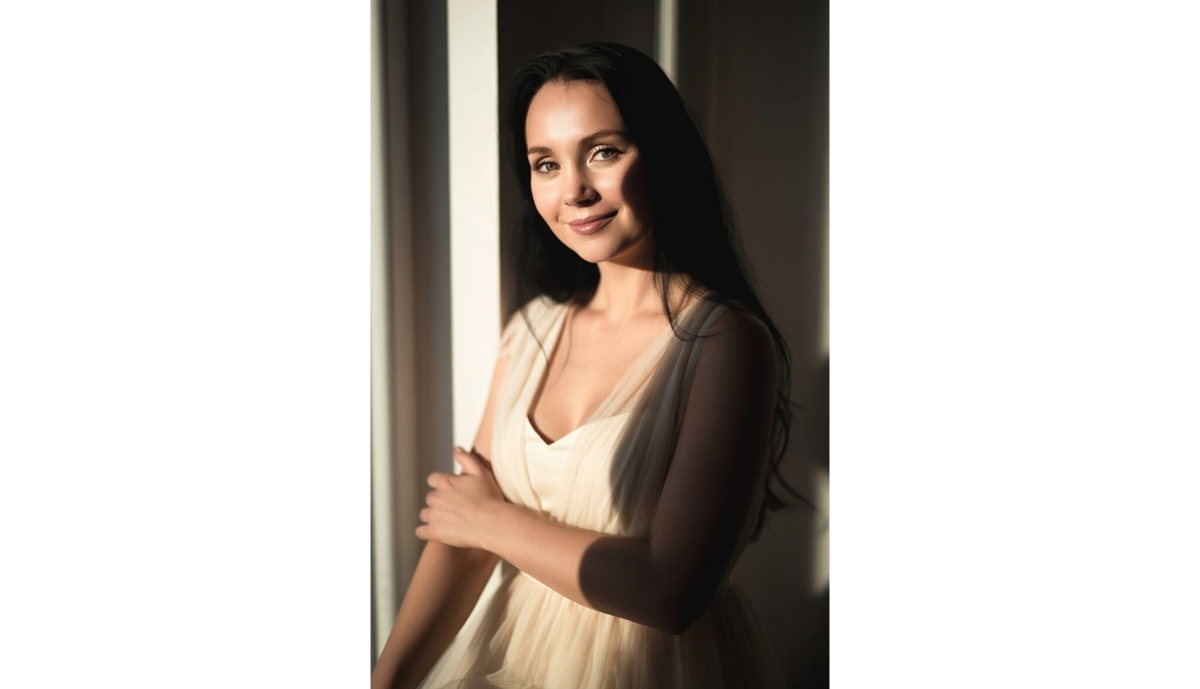
For a portrait, this is especially noticeable on the skin. Daylight coming through a window better preserves midtones, so the face looks lively rather than flat. The shadows under the eyes, near the nose, and under the lower lip remain soft if there is no harsh sunlight coming through the glass. That’s why window light portraits feel more lifelike: you can see eyelashes, strands of hair, the surface of the lips, and the folds of fabric.
The character of the photograph changes along with the conditions by the window. A large opening spreads the light more widely, so the transition between light and shadow becomes longer. If you wait for clouds to appear, the photographer gains a natural softbox at their disposal. The scene appears calmer in tone due to the diffusion of direct sunlight. You can mimic the same effect using tulle or thick curtains. All that remains is to work on the composition.
Techniques for Capturing Striking Portraits with Natural Window Light
To achieve studio lighting effects using a window as the main light source, it’s best to avoid placing the subject randomly. Although the sunlight is soft in this case, improper positioning will result in white spots in the photo or harsh shadows on details.
- Side lighting. Turn the model toward the window by about a quarter turn so that the shadow from the nose falls toward the cheek without touching the lips. This technique works well for most faces because it preserves volume and doesn’t make the portrait too dramatic.
- Rembrandt lighting. Position the subject a short distance from the window so that a small highlight forms on the shadow side. Thanks to the small triangle of light breaking up the darkness, the portrait appears more three-dimensional, and the cheekbones stand out visually.
- Butterfly lighting. To use this method, the subject must sit facing the light source, but the window itself must be positioned above eye level. This is an easy-to-implement option that produces clean shadows in photos.
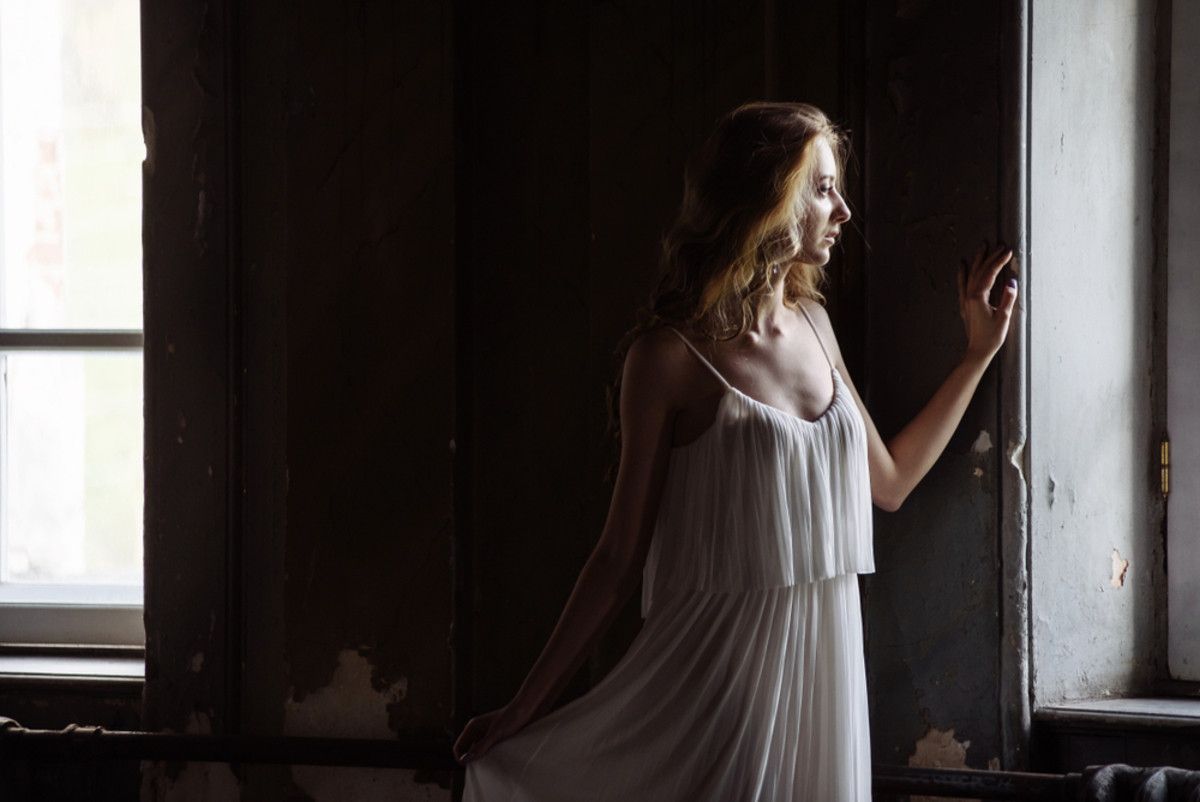
- Split lighting. The model is turned sideways toward the window at an angle of 80-90 degrees. One half of the face remains in light, while the other is in shadow. This technique is used when a high-contrast portrait with a harsher or even dramatic mood is desired.


To make these illumination schemes work more effectively, it’s best to have a white reflector or a light-colored wall nearby. They help preserve details on the shadowed side of the face.
Exploring Different Window Lighting Angles for Creative Effects

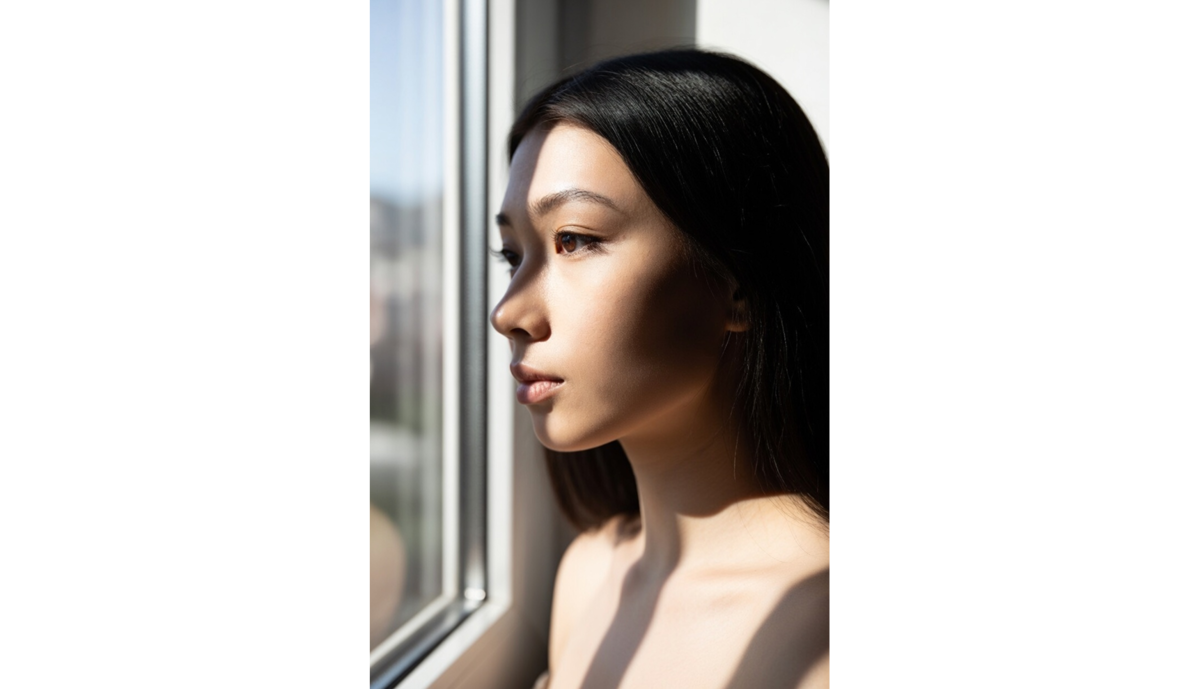
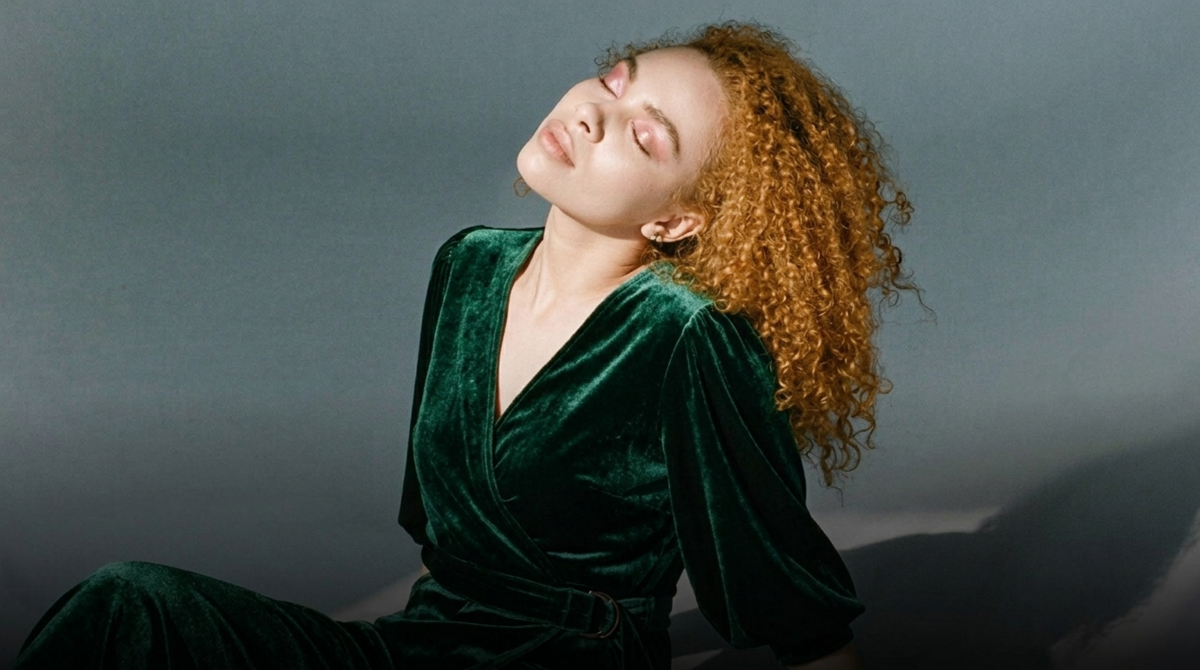
The direction of light affects a portrait more than clothing or the background. When a window is in front of the subject, the face appears smoother, and the skin looks more even. When shifted to the side, the shadow becomes deeper, making the contours of the face more distinct. A diagonal light source creates a more natural transition between light and shadow. Backlighting enhances the overall impression of the shot: the figure stands out from the background, and the image appears softer and more serene in mood.
How to Use Side and Back Window Lighting for Depth and Mood

Side lighting helps highlight the contours of the face without heavy editing. It accentuates the cheekbones, bridge of the nose, and lip line. Backlighting works differently: a bright halo appears along the hairline and shoulders, while the background recedes into the distance.
This technique works well for calm portraits where the atmosphere calls for less sharp contrast. It’s easier to achieve a portrait bokeh effect by extending the distance to the background. Add backlighting so that the blurred environment behind the subject doesn’t appear too dark.
Simple Steps to Build Your Own Light Wall for Enhanced Window Lighting
Create a light wall at home that mimics the effect of a “huge window” in just a few hours. You’ll need a lamp with sufficiently high intensity and a piece of thick fabric or translucent foam board capable of effectively diffusing the light.
- Prepare a mount for the diffuser. Placing the scattering layer a short distance from the light source guarantees maximum softness of the light. Therefore, it’s best to build a frame out of materials you have on hand that can hold foam board or onto which a thick fabric can later be stretched.
- Use a large lamp or LED panel. To use the light for photography, the main light source must be large enough relative to the subject. For example, to achieve a natural look in portrait photography, you need to illuminate the head, shoulders, and upper torso. When the beam passes through the diffuser, which is concentrated around the shoulder blades, it creates a sharp halo around the torso.
- Add a few additional lamps. The illuminated wall serves as a backlight, so only the model’s silhouette will be visible in the photo. To capture the face or subject as well, you’ll need to set up at least two additional light sources. The main light creates soft, dimensional shadows, so it’s positioned at a 45° angle to the camera. The fill light softens the shadows cast by the two lamps, creating a smooth transition in the details.
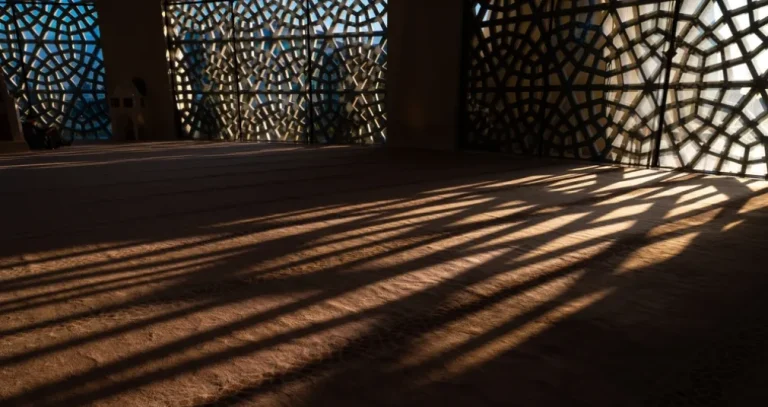
This is the principle used to set up a setup for fake window light photography. The only difference is that a prop is placed in front of one of the glow sources to simulate the shadows cast by window shutters. To make the scene look natural, the intensity of the backlight is reduced, and the model is positioned almost directly against the light wall.
Exclusive Tools of Endless Possibilities in One Editor
Tips for Maximizing Natural Glow through Window Light

It’s easiest to work in a room with a large window and neutral-colored walls. On cloudy days, skin tones usually appear more even, while on sunny days, it’s best to check the lighter areas of your face right away.
Before shooting, remove shiny objects and bright splashes of color from the frame, as they can ruin the overall tone. After shooting, you can carefully refine the result in an AI-powered editor. For example, the AI portrait enhancer tool can help remove imperfections without risking damage to the skin’s texture.
Minimal Gear, Maximum Effect: Leveraging Window Light for Stunning Photos
We’ve already mentioned the setup with two additional light sources, but at home, it’s not always needed. For shooting by a window, a camera or smartphone, the window itself, and a reflector to fill in the shadows are usually enough. If the sunlight is too harsh, you can soften it with a curtain or wait for clouds to roll in.
The main advantage here is the ability to adapt the process to your needs. If you don’t have professional equipment, look for alternatives among items lying around the house. The natural source of soft light is already right there in your home, so you won’t even need to buy anything extra to bring most of your window light photography ideas to life.
Your AI-Powered Photo Editor for MacOS and Windows
Post-Processing Tips to Enhance Window Light Photography Results

After shooting in natural light, the image usually requires minor adjustments rather than major corrections. If the skin looks grayish or yellowish, try adjusting the white balance. You can tone down overly prominent highlights so they don’t visually disrupt the scene, and deepen the shadows where needed.
If the subject is a person, you can further improve the photo’s quality by removing skin imperfections. It’s best to use AI-powered editors for this, as they can solve the problem in just a few seconds. Using advanced algorithms, you can tone down the light, add filters, or remove an unwanted object if it accidentally ended up in the frame. One convenient option is Luminar Neo, which combines all these features in one place.