Discover how to create dramatic portrait lighting with controlled shadows, contrast, and directional light. Learn practical techniques using a flash, window, reflector, or simple household lamp.
Dramatic portrait lighting uses contrast, direction, and controlled shadows to create a strong visual mood. Instead of illuminating the entire face evenly, this approach emphasizes selected features and allows parts of the image to fall into shadow.
The effect can be mysterious, cinematic, intense, elegant, or even unsettling. The final result depends on the position and size of the light source, the subject’s pose, the background, and the camera settings.
You do not need a large studio to experiment with dramatic lighting. One flash, a window, a reflector, or even a desk lamp can be enough to begin. The most important part is learning how to control the direction and intensity of the light.
Post-processing can also help refine the result. For example, Luminar can be used to adjust exposure, contrast, color, detail, and unwanted distractions after the shoot.
Don’t feel like reading the whole breakdown? We’ve pulled together a quick summary below.
Key Takeaways
- Dramatic portraits usually rely on directional light and strong tonal contrast.
- A black background can help create a low-key image, but it is not essential.
- Side lighting is one of the most effective starting points for dramatic portraits.
- A large light source creates softer shadows, while a small source produces harder edges.
- Reflectors can reduce contrast, but negative fill can make shadows deeper.
- Use the camera’s histogram and highlight warnings to avoid losing important detail.
- A longer focal length can change perspective, but it is not automatically better for portraits.
- Color gels, backlighting, silhouettes, and controlled underlighting offer different creative effects.
- Post-processing should strengthen the lighting concept rather than remove all the shadows.
Understanding Dramatic Lighting in Photography
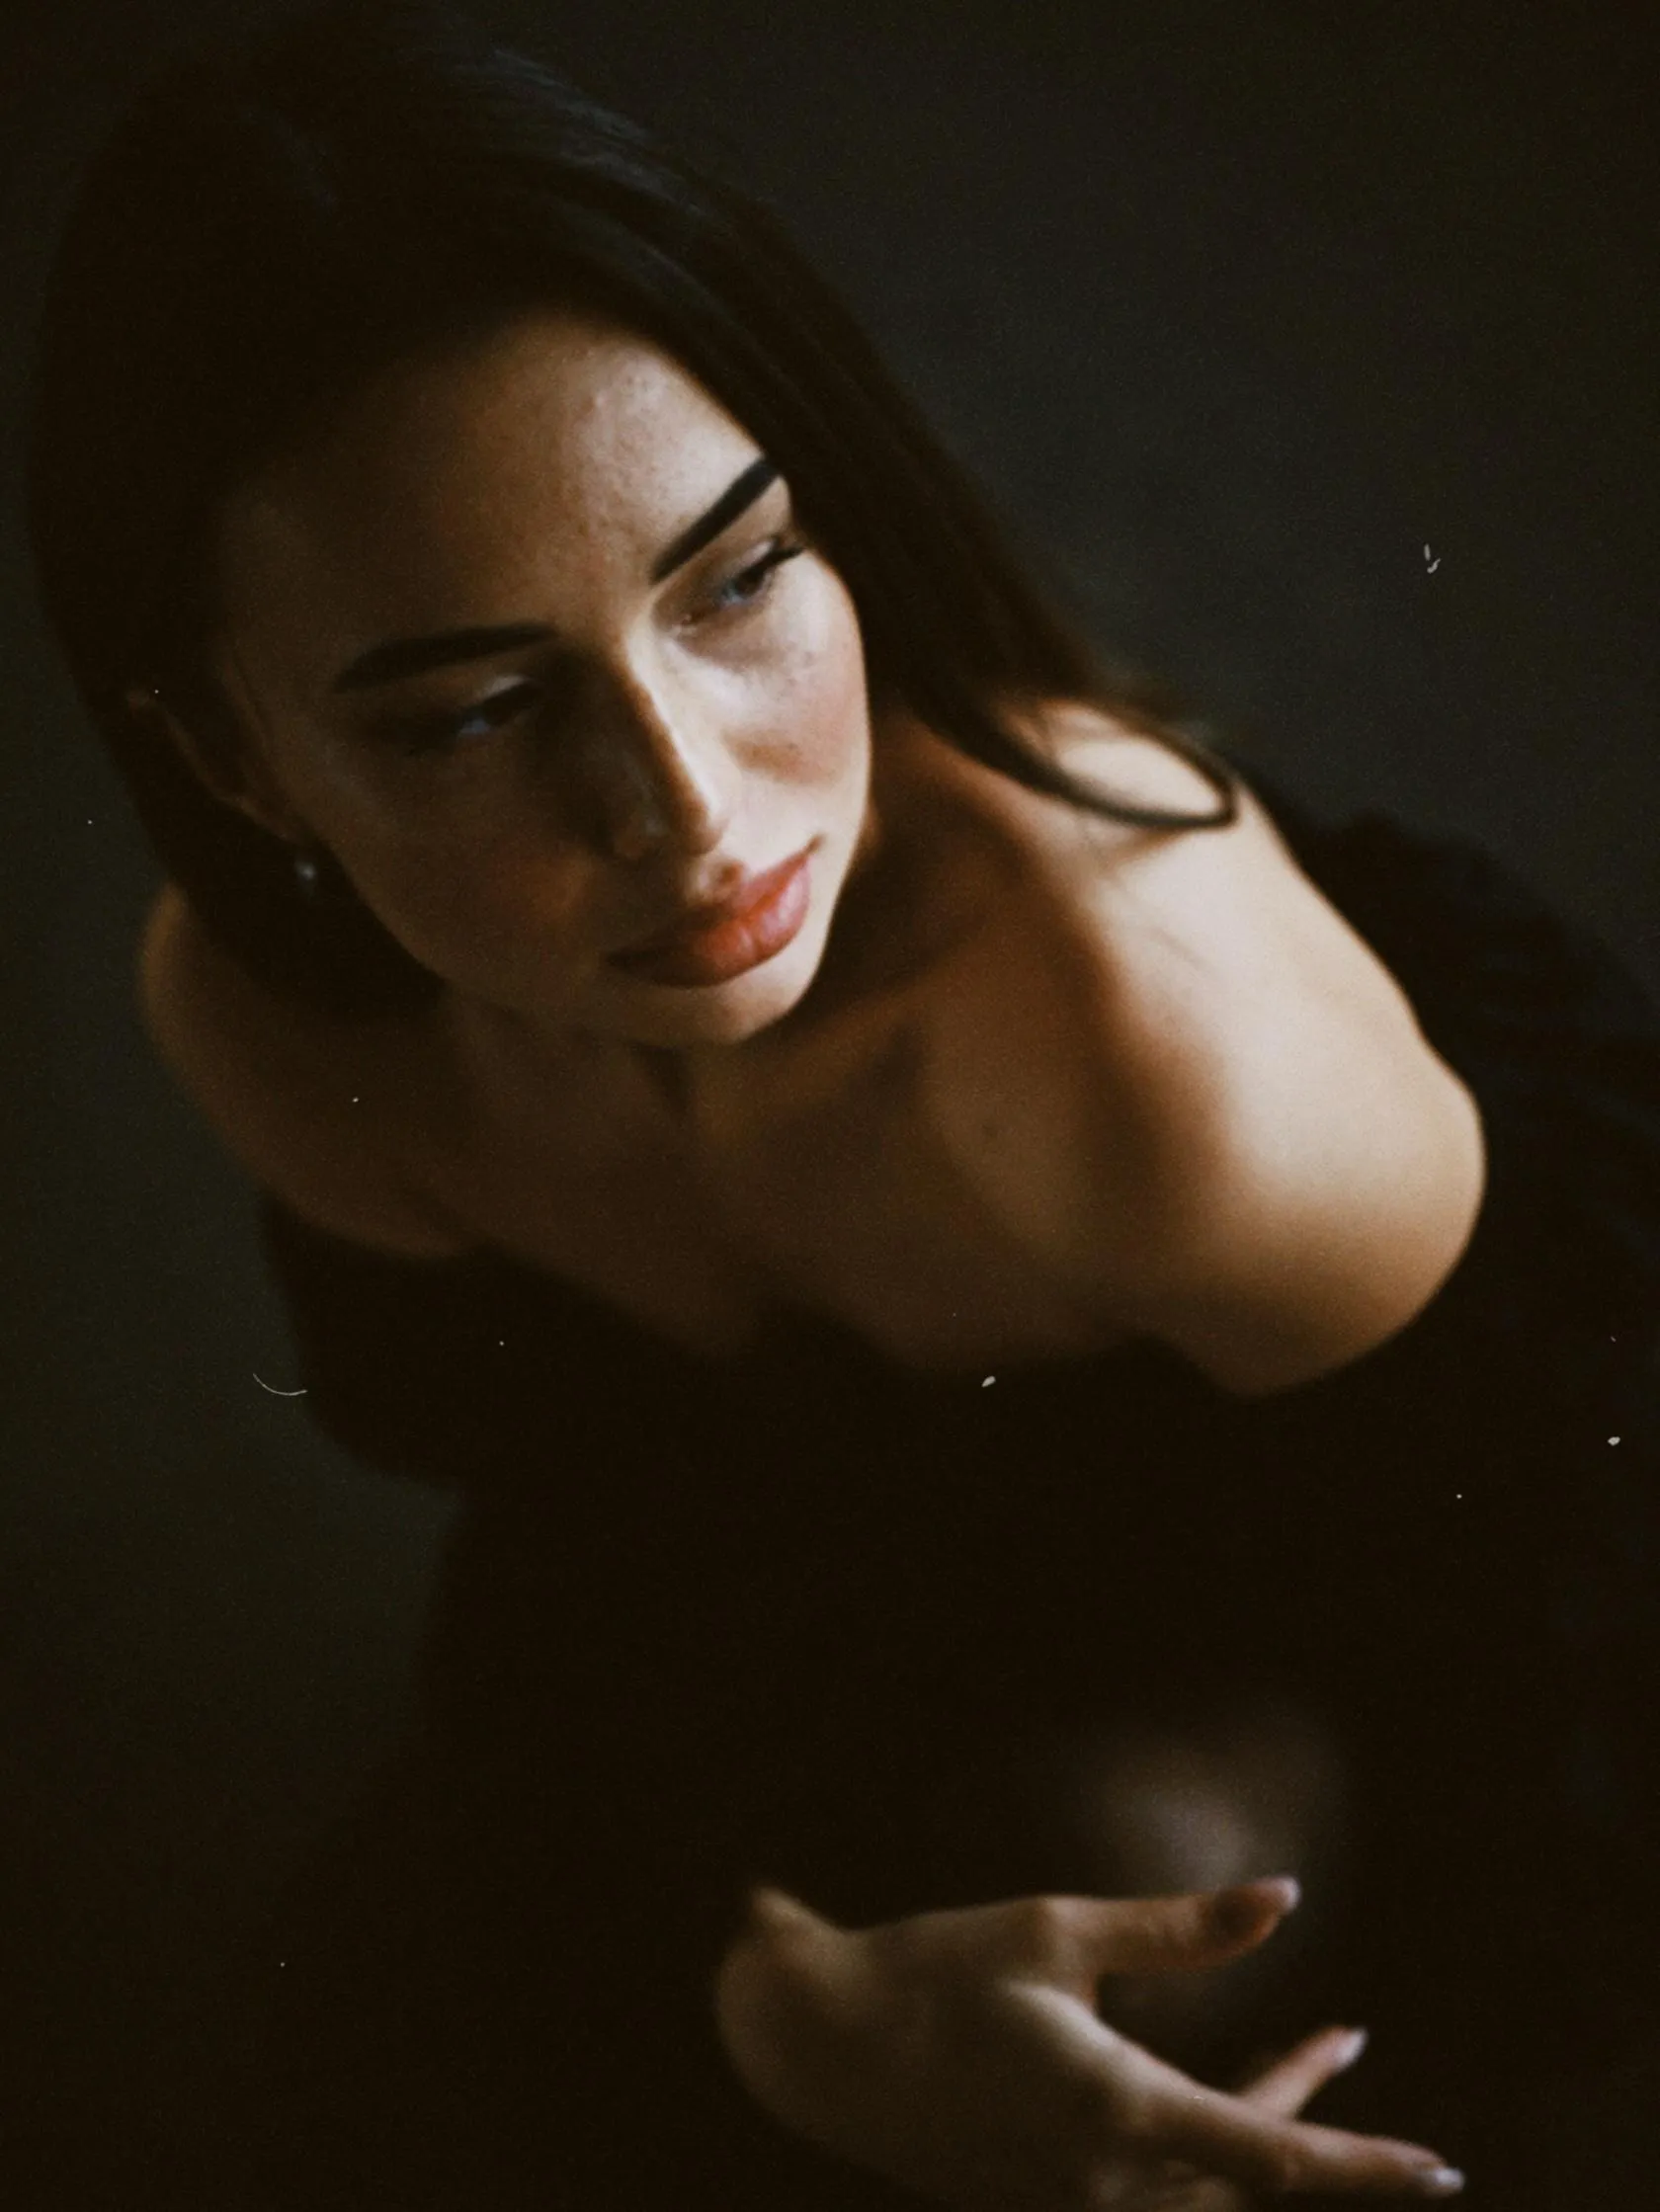 Dramatic lighting is usually associated with a low-key style: the image contains relatively dark areas, limited bright tones, and a clear separation between light and shadow.
However, dramatic lighting does not always require a black background or an extremely dark exposure. A portrait can feel dramatic against a bright background if the subject is strongly separated from it or if the light creates an unusual pattern.
Before setting up your equipment, decide what emotion you want to communicate:
- Mystery: deep shadows, limited background detail, and partial face illumination.
- Intensity: hard side light, strong texture, and a direct pose.
- Elegance: controlled contrast, carefully placed highlights, and simple composition.
- Tension: unusual angles, underlighting, silhouettes, or colored light.
- Cinematic mood: directional key light, darker surroundings, and carefully controlled color.
The lighting plan should support the emotion rather than simply make the image darker.
Types of Light Sources and Their Characteristics
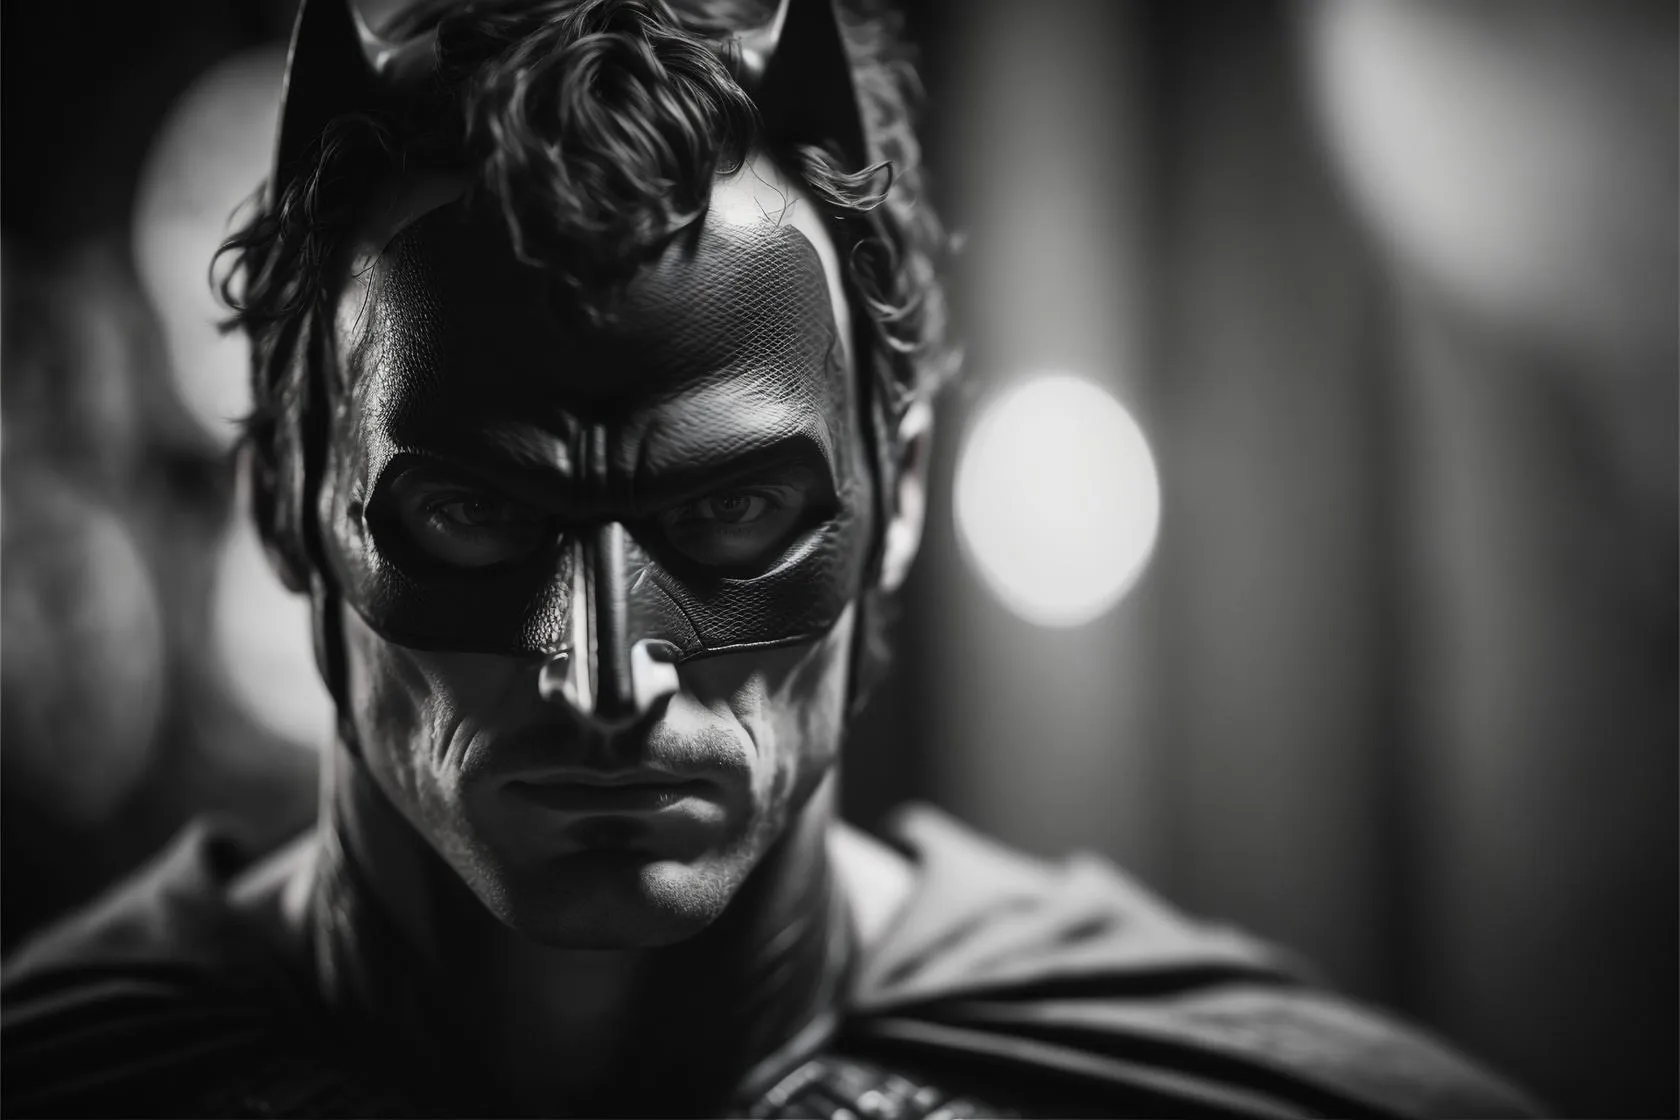 Natural Light
Window light is one of the easiest ways to create dramatic portraits without additional equipment.
Place the subject near a window and turn them slightly toward or away from it. The closer the face is to the direction of the light, the more visible the shadows will become.
You can control the effect by:
- Moving the subject closer to the window.
- Turning the face toward or away from the light.
- Using curtains to soften the light.
- Blocking part of the window to create a narrower beam.
- Placing a dark surface on the shadow side to deepen contrast.
A window can produce soft, flattering light, but the effect becomes more dramatic when the surrounding room is darker than the subject.
External Flash
An external flash gives you more control than a built-in camera flash. It can be placed to the side, above, behind, or slightly in front of the subject.
For dramatic portraits, try placing the flash:
- 45 degrees to one side of the subject.
- Slightly above eye level.
- Close to the subject for stronger falloff.
- Farther away for more even illumination.
- Behind the subject for rim light or a silhouette.
Always secure the flash on a stable light stand or another safe support. Never place heavy equipment where it could fall onto the subject.
Continuous LED Light
An LED panel or video light is useful because the illumination remains visible while you compose the image. This makes it easier to see where shadows and highlights will appear.
Continuous light is especially convenient for:
- Beginners learning light placement.
- Portraits made with a smartphone.
- Video and still photography.
- Low-light creative setups.
- Scenes where the subject needs to move slightly.
The main limitation is that a continuous light may be less powerful than a flash. You may need a wider aperture, a slower shutter speed, or a higher ISO.
Window Light and Artificial Light Together
You can combine a window with a flash or LED light to create a more controlled portrait.
For example, use the window as a soft fill source and a flash as the stronger directional key light. Alternatively, let the window illuminate the background while the artificial light shapes the subject.
When combining sources, pay attention to their color temperatures. Daylight and warm indoor lamps may produce different color casts on the skin.
Essential Lighting Terminology
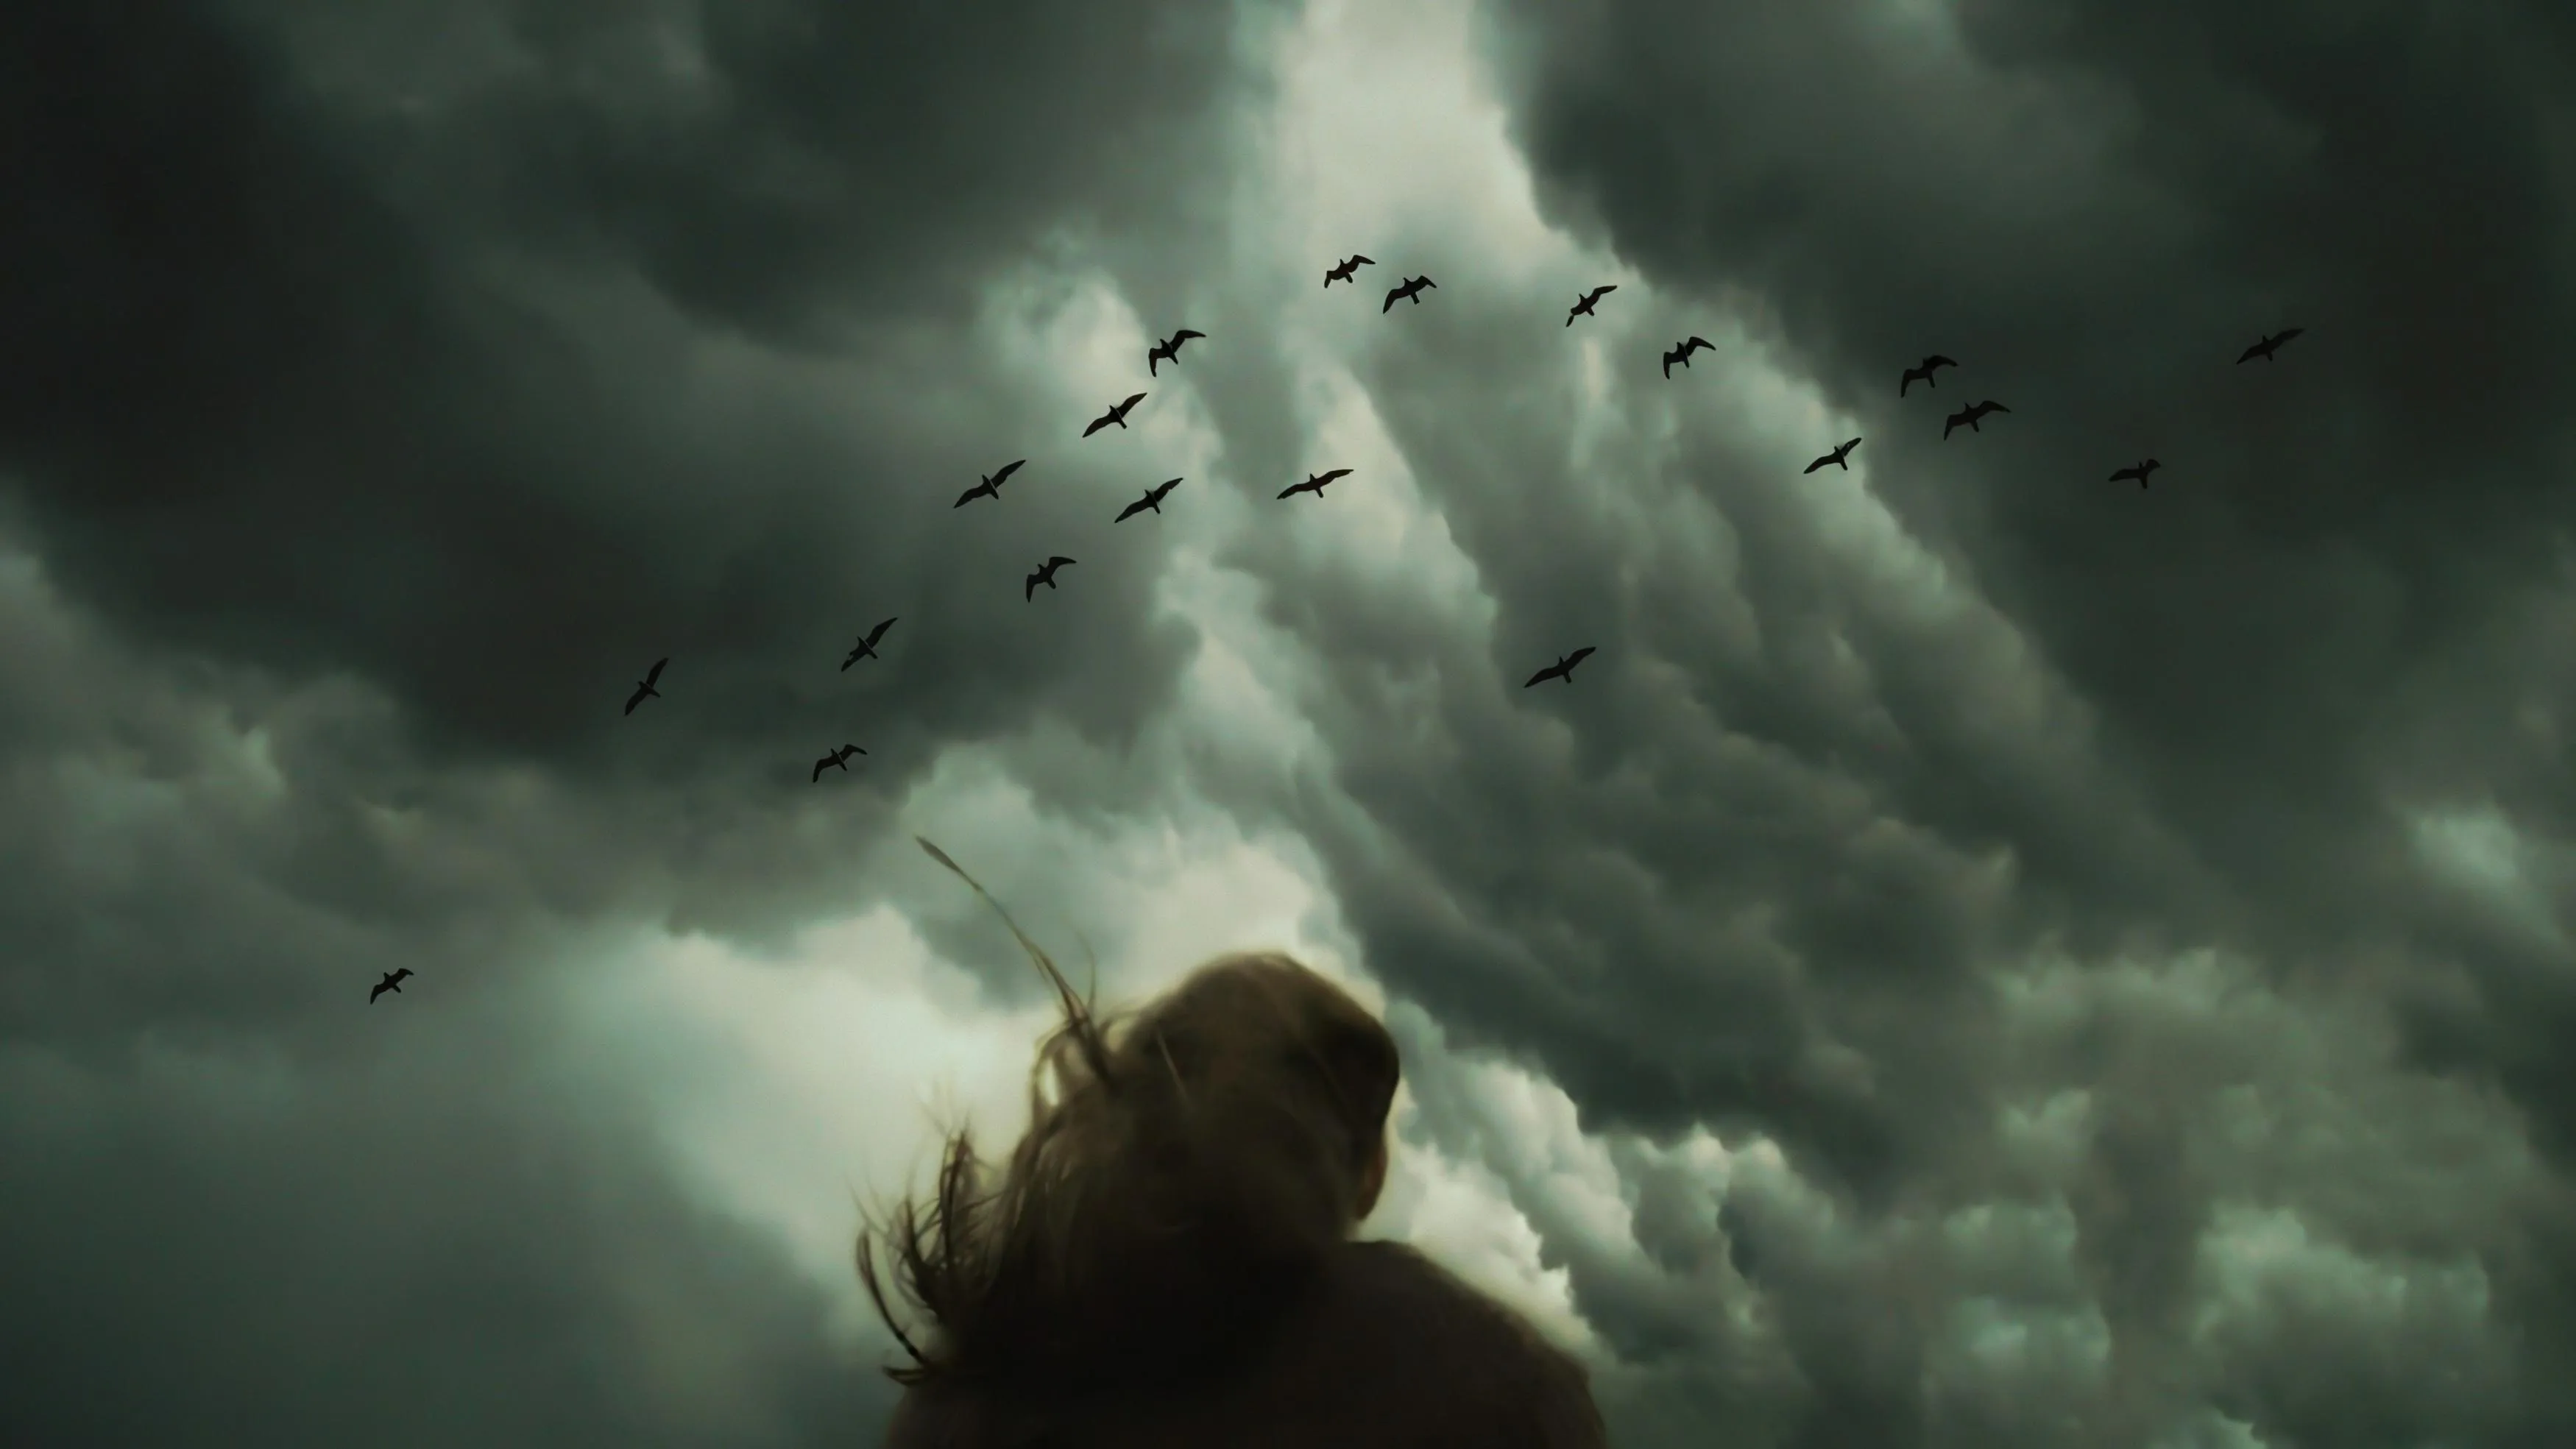 Understanding a few basic terms makes it easier to plan a portrait setup.
| Term | Definition | Effect / Example |
| Key Light | The main light source illuminating the subject. | Determines the primary direction, brightness, and character of the portrait. |
| Fill Light | Light that reduces shadows created by the key light. | Less fill creates more drama; more fill produces a softer result. It can come from a lamp, reflector, wall, or daylight. |
| Rim Light | Light positioned behind or to the rear side of the subject. | Creates a bright outline around the hair, shoulders, or body and separates the subject from the background. |
| Backlight | Light placed behind the subject and directed toward the camera or surrounding area. | Can create silhouettes, glowing edges, or a bright background. |
| Hard Light | Light from a relatively small or distant source. | Creates defined shadows and sharp transitions. Examples include direct sunlight, a bare flash, and a small spotlight. |
| Soft Light | Light from a large source relative to the subject. | Creates gradual transitions and less defined shadows. Examples include a large softbox, an overcast sky, and a large window. |
| Negative Fill | A dark surface placed near the shadow side of the subject to absorb or block surrounding light. | Deepens shadows and increases contrast. A black reflector, dark curtain, or black fabric can be used. |
Choosing the Right Equipment for Dramatic Portraits
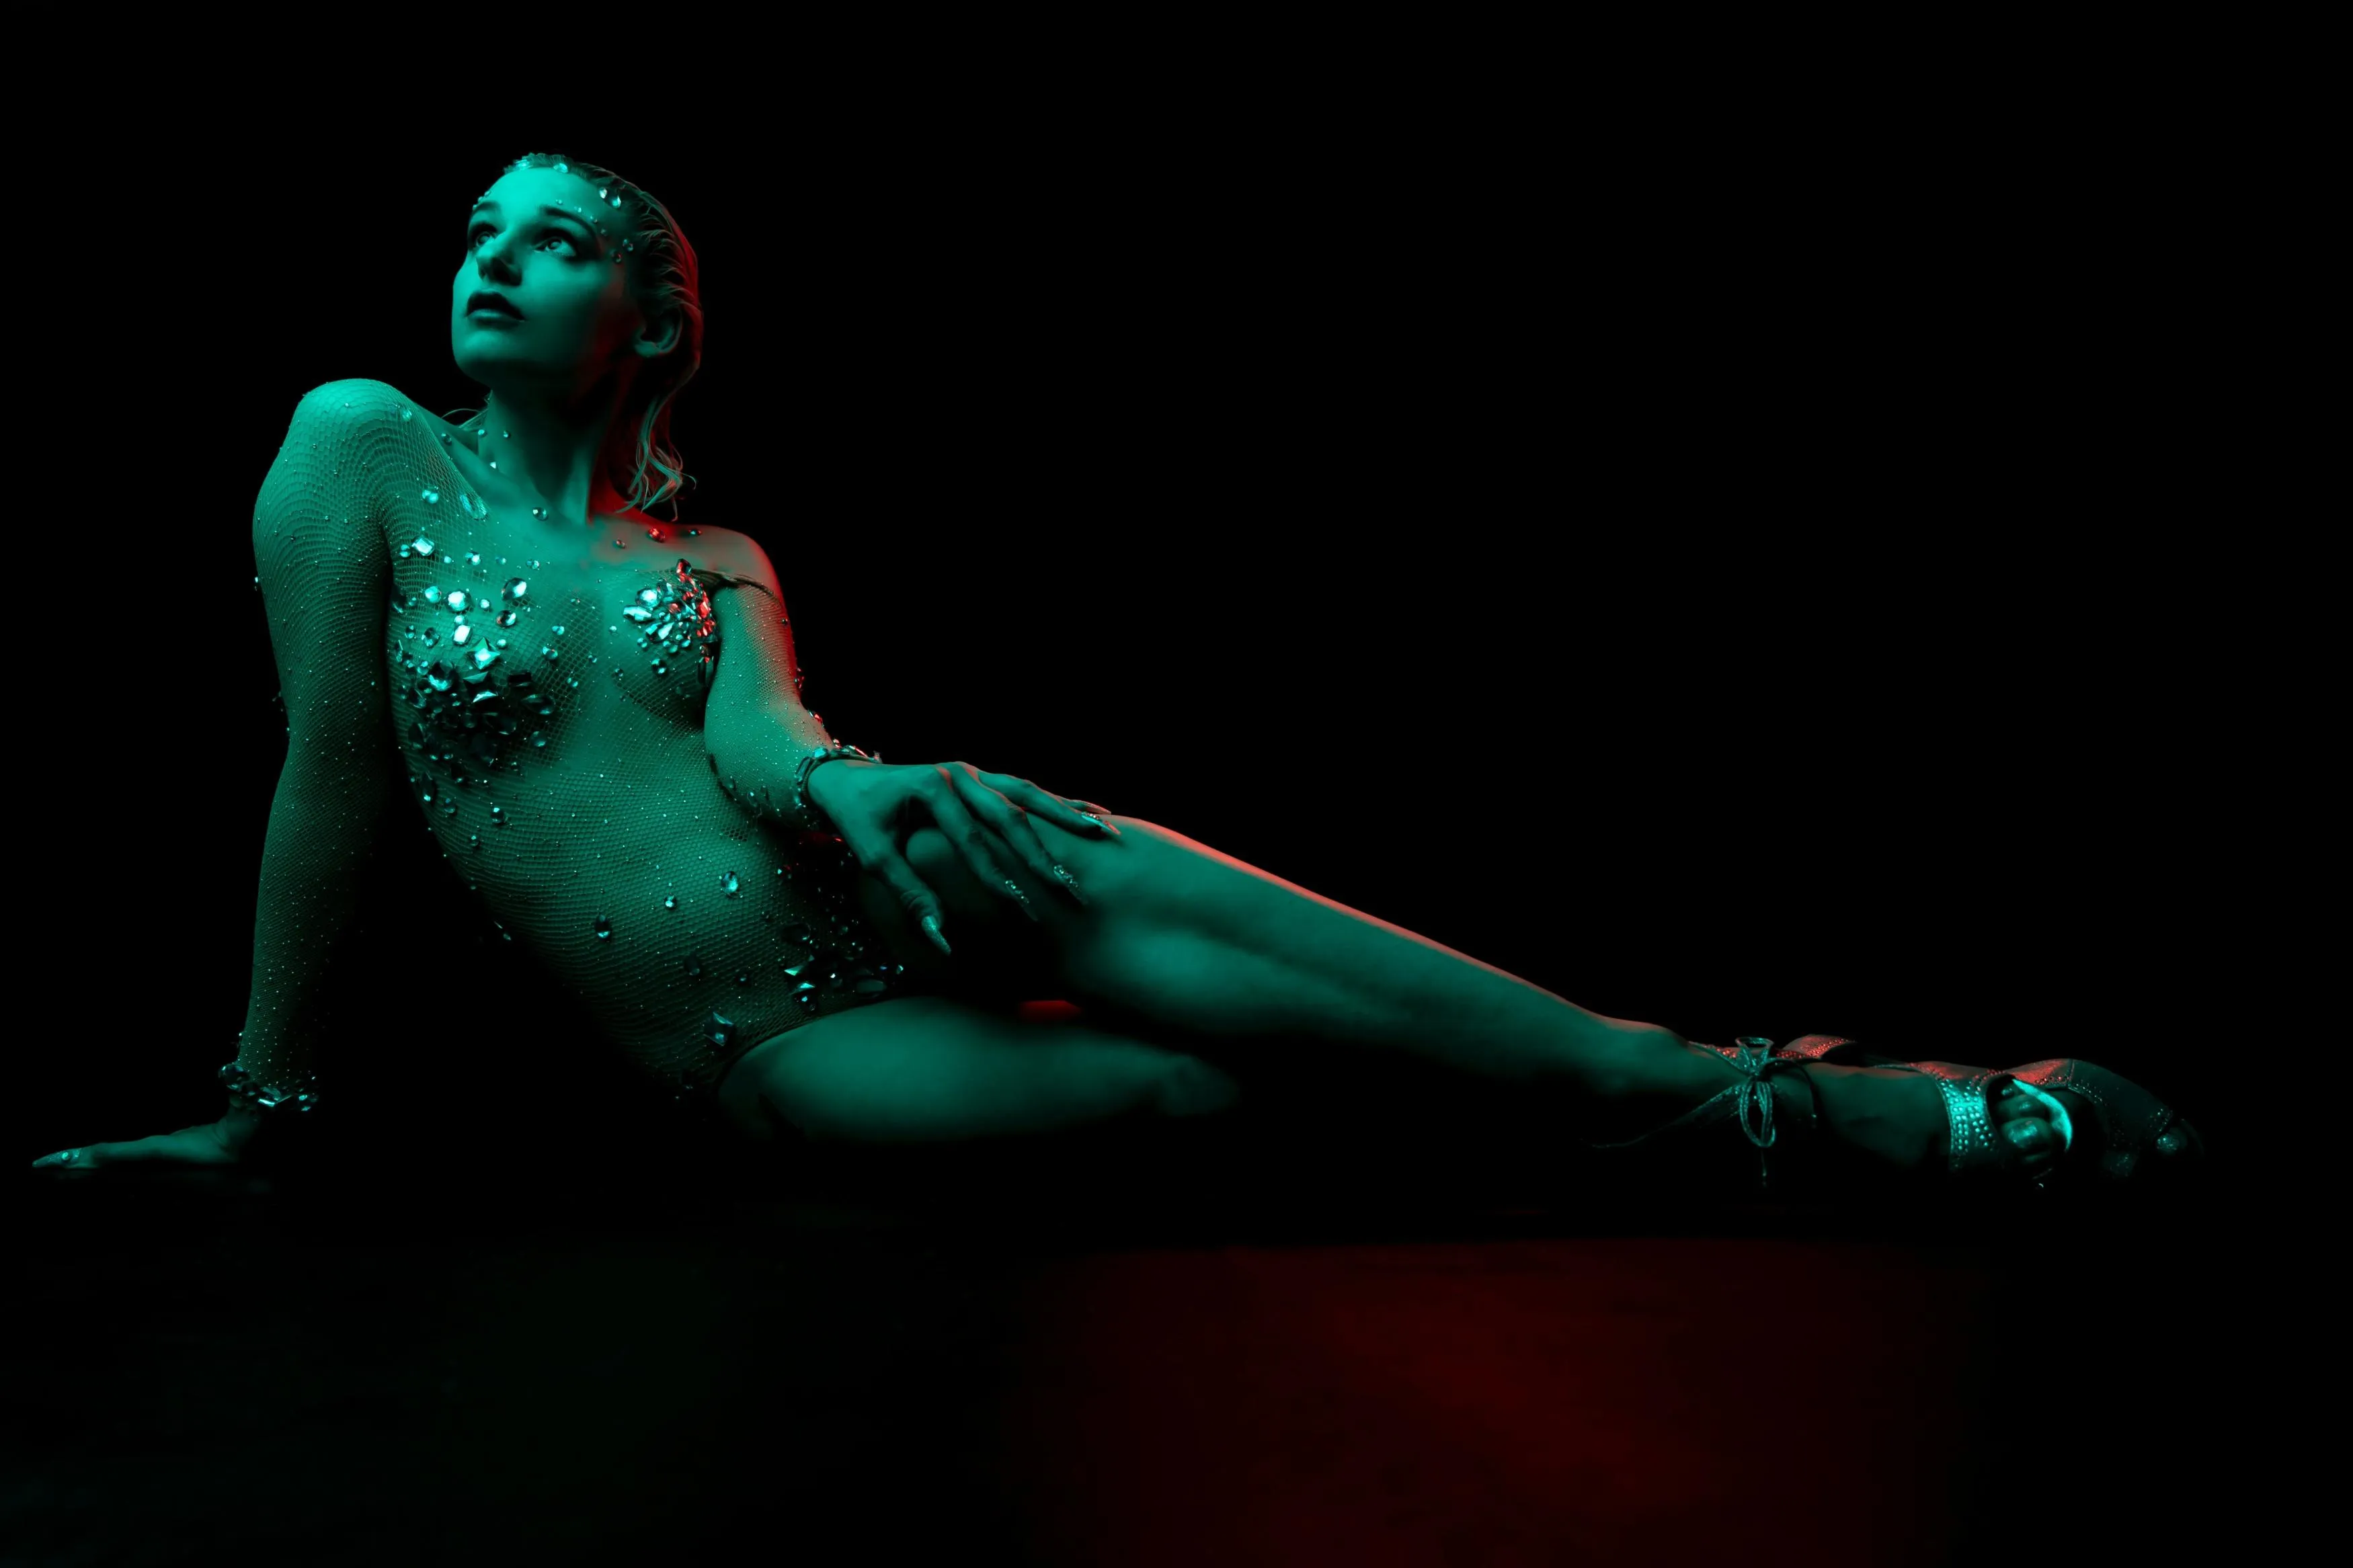 You can create dramatic lighting with a simple kit. The following equipment is useful, but not every item is necessary.
Light Stand
A light stand allows you to position the light consistently and safely. It is more flexible than placing a flash on a table or cabinet.
Choose a stable stand and avoid extending it farther than necessary. If you are working outdoors, use additional weight or sandbags when appropriate.
Reflector
A reflector redirects light toward the subject. It can be used to soften shadows or add a controlled highlight.
Common reflector surfaces include:
| Reflector Surface | Effect |
| White | Soft, neutral fill light |
| Silver | Stronger, cooler-looking reflection |
| Gold | Warmer reflection |
| Black | Negative fill and deeper shadows |
| Translucent | Diffuses or softens light |
A white wall, light-colored sheet, or even a large piece of cardboard can act as a basic reflector.
Softbox
A softbox increases the apparent size of the light source and creates softer shadows. It is useful when you want a dramatic portrait without overly harsh skin texture.
A small softbox can still produce relatively defined shadows. A large softbox placed close to the subject creates a softer, more gradual effect.
Grid or Snoot
A grid or snoot narrows the beam of light. This helps prevent light from spilling onto the background or unwanted parts of the scene.
Use one when you want to illuminate only the face, hair, or a small area of the body.
Color Gels
Color gels change the color of a flash or LED light.
- CTO gel: adds warmth and can simulate sunset or tungsten light.
- CTB gel: adds a cooler blue tone.
- Red, green, or purple gels: create stylized editorial or cinematic effects.
When using gels, adjust the camera’s white balance deliberately. You may want the skin to remain neutral while the background takes on a strong color, or you may prefer the entire image to have a colored cast.
Exclusive Tools of Endless Possibilities in One Editor
Light Meter
A handheld light meter is optional, but it can help you create repeatable lighting setups. Beginners can usually start with the camera’s exposure preview, histogram, and highlight warnings instead.
Camera Settings for Dramatic Portraits
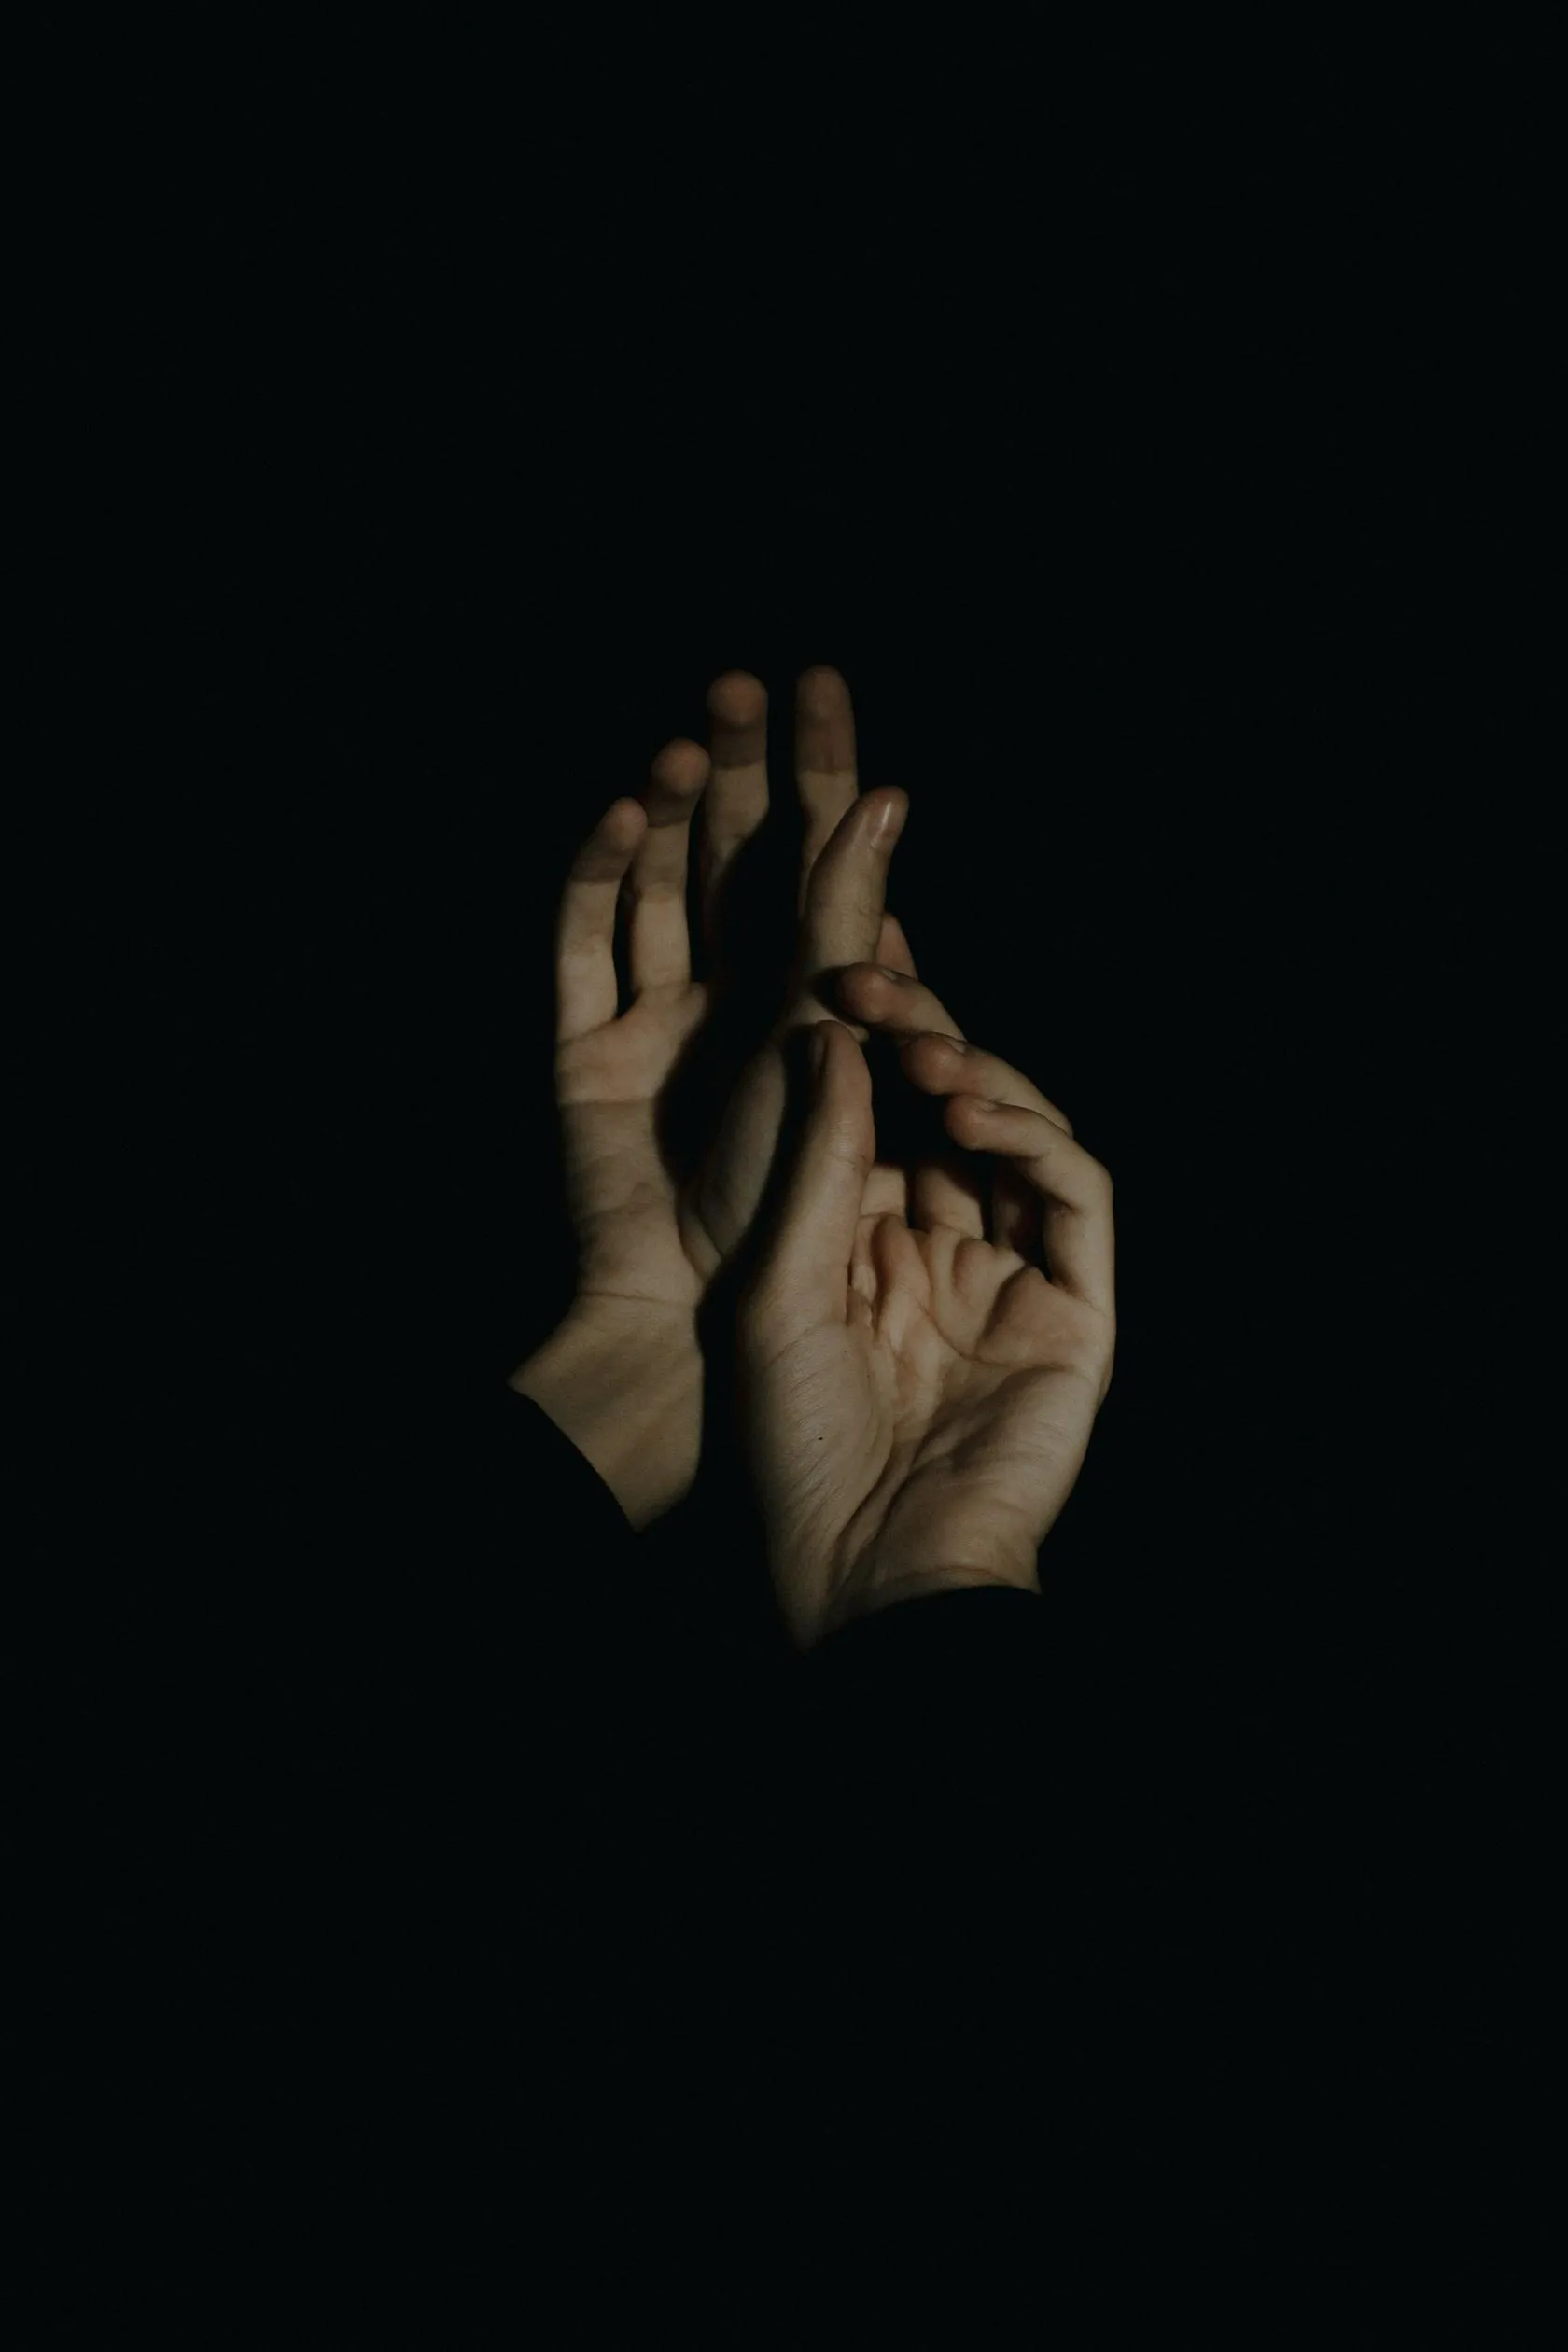 There is no single camera setting that creates dramatic lighting. The settings should support the light you have chosen.
Aperture
A wide aperture such as f/1.8, f/2, or f/2.8 can separate the subject from the background and create shallow depth of field.
However, be careful when photographing close-up portraits. At very wide apertures, one eye may be sharp while the other falls outside the depth of field.
For a group portrait or a pose with the face turned at an angle, a smaller aperture such as f/4 or f/5.6 may provide more reliable focus.
Shutter Speed
When using natural or continuous light, the shutter speed affects both exposure and motion blur.
For a still subject, 1/125 second may be a useful starting point when shooting handheld, but the appropriate speed depends on the focal length, camera stabilization, and subject movement.
When using flash, check the camera’s flash-sync limitations. If you need to use a faster shutter speed, high-speed sync may be required, provided that your camera and flash support it.
ISO
Keep ISO as low as practical when you want clean shadows and detailed skin. However, increasing ISO may be preferable to underexposing the image too heavily.
Deep shadows can become noisy when they are brightened during editing. Expose carefully and check the darkest areas before finishing the session.
White Balance
Set white balance according to the intended mood.
- Daylight or flash white balance can keep skin relatively neutral.
- A warmer setting can create a golden atmosphere.
- A cooler setting can make the image feel distant or tense.
- A custom white balance can help maintain consistency across a series.
If you shoot RAW, you can fine-tune white balance later, but it is still useful to choose an intentional starting point.
Focus
Focus on the eye that is closest to the camera when making a conventional portrait. Eye-detection autofocus can be helpful, but always check whether the camera has selected the correct eye.
Manual focus may be useful for carefully controlled studio portraits, macro-style close-ups, or situations where autofocus struggles. Lens calibration is not automatically required whenever focusing is difficult; first check lighting, focus mode, shutter speed, subject movement, and camera technique.
Histogram and Highlight Warnings
The camera’s histogram helps you evaluate the distribution of tones in the image. A dramatic portrait can contain a large amount of dark information, but important highlights on the skin should not be unintentionally clipped.
Use highlight warnings to check areas such as:
- Forehead.
- Nose.
- Cheeks.
- Bright jewelry.
- White clothing.
- Reflective objects.
A small clipped highlight may be intentional, but large areas of lost skin detail are usually harder to recover.
Creative Lighting Techniques for Dramatic Portraits
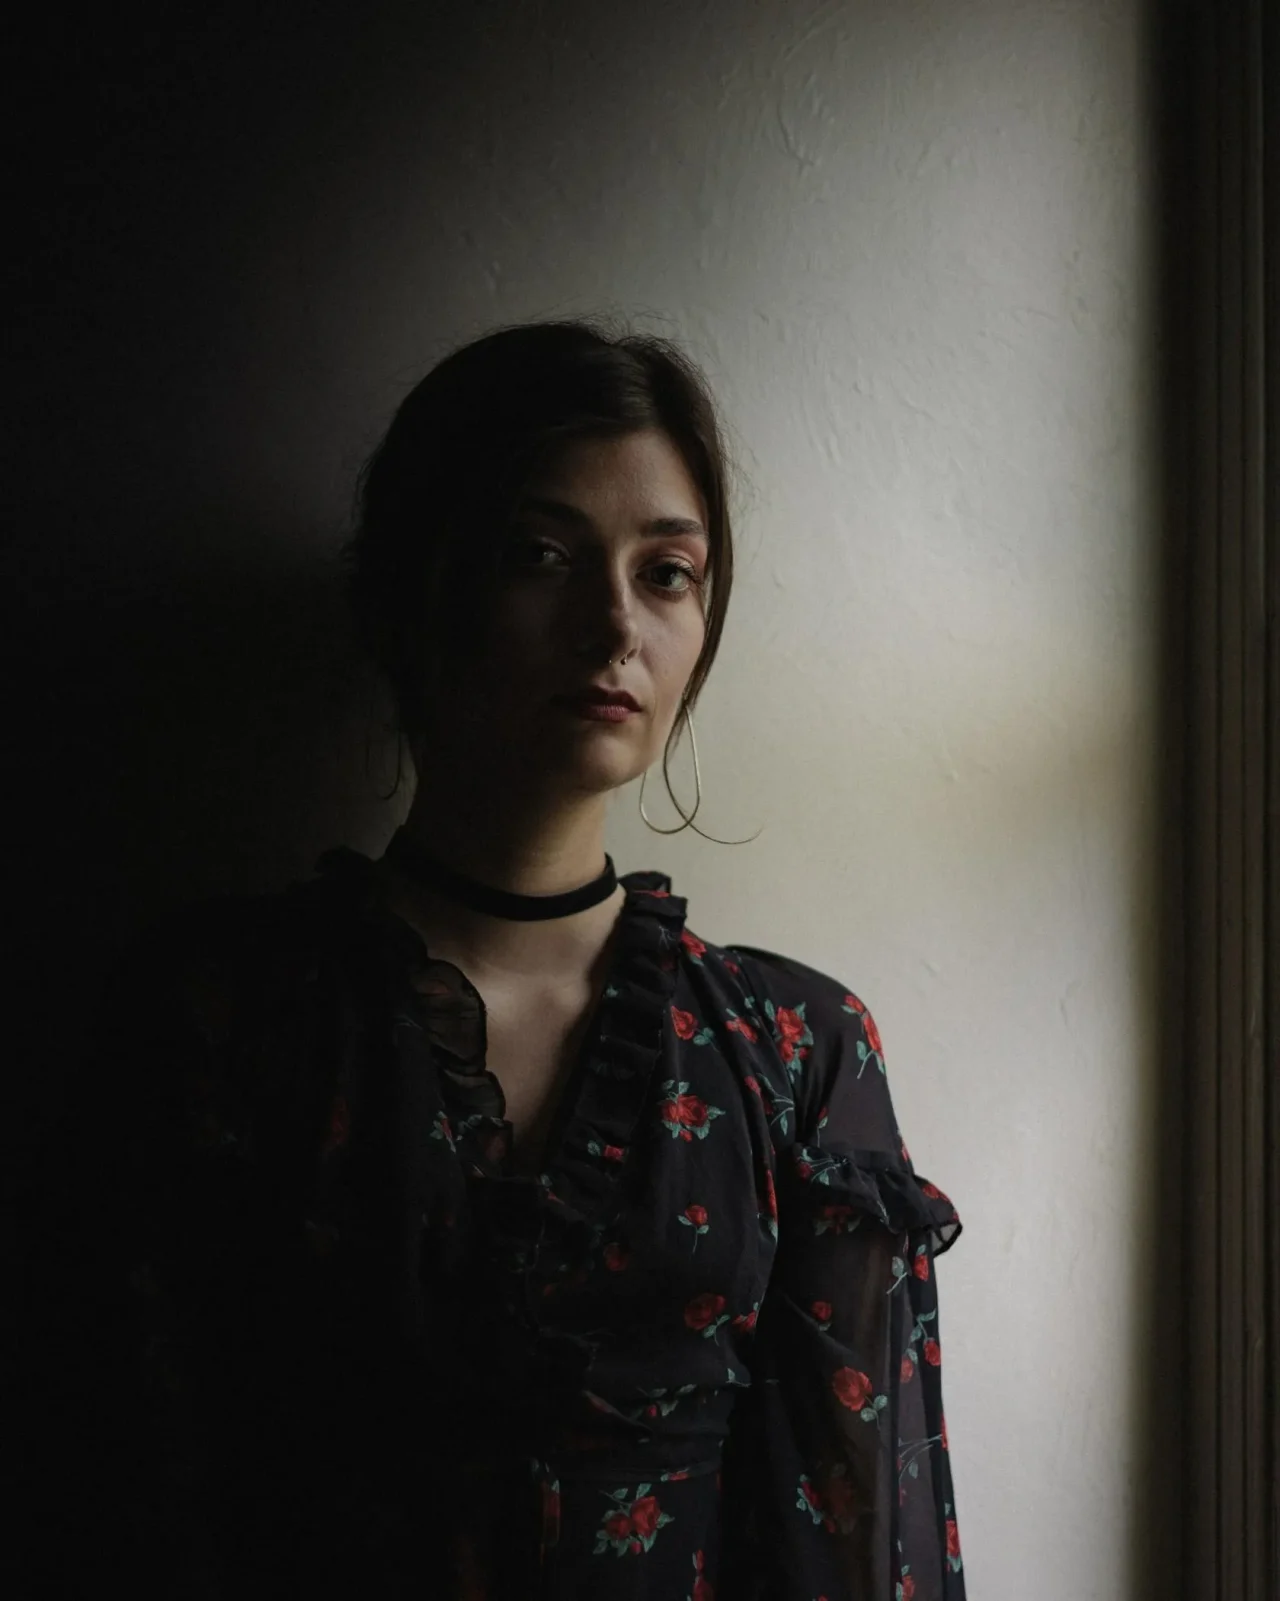
1. Try Classic Side Lighting
Side lighting is one of the most effective starting points for dramatic portraits.
Place the light approximately 90 degrees from the camera and adjust the subject’s face until the light falls where you want it. The result may reveal one side of the face while leaving the other side in shadow.
For a softer effect, move the light closer and use a diffuser. For harder shadows, use a smaller source or remove the diffusion.
2. Use Rembrandt Lighting
Rembrandt lighting is a portrait pattern in which a small triangle of light appears beneath the eye on the shadow side of the face.
To create it:
- Place the light above eye level.
- Position it approximately 45 degrees to one side.
- Turn the subject’s face slightly toward the light.
- Adjust the light until a small illuminated triangle appears on the shadow-side cheek.
The triangle does not need to be perfectly shaped. The goal is to create dimensional light while retaining a strong shadow pattern.
3. Experiment With Split Lighting
Split lighting divides the face into two roughly equal areas of light and shadow.
Place the light close to the side of the subject’s face and keep it near a 90-degree angle to the camera. This technique can produce a serious, graphic, or mysterious mood.
It works especially well when the subject looks directly into the camera.
4. Try Butterfly Lighting
Butterfly lighting places the light above and in front of the subject. It creates a small shadow beneath the nose and can emphasize cheekbones.
Although it is often associated with beauty portraits, it can also look dramatic when combined with:
- A dark background.
- Stronger contrast.
- A narrow beam of light.
- Minimal fill.
- A carefully controlled pose.
5. Use Short Lighting
Short lighting illuminates the side of the face turned away from the camera, leaving the side closest to the camera in shadow.
This can make the face appear narrower and create a more dramatic appearance. It is particularly useful for portraits with the subject turned slightly away from the camera.
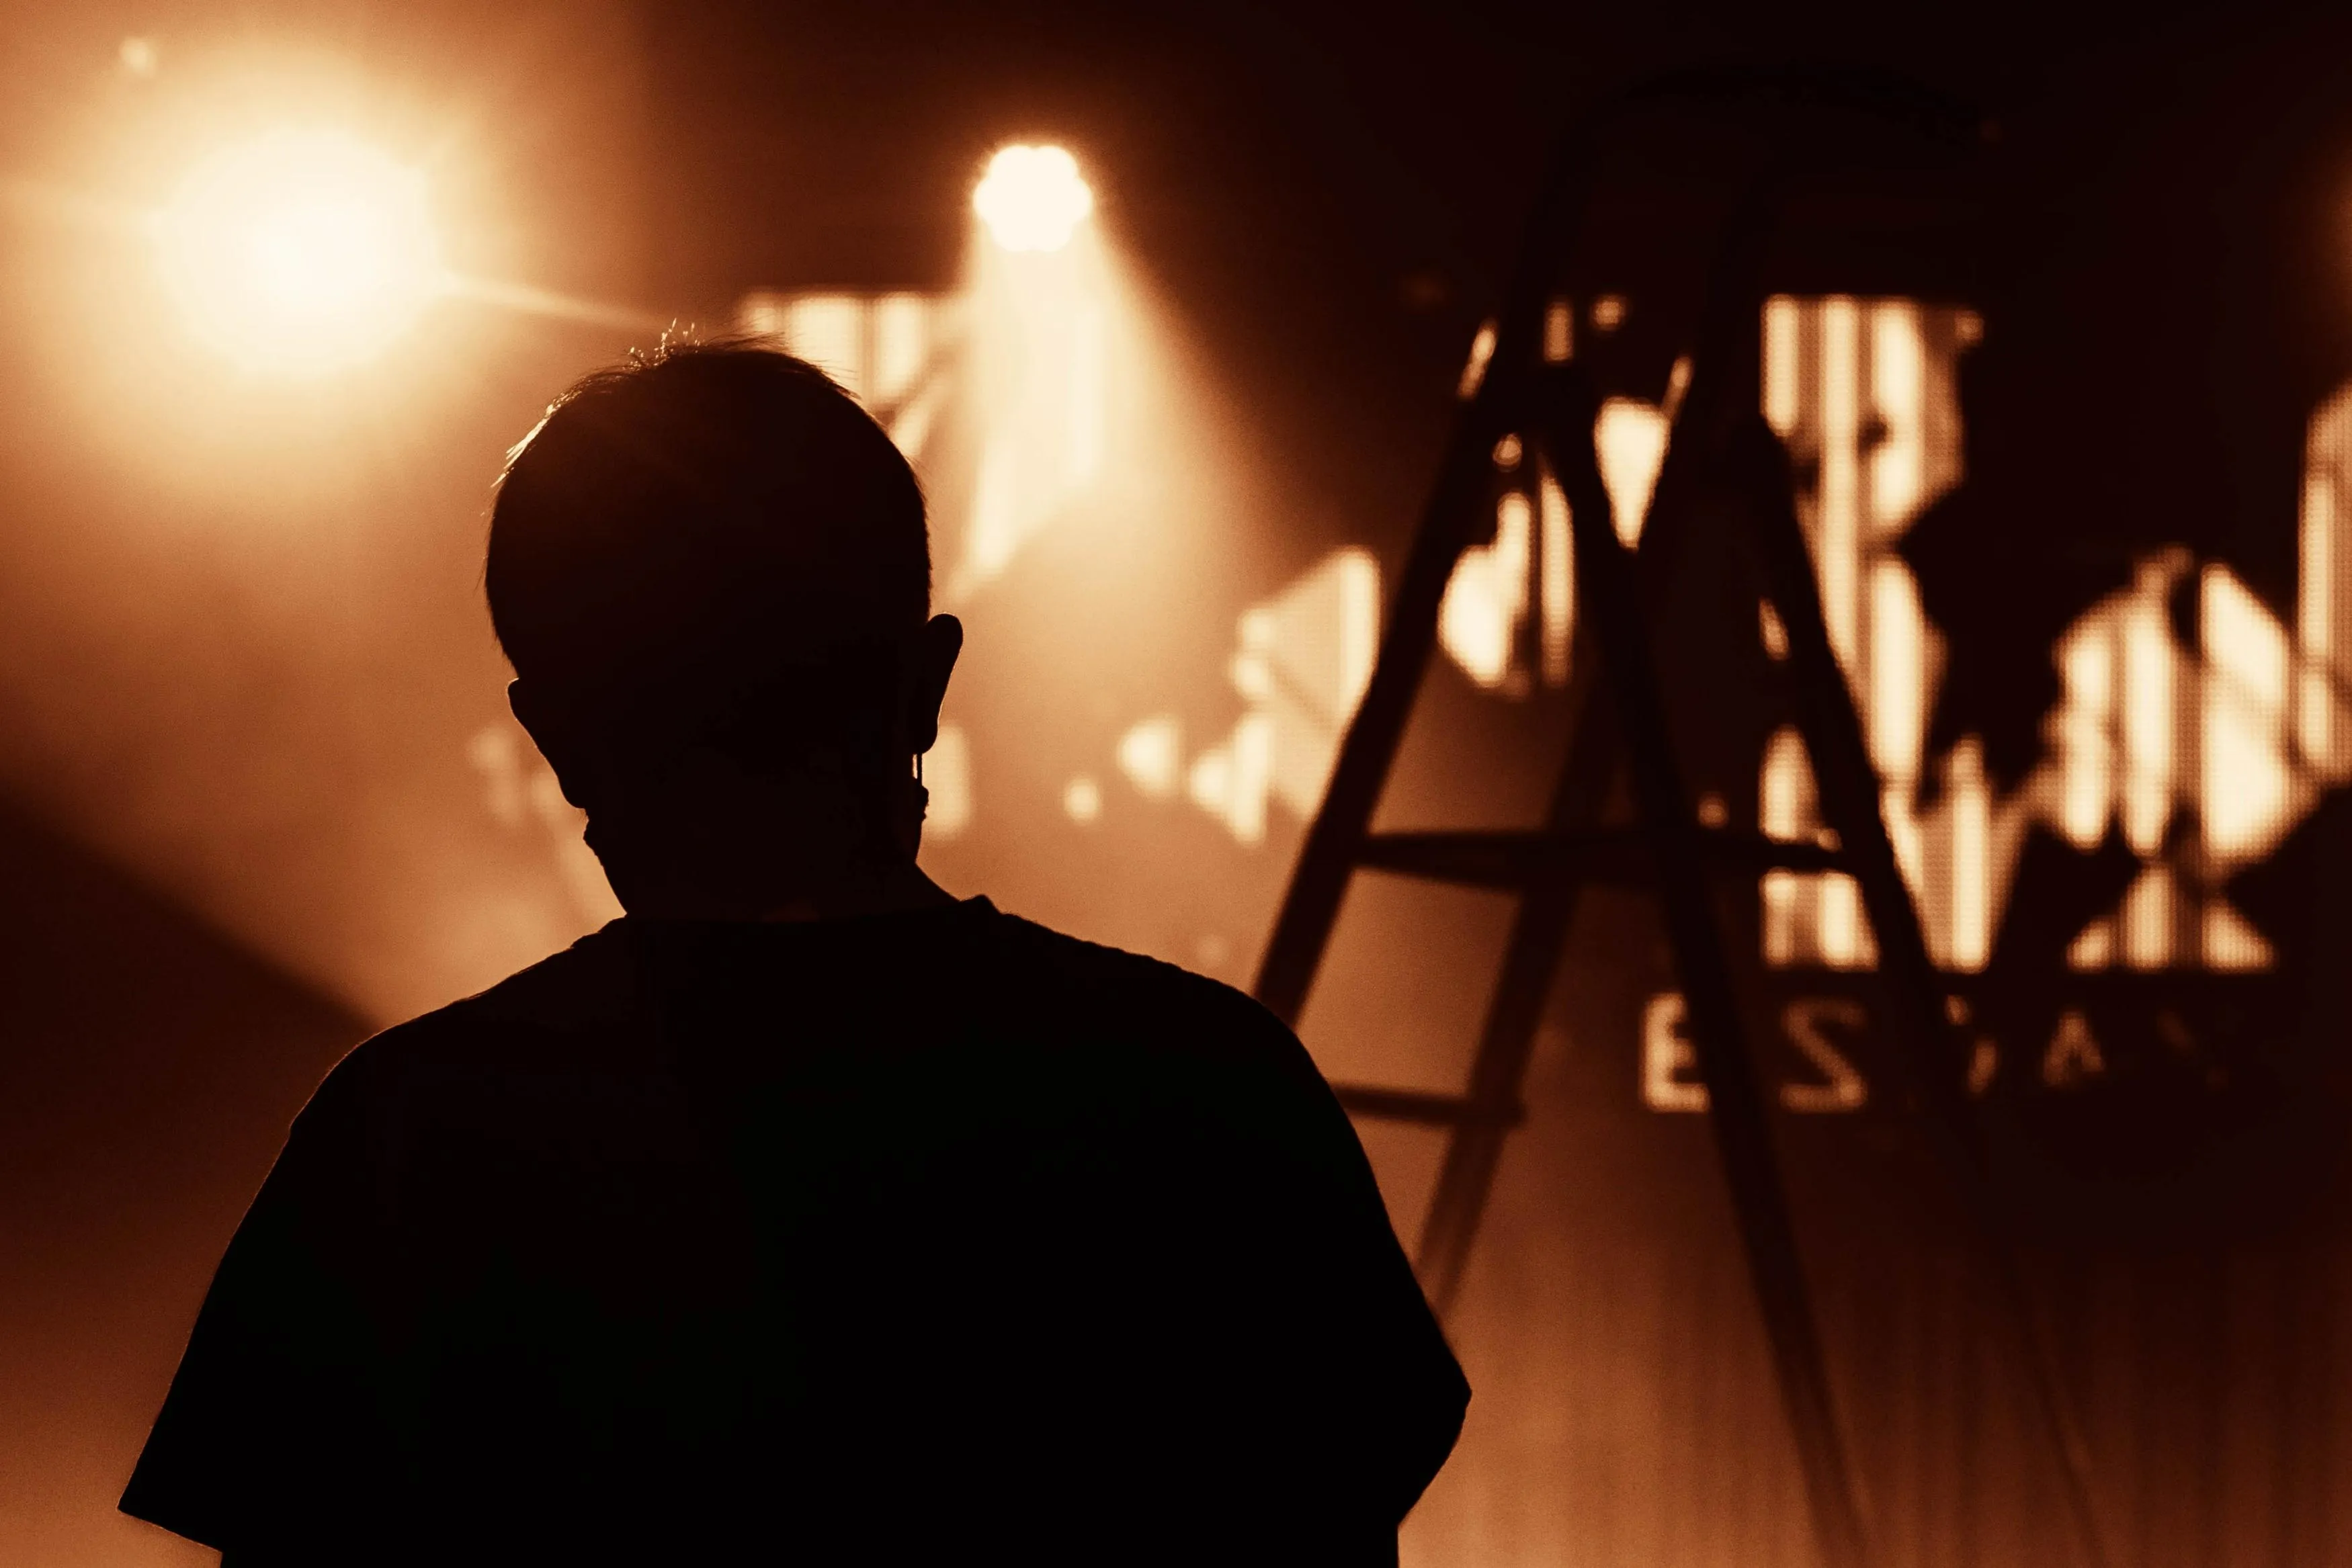
6. Create a Silhouette
To create a silhouette, place a bright light source behind the subject and expose for the background.
Possible backgrounds include:
- A bright window.
- The sky near sunset.
- A doorway.
- A brightly lit wall.
- A strong LED source.
The subject should remain relatively dark, while the outline and pose communicate the story.
Silhouettes work best when the subject’s shape is easy to recognize. Ask the model to separate their arms from the body and avoid poses in which the facial features disappear into an indistinct shape.
7. Add Rim Light
A rim light can separate a dark-haired subject or dark clothing from a dark background.
Place the light behind the subject and slightly to one side. Aim it toward the shoulders or hair rather than directly into the camera.
Watch for unwanted flare. A flag, grid, or change in camera position can help control stray light.
8. Use Underlighting Carefully
Light placed below the face creates shadows that differ from those normally produced by daylight. The result can feel theatrical, eerie, or unsettling.
A small light placed below the chin may be useful for a horror-inspired portrait or conceptual image. For a more subtle effect, place the source lower but farther away and combine it with a weak front or side light.
Underlighting is a creative choice, not a universally flattering portrait technique.
9. Use Color Contrast
Color contrast can add drama without increasing the intensity of the shadows.
Try combinations such as:
- Warm light on the subject with a cool background.
- Blue rim light with a neutral key light.
- Red background light with soft white light on the face.
- Warm practical lights against a cooler ambient scene.
Keep skin tones under control. Strong colored light can change the appearance of skin and make color correction more difficult.
Elevate Your Photography with Our Advanced Software
10. Use Shadows as Part of the Composition
Do not treat every shadow as a problem that must be removed.
Shadows can:
- Hide part of the face.
- Direct attention toward the eyes.
- Add depth to the background.
- Create geometric patterns.
- Suggest a story or emotional state.
- Make the image feel more cinematic.
Try placing blinds, curtains, branches, textured glass, or other objects between the light and the subject. Their shadows can create visual structure across the face or background.
Choosing the Right Lens
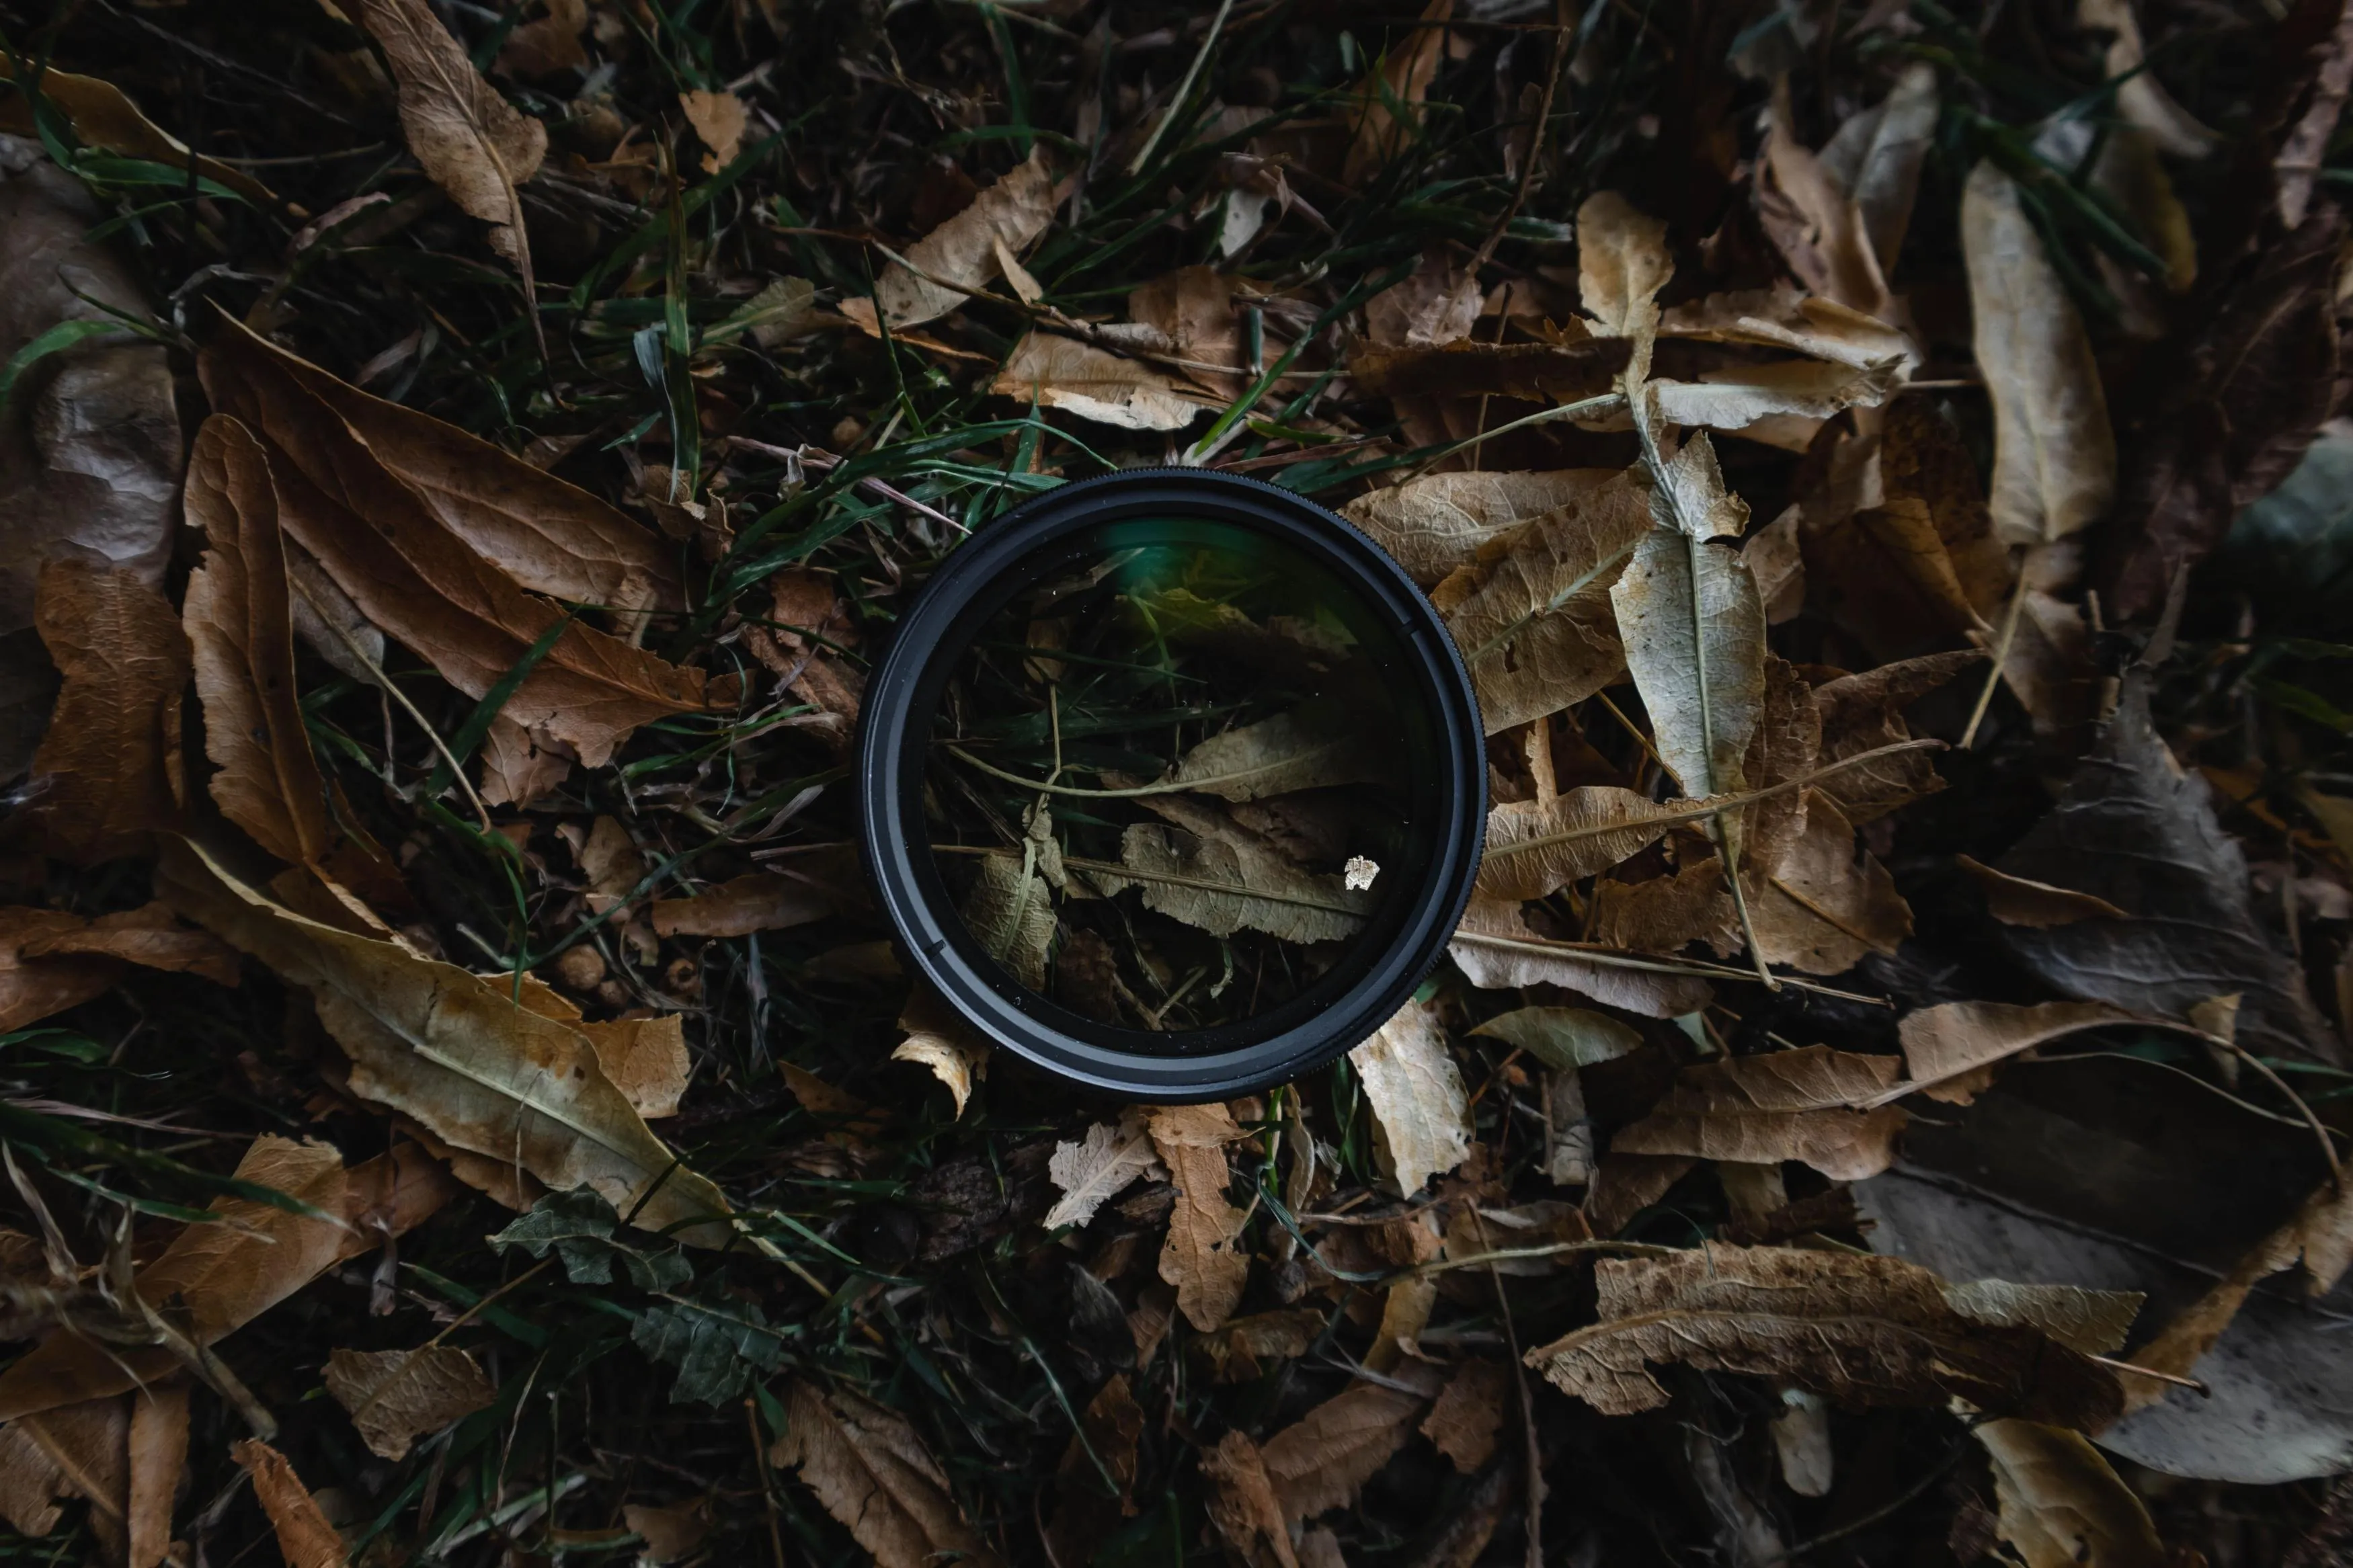 The best focal length depends on the camera format, shooting distance, and desired perspective.
35mm Lens
A 35mm lens can include more of the environment and works well for environmental portraits. However, if you move too close, facial features may appear exaggerated.
50mm Lens
A 50mm lens is a versatile option for portraits and everyday photography. It can create a natural-looking perspective when used at a suitable distance.
85mm Lens
An 85mm lens is popular for portraits because it allows comfortable working distance and can produce attractive background separation.
135mm or 200mm Lens
Longer lenses can compress the apparent distance between the subject and background and create a narrow field of view. They are useful when you want a tighter composition or a more distant working position.
However, longer focal lengths are not automatically more flattering. The camera-to-subject distance has a major effect on perspective, while the focal length determines how much of the scene fits into the frame from that distance.
Trying Different Camera Angles
 Changing your camera position can completely alter the mood of a portrait.
Eye-Level Angle
An eye-level camera position usually feels direct and natural. The drama comes mainly from the lighting and expression.
High Angle
A high camera angle can make the subject appear more vulnerable or emphasize the eyes. Use it intentionally, especially when the portrait has a psychological or narrative purpose.
Low Angle
A low camera angle can make the subject appear powerful or imposing. Be careful with very wide lenses because they can exaggerate facial proportions when used close to the subject.
Profile
A profile pose works particularly well with side lighting. It allows the light to emphasize the forehead, nose, lips, and chin.
Three-Quarter View
A three-quarter pose provides more facial dimension than a straight-on portrait while still allowing the viewer to see both eyes.
Using Contrast for a Dramatic Effect
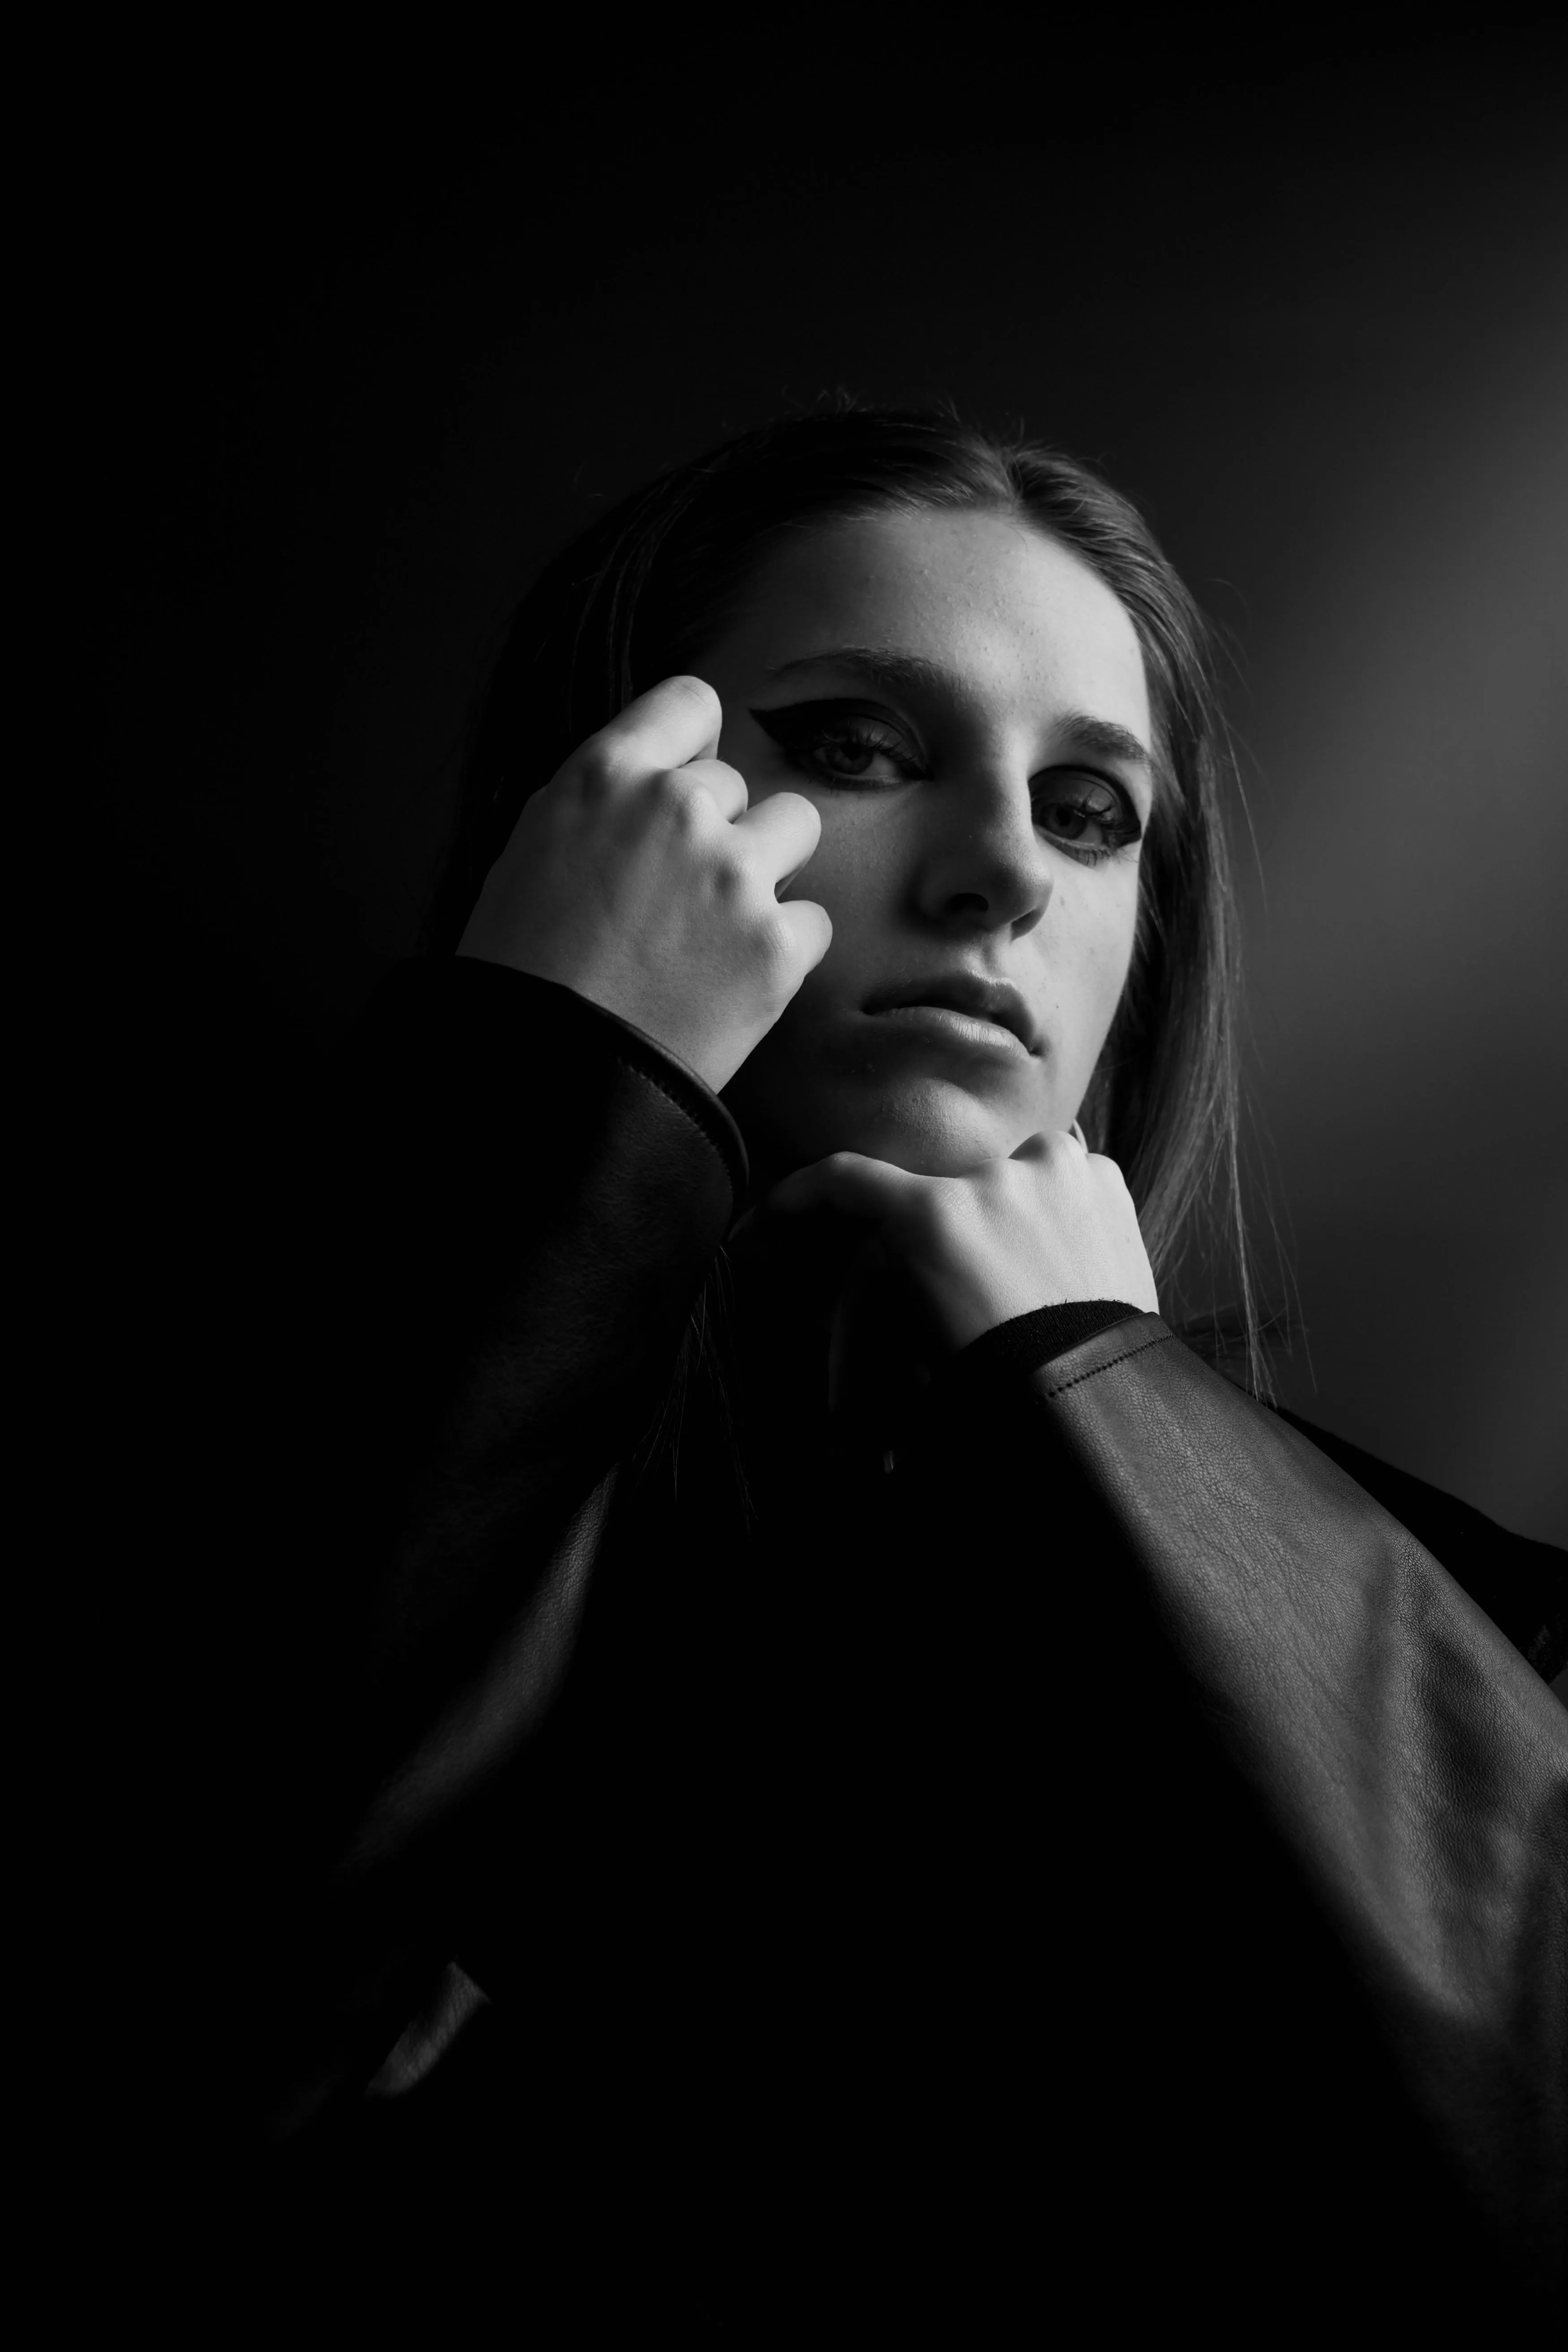 Contrast can be controlled in several ways.
Tonal Contrast
Tonal contrast refers to the difference between bright and dark areas. It is the main foundation of many dramatic portraits.
Color Contrast
Color contrast comes from opposing or noticeably different hues. Warm and cool colors are a common combination.
Texture Contrast
Texture contrast can be created by placing detailed skin, fabric, hair, or architectural surfaces against a smoother background.
Background Contrast
A dark subject against a bright background creates a different effect from a bright subject against a dark background. Choose the background according to the story you want to tell.
Avoid increasing contrast blindly during editing. Excessive contrast can remove detail from hair, clothing, and skin while making the image look harsh rather than intentional.
Outdoor Dramatic Portrait Lighting
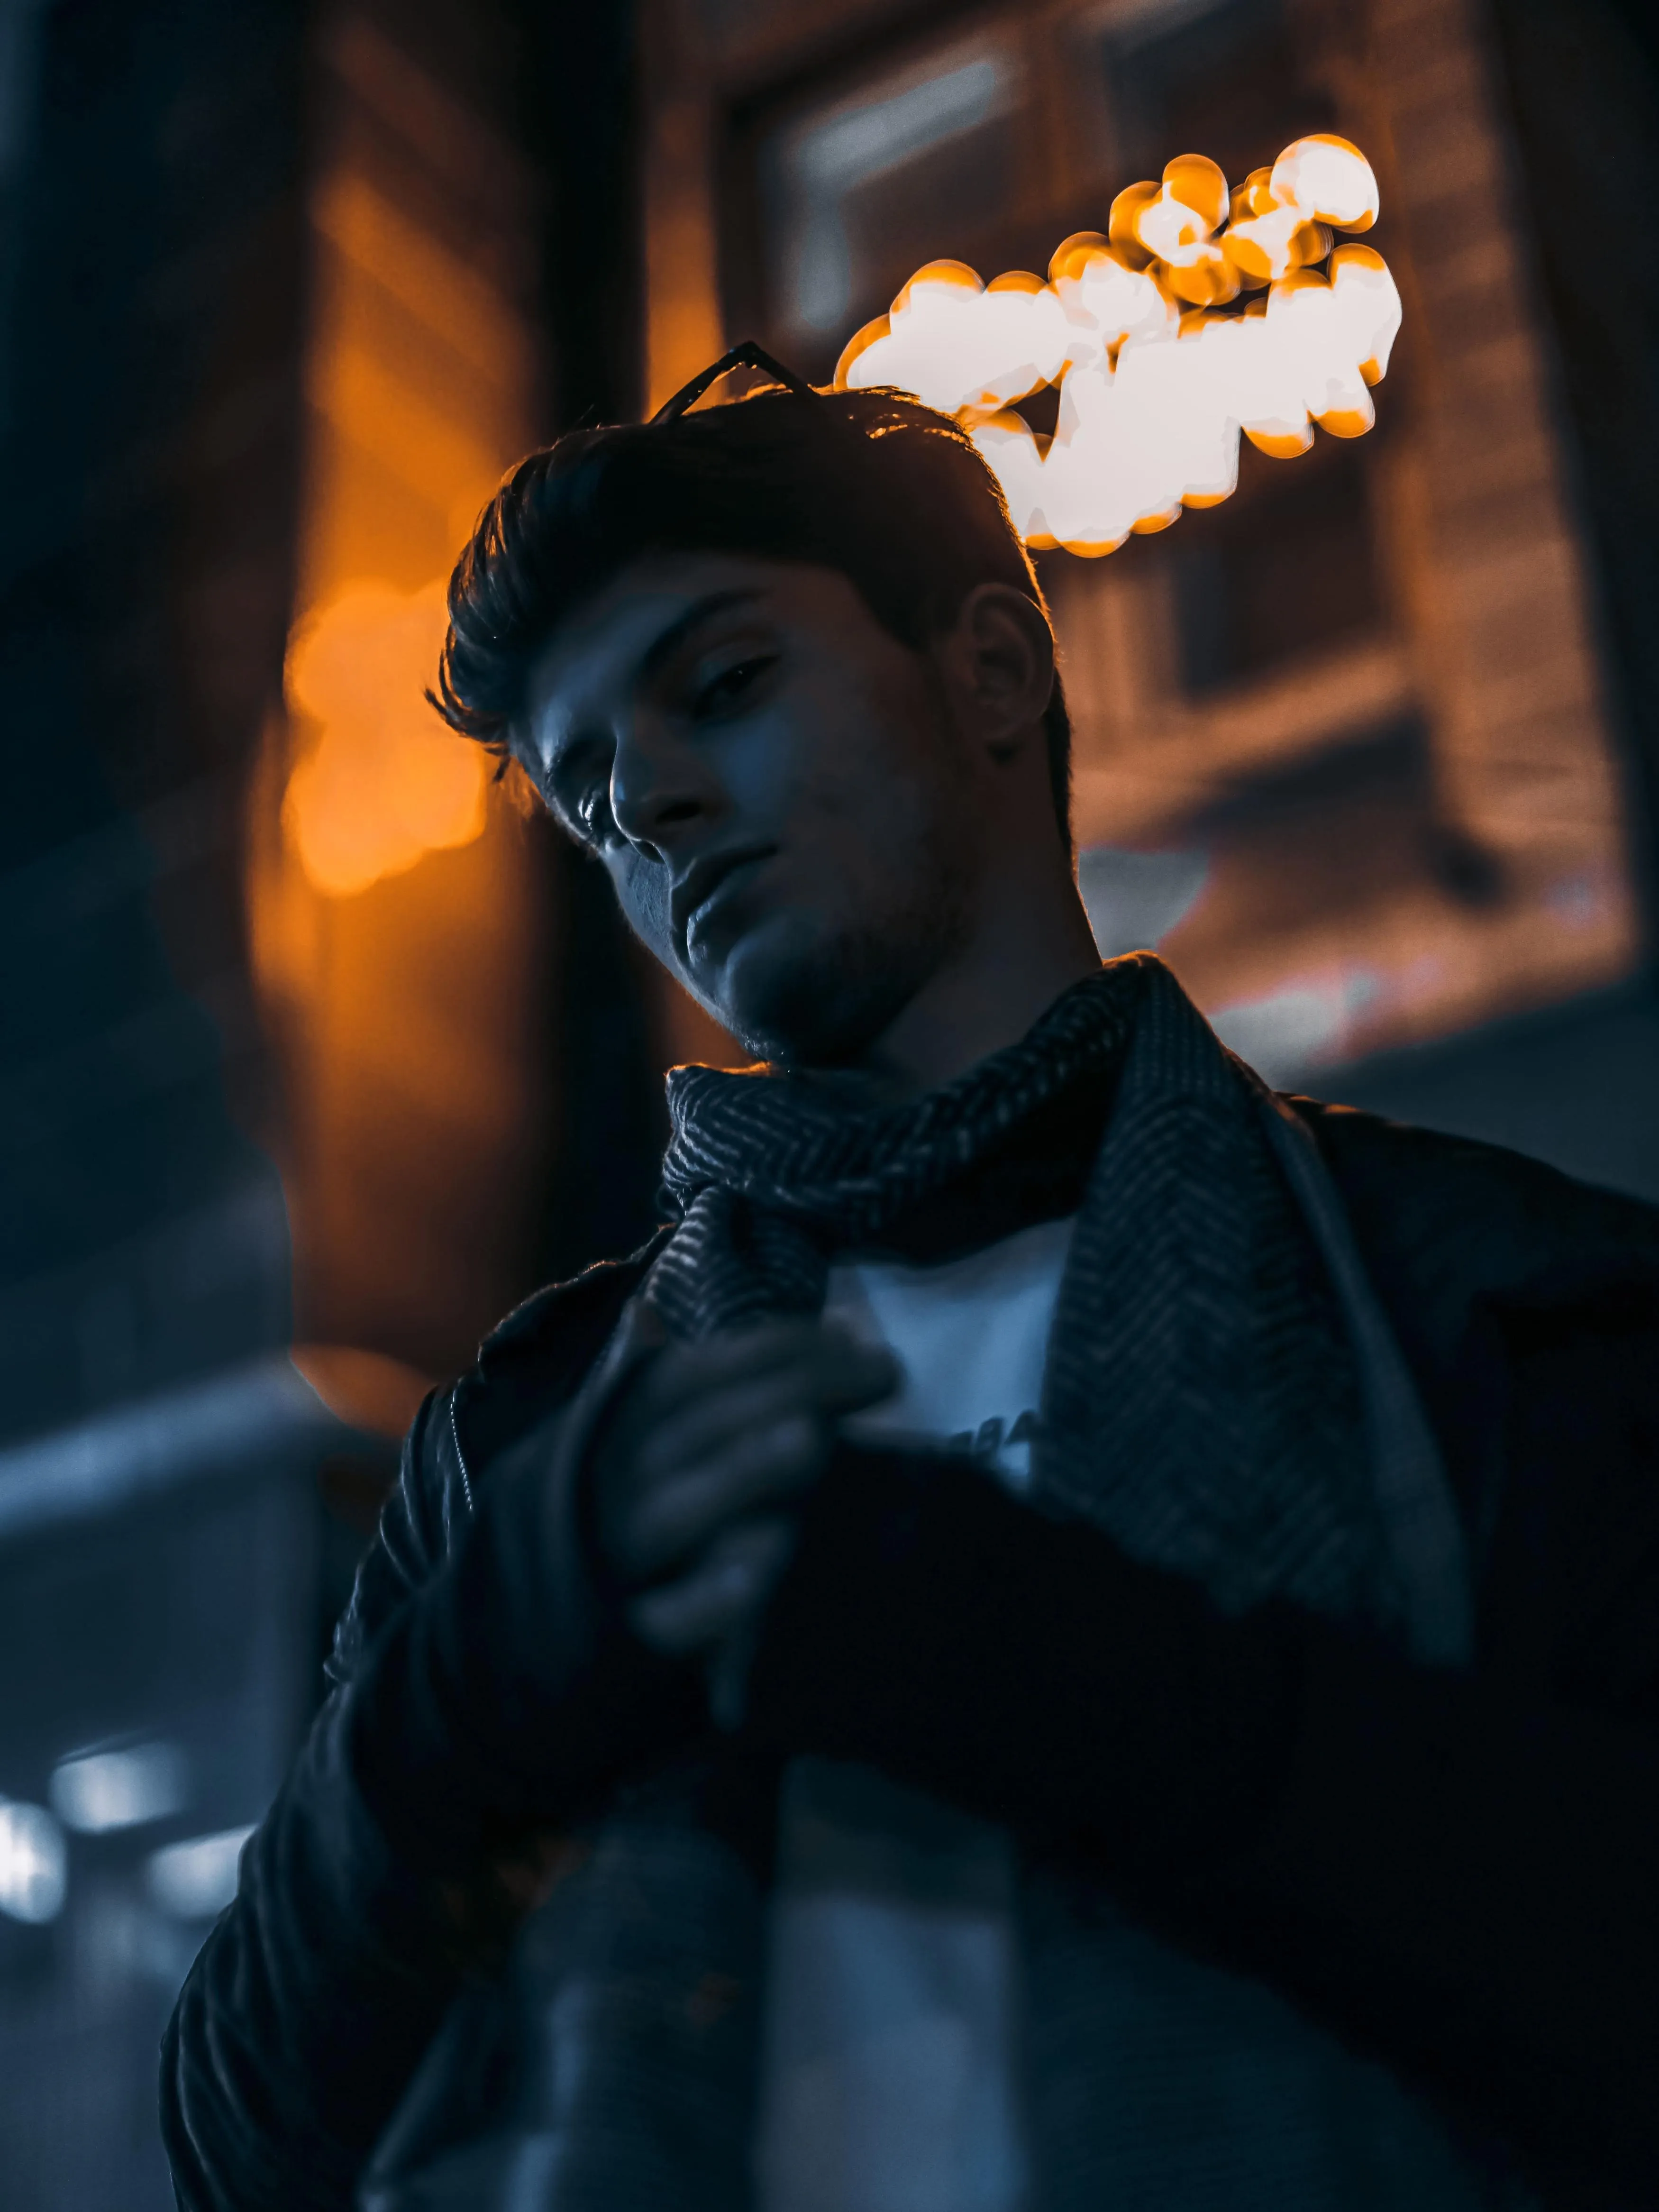 Natural light can be dramatic when used carefully.
Golden Hour
The period shortly after sunrise or before sunset often provides warm, directional light and longer shadows. It is useful for portraits with a softer cinematic atmosphere.
Backlighting
Place the sun behind the subject to create a glowing edge or partial silhouette. You may need to adjust exposure for the face or use a reflector to add fill.
Open Shade
Open shade can provide softer light than direct midday sun. Position the subject near the edge of the shade so that the face still receives directional illumination.
Midday Sun
Midday light is often hard and comes from above, creating shadows beneath the eyes, nose, and chin. You can use it creatively by:
- Moving the subject into partial shade.
- Using a reflector.
- Positioning the subject near a bright wall.
- Turning the face toward the light.
- Using a flash to balance the exposure.
When using flash outdoors, do not assume that adding more flash will automatically darken the background. Background brightness depends on ambient exposure, shutter speed, aperture, ISO, and the distance between the flash and subject.
Post-Processing Dramatic Portraits
Editing should support the lighting that was created during the shoot.
Useful adjustments include:
- Exposure.
- Contrast.
- Shadows.
- Highlights.
- Blacks.
- White balance.
- Color grading.
- Local brightness adjustments.
- Noise reduction.
- Sharpening.
- Background cleanup.
A local adjustment can help brighten the eyes or reduce attention on a distracting area without flattening the entire image.

In Luminar, you can refine the overall mood with tonal and color adjustments, improve detail, and remove unwanted distractions with tools such as Erase. For portraits captured in difficult light, use noise reduction carefully so that skin texture does not become overly smooth.
The goal is not to eliminate every shadow. Preserve the lighting structure that makes the portrait dramatic in the first place.
Your AI-Powered Photo Editor for MacOS and Windows
Common Mistakes to Avoid
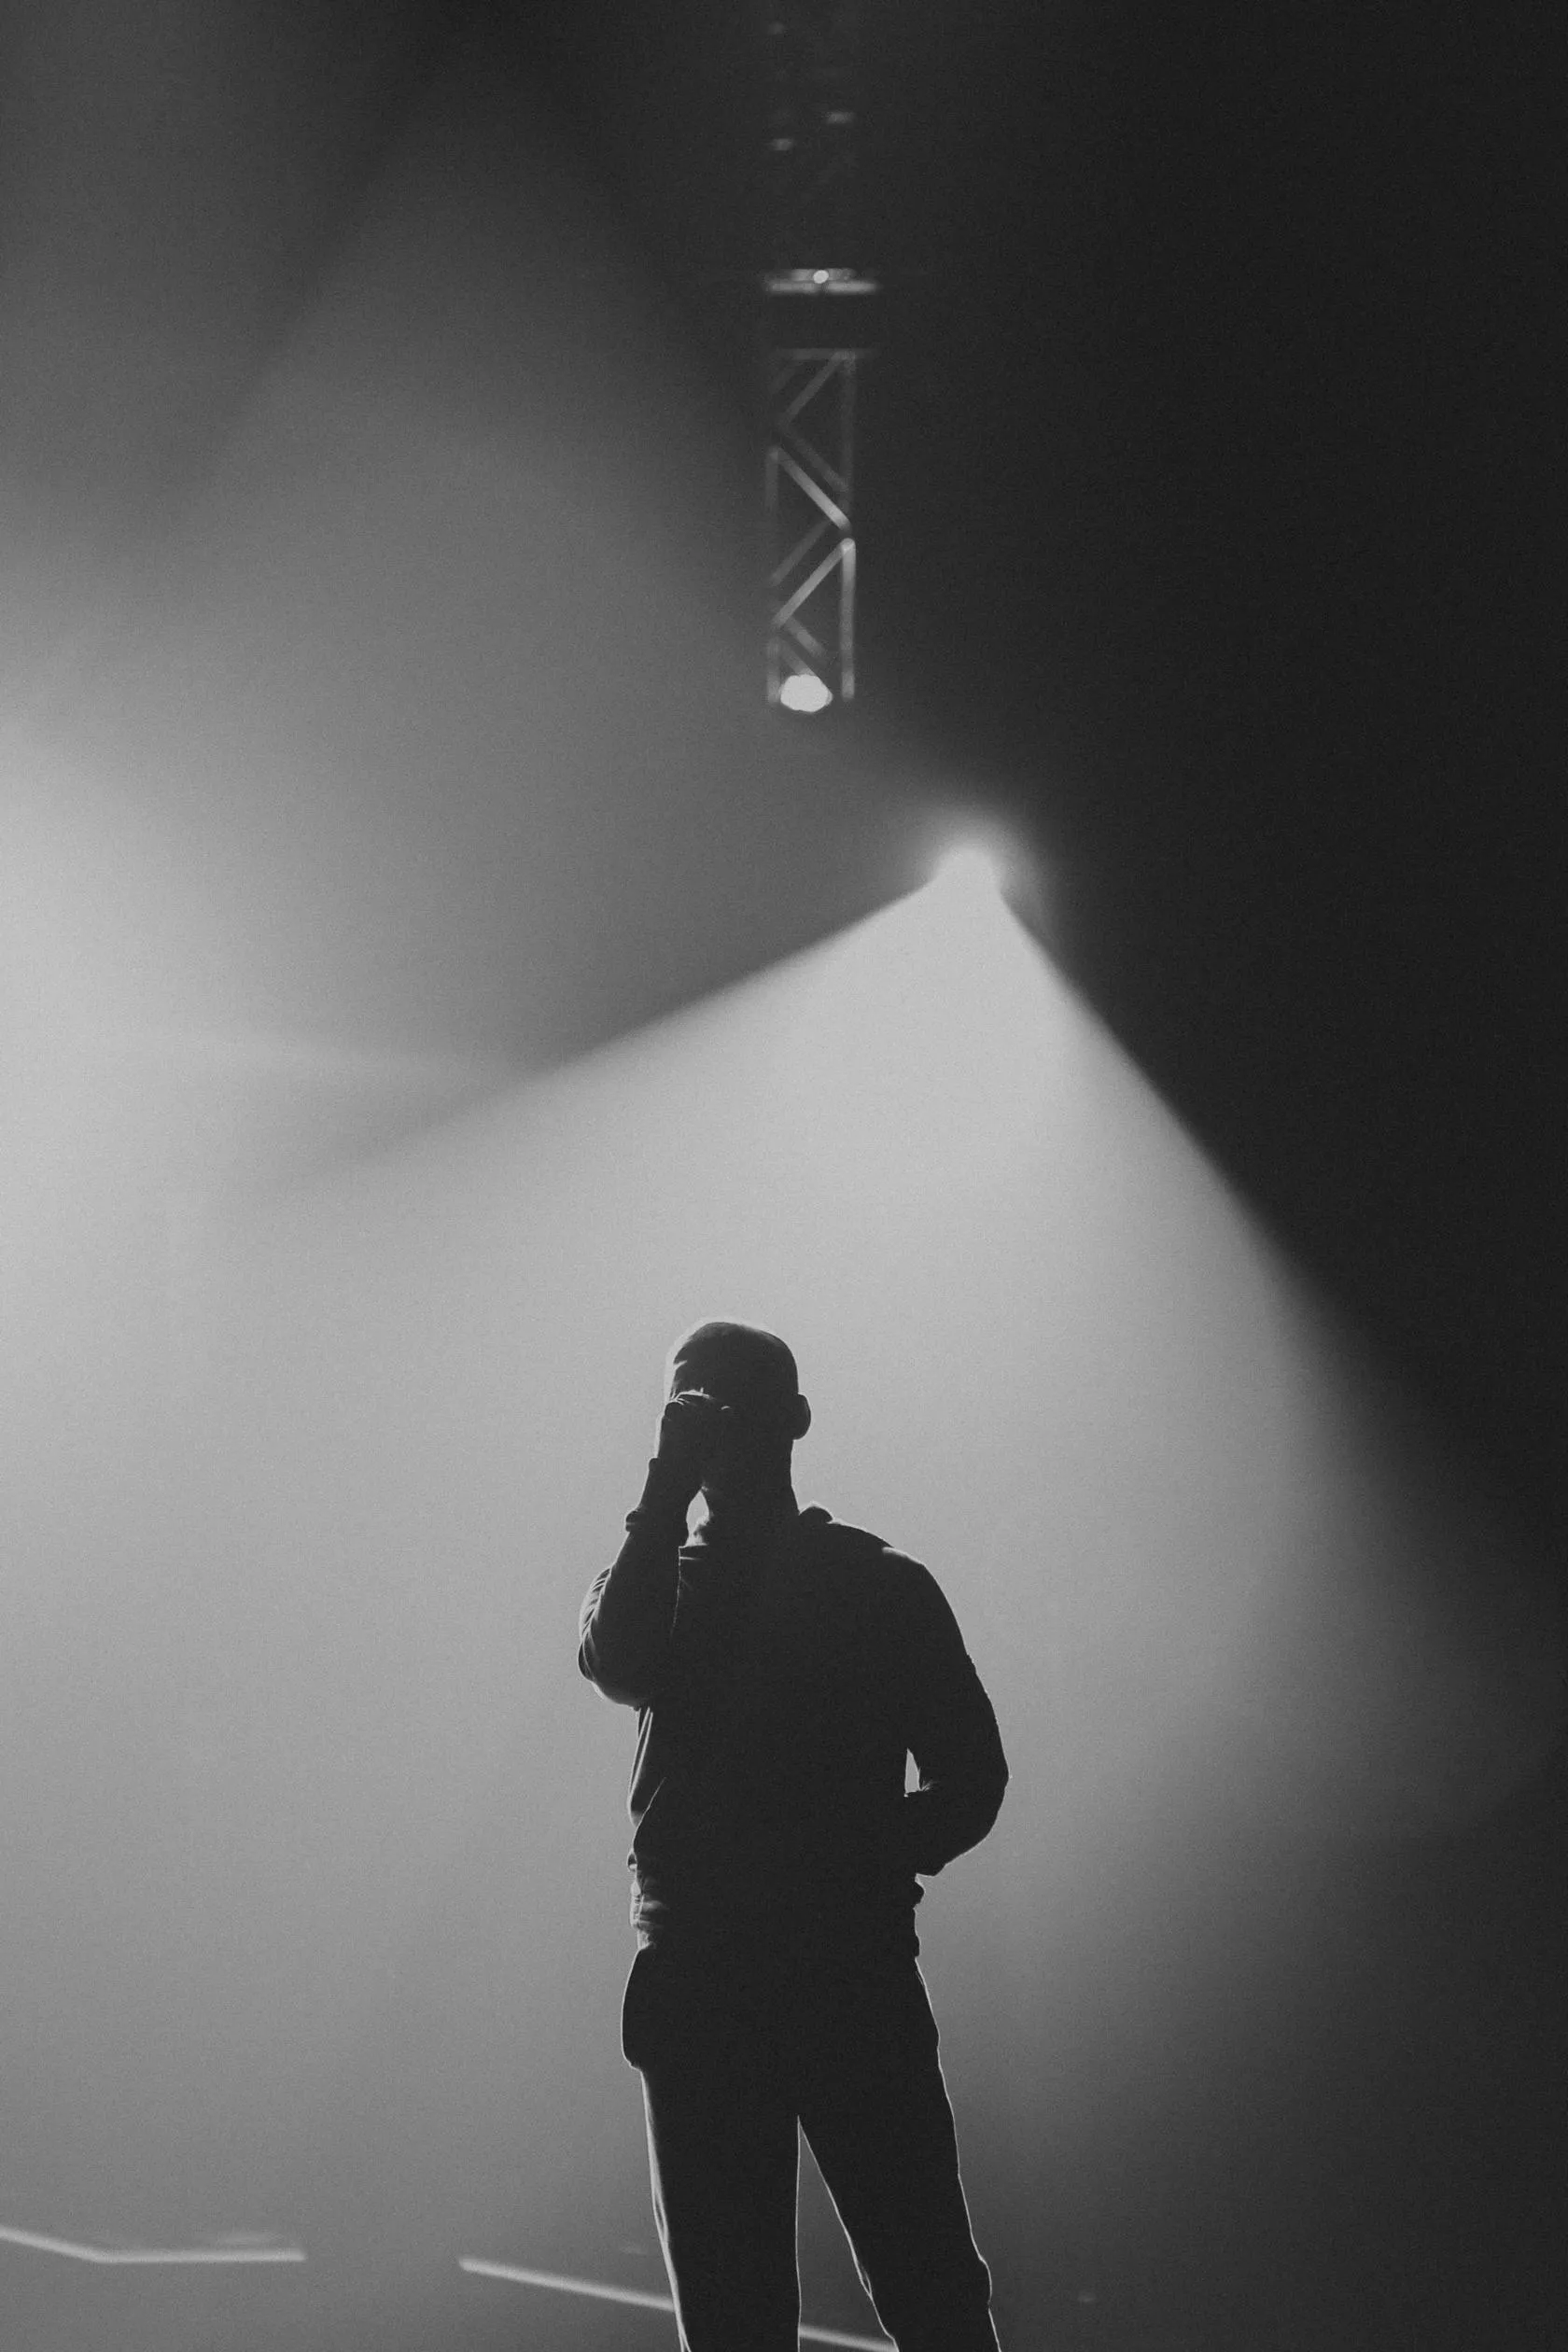
Making Every Shadow Completely Black
Deep shadows can be effective, but completely blocked areas may remove important information. Check whether the darkness supports the composition.
Using Too Much Fill Light
Excessive fill can flatten the face and reduce the effect of directional lighting. Start with less fill and add it only where needed.
Placing the Light Too Close to the Camera
Light near the camera tends to reduce facial modeling. Move it to the side or above the subject to create more dimension.
Ignoring the Background
A dramatic face can lose impact if the background contains bright distractions. Darken, simplify, or reposition the background when necessary.
Overusing Clarity and Sharpening
Strong clarity and sharpening may emphasize skin texture in an unpleasant way. Apply them selectively and inspect the image at 100% magnification.
Forgetting the Subject’s Expression
Lighting alone cannot create the entire mood. Ask the model to change their expression, posture, gaze, and head angle to match the visual concept.
Pros and Cons of Dramatic Portrait Lighting
| Pros | Cons |
| Creates a strong emotional mood | Requires careful light placement |
| Adds depth and facial dimension | Shadows can hide important details |
| Works with simple equipment | Exposure can be more difficult to control |
| Can make portraits feel cinematic | Hard light may emphasize skin texture |
| Encourages creative compositions | Background distractions become more noticeable |
| Works indoors and outdoors | Colored light can complicate skin-tone correction |
| Can be adapted to many styles | Requires practice and careful observation |
Conclusion
Dramatic portrait lighting is based on intentional choices rather than expensive equipment. Start with one light source and experiment with its direction, height, distance, and size.
Side lighting, Rembrandt lighting, split lighting, silhouettes, rim light, and colored gels can all create different moods. The best technique depends on the subject, the story, and the atmosphere you want to communicate.
Pay attention to the background, use the histogram to protect important highlights, and avoid adding fill light simply because the shadows look dark. In dramatic photography, shadows are often part of the design.
After the shoot, use post-processing to refine contrast, color, detail, and distractions while preserving the original lighting concept. With practice, even a window, a single flash, or a small LED light can become a powerful tool for creating expressive portraits.
FAQ
Dramatic lighting is a portrait technique that uses directional light, strong contrast, and controlled shadows to create a specific mood or emphasize facial features.
Side lighting is one of the most useful starting points because it creates clear facial dimension. A single flash, window, or LED light can work well.
No. A black background can support a low-key look, but dramatic portraits can also be made against bright, textured, or colored backgrounds.
Start with an aperture that provides enough depth of field for the face, a shutter speed suitable for the light and subject movement, and the lowest practical ISO. Adjust exposure while checking the histogram and highlights.
Yes. Window light, backlighting, open shade, golden-hour light, and hard midday sunlight can all create dramatic portraits when the subject and camera are positioned carefully.