Mountain views can look breathtaking in person yet fall flat in a photo. Learn how to use light, composition, and camera settings to capture their scale and depth.
Mountain photography combines dramatic landscapes, changing weather, challenging light, and a strong sense of scale. A mountain may look spectacular in person but appear surprisingly flat or ordinary in a photograph if the composition does not communicate its size and depth.
Whether you are photographing the Alps, the Rockies, the Carpathians, or a local mountain range, preparation makes a significant difference. Choosing the right viewpoint, light, focal length, and camera settings can help you create photographs that show more than just a distant peak.
In this guide, you’ll learn how to photograph mountains, choose useful camera settings, work with changing weather and light, and improve mountain landscape photos during post-processing.
Don’t feel like reading the whole breakdown? We’ve pulled together a quick summary below.
Key Takeaways
- Look for foreground, middle-ground, and background elements to create depth in mountain photographs.
- Avoid photographing only the summit; include trees, trails, people, rocks, water, or buildings when they strengthen the composition.
- Shoot during the golden hours for softer light and longer shadows, but don’t ignore overcast or stormy conditions.
- RAW files give you more flexibility when recovering highlights, adjusting shadows, and correcting color.
- There is no single best aperture or shutter speed for mountain photography. Choose settings according to the scene and whether anything in the frame is moving.
- A wide-angle lens is useful for expansive landscapes, while telephoto lenses can isolate distant peaks and compress layers of mountains.
- A tripod can be valuable for long exposures, focus stacking, and low-light photography, but it is not required for every landscape.
- Post-processing can help correct lens issues, recover detail, reduce haze, and refine color without replacing good composition in the field.
A Brief History of Mountain Photography
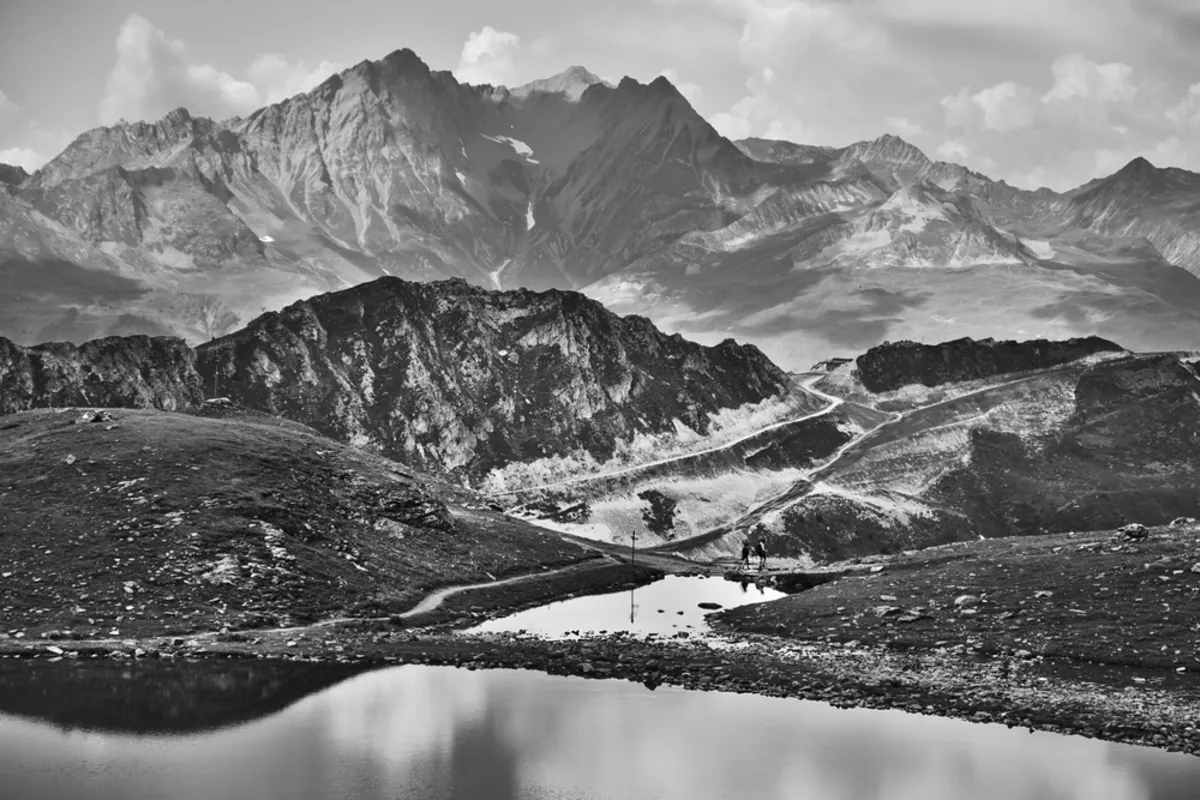 Mountain photography dates back to the nineteenth century, when photographers began documenting landscapes that were difficult to reach and technically demanding to capture.
Among the photographers strongly associated with mountain and landscape photography is Ansel Adams (1902–1984). His carefully composed black-and-white photographs of the American West helped establish landscape photography as a serious art form and demonstrated how light, contrast, and tonal range can transform a landscape.
Exclusive Tools of Endless Possibilities in One AI Editor
Adams is also a useful reminder that mountain photography is not simply about recording a spectacular view. The photographer’s decisions about composition, exposure, timing, and viewpoint determine how that landscape is interpreted.
How to Photograph Mountains
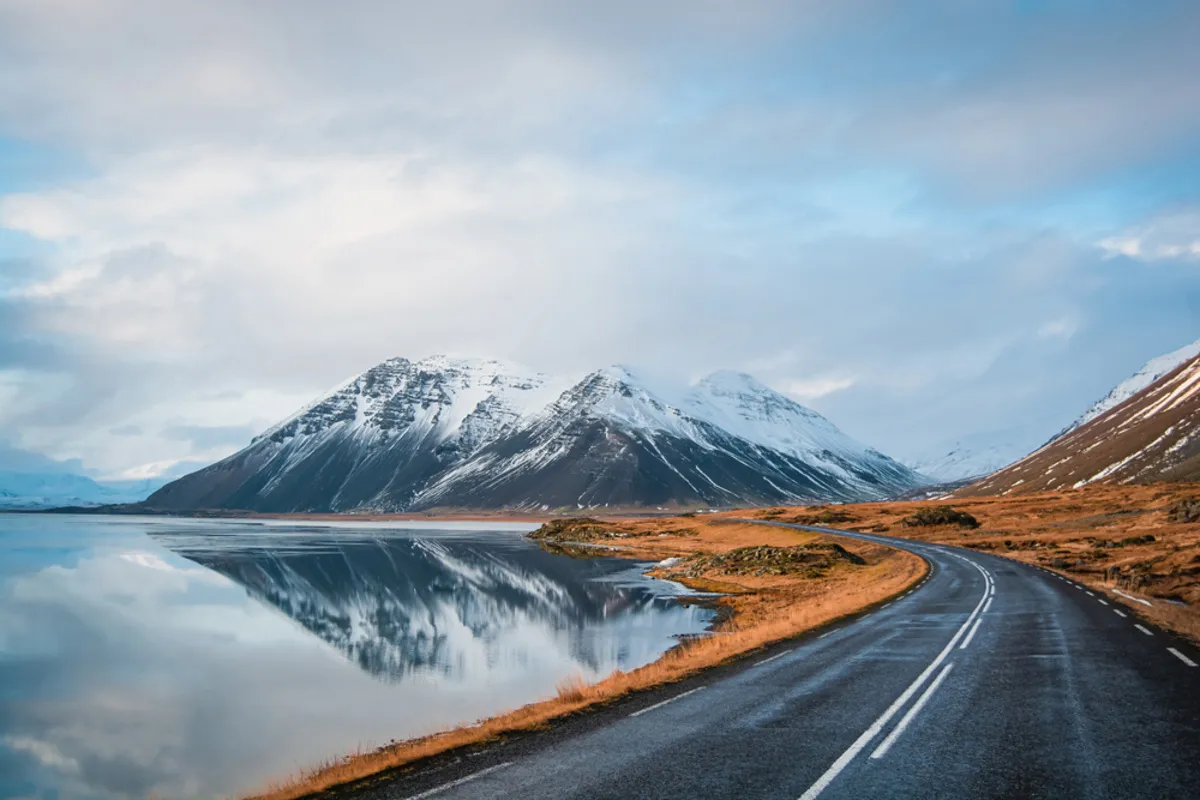 Mountain photography ideas are limited mainly by your willingness to explore different viewpoints. Instead of photographing the highest peak from the nearest viewpoint, look for elements that give the scene scale and depth.
Try including:
- A trail leading toward the mountains
- A person or hiker for scale
- Trees or rocks in the foreground
- A lake or river reflecting the peaks
- Clouds or fog moving through the landscape
- Roads winding through valleys
- Buildings that provide a sense of location
- Layers of distant mountain ridges
The goal is not to include as many objects as possible. Each foreground or middle-ground element should contribute to the composition.
Create Depth with Foreground, Middle Ground, and Background
A mountain range can look flat when everything is concentrated in the distance. One of the easiest ways to create depth is to build the image in layers.
For example, a rock or tree can occupy the foreground, a valley can form the middle ground, and the mountain range can provide the background.
This approach also helps communicate scale. A person standing on a trail or near a large rock can make the surrounding landscape appear considerably larger.
Change Your Viewpoint
One of the most common mistakes in landscape photography is taking the photograph from exactly where you first stop.
Before pressing the shutter, walk a little farther, move to the side, lower the camera, or find a higher viewpoint if the terrain and conditions allow it.
Even a small change in position can eliminate distracting objects, change the relationship between foreground and mountains, or reveal a stronger leading line.
Don’t Photograph Only the Summit
A mountain peak is an obvious subject, but it does not have to occupy the entire frame.
A photograph containing only the summit can lack context. Instead, consider showing the surrounding landscape and using the peak as the destination toward which the viewer’s eye travels.
Roads, rivers, ridges, fences, and hiking trails can all help guide attention toward the mountains.
Planning the Exposure
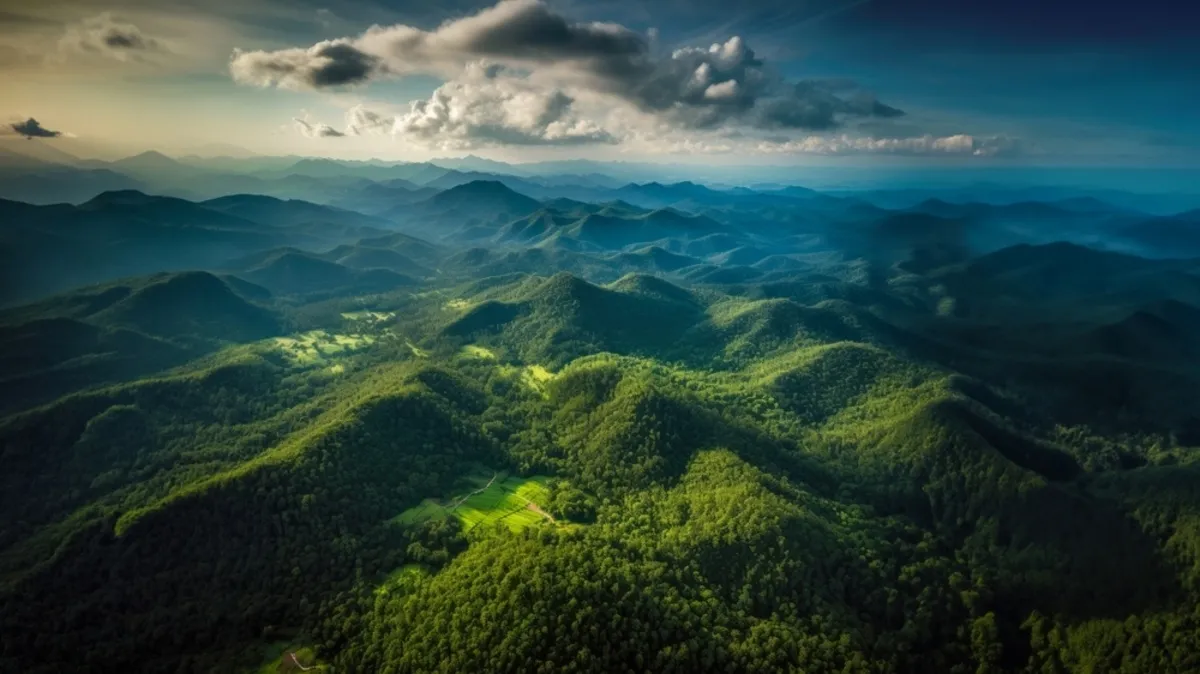 Mountain scenes can contain a wide range of brightness levels. Bright snow or clouds may sit next to deep shadows, making exposure more challenging than the scene initially appears.
Rather than relying on one fixed setting, check the histogram and highlight warnings when available.
Here are several common mistakes to avoid.
1. Photographing Only the Summit
Photographing the summit from a standard viewpoint can produce a recognizable record of the landscape, but it may not communicate its scale or character.
Look for a foreground element, an unusual viewpoint, or interesting light that gives the photograph a stronger visual structure.
2. Assuming a UV Filter Is Necessary
A UV filter is not a requirement for digital mountain photography. Modern digital cameras generally include UV-blocking characteristics in their sensor and optical systems, so a UV filter should not be treated as essential for correcting atmospheric color.
A clear protective filter may be useful in some environments, particularly when protecting the front element from dust, salt spray, or other hazards, but it is a personal equipment choice rather than a mandatory mountain-photography accessory.
A polarizing filter can be more useful for certain landscape situations. Depending on the angle of the light, it can reduce reflections from water and foliage and deepen the appearance of blue skies.
3. Shooting From the First Available Viewpoint
The first viewpoint is rarely the only viewpoint worth considering.
Before shooting, look around the scene for distracting poles, wires, parked vehicles, signs, buildings, or other elements. Sometimes they can be removed simply by changing your position. Other times they can be incorporated into the composition to provide context.
Camera Settings for Mountain Photography
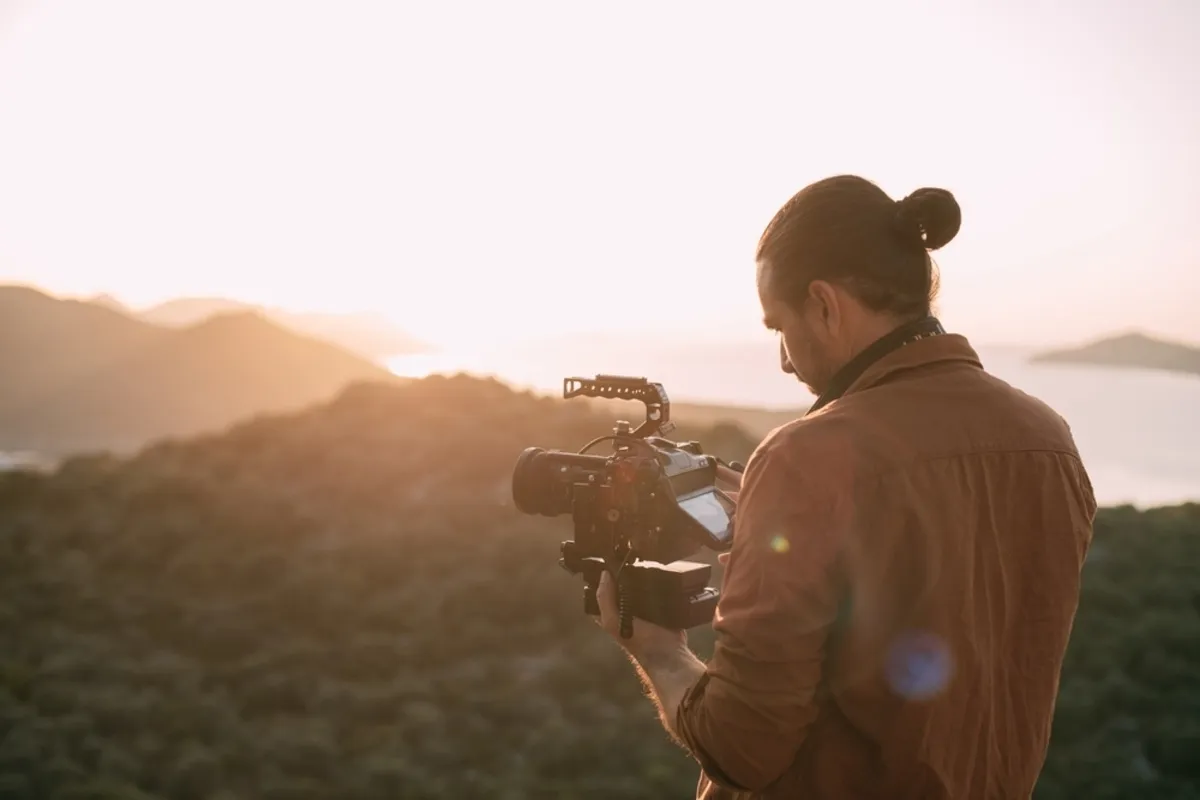 There is no universal set of camera settings for mountain photography. The ideal combination depends on the available light, subject movement, lens, camera, and creative intention.
As a starting point, consider the following:
| Setting | Starting Point | Why It Helps |
| File format | RAW | Provides greater flexibility for exposure, white balance, and color adjustments |
| ISO | Base/native ISO when practical | Helps minimize noise and maximize image quality |
| Aperture | Around f/8–f/11 | Often provides a useful balance of depth of field and sharpness |
| Shutter speed | Adjust to the scene | Use faster speeds for moving subjects and slower speeds for intentional motion blur |
| Focus | Single-point AF or manual focus | Gives you greater control over where the camera focuses |
| Aspect ratio | Native sensor ratio | Preserves the full sensor area for later cropping |
Shoot in RAW
RAW files retain substantially more image data for post-processing than JPEG files. This is particularly useful in mountain photography, where you may need to balance bright clouds or snow with darker valleys.
RAW editing also gives you more flexibility when adjusting white balance, recovering shadow detail, and refining colors.
Choose the Aperture According to the Scene
A common starting point for landscapes is around f/8 to f/11. These apertures can provide considerable depth of field while avoiding the stronger diffraction that can occur at very small apertures.
However, there is no reason to automatically use f/16 or f/22 for every mountain photograph.
If you are photographing a distant mountain with no important foreground, a wider aperture may work perfectly well. If you need both a nearby foreground and distant peaks to appear sharp, you may prefer a smaller aperture or consider focus stacking.
Set Shutter Speed Based on Movement
Mountains themselves are stationary, but many elements around them are not.
Wind can move grass and trees, clouds can travel across the sky, and waterfalls and rivers are constantly moving.
Use a faster shutter speed when you want to freeze these elements. Use a slower shutter speed when you deliberately want to show motion, such as smooth water or moving clouds.
A tripod becomes particularly useful when using slow shutter speeds.
Use the Lowest Practical ISO
When the scene is bright enough, using your camera’s base ISO can help maximize dynamic range and minimize noise.
However, do not sacrifice shutter speed simply to keep ISO low. If wind is moving vegetation or you are photographing handheld, a slightly higher ISO may produce a sharper photograph than an unnecessarily slow shutter speed.
Elevate Your Photography with Our Advanced Software
Choosing a Lens for Mountain Photography
A 24–70mm lens is a versatile option for many landscape situations because it covers both moderately wide and standard focal lengths.
However, different lenses can produce very different interpretations of the same mountain range.
| Lens Type | Useful For |
| Ultra-wide | Dramatic foregrounds and very expansive scenes |
| Wide-angle | Large landscapes, valleys, and environmental compositions |
| Standard zoom | Flexible compositions and travel photography |
| Telephoto | Isolating peaks, compressing mountain layers, and distant details |
| Macro | Flowers, rocks, textures, and small details within the landscape |
A telephoto lens can be especially useful in the mountains. Instead of always trying to fit the entire range into the frame, use a longer focal length to isolate repeating ridges, distant peaks, snow patterns, or interesting light.
Daytime Mountain Photography
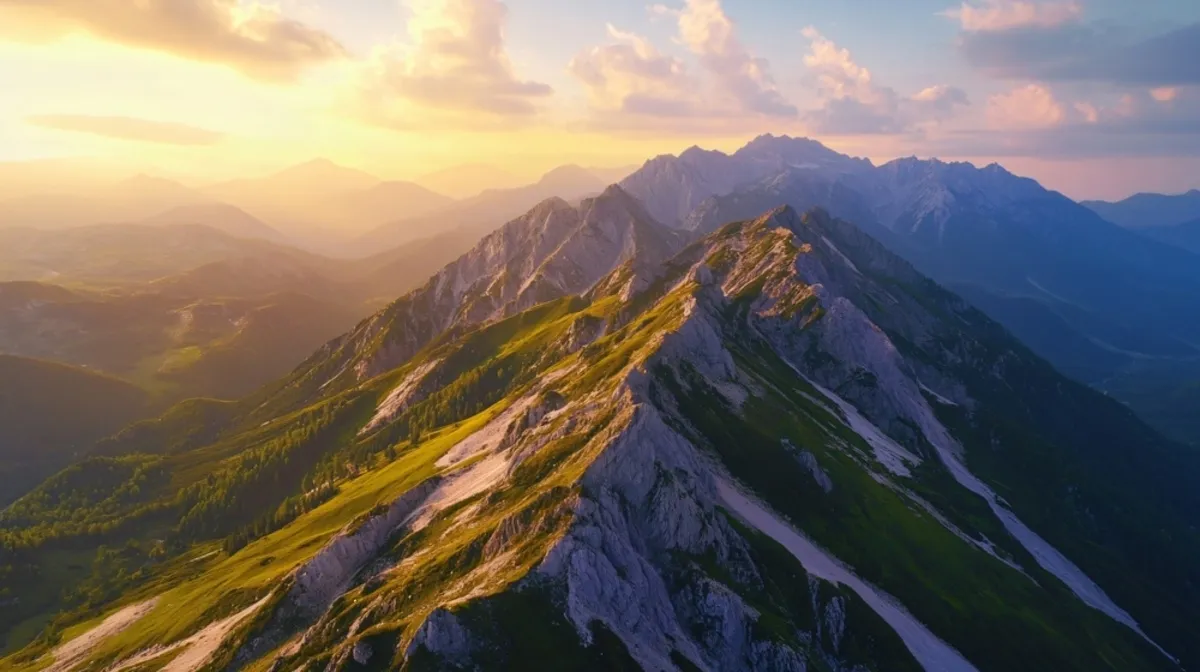
Mountain landscapes can look dramatically different depending on the time of day.
Golden Hour
Sunrise and sunset provide lower-angle light that can create long shadows and reveal the texture of mountain slopes. The color of the light can also change rapidly, so arriving early and staying after sunset can give you more opportunities.
Overcast Weather
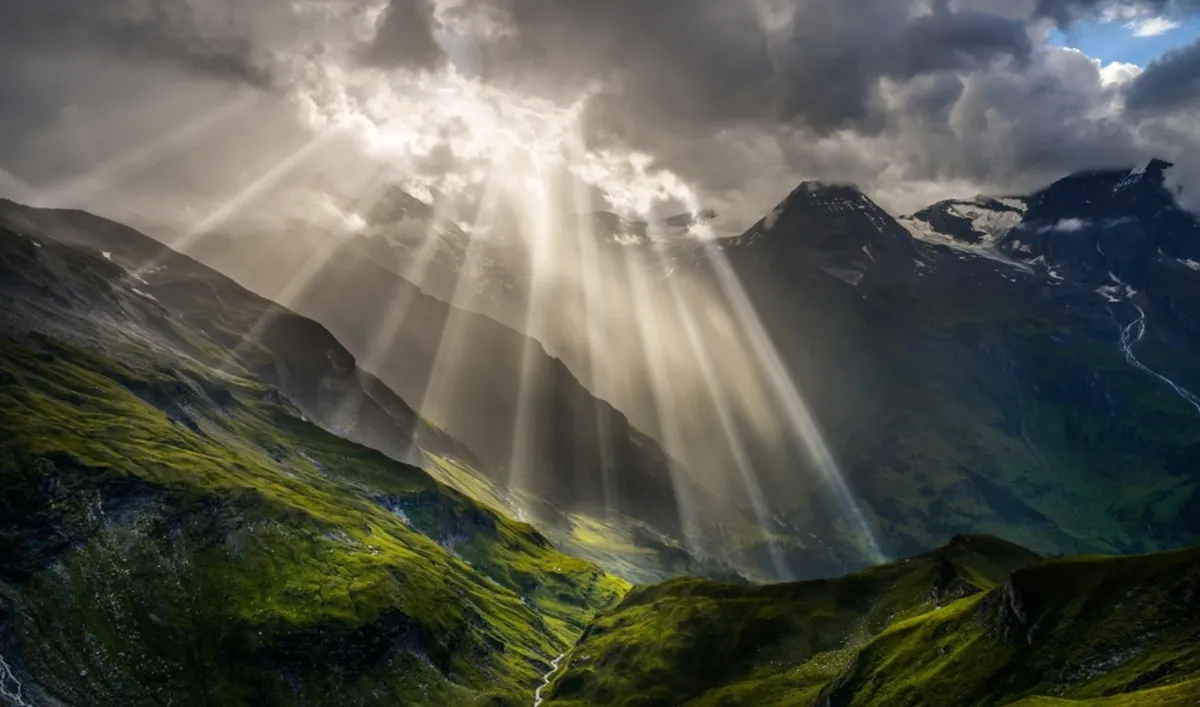
Cloudy conditions are not necessarily bad for landscape photography. Soft light can reduce harsh contrast and bring attention to textures, forests, rocks, and atmospheric layers.
Fog and low clouds can also partially obscure mountains, creating a sense of depth and mystery.
Midday Light
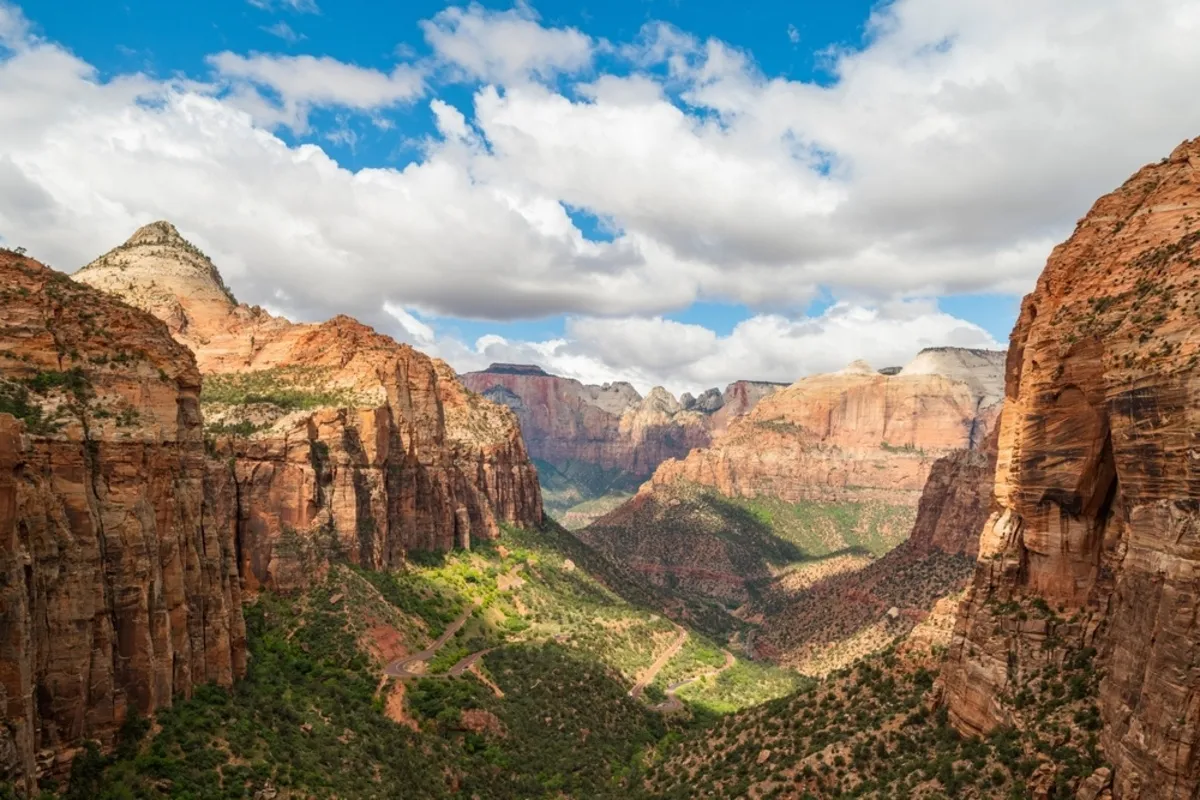
Midday light can be harder to work with because it may produce strong contrast and less dramatic shadows.
That does not mean you should stop photographing. Look for subjects that benefit from strong directional light, such as textured rock faces, deep valleys, architectural details, or patterns in the landscape.
Mountain Photography at Night
Night photography can reveal a completely different side of a mountain landscape. Stars, the Milky Way, moonlight, and distant artificial lights can all become part of the composition.
Unlike daytime landscape photography, night scenes often require longer exposures and careful focusing.
A tripod is usually essential for long exposures. Use manual focus or carefully verify autofocus, because cameras can struggle to focus accurately in very dark conditions.
Do not rely on the simple rule of setting shutter speed to the reciprocal of the focal length for every night landscape. That rule is primarily a guideline for reducing camera shake in handheld photography, and it does not account for star movement or the particular exposure requirements of astrophotography.
Instead, choose shutter speed according to the subject and desired result, then adjust aperture and ISO to achieve a usable exposure.
Preparing for a Mountain Photography Trip
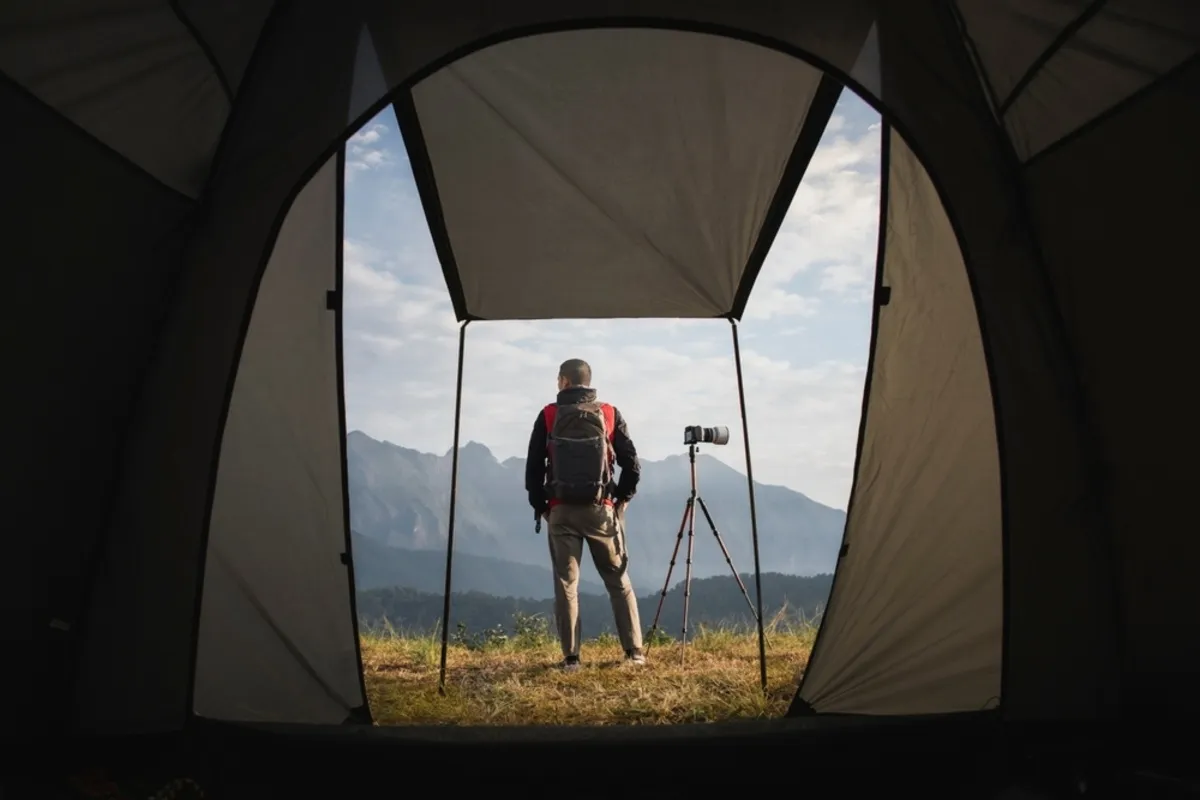
Good preparation is particularly important in mountain environments. Conditions can change quickly, and photography equipment is only one part of the preparation.
Before leaving, consider:
- Weather and mountain conditions
- Sunrise and sunset times
- The route and expected hiking time
- Battery capacity and spare batteries
- Memory cards
- A tripod if long exposures are planned
- Appropriate clothing and footwear
- Water and food
- Navigation and communication equipment
- Protection for your camera and other electronics
Cold temperatures can reduce battery performance, so carrying spare batteries and keeping them insulated can be useful.
Most importantly, treat mountain safety as a priority. Do not take unnecessary risks to reach a better viewpoint or photograph a dramatic composition. If you are unfamiliar with the terrain, local guides and official park or mountain authorities can provide much more useful information than a photography checklist alone.
Hidden Mountain Photography Tips
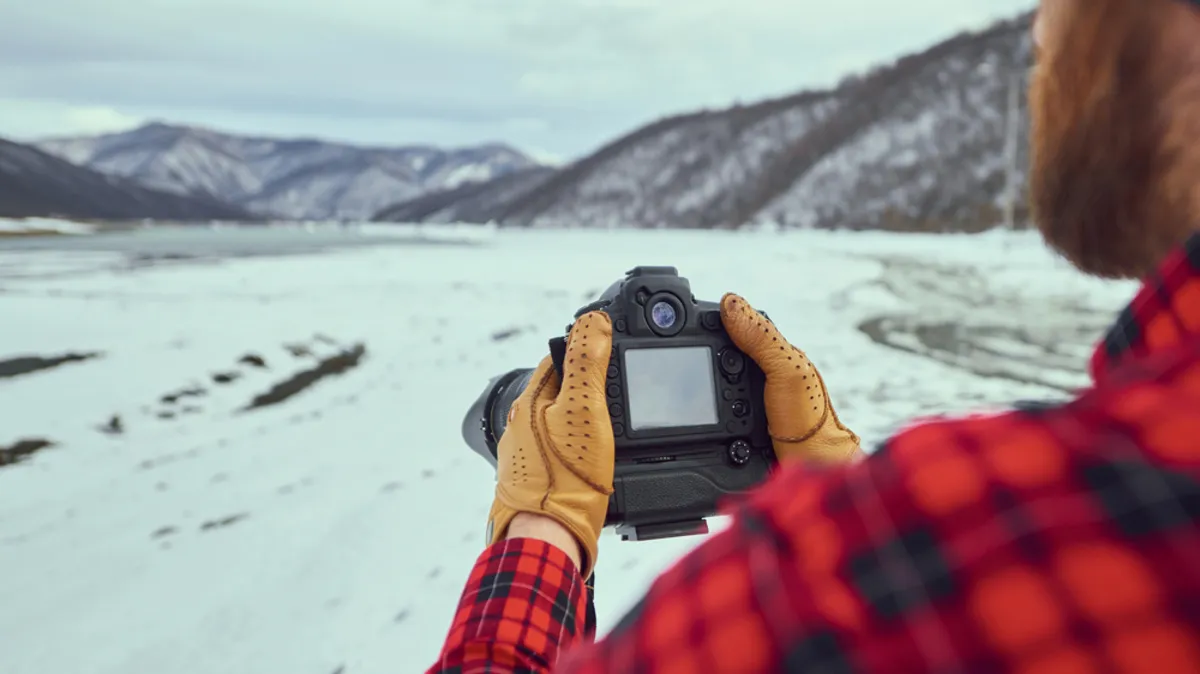
Mountain photography often means working in conditions that are less predictable than those found in a studio or city.
Protect Your Hands and Equipment
Cold weather can make camera controls difficult to operate. Gloves that allow you to access buttons and dials without exposing your hands completely can make shooting more comfortable.
Your camera can also be exposed to rain, snow, dust, and condensation. Use an appropriate weather cover or protective bag when conditions require it.
Use a Polarizing Filter Selectively
A polarizing filter can be useful for reducing reflections from water, leaves, and other non-metallic surfaces. It can also affect the appearance of the sky.
However, the effect depends on the angle of the camera relative to the sun. With very wide-angle lenses, polarization can become uneven across the sky, so check the result carefully.
Consider a Graduated ND Filter
A graduated neutral density filter can help when the sky is significantly brighter than the foreground. The darker portion of the filter reduces the brightness of the sky while allowing more light through to the landscape.
Modern RAW workflows and exposure blending can provide alternative ways to handle difficult dynamic range, so a graduated filter is useful but not mandatory.
Make the Mountains Look Larger Through Composition
If you want a mountain to feel imposing, do not simply rely on digital enlargement.
Place a recognizable foreground subject near the camera and position the mountain farther behind it. A person, tree, rock, or building can provide scale and make the relationship between foreground and background more apparent.
Your choice of focal length also changes the visual relationship between elements. Wide-angle lenses can exaggerate the size of nearby objects, while telephoto lenses can visually compress layers of distant mountains.
Editing Mountain Photos with Luminar
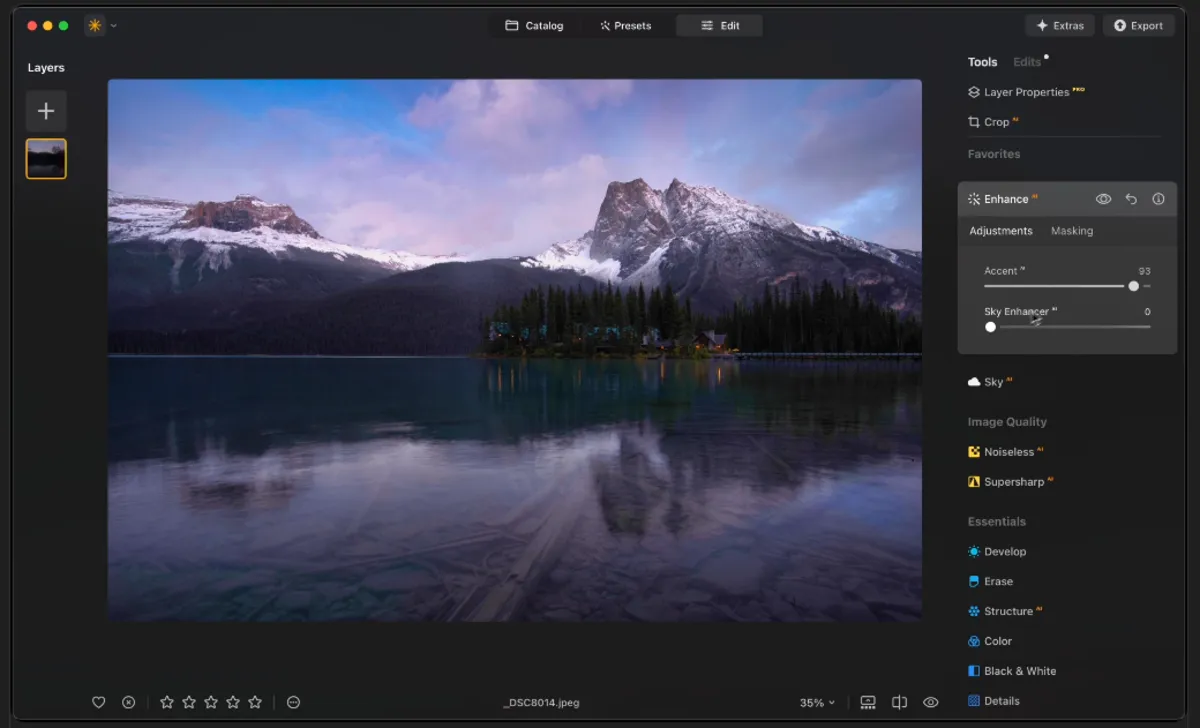
Even a well-composed mountain photograph may need some adjustment after the shoot. Atmospheric haze, uneven exposure, lens distortion, and distracting objects can affect the final image.
Luminar offers tools that can help refine these aspects of a landscape photograph. Its RAW editing workflow supports exposure and color adjustments, while its lens correction tools can address optical distortion and chromatic aberration.
Start with fundamental corrections:
- Adjust exposure if the overall image is too bright or dark.
- Correct white balance if the scene has an unwanted color cast.
- Recover highlights and open shadows where appropriate.
- Refine contrast without crushing important shadow detail.
- Adjust color selectively rather than simply increasing global saturation.
- Apply lens corrections when distortion or chromatic aberration is visible.
- Use sharpening and noise reduction according to the final output size.
For distant mountain ranges, atmospheric haze can reduce contrast and make peaks appear washed out. Luminar’s Landscape tools include a Dehaze adjustment that can help restore contrast and definition.
Luminar also supports more advanced landscape workflows such as HDR Merge, Panorama Stitching, Focus Stacking, and image-quality tools. These can be useful when a single exposure or frame cannot capture the entire range of detail you want.
Be Careful with Creative AI Editing
Creative tools can dramatically change a landscape. Sky replacement, generative object replacement, and other scene-altering effects can be useful for conceptual photography, but they should not be presented as faithful documentation of the original scene.
If accuracy matters, keep edits focused on exposure, color, contrast, detail, and corrections rather than changing the fundamental content of the landscape.
Your AI-Powered Photo Editor for MacOS and Windows
Conclusion
Successful mountain photography starts long before you press the shutter. Choose your viewpoint carefully, look for foreground elements, pay attention to changing light, and select camera settings according to the conditions rather than relying on a fixed formula.
Wide-angle lenses can reveal the scale of an entire landscape, while telephoto lenses can turn distant ridges and peaks into graphic compositions. Once you return home, careful editing can refine exposure, color, haze, and lens issues without replacing the decisions you made in the field.
With thoughtful composition and preparation, even a familiar mountain range can provide countless different photographs. Luminar can then help you refine those images and bring out the details, atmosphere, and color that made you stop and take the photograph in the first place.
Frequently Asked Questions
There is no single best setting, but f/8–f/11, low ISO, and a shutter speed appropriate for the scene are useful starting points for many daytime landscapes. Adjust them according to light, movement, and depth of field.
A wide-angle lens is useful for expansive landscapes, while a telephoto lens is excellent for isolating peaks and compressing distant mountain layers. A standard zoom offers a flexible compromise for travel.
A tripod is useful for long exposures, HDR or exposure blending, focus stacking, and night photography. It is not necessary for every daytime landscape, especially when the light allows you to shoot handheld at a sufficiently fast shutter speed.
Yes. A polarizer can reduce reflections from water and foliage and can affect the appearance of blue skies. Its effect depends on the angle of the light, so it should be used selectively.
Include a nearby foreground subject that provides scale, such as a person, tree, rock, or building. Your viewpoint and focal length also influence how large and imposing the mountains appear.