Learn wildlife photography essentials, from camera settings and lens choice to animal behavior, composition, and capturing sharp shots.
Wildlife photography is unpredictable by nature. You cannot direct an animal, repeat a behavior on demand, or guarantee that the light will stay the same.
The best wildlife photographs come from understanding animal behavior, anticipating movement, choosing the right settings, and being patient enough to wait for the right moment.
Whether you’re photographing birds in your local park or planning a safari, these wildlife photography tips will help you prepare, work safely, and make the most of every opportunity.
Don’t feel like reading the whole breakdown? We’ve pulled together a quick summary below.
Key Takeaways
- Learn your subject’s behavior, habitat, and active periods before you start shooting.
- Use a telephoto lens when you need to keep a safe distance from wildlife, but don’t overlook wider focal lengths for environmental images.
- Choose shutter speed based on the animal’s movement rather than following one fixed setting.
- Use continuous autofocus and burst shooting when your camera and subject benefit from them.
- Get as close to eye level as safety and the environment allow to create a stronger connection with the subject.
- Leave space in front of an animal’s gaze or movement to make the composition feel more natural.
- Protect yourself and your equipment from weather, dust, water, and challenging terrain.
- During post-processing, prioritize natural color, controlled contrast, detail, and accurate representation of the animal and its environment.
What Is Wildlife Photography?
Wildlife photography is the practice of photographing wild animals in their natural or semi-natural environments. It combines elements of nature photography, documentary photography, and action photography.
Unlike a studio portrait, wildlife photography offers very little control over the subject. An animal may disappear into vegetation, change direction without warning, or behave differently from what you expected. Weather and lighting can change just as quickly.
That unpredictability is one of the main challenges — and attractions — of the genre.
You don’t necessarily need the most expensive camera or the longest lens to get started. More important are your knowledge of the subject, familiarity with your equipment, patience, and ability to react quickly.
For beginners, accessible locations such as parks, nature reserves, and birding areas can be excellent places to practice before photographing wildlife in more demanding environments.
Exclusive Tools of Endless Possibilities in One Editor
Choosing a Wildlife Camera
There is no single “best wildlife camera.” A suitable camera should give you fast and reliable autofocus, a responsive burst mode, good high-ISO performance, and controls that you can operate quickly.
Both mirrorless and DSLR cameras can be used for wildlife photography. Modern mirrorless cameras can offer particularly useful features such as animal-subject detection, electronic viewfinders, and fast continuous shooting, although the exact capabilities vary by model.
What to look for in a wildlife camera
| Feature | Why it matters |
| Fast autofocus | Helps track animals that move unpredictably |
| Animal or subject detection | Can make focusing easier when supported by the camera |
| Continuous shooting | Increases your chances of capturing a peak moment |
| Good high-ISO performance | Useful when light is limited and you need faster shutter speeds |
| Weather resistance | Helpful when working outdoors in changing conditions |
| Comfortable controls | Lets you change settings without taking your eye away from the subject |
| Long battery life | Important during long sessions in the field |
You don’t need to buy a professional camera immediately. A camera that you already know well can be more useful than an expensive model whose controls you are still learning.
Before a wildlife trip, make sure you know how to change your shutter speed, aperture, ISO, autofocus mode, focus area, and burst mode quickly.
Choosing the Right Wildlife Lens
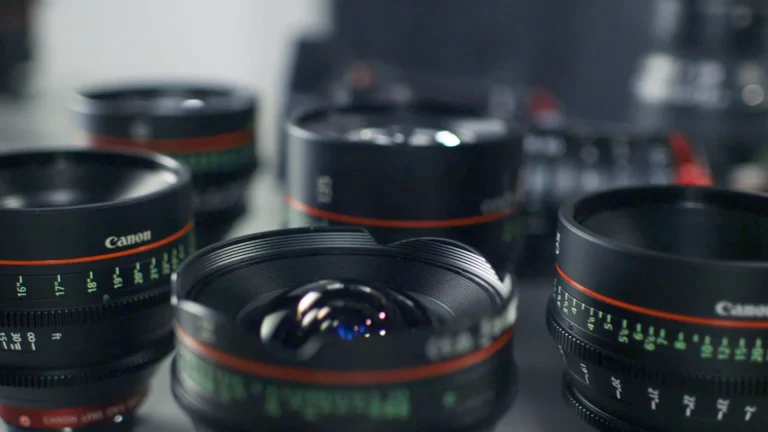
Telephoto lenses are popular for wildlife photography because they allow you to frame animals from a distance. This is important not only for composition but also for keeping a safe and respectful distance from the subject.
A telephoto zoom can be especially useful for beginners because it provides flexibility when an animal suddenly moves closer or farther away.
Telephoto vs. wide-angle lenses
A long lens isn’t the only option for wildlife photography. A wider focal length can show the animal within its environment and tell more of the story of the location.
| Lens type | Best for | Main advantage |
| Telephoto zoom | Birds, mammals, distant subjects | Flexible framing from a distance |
| Super-telephoto | Small or very distant wildlife | Greater reach |
| Standard zoom | Larger animals and environmental portraits | Versatility |
| Wide-angle | Environmental wildlife images | Shows the animal and its surroundings |
| Macro | Insects and very small subjects | Close-up detail |
A useful wildlife image doesn’t always need to show every detail of an animal’s fur or feathers. Sometimes the habitat is an important part of the photograph.
If you’re photographing small animals or insects, a macro lens can provide a completely different perspective.
Wildlife Photography Techniques
Good wildlife photography depends as much on preparation and observation as it does on camera equipment. Use these techniques to improve your chances of getting sharp, compelling images while minimizing your impact on the animals.
1. Protect Yourself and Your Camera
Wildlife photography often means spending extended periods outdoors, sometimes in rain, heat, cold, mud, dust, or snow.
Dress for the conditions and carry appropriate protection for your camera and lenses. A weather-resistant camera bag, rain cover, lens cloths, spare batteries, and protection from dust or moisture can make a long shoot much easier.
Your own safety comes first. Never approach an animal simply to get a closer photograph, and don’t allow photography to interfere with local safety rules or wildlife regulations.
2. Use the Right Camera Settings
There is no universal set of wildlife photography settings. Your choices should depend on the animal’s movement, available light, lens, and the effect you want to create.
Shutter speed
Shutter speed is especially important when photographing moving animals.
For a stationary subject, a relatively slow shutter speed may be sufficient. For running animals, flying birds, or other fast movement, you’ll usually need a much faster shutter speed.
As a starting point:
- Around 1/500 sec can work for slower movement.
- Around 1/1000 sec is a useful starting point for many active subjects.
- 1/2000 sec or faster may be useful for very fast action, such as birds in flight.
These are starting points, not rules. If your subject is moving slowly and your lens has stabilization, you may be able to use a slower shutter speed. If you want to freeze extremely rapid wing or body movement, you may need a faster one.
Aperture
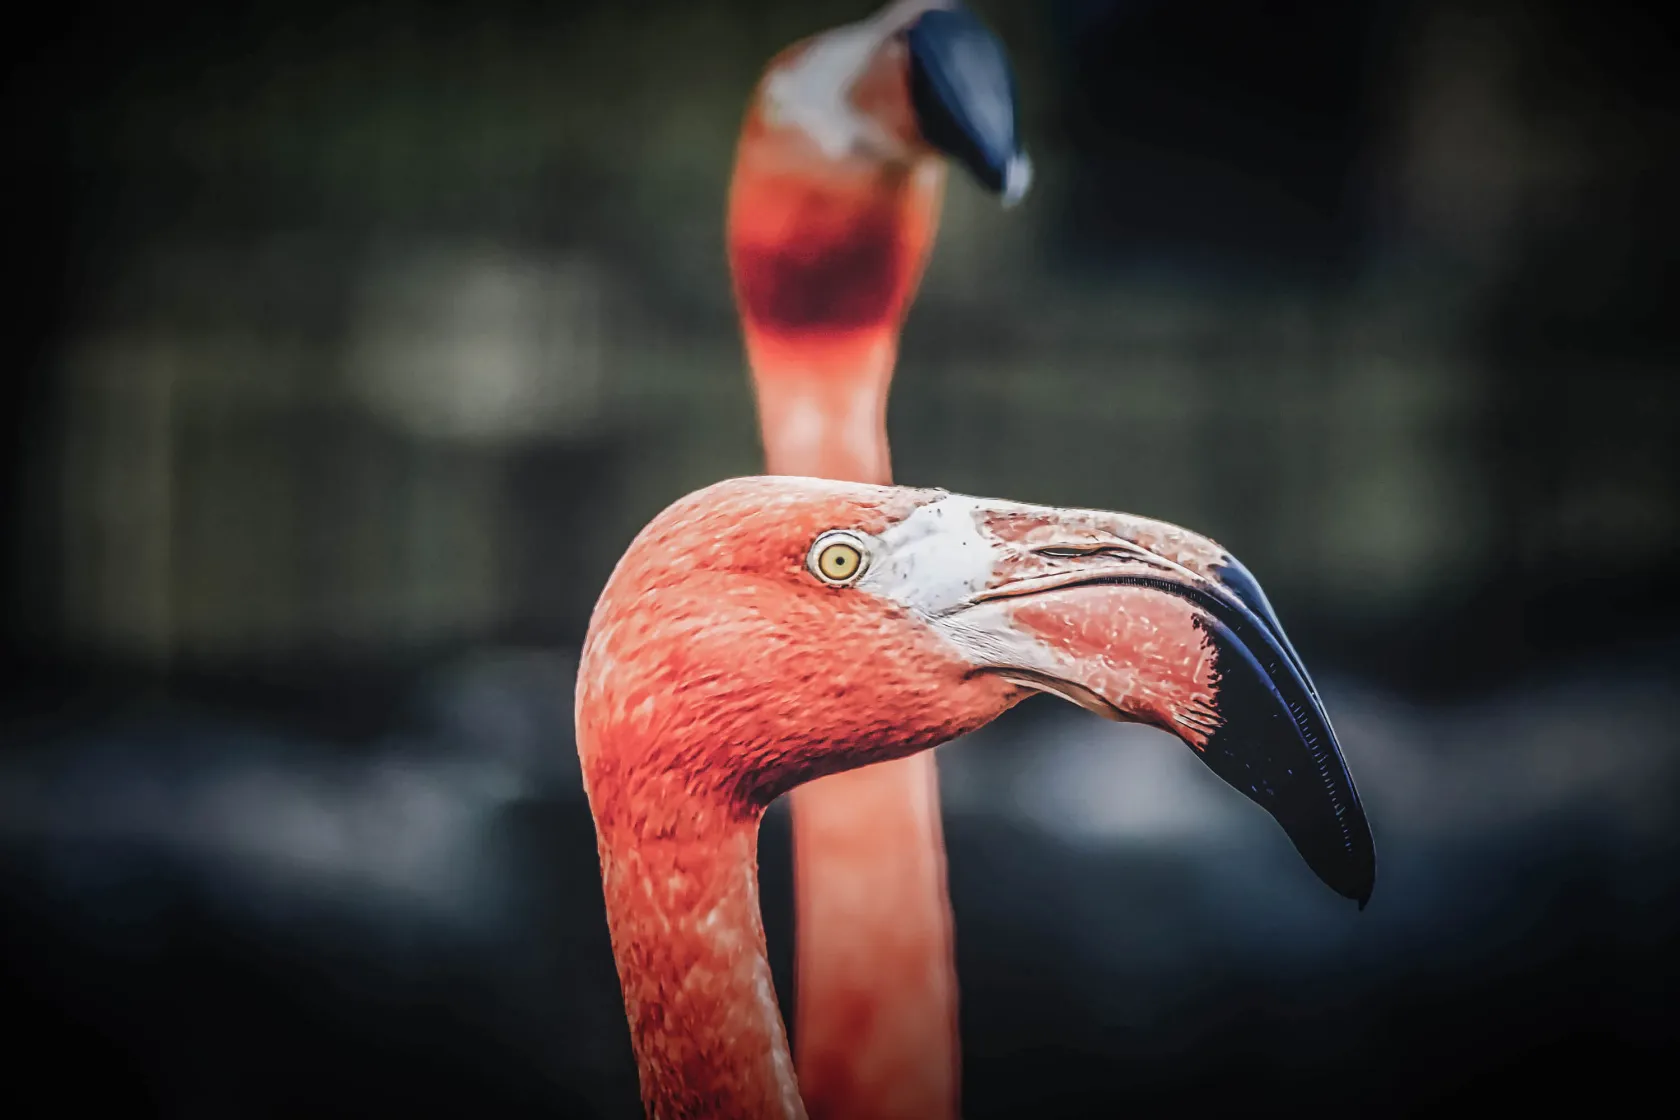
A wide aperture can help separate an animal from a distracting background and can be particularly useful in low light.
However, don’t automatically use the widest aperture available. Wildlife may move toward or away from you, and a slightly narrower aperture can give you more depth of field when you need both eyes, the face, or more of the body to remain sharp.
ISO
Keep ISO as low as practical, but don’t be afraid to raise it when necessary.
A common mistake is protecting ISO at all costs and ending up with motion blur because the shutter speed is too slow. A moderately noisy but sharp photograph is often more useful than a clean but blurred one.
Modern cameras can perform well at higher ISO settings, but the acceptable level depends on the camera, lighting, exposure, and intended output.
Autofocus
Continuous autofocus is often useful for moving wildlife because the camera can continuously adjust focus as the subject changes position.
If your camera offers animal or bird detection, test it before your trip and learn when it works well and when a more traditional focus area gives you greater control.
Burst mode
Continuous shooting can help when an animal is moving, jumping, flying, interacting with another animal, or changing its expression.
However, don’t rely on holding the shutter continuously. Anticipate the action and shoot short bursts when the important moment is likely to happen. This also makes it easier to manage your files later.
3. Use a Tripod or Monopod When It Helps
A tripod isn’t essential for every wildlife photographer. Handheld shooting can be more practical when you need to move quickly or follow an unpredictable subject.
A tripod or monopod can be useful when working with a heavy telephoto lens for long periods. The choice of support and head depends on the weight of your equipment and how quickly you need to reposition the camera.
For some setups, a gimbal-style head can make it easier to balance and smoothly move a large telephoto lens. A monopod can provide support while remaining relatively mobile.
If your camera or lens has optical or sensor stabilization, understand how its stabilization system behaves when the camera is mounted on a tripod or other support.
4. Learn the Animals You Photograph
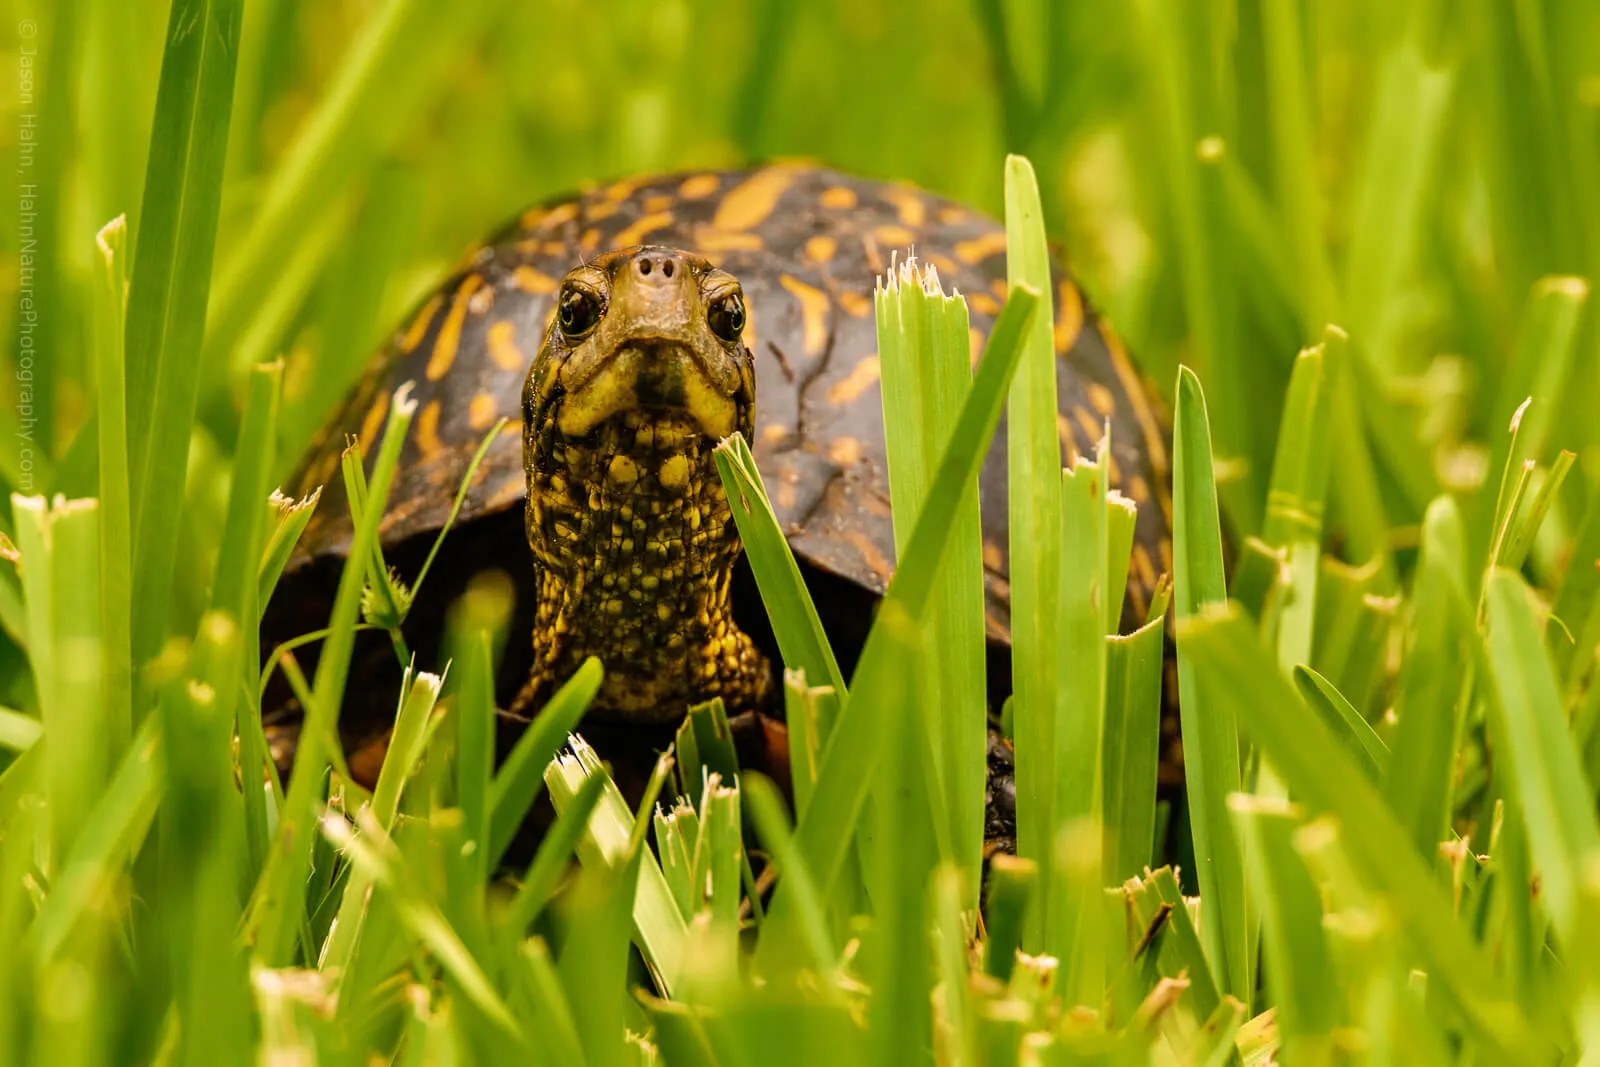
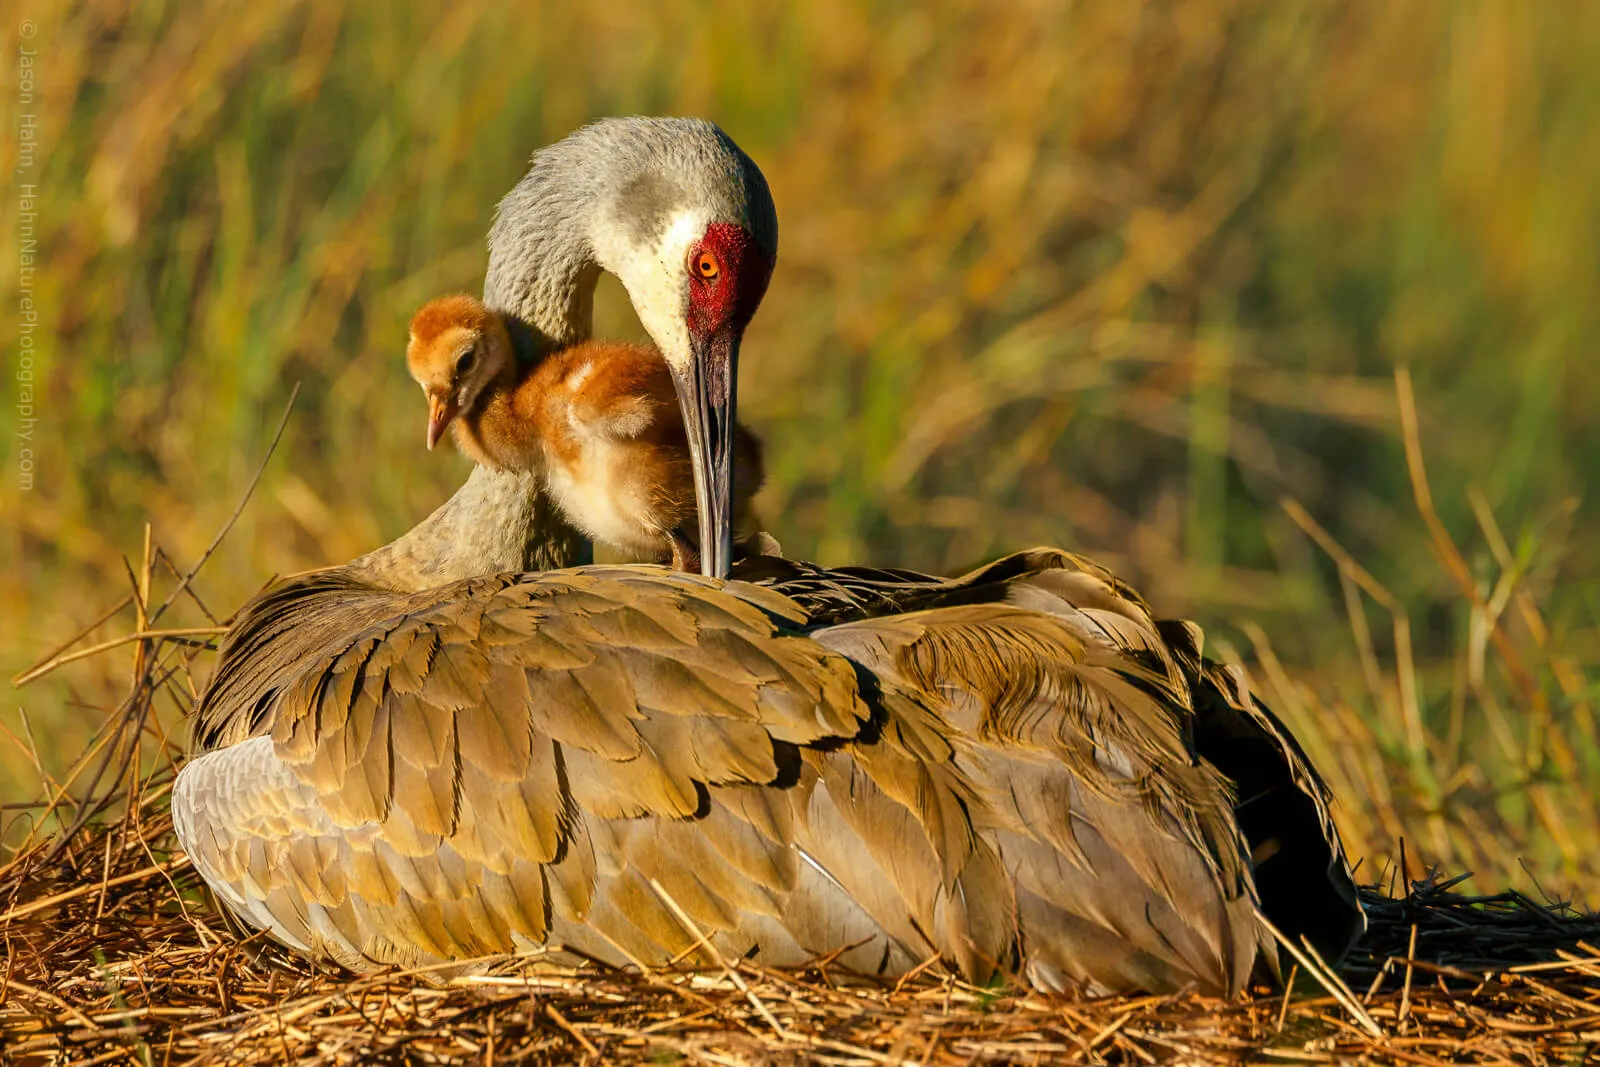
One of the most valuable wildlife photography skills is understanding animal behavior.
Before heading into the field, research:
- Where the species normally lives
- When it is most active
- What it eats
- How it moves
- What behaviors may signal that it is uncomfortable
- Where it is likely to rest or feed
- How weather and seasons affect its behavior
You don’t need to predict every action. Even a basic understanding of your subject can help you anticipate what might happen next.
Learning from experienced wildlife photographers, guides, naturalists, and local conservation organizations can also help you understand how to observe animals without disturbing them.
Elevate Your Photography with Our Advanced Software
5. Practice Before Photographing Difficult Subjects
Wildlife photography rewards familiarity with your camera.
You can practice tracking and focusing on moving subjects without traveling to an exotic destination. Birds in local parks, squirrels, pets, dogs running, or sporting events can all help you learn how your autofocus and burst shooting behave.
Practice changing settings without taking your eye away from the viewfinder. You should eventually be able to adjust shutter speed, ISO, aperture, and focus settings quickly enough that you can keep watching the subject.
The goal isn’t to take hundreds of random frames. It’s to learn how your equipment responds so you can react when an important moment happens.
6. Get Low When It Is Safe
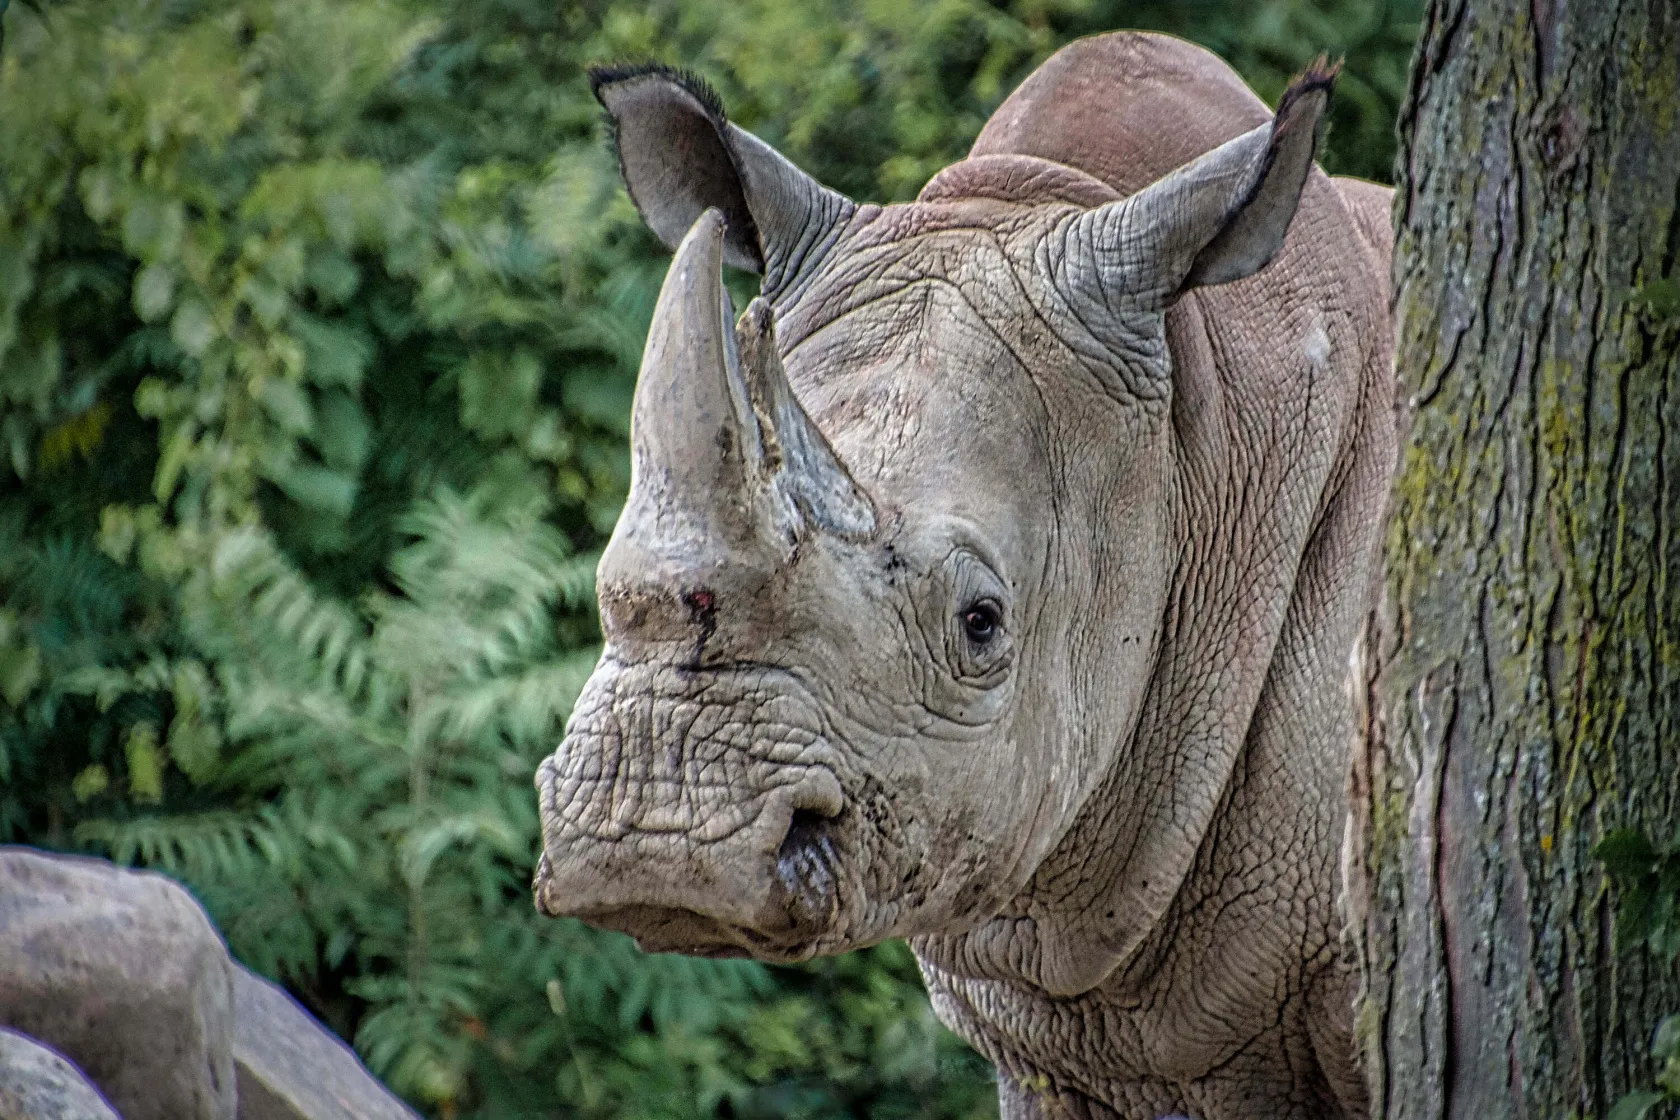
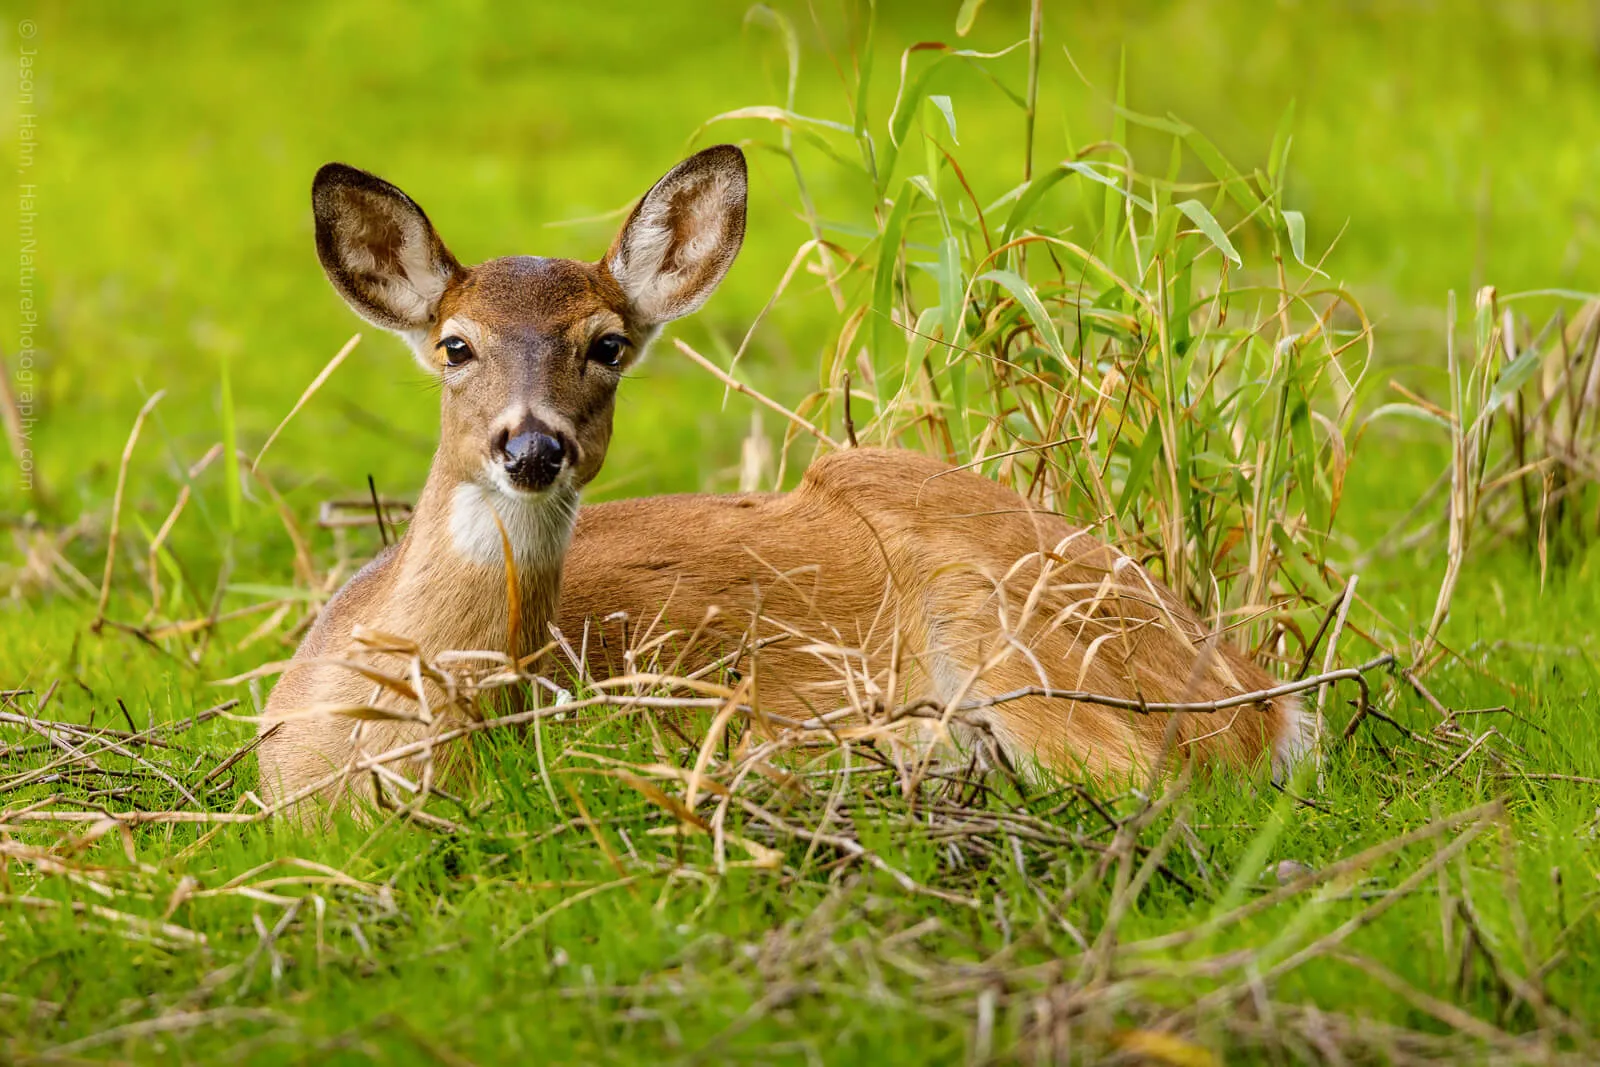
Photographing an animal from its eye level can create a more intimate and immersive image. A lower camera position can also reduce distracting foreground and background elements.
However, never get lower or closer if doing so puts you, the animal, or other people at risk.
If the location and situation are safe, try changing your position rather than simply zooming in. Even moving a small distance can dramatically change the relationship between the subject and its background.
Avoid making sudden movements or deliberately attracting an animal’s attention. The best opportunities often come from observing quietly and allowing natural behavior to unfold.
7. Use Composition to Tell a Story
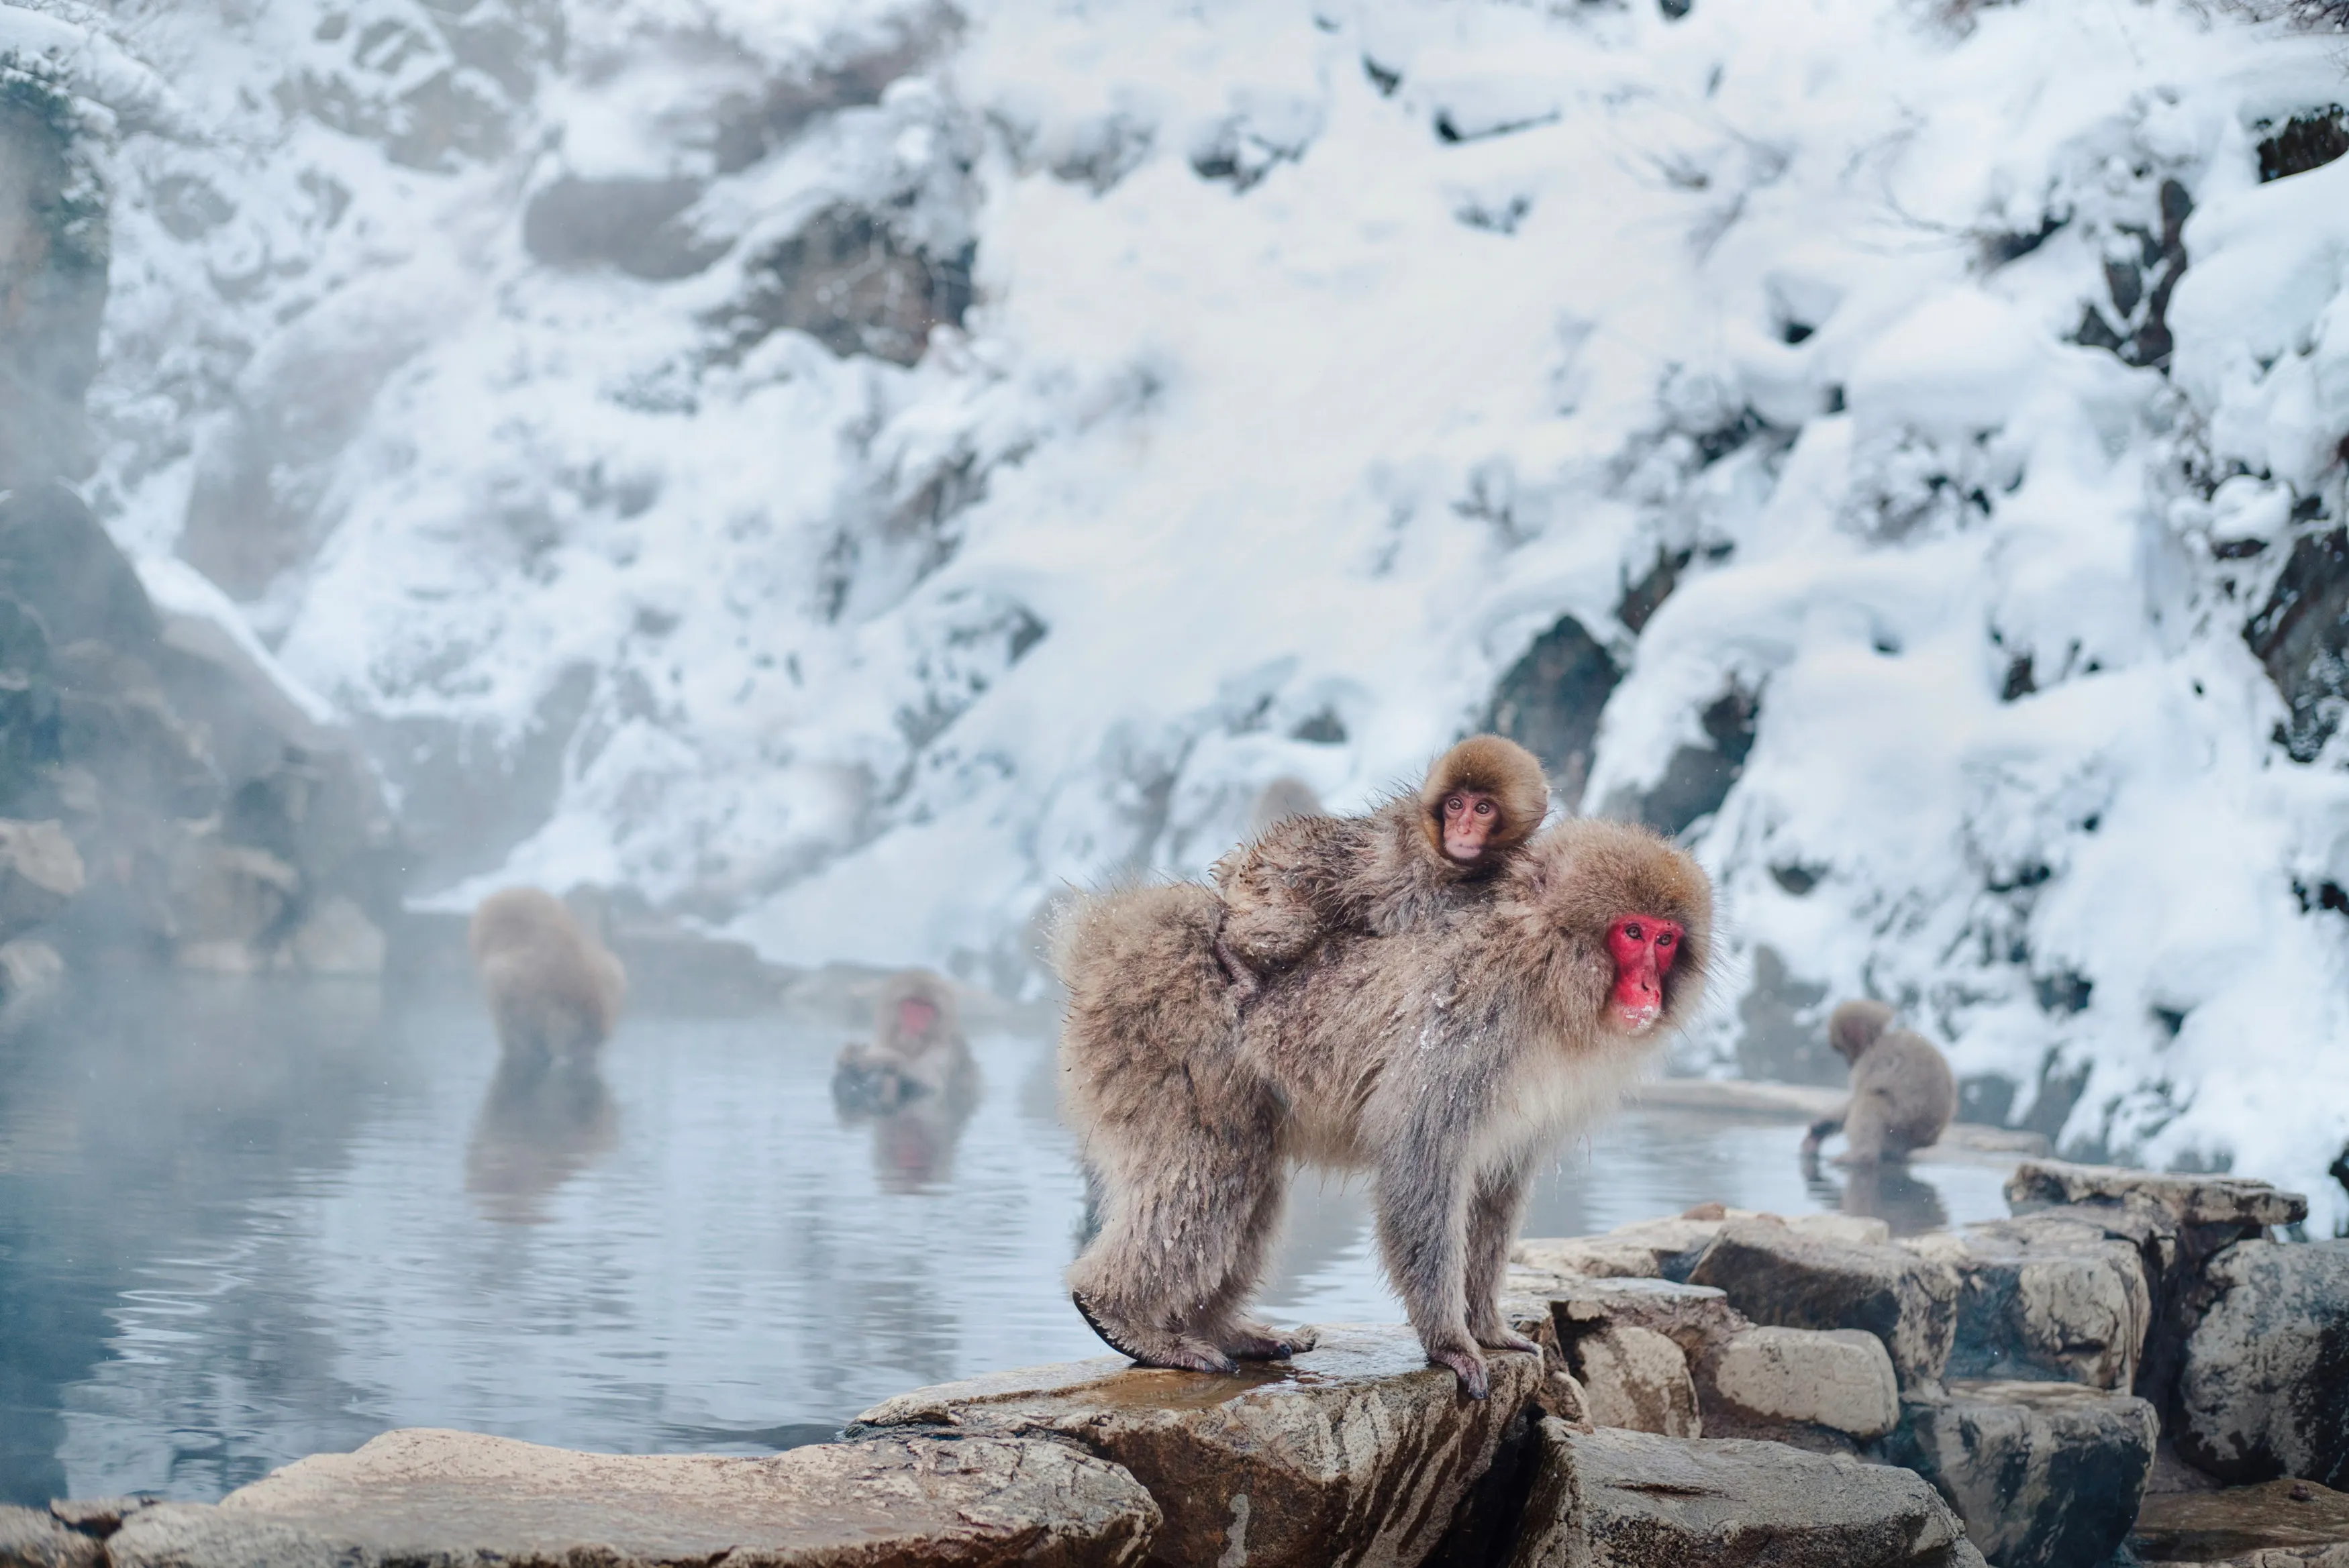
Wildlife composition isn’t limited to placing an animal in the center of the frame.
Give the animal room to look or move
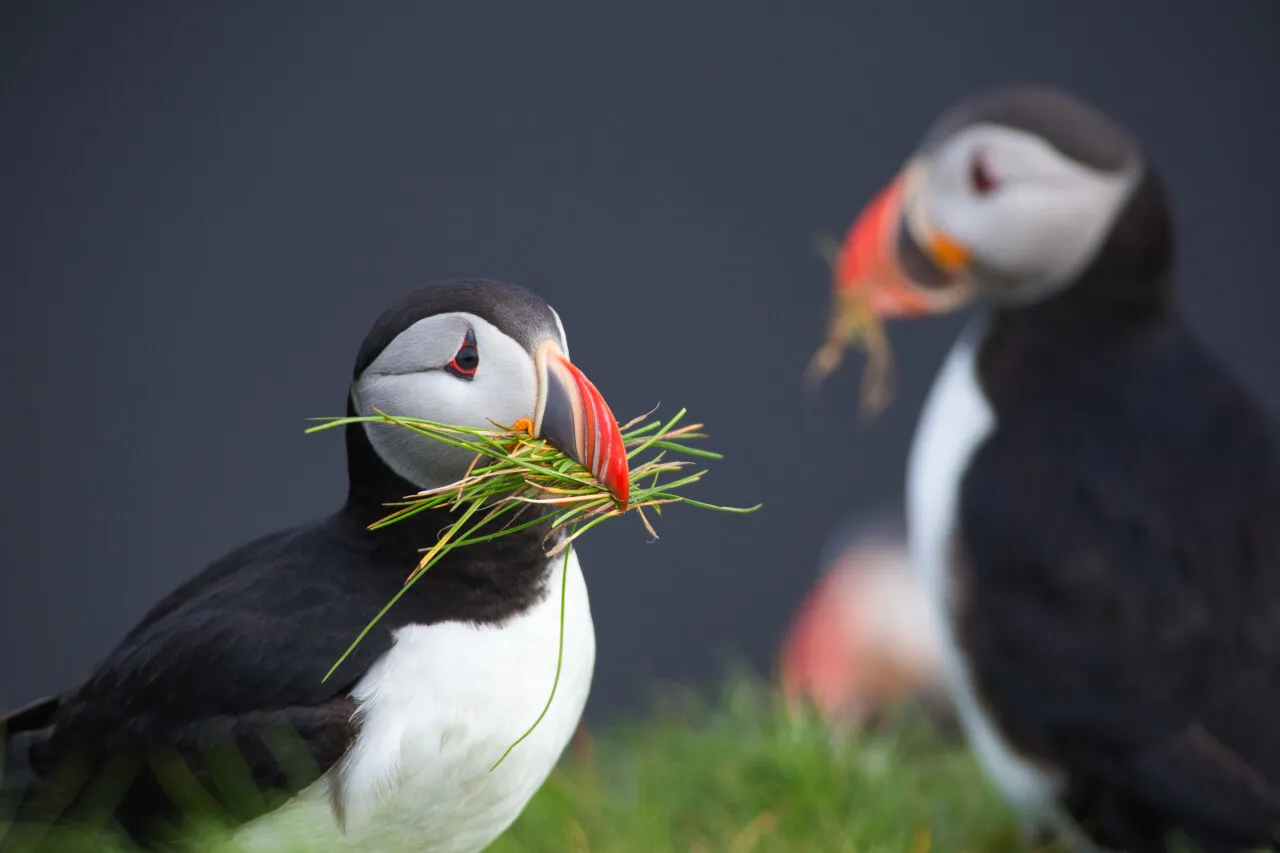
If a bird is looking toward the right side of the frame, leaving some space in that direction can make the composition feel more natural.
The same principle applies to movement. If an animal is running toward one side of the frame, additional space ahead of it can communicate direction and momentum.
Try the rule of thirds
Placing the subject near one of the intersections of a rule-of-thirds grid can create a balanced composition. It is a useful starting point, but it isn’t a requirement.
Include the environment
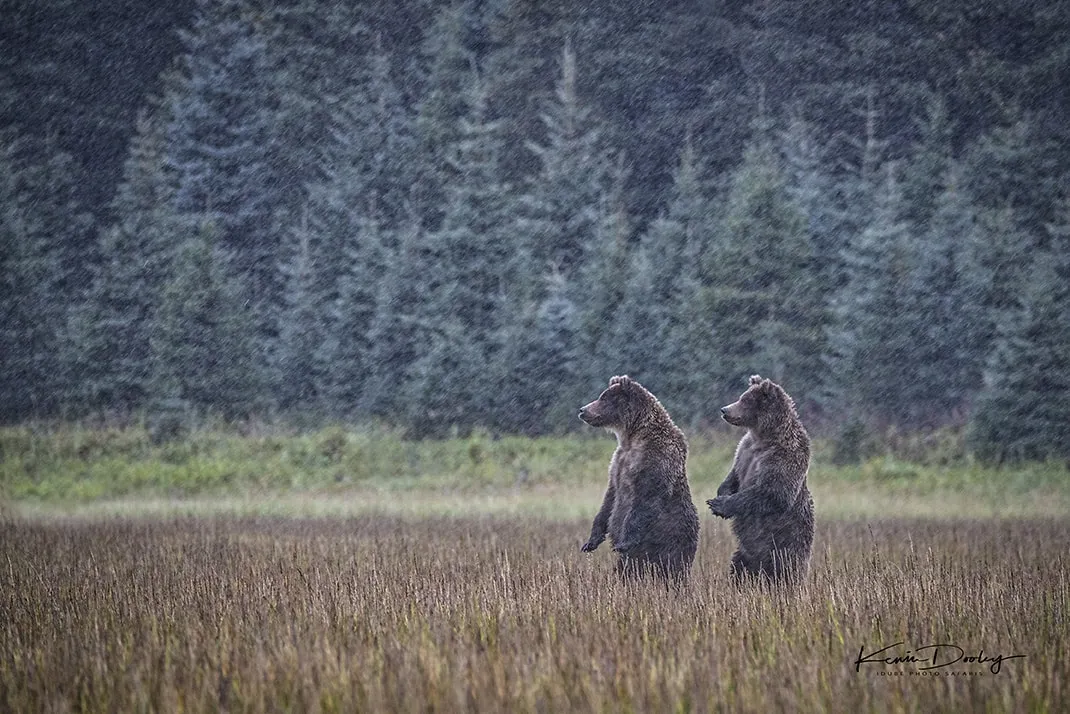
Sometimes the most interesting wildlife photographs show where the animal lives rather than isolating it completely.
Trees, mountains, water, snow, grass, or other environmental elements can provide context and help tell a more complete story.
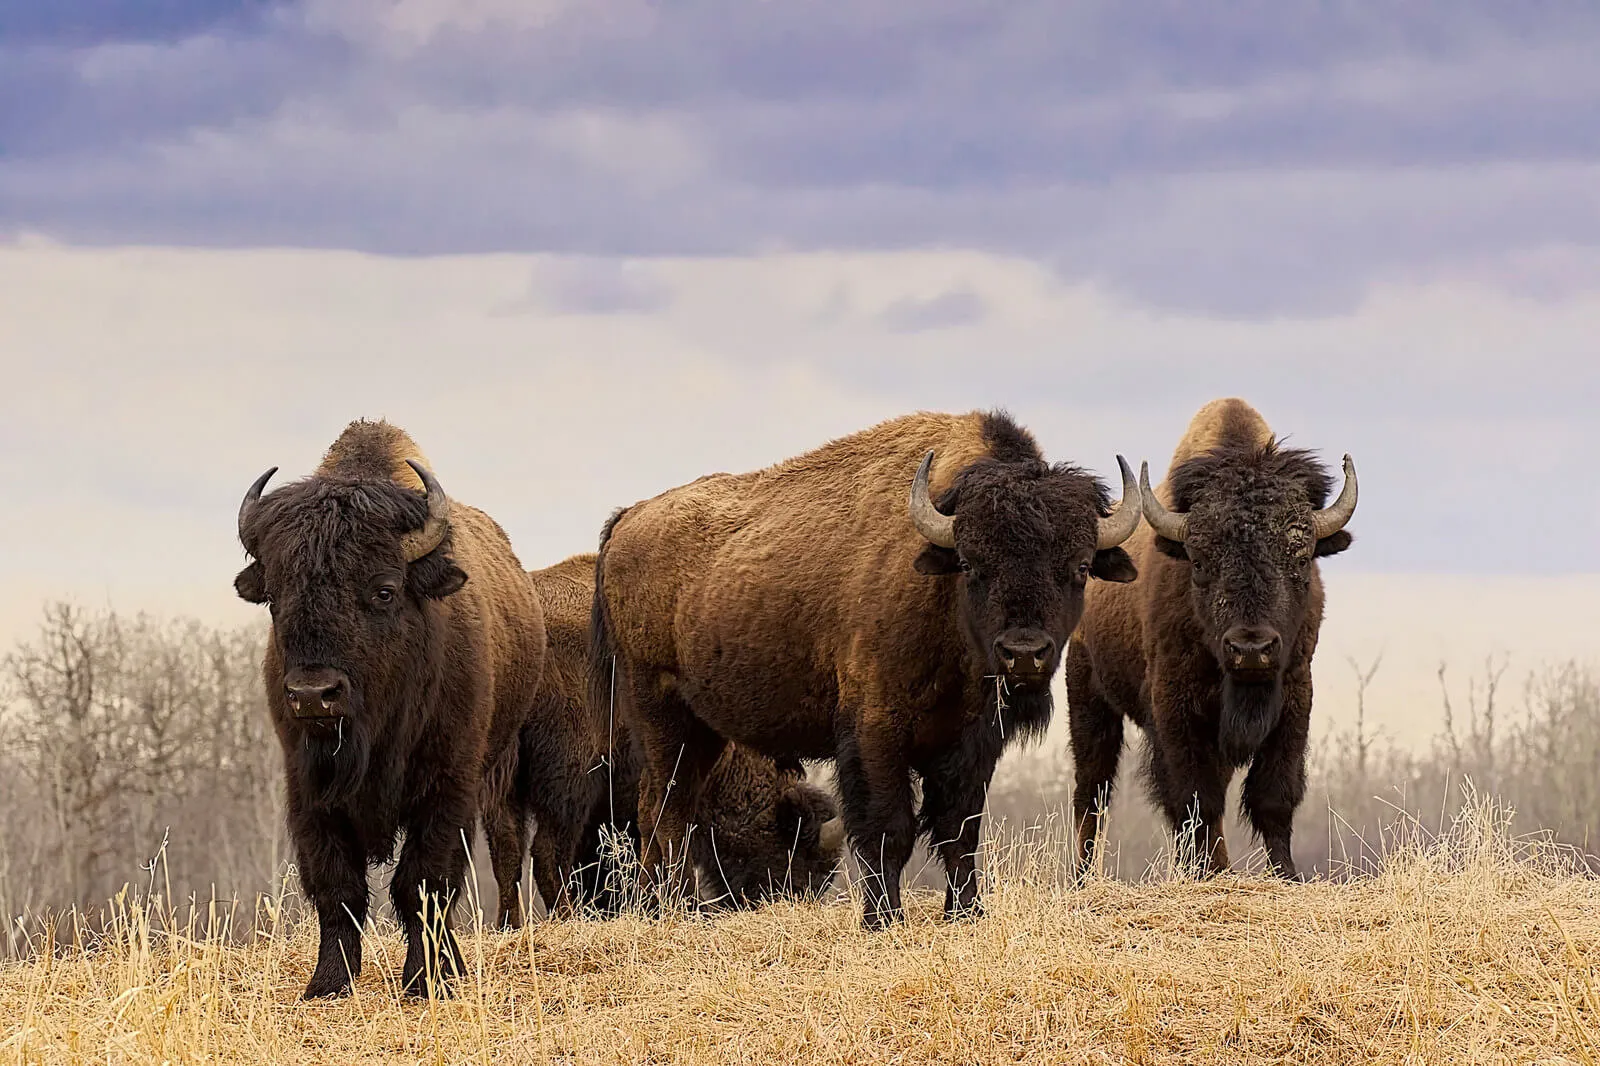
8. Stay Patient and Observe
Patience is one of the defining skills of wildlife photography.
Instead of constantly looking through the viewfinder, spend time observing the animal with your own eyes. Look for changes in posture, direction, attention, or behavior that might indicate what it will do next.
You may wait several minutes — or much longer — for the moment you want. That isn’t wasted time. Observation is part of the process.
The more familiar you become with a species, the better you’ll be at recognizing patterns and anticipating behavior.
9. Scout Your Location
A good wildlife photography location isn’t necessarily the place with the largest number of animals.
Look for locations where you can work safely and where the surroundings contribute to the photograph. Natural backgrounds, interesting light, reflections, vegetation, and open areas can all create stronger compositions.
Before setting up, check the terrain and consider how the light will change during your session.
If you’re visiting a wildlife reserve, park, or other managed area, learn the rules before you begin. Follow restrictions on access, distance, feeding, flash, drones, and other equipment.
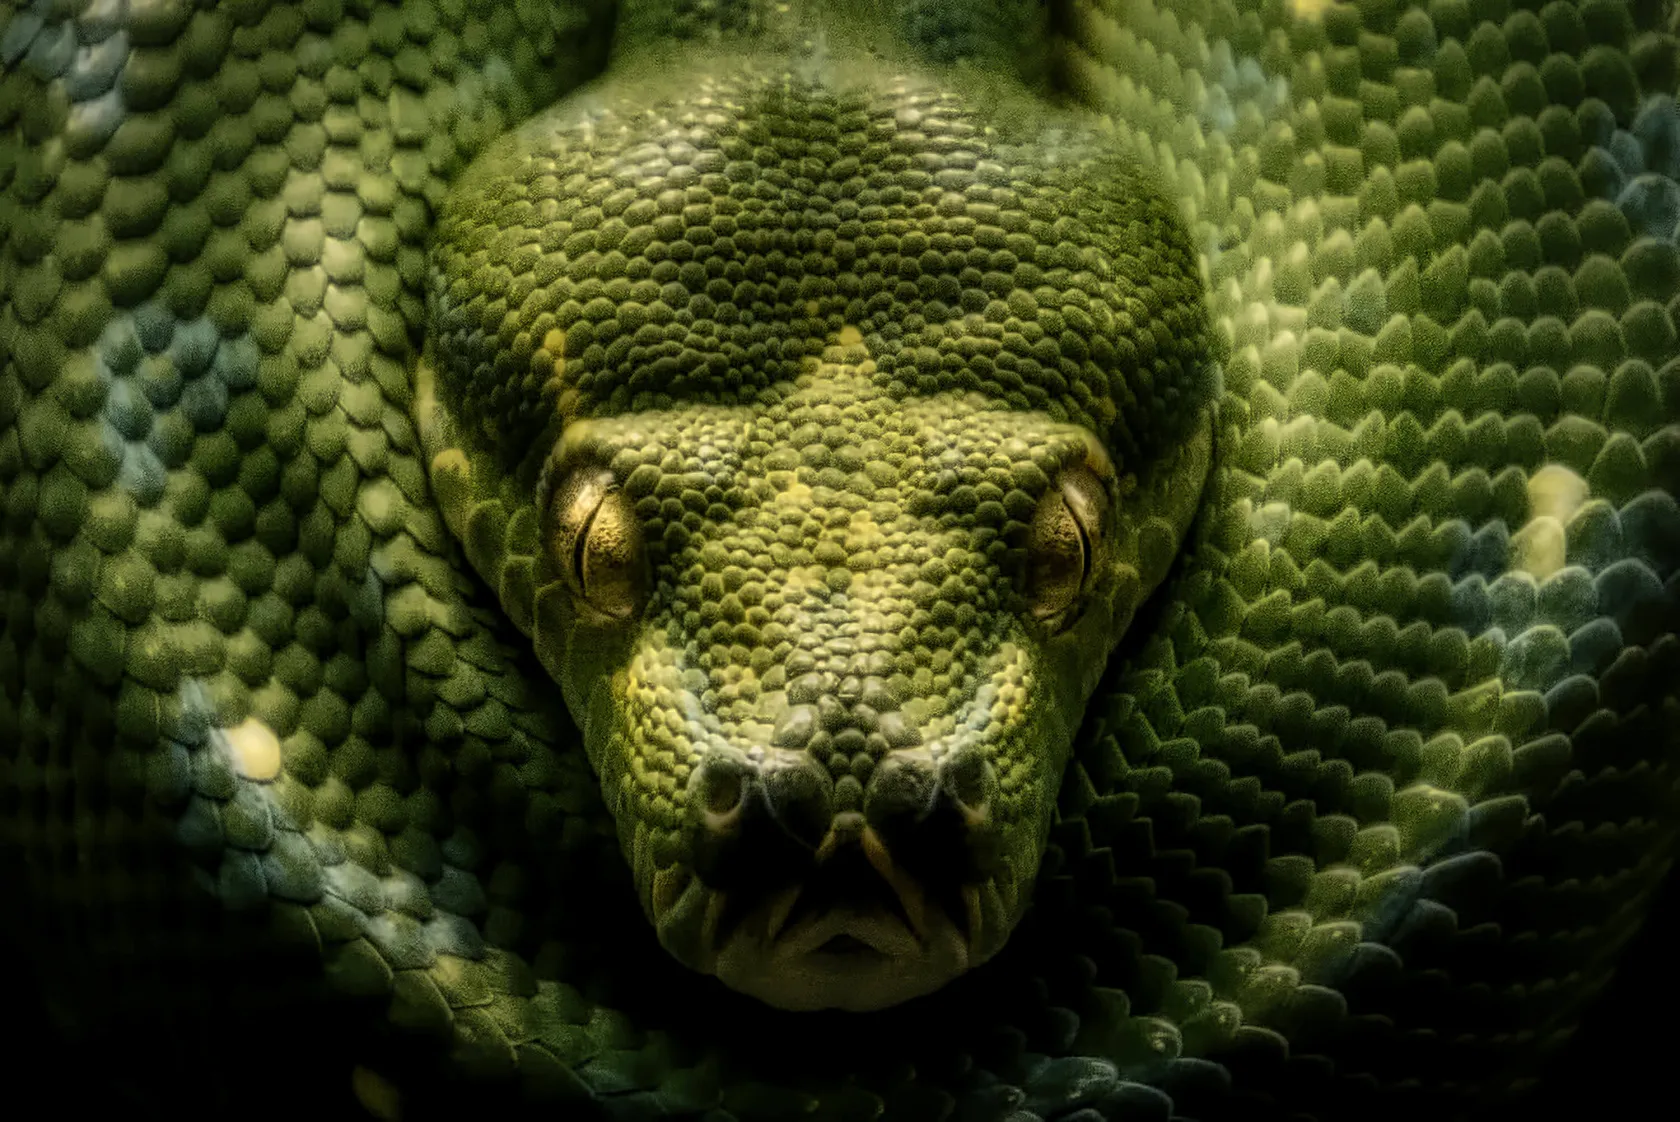
10. Put Animal Welfare First
The best wildlife photography does not come at the expense of the animal.
Never chase, corner, bait, feed, touch, or deliberately disturb wildlife to create a photograph. Don’t use sounds or gestures to force an animal to look toward the camera.
Keep an appropriate distance and follow local regulations and guidance from park staff or conservation organizations.
If an animal shows signs of stress, increase your distance or stop photographing. A missed photograph is always better than disturbing wildlife.
Post-Processing Tips for Wildlife Photos
Editing can help you correct exposure, improve color, control distractions, and emphasize details that were already present in the original photograph.
The key is restraint. Wildlife photography often benefits from natural-looking adjustments that preserve the animal’s appearance and the character of its environment.
Luminar can be useful for this stage of the workflow. Its current tools include Enhance AI, Masking, Erase, Composition AI, and image-quality tools such as Noiseless AI and Supersharp AI.
Start with exposure and color
Begin by checking exposure and white balance. Correct any obvious color cast before making creative adjustments.
If the animal is too dark against a brighter background, selective adjustments can help you balance the subject and surroundings without changing the entire photograph.

Improve overall tone with Enhance AI
Enhance AI can provide a starting point for adjusting light, contrast, color, and detail with a single control. You can then fine-tune the result rather than relying on an automatic adjustment as the final step.
For wildlife images, use a light touch. Excessive contrast, saturation, or clarity can make fur, feathers, and other fine textures look unnatural.

Sharpen important details
Wildlife photographs often contain fine detail in eyes, feathers, fur, scales, or whiskers.
Tools such as Supersharp AI can be useful when an image has mild softness caused by movement, missed focus, or camera shake. However, sharpening cannot reliably recover detail that was never captured in the original file.
Apply sharpening selectively when possible rather than making the entire frame extremely crisp.

Reduce distracting elements
If a small object in the background distracts from the animal, a removal tool can sometimes help clean up the composition.
Luminar’s Erase tool is designed to remove unwanted objects or details while generating replacement texture from the surrounding area.
For documentary or conservation photography, however, be careful with object removal. If the purpose of the photograph is to accurately represent a real scene, substantial alterations should be avoided or clearly disclosed.

Be careful with generative editing
Generative tools can alter or add visual information. That can be useful for creative photography, but it changes the relationship between the image and the original scene.
For wildlife documentary work, conservation projects, competitions with strict editing rules, or journalistic photography, check the applicable guidelines before using generative tools.
For a natural wildlife image, prioritize adjustments that improve the original photograph rather than changing what was actually there.
Discover AI's Power in Wildlife Photography
Wildlife Photography: Common Mistakes to Avoid
| Mistake | Better approach |
| Using the longest lens possible in every situation | Choose a focal length that suits the subject and story |
| Keeping ISO low even when the subject is moving | Raise ISO when necessary to maintain a useful shutter speed |
| Using one fixed shutter speed for every animal | Adjust shutter speed according to movement |
| Getting too close for a better frame | Use your lens and wait for natural opportunities |
| Constantly checking the camera screen | Observe the animal and anticipate behavior |
| Over-sharpening fur or feathers | Apply controlled, selective sharpening |
| Over-saturating colors | Preserve realistic color and natural contrast |
| Using editing to disguise a missed photograph | Treat editing as refinement, not a replacement for good capture |
| Disturbing an animal to get its attention | Wait for natural behavior |
| Ignoring local rules | Check regulations before photographing |
Conclusion
Great wildlife photography starts long before you press the shutter. Learn your subject, prepare your equipment, choose settings that match the movement and light, and give yourself enough time to observe and wait.
Don’t measure success by how close you can get to an animal or how expensive your equipment is. A strong wildlife photograph combines timing, composition, technical control, and respect for the subject. Once you’ve captured the moment, thoughtful editing in Luminar can help you refine the image while preserving what made the original encounter special.
Frequently Asked Questions
There is no single best setting, but a fast enough shutter speed to freeze the subject’s movement, continuous autofocus for moving animals, and an ISO that provides a usable exposure are good starting points.
It depends on how quickly the animal is moving. Around 1/1000 sec is a useful starting point for many active subjects, while birds in fast flight may require 1/2000 sec or faster.
A telephoto zoom is a versatile choice for many wildlife photographers because it provides reach while allowing you to adjust the composition as the animal moves. A wider lens can be better when you want to include the animal’s environment.
Not always. A tripod or monopod can be useful with heavy telephoto equipment or during long stationary sessions, while handheld shooting may be more practical when you need to move quickly.
Start with exposure and white balance, then make restrained adjustments to contrast, color, detail, and noise. In Luminar, tools such as Enhance AI, Masking, and Supersharp AI can help refine an image while giving you control over where adjustments are applied.