Light trails turn moving lights into bright lines across a photograph. Here’s how to capture them using long exposure and a few simple camera settings.
Light trails are one of the most recognizable effects of long-exposure photography. Headlights and taillights turn into bright lines, moving bicycles leave colorful streaks, and passing trains can transform into glowing paths across the frame.
But light trails aren’t limited to busy city streets. You can photograph them with cars, public transport, bicycles, handheld lights, and other moving sources. The basic idea is simple: keep the camera still and use a shutter speed long enough for a moving light source to travel through the frame.
The technique is easy to try, but getting a strong composition takes some planning. Here’s how to photograph light trails and make the most of long exposures.
Don’t feel like reading the whole breakdown? We’ve pulled together a quick summary below.
Key Takeaways
- Use a tripod and a slow shutter speed to record continuous light trails.
- Start around blue hour rather than waiting until the surroundings are completely dark.
- Keep ISO low when possible and adjust aperture and shutter speed to control exposure.
- Manual focus can be more reliable in very dark scenes.
- Use a remote shutter release or the camera’s timer to reduce camera shake.
- Look for roads, bridges, curves, intersections, and elevated viewpoints.
- Keep safety in mind and never position your equipment where it can interfere with traffic.
- Try light trails from trains, bicycles, trams, boats, or handheld light sources instead of photographing only cars.
Why Long Exposure Creates Light Trails
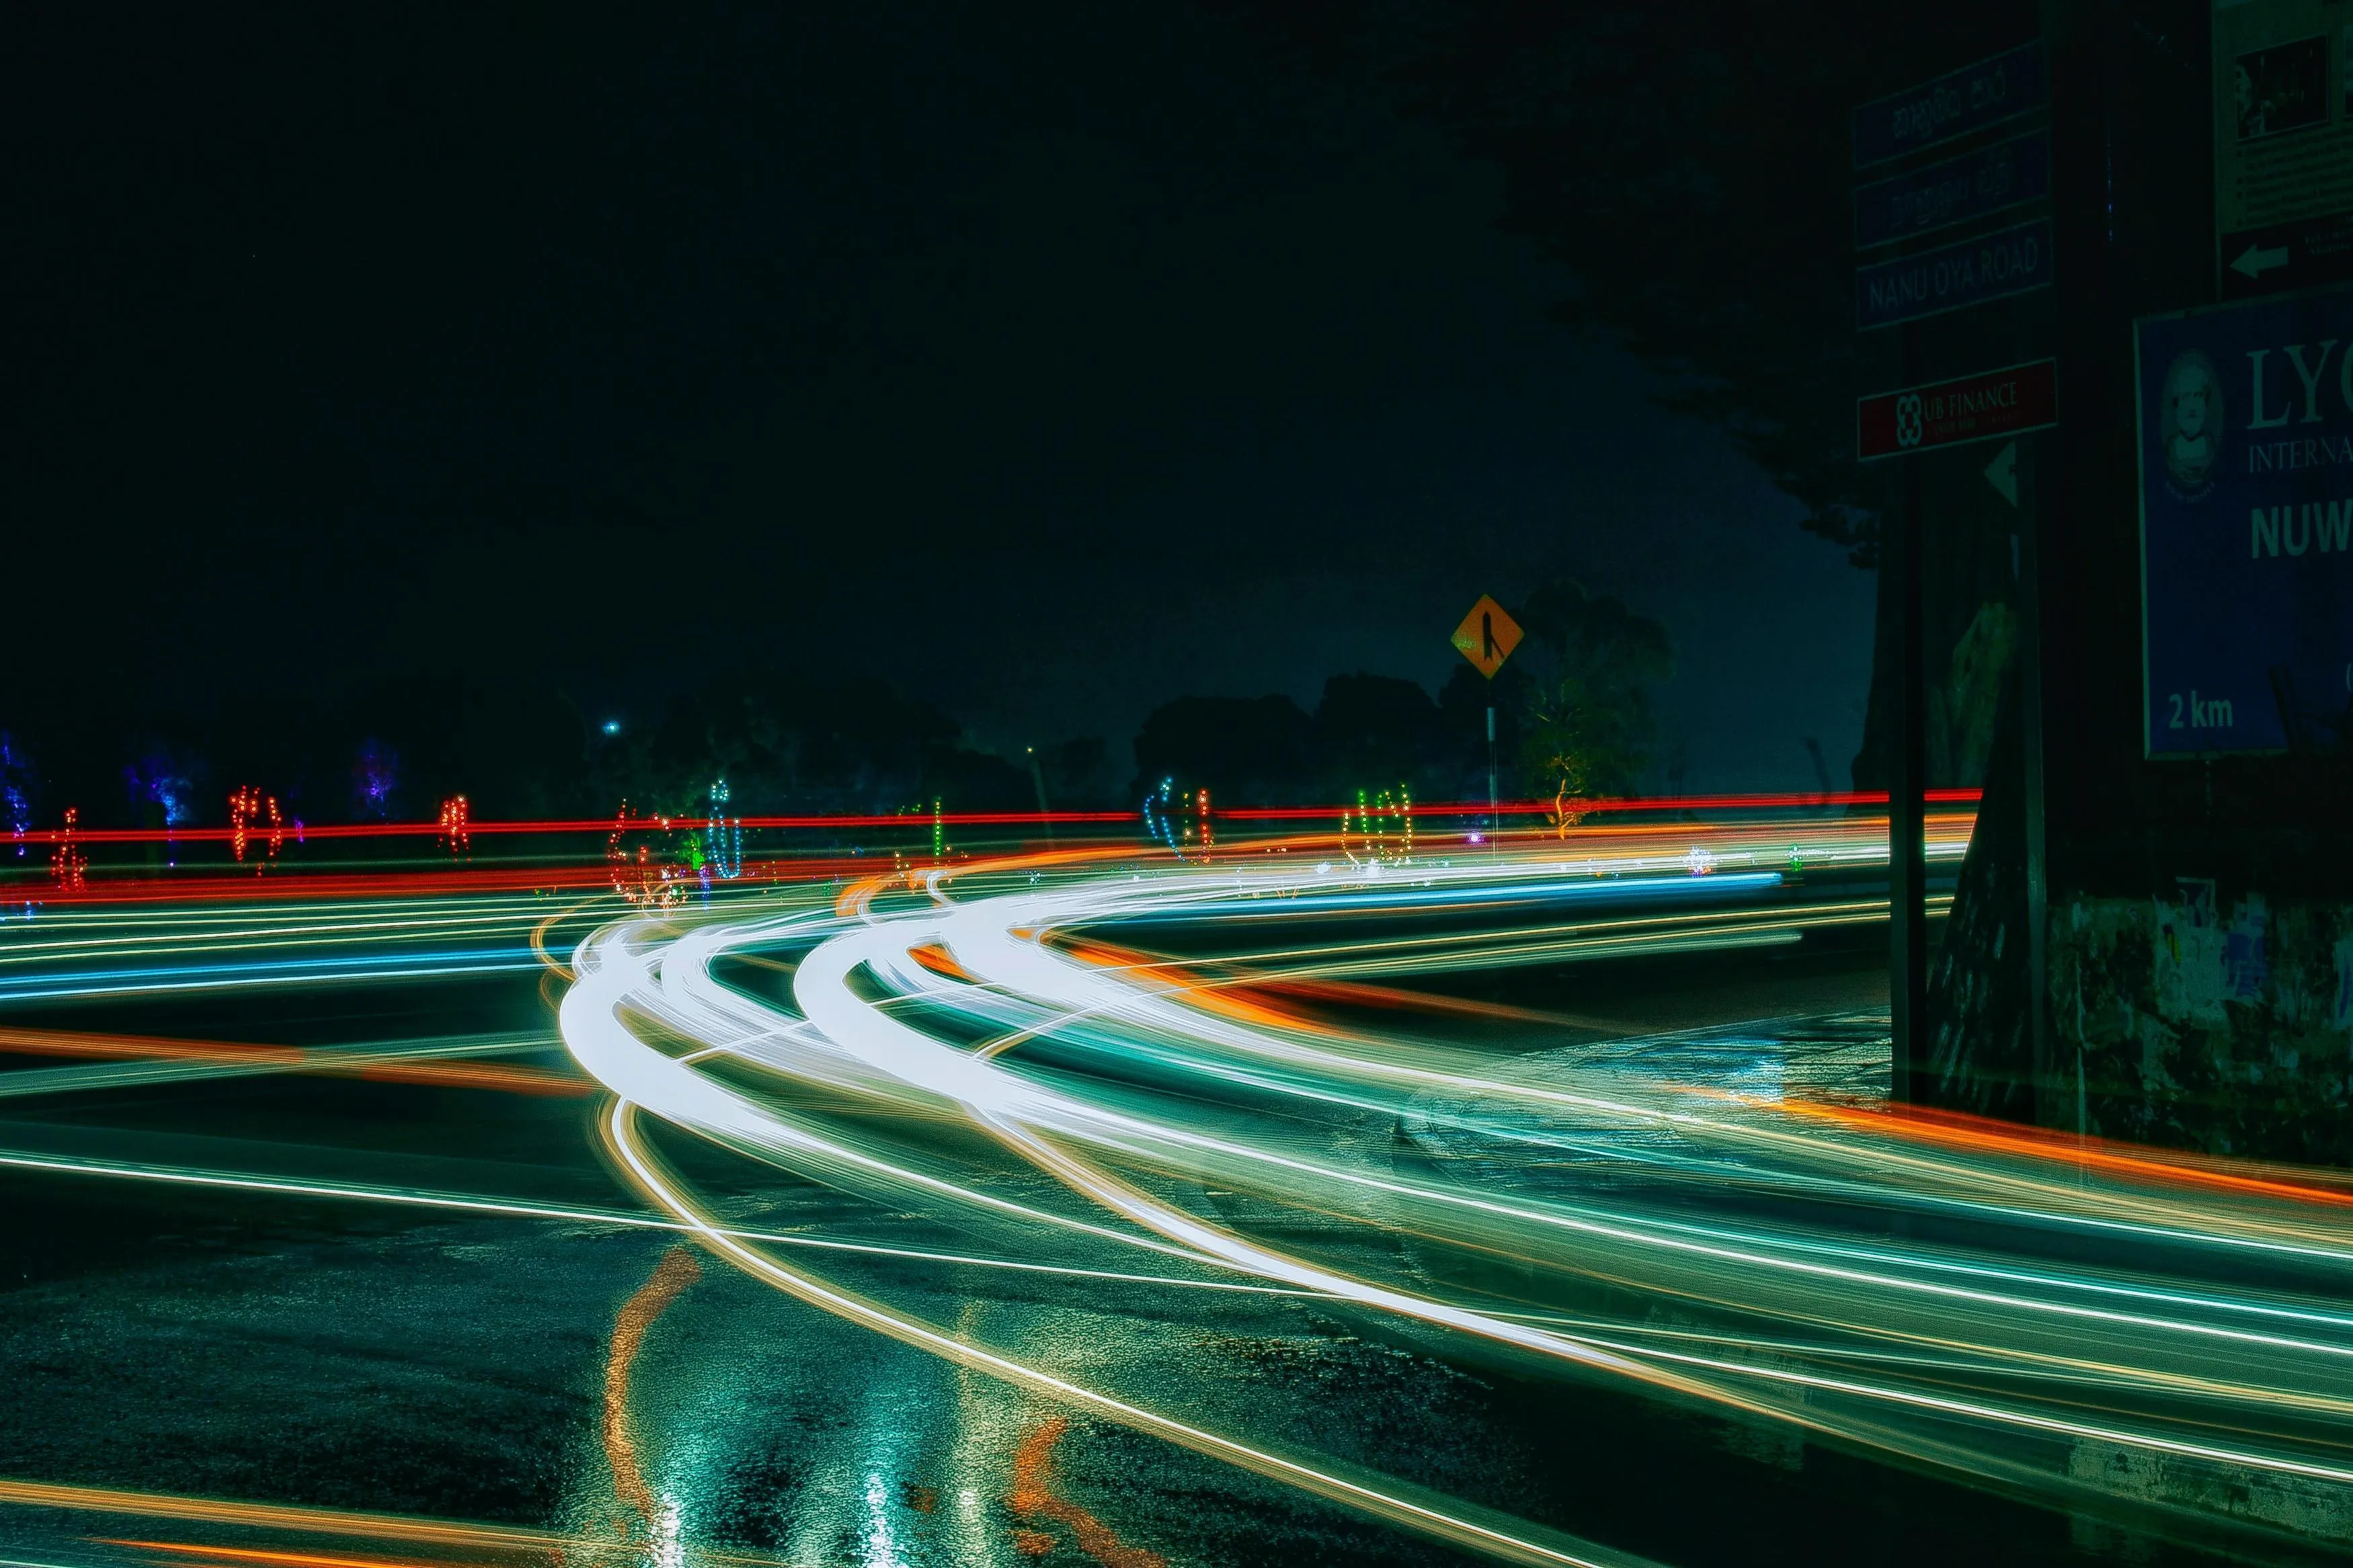 The basic principle behind light trails is straightforward.
During a long exposure, the camera records light over an extended period instead of freezing a scene at one instant. When a bright light source moves while the shutter is open, its changing position is recorded as a continuous line.
At the same time, the camera remains stationary, so buildings and other static elements can stay relatively sharp.
Long exposures can last anywhere from a fraction of a second to several seconds, minutes, or longer depending on the subject and lighting conditions. For typical car light trails, exposures of a few seconds are often enough, but there is no universal setting.
The exact shutter speed depends on how fast the light source is moving, how much of the road is in your frame, and how bright the surrounding scene is.
Exclusive Tools of Endless Possibilities in One Editor
Tip 1. Use the Right Equipment
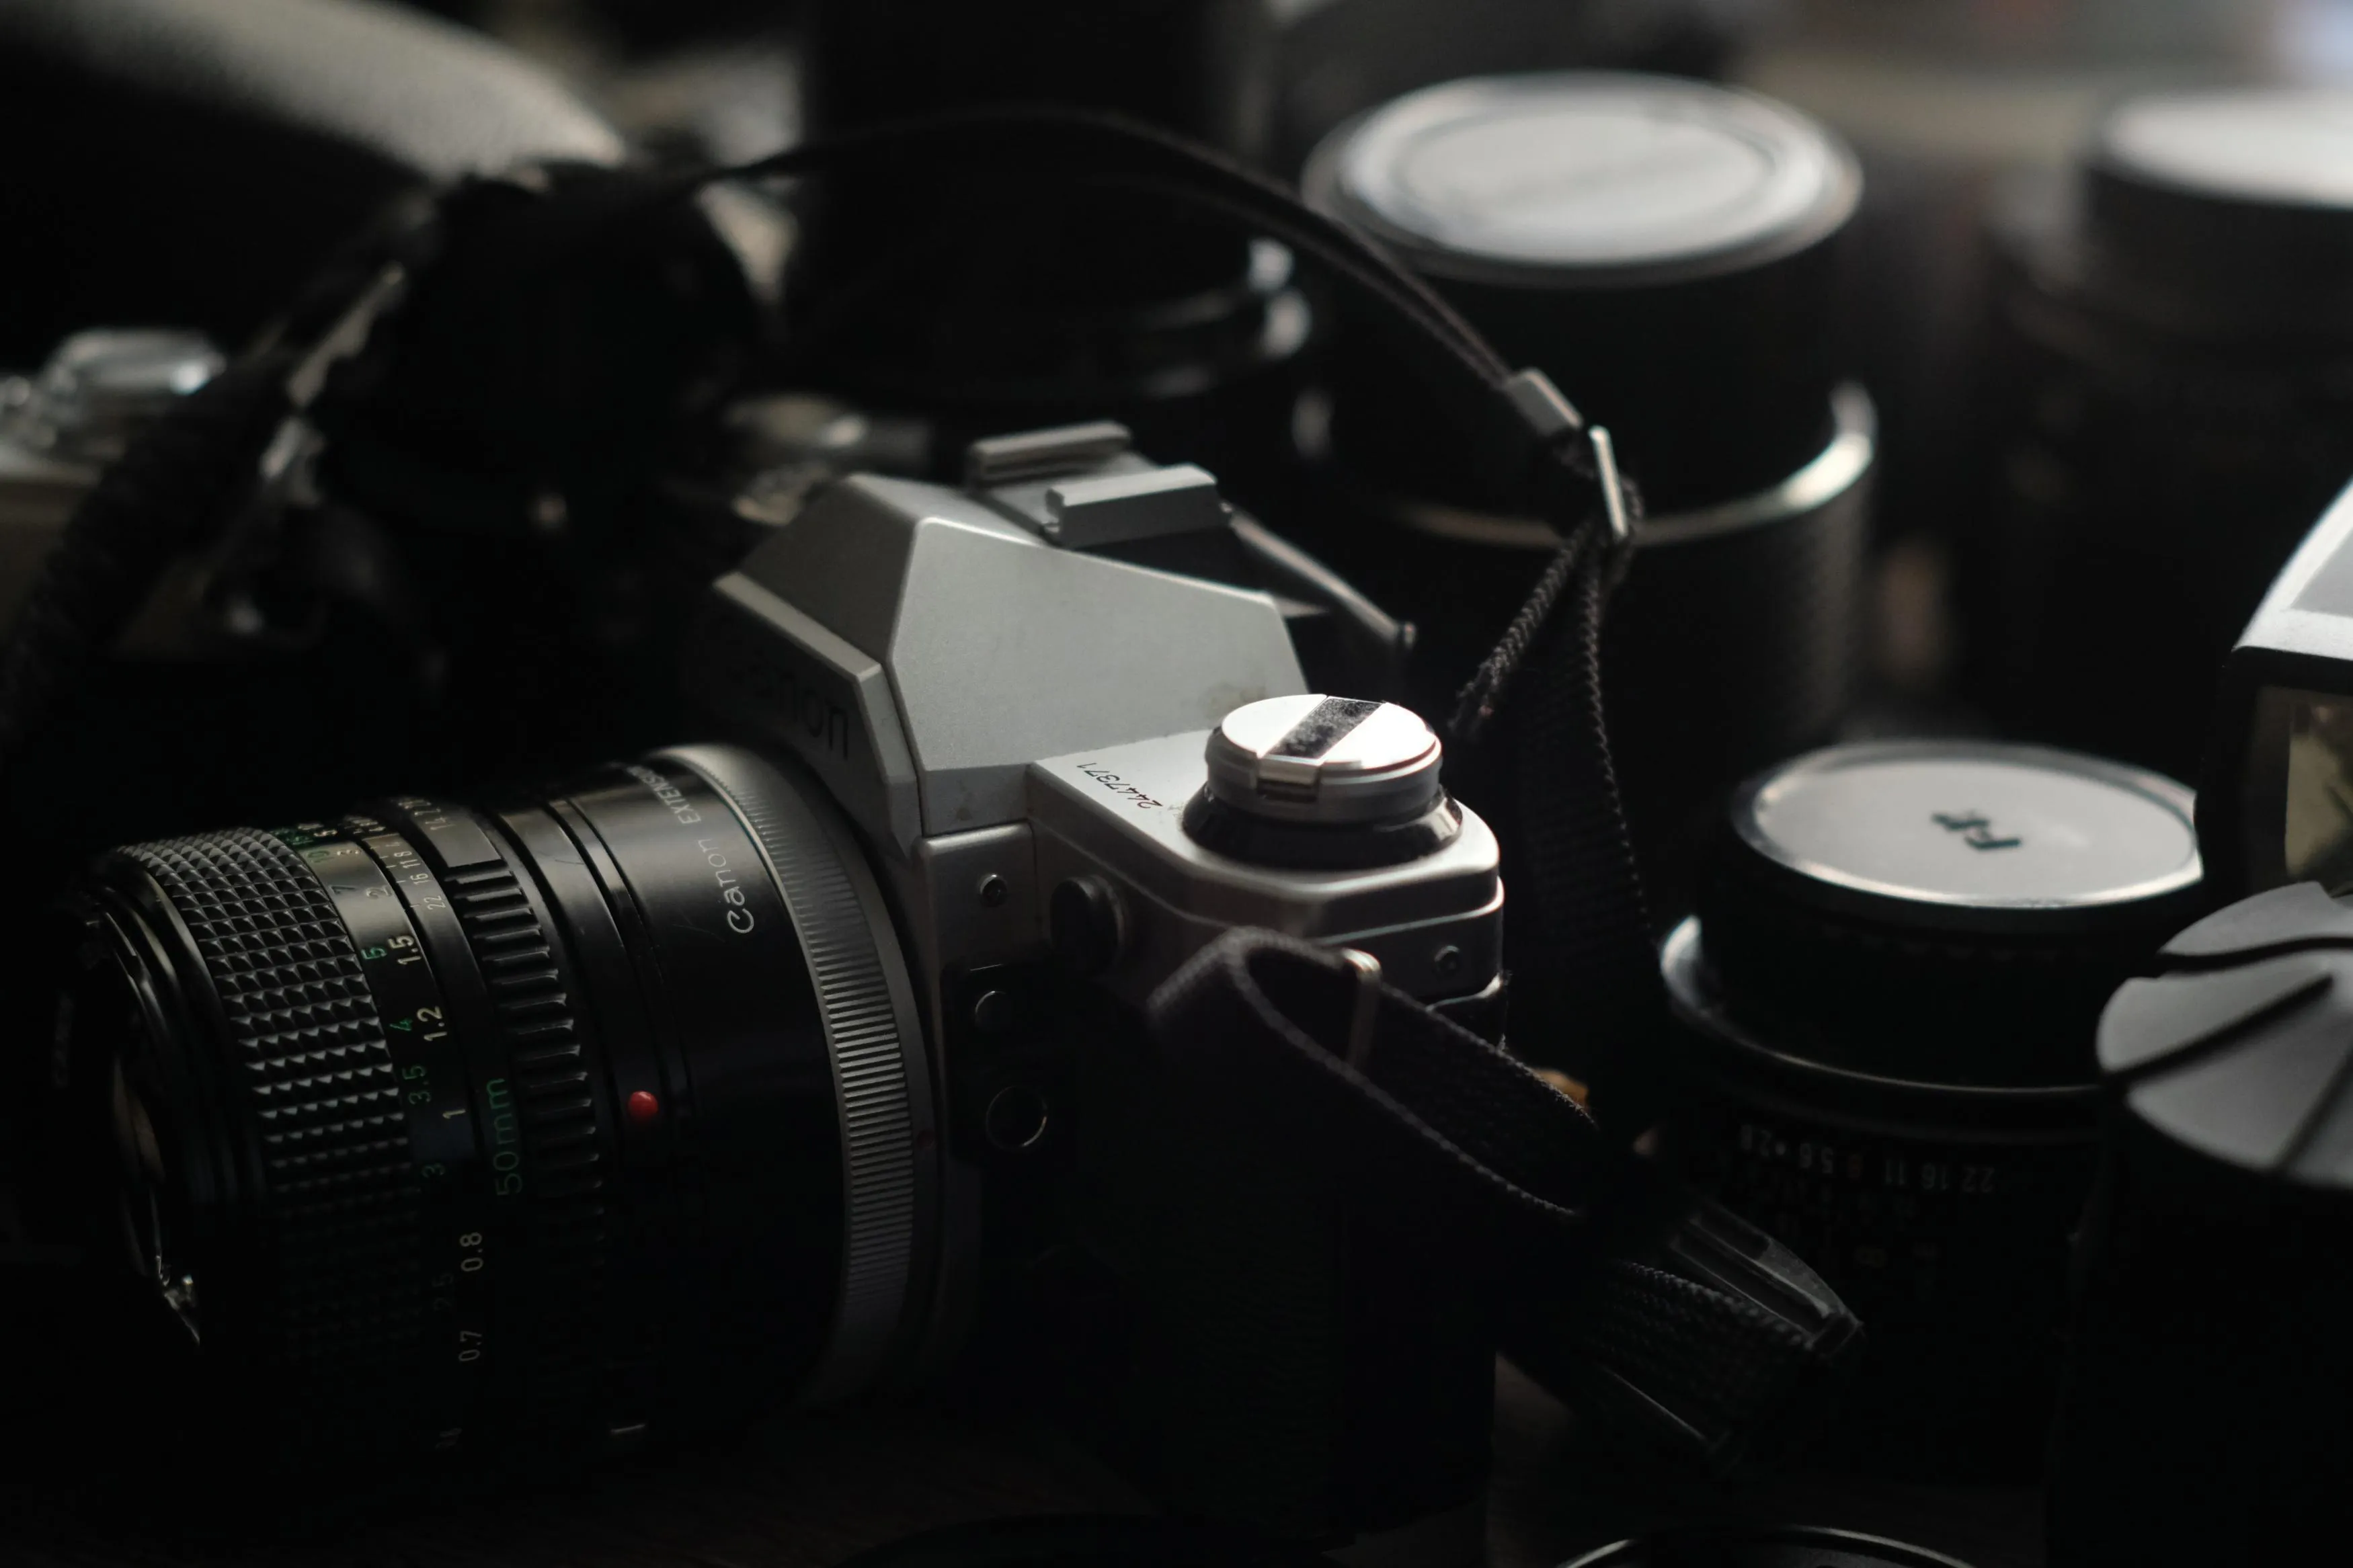 You don’t need an expensive camera to photograph light trails. What matters most is having control over the exposure and a way to keep the camera stable.
Camera
A camera that lets you control shutter speed, aperture, and ISO manually is ideal. Many interchangeable-lens cameras and advanced compact cameras provide these controls.
A smartphone can also create long-exposure effects, depending on the device and camera app, but dedicated cameras give you more control over exposure and focus.
Tripod
A sturdy tripod is one of the most useful pieces of equipment for this technique.
Even a small amount of camera movement can turn buildings and other stationary elements into blurry shapes. Place the tripod on stable ground and make sure it cannot be bumped during the exposure.
Remote or Timer
Pressing the shutter button can introduce a small amount of movement. Use a remote shutter release, a camera app, or the built-in two- or five-second timer.
Lens
There is no single “best” lens for light trails.
A wide-angle lens is useful when you want to include a large section of road, architecture, or sky. A standard or telephoto lens can work well when you want to isolate a particular section of traffic.
A zoom lens can be especially convenient because you can adjust the framing without moving the tripod.
Lens Hood
A lens hood can help reduce unwanted stray light and protect the front element of the lens. This can be useful when shooting around bright streetlights and other strong light sources.
Tip 2. Start With Simple Camera Settings
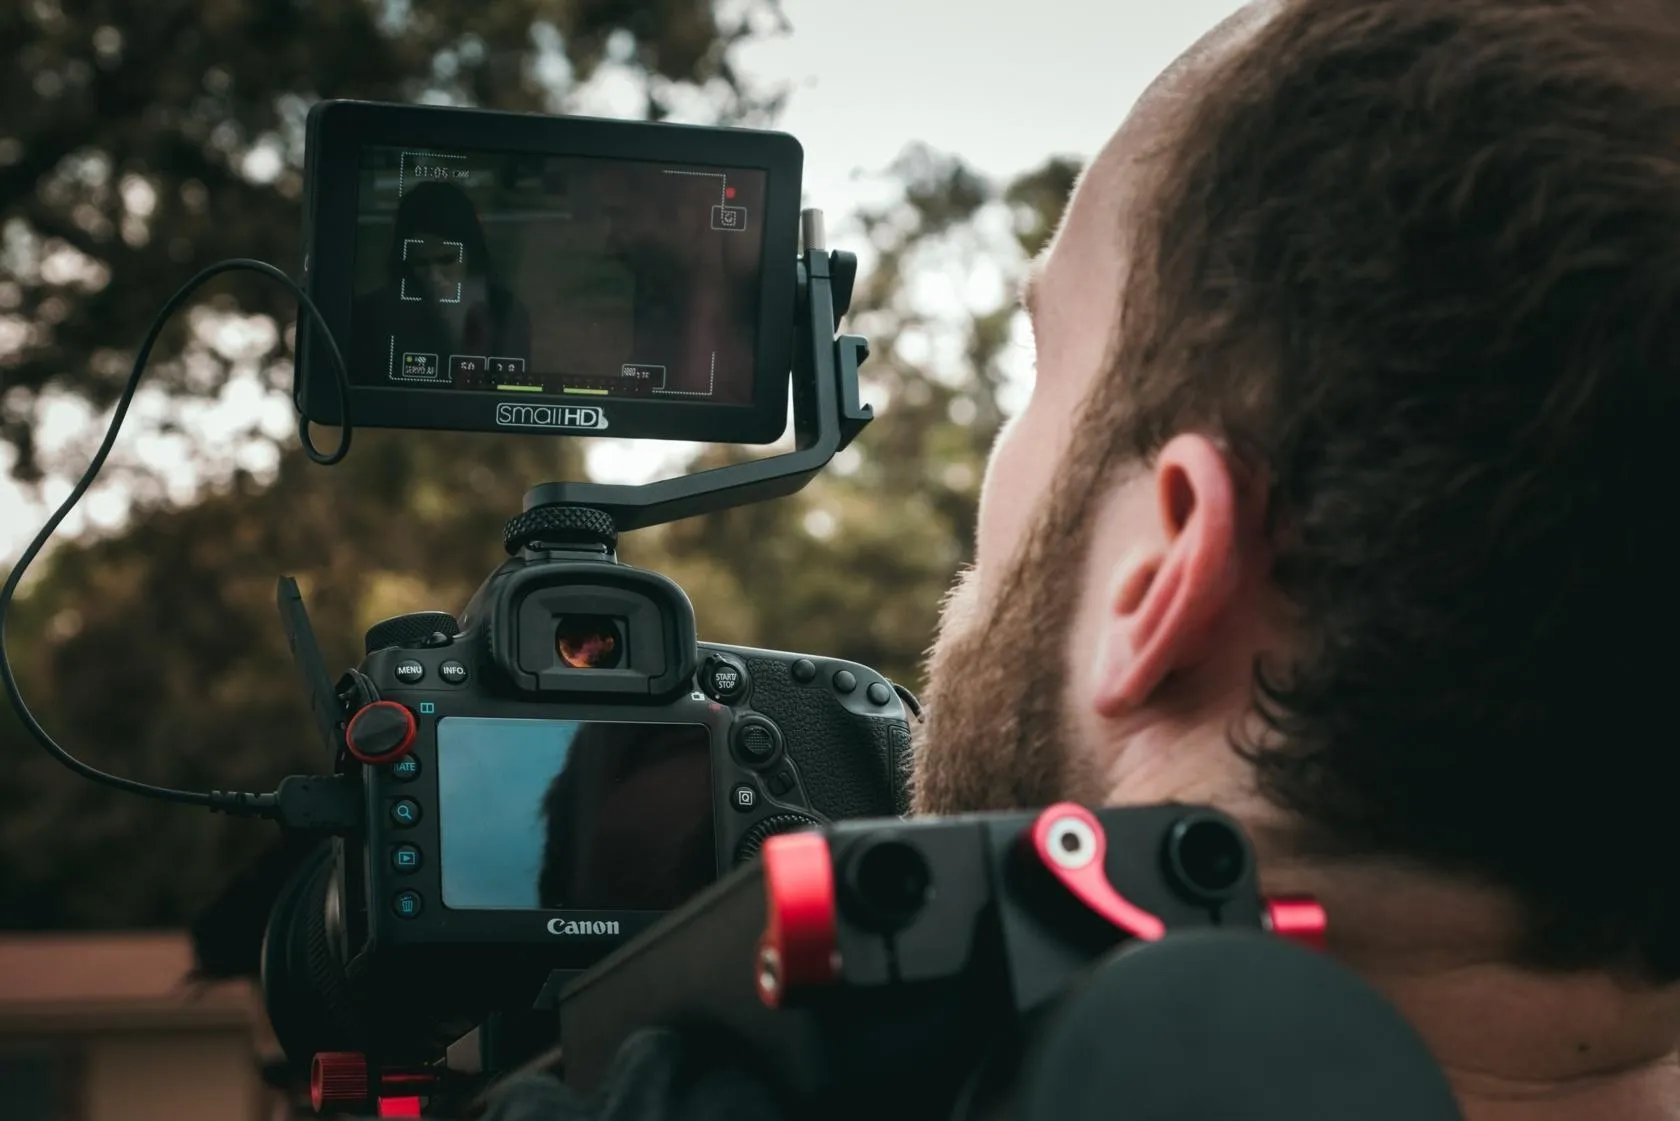 There is no single camera setting that works for every light-trail photograph. Start with a few sensible defaults and adjust them based on the scene.
A useful starting point is:
| Setting | Starting point |
| Shooting mode | Manual |
| ISO | 100–400 |
| Shutter speed | 2–10 seconds |
| Aperture | Around f/8–f/11 |
| Focus | Manual |
| White balance | Auto or a fixed setting |
These are starting points, not rules.
If the trails are too short, increase the shutter speed. If the image is too bright, shorten the exposure, lower ISO, or close the aperture. If the surroundings are too dark, you may need a longer exposure or wider aperture.
Why Use a Low ISO?
A low ISO can help keep noise under control, which is especially useful in night photography. Since you’re deliberately using a long shutter speed, you often don’t need to raise ISO just to compensate for the dark environment.
However, don’t treat ISO 100 as a rule. If the scene or your creative idea requires a different setting, use it.
What About Aperture?
The original rule of simply “closing the aperture as much as possible” is too restrictive.
A moderate aperture such as f/8 can provide good depth of field and help control the amount of light entering the camera. If the scene is very bright, you may need a smaller aperture. If it’s particularly dark, a wider aperture may be more appropriate.
The goal is a well-exposed frame, not a particular aperture number.
Tip 3. Focus Before It Gets Too Dark
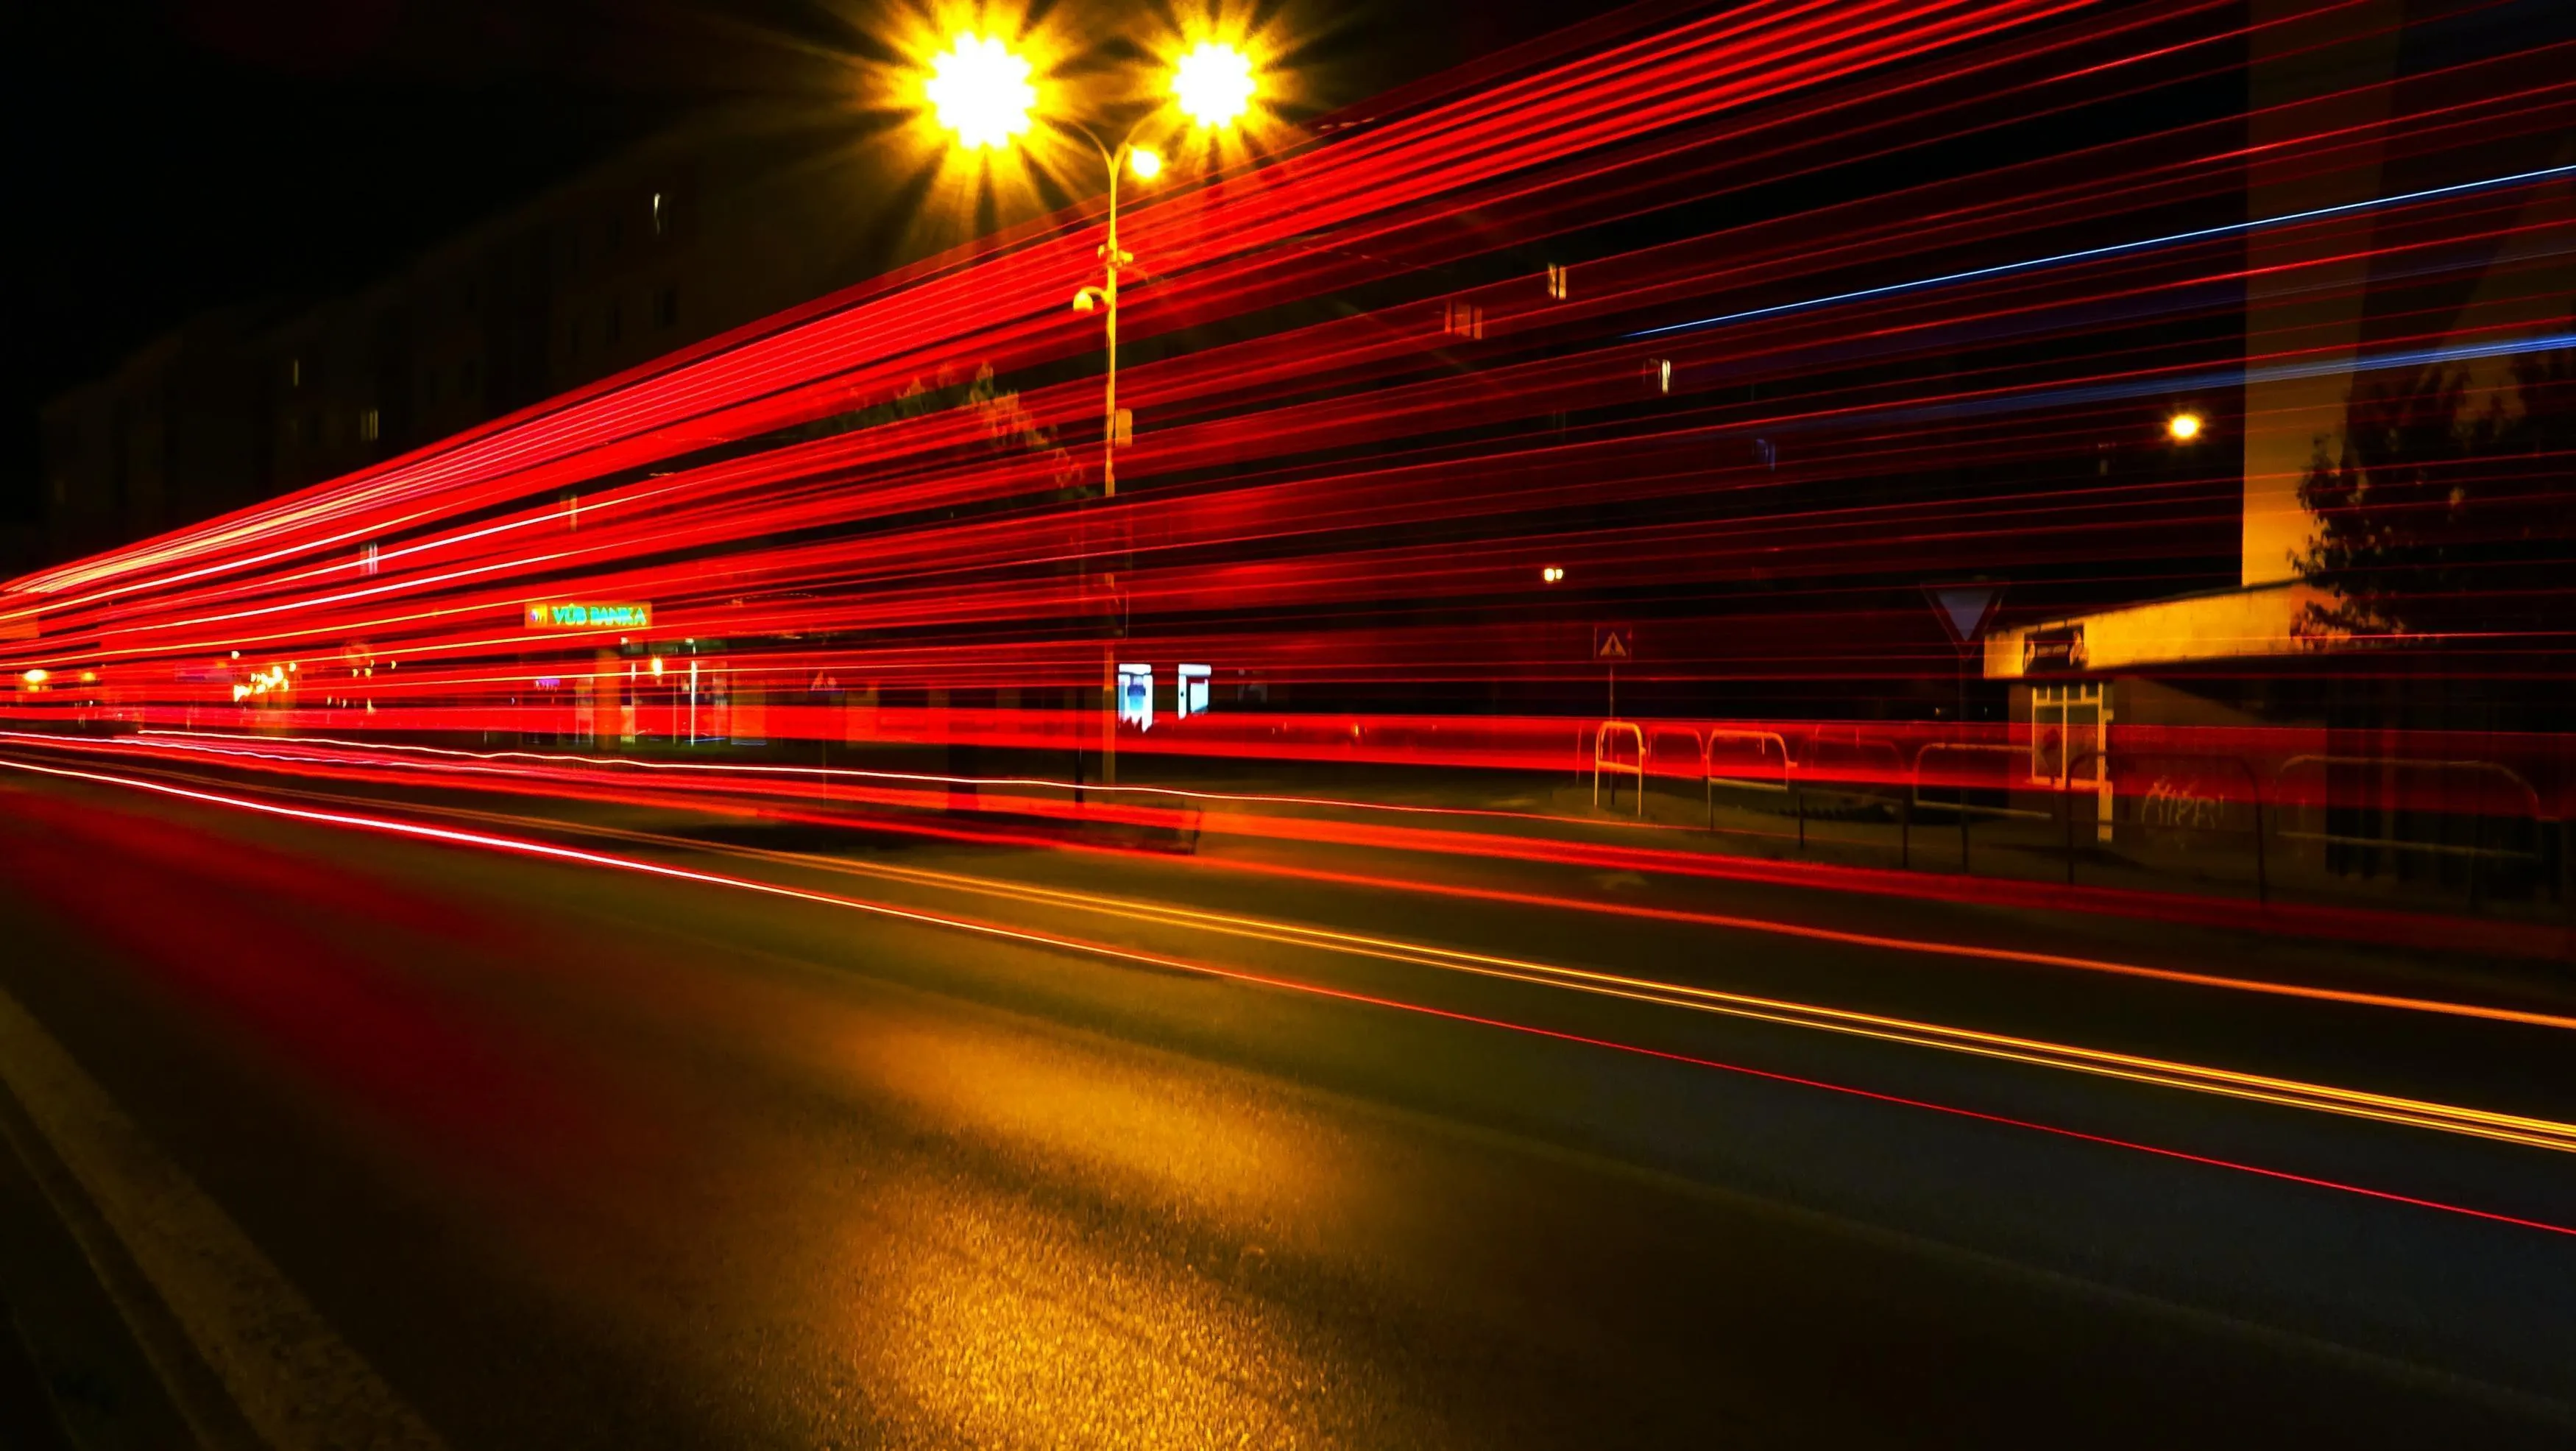
Autofocus can struggle when a scene contains very little light or when the subject has low contrast.
If possible, focus on a distant, well-defined object while there is still enough ambient light. Then switch the lens to manual focus so the camera doesn’t attempt to refocus when you press the shutter.
If you’re photographing a distant cityscape, you can often focus around the distant structures rather than focusing on the moving lights themselves.
Always check the result by zooming in on the preview. A sharp-looking thumbnail can hide slight focus errors.
Tip 4. Choose the Right Time and Location
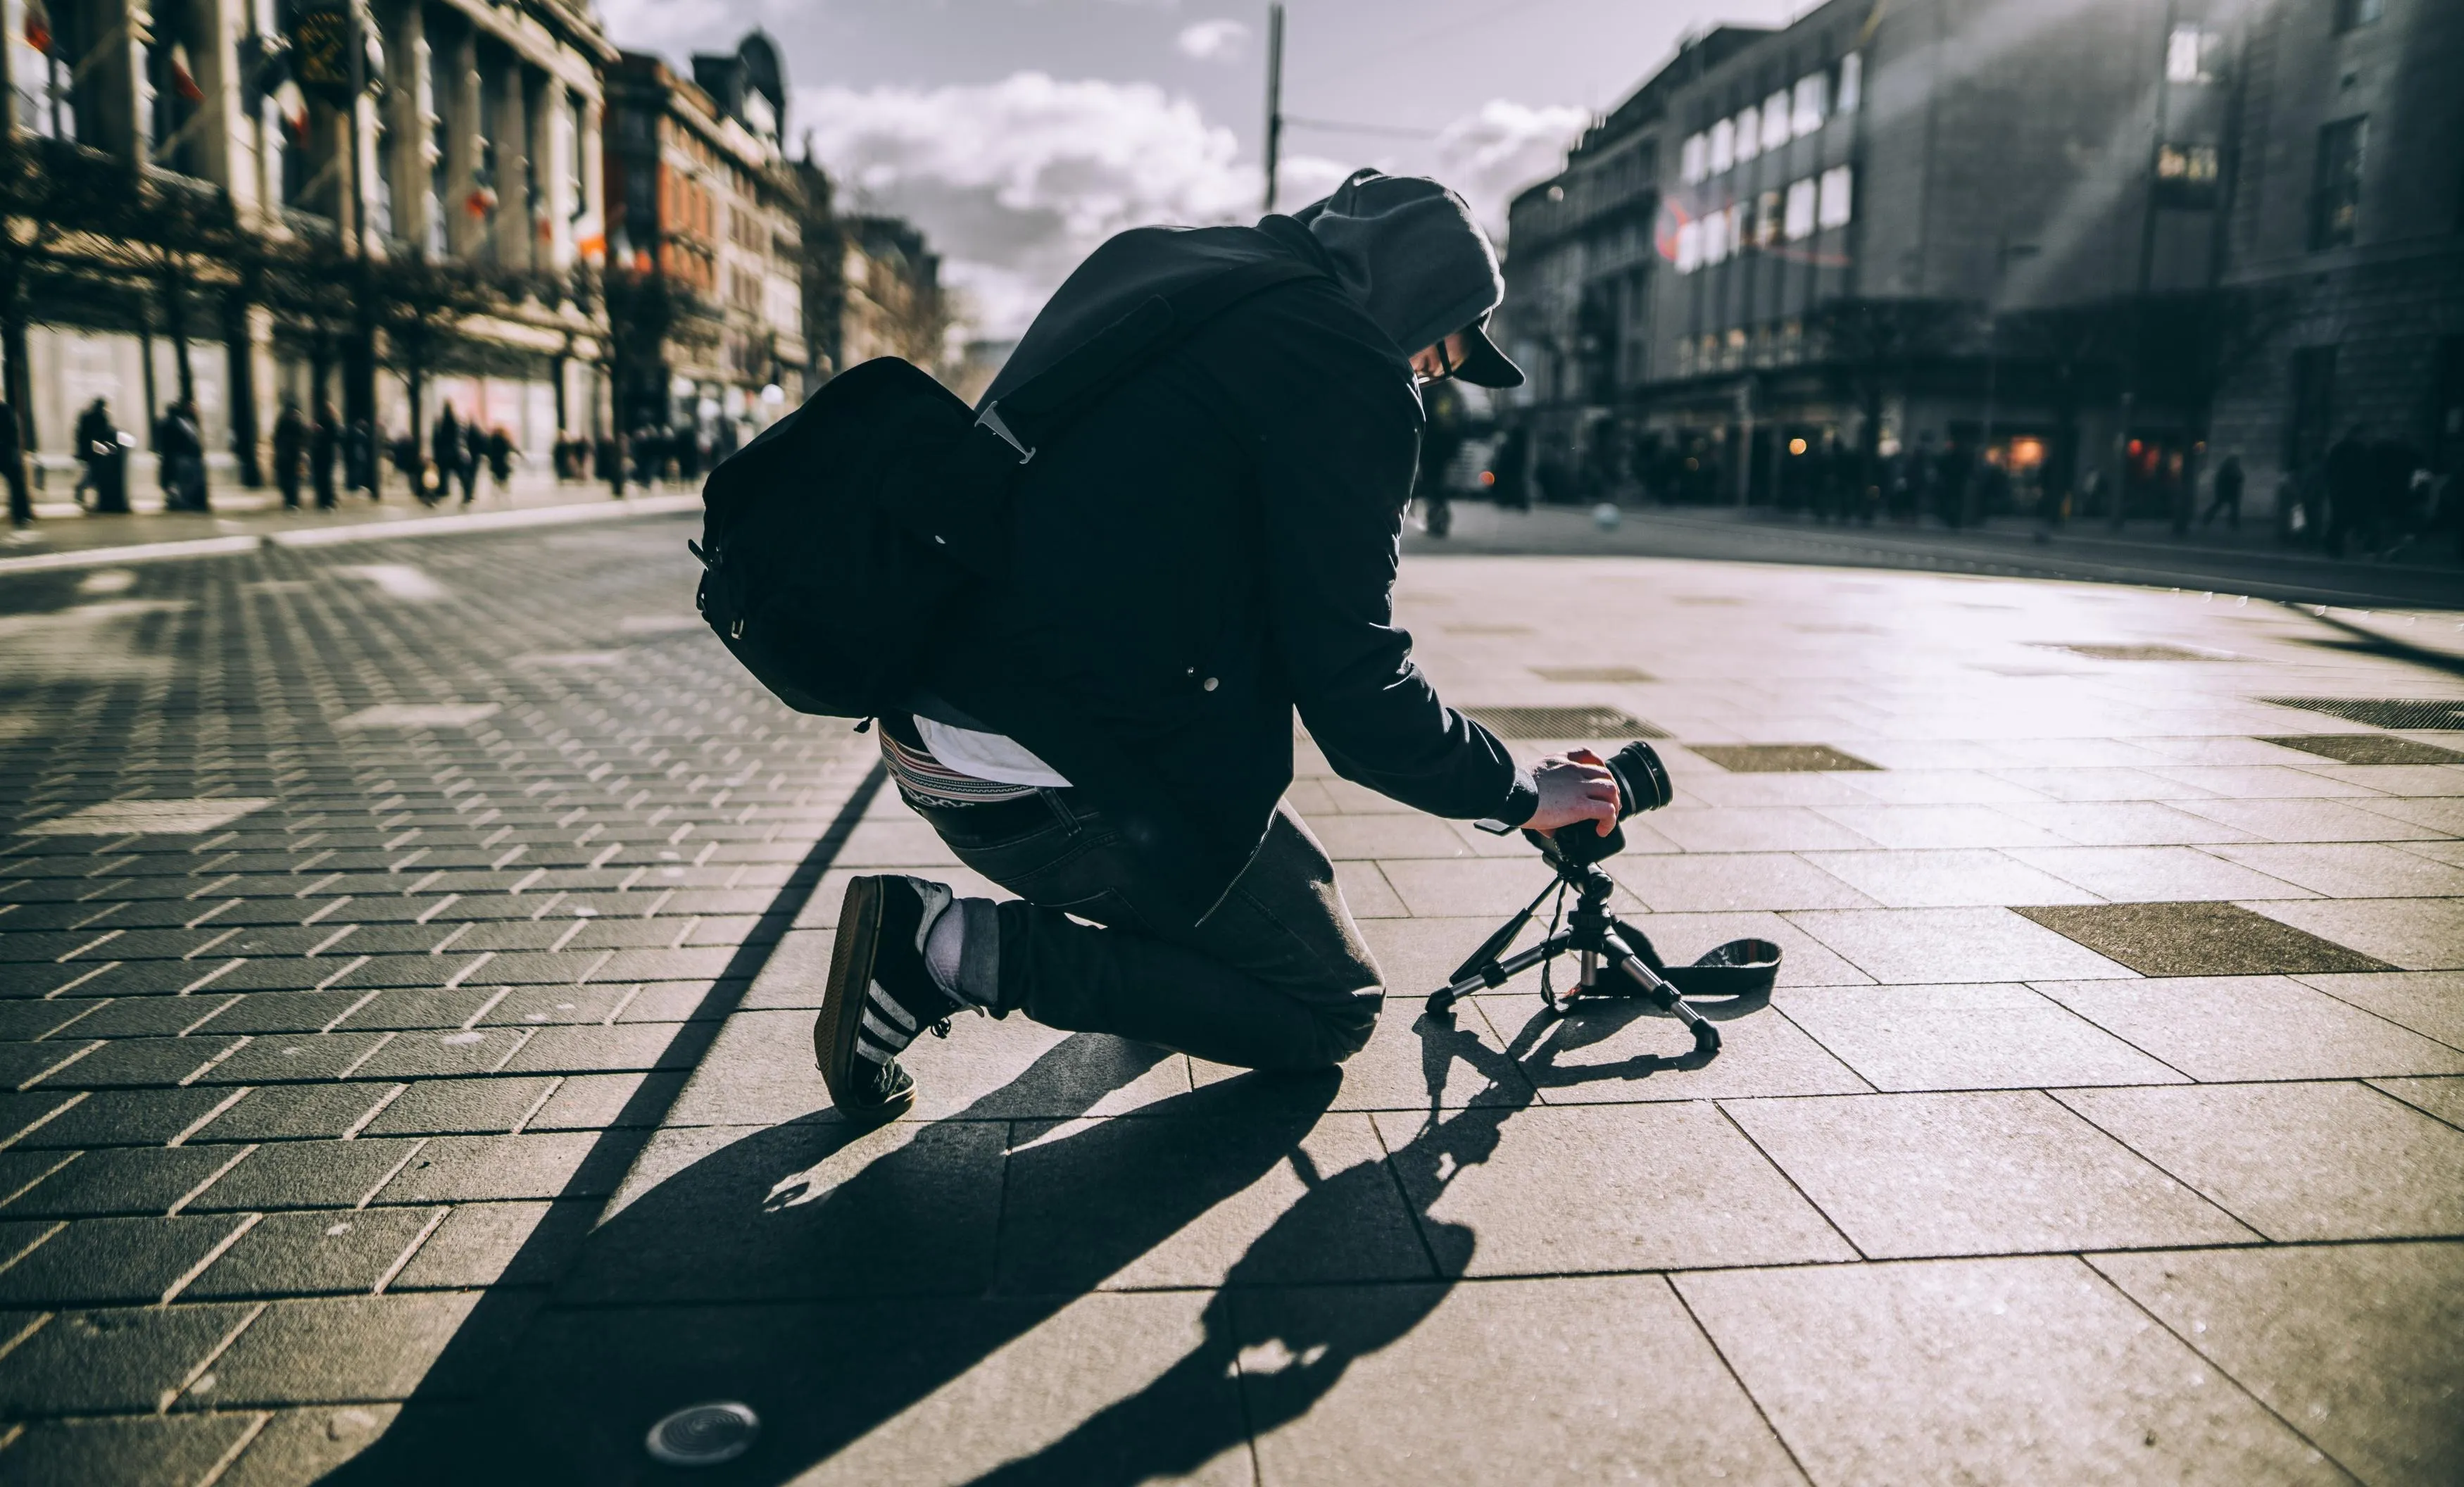 This can create a more balanced photograph because the surroundings remain visible instead of disappearing into a large black area.
Good locations include:
- bridges with safe pedestrian areas;
- elevated viewpoints;
- roads with visible curves;
- intersections;
- parking structures;
- city streets with interesting architecture;
- roads leading toward a recognizable landmark.
Before setting up, look at the location from several angles. Consider where the traffic will enter and leave the frame and whether the road itself creates a useful compositional line.
Elevate Your Photography with Our Advanced Software
Tip 5. Build the Composition Around the Light Trails
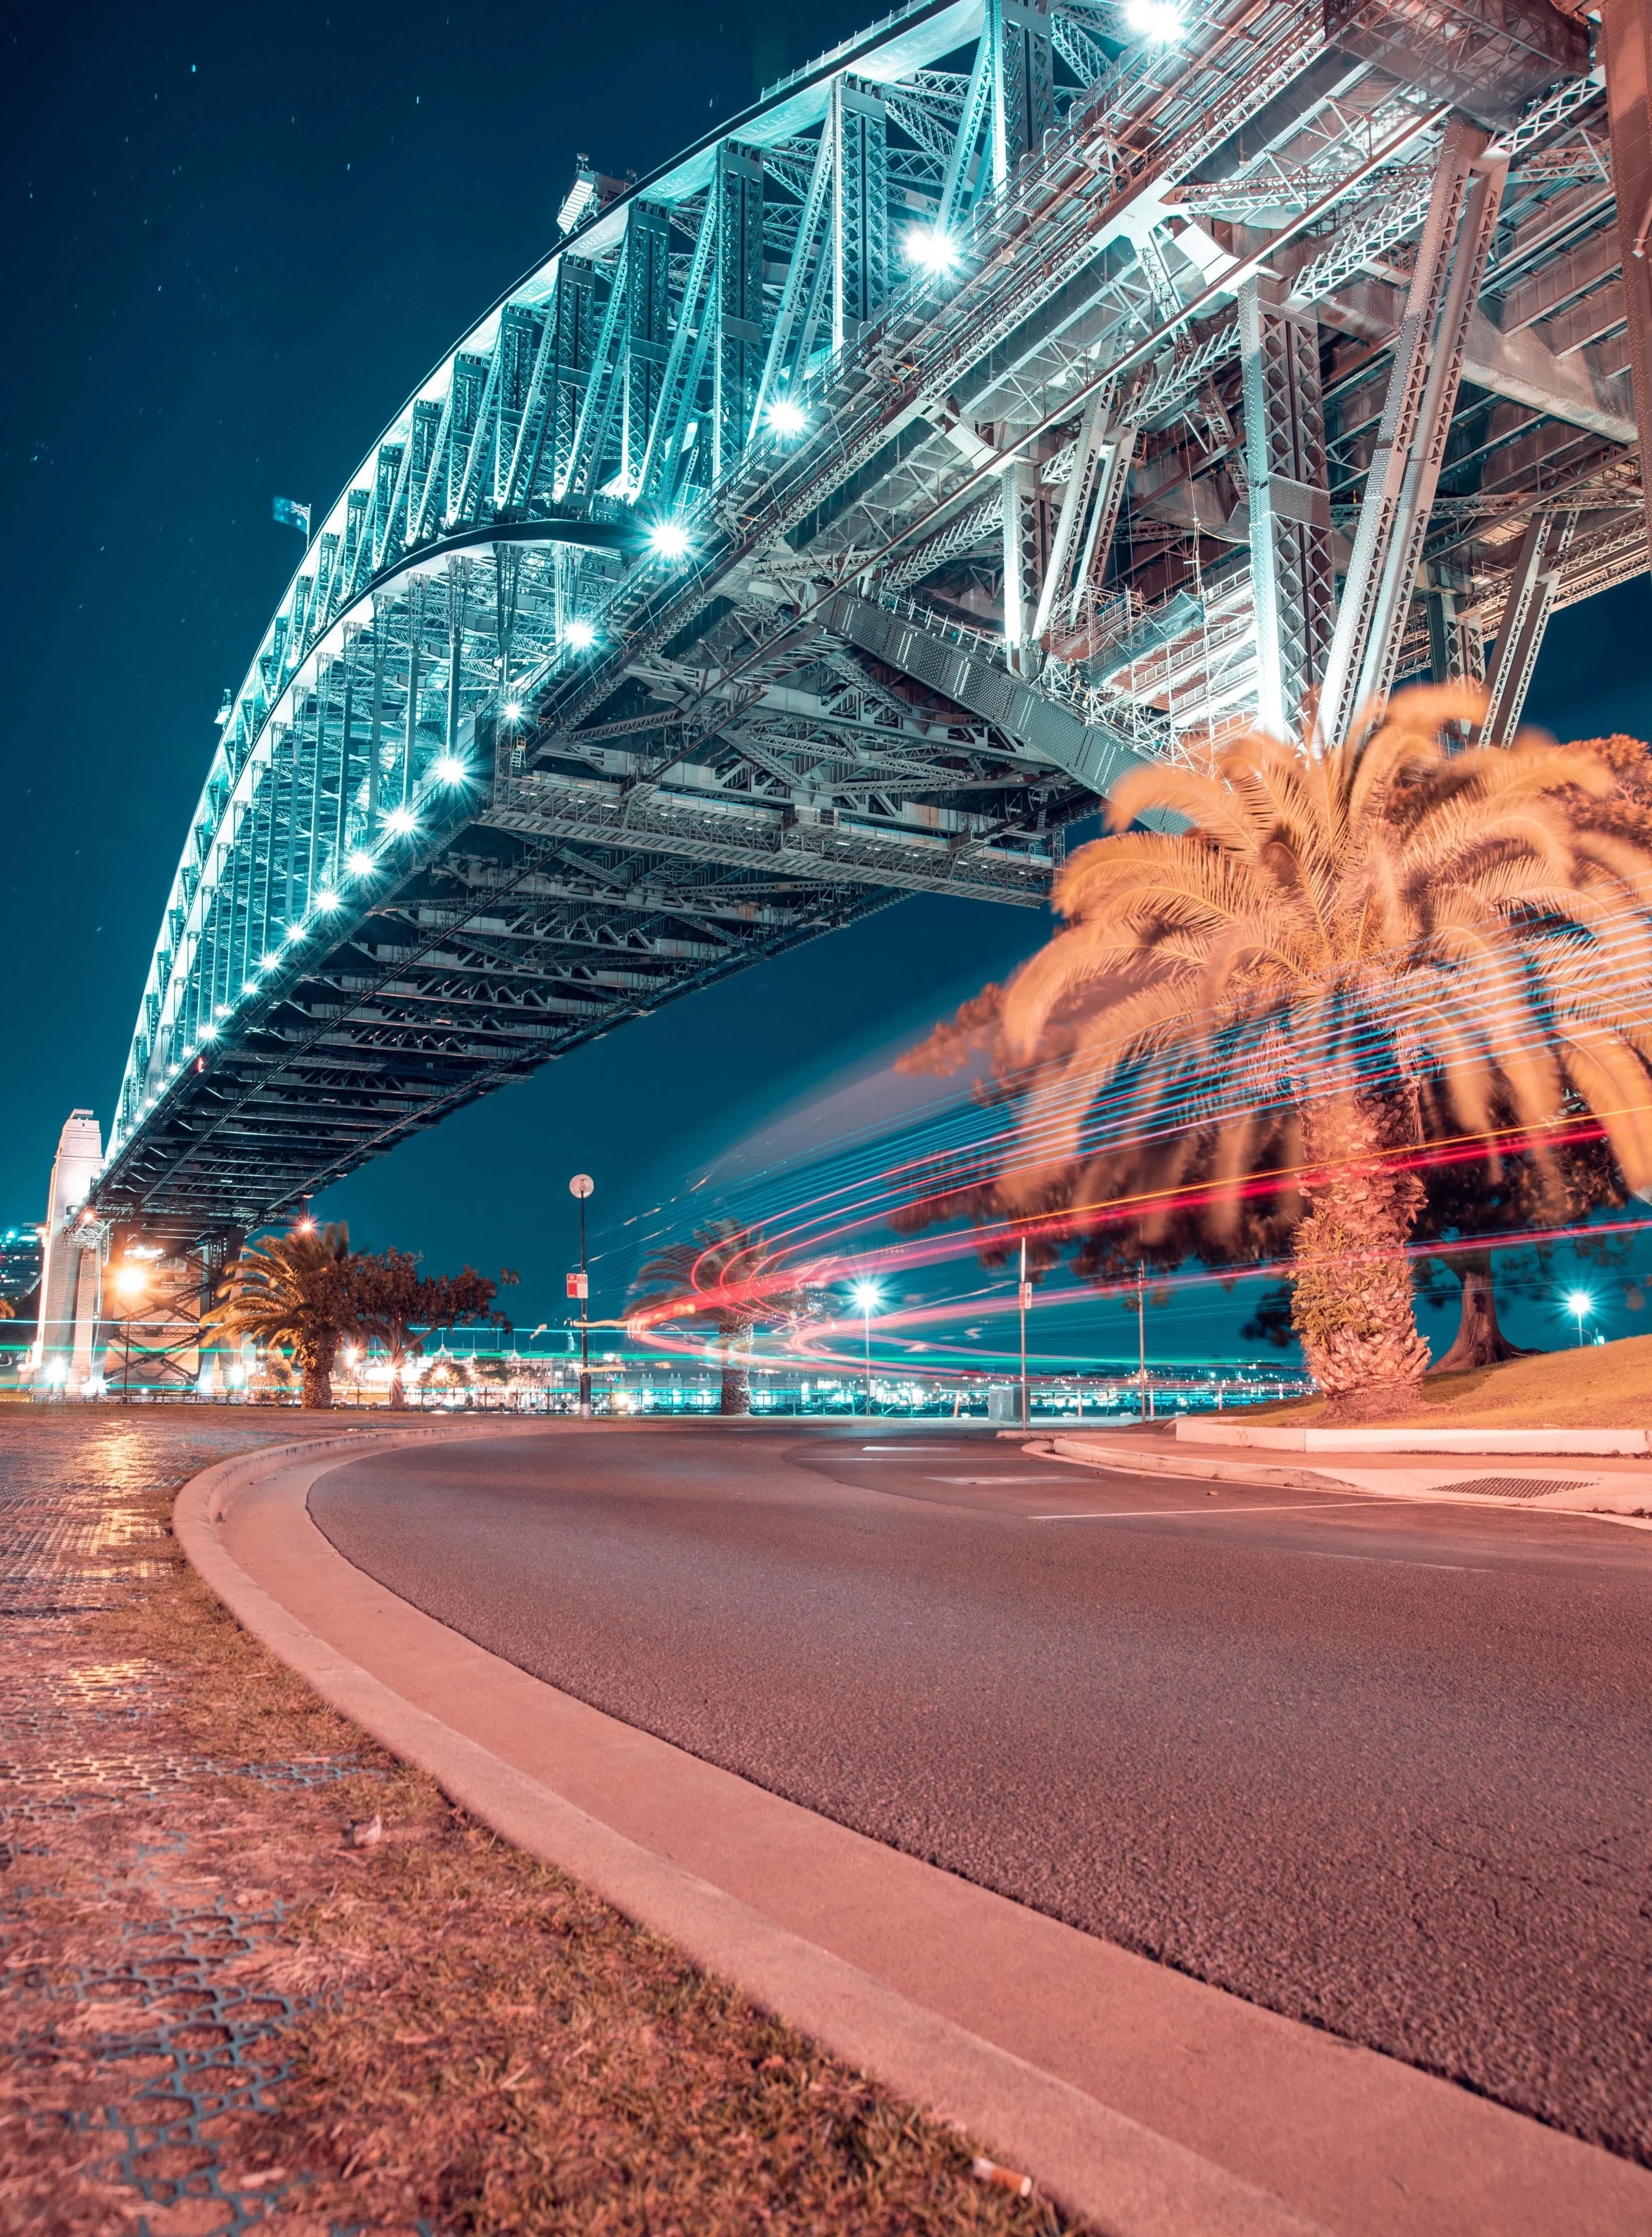 Light trails are visually strong, but they shouldn’t automatically become the entire photograph.
Think about where the trails lead.
A winding road can create a natural leading line. A straight road can direct the viewer toward a building or landmark. An intersection can create multiple lines crossing the frame.
Before taking the shot, check:
- Where do the trails enter the frame?
- Where do they lead?
- Is there a clear subject beyond the lights?
- Are the brightest areas pulling attention away from everything else?
- Is the horizon straight?
- Are there distracting objects around the edges?
You can also leave some negative space in the frame. A large area of dark sky or architecture can balance a strong stream of moving lights.
Tip 6. Think About Scale and Camera Height
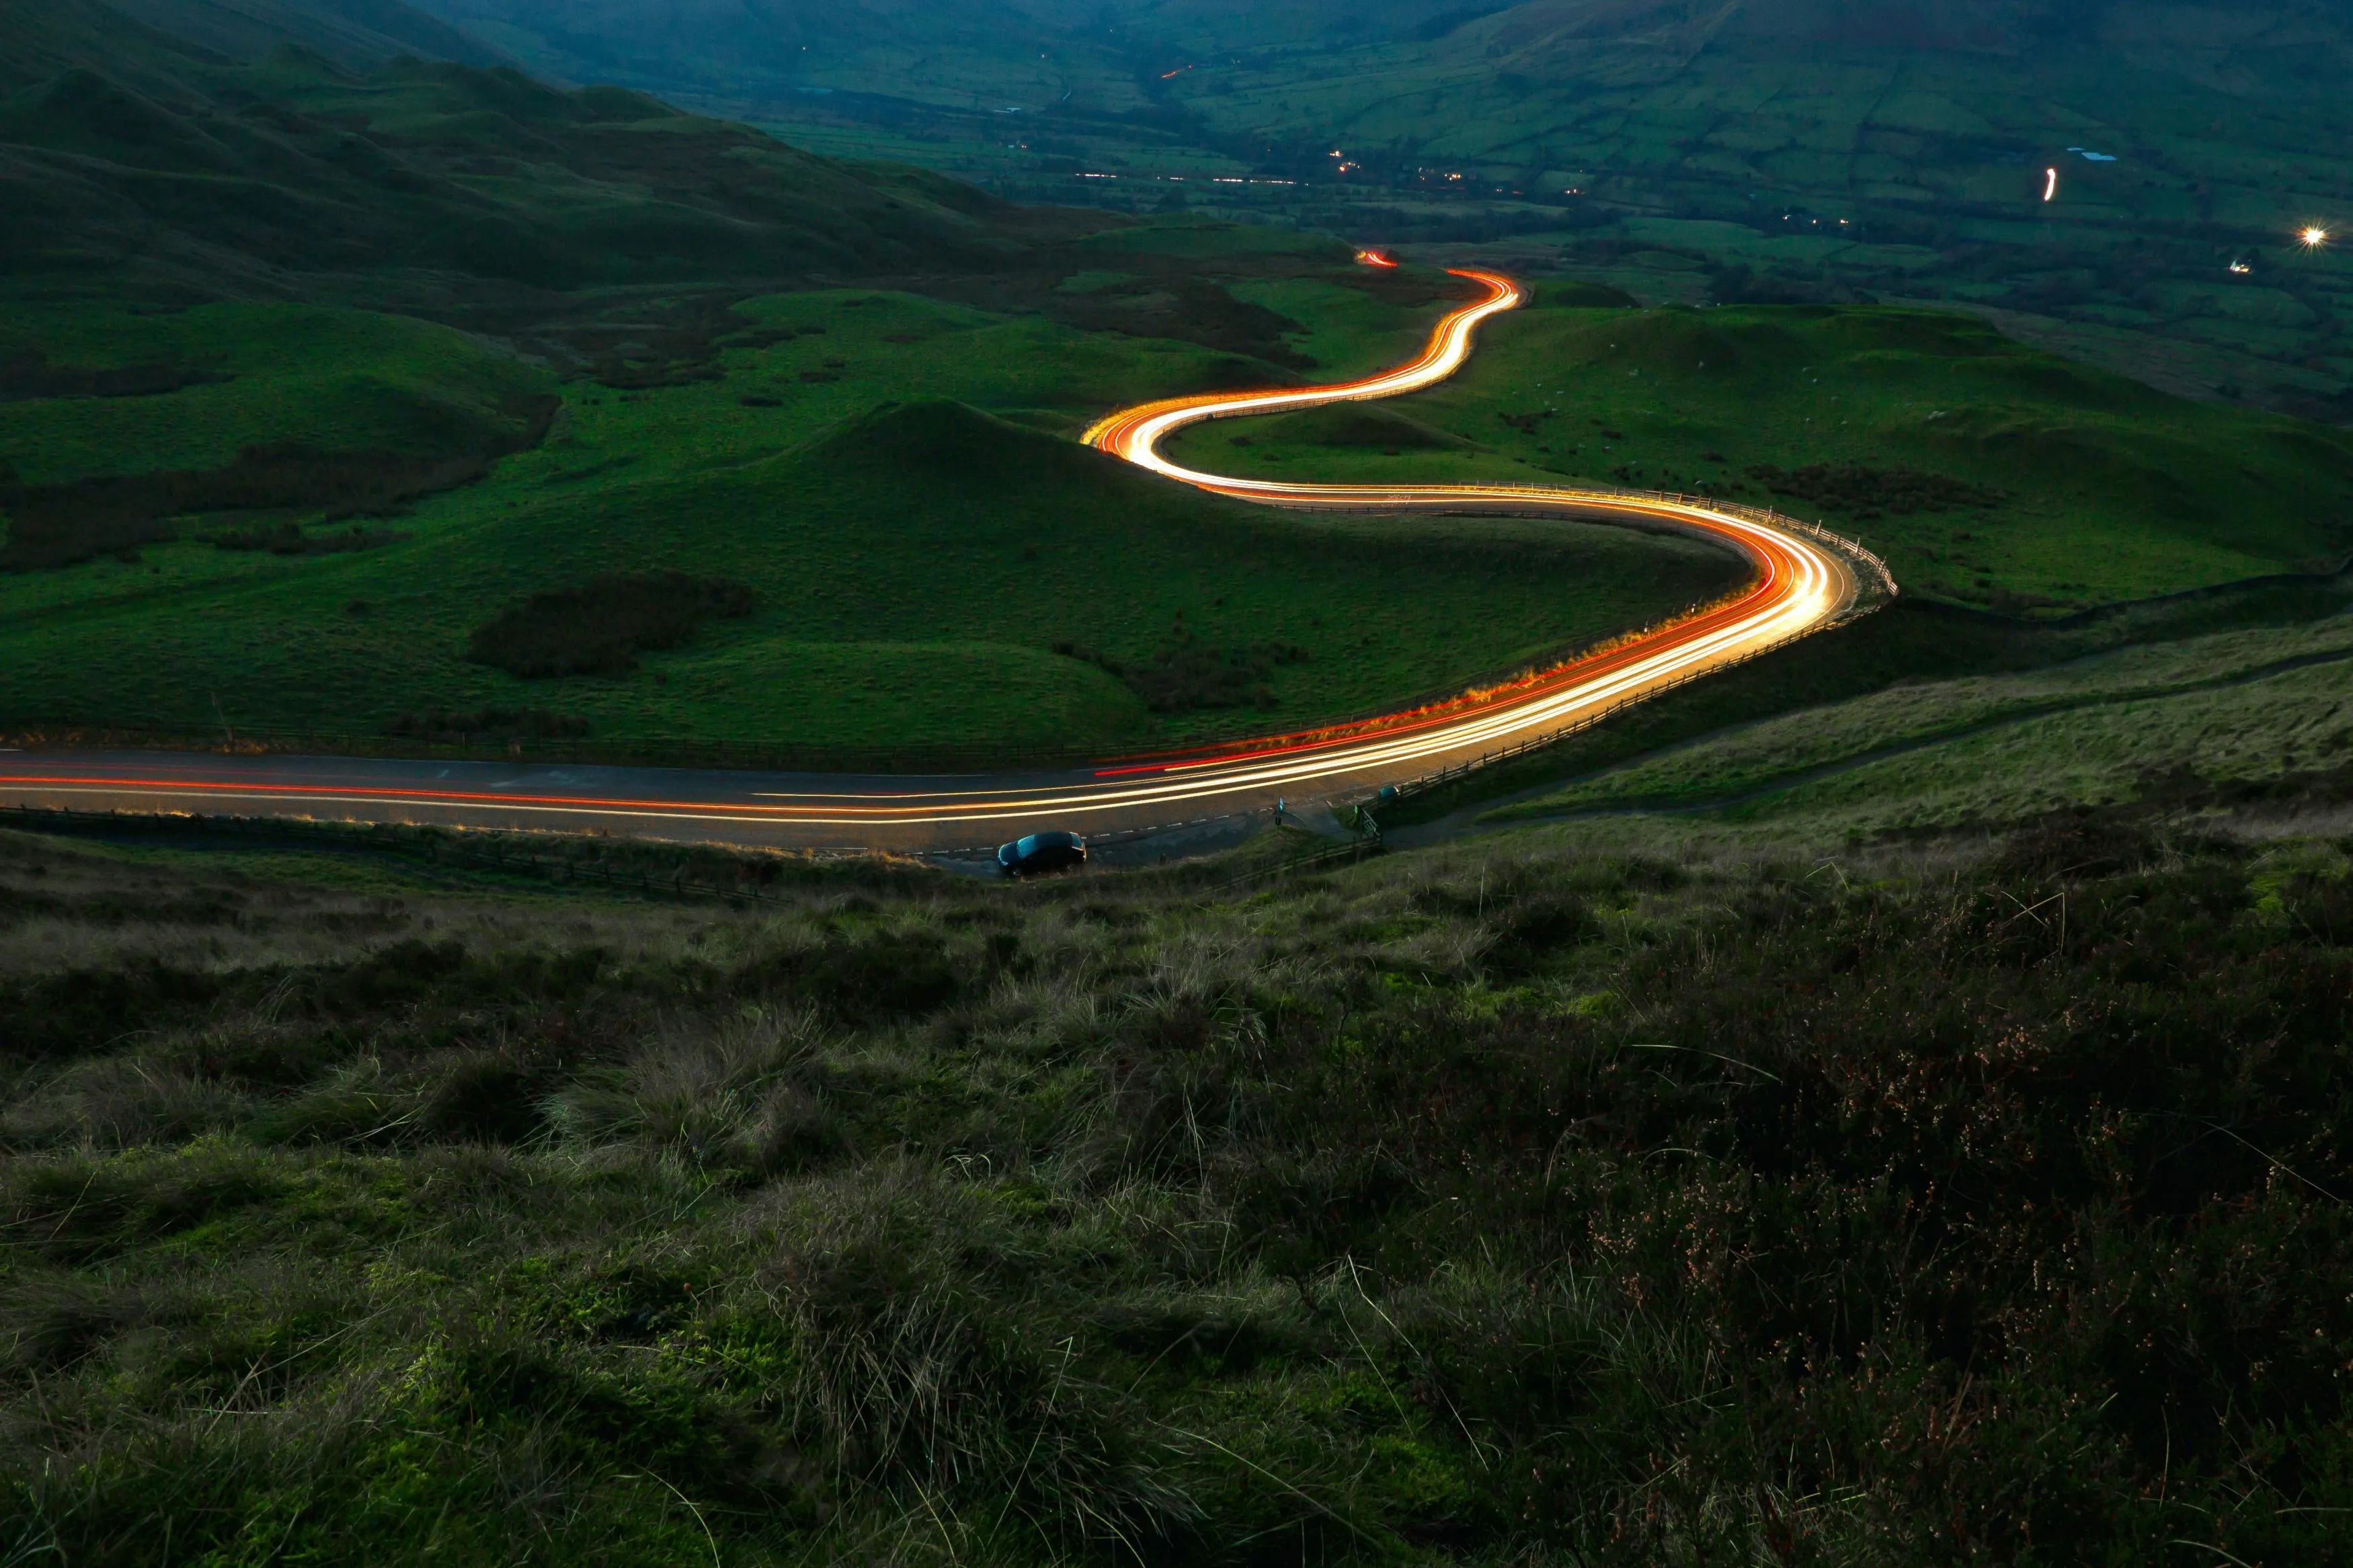 The position of the camera can dramatically change the appearance of light trails.
A lower viewpoint can make the road and its light trails appear more prominent, while an elevated viewpoint can reveal the overall pattern of traffic.
A wide-angle lens can also emphasize the distance between the foreground and background, making trails appear to stretch farther through the frame.
But don’t assume that getting as close to traffic as possible is always better. Safety comes first.
Never place a tripod in a roadway, on a narrow road shoulder, or anywhere where it could obstruct drivers, cyclists, or pedestrians. Use designated public areas and maintain a safe distance from moving vehicles.
Tip 7. Cars Aren’t the Only Light Sources
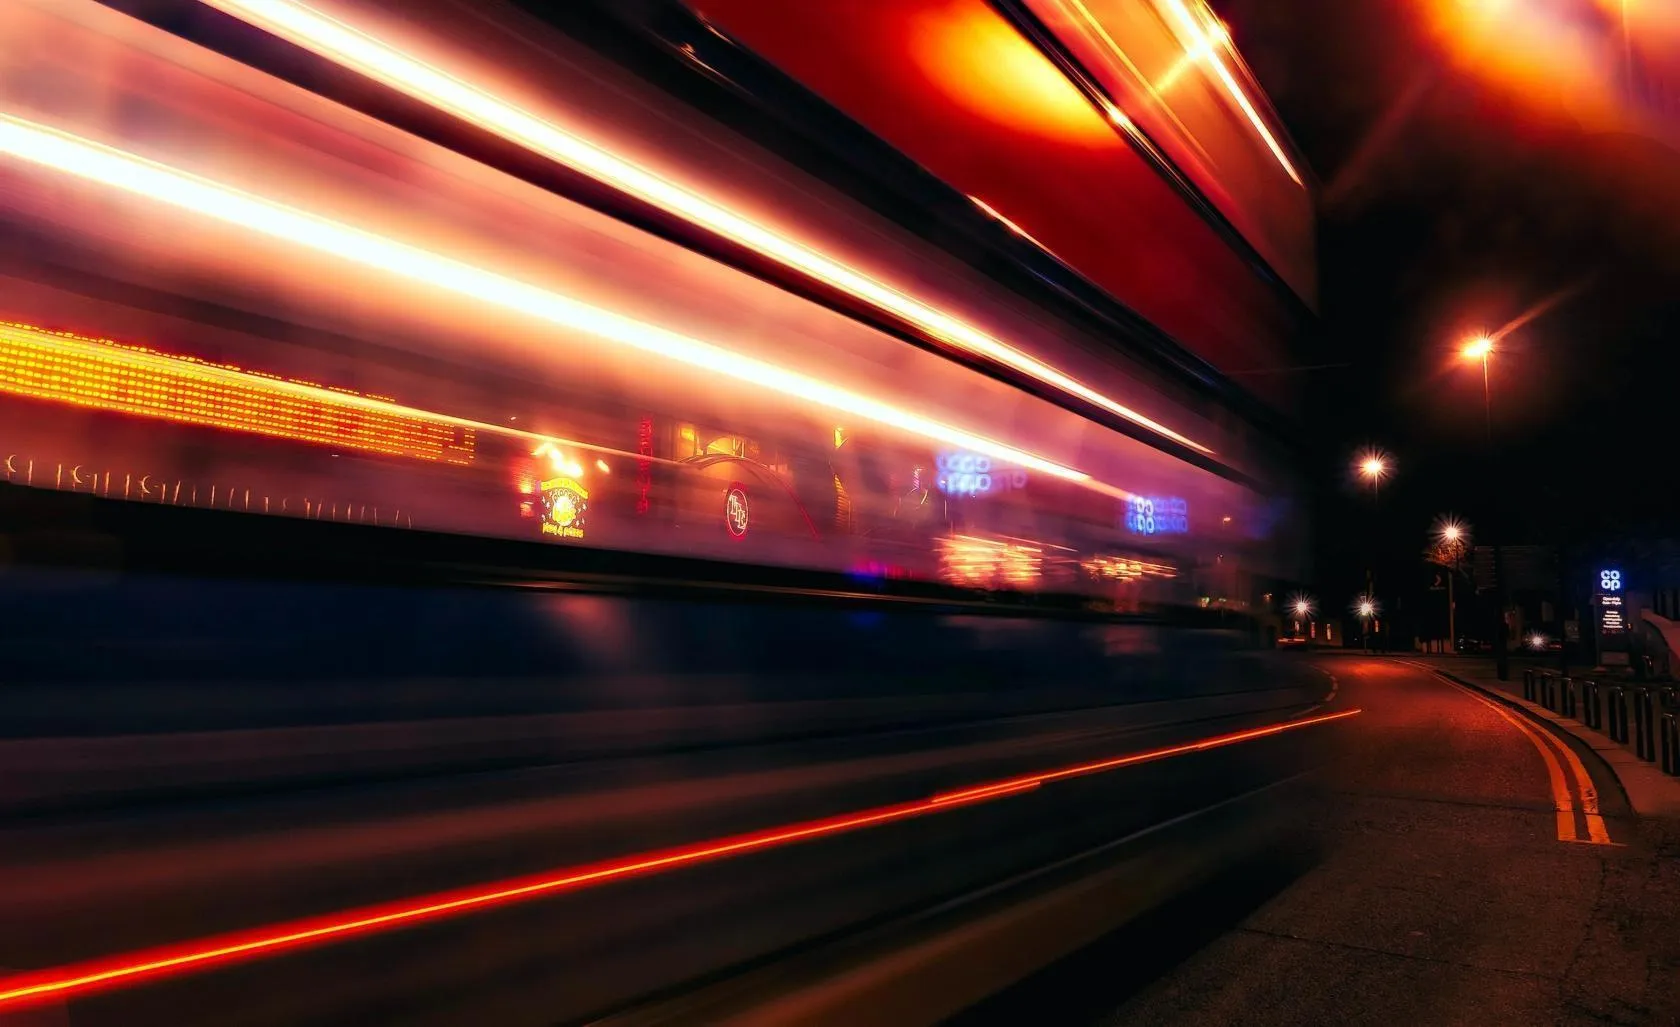 Once you understand the technique, experiment beyond headlights and taillights.
Try photographing:
- trains;
- trams;
- buses;
- bicycles;
- boats;
- aircraft lights;
- ferries;
- handheld flashlights;
- glow sticks;
- light painting.
You can even create your own light trails by moving a small light source through the frame during a long exposure.
The same principles still apply: keep the camera stationary, choose a suitable exposure time, and think carefully about where the light will travel.
Tip 8. Don’t Forget the Background
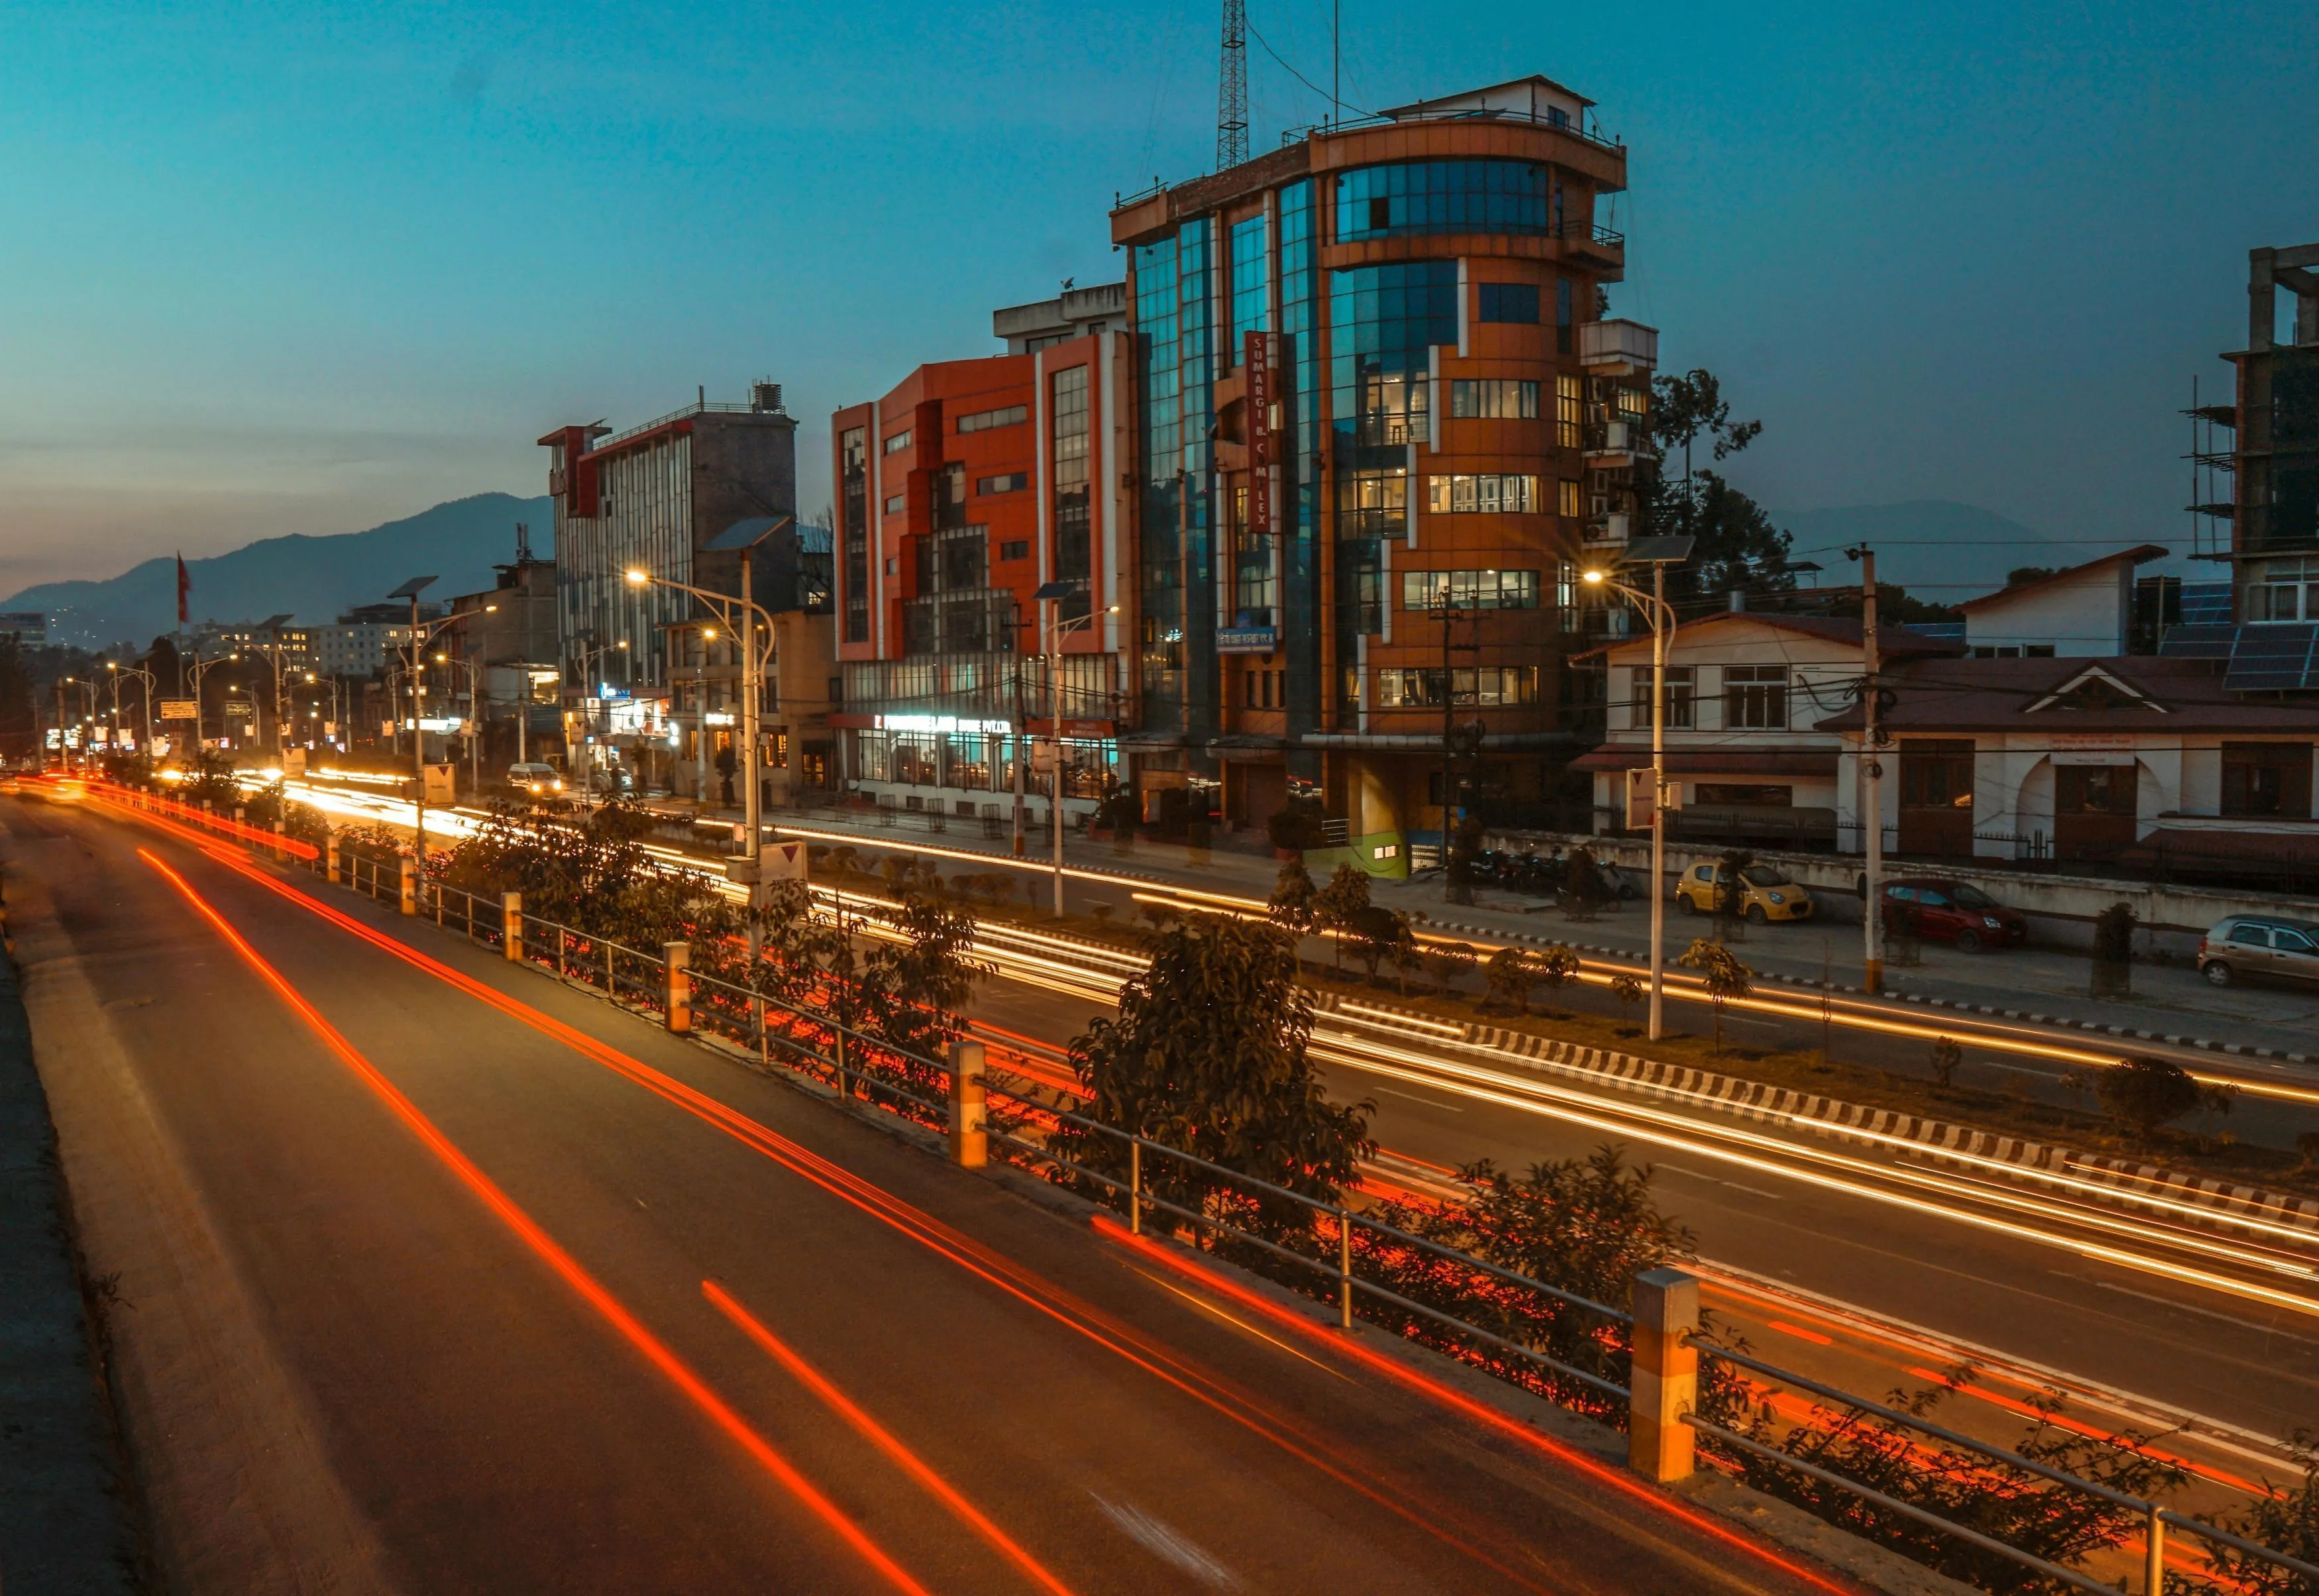 One of the most common mistakes in light-trail photography is concentrating so much on the moving lights that you forget about everything else.
A photograph containing only bright lines against a completely black background may lack context.
Look for something that gives the viewer a sense of place: a skyline, mountain, bridge, building, road markings, trees, or reflections.
This is another reason blue hour can work so well. The remaining daylight provides enough illumination to reveal the environment while the artificial lights begin to stand out.
If you shoot later at night, try to expose carefully for the highlights. Bright streetlights and signs can clip quickly, even when most of the frame looks dark.
How to Get Longer Light Trails
If you want the light source to travel farther through the frame, you generally need a longer exposure.
But simply increasing the shutter speed indefinitely isn’t always the answer. A longer exposure also records more ambient light, which can eventually make the entire image too bright.
Instead, balance shutter speed with aperture and ISO.
For example:
- Trails too short: try a longer shutter speed.
- Image too bright: lower ISO or use a smaller aperture.
- Image too dark: raise ISO or open the aperture.
- Trails are bright but the background is too dark: try shooting earlier, such as during blue hour.
- Camera movement is visible: improve tripod stability and use a timer or remote.
Take several test exposures. Light-trail photography is often about finding the right balance rather than discovering one perfect setting.
RAW and Long-Exposure Photography
If your camera supports RAW, it can be useful for this type of photography.
RAW files preserve more information for post-processing than JPEG files, giving you greater flexibility when adjusting exposure, highlights, shadows, and white balance.
This can be especially helpful in scenes containing very bright headlights alongside relatively dark surroundings.
Still, editing cannot recover detail that was never recorded. If a highlight is completely clipped or a shadow contains no usable information, there may be little you can do afterward.
The best results usually come from getting the exposure as close as possible in-camera and then using editing for refinement.
Your AI-Powered Photo Editor for MacOS and Windows
Editing Light Trail Photos in Luminar
Post-processing can help bring together the different elements of a long-exposure image.
In Luminar, you can adjust exposure, contrast, color, and detail to refine the overall appearance of the photograph.
For example, you might:
- recover some highlight detail where possible;
- lift shadows to reveal the surroundings;
- adjust the color temperature;
- increase contrast between the trails and the background;
- emphasize architectural or landscape details;
- remove distracting objects from the frame.
Structure AI can help emphasize details and textures when the scene needs more definition, while GenErase can be useful for removing distracting objects such as unwanted signs or small elements that compete with the composition.
Luminar also includes tools for working with light creatively, including effects designed to enhance light sources in night scenes. Magic Light AI, for example, can adjust the appearance of light sources and add or modify light beams.

Use these tools carefully. The most convincing light-trail photographs usually start with a strong exposure and composition rather than relying on heavy effects afterward.
Common Light Trail Photography Mistakes
| Mistake | Why it happens | Better approach |
| Camera shake | Touching the camera during a long exposure | Use a timer or remote |
| Trails are too short | Shutter speed is too fast | Increase exposure time |
| The whole frame is too bright | Too much ambient light | Lower ISO or use a smaller aperture |
| Background disappears | Shooting when surroundings are too dark | Try blue hour |
| Headlights are completely blown out | Bright lights exceed the sensor’s range | Check highlights and adjust exposure |
| Autofocus keeps hunting | The scene is too dark | Focus manually |
| Composition feels random | The trails were treated as the whole subject | Use roads and architecture as leading lines |
| Unsafe shooting position | Getting too close to traffic | Use a protected viewpoint |
Final Thoughts
Light-trail photography is a great way to learn how shutter speed, composition, and light work together.
You don’t need an elaborate setup. A camera with manual controls, a tripod, and a suitable location are enough to begin. Start during blue hour, try a few different shutter speeds, and pay attention not only to the light trails but also to the environment around them.
Once you’ve mastered car trails, experiment with trains, bicycles, trams, boats, or your own light-painting ideas.
And don’t rush the process. The best frame may come after several test exposures, a small change in camera position, or simply waiting for the right vehicle to pass through the composition.
That’s part of the fun of long-exposure photography: you’re not just recording movement — you’re turning it into lines, patterns, and a completely different way of seeing the scene.
FAQ
Start with a shutter speed of around 2–10 seconds, ISO 100–400, and an aperture around f/8–f/11, then adjust these settings according to the scene.
Blue hour is an excellent starting point because the sky still contains ambient light while vehicle and street lights are already visible.
A tripod is strongly recommended because the camera needs to remain stationary during a long exposure.
Manual focus can be helpful because autofocus may struggle in very dark conditions. Focus on a distant subject while there is enough light, then lock focus.
Yes. Many smartphones offer long-exposure modes or apps that can create similar effects, although dedicated cameras generally provide more manual control.