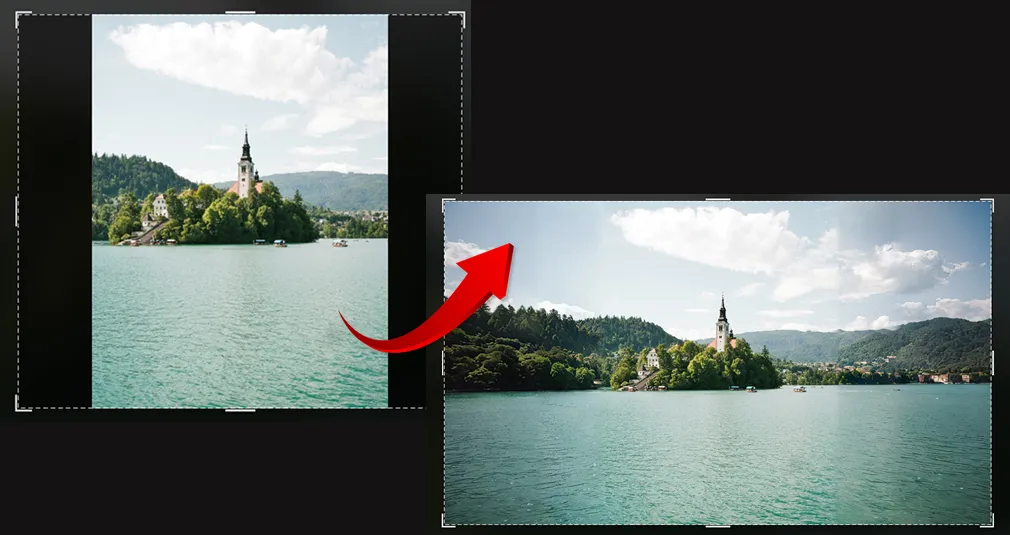
Do your hands shake when you take photos? Discover effective ways to stabilize your shots so you can take clear, sharp photos every time.
Do your hands shake, causing your photos to come out blurry? This is perfectly normal, and most photographers deal with it. Hand tremors are a natural defense mechanism triggered by cold temperatures, fatigue, stress, and a hundred other reasons. The question is, how can you deal with it? Might adjusting your camera settings or doing some exercises help? Let’s figure this out.
Don’t feel like reading the whole breakdown? We’ve pulled together a quick summary below.
Key Takeaways
- Process mechanics. Camera shake occurs when physical motion shifts the subject’s projection across the sensor during a long exposure. Shortening the shutter speed or using stabilization gear effectively mitigates this blurring.
- Stabilization hardware. Utilize supports like tripods or monopods for static scenes, and employ dynamic systems like gimbals or Steadicams to compensate for movement during video or reportage work.
- Body positioning. Improve shot stability by pressing your elbows against your ribs, adopting a stable “archer” stance, and using shoulder rigs or neck straps to create tension that minimizes tremors.
- Manual optimization. Match your shutter speed to your focal length (e.g., 1/200s for a 50mm lens) and open your aperture or increase ISO to compensate for the faster speed, ensuring photos are saved in RAW for post-processing.
- AI-driven recovery. Use advanced tools like Supersharp AI or other deblurring algorithms to restore texture and clarity to shots affected by minor motion blur, while using AI to adjust color and lighting balance.
Understanding the Causes of Shaky Hands in Photography
A digital sensor accumulates light while the shutter is open. If the photographer’s hands are shaking at that moment, light from the same point on the subject hits different pixels on the sensor, creating streaks visible to the naked eye. The blurring we see in the final photos is essentially a collection of many stretched-out points.
However, a handshake is a source of motion, whereas the defect in the photo is the superimposition of that motion over time. What’s the difference? This means that if you shorten the exposure time, increase the light, or compensate for the motion blur, hand shake will cease to affect the final result, either partially or completely.
Performing photo correction during post-processing is also a viable solution. If you were unable to eliminate the cause of the shake or compensate for it with equipment, then AI can help add sharpness. With just a few clicks, algorithms will remove blurred areas without affecting the surrounding background.
Exclusive Tools of Endless Possibilities in One Editor
Essential Equipment to Stabilize Your Camera
The most reliable way to eliminate camera shake is to get some additional equipment. The most common options are tripods with varying numbers of legs, which provide a stable position for the camera. Rather than holding it in your hands, you simply set the self-timer.
- Tripod. This three-legged stand is popular among photographers. It supports the weight of the camera and eliminates camera shake caused by hand movement.
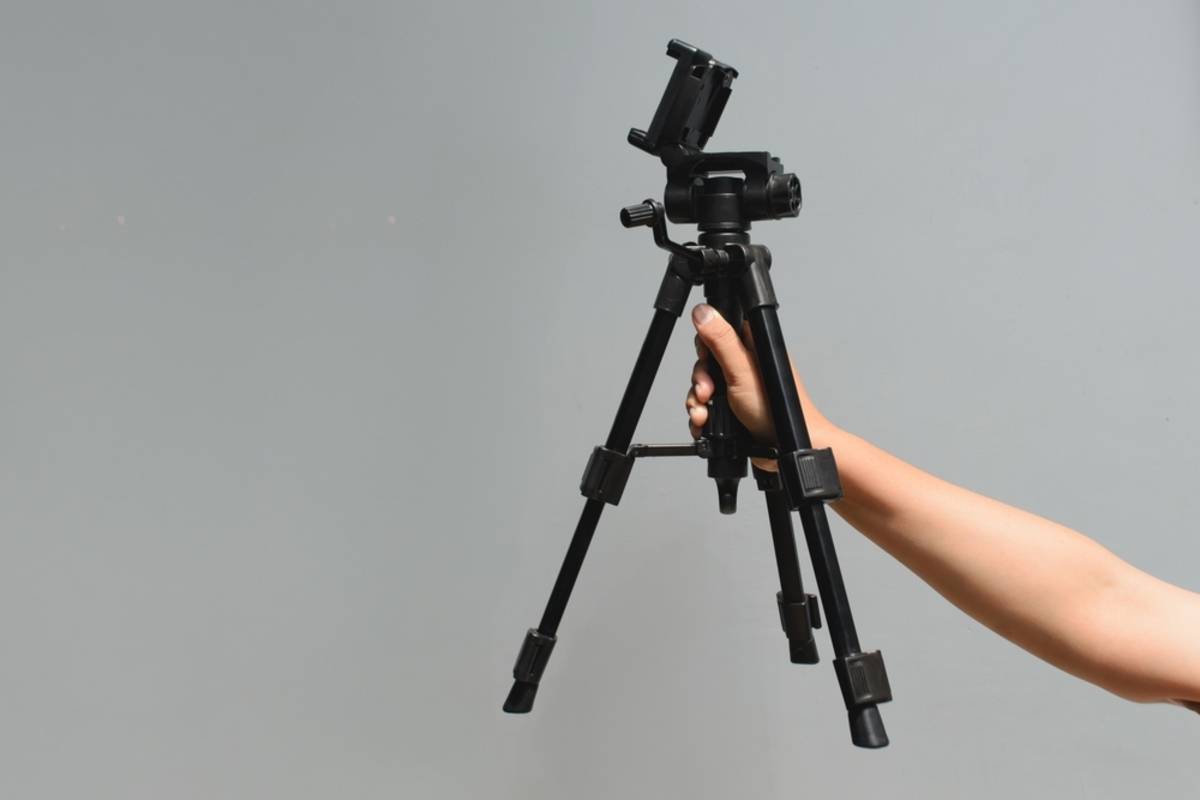
- Monopod. A tripod alternative with a single point of support. Its main advantage is portability. Thanks to its light weight, it’s convenient to take along on hiking or biking photo shoots.
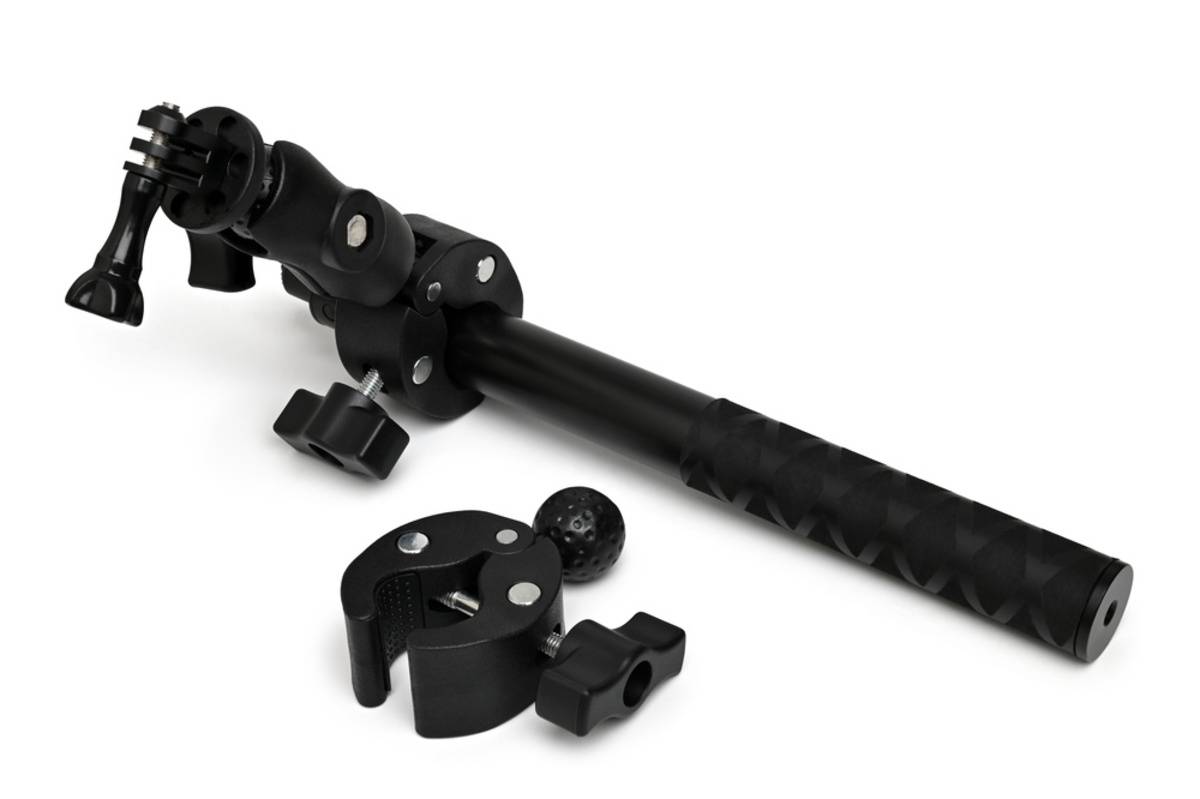
- Clamps and suction cups. Rigid mounts for securing a camera to existing objects. They turn pipes, railings, tables, or storefront windows into a stable support.
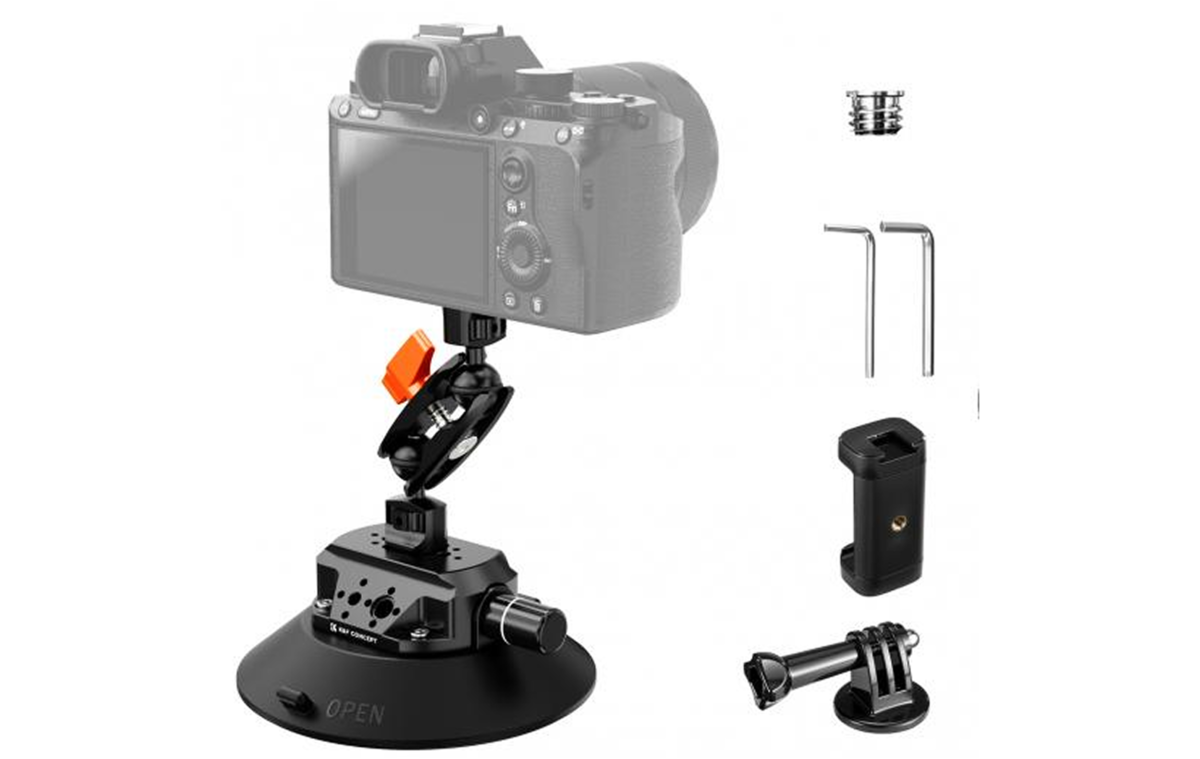


While stands eliminate the human factor by holding the camera in place of the photographer, dynamic stabilization systems are devices that compensate for hand shake. With the most advanced of these, you can shoot while running, and the image will still come out sharp.
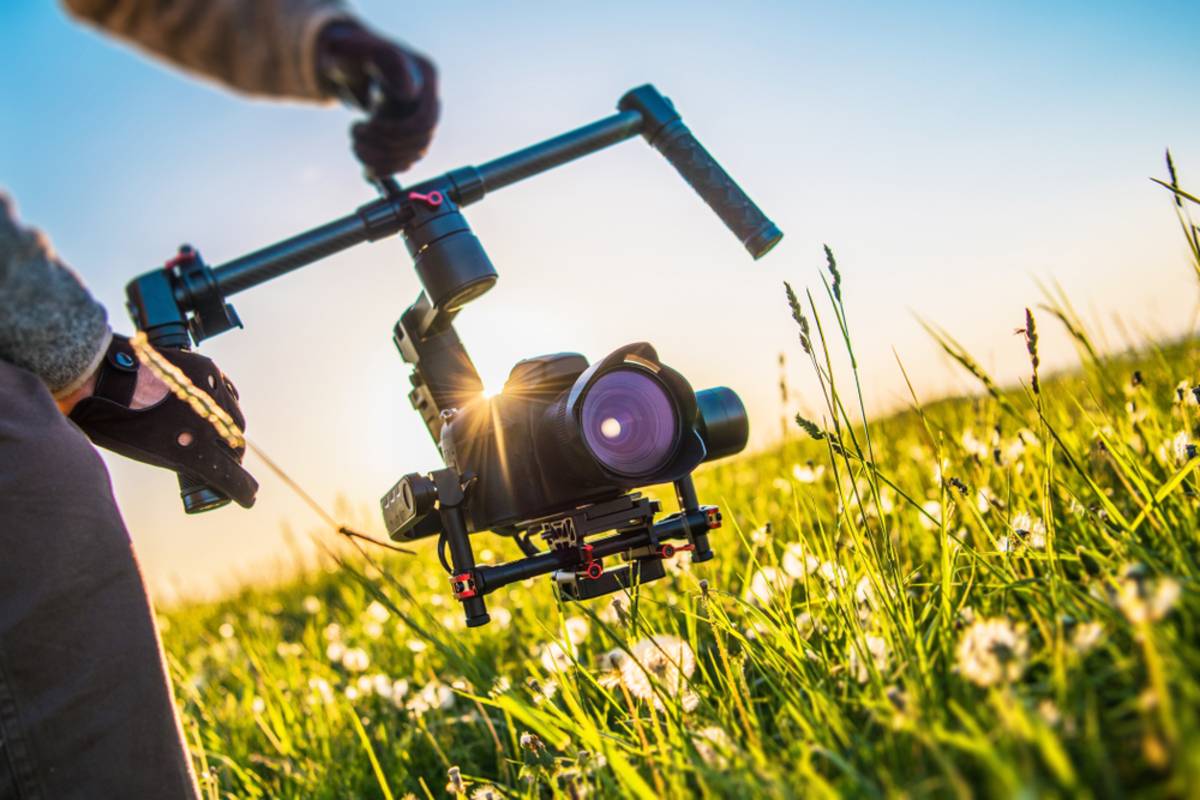
- Gyroscopic stabilizer / Gimbal. A device with motors that compensate for hand movements. It’s lightweight, comfortable to use for extended periods, and easy to set up. It features built-in smart modes for panoramas, time-lapses, and special effects.
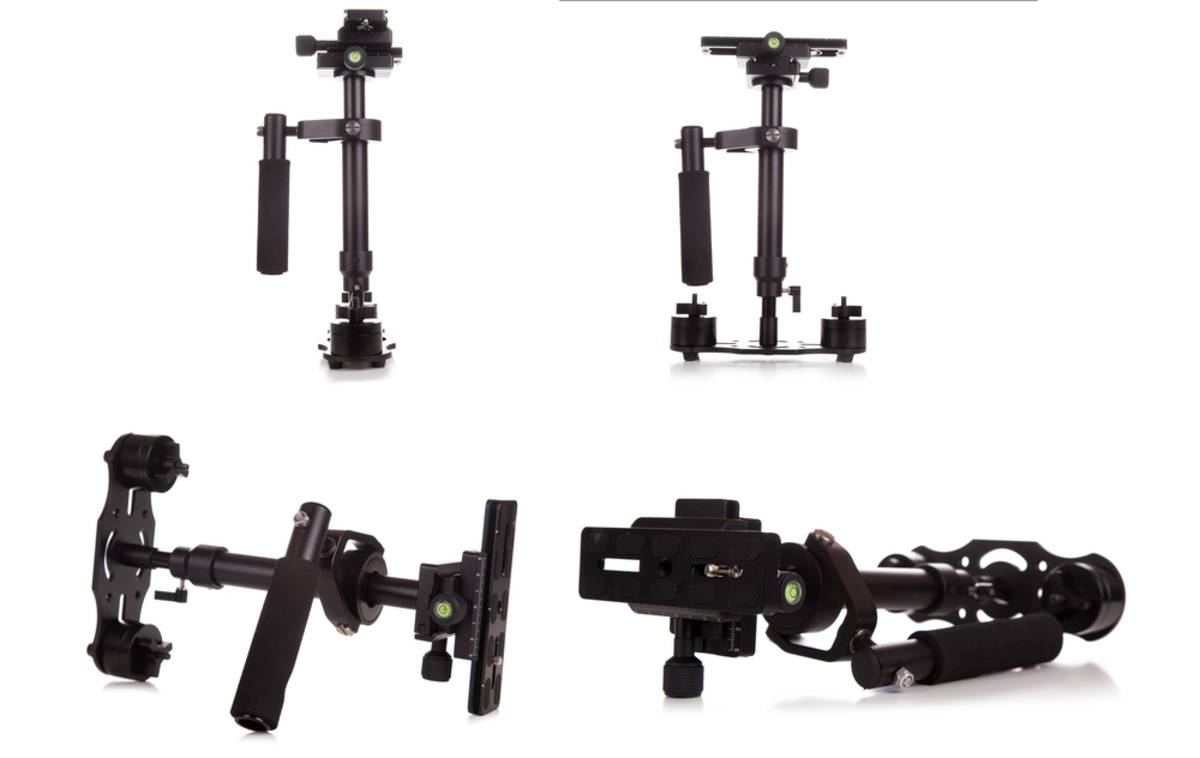
- Mechanical Steadicam. A system of counterweights and joints that stabilizes the shot using inertia. The heavy counterweight dampens sudden hand movements. It’s cumbersome to use, but it doesn’t require charging and is weather-resistant.


The choice of accessories depends on your shoot. For static nightscapes, interiors, and macro, a tripod eliminates shake for long exposures. If you’re on the move for reports or vlogs, a gimbal stabilizes camera shake in real time, though it won’t replace a tripod for nighttime shots.
Elevate Your Photography with Our Advanced Software
Techniques to Minimize Hand Movement While Shooting

When you can’t use stabilization equipment, adjust your posture. The simplest option is the “elbows-to-body” position. Extend your arms and gently press them against your ribs. Holding the camera this way is more comfortable, and restricting arm movement eliminates shake.
The “Archer” pose also works great for this exercise. Place your feet shoulder-width apart, with one foot slightly forward, distributing your weight evenly. Before pressing the shutter button, exhale gently and hold your breath to hit the center. These simple, effective techniques improve shooting stability through proper body positioning
To minimize hand shake when taking a photo, support the lens with your left palm, brace your elbow against your chest, and stand with legs apart, pressing the shutter with your right hand. For smartphones, hold the edges with both hands and tap the screen gently or use the volume button. In both cases, a stable stance or a physical support helps compensate for shaking.
Exercises to Improve Hand Stability

One of the main causes of hand tremors is muscle strain. When you hold the camera for a long time, your hands and forearms become stiff, making it difficult to keep them in one position. It follows, then, that in order to keep long exposures steady, a photographer needs to build up their physical endurance and muscle strength.
- Squeeze the resistance band. Squeeze the “donut” or double-handled grip as hard as you can, then try to hold it in that position for a few seconds. Release your grip slowly; the resistance band should not “pop” out of your grip.
- Wrist curls with dumbbells. Sit on a chair next to a low support. Position your forearm so that your wrist and hand hang off the edge, with your palm facing up. Slowly lower and raise your hand without lifting your forearm.
- Stretching. Extend your arm forward with your palm facing up, and gently pull your fingers toward you with your other hand. Do this slowly, without stretching to the point of pain. If your fingers don’t stretch very far at first, that’s normal.
The exercises presented here will make handling your camera more comfortable, regardless of its size. Camera shake will also disappear or, at the least, become noticeably less noticeable. For maximum effectiveness, it’s best to combine physical training with extra equipment and settings.
Using Support Tools for Steadier Shots
The camera isn’t the only thing that can be supplemented with auxiliary equipment. The most common option is a shoulder rest, which transfers the camera’s weight from your hands to your shoulder and torso. The body’s large muscles are stronger and more stable, making the shot much sharper than usual.
Alternatively, purchase a neck strap.

Best Camera Settings for Reducing Blur

As mentioned earlier, the main factor affecting camera shake is the shutter speed. The shorter the exposure time, the less likely it is that hand shake will ruin the shot. Therefore, without equipment to stabilize the camera, you’ll have to use a fast shutter speed and compensate for it with other settings.
The shutter speed is calculated as the reciprocal of the lens’s focal length. For example, when shooting at 50 mm, the shutter speed should be faster than 1/50, such as 1/100 or 1/200. These settings are adjusted manually, since the automatic mode doesn’t take the body’s physiological characteristics into account.
To prevent the photo from looking dark, open the aperture as wide as possible, for example, to f/1.8 or f/2.8. Furthermore, increase the ISO to 800 or higher if there isn’t much light around. And be sure to save your photos in RAW format so they’re easier to improve in post-processing.
Post-Processing Tips to Correct Shaky Images
The effects of shaky hands can be corrected even after you’ve taken the picture. In Luminar, the unblur image feature is performed by the “Supersharp AI” tool. It improves texture, removes blur, and preserves the photo’s natural look.
Use the “Enhance AI” tool to comprehensively improve your selected photo.
Your AI-Powered Photo Editor for MacOS and Windows
Practical Tips for Shooting in Challenging Conditions

Low light, bad weather, or movement can make hand shake more noticeable in your photos. How can you fix shaky hands in these conditions? You’ll have to make some compromises to preserve the brightness and sharpness of your photo. Be sure to shoot in RAW to preserve detail. In low light, set a fast shutter speed (1/50–1/60 second), increase the ISO, and open the aperture. Remove any resulting digital noise later in a photo editor.
When shooting while moving, bend your knees slightly and roll your foot smoothly from heel to toe, keeping your body level. This compensates for camera shake at low speeds. In inclement weather, wind and cold can make your hands shake more. Remove the lens hood to reduce wind resistance and crouch lower to the ground. In cold weather, always bring warm clothing and chemical hand warmers to prevent your hands from going numb.