Unleash your creative potential by learning how to style your photos with unique effects and personal touches that will make each shot stand out.
A photograph begins to look unique when the photographer stops chasing others’ opinions and focuses on their own skills and preferences. Stylization transforms an ordinary shot into an artistic statement capable of instantly capturing the viewer’s attention. By working with color, light, and compositional accents, you create a unique mood and convey hidden meanings. Mastering these techniques opens the door to creating visual content that stands out from the endless digital stream and leaves a lasting impression.
Don’t feel like reading the whole breakdown right now? Here’s a tighter, more practical summary of what actually changed.
Your AI-Powered Photo Editor for MacOS and Windows
Key Takeaways
- Stylization is separate from correction: technical edits fix mistakes (noise, dark areas, crooked horizon), while stylization changes mood through textures, color shifts, and themed effects without rebuilding the whole frame.
- Pick a style that matches the source, because lighting and color in the original already suggest the right direction. The text warns that forcing a dark cinematic look onto harsh sunny beach light will read unnatural.
- Color and contrast are built with specific tools. It lists an S-curve for depth without crushing detail, HSL channel control (for example, darker blues for sky), split toning (warm highlights + cool shadows), and color temperature shifts to change “time of day” perception.
- Filters fall into two categories: texture overlays and optical distortions. Overlays use PNG textures (dust, paper, flares) with “Screen/Overlay,” while optical effects physically reshape pixels (fisheye, chromatic aberration with channel shifts).
- Drama is created through controlled lighting, using chiaroscuro logic: a hard directional key light at 45° plus a second light behind the subject to outline contours, then adjust intensity by power or repositioning.
- Portrait stylization is pushed through angle + framing + natural behavior. The guide suggests experimenting with low/high angles, framing with branches/doorways/reflections, and prioritizing natural poses over rehearsed ones.
- Finish with safe export settings. Before posting, export JPEG in sRGB so textures and distortions display consistently across screens, then use captions/tags and communities to reinforce your personal style.
Photo Stylization

Post-processing of captured footage is divided into two categories: correcting technical errors and stylization. In the first case, defects caused by mistakes made during the shooting phase are corrected. The photographer brightens dark areas, reduces digital noise, and straightens a crooked horizon. Stylization specifically aligns with the image’s mood, altering its visual presentation by adding textures or applying thematic effects.
However, this doesn’t mean that creating a style requires completely rebuilding the frame. For example, to mimic the film effect, photographers add grain and highlights. The color tone shifts toward warm orange or yellow hues to enhance the sense of nostalgia. The film style is most effectively integrated into wedding or travel photography, which aims to evoke similar emotions when viewed.
When choosing photo editing presets for stylization, you should consider the context and specific characteristics of the individual photo. For example, when editing portraits, it’s best to use soft, warm tones to make the scene more inviting. For landscape photos, filters that increase the scene’s saturation and create contrast between details are suitable. The goal of stylization is to enhance the photo’s strengths and smooth out its weaknesses to the point where the viewer doesn’t notice anything amiss.
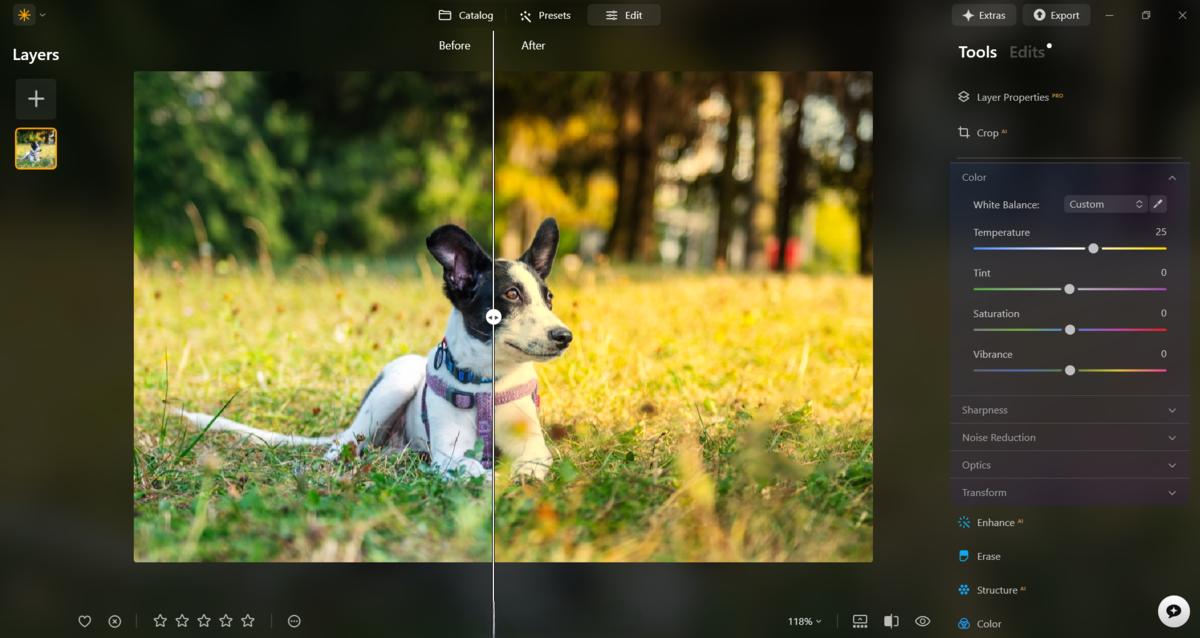
Nice Tools for Photo Editing
Creating stylized photos involves using many features simultaneously, so when choosing an editor, pay attention to how comprehensive it is. Options like Luminar Neo are the best fit because, in addition to basic adjustments, they offer access to advanced tools with built-in AI.

Skylum’s product can automatically adjust color tone, saturation, exposure, and other basic settings. The user only needs to adjust the effect’s intensity and can then move straight to adding distinctive details. If you need to edit several photos similarly, use the batch editing feature in Luminar Neo or the mobile app. It is enough to finish one photo and then copy those changes to other images directly from the collection.
As another option, you can consider a photo editing app designed to apply one or more effects effectively. For example, Different Dimension Me convincingly redraws finished images in the style of Japanese animation, but it does not provide tools for further editing.

The Lensa editor works in a similar way, turning your selfies into a set of social media avatars in different styles that can only be modified later in a third-party app.

Choosing the Right Style for Your Photo
The choice of style is determined by the image’s original qualities. The initial lighting of the scene, along with the color of the objects, directly suggests the direction of further editing. Trying to apply a dark cinematic filter to a beach flooded with midday sun will make the image look unnatural. By contrast, a gloomy, foggy forest works well with cool blue tones and draws the viewer’s eye more effectively. The ability to notice combinations like these guarantees that the use of filters serves the final scene rather than working against it.
Techniques to Enhance Colors and Contrast
In most cases, the original image will look dull due to a lack of saturation and contrast. There are several effective techniques that can help address this issue.
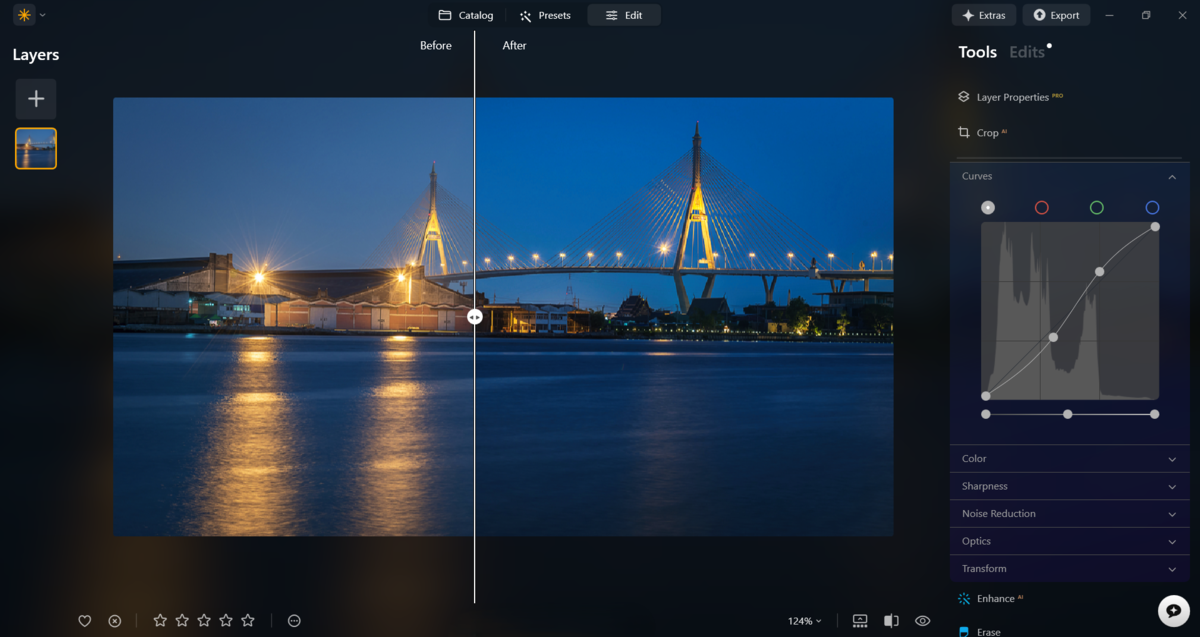
- S-shaped tone curve. Simply raise the highlights on the graph and then lower the shadows so that the letter “S” visually emerges on the graph. This added contrast will give the image more depth, without losing detail in the darkest areas.
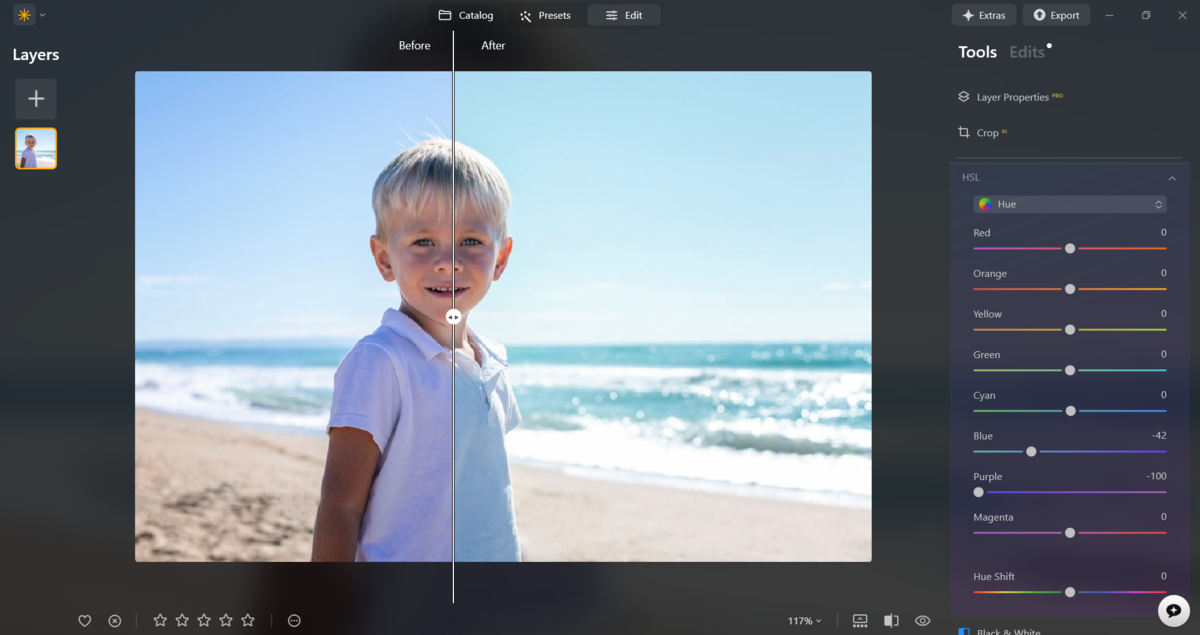
- Separate color adjustment (HSL). Most editors have a separate tool for controlling the hue, saturation, and lightness of each channel individually. Reducing the brightness of the blue spectrum makes the sky more expressive without affecting the warm skin tones of the subject at all.
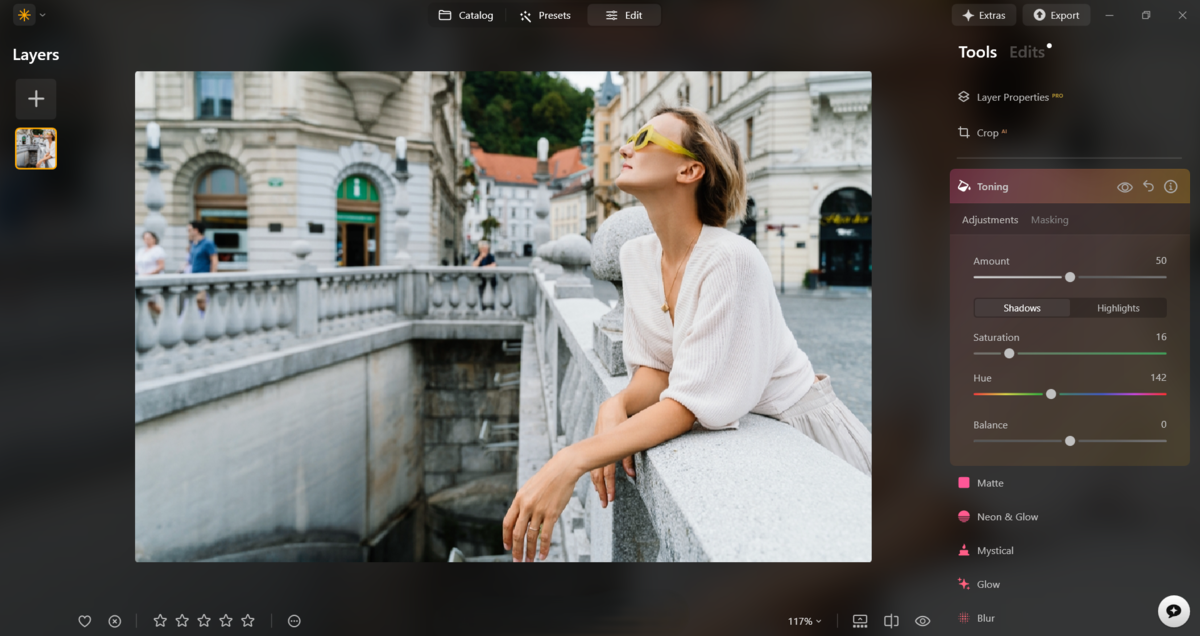
- Split toning. Add a warm yellow tint to the highlights and a proportionally cool tone to the deep shadows. This helps create color contrast even on dull textures where conventional methods don’t work.
- Shifting the color temperature balance. Manually adjusting the color temperature slider instantly changes the visual perception of the time of day. For example, warming up a daytime shot will help create a sunset effect, bathing the surroundings in soft orange light.


Excessively increasing color saturation and contrast will inevitably result in visual artifacts. Therefore, pay close attention to the intensity of the effects to guarantee that color artifacts do not ruin your image.
Using Filters and Effects Creatively

Two types of filters are used to stylize a photo: texture overlays and optical distortion simulations. The first type works like additional layers superimposed on your photo. They do not alter the objects’ geometry, but simply add details. Optical distortions most often physically “stretch” or “compress” the pixels in the frame, mimicking the behavior of lenses.
To apply textures, people most often use pre-made PNG overlays with effects like dust, aged paper, or light glare, setting their blending mode to “Screen” or “Overlay.” At the same time, simulating optical effects requires software algorithms: for example, the “fisheye” effect curves lines toward the edges of the frame, while chromatic aberrations slightly shift the red and blue channels relative to each other, creating a characteristic “rainbow” outline at the edges of objects.
Achieve Retro Chic with the Cross Processing Effect
Adjusting Lighting for Dramatic Impact

Instead of evenly filling the entire scene, the light is focused on a single detail, leaving the rest of the image in partial darkness. In the photography community, this technique is known as “chiaroscuro”, or a light-and-shadow pattern. It adds depth, tension, and mystery to the shot while drawing attention to the main subject against a dark background.
This effect is typically achieved by using multiple light sources. One is positioned at a 45-degree angle to the camera and used to create sharp transitions. The second light source is used to highlight the subject’s contours and is therefore placed behind the model. To adjust the effect’s intensity, simply reduce the lights’ power or reposition them.
Tips for Creating Unique Portraits

To create stylized portraits, you need to move away from familiar angles and start experimenting. Try different shooting angles: a low angle will make the subject appear more monumental, while a high angle will make the image feel more vulnerable and open. To give the shot more depth, try finding an object that can serve as a frame. This could be tree branches, doorways, or even a reflection in glass.
The pose for the photo should be as natural as possible. So instead of having the model strike rehearsed poses, ask them to act naturally. Depending on the location, you can capture many interesting shots that grab the viewer’s attention thanks to the genuine emotions they convey. If any flaws appear in the final images, don’t hesitate to use photo editing software.
Finalizing and Sharing Your Stylized Photo

Before publishing, make sure the edited image retains its detail and displays correctly on different screens. When exporting the file from the photo editor, select JPEG and sRGB color space to ensure the overlaid textures and optical distortions are not too noticeable.
When posting a photo online, add a description of the creation process or use thematic tags that highlight your personal style. Posting in specialized communities or on photography platforms will help you get valuable feedback from colleagues and followers.
The Art of Framing
What is a stylized photo? It is a balance between technical precision and artistic intuition that transforms a snapshot into a story. A skillful combination of textural overlays, optical distortions, and lighting techniques enables the photographer to guide the viewer’s attention and emotions. Remember that every effect should serve the overall concept, highlighting the uniqueness of the moment, and the final publication is simply the natural outcome of your creative exploration.