Discover techniques that transform ordinary moments into captivating nature photographs, capturing the beauty of the world around us with clarity and creativity. Aristotle once said, “We are what we repeatedly do. Excellence, then, is not an act, but a habit.” In many ways, this quote reflects the path a photographer must take to create professional-quality […]
Discover techniques that transform ordinary moments into captivating nature photographs, capturing the beauty of the world around us with clarity and creativity.
Aristotle once said, “We are what we repeatedly do. Excellence, then, is not an act, but a habit.” In many ways, this quote reflects the path a photographer must take to create professional-quality images. Simply purchasing an expensive camera and taking a few online courses won’t make you an expert. High-quality results require work, work, and more work, tempered with a dash of talent.
Don’t feel like reading the whole breakdown? We’ve pulled together a quick summary below.
Key Takeaways
- Nature photography depends on adaptability. Unlike studio or architectural shooting, photographers must constantly react to changing weather, shifting light, and unpredictable wildlife behavior.
- Camera settings should change with the environment. Aperture, shutter speed, ISO, white balance, and focus mode all need continuous adjustment depending on movement, lighting, and scene depth.
- RAW format preserves more flexibility during editing. Uncompressed files retain shadow and highlight detail, making color correction and AI-powered enhancements look cleaner and more natural.
- Strong composition gives landscapes more visual impact. Techniques like leading lines, depth layering, scale contrast, and the rule of thirds help create more immersive and balanced nature photos.
- Wildlife photography rewards patience and observation. Understanding animal behavior, staying unnoticed, and shooting from eye level help photographers capture more authentic and emotionally engaging moments.
Basics of Nature Photography

A portrait photographer calmly directs the model’s movements and can adjust the shooting conditions at any time as they see fit. Architectural structures remain virtually unchanged throughout the year, so they can always be photographed just as well. What about photography in nature?
Creating high-quality photographs requires the ability to navigate constantly changing weather conditions and lighting. When shooting animals, the camera operator has virtually no control over them. Due to an unwritten rule among all wildlife photographers, they are not even allowed to intervene if something happens to the creatures.
This is a major drawback of natural photography, but at the same time, it is what makes it so appealing. Every shot turns out to be unique in its own way, which is why you just want to keep looking at it. Nature creates its own unique textures, color gradations, and large-scale lighting effects. All a photographer can do in this situation is be prepared.
Discover AI's Power in Wildlife Photography
Equipment for Capturing Nature

Sudden changes in weather and lighting force the photographer to adjust exposure settings and compositional choices on the spot. Without a sturdy tripod, it’s impossible to capture a sharp image of a flowing river using a long exposure in gusty winds. A fast zoom lens makes it possible to quickly isolate the subject from the background when the sun suddenly disappears behind storm clouds.
A polarizing filter is indispensable when photographing wet leaves or forest lakes, as it physically removes glare from surfaces and restores saturation to the image. A protective, weather-resistant body cover enables you to keep shooting during a downpour, when the sky creates a soft, enveloping light. Nature photography is constantly changing and demands the same from photographers.
Situations where you’ve prepared for one set of conditions but find yourself facing different ones on location will happen all the time. The only difference is whether you’ll be ready to embrace these changes with your head held high like a true professional, or whether the sheer power of nature will cause you to call off the shoot.
Mastering Camera Settings for Stunning Nature Shots

There’s a saying among experienced photographers: “It doesn’t matter what camera you have—it matters how you hold it.” So don’t give up on the idea of taking a bunch of great nature photos just because all you have is an old Canon.
The right settings will help achieve a natural, crisp image even on the oldest models. Be prepared to adjust the settings whenever the lighting, weather conditions, or colors of the location change. Here’s a quick guide to help you get it right:
- Aperture. Controls the size of the lens opening. A small aperture (f/11) narrows the opening, letting in less light but keeping the entire scene in focus. A large aperture (f/2.8) opens it up as much as possible, blurring the background.
- Shutter speed. Determines how long the shutter remains open. A short 1/1000 second exposure cuts off the light instantly and freezes the bird’s movement. A long 2-second exposure keeps the shutter open, blurring the passing clouds.
- ISO. Amplifies the sensor’s electrical signal. The minimum value of 100 is used in bright sunlight for a clean image. A high setting of 3200 artificially amplifies dim night light, but this comes at the cost of digital noise.
- White balance. Adjusts the color temperature to match the light source. This setting neutralizes the blue tint of winter snow in the shade or enhances the warm tones of the setting sun.
- Focus mode. Focuses the lens. Single-shot mode (AF-S) locks the lens onto a stationary subject. Continuous-tracking mode (AF-C) continuously refocuses the lens as a moving subject moves.
Special attention must be paid to settings when photographing moving subjects. For example, when photographing birds, it’s best to set a fast shutter speed and switch the ISO to automatic mode. Adjust the exposure triangle to avoid photos that turn out too dark or grainy.
Apart from adjusting the exposure, professionals always set the camera to RAW mode. Unlike the JPEG format, which compresses data and permanently loses detail in shadows and highlights, a RAW file preserves all light information directly from the sensor. The more detail in the photo, the more natural and effective the post-processing will be.
Composition Techniques to Enhance Your Nature Photos
Composition doesn’t affect the photo’s quality, but it does determine how visually appealing it is. Google “nature photos using the golden ratio,” and then take a look at some random photos. Even beginners will be able to spot the difference between the images. Here are a few other compositional techniques worth incorporating into your work:
- Leading lines. Utilizing riverbeds, trails, or cracks in rocks. These elements physically guide the viewer’s gaze from the front of the frame toward the main subject.
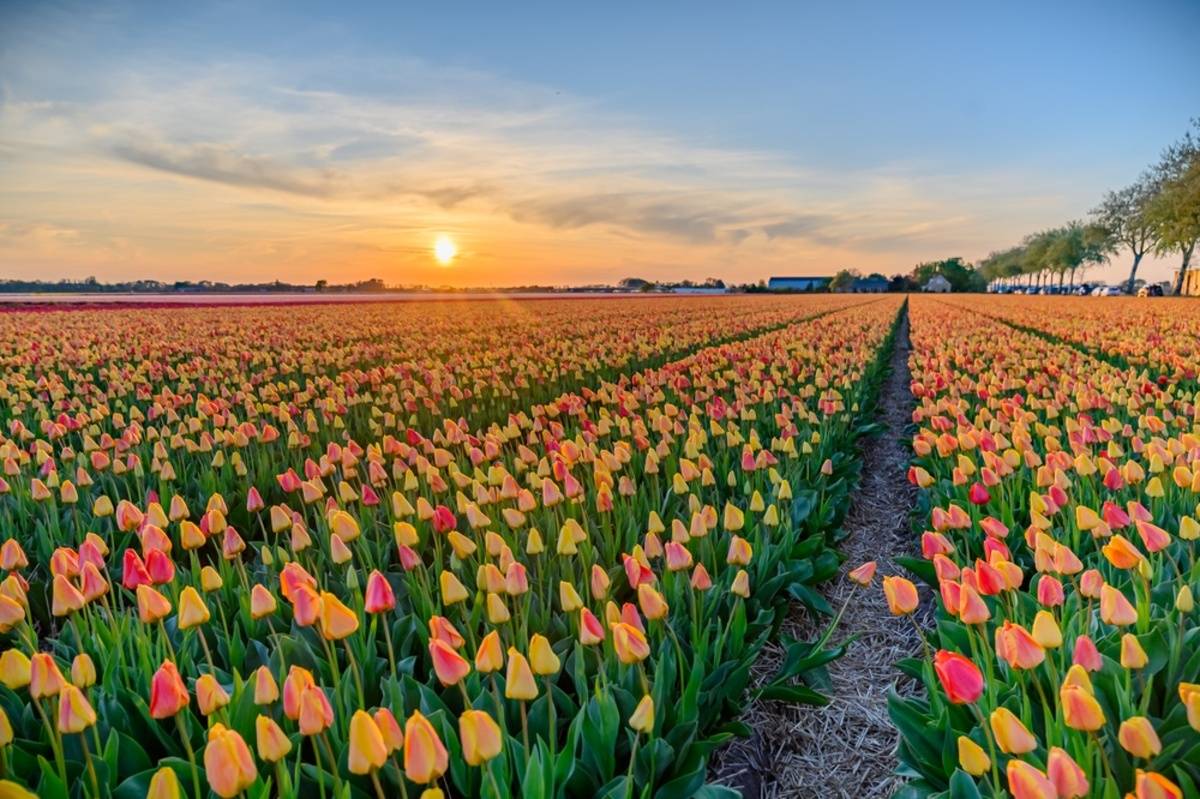
- Depth of field. Dividing the space into foreground, middle ground, and background. Placing a rock or branch near the lens creates the illusion of three-dimensional space.
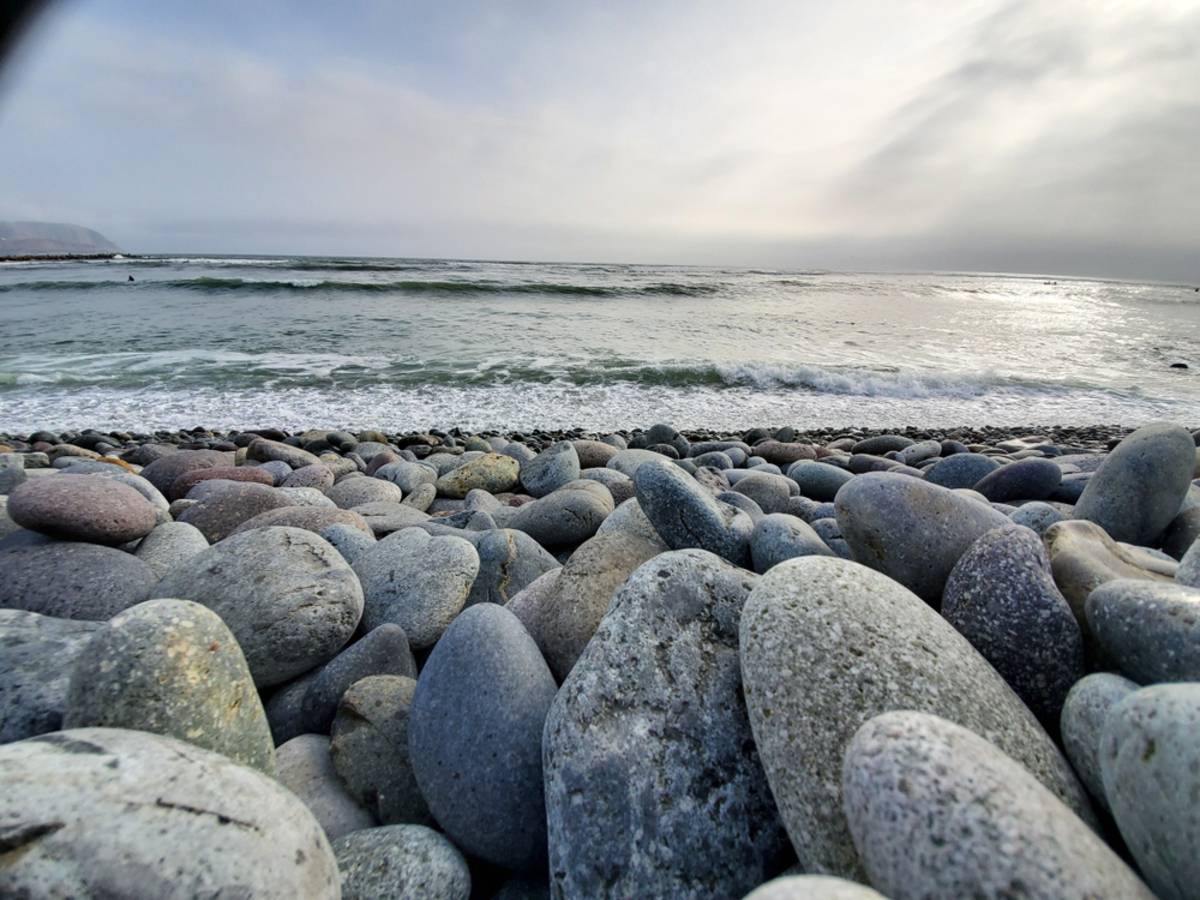
- Rule of Thirds. Placing core elements at the intersection of imaginary lines dividing the frame into a 3×3 grid. Placing the horizon on the bottom line emphasizes the scale of the sky, while placing it on the top line highlights details on the ground.


Along with frame composition, professionals frequently use scale contrast to enhance the composition. Placing a single person, a tent, or a tree against the backdrop of a massive mountain range instantly provides the viewer with a point of reference. Without comparing objects, the human brain is unable to adequately assess the true size and grandeur of natural features.
If the edges in the photo aren’t quite precise, you can fix this in a landscape photo editor. If you’re using Luminar Neo, Photoshop, or another advanced editor with built-in AI, you won’t even have to do anything yourself. The algorithms will identify the main objects in the scene and suggest adjustments that best enhance the original image.
Your AI-Powered Photo Editor for MacOS and Windows
Utilizing Natural Light and Weather Conditions

Professional landscape photographers avoid the midday sun, which casts harsh, dark shadows and washes out colors. Instead, they shoot during the “golden hour” just after sunrise or before sunset, when the low sun gently outlines the contours of the slopes. Side light highlights the finest textures of tree bark, rocks, and grass, making the photos look good enough to eat.
But don’t view cloudy weather, fog, or storms as obstacles. In fact, these conditions are even better for shooting. Thick clouds act like a giant studio softbox, diffusing the light and eliminating harsh highlights from foliage and water. Rain and fog physically separate the layers of the landscape, adding a natural sense of depth to the frame.
Tips for Successful Wildlife Photography

Photographing wildlife requires a deep understanding of their behavior and a great deal of patience. To capture a sharp image, a photographer must study the animals’ movement patterns and feeding grounds in advance. An incredibly great principle that is rarely mentioned among professional nature photography tips is camouflage. Camouflage tents and silent shutter mode make it possible to photograph animals in their natural habitat without causing them stress.
Using continuous autofocus (AF-C) in combination with eye-detection AF means that your subject will stay in focus, even if it moves. Enable high-speed continuous shooting to capture the fleeting movements of small animals or a predator’s leap. Even if some unwanted details end up in the shot, you can always use a bird photo editor to remove them.
Wildlife photography requires more creative angles to make the shot look more natural. If you adopt a standard pose, you’ll hardly be able to capture the full complexity of animals moving instinctively. The photographer needs to get down to the animal’s eye level, even if that means lying on the ground. As mentioned earlier, nature won’t adjust to you. The only way to blend in with the greenery and roaming animals is not to be afraid to get dirty.
Creative Approaches to Landscape and Night Photography

Want to learn how to take nature photos at night? Use long exposures with ND1000 neutral density filters. This technique enables you to extend the exposure to several minutes in broad daylight. As a result, dynamic ocean waves transform into a perfectly smooth, mystical mirror, and clouds drifting across the sky stretch into dynamic, textured streaks.
Night photography lets you capture astronomical objects that are invisible to the naked eye. To keep the stars as sharp points rather than streaks caused by the Earth’s rotation, photographers use the “rule of 500.” To do this, they divide 500 by the lens’s focal length to determine the maximum shutter speed in seconds. A fast lens with an aperture of f/1.8, combined with an ISO of 3200, reveals the structure of the Milky Way in great detail.
Patience and Creativity: Keys to Great Nature Photography
Professional nature photography is about more than just adjusting camera settings or buying expensive equipment. High-quality images are always based on strict discipline, hours of patience, and the ability to see the geometry of the frame. The combination of precise composition, careful control of natural light, and a deep understanding of wildlife behavior enables a two-dimensional photograph to capture a unique moment in time and convey the true scale and atmosphere of the living world.