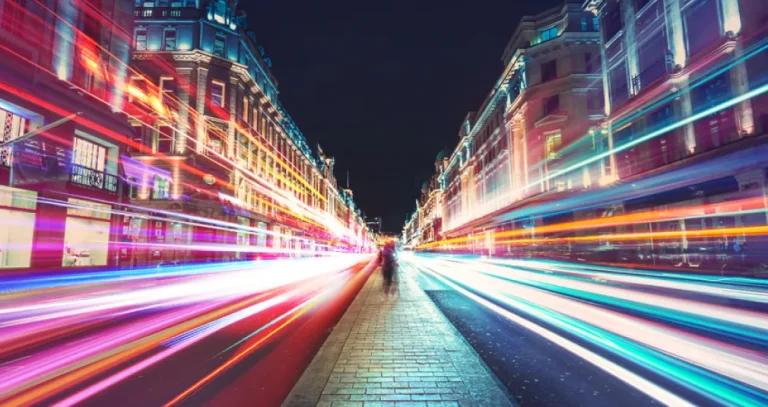
Silhouette photography turns a subject into a solid dark shape set against a bright background, stripping away color and detail so only the outline remains.
It’s one of the simplest techniques in photography, but done well, it can turn an ordinary scene into something striking. Whether your subject is a person, a tree, or a building at sunset, silhouettes let the shape tell the story. Here’s how to plan, shoot, and edit them.
Don’t feel like reading the whole breakdown? We’ve pulled together a quick summary below.
Key Takeaways
- A silhouette forms when your subject is much darker than a bright background behind it, usually created by shooting toward a strong light source.
- Golden hour — shortly after sunrise or before sunset — gives the most reliable light for silhouettes, but bright windows, stage lighting, or a full moon also work.
- Manual exposure set for the background (not the subject) is essential; auto-exposure tends to brighten the subject and ruin the contrast.
- A low ISO (100–200) and a faster shutter speed help keep the background bright and the subject fully dark.
- Clean, uncluttered backgrounds and subjects with a clear, recognizable outline produce the strongest silhouettes.
- Shooting from a low angle against the sky adds scale and drama to the subject.
- Post-processing can deepen shadows and boost background contrast, but it works best on a shot that was already exposed correctly in-camera.
What Is Silhouette Photography?

Silhouette photography captures a subject — a person, tree, or building — as a solid dark shape against a much brighter background, such as a sunset or a lit window. Because the background is exposed correctly and the subject is left underexposed, the subject loses its color and texture and reads as a flat, dark outline. The technique relies on shape and contrast rather than detail, which is what gives silhouette images their graphic, dramatic quality.
You don’t need advanced gear to shoot silhouettes — a basic camera or smartphone works fine, and because the subject is dark, small focus or detail mistakes are easy to hide. If you plan to compare editing tools once you’re ready to fine-tune your shots, see Luminar vs Lightroom to weigh your options.
Your AI-Powered Photo Editor for MacOS and Windows
Getting the Lighting and Timing Right
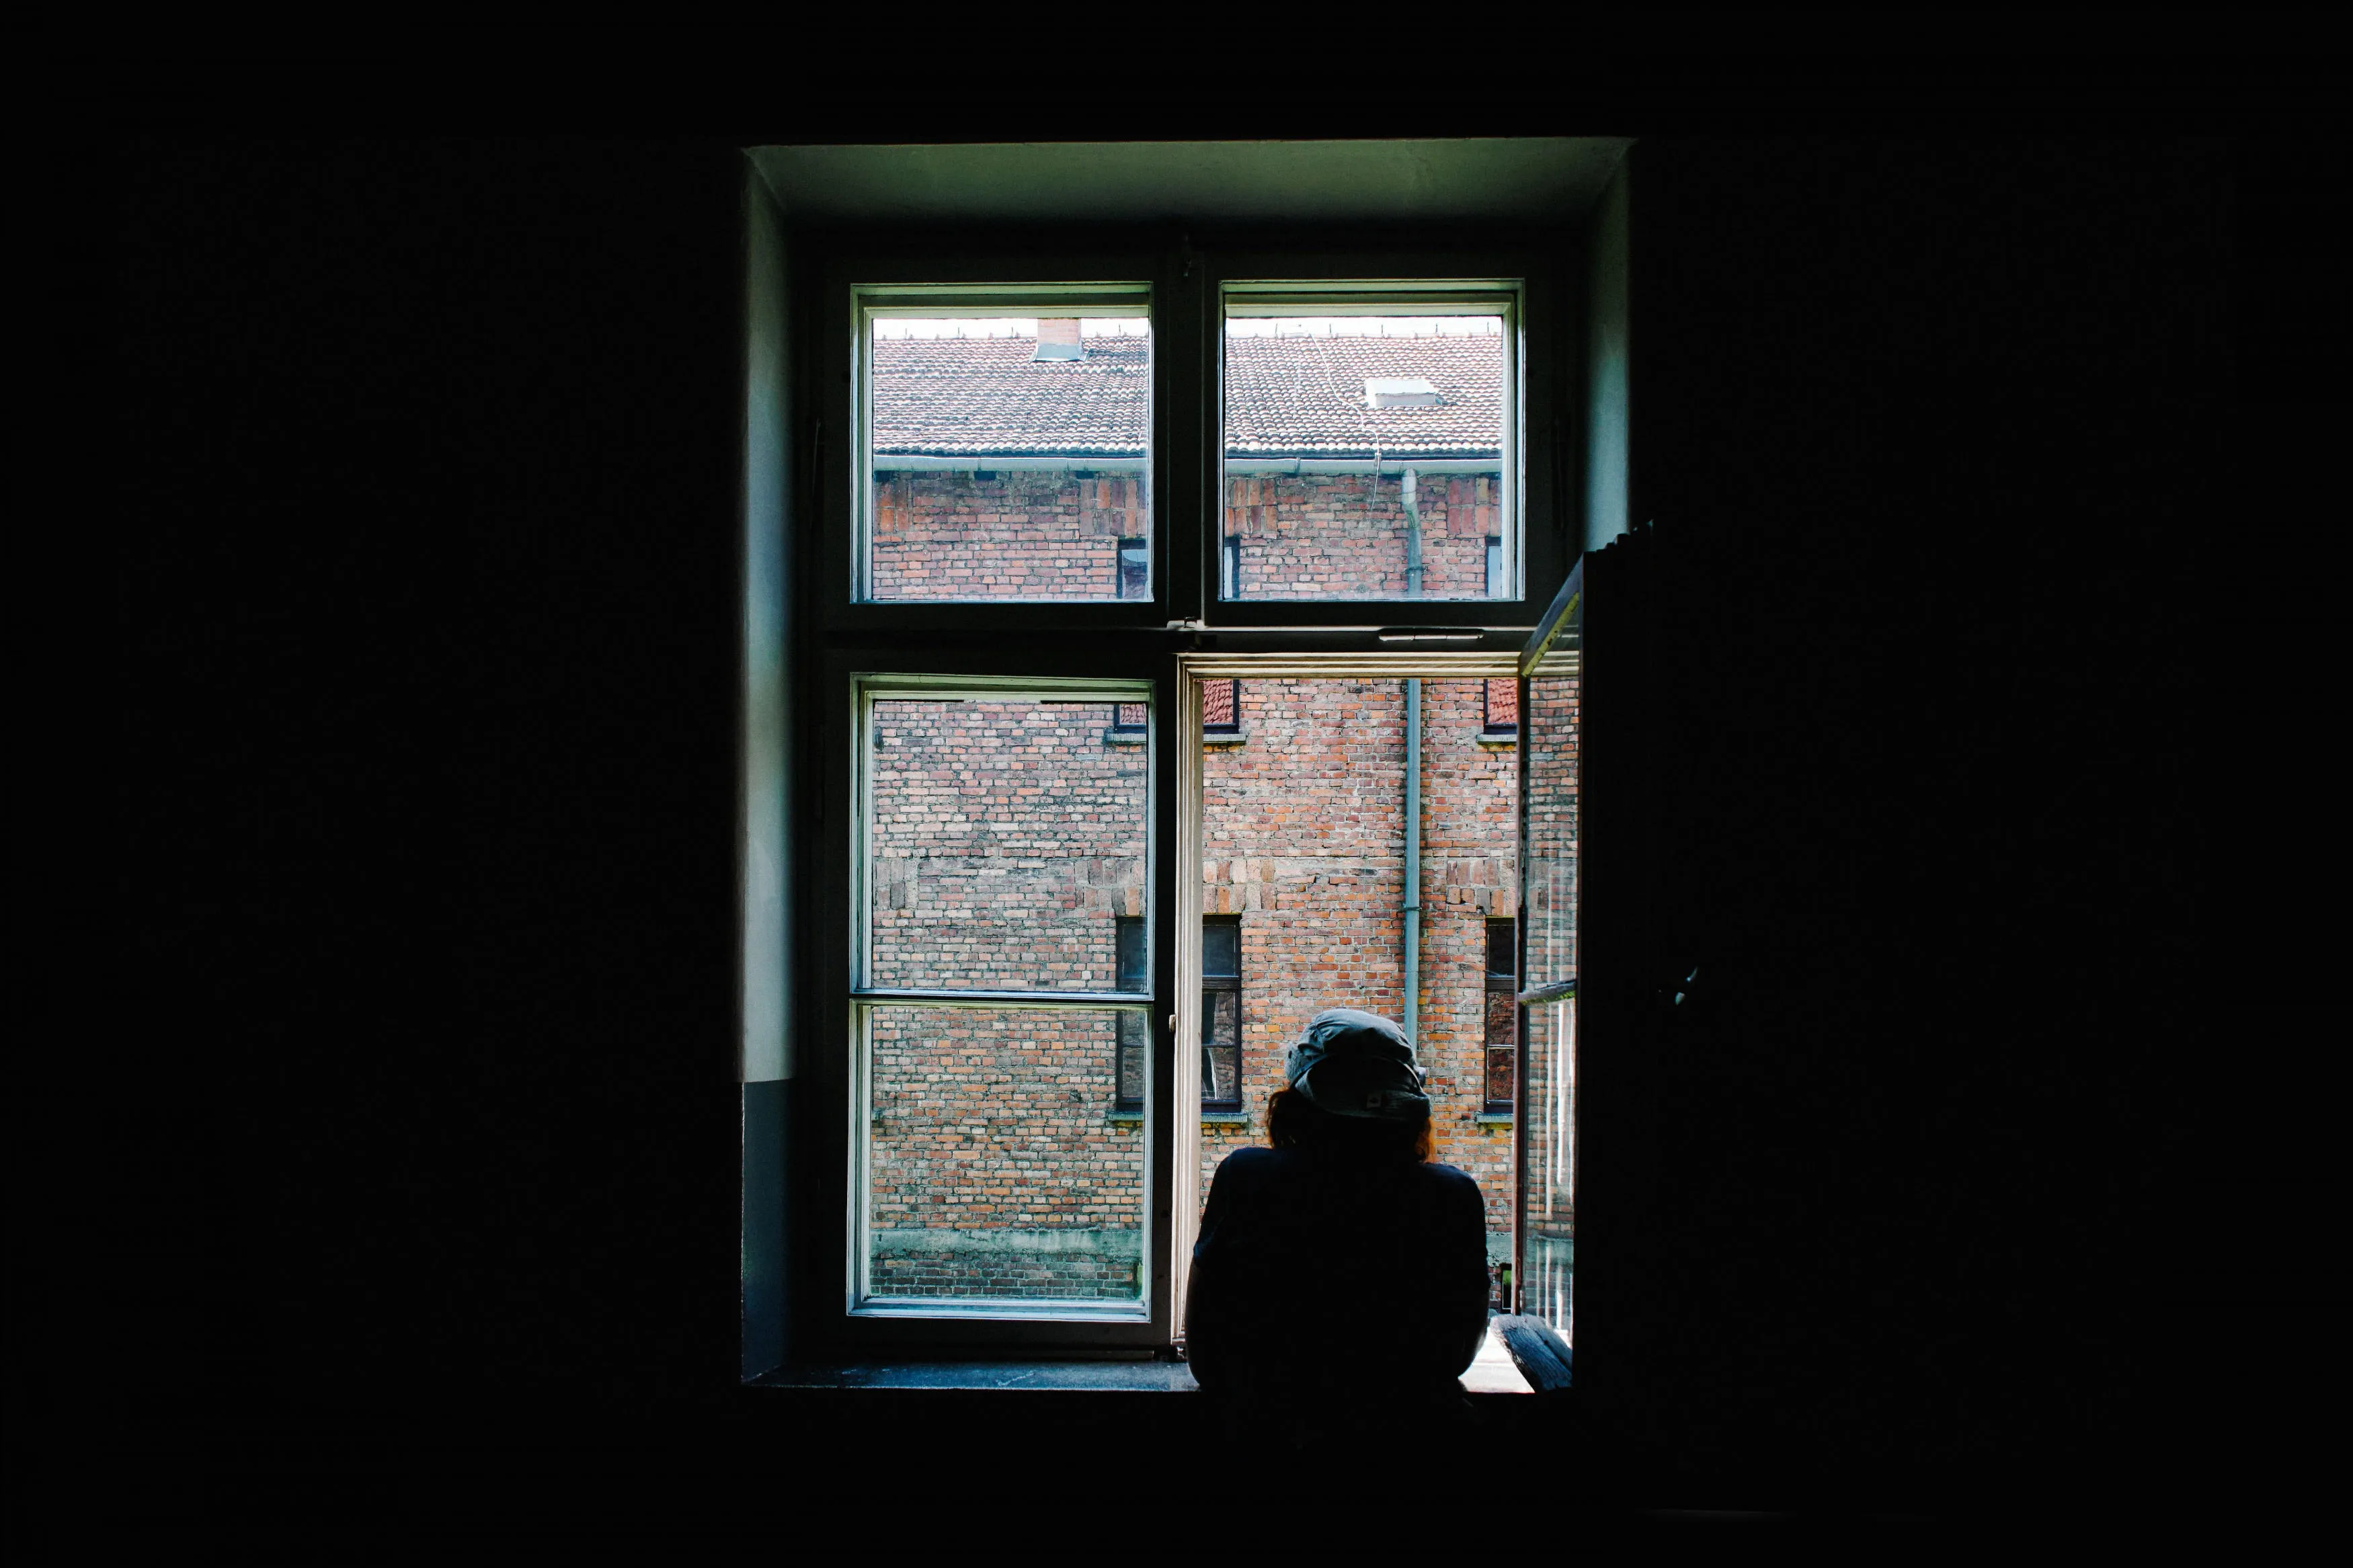
A strong silhouette comes down to two things: where your light is coming from, and when you shoot.
Choose the Right Light Source
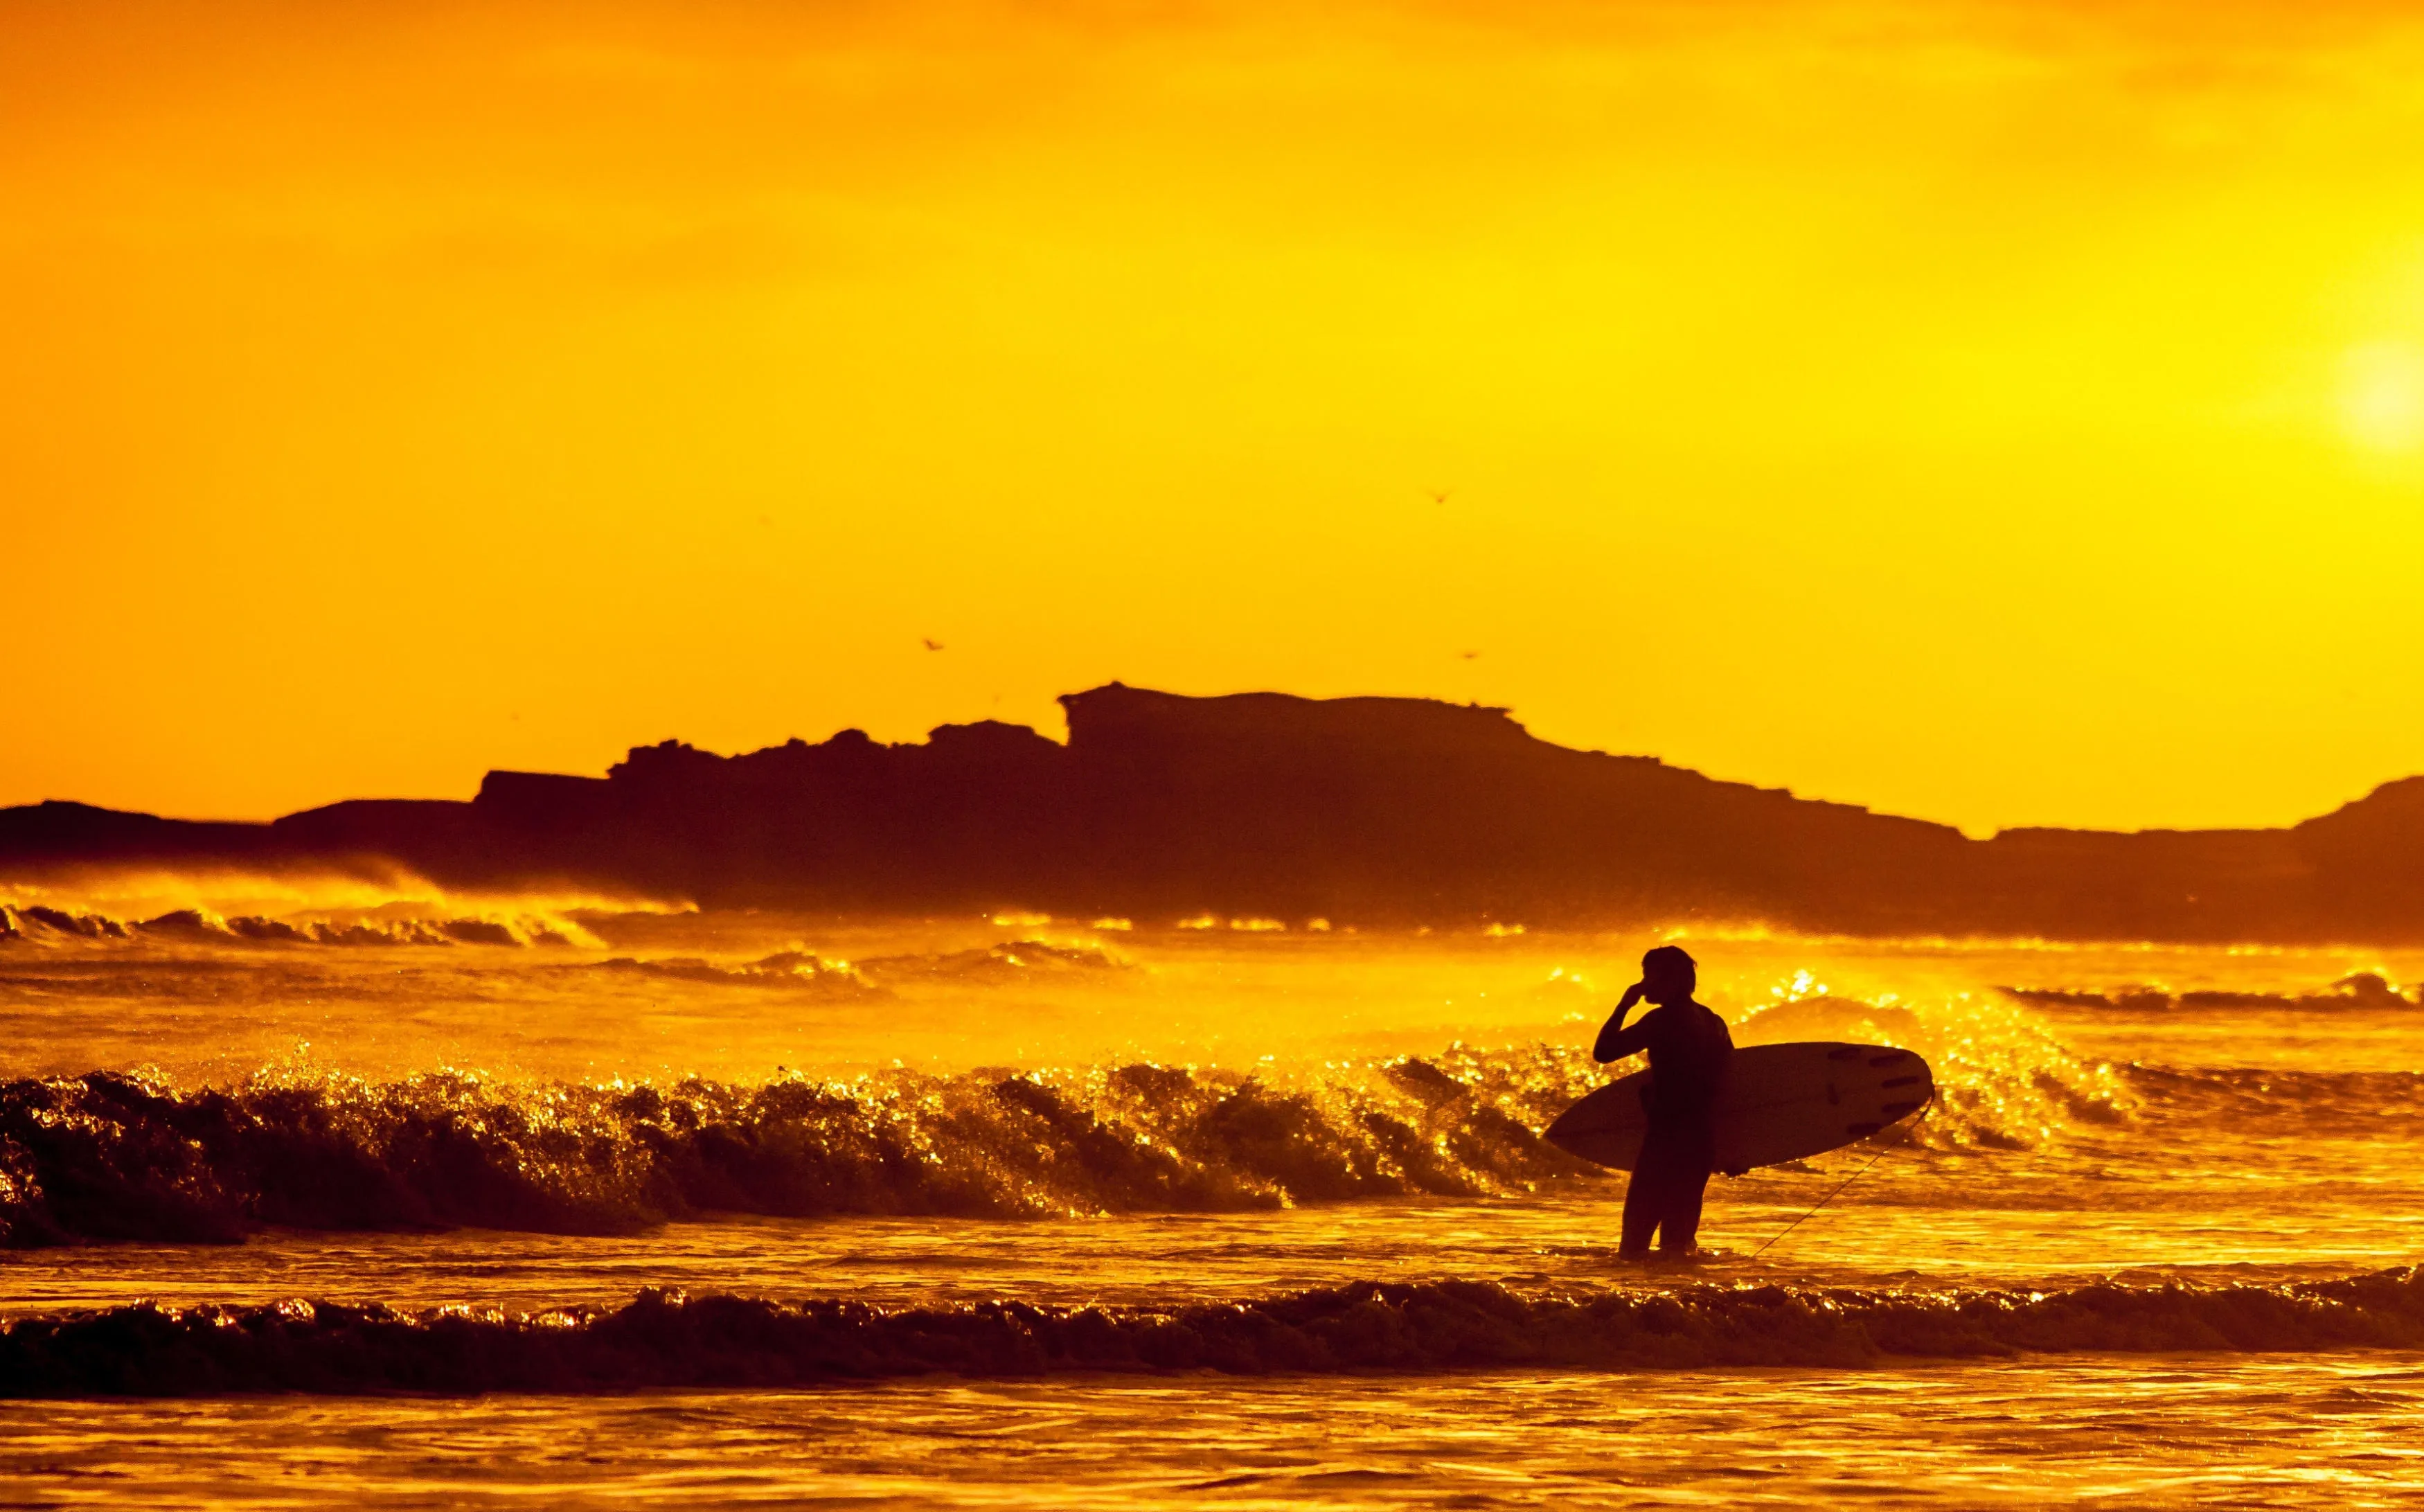
You need a bright light source positioned behind your subject to create contrast. Sunsets and sunrises are the most common choice because of their warm tones, but bright windows, stage lighting, and even a full moon can work too. The key is making sure the light comes from behind the subject and outshines anything lit from the front. If you need to fine-tune the light balance afterward, Luminar’s Enhance AI tool lets you adjust shadows, highlights, and contrast in one pass.
Time It Around Golden Hour
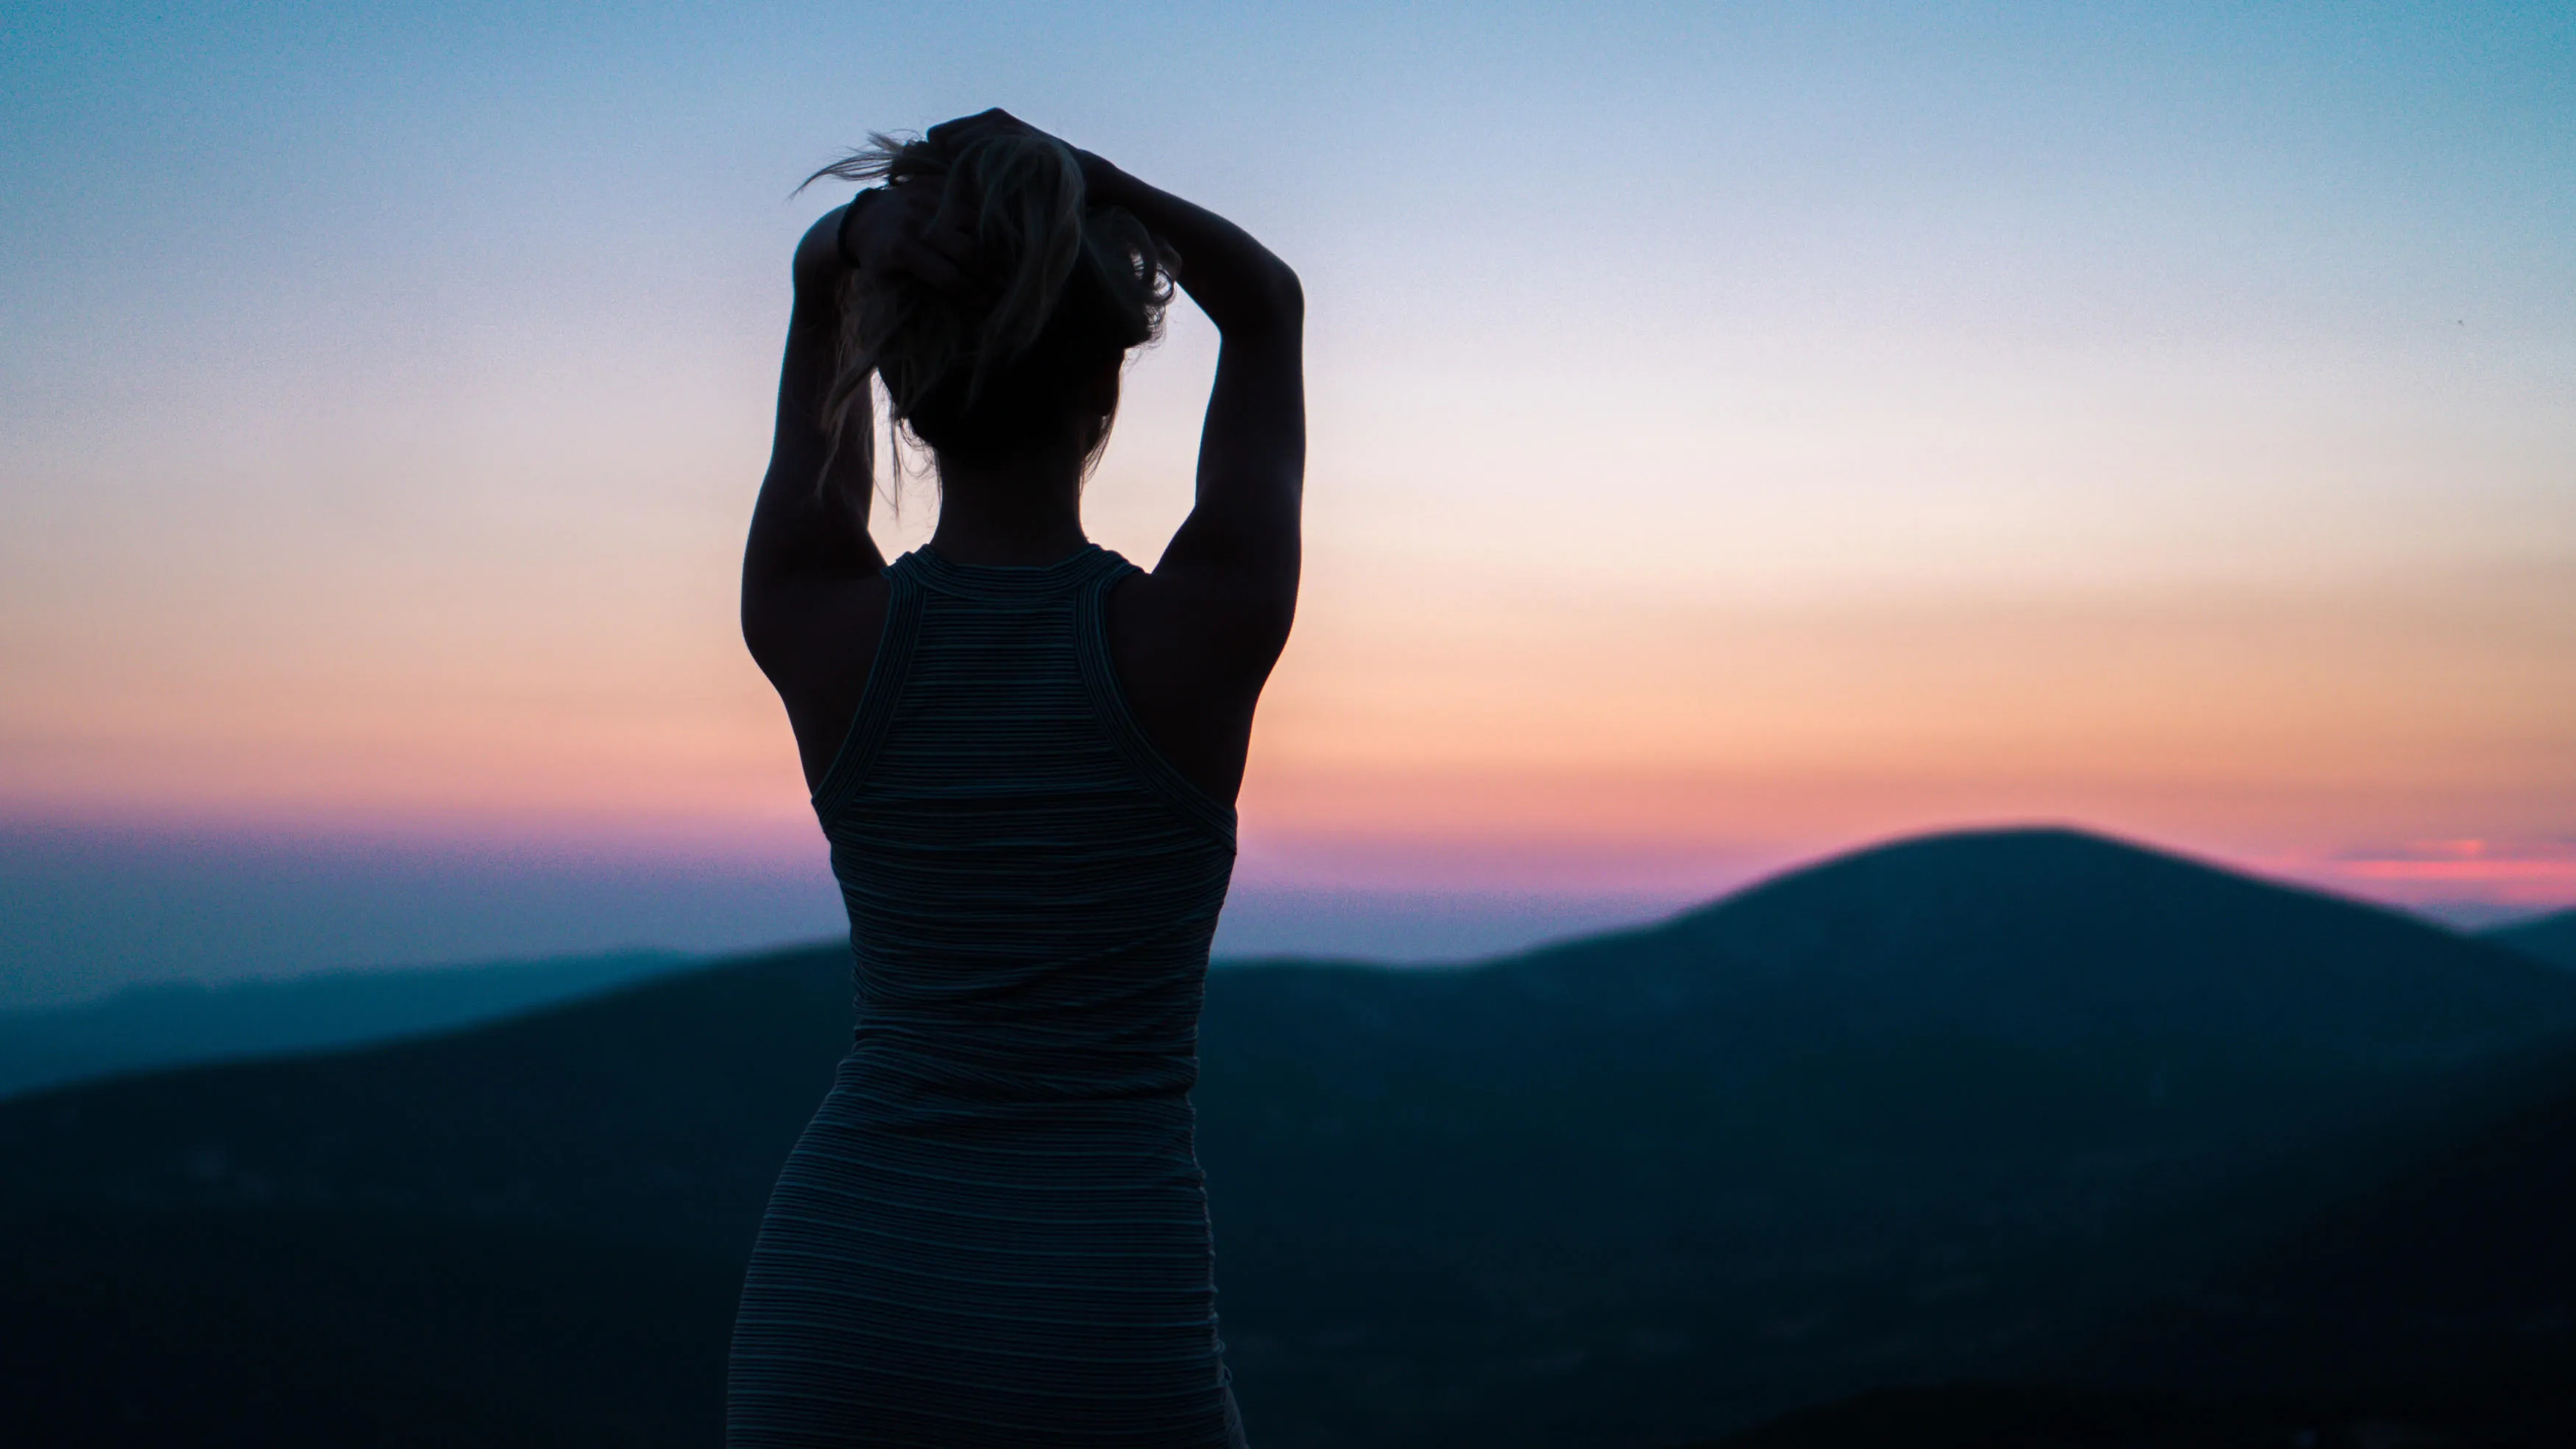
Golden hour — the period shortly after sunrise or before sunset — gives soft, warm light that’s ideal for strong contrast. That window is short, so check the weather and scout your location ahead of time. If you miss it, a bright, overcast horizon or artificial light sources can still produce a workable silhouette.
How to Shoot a Silhouette: Step-by-Step
1. Pick a Clean Location
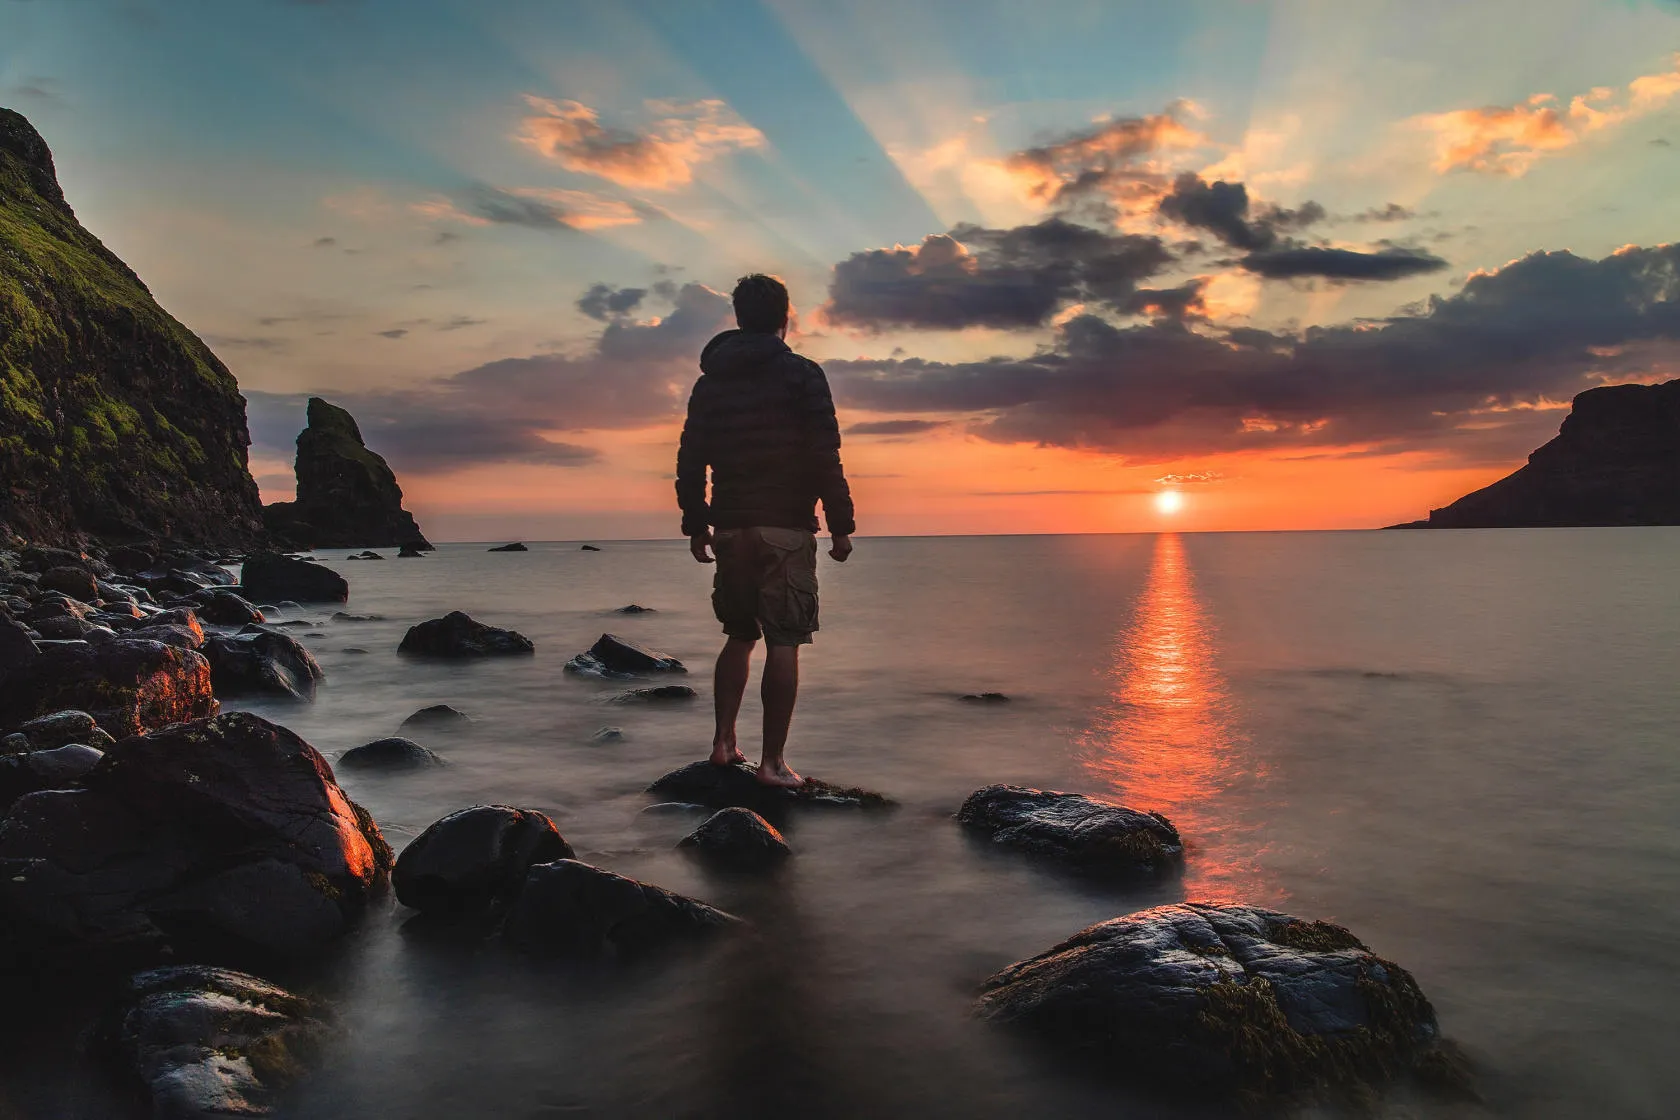
Choose a spot with a clear, unobstructed view of your light source — a hill for sunset, an open field for sunrise. Keep the background simple; power lines, crowds, or busy terrain compete with the subject. A single tree or one person against open sky or water works best because the shape stays easy to read. If your subject blends into background clutter like buildings or tall grass, move a few feet in either direction and check the frame again before shooting. If distractions do sneak into the shot, the AI Background Remover can clean them up afterward.
Elevate Your Photography with Our Advanced Software
2. Shoot Directly Toward the Light
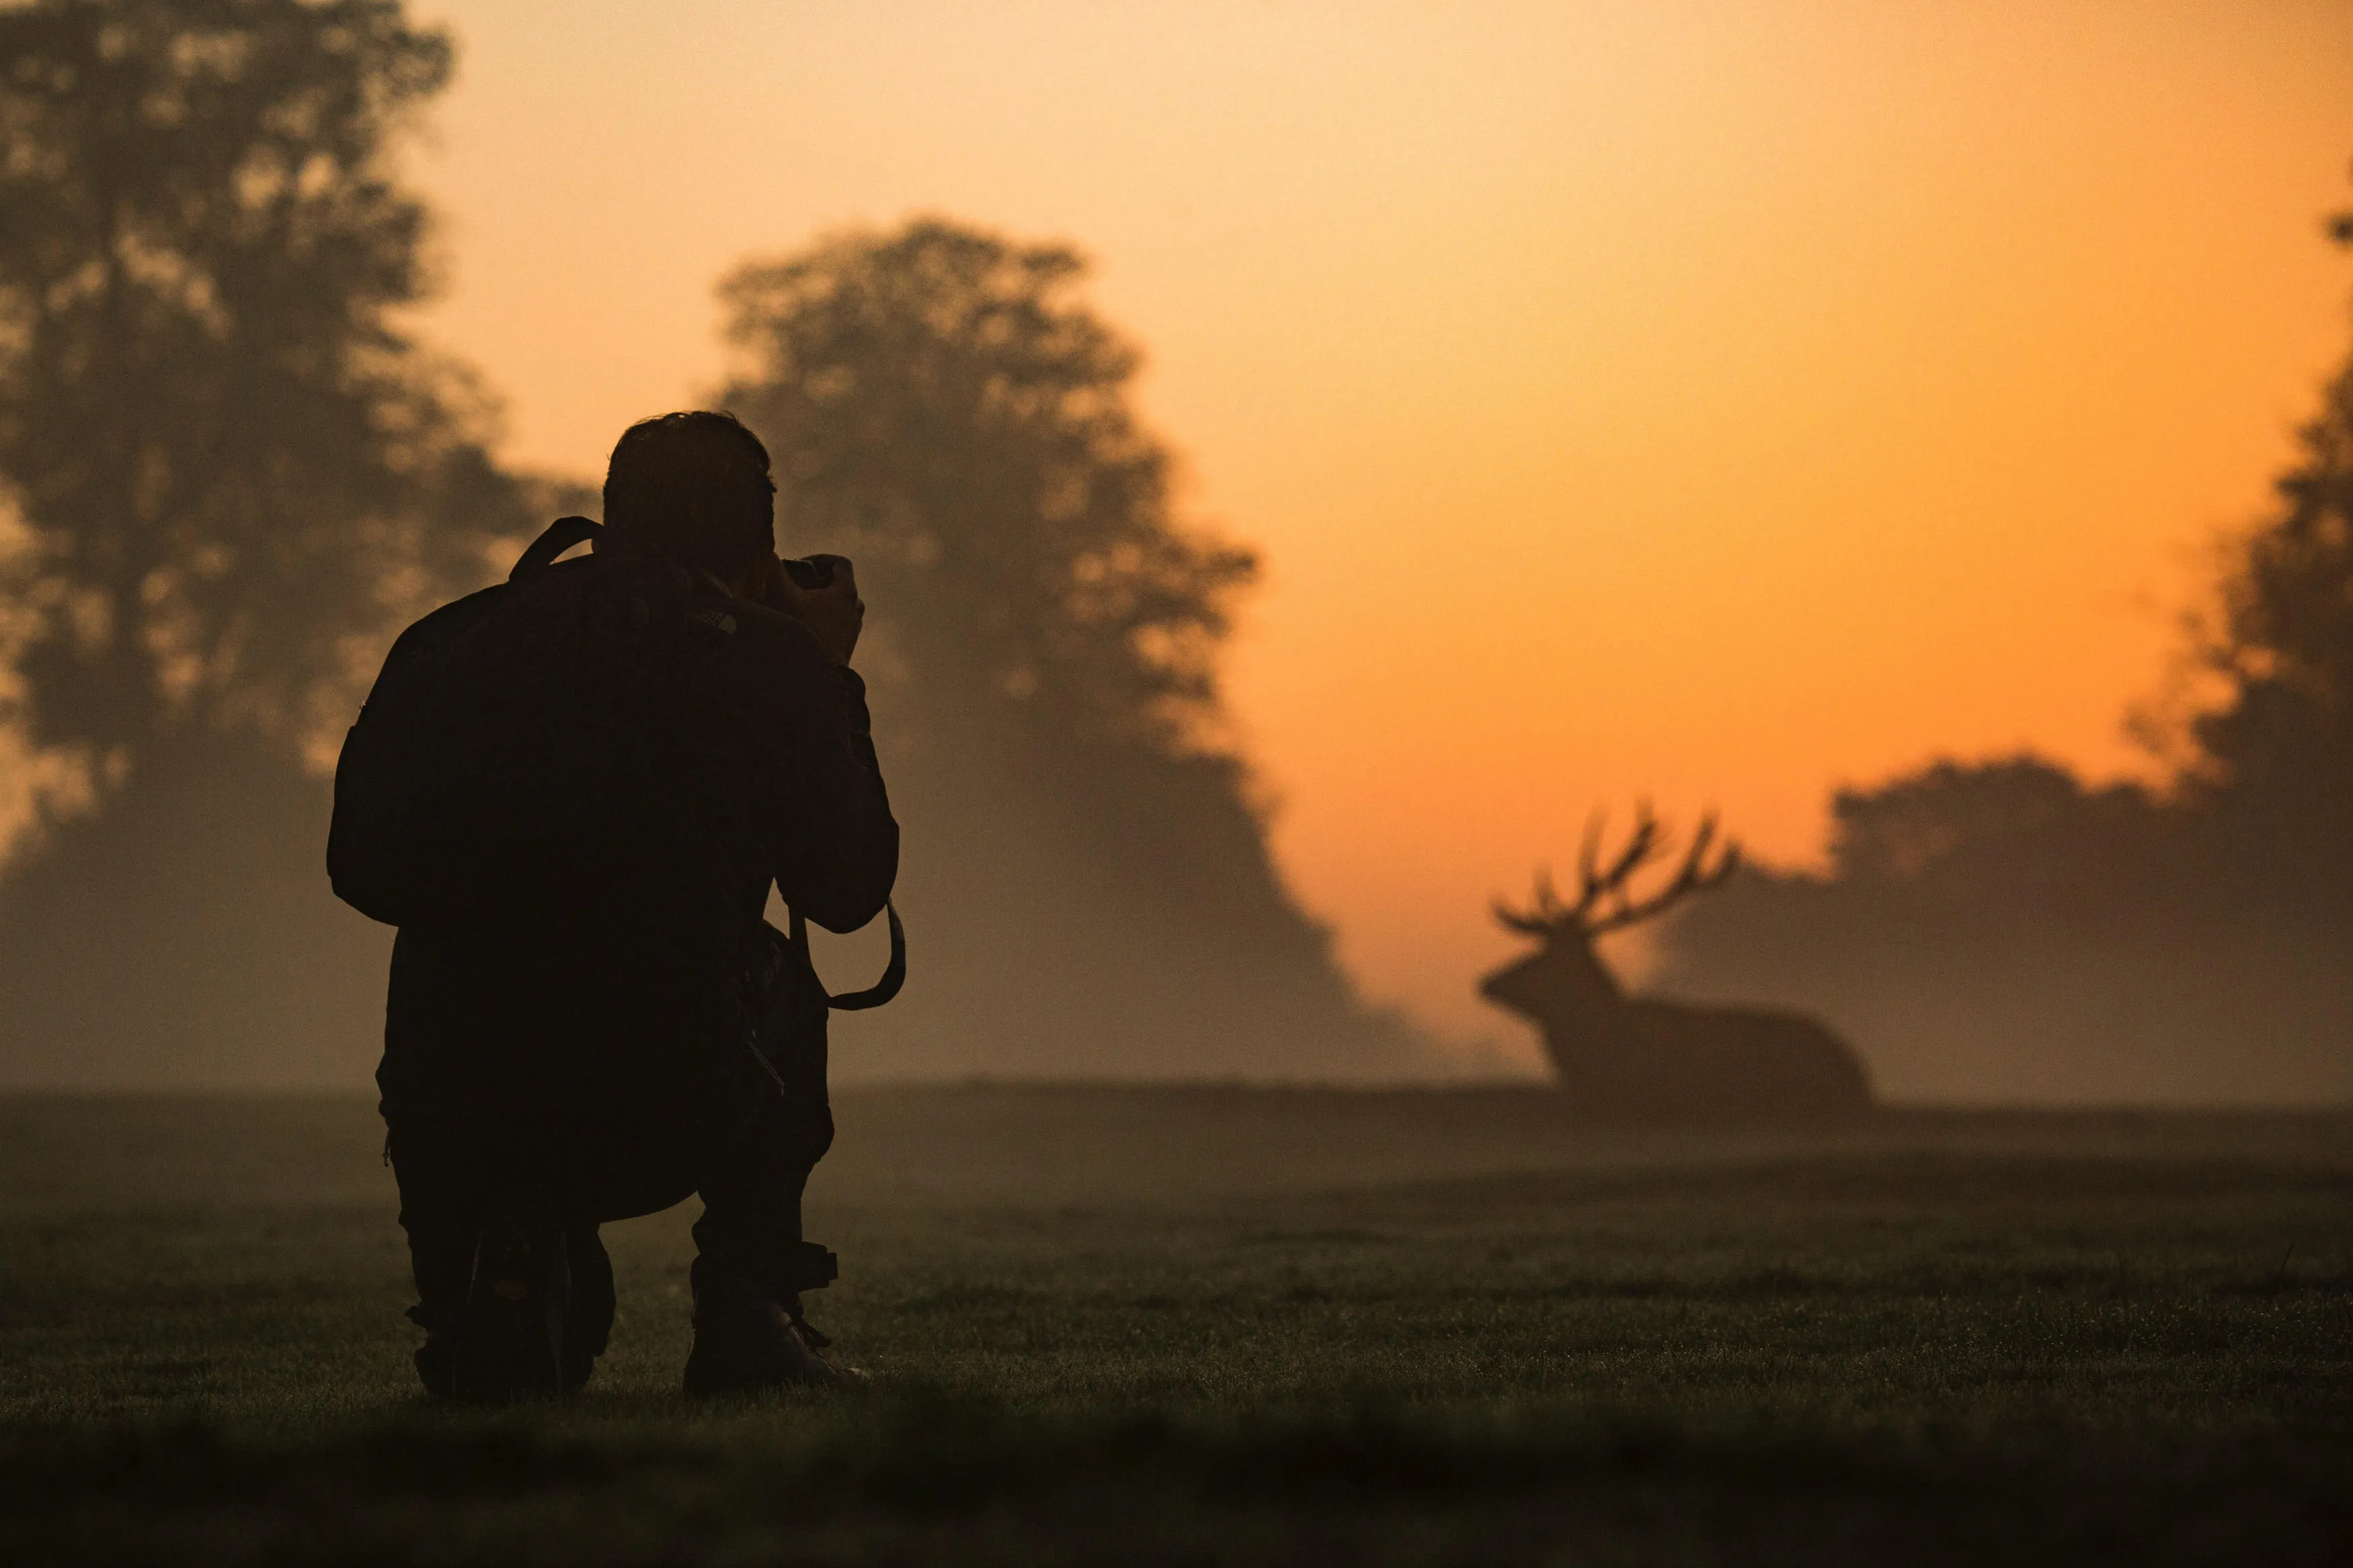
Position your subject directly between the camera and the light source. Turn off your flash or any front-facing light — anything that fills in the subject from the front will reduce contrast and weaken the effect. Focus and meter on the brightest part of the background so the subject falls into shadow. For a broader look at software options once you’re editing, see this guide to the best photo editor for your workflow.
3. Shoot From a Low Angle
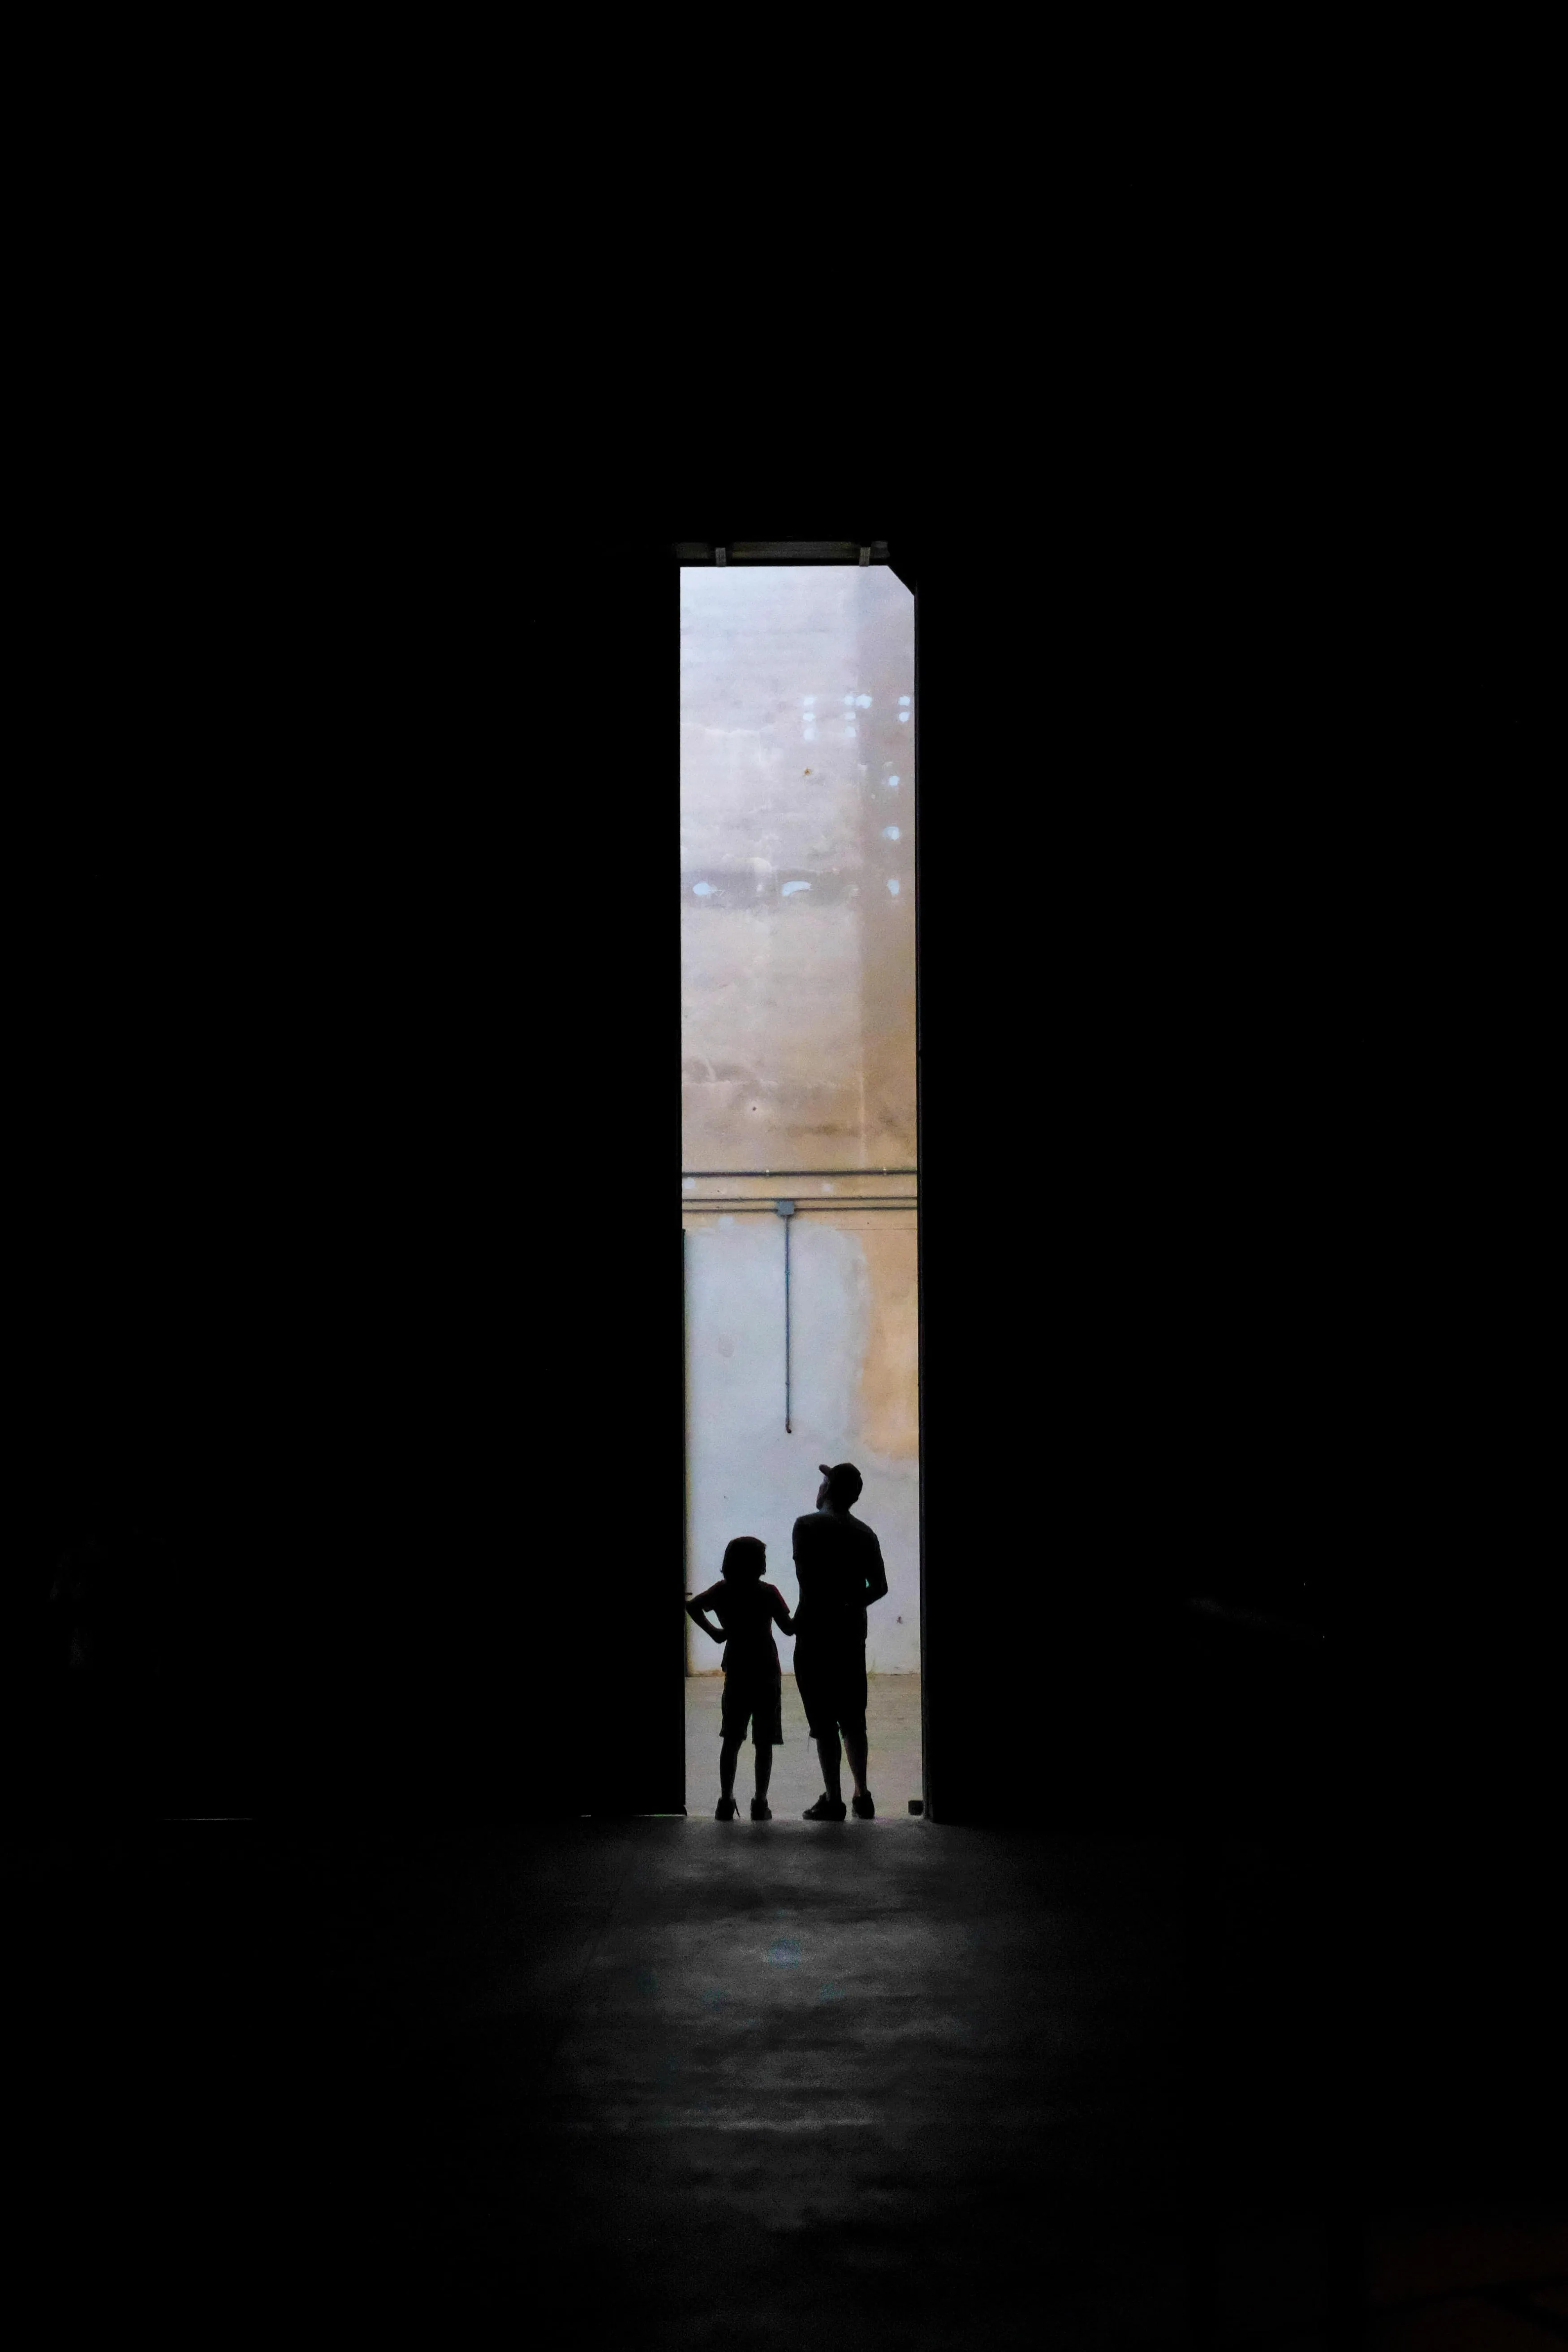
Crouching or shooting from ground level makes the subject appear larger against the sky, adding drama — this works especially well for a person mid-jump or an animal in motion. Watch the horizon line as you go low, since it can shift into the frame and clutter the composition. A photo overlay can add texture or mood in post if the sky itself feels flat.
4. Set Exposure Manually
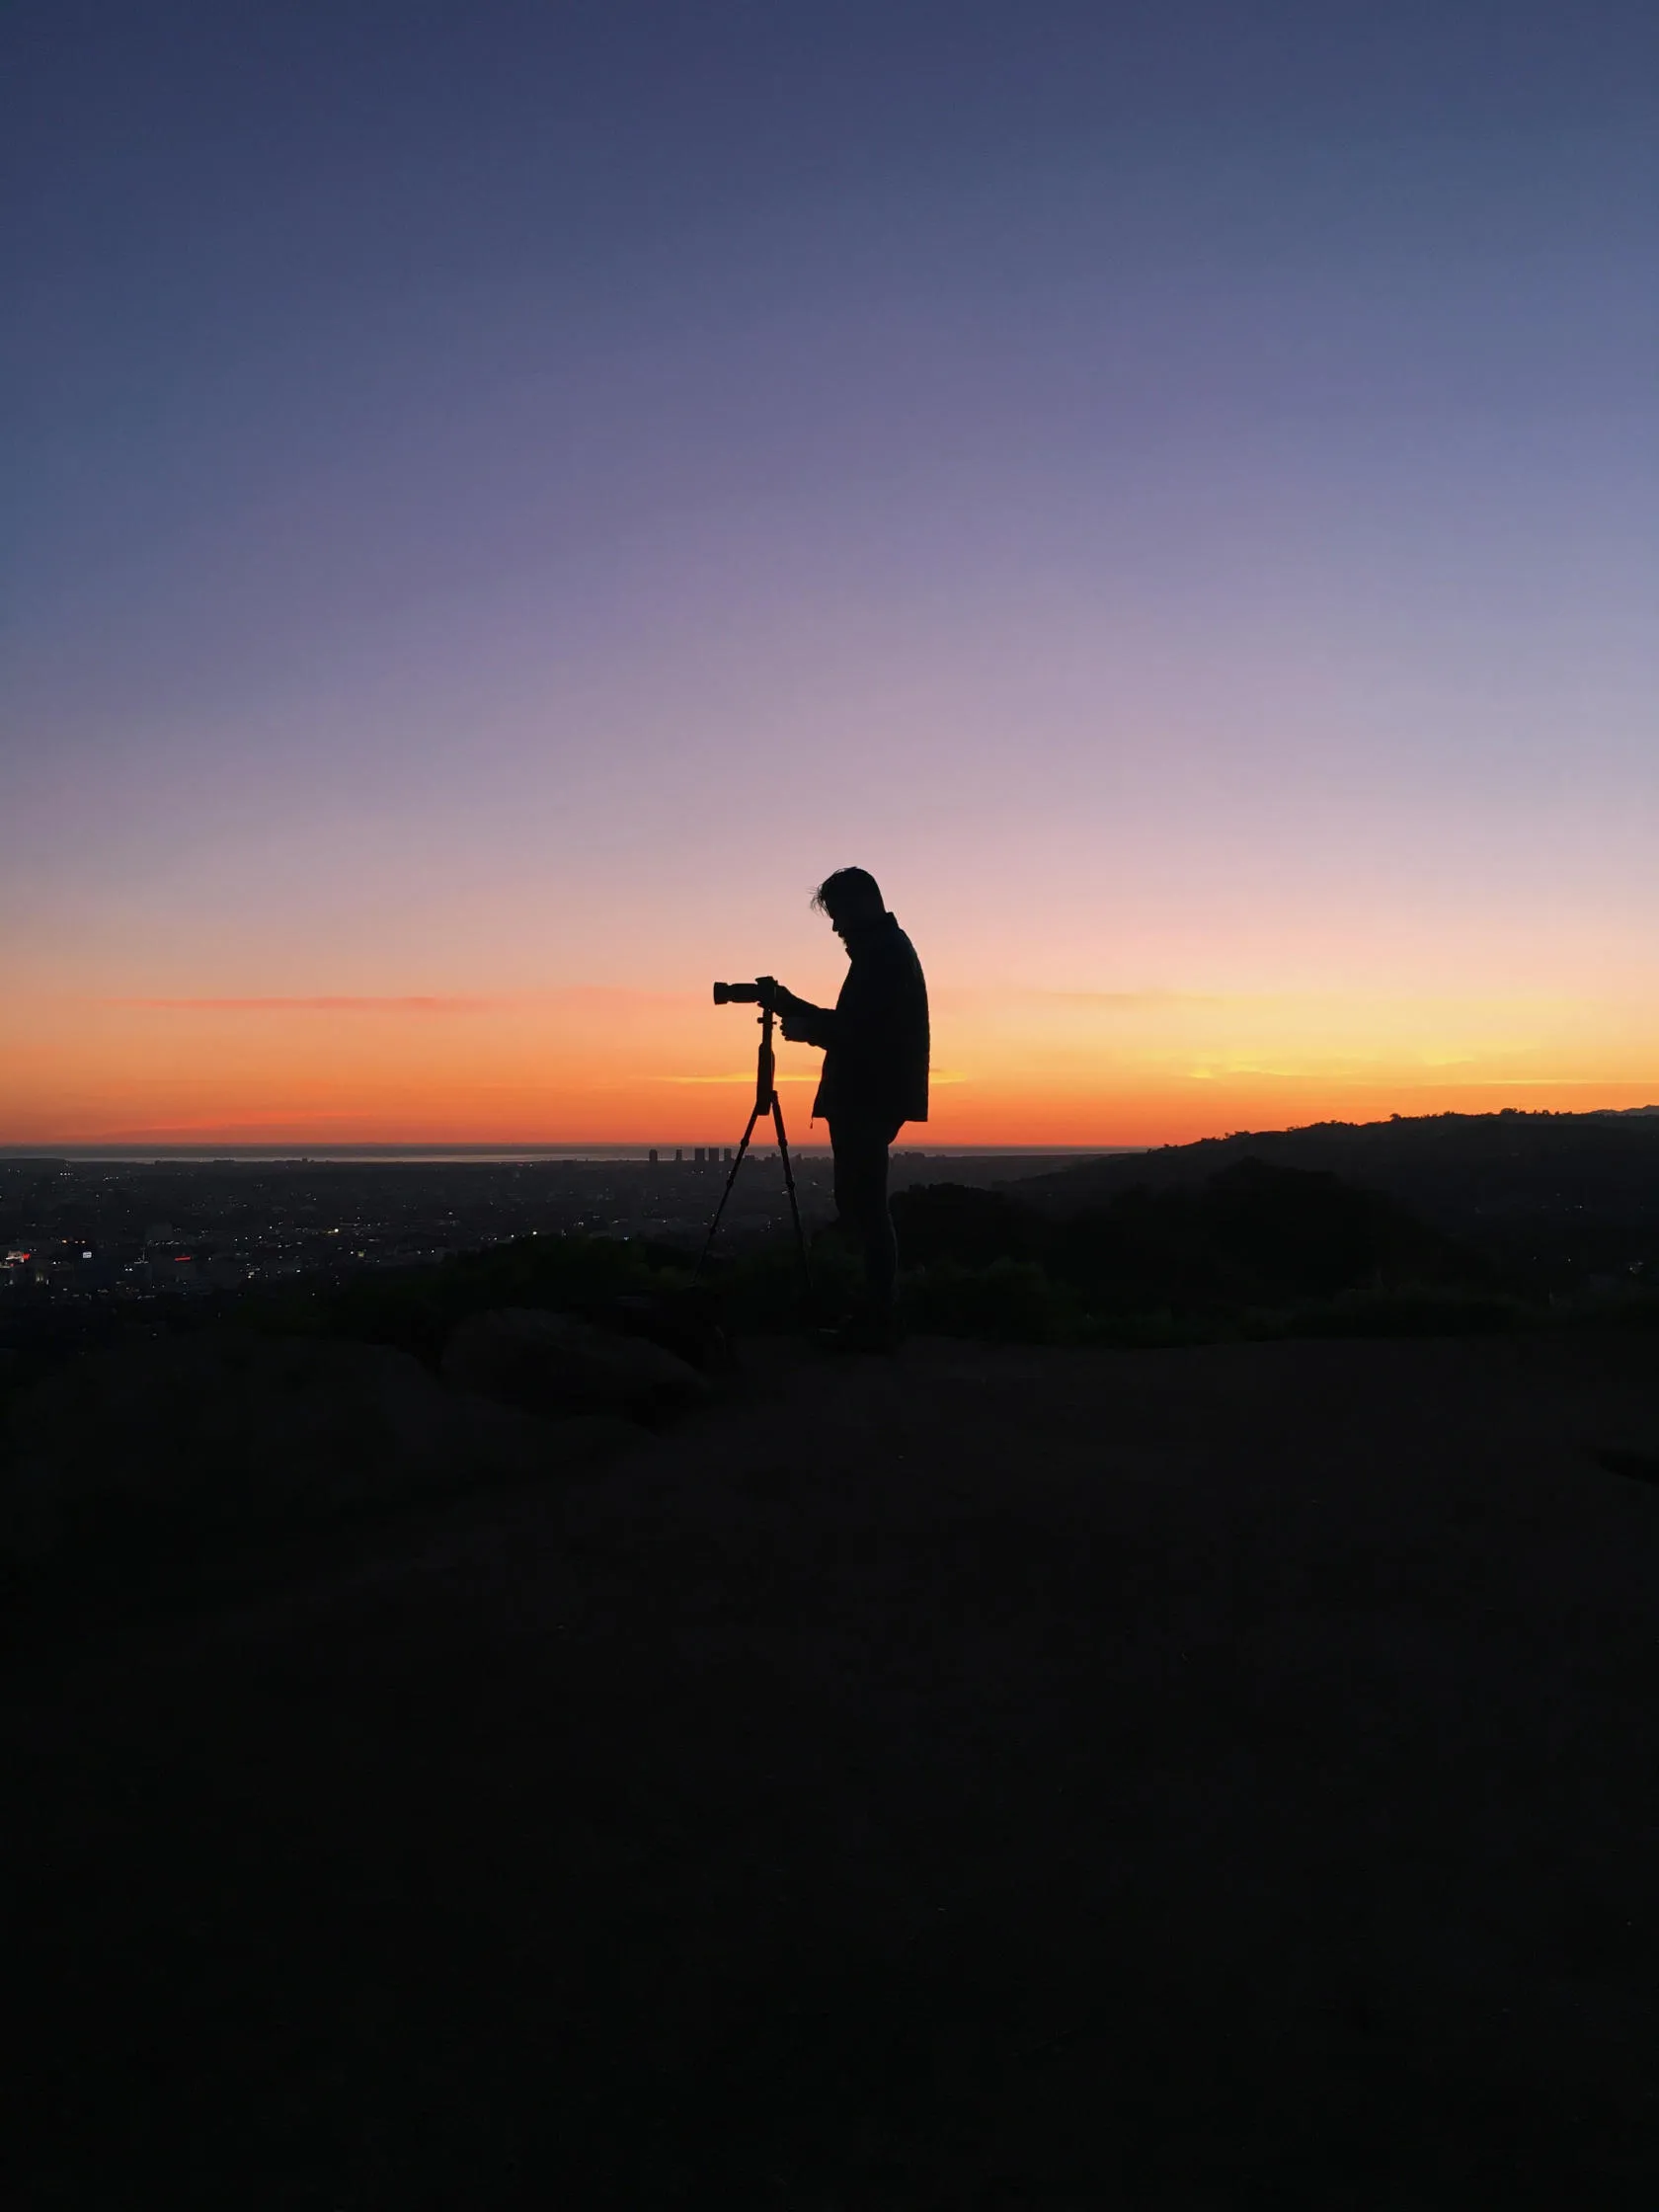
Auto-exposure tends to brighten the subject, which defeats the purpose of a silhouette. Switch to manual mode and expose for the background rather than the subject.
| Setting | Recommended Starting Point | Why It Matters |
| ISO | 100–200 | Keeps the image clean and avoids overbrightening the background |
| Shutter speed | Fast (1/250s or quicker in bright conditions) | Prevents the bright background from blowing out |
| Metering mode | Spot or center-weighted, aimed at the background | Locks exposure on the light source, not the subject |
| Focus | Locked on the subject’s edge | Keeps the outline sharp even though the subject is dark |
On a smartphone, tap the brightest part of the screen (usually the sky) to lock exposure there, then reduce exposure further until the subject reads as a dark shape. You don’t need to get it perfect in-camera — editing afterward can refine the result.
5. Refine the Silhouette in Editing
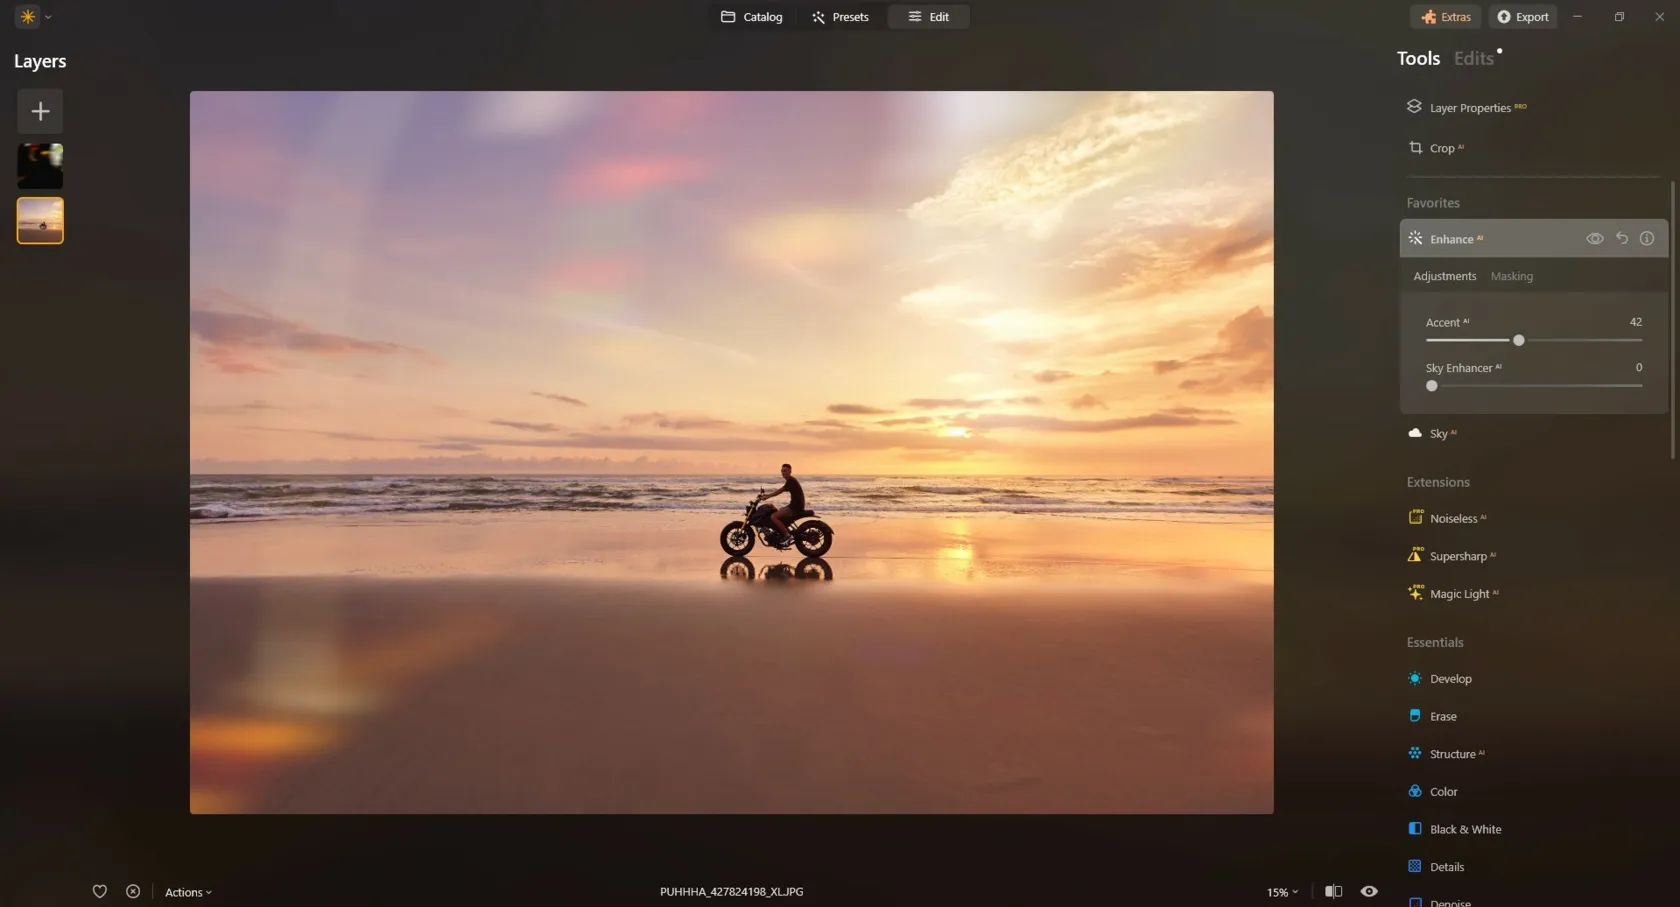
A few adjustments in Luminar can strengthen a silhouette that’s slightly underexposed or lacking contrast:
- Increase contrast to sharpen the edge between the subject and background.
- Deepen shadows so the subject reads as a clean, solid shape without stray detail.
- Boost background color to intensify sky tones like deep orange or purple.
- Use presets as a starting point — Skylum’s Lightroom photo presets offer looks built for high-contrast scenes that you can then adjust to taste.
Exclusive Tools of Endless Possibilities in One AI Editor
Composition Tips for Stronger Silhouettes

Good exposure gets you a silhouette; good composition makes it memorable.
Frame Your Subject
Natural frames — tree branches, doorways, archways — draw the eye toward the subject and add context. Keep the framing simple so it doesn’t compete with the silhouette, and make sure the light source stays visible and unobstructed.
Choose Subjects With Clear Shapes
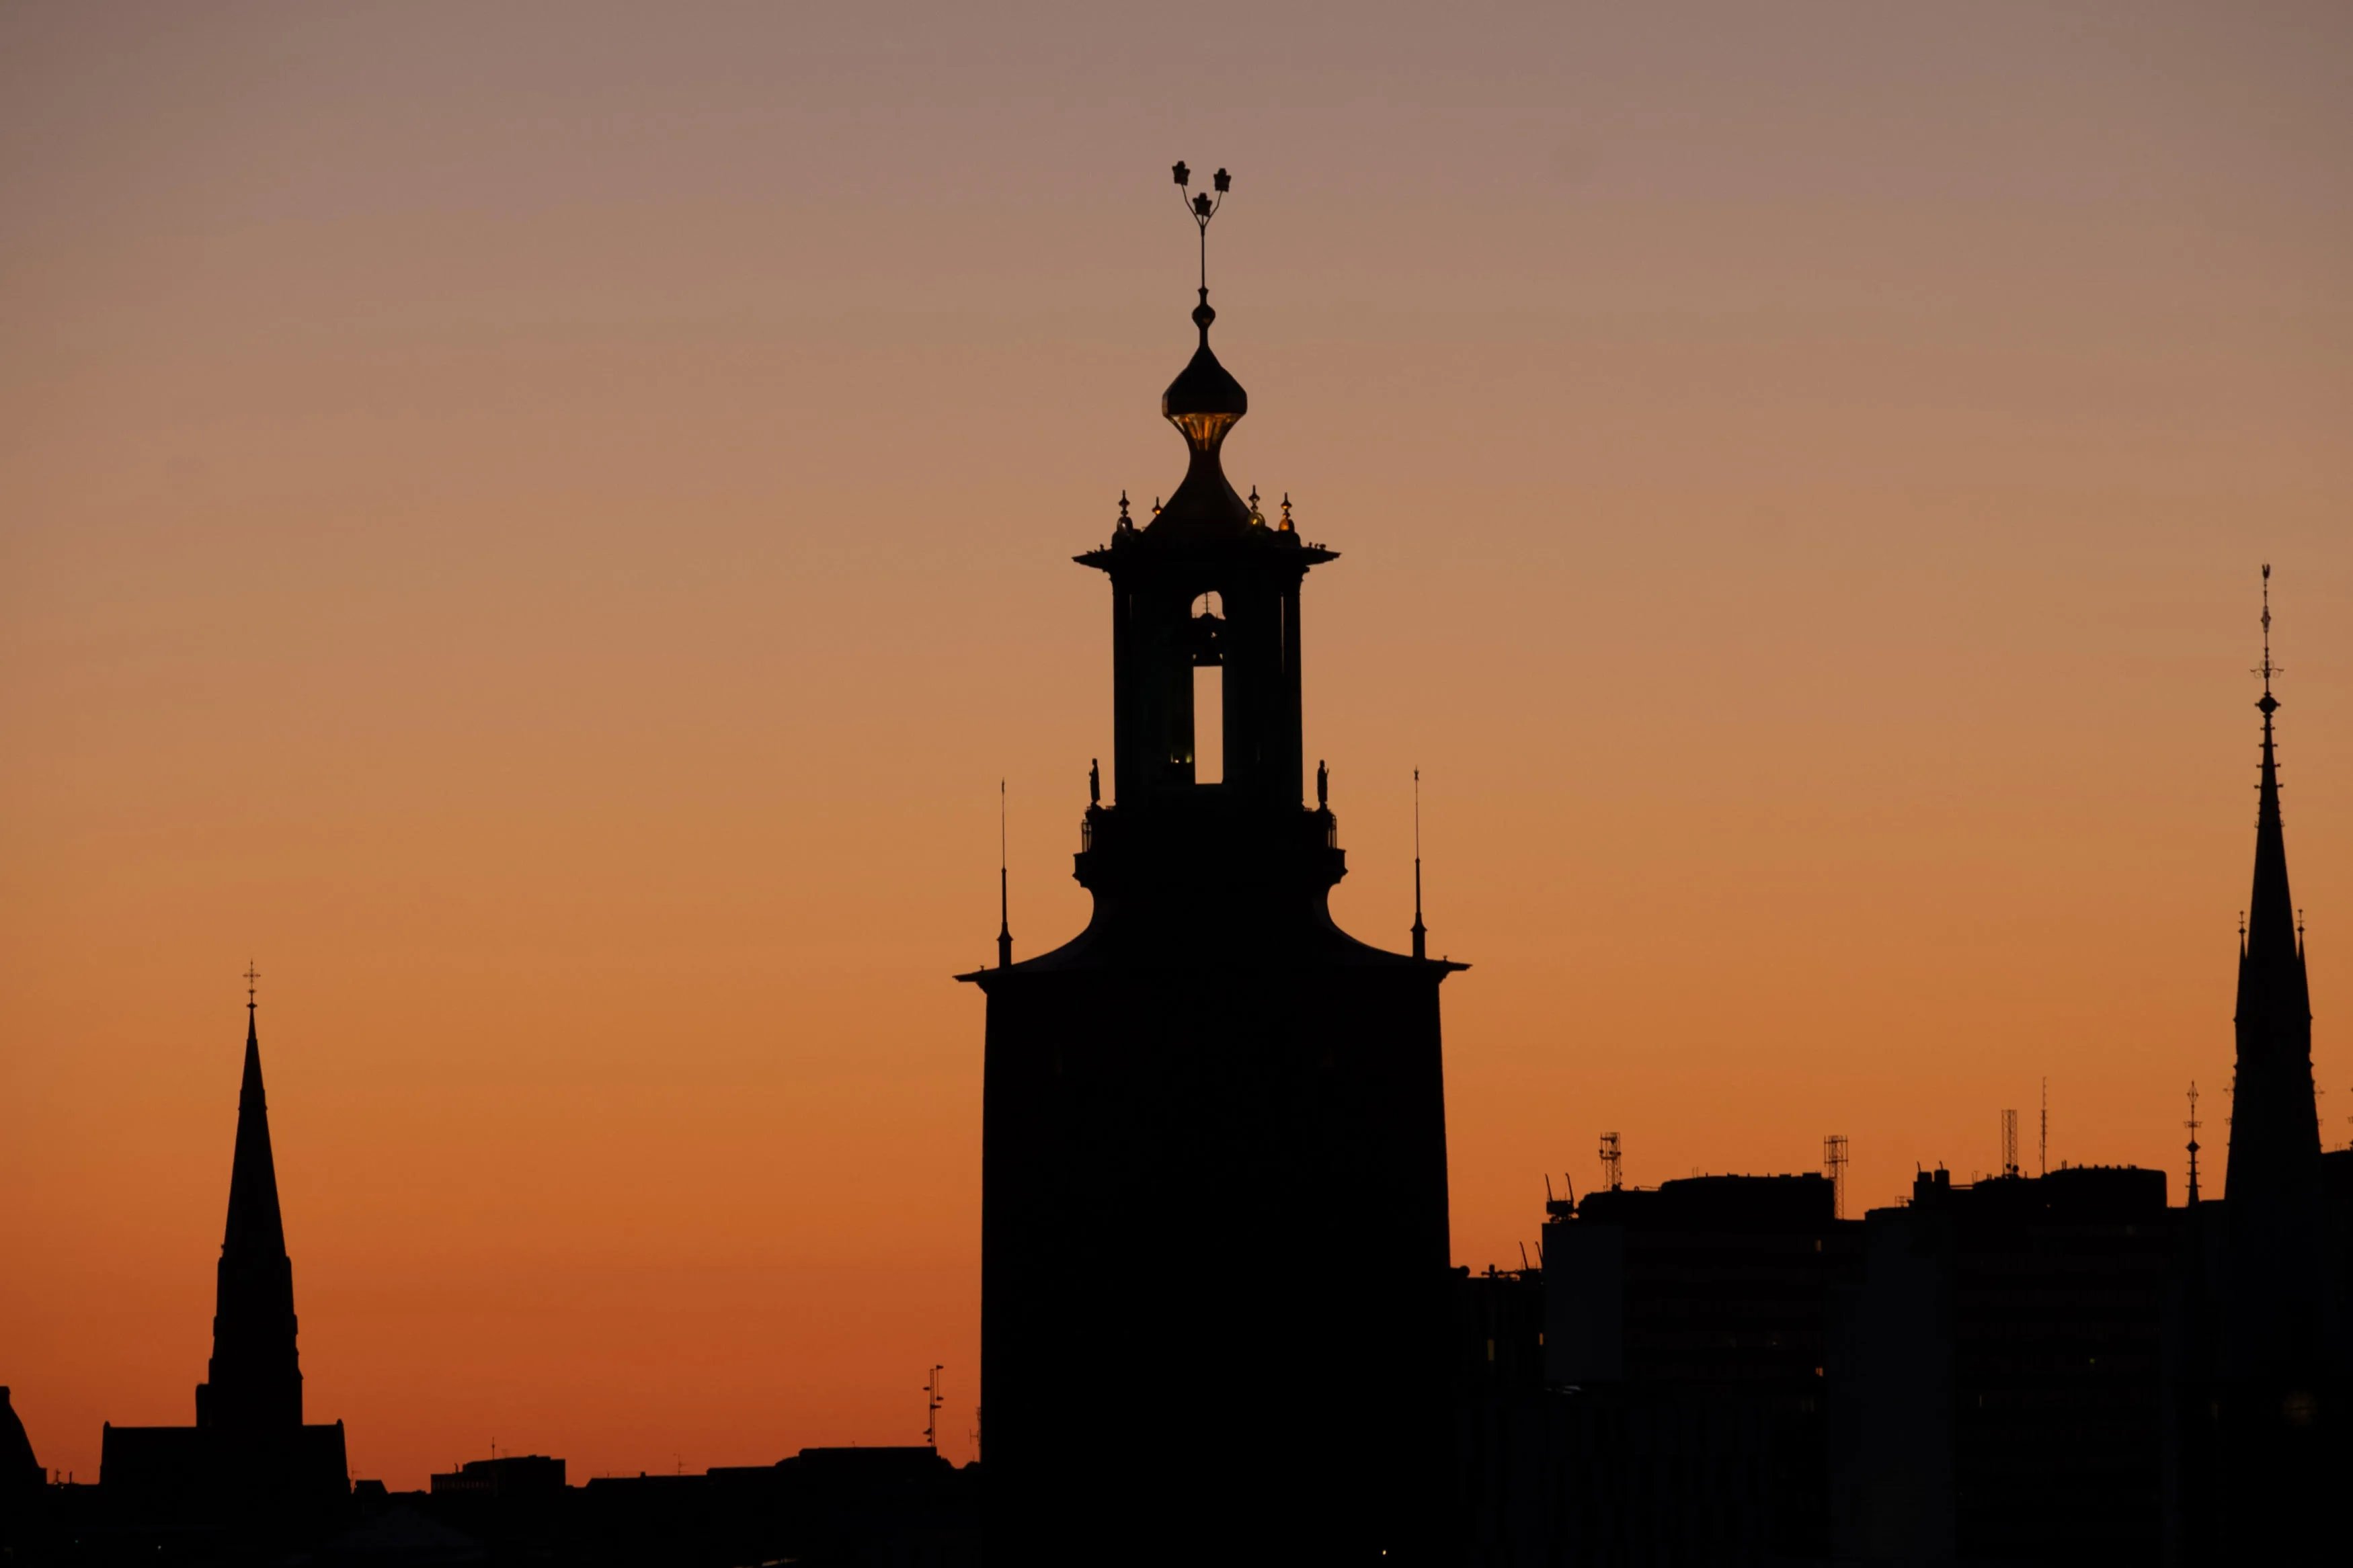
Since silhouettes rely entirely on outline, pick subjects with distinct, recognizable shapes. A person in motion — jumping, running, turning — reads more clearly than a static pose. Bicycles, animals, and buildings with strong architectural lines also work well. Leaving negative space around the subject helps the shape stand out.
Build Depth With Layers and Reflections
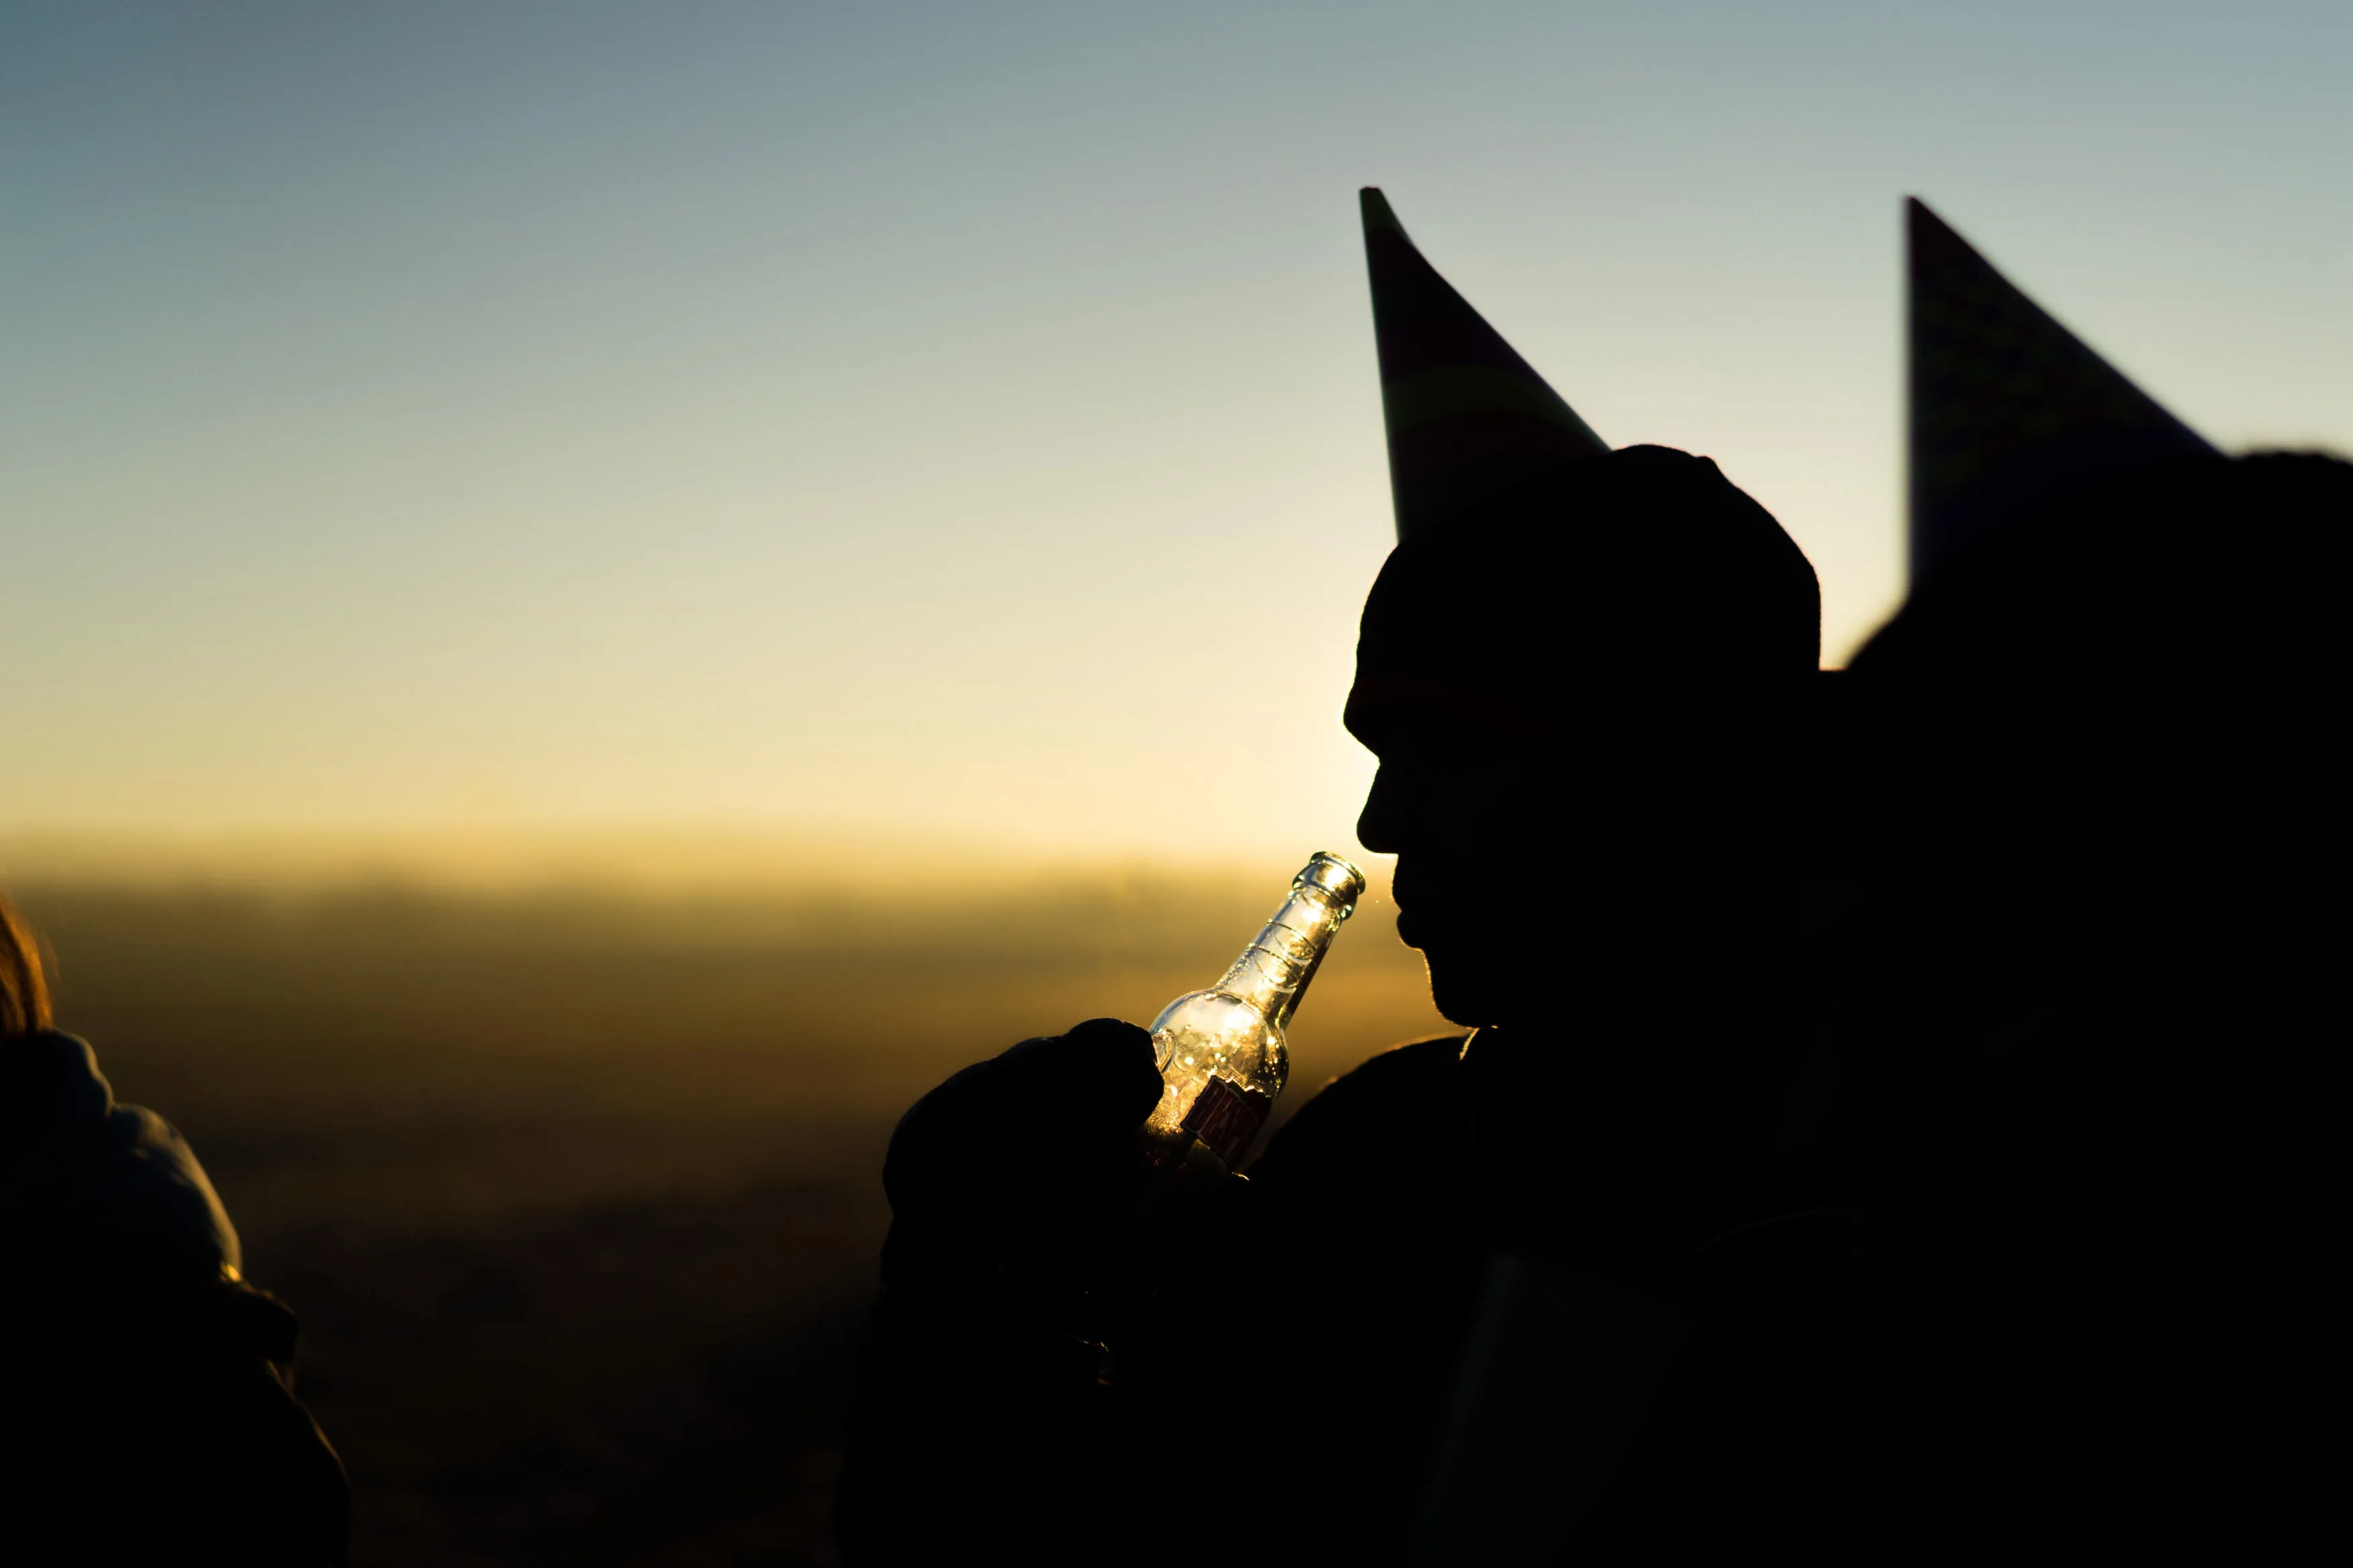
Layering elements — subject in front, a secondary shape like a fence or tree in the middle, bright sky in the back — adds a sense of depth to an otherwise flat silhouette. Shooting near still water can add a mirrored reflection of the silhouette, doubling the visual impact. Shooting through foreground elements like tall grass or leaves can also add texture without cluttering the main shape.
Is Silhouette Photography Right for Your Shoot?
| Pros | Cons |
| Works with basic camera or smartphone gear | Loses color and texture detail entirely |
| Forgiving of minor focus or detail mistakes since the subject is dark | Requires precise timing around light and weather |
| Strong, graphic results with simple compositions | Manual exposure control is needed — auto modes usually fail |
| Effective for storytelling with minimal elements | Limited golden-hour shooting window each day |
Conclusion
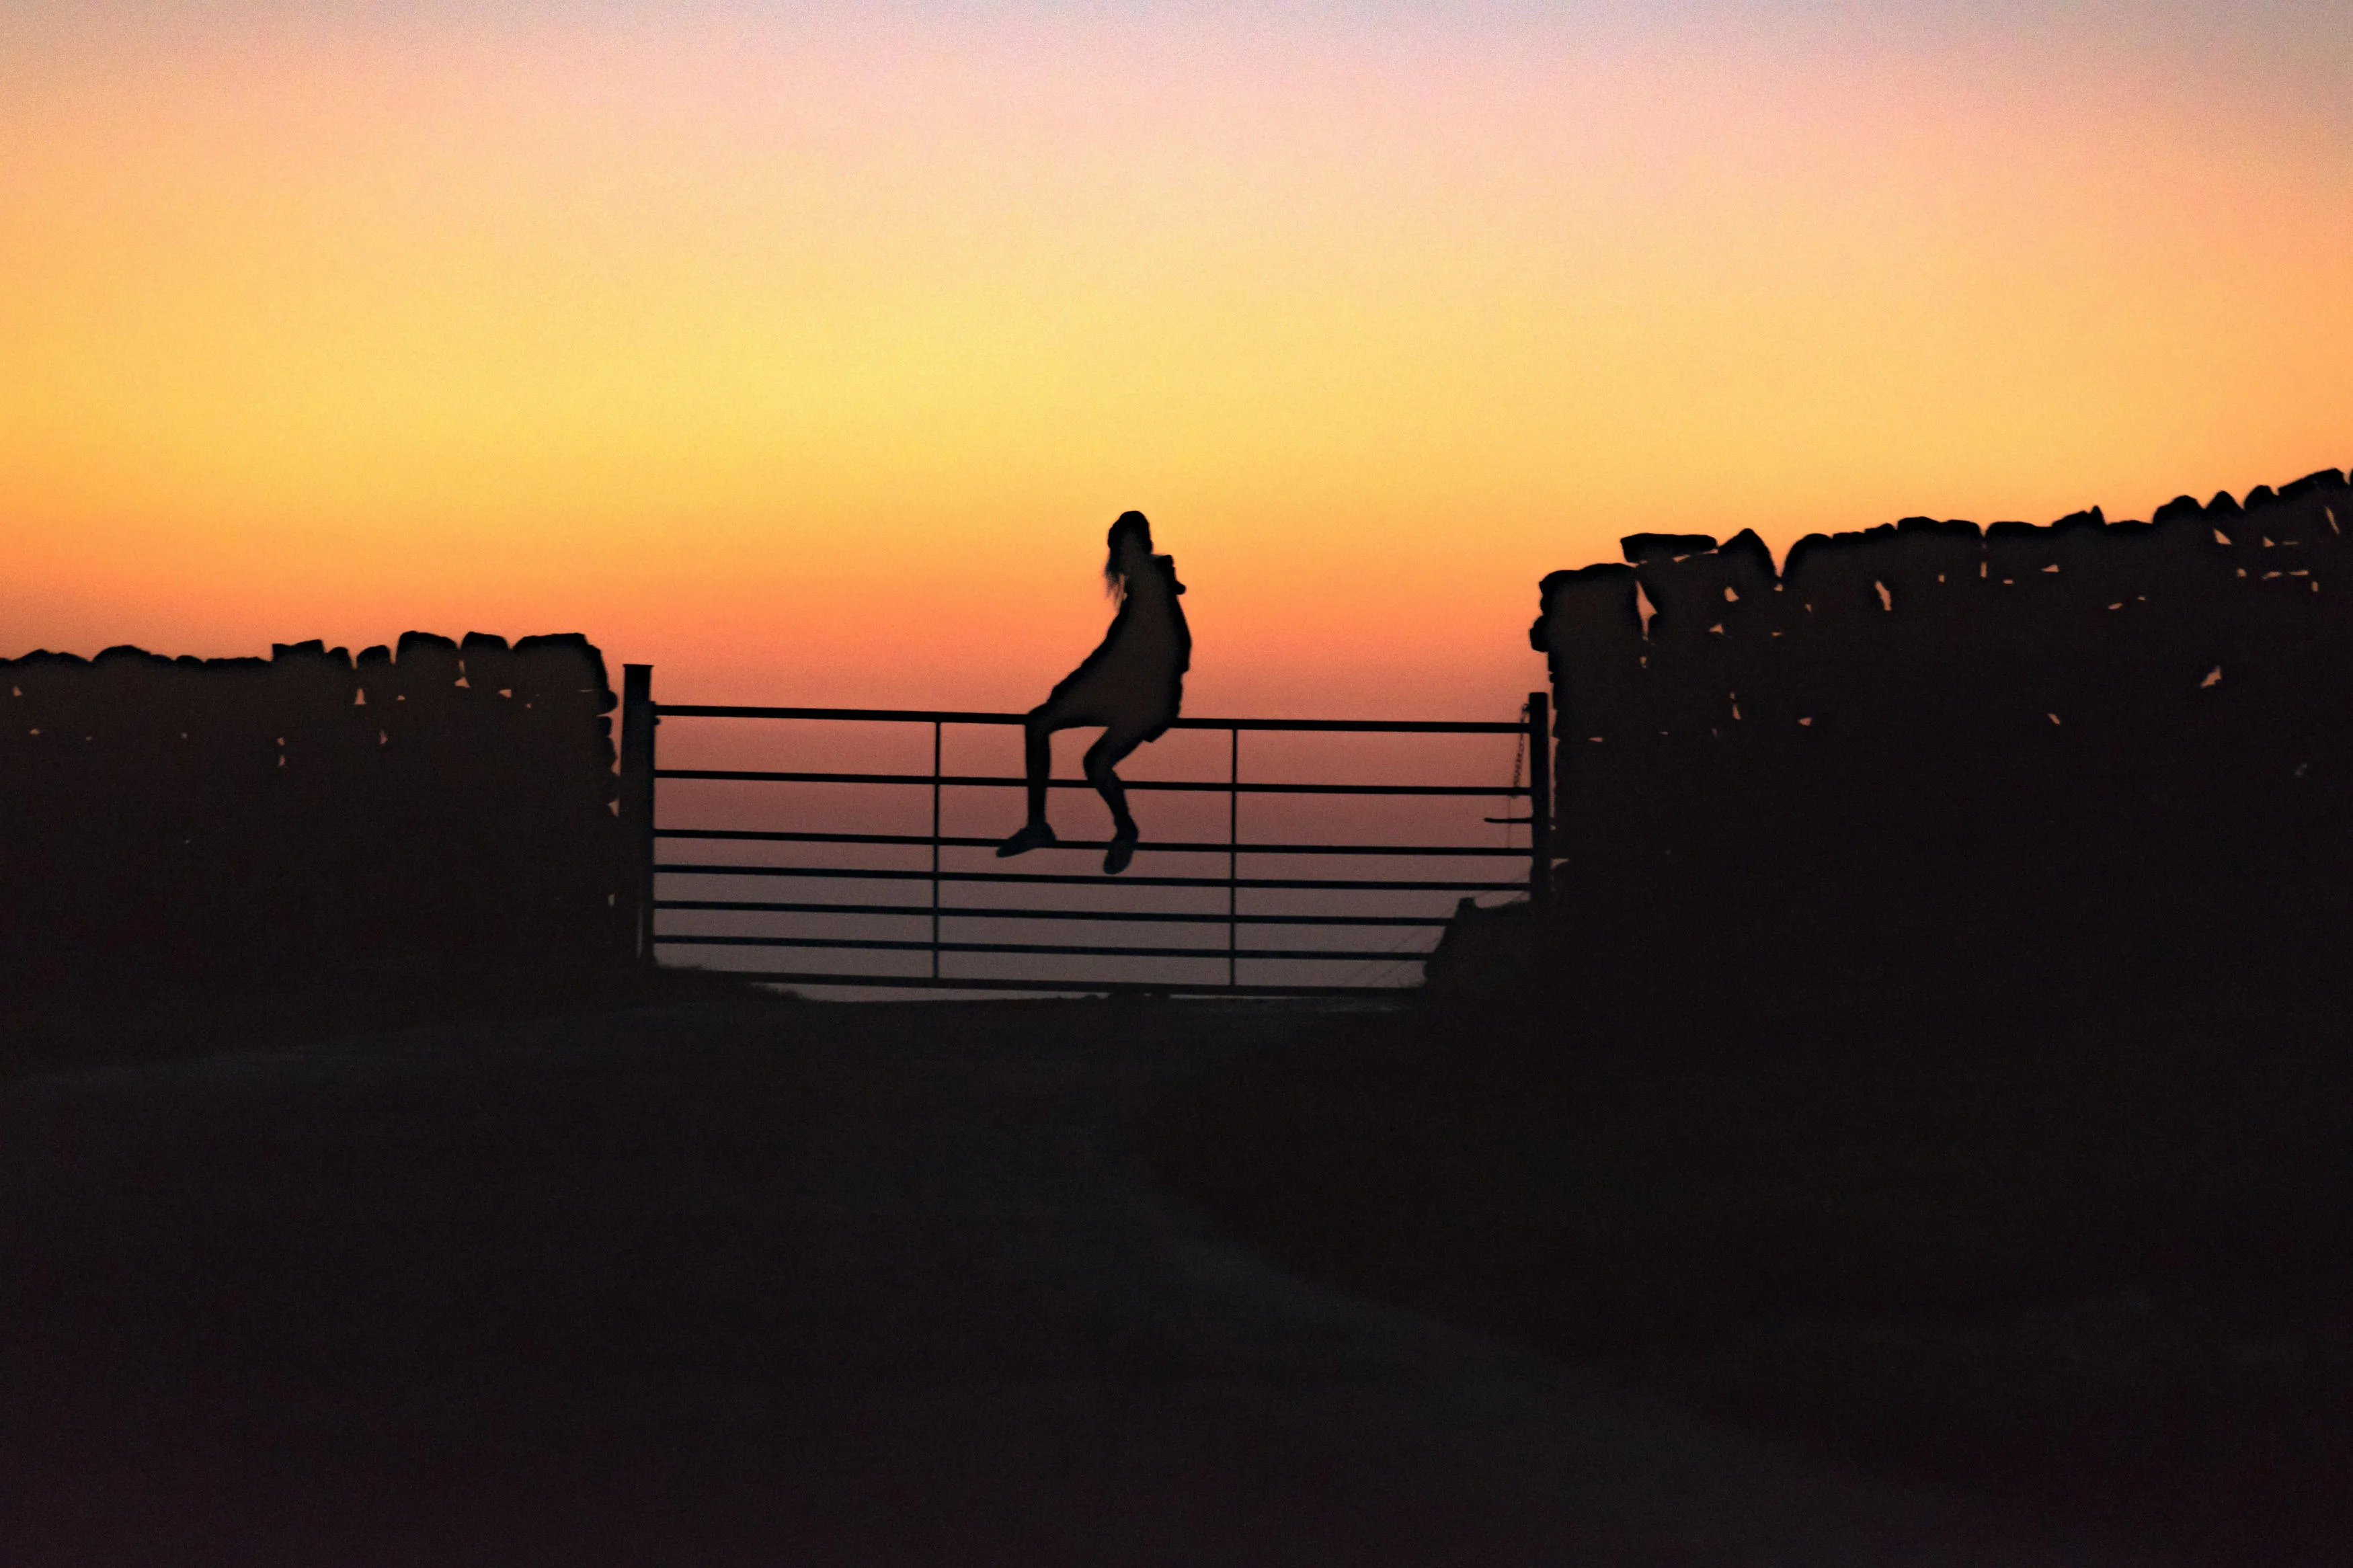
Silhouette photography rewards planning more than gear: the right light direction, correct manual exposure, and a subject with a clean outline matter far more than camera specs. Scout your location ahead of golden hour, expose for the background, and don’t be afraid to experiment with angle and framing. If a shot needs a bit more punch afterward, Luminar’s contrast and shadow tools can help bring out the drama you saw in the moment.
Frequently Asked Questions
This usually means the camera metered for the subject instead of the background. Switch to manual exposure and meter on the brightest part of the scene, then let the subject fall into shadow.
No. A smartphone works well, since you can lock exposure by tapping the bright area of the screen and reducing exposure from there.
Golden hour — shortly after sunrise or before sunset — gives the most reliable warm, directional light. Overcast skies with a bright horizon can also work if you miss that window.
To a point. Deepening shadows and boosting contrast in an editor like Luminar can strengthen a slightly underexposed shot, but a subject that’s too bright to begin with is harder to correct convincingly.
Yes, as long as the group’s combined outline stays readable. Simpler poses and tighter spacing between people help keep the shape from turning into a confusing blob.