Success in wedding photography is the result of hard work. These wedding photography tips are intended to help you capture the best pictures.
Wedding photography combines portraiture, documentary storytelling, event photography, and fast technical decision-making. A wedding photographer must capture important moments that cannot be repeated while working with changing light, tight schedules, and large groups of people.
The best preparation includes assisting an experienced photographer, discussing priorities with the couple, creating a wedding photography shot list, scouting the venue, testing equipment, and building backups into every stage of the workflow.
Don’t feel like reading the whole breakdown? We’ve pulled together a quick summary below.
Key Takeaways
- Gain experience as an assistant or second photographer before covering a wedding alone.
- Carry backup cameras, lenses, batteries, memory cards, and lighting equipment.
- Ask the couple for a short list of essential moments and family group combinations.
- Learn to adjust exposure and autofocus settings quickly.
- Photograph both planned portraits and spontaneous interactions.
- Back up the files before sorting or editing the wedding gallery.
- Use batch editing for consistency, then refine important photos individually.
How to Photograph a Wedding for the First Time
To photograph a wedding successfully, prepare for the timeline, people, venue, lighting, equipment, and file management before the event begins. Weddings move quickly, and relying on improvisation alone creates unnecessary risk.
The following wedding photography tips for beginners cover the most important stages of preparation.
Essential Wedding Photography Checklist for Capturing Every Moment
Learn more1. Gain Experience Before Photographing a Wedding Alone
Do not accept responsibility for an entire wedding until you understand how the day normally unfolds. Important moments such as the processional, vows, first kiss, and ceremony exit cannot simply be recreated if you miss them.
A practical way to gain experience is to assist an established wedding photographer or work as a second photographer. This gives you an opportunity to learn how professionals:
- Communicate with couples and guests
- Follow the wedding timeline
- Position themselves during the ceremony
- Organize family group portraits
- Work with difficult lighting
- Coordinate with planners and videographers
- Back up and manage files
Agree on your responsibilities before the wedding. Ask whether you may use any photographs in your portfolio and clarify when, where, and how those images can be published.
2. Discuss the Wedding Timeline With the Couple
A detailed timeline tells the photographer where important events will happen and how much time is available to photograph them.
Before the wedding, ask the couple about:
- Getting-ready locations
- Ceremony and reception addresses
- Travel time between venues
- Restrictions during the ceremony
- Planned speeches or performances
- The first look, first dance, or ceremony exit
- Cultural and family traditions
- Surprise events
- The time allocated for couple and group portraits
- The names of people helping organize family photos
Coordinate with the wedding planner or venue when appropriate. Knowing the schedule reduces confusion and helps you choose equipment before each part of the day.
3. Prepare a Wedding Photography Shot List
A wedding photography shot list is a checklist of essential people, details, and moments that the photographer should capture.
The list should support the photographer rather than dictate every frame. A very long generic checklist can distract from spontaneous moments, so prioritize images that are personally important to the couple.
Ask the couple to provide:
- Essential family group combinations
- Relatives who should not be placed together
- Meaningful objects or decorations
- Cultural traditions unfamiliar to the photographer
- Guests traveling from far away
- Any planned surprises
Keep the family list specific. “Partner A with parents and siblings” is more useful than a general instruction such as “family photos.”
4. Scout the Wedding Venue
Venue scouting helps identify suitable backgrounds, portrait locations, available light, and logistical problems before the wedding begins.
If possible, visit the venue at a similar time of day. Observe:
- The direction of sunlight
- Areas of open shade
- Indoor light levels
- Mixed lighting from windows and artificial sources
- Reflective walls or ceilings
- Space available for group portraits
- Cluttered or distracting backgrounds
- Restrictions on flash, tripods, or movement
- Backup locations in case of rain
- Power outlets and safe places for equipment
If an earlier visit is impossible, arrive before coverage begins. Photograph a few test frames and identify at least one indoor and one outdoor portrait location.
5. Bring Backup Wedding Photography Gear
Professional wedding photography requires redundancy because equipment failures can happen without warning.
At minimum, bring:
- Two compatible camera bodies
- More than one usable lens
- Several formatted memory cards
- Fully charged batteries
- A flash and spare batteries
- A reliable card reader
- Lens-cleaning supplies
- Chargers and necessary cables
- Weather protection
- A written or offline copy of the timeline
A camera with two memory card slots can record the same images to both cards, providing immediate redundancy. Do not repeatedly delete individual photographs during the event, and never format a card until its contents have been backed up and verified.
Renting unfamiliar equipment immediately before a wedding can create new problems. If you rent a camera, lens, or flash, test it during a complete practice session first.
Essential Wedding Photography Gear
The exact kit depends on the venue and shooting style, but a versatile setup may include:
- A standard zoom for changing situations
- A telephoto lens for ceremonies and candid moments
- A fast prime lens for portraits and low light
- An on-camera flash with a movable head
- A radio trigger and compatible off-camera flash
- A reflector or small LED light
- A comfortable camera strap or harness
More equipment does not automatically produce better photographs. Every item should have a clear purpose and be familiar enough to operate quickly.
6. Know Your Camera Settings
There is no single set of perfect wedding camera settings. Aperture, shutter speed, ISO, autofocus, and metering must change according to the light, subject movement, lens, and intended result.
Useful starting principles include:
- Shoot in RAW when possible to retain more editing flexibility.
- Use continuous autofocus for moving subjects.
- Select an autofocus area appropriate for the number of people in the frame.
- Keep the shutter speed fast enough to avoid unwanted motion blur.
- Choose an aperture that provides sufficient depth of field for the subject.
- Raise ISO when necessary instead of accepting an unusably slow shutter speed.
- Check highlights, histogram information, and focus regularly.
- Save commonly used configurations to custom camera modes if the camera supports them.
A wide aperture can isolate one person, but it may leave some faces soft in a group portrait. Similarly, a low ISO is not helpful if it forces a shutter speed that cannot freeze movement.
Practice changing settings without taking the camera away from your eye.
Exclusive Tools of Endless Possibilities in One Editor
Wedding Photography Lighting Tips
Wedding photographers may encounter window light, direct sun, dim interiors, candles, colored reception lights, and flash within the same day. Learn several lighting approaches so you are not dependent on one technique.
Use Natural Light Deliberately
Window light and open shade can produce flattering portraits without additional equipment. Position the subject so the light falls across the face instead of creating deep shadows around the eyes.
Avoid assuming that all shade is equally useful. Check for green color casts from foliage, bright patches on the background, and overhead light that creates dark eye sockets.
Use Bounce Flash Indoors
When an appropriate wall or ceiling is available, bouncing an on-camera flash can create softer, more directional light than pointing the flash directly at the subject.
Check the color and distance of the bounce surface. A dark ceiling absorbs a significant amount of light, while a colored wall can introduce an unwanted color cast.
Use Off-Camera Flash for Controlled Lighting
Off-camera flash allows the photographer to control the angle and direction of artificial light. It can be useful for:
- Couple portraits after dark
- Backlit outdoor portraits
- Reception dancing
- Speeches
- Dramatic wide shots
- Separating subjects from a dark background
TTL is an automatic flash-metering mode supported by many on-camera and off-camera systems. It is not an inherent feature of every off-camera flash. Manual flash power may provide more consistent results when the subject-to-light distance remains stable.
What Does a Radio Flash Trigger Do?
A radio trigger sends a signal from the camera to a compatible flash or receiver. Unlike many optical systems, radio communication does not normally require a direct line of sight.
A radio trigger improves placement flexibility, but it does not guarantee correct exposure or eliminate every possibility of a misfire. Test channels, groups, batteries, synchronization, and TTL compatibility before the wedding.
Use Reflectors When an Assistant Is Available
A reflector redirects existing light toward the subject. It can soften shadows and add light to the eyes without requiring a battery.
Reflectors are inexpensive and fold down for transport, but larger models are difficult to control in wind. An assistant should hold the reflector securely and avoid directing painfully bright light into the subject’s eyes.
What Are the Main Wedding Photography Styles?
Wedding photography styles describe how a photographer approaches posing, composition, lighting, and storytelling. Most wedding galleries combine several styles rather than following one approach exclusively.
Traditional Wedding Photography
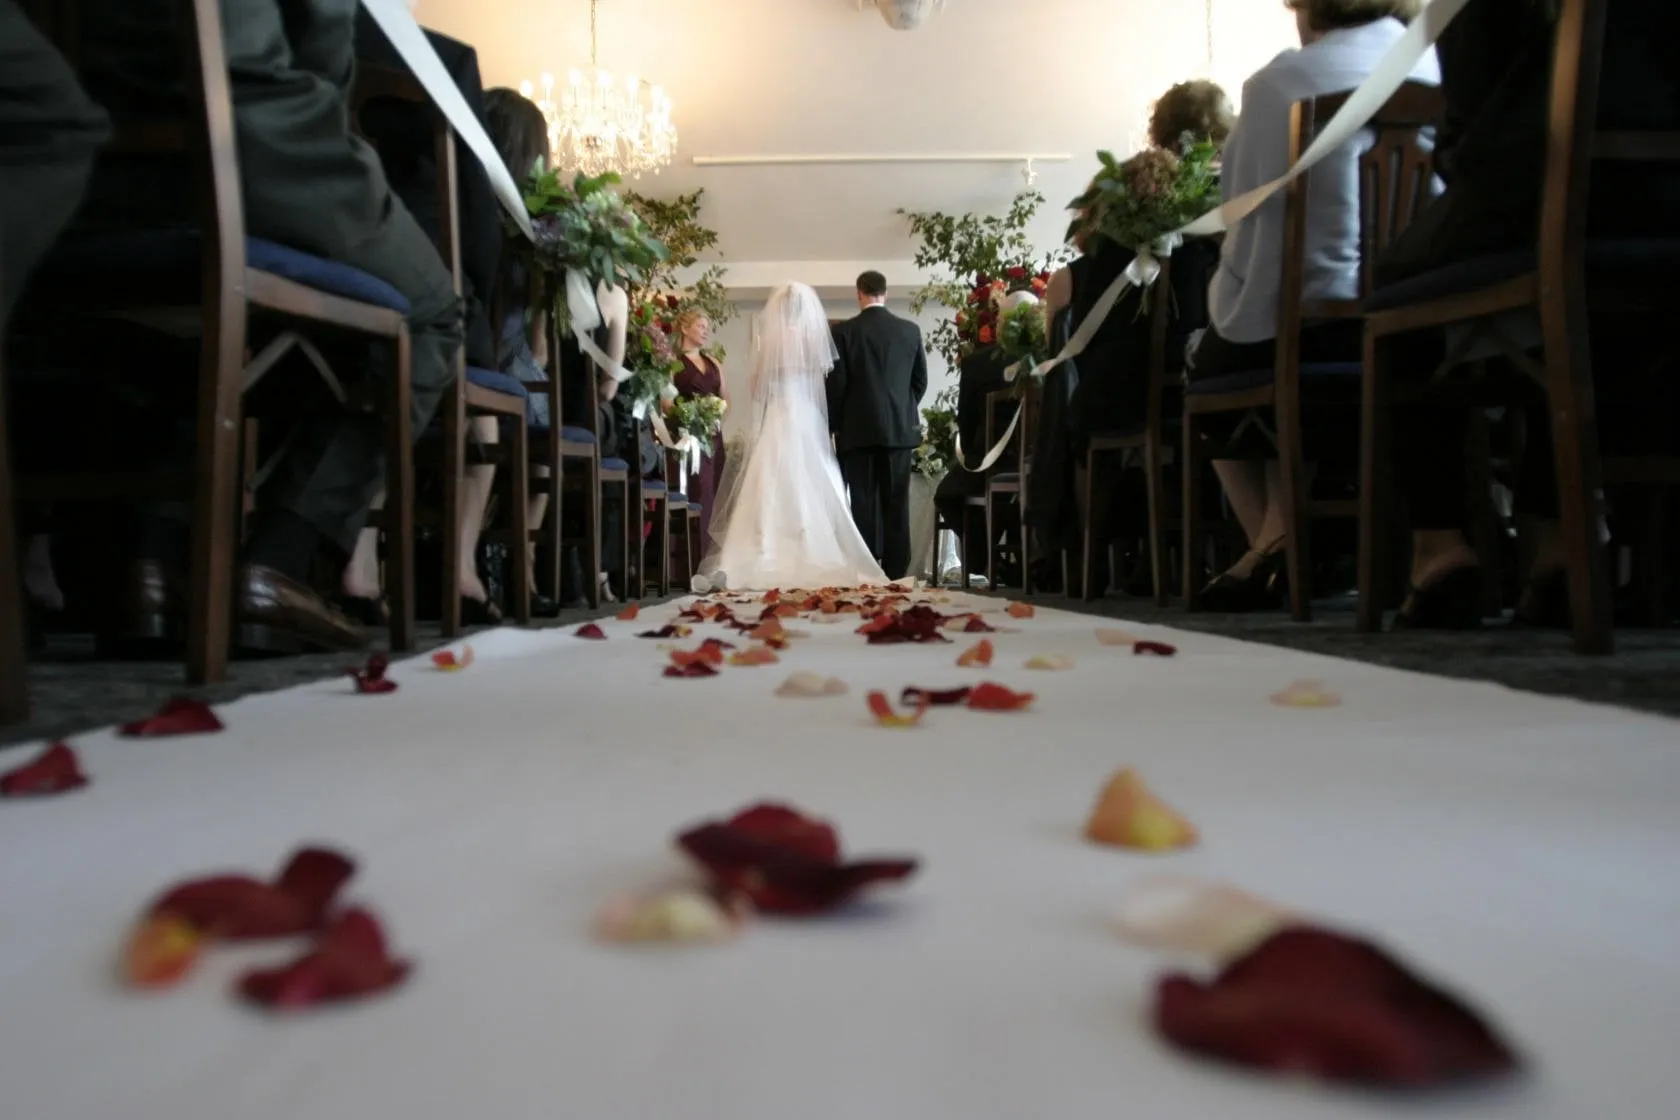
Traditional wedding photography focuses on clearly composed, recognizable moments and posed group portraits.
Common traditional images include:
- Formal couple portraits
- The couple with immediate family
- The wedding party
- The exchange of rings
- The first kiss
- The cake cutting
- The first dance
This style requires confident direction. The photographer must position people efficiently, check that every face is visible, and complete the group list without delaying the schedule.
Documentary or Photojournalistic Wedding Photography
Documentary wedding photography records events with limited intervention. The photographer anticipates moments, observes relationships, and builds a visual story from candid interactions.
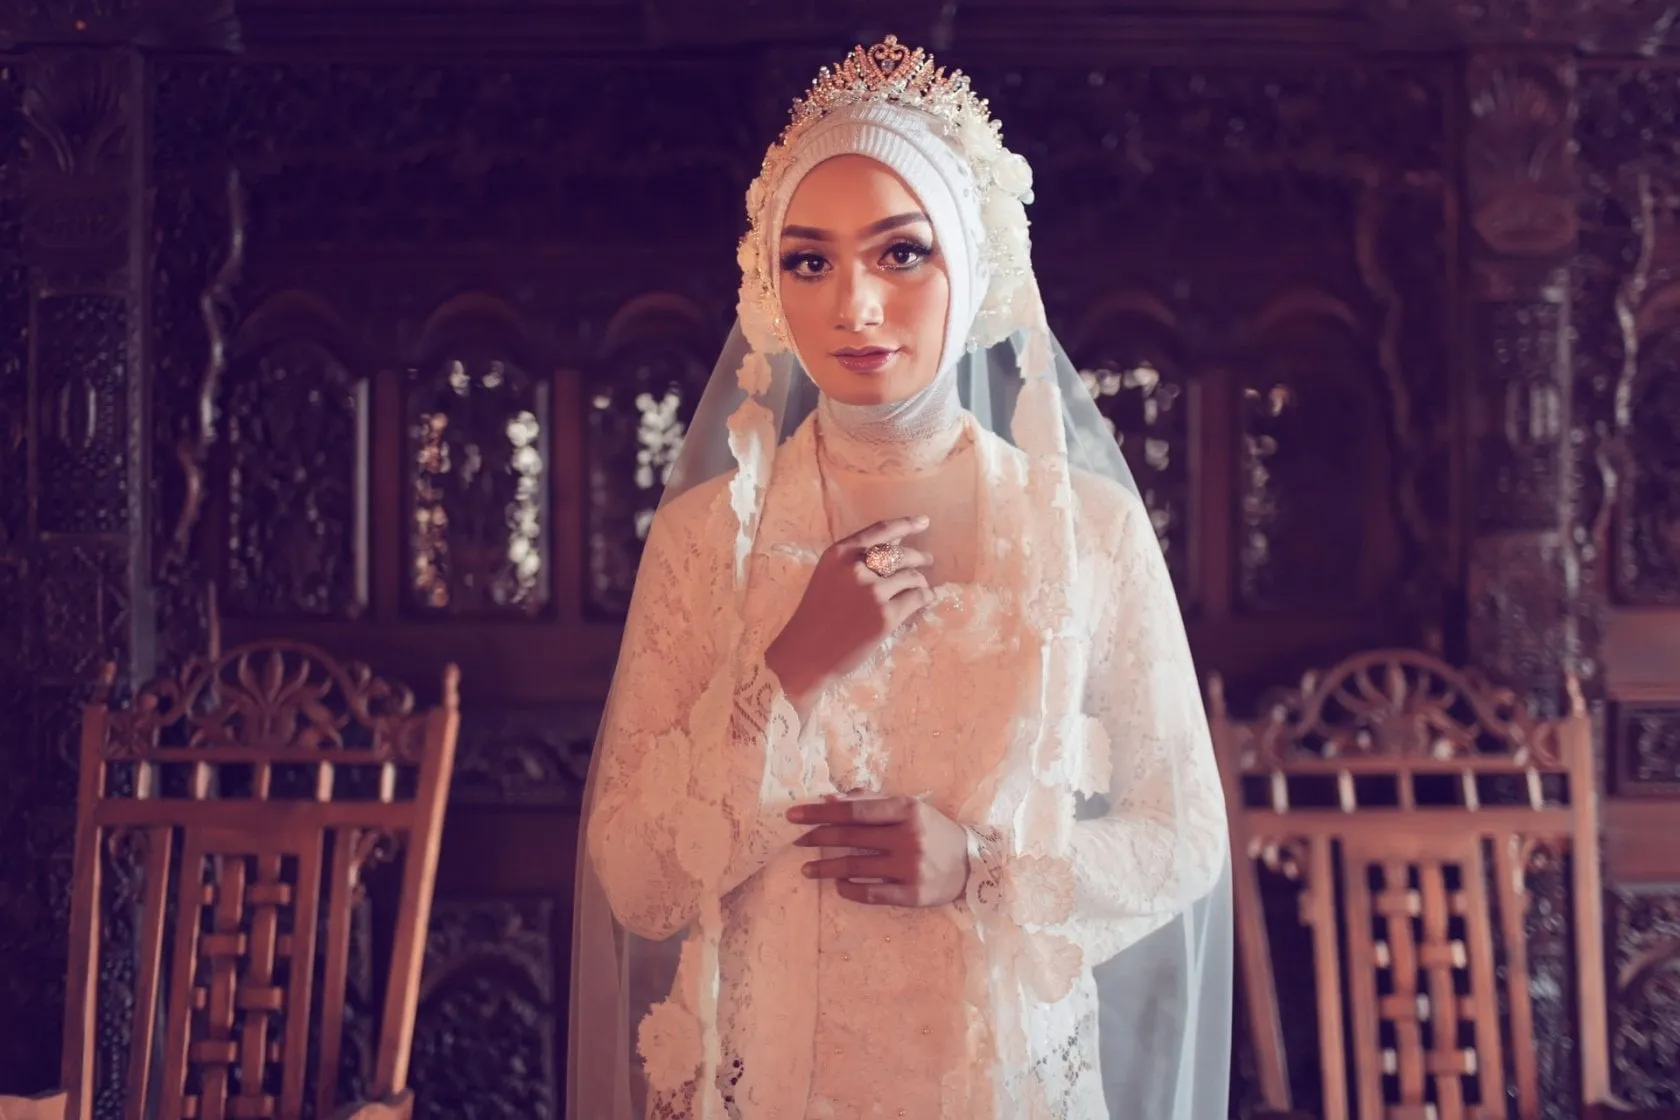
Strong documentary coverage requires:
- Awareness of what is happening outside the main scene
- Fast and accurate focusing
- Clean composition under time pressure
- Respect for guests’ personal space
- Familiarity with the wedding schedule
- An ability to anticipate emotional reactions
A telephoto lens can be helpful but is not required for every candid photograph. Wide and standard focal lengths can provide context and place the viewer inside the scene.
Wedding Portrait Photography
Wedding portrait photography involves guiding the couple or individual subjects into favorable positions and light.
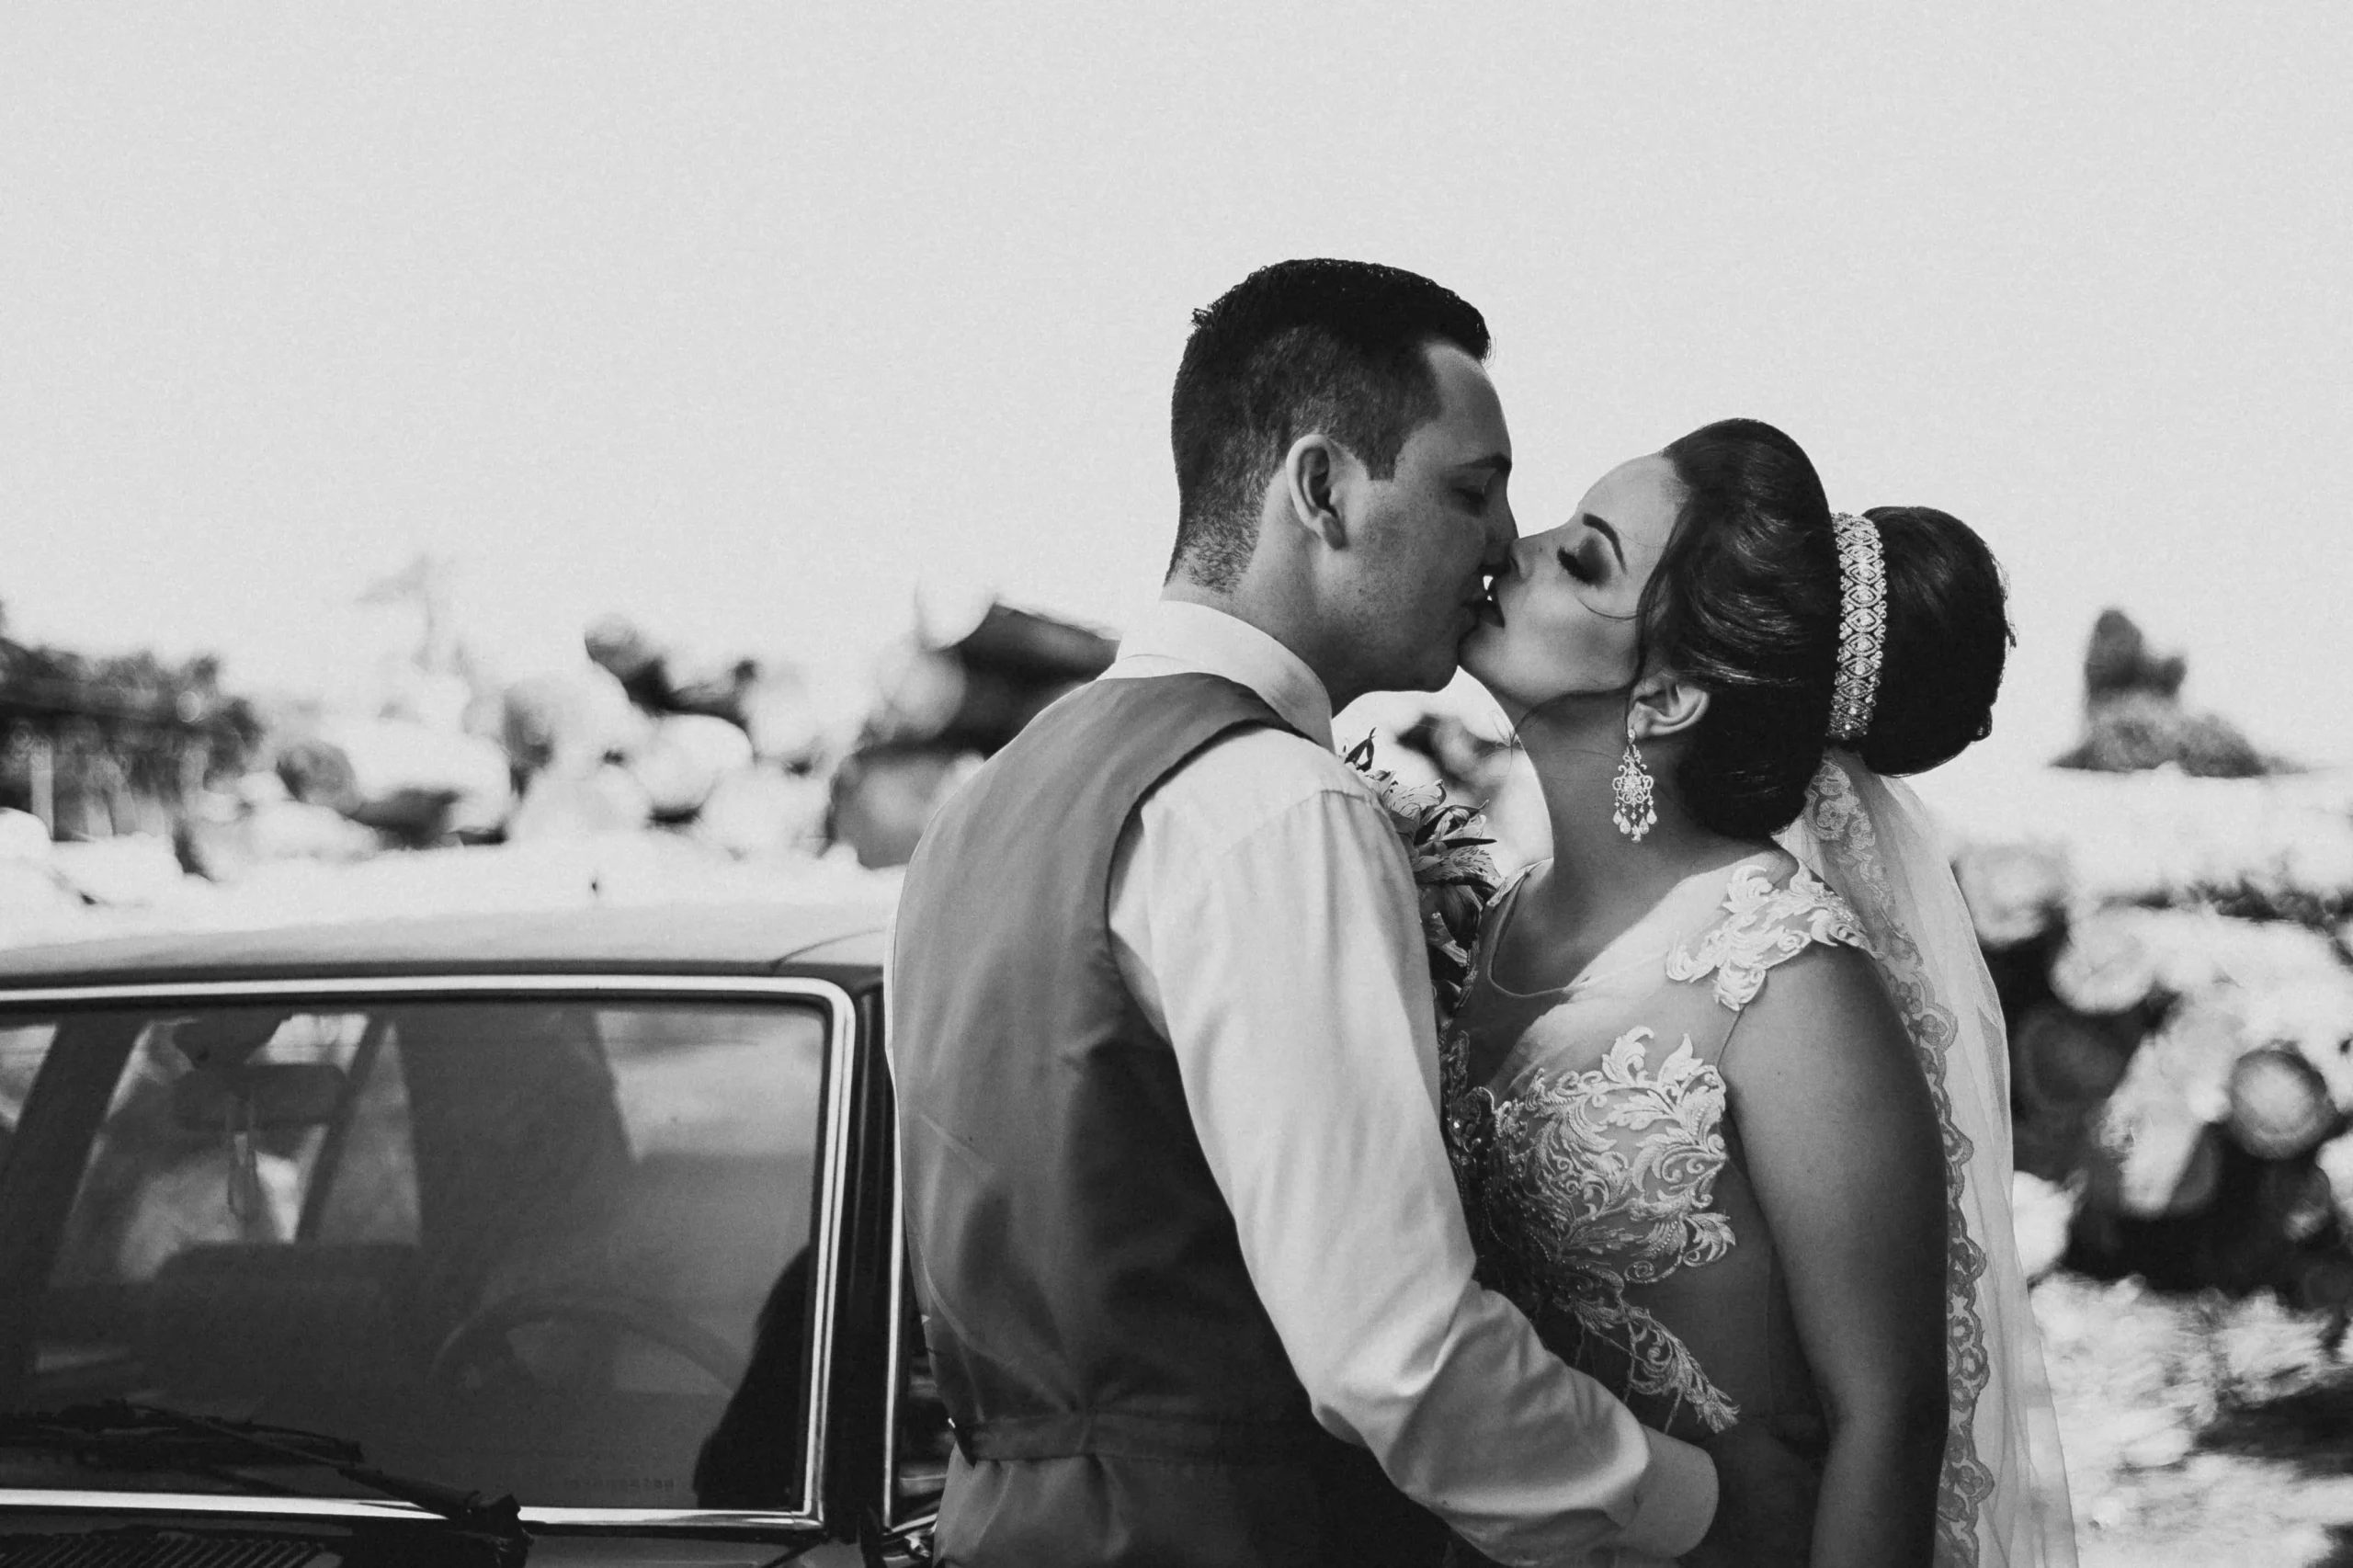
A portrait does not need to look rigid or overly formal. Give the couple simple actions instead of controlling every part of the pose. Ask them to walk, turn toward one another, adjust an outfit, or share a quiet moment.
Schedule portraits when the couple has enough time to relax. A rushed five-minute session rarely produces the same range as a planned portrait window.
Fine Art and Editorial Wedding Photography
Fine art and editorial wedding photography emphasize deliberate composition, refined lighting, styling, and polished post-production.
The photographer may carefully arrange:
- Rings and invitations
- Flowers and accessories
- Clothing and fabric
- Architectural elements
- Couple portraits
- Reception details
This approach can complement documentary coverage, but it should not prevent the photographer from recording important events happening elsewhere.
Fashion-Inspired Wedding Photography
Fashion-inspired wedding photography uses assertive posing, dramatic lighting, unusual framing, and strong attention to clothing.
It works well for couples who enjoy a polished editorial aesthetic. However, it is not necessarily easy for beginners. Giving clear posing direction and controlling light while keeping the couple comfortable requires practice.
Aerial Wedding Photography
Aerial wedding photography uses a drone or a high physical viewpoint to show the couple, guests, or venue from above.
Drone photography is a technique rather than a complete wedding photography style. It requires careful composition, suitable weather, legal operation, and permission from the venue where necessary.
Before flying a drone:
- Check local aviation regulations.
- Confirm whether the location lies in restricted airspace.
- Obtain required permission or certification.
- Consider noise and guest safety.
- Keep the drone away from people unless the operation is legally permitted.
- Prepare a conventional alternative if conditions are unsuitable.
Contrary to the original article, composition remains important in aerial photography. A high viewpoint alone does not guarantee an effective image.
Essential Wedding Photography Shot List
A useful wedding photography shot list follows the order of the day. Adapt this checklist to the couple’s schedule, priorities, and traditions.
Getting Ready
- Venue exterior and establishing shots
- Dress, suit, shoes, jewelry, and accessories
- Invitations and rings
- Flowers
- Hair and makeup
- Candid interactions with family and friends
- Final outfit adjustments
- Individual portraits
- Reactions during gift or letter exchanges
Ceremony
- Guests arriving
- Venue before the ceremony
- Processional
- Reactions from the couple and family
- Wide and close views of the ceremony
- Vows
- Ring exchange
- First kiss
- Signing documents, when permitted
- Recessional
- Congratulations immediately afterward
Group and Couple Portraits
- Couple with each set of parents
- Couple with siblings
- Immediate families
- Extended families requested by the couple
- Entire wedding party
- Smaller wedding-party groups
- Full-length and close couple portraits
- Environmental portraits showing the venue
- Unposed interactions between portraits
Reception
- Room and table details before guests enter
- Couple’s entrance
- Speeches and reactions
- Cake cutting
- First dance
- Parent dances
- Guests talking and laughing
- Dancing
- Entertainment or performances
- Evening portrait
- Final exit, if planned
A wedding photography checklist prevents essential images from being forgotten, but remain attentive to unexpected interactions that are more meaningful than any generic list.
4. Always take traditional wedding photos
You may want to experiment on the wedding day, but be sure you still get the traditional shots too. Experiments are a great way to help you define your style, but don’t forget that couples want to see their wedding rings, cake cutting, and first dance. Make sure you nail the essential things.
Retouch Portraits Naturally Without Overediting Skin
5. Be sure your camera is stable
Stabilization is vital. Whether you use a tripod, monopod, glidecam, slider, or shoulder rig, be sure that you can quickly switch between your support gear. By putting the same quick release plate on all of your equipment, you can quickly turn on the go.
6. Сapture enough B-roll
B-roll will be your best friend and worst enemy when editing. Not having enough will make your work much harder. It’s easy to remember to shoot exteriors of the wedding venue, but don’t forget that guests are coming to these venues. When the newlyweds watch their wedding video, they want to see their friends and family in attendance.
7. Get ready for low-light situations
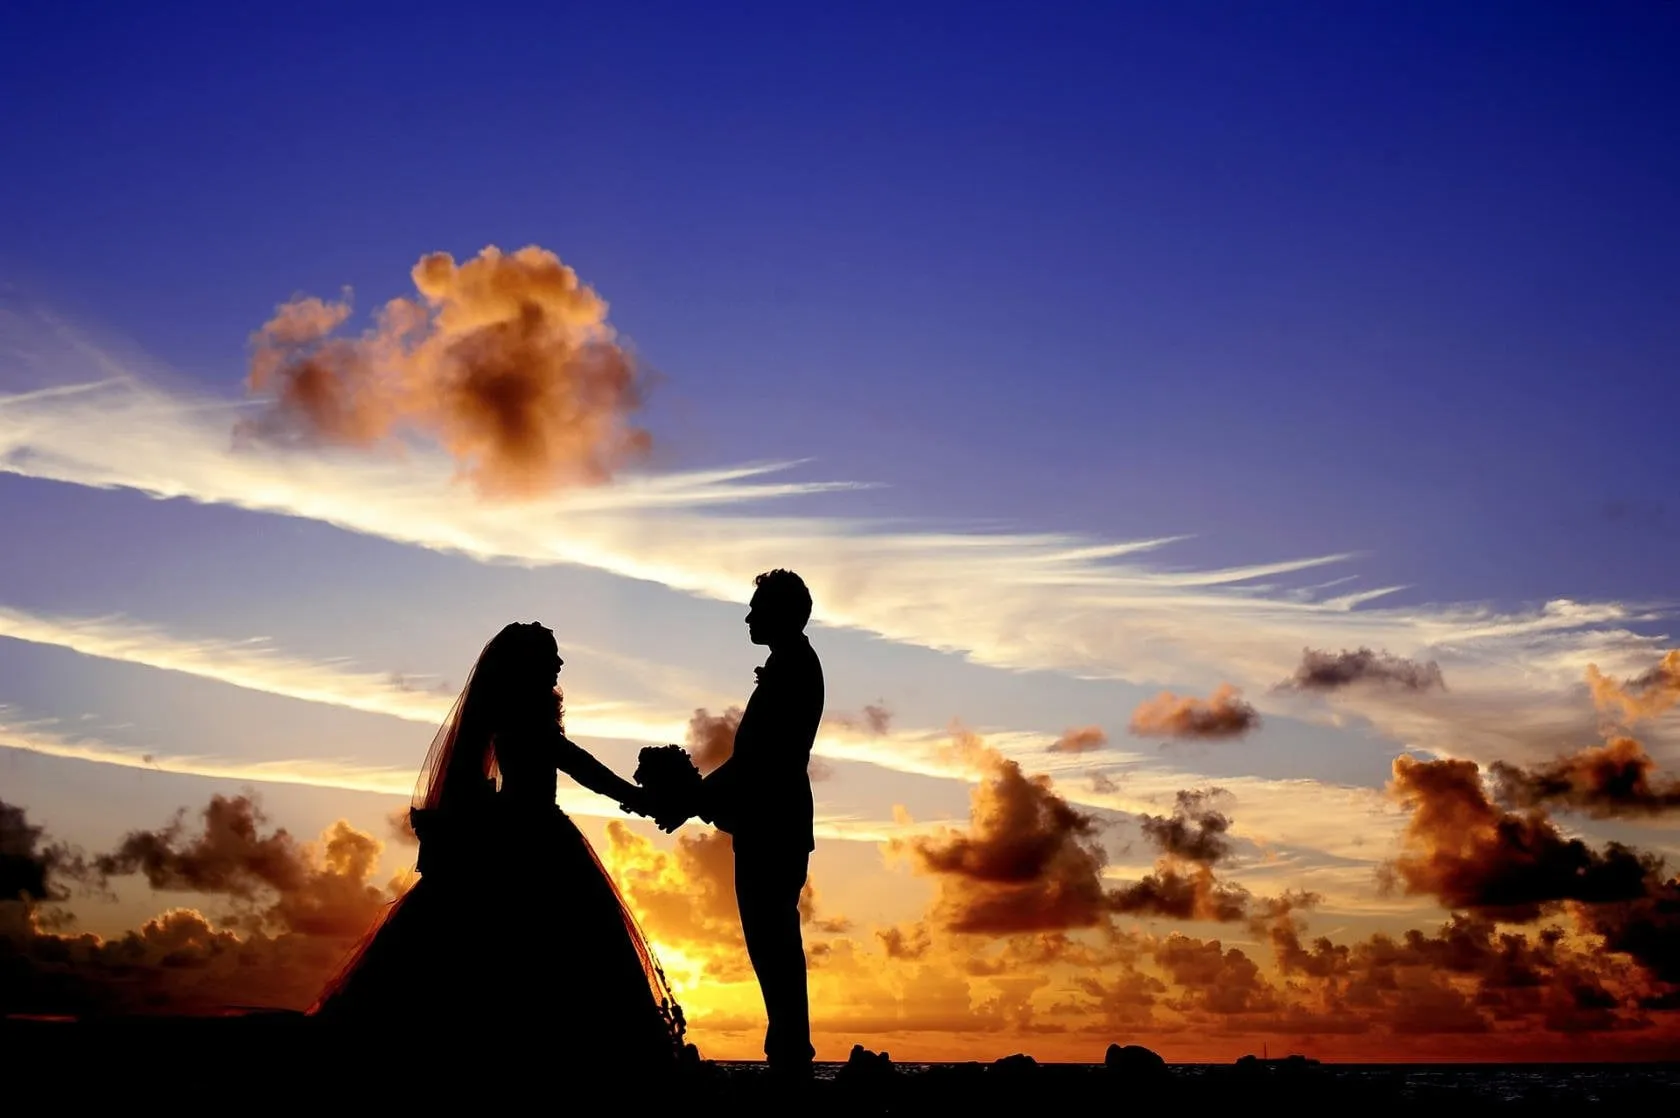
Evening ceremonies can be a nightmare for a wedding filmmaker. Indoor or outdoor, it will probably be dark. After dinner is served, the lights dim and the party begins. Prepare your own lights to help you take certain shots.
Creative Wedding Photography Ideas
Once the essential moments are covered, use these wedding photography ideas to add variety to the gallery.
1. Place the Couple Within the Landscape
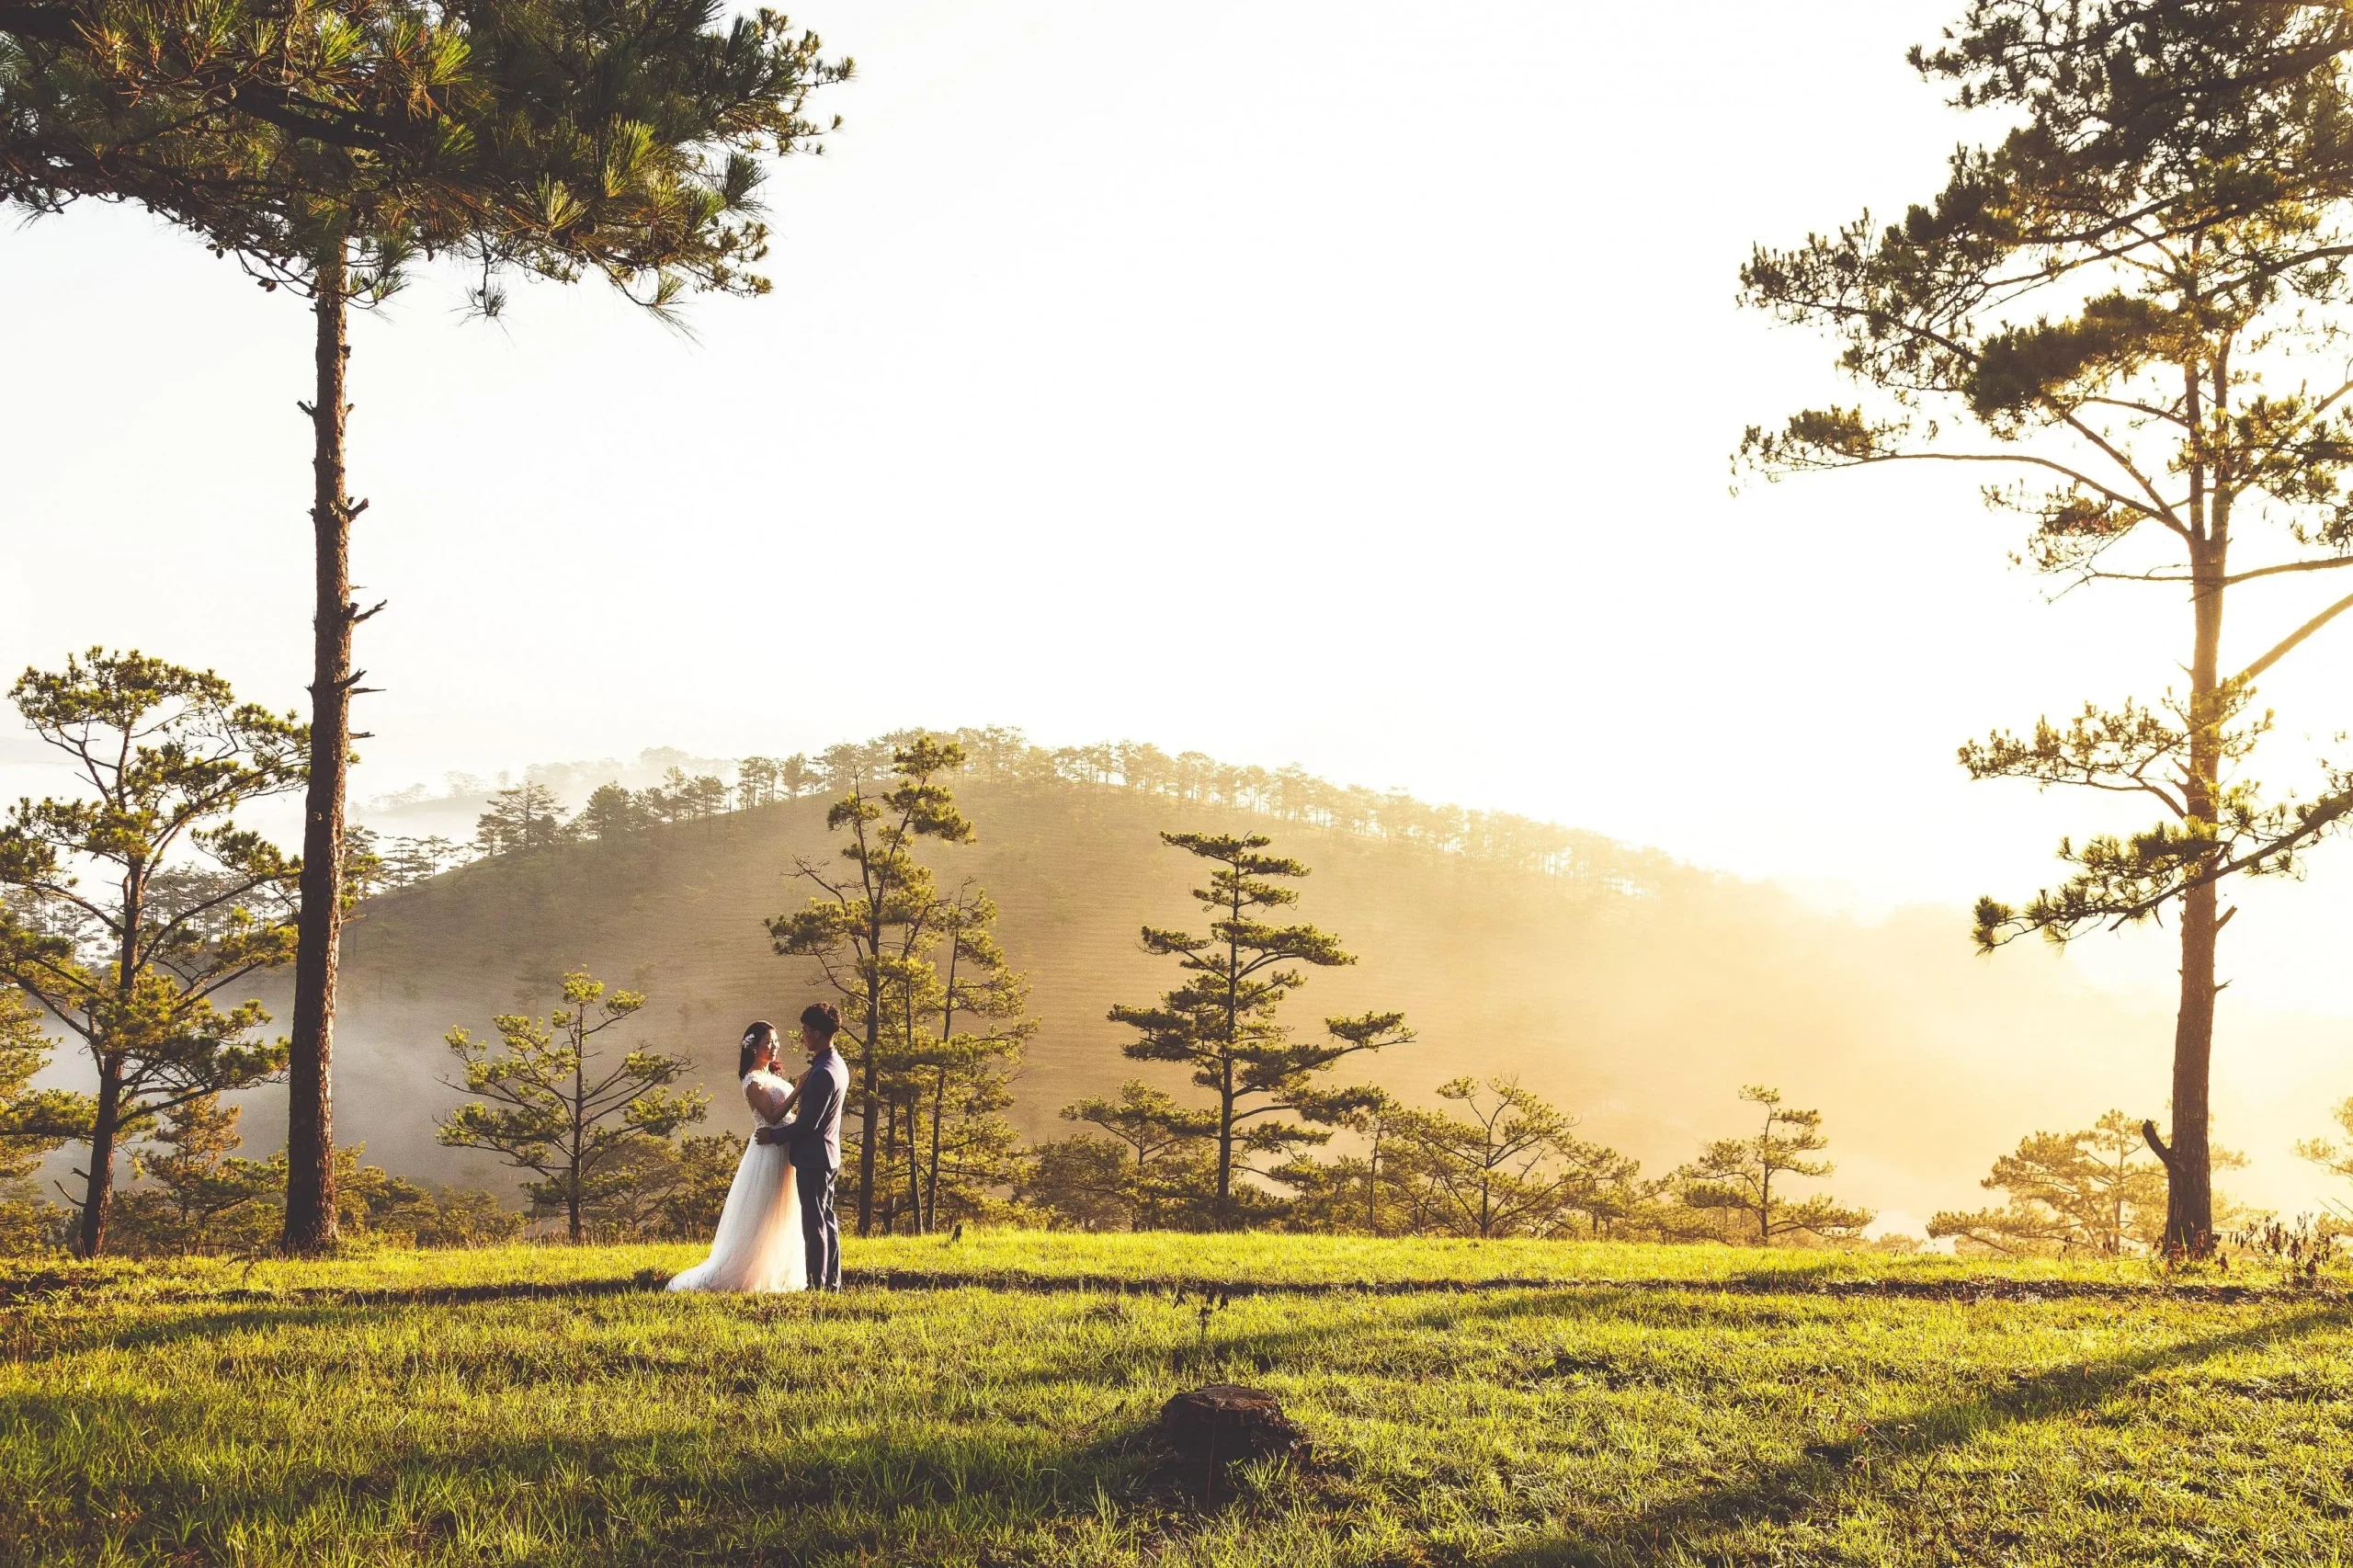
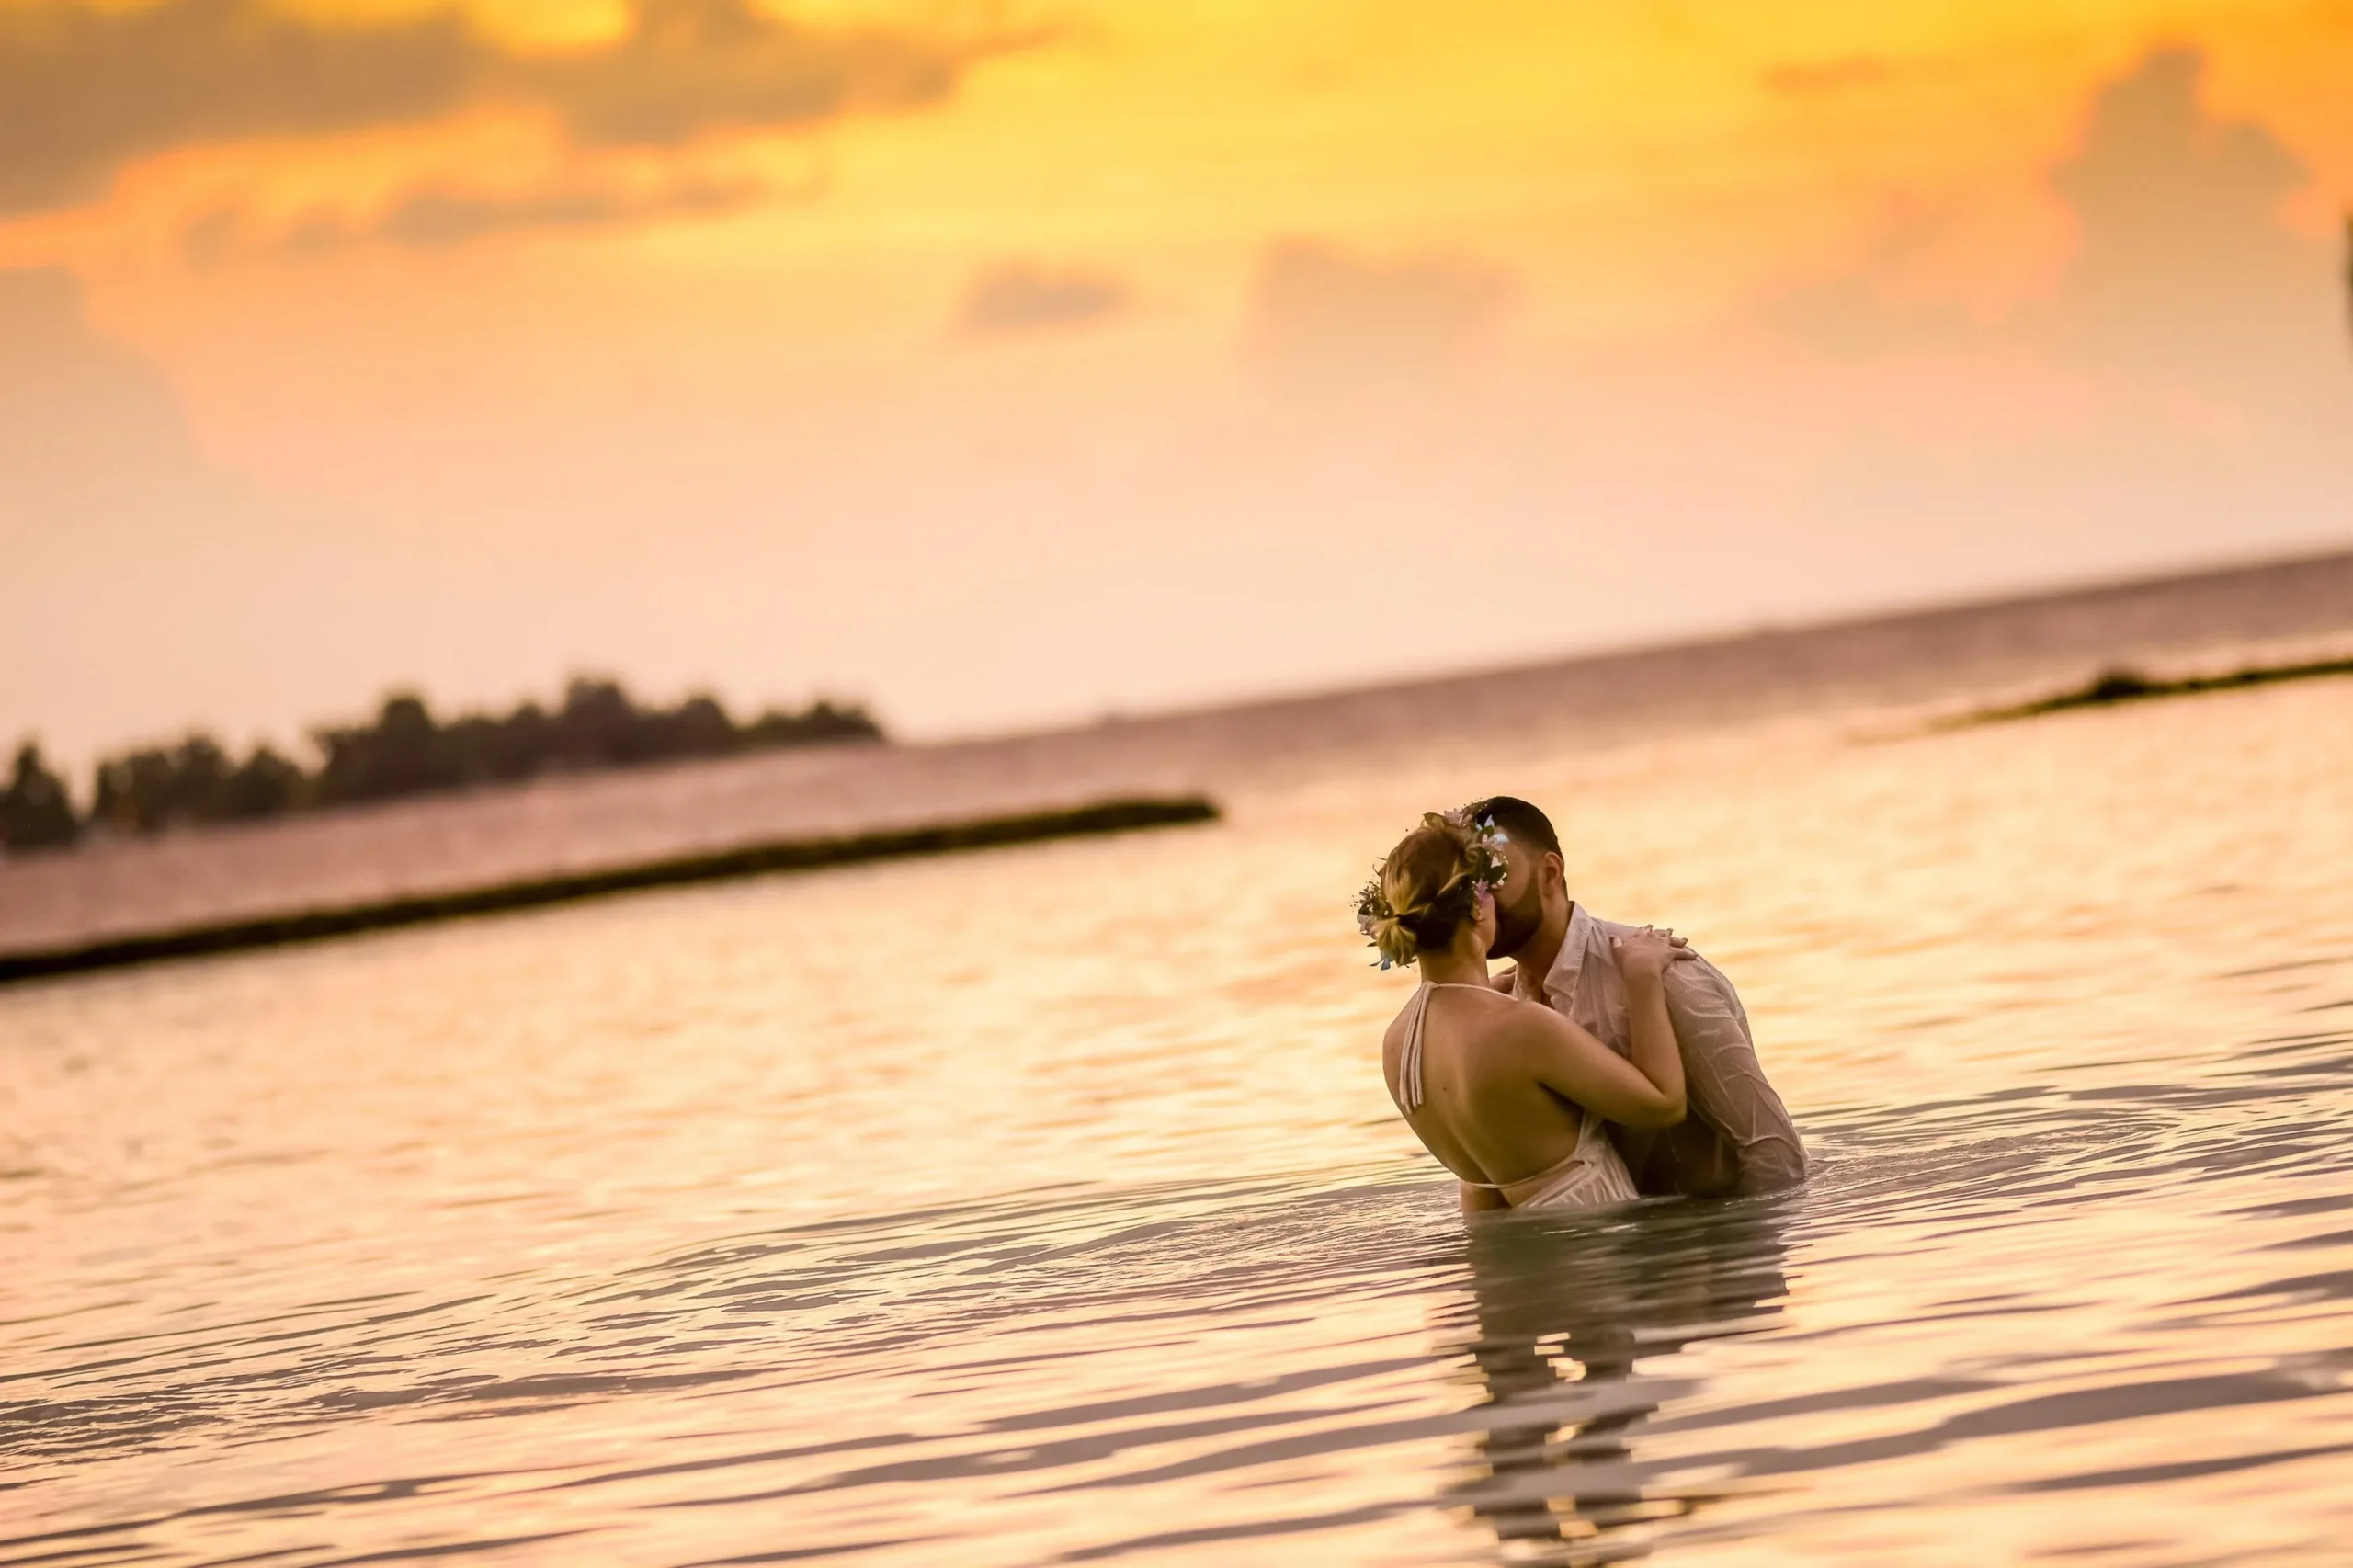
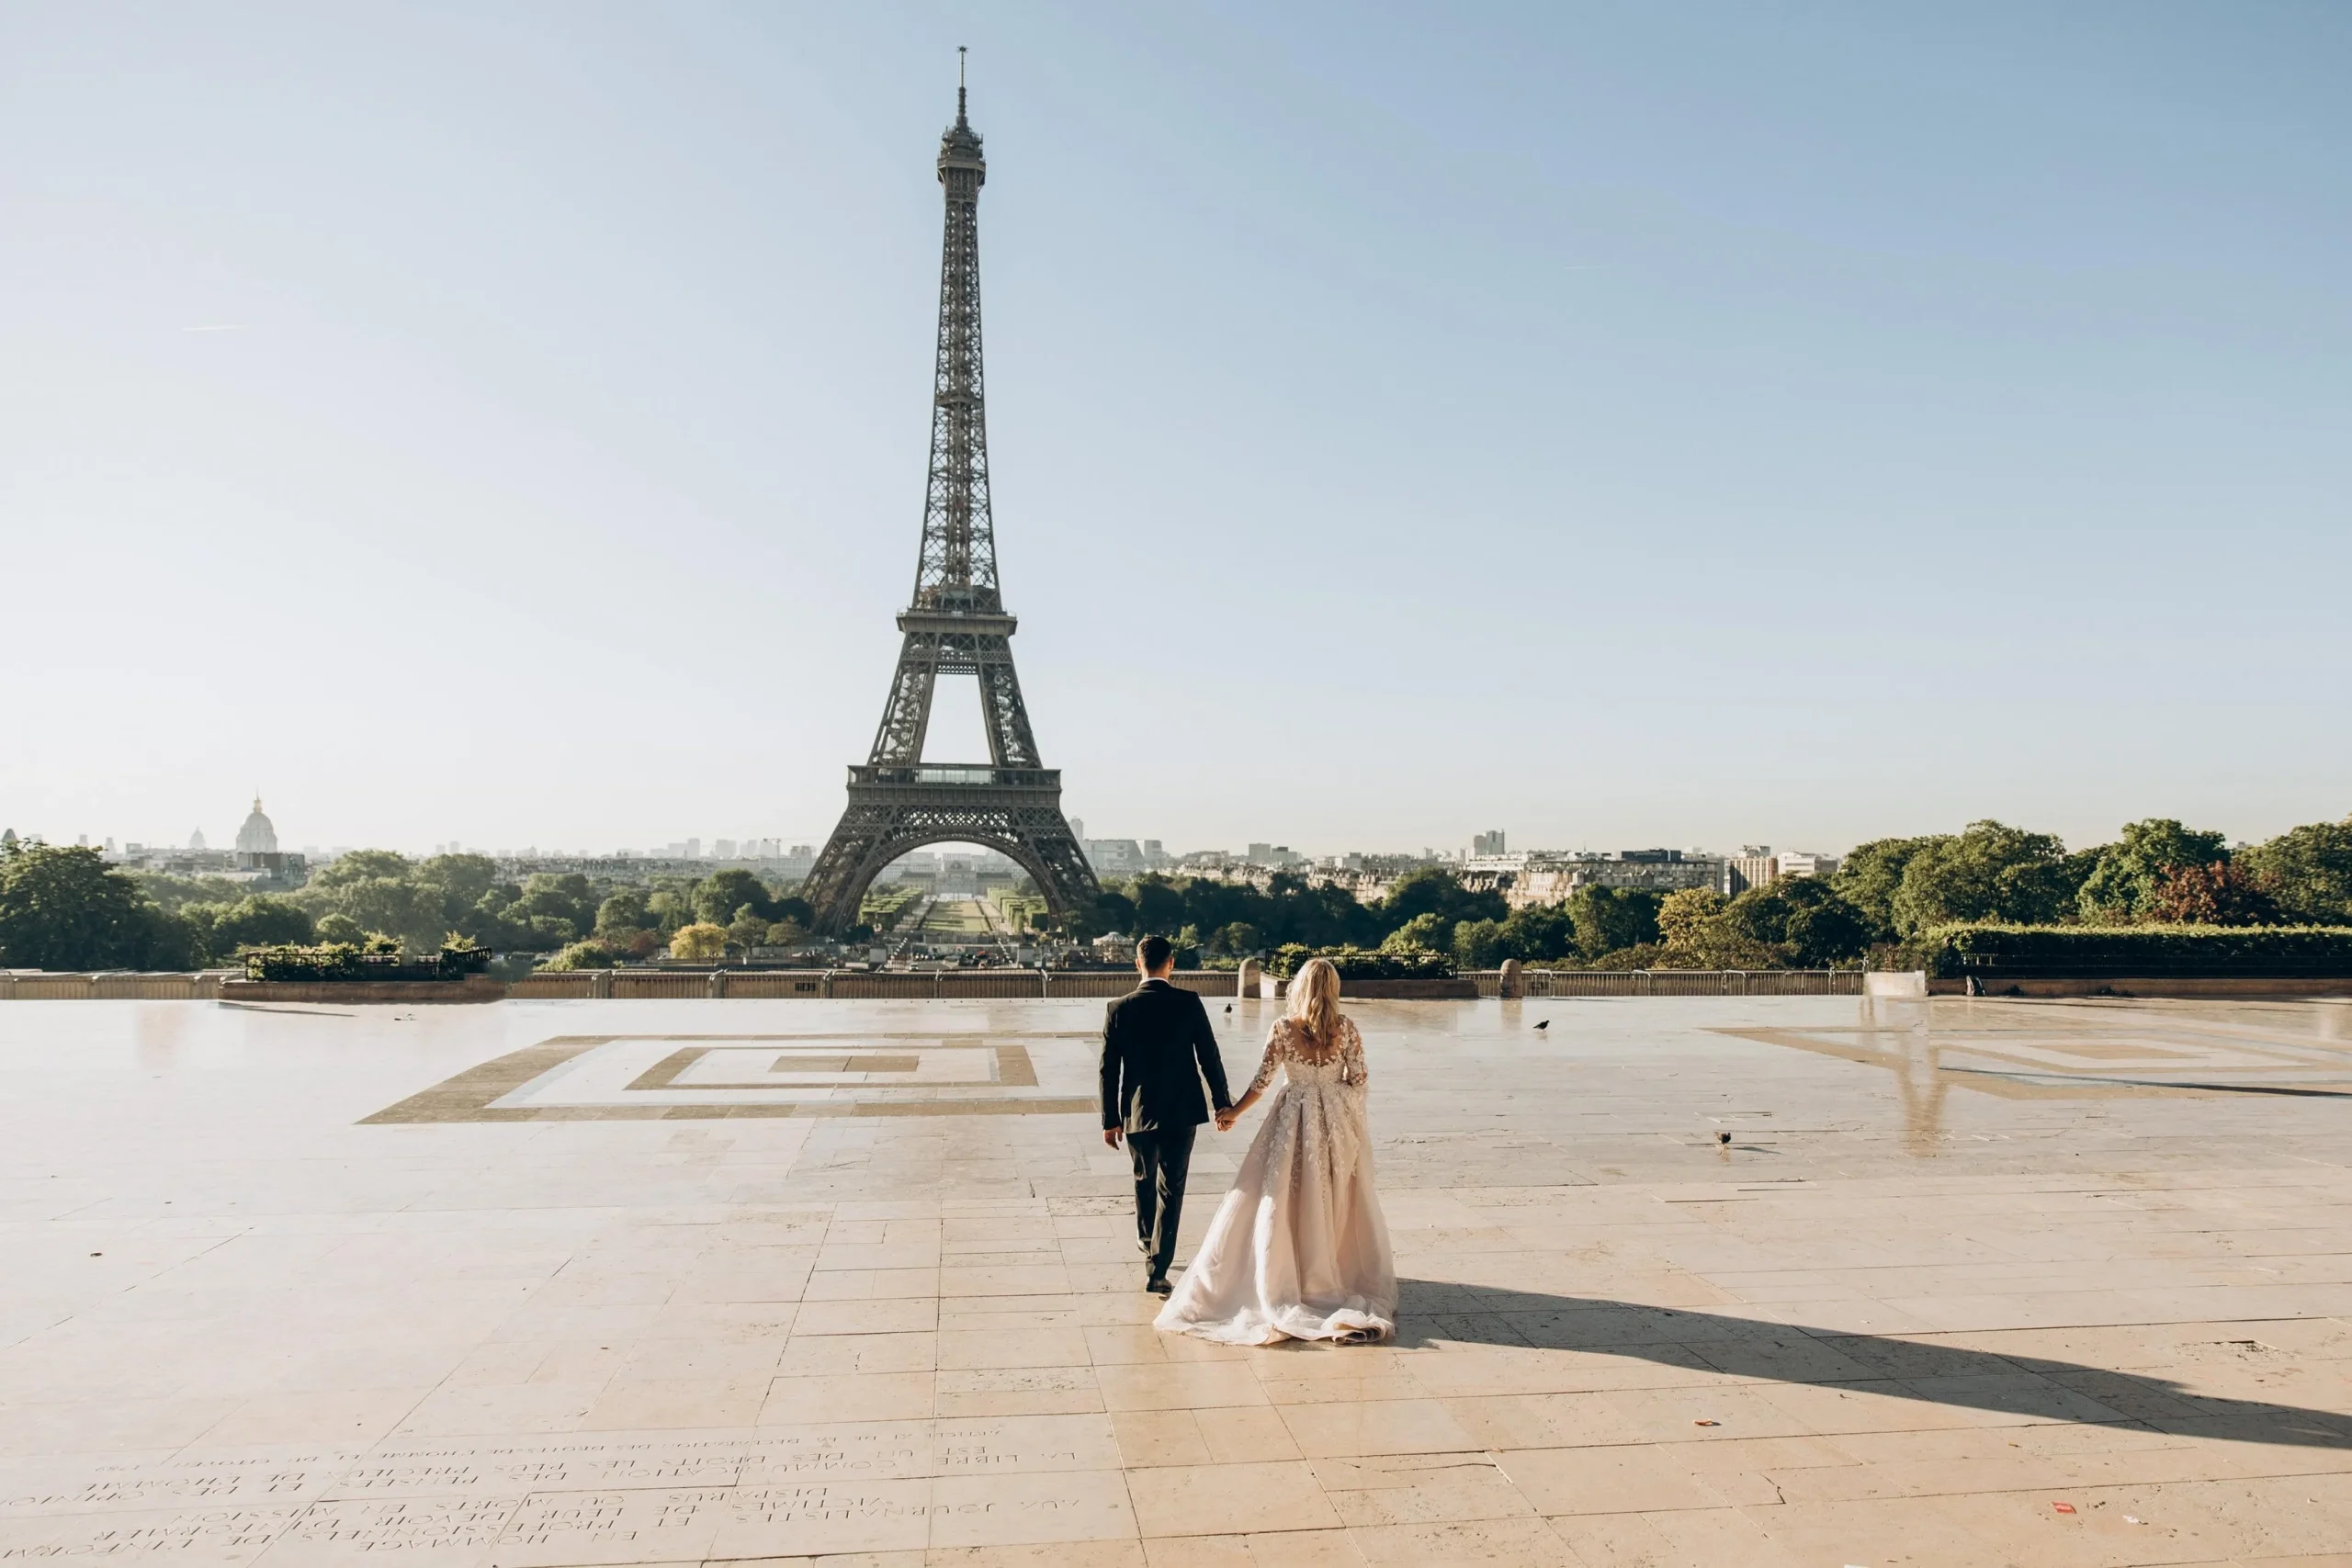
Use architecture, mountains, coastline, gardens, or the venue itself to create an environmental portrait.
A wide composition should still give the couple a clear visual role. Use leading lines, contrast, framing, or negative space so the subjects do not disappear within the scene.
2. Photograph Symbols and Personal Details
Capture the objects and gestures that identify the wedding:
- Rings
- Invitations
- Flowers
- Handwritten notes
- Family heirlooms
- Cultural details
- Hands during the vows
- Embraces
- Applause
- Dancing feet
Do not limit detail photography to expensive decorations. An ordinary object with personal meaning may matter more to the couple.
3. Use Highlights and Shadows
Strong shadows, silhouettes, reflections, and directional light can create dramatic images.
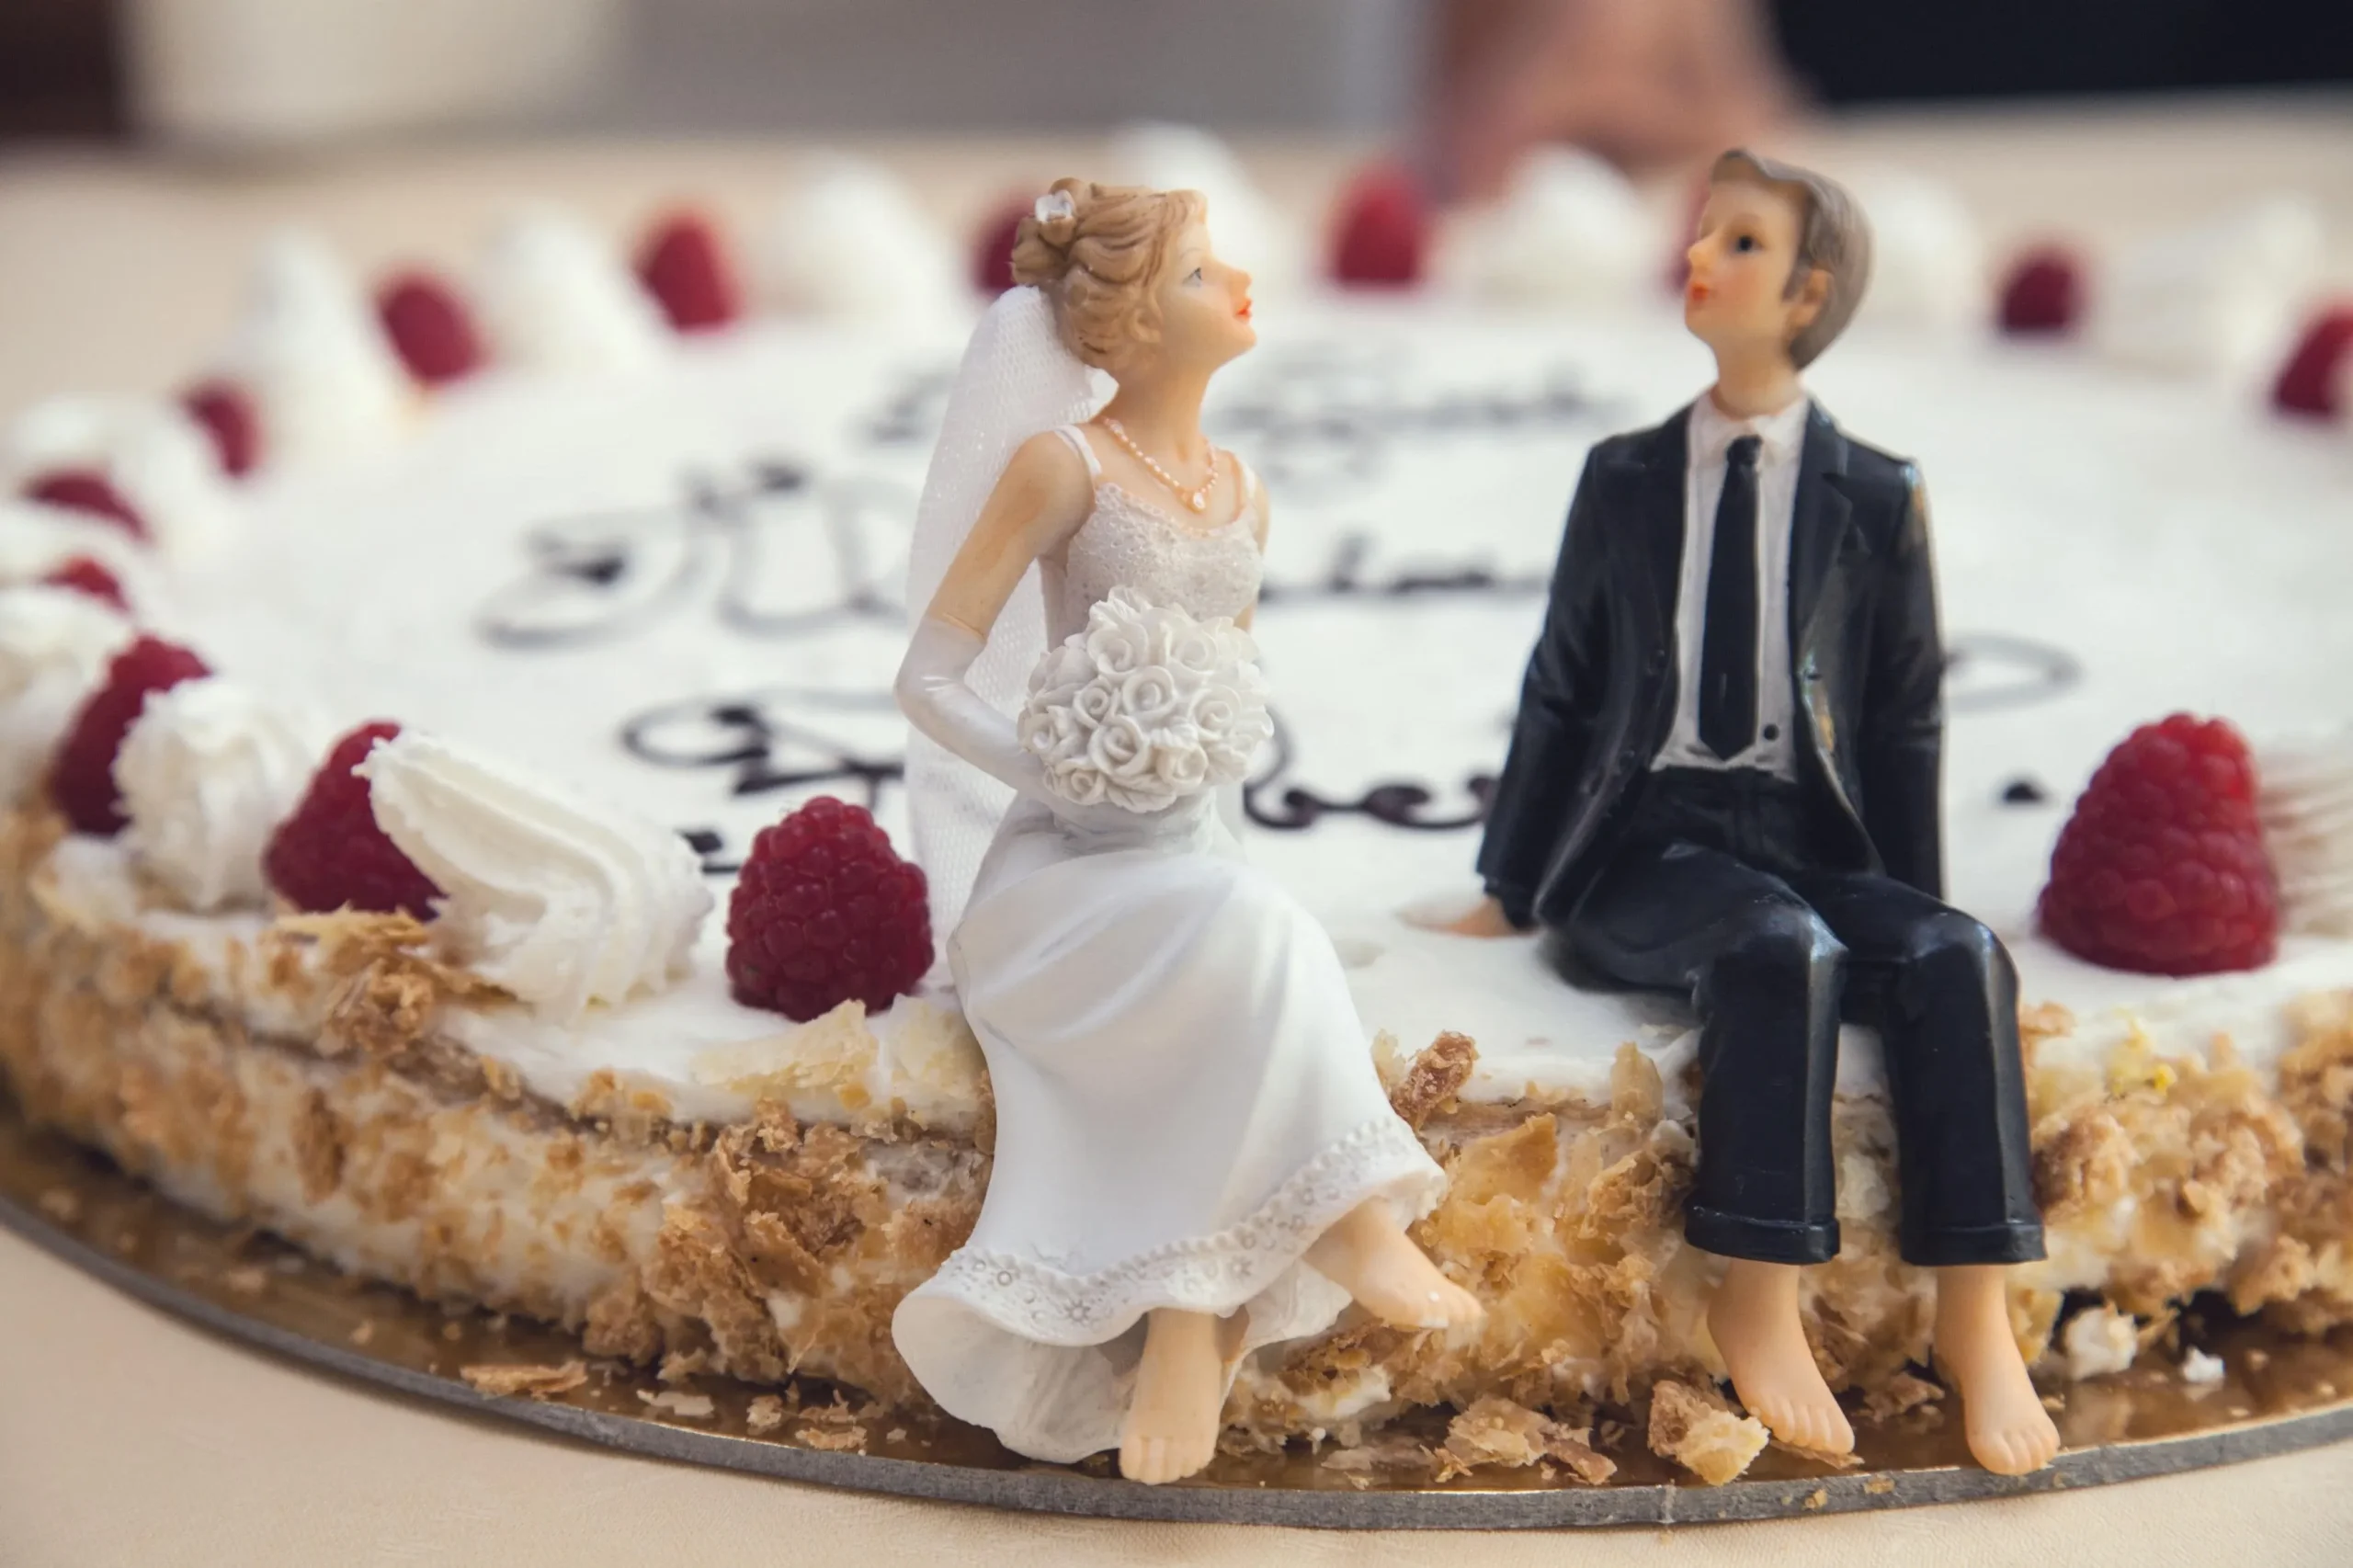
Check that the effect supports the moment and that important facial expressions remain visible when necessary.
4. Capture Small Details
Use close compositions for embroidery, jewelry, rings, flowers, table settings, and other details. These photographs provide visual transitions when the wedding gallery or album is assembled.
5. Anticipate Action
Dancing, confetti, children playing, performers, and ceremony exits require anticipation.
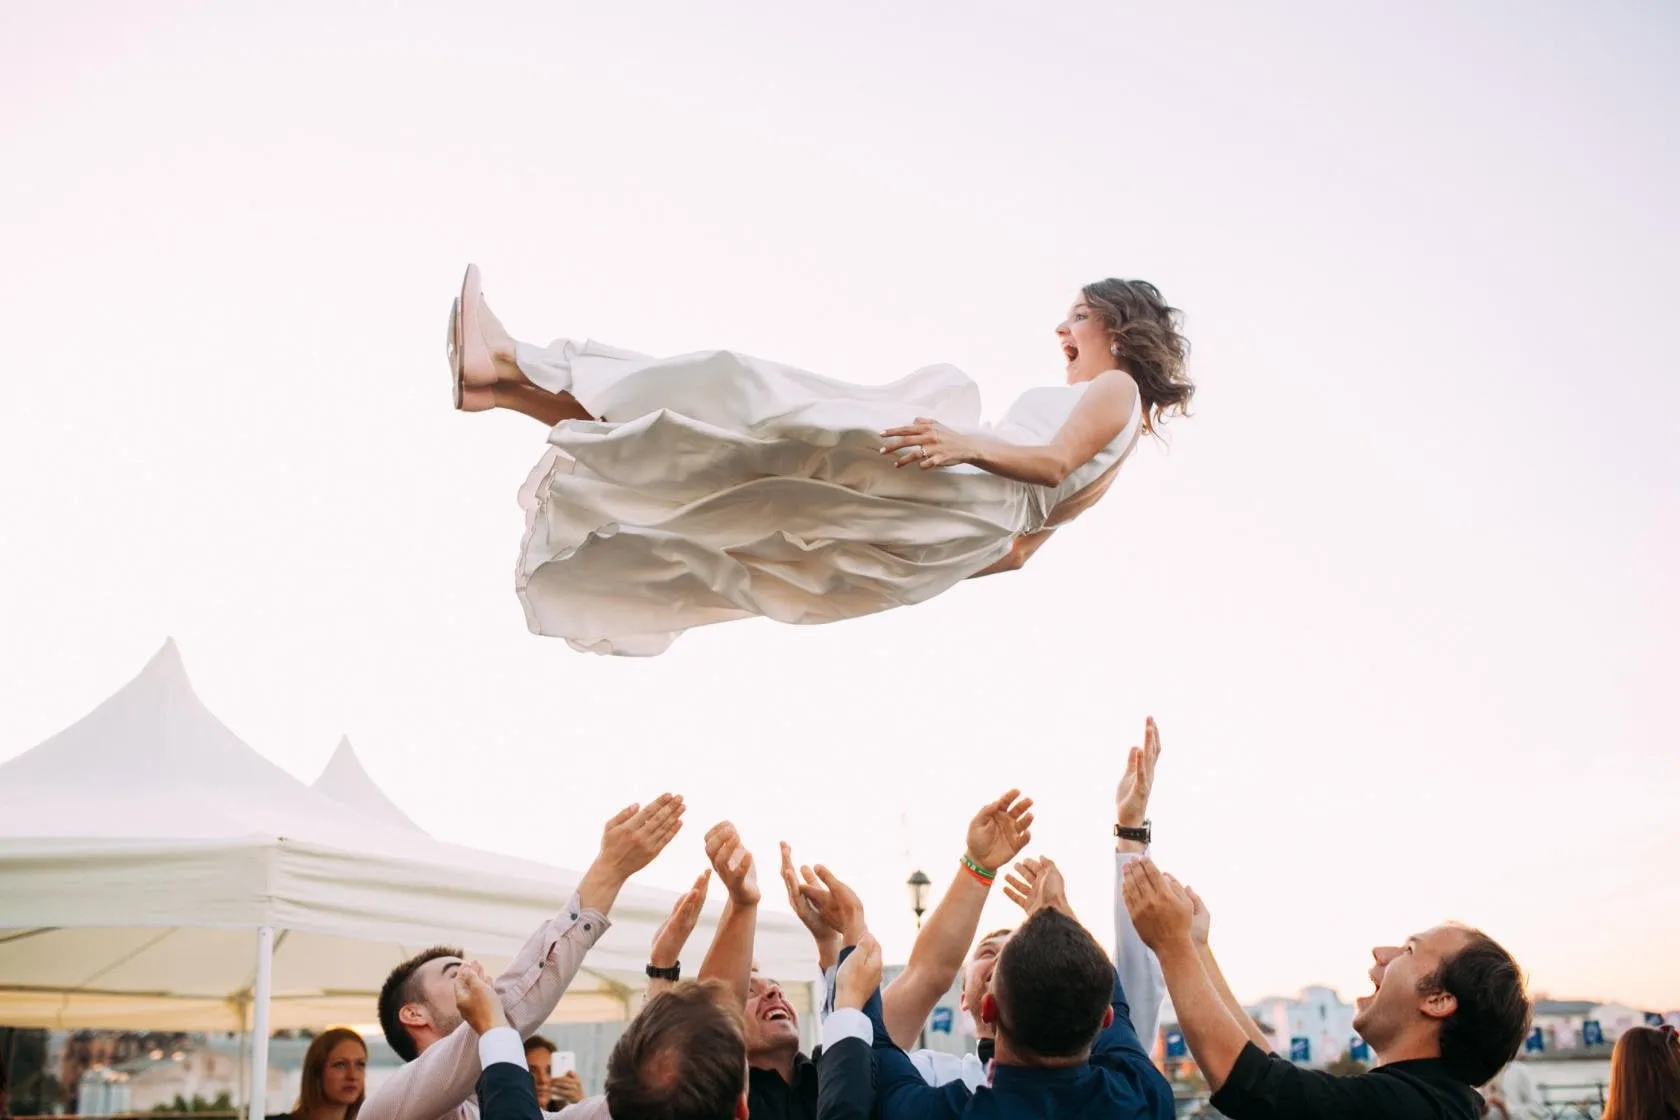
Choose the shooting position before the action begins. Confirm the shutter speed, background, and autofocus settings, then leave enough space in the frame for movement.
6. Use Fabric and Texture
Veils, dresses, curtains, flowers, and textured walls can frame the couple or add movement to a portrait. Avoid placing delicate fabrics on dirty, wet, or abrasive surfaces without permission.
7. Encourage Natural Interaction
Couples who are not accustomed to posing may become tense when asked to remain still. Give them a simple action or prompt that creates interaction.
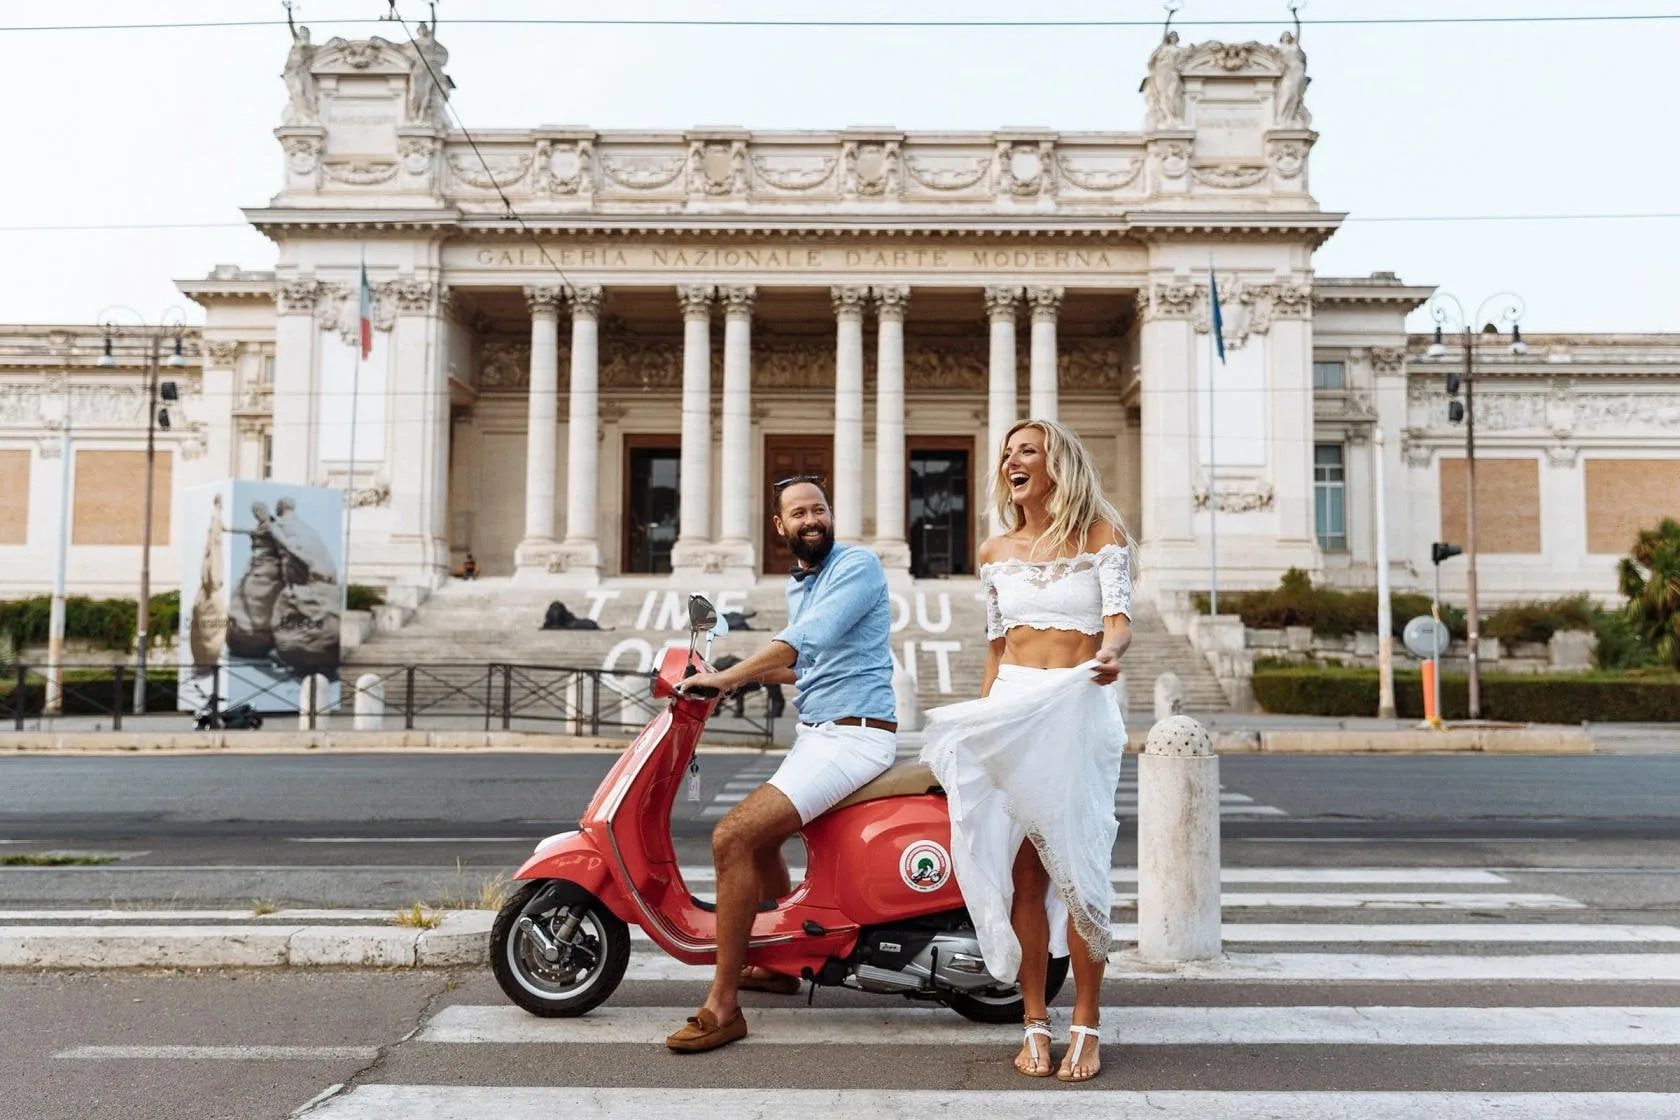 Photo by Image Studio
Do not force laughter or intimacy that feels unnatural. Learn how the couple normally interacts and adapt the direction accordingly.
8. Change the Camera Position
Photograph from a high viewpoint, near ground level, through foreground elements, or from outside the immediate scene.
An unusual perspective should clarify or enrich the moment rather than exist only for novelty.
9. Create a Time-Lapse Sequence
A time-lapse can show the venue filling with guests, reception preparation, changing weather, or activity on the dance floor. It is primarily a video technique and requires a stable camera position, a predictable interval, and enough time to complete the sequence.
Do not leave essential still-photography coverage unattended to create it.
Create Unforgettable Wedding Memories with AI Editing Tools
Wedding Photo Editing Workflow in Luminar
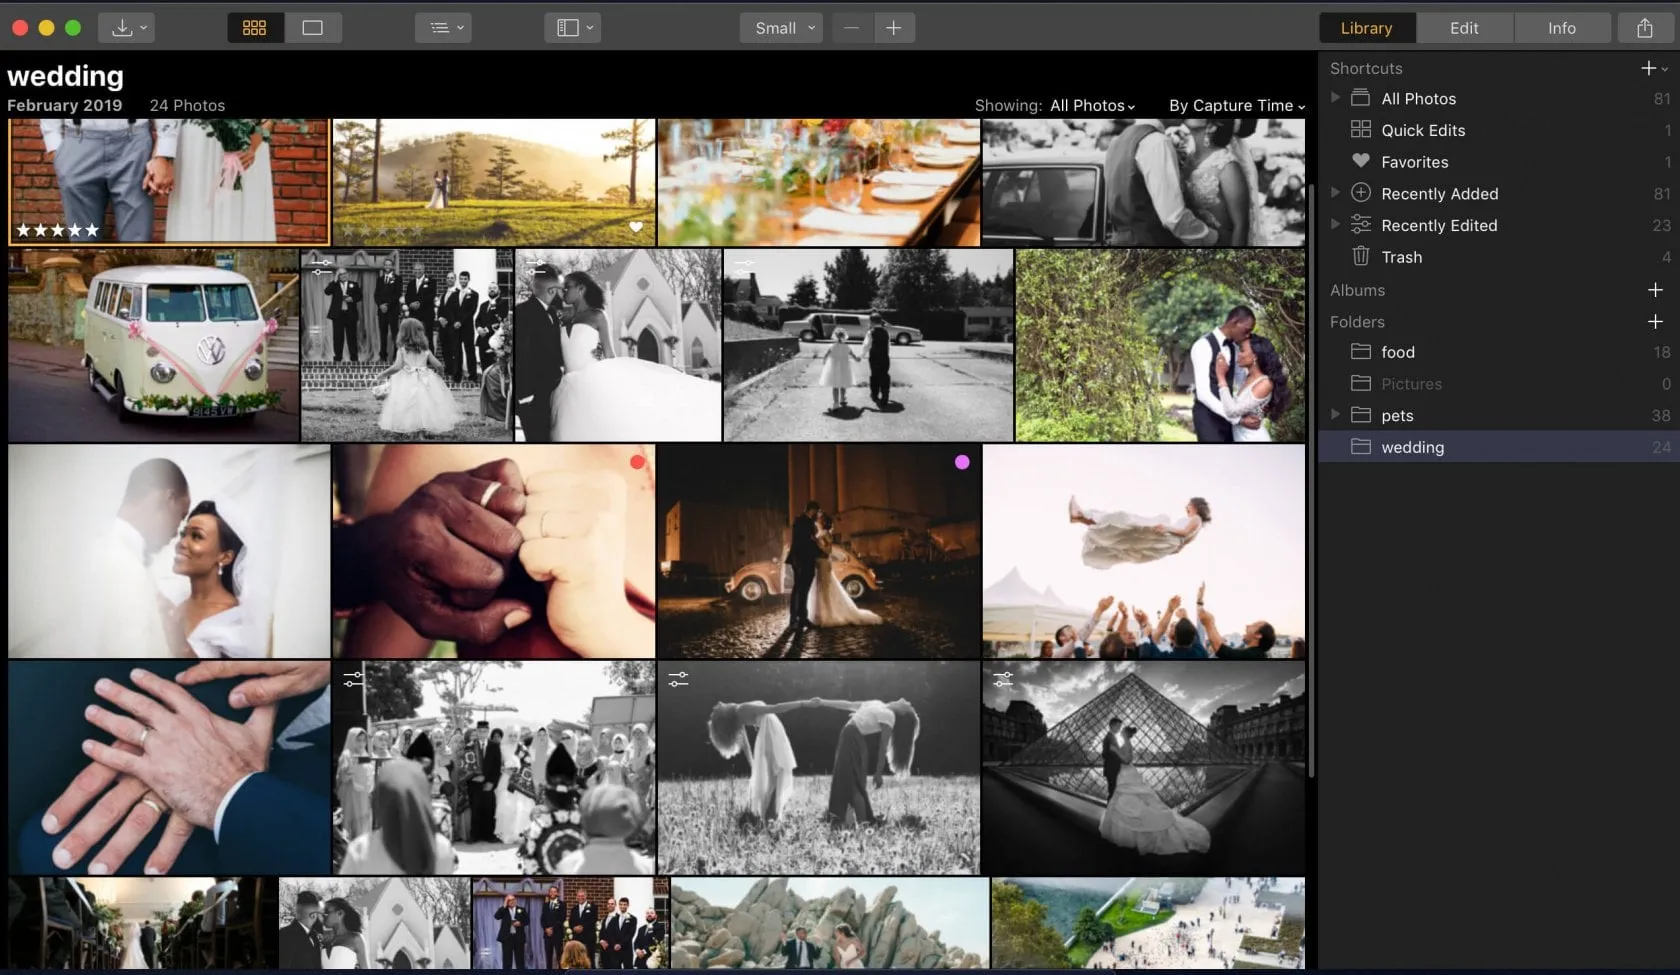
A wedding photo editing workflow should protect the files, create consistency across the gallery, and reserve detailed retouching for selected images.
The old workflow in this article was based on Luminar 3. The current Luminar workflow uses Presets, batch processing, AI-powered portrait tools, masking, and dedicated image-quality tools.
1. Back Up the Wedding Photos
Before culling or editing:
- Copy every card to the main working drive.
- Create at least one additional copy on another storage device.
- Verify that the files open correctly.
- Keep the original memory cards untouched until the backups are confirmed.
- Maintain an off-site or cloud copy when possible.
Do not treat two folders on the same physical drive as two independent backups.
2. Cull and Organize the Gallery
Remove obvious test shots, accidental frames, missed focus, closed eyes, and unnecessary duplicates. Compare similar sequences carefully before rejecting an image.
Organize the selected photographs by stage of the day:
- Getting ready
- Ceremony
- Group portraits
- Couple portraits
- Reception
- Evening coverage
A clear structure makes batch editing and final delivery easier.
3. Establish the Base Edit
Choose representative images from the main lighting situations and correct:
- White balance
- Exposure
- Highlights and shadows
- Contrast
- Lens issues
- Color
- Crop and horizon
You can use Enhance AI to establish a balanced starting point, then refine the result manually.

4. Apply Adjustments in Batches
Photographs taken in the same place and light can often share a base edit. Batch processing improves consistency and reduces repetitive work.
A batch photo editor is particularly useful for:
- Ceremony sequences
- Family portraits
- Speeches
- Dance-floor photographs
- Similar detail shots
Review every synchronized image. Changes in camera angle, flash distance, or ambient light may still require individual correction.

5. Reduce Noise in Low-Light Photos
High ISO settings can introduce luminance and color noise. Noiseless AI is a denoising tool designed to reduce both while preserving useful detail.
Apply noise reduction at a magnification that allows you to inspect faces, hair, fabric, and fine texture. Excessive denoising can make skin and clothing look artificial.

6. Retouch Important Portraits
Detailed retouching is normally most useful for couple portraits and selected album images rather than every photograph in the gallery.
Use portrait tools to make restrained adjustments to:
- Face lighting
- Skin appearance
- Under-eye shadows
- Eye details
- Teeth
- Small temporary imperfections
Luminar’s Face AI editor detects facial features and provides targeted controls for portrait enhancement. Keep skin texture and natural facial characteristics intact.

7. Remove Distracting Elements
The Erase tool can remove small objects or distractions, while GenErase can reconstruct more complex areas.
Useful corrections may include:
- Sensor dust
- Litter
- Small background distractions
- Exit signs
- Cables
- Isolated objects near the frame
Use photo retouching tools selectively. Removing important people or changing what happened may conflict with a documentary approach to wedding photography.

8. Refine the Crop and Composition
Cropping can straighten the horizon, improve balance, or remove distractions near the edge of the frame.
Composition AI can suggest adjustments to the crop, composition, and perspective. Treat the suggestion as a starting point and make sure the final crop suits the subject.
Avoid cropping too tightly around hands, feet, bouquets, veils, or clothing unless the cut is visually intentional.

9. Create Black-and-White Versions Selectively
Black-and-white editing can emphasize expression, light, shape, and texture. It can also unify distracting colors, but it should not be used simply to hide an incorrect exposure or white balance.
Use a black-and-white photo editor to control tonal relationships instead of applying a basic desaturation.

10. Use Presets as a Starting Point
Current versions of Luminar use Presets, not Luminar 3 Looks. A Preset applies a group of adjustments that can help establish a consistent direction for the gallery.
After applying a Preset:
- Adjust its strength.
- Check skin tones.
- Review highlights and shadows.
- Correct white balance.
- Compare several images from different lighting conditions.
- Refine individual photographs where necessary.
Do not stack multiple Presets without checking which adjustments each one changes.

11. Export and Verify the Final Gallery
Before delivery:
- Check the requested file format and resolution.
- Use a suitable color space for the delivery method.
- Confirm that filenames are ordered correctly.
- Open several exported files on another device.
- Check that the number of files matches the intended gallery.
- Preserve the edited masters and original RAW files according to your backup policy.

Follow Skylum Software on YouTube // Get the latest videos, tips, and photography inspiration each week!
The Bottom Line
Good wedding photography depends less on having endless equipment or elaborate wedding photography ideas than on preparation, observation, communication, and consistency.
Learn the timeline, protect the files, capture the essential moments, and remain attentive to the interactions that are not included on any checklist. Technical skill makes those moments usable, but understanding people is what makes the final wedding gallery meaningful.
Frequently Asked Questions
Prepare a timeline, scout the venue, carry backup equipment, create a short shot list, practice changing camera settings quickly, and work as a second photographer before covering a wedding alone.
Include getting-ready details, the processional, vows, ring exchange, first kiss, ceremony exit, requested family groups, couple portraits, speeches, first dance, reception details, guests, and any traditions important to the couple.
A practical wedding photography gear setup includes two camera bodies, multiple lenses, memory cards, batteries, a flash, backup lighting, chargers, and weather protection. Every item should be tested before the wedding.
There are no universal wedding camera settings. Use an aperture that provides enough depth of field, a shutter speed that controls movement, and an ISO that produces a usable exposure. RAW capture and continuous autofocus are helpful in many wedding situations.
Common styles include traditional, documentary or photojournalistic, portrait, fine art, editorial, and fashion-inspired wedding photography. Most photographers combine several approaches throughout the day.
Use an appropriate lens, raise ISO when necessary, maintain a safe shutter speed, and add bounced or off-camera flash where permitted. Test the venue’s lighting and your equipment before important events begin.
Start by backing up and organizing the files. Correct exposure, white balance, color, and composition; apply base adjustments to similar images in batches; then retouch selected portraits individually.