When you think of landscape photography, your mind instantly goes to wide panoramic shots, and of course it does, because “landscape” not only refers to the scene but also the image orientation. But what if we rotated our camera and took vertical landscape shots instead, even if it does sound a little counterintuitive?
Some landscape scenes can genuinely benefit from being photographed vertically, and that’s exactly what we’re going to look at today. Master this simple technique and you’ll quickly add another creative style to your landscape photography. So, let’s get started!
Why Shoot Vertical Landscapes?
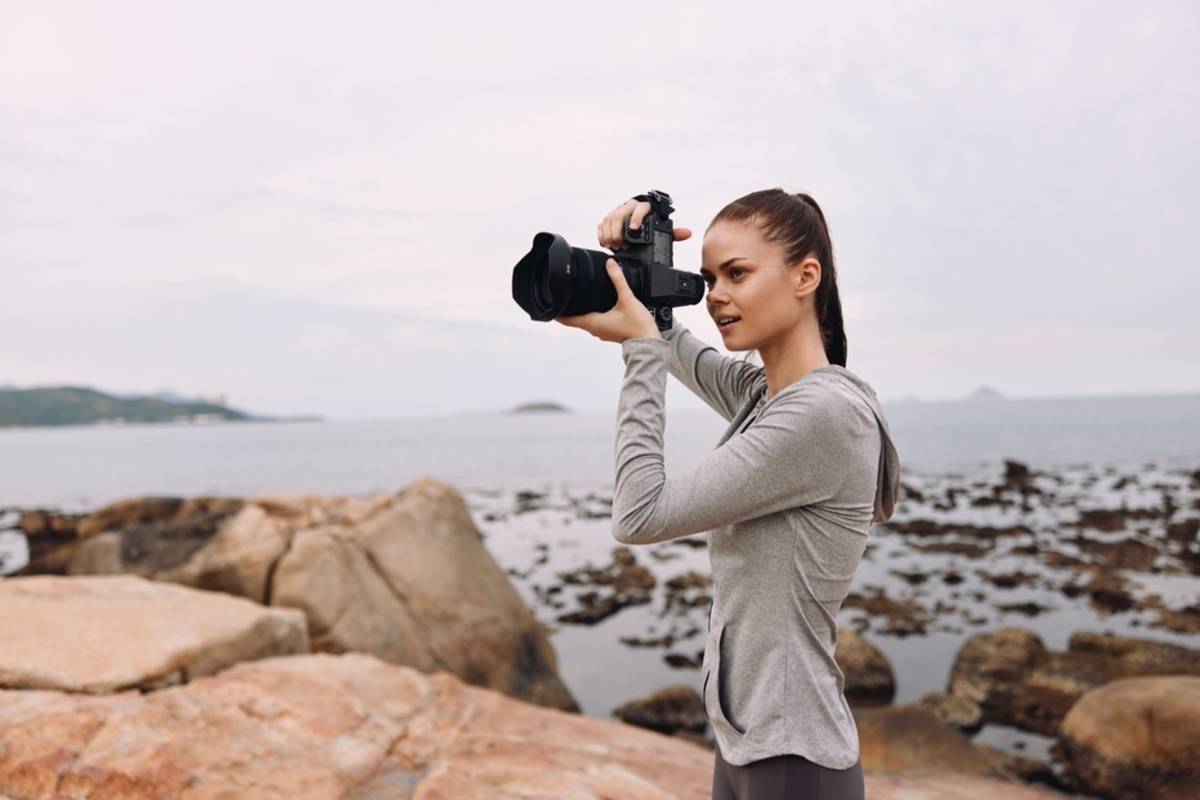
I have always shot vertically when doing street photography in Seoul for one reason: scale. I want to capture the huge towering skyscrapers to make the people look tiny on the streets and help the viewer understand what it feels like to walk through the city. The same lessons can be applied to landscape photography to emphasise height and scale in your work.
There are also other compositional elements that benefit from a vertical orientation, such as leading lines, or simply presenting your scene from a different perspective.
And like it or not, modern platforms do favour vertically orientated photos. Traditional landscape images simply can’t deliver the same impact because they occupy far less screen real estate. Vertical shots instantly fill the screen, allowing viewers to appreciate the details and textures much more easily.
So let’s look at when shooting vertically can genuinely benefit your landscape photography.
Exclusive Tools of Endless Possibilities in One Editor
When Vertical Works Better
Let’s run through some of my favourite examples of when to shoot your landscape vertically so you can try them the next time you’re out shooting.
Height: Waterfalls, trees, mountains, almost any tall subject will benefit from being photographed vertically. 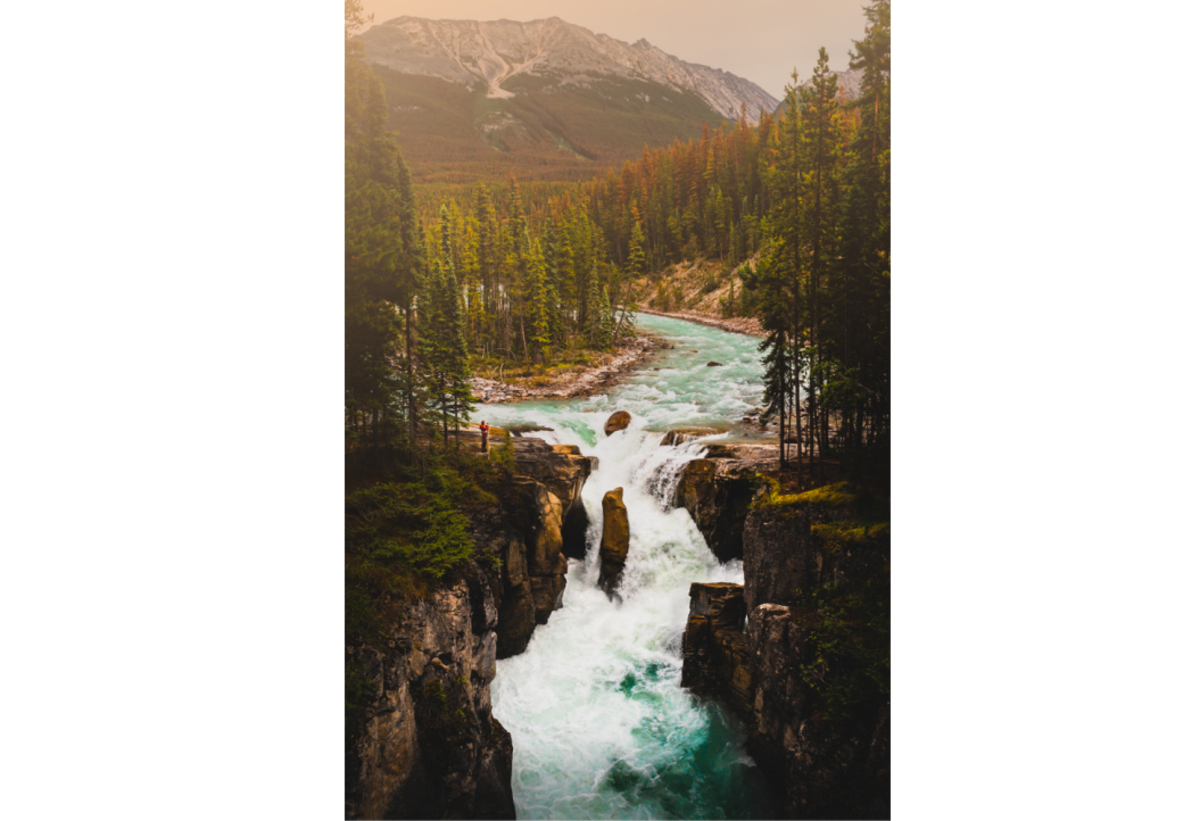 It’s exactly the same principle I use when photographing the streets of Seoul. I want to show scale, and that translates perfectly to landscape photography.
This works particularly well if you have something smaller to compare your subject against. For example, you could have a person standing beside a tall tree, a small cabin dwarfed by the mountain behind it, or sheep grazing at the base of a vast valley. By placing the smaller subject in the bottom third of the frame, you’ll instantly showcase the sheer scale of your main subject.
Leading Lines: Forest paths, winding rivers, or valleys that trail off into the distance all become more impactful when photographed vertically.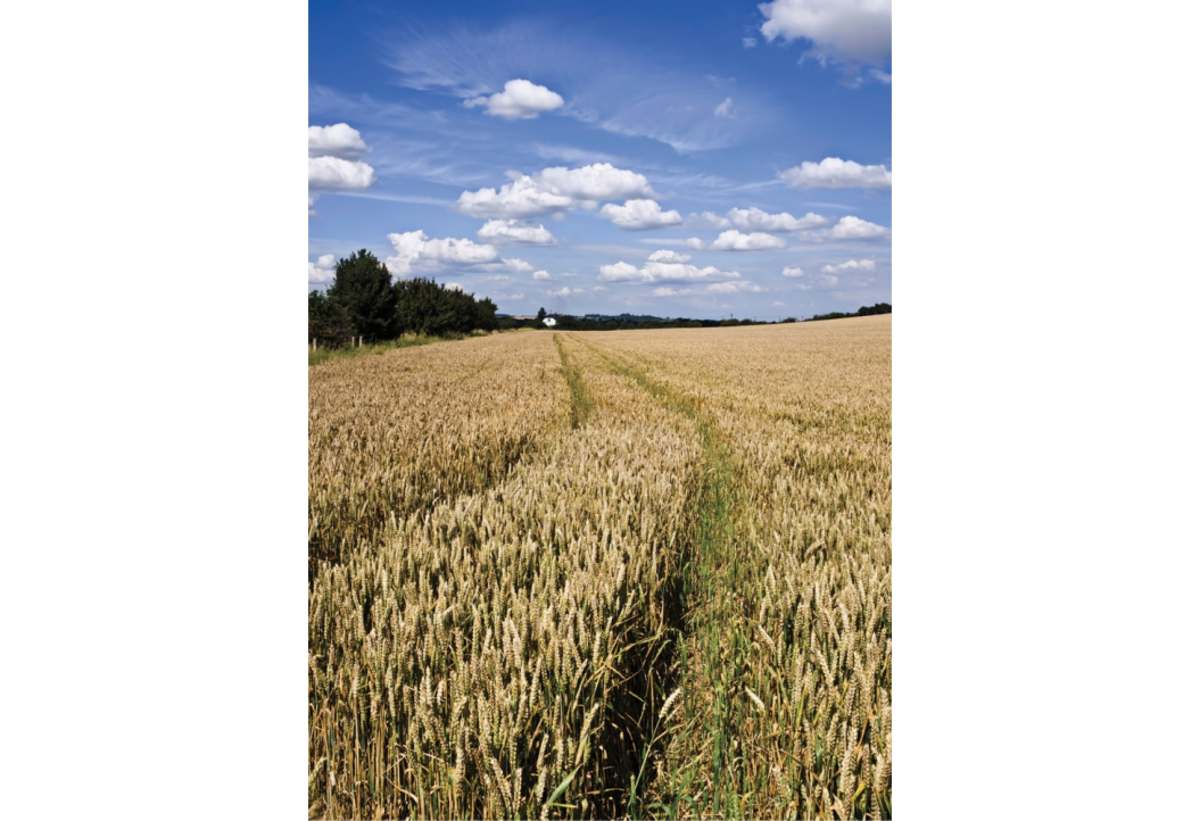 Simply position them through the centre of your frame and allow them to lead the viewer naturally through the rest of the image.
This effect becomes even stronger if there’s a subject waiting at the end of the journey. A person walking further along the path, a canoe paddling downstream, or a tent sitting at the end of the valley all give the eye somewhere to settle. Otherwise, the viewer may simply wonder what the path was leading towards.
My favourite version of this composition is finding a path that leads directly towards a mountain, combining both leading lines and scale in a single image.
Minimise Distractions: Wide panoramic compositions naturally include much more of the scene, which also means there’s more opportunity for distracting elements to creep into your frame. By rotating your camera vertically, you create a more compact composition that keeps the viewer’s attention centred on your subject.
It’s a simple but effective trick. If the wider frame isn’t adding anything meaningful to your image, or worse, it’s distracting from your subject, try turning the camera vertically instead.
Foreground Interest: One of the easiest ways to create depth in landscape photography is to include a strong foreground element.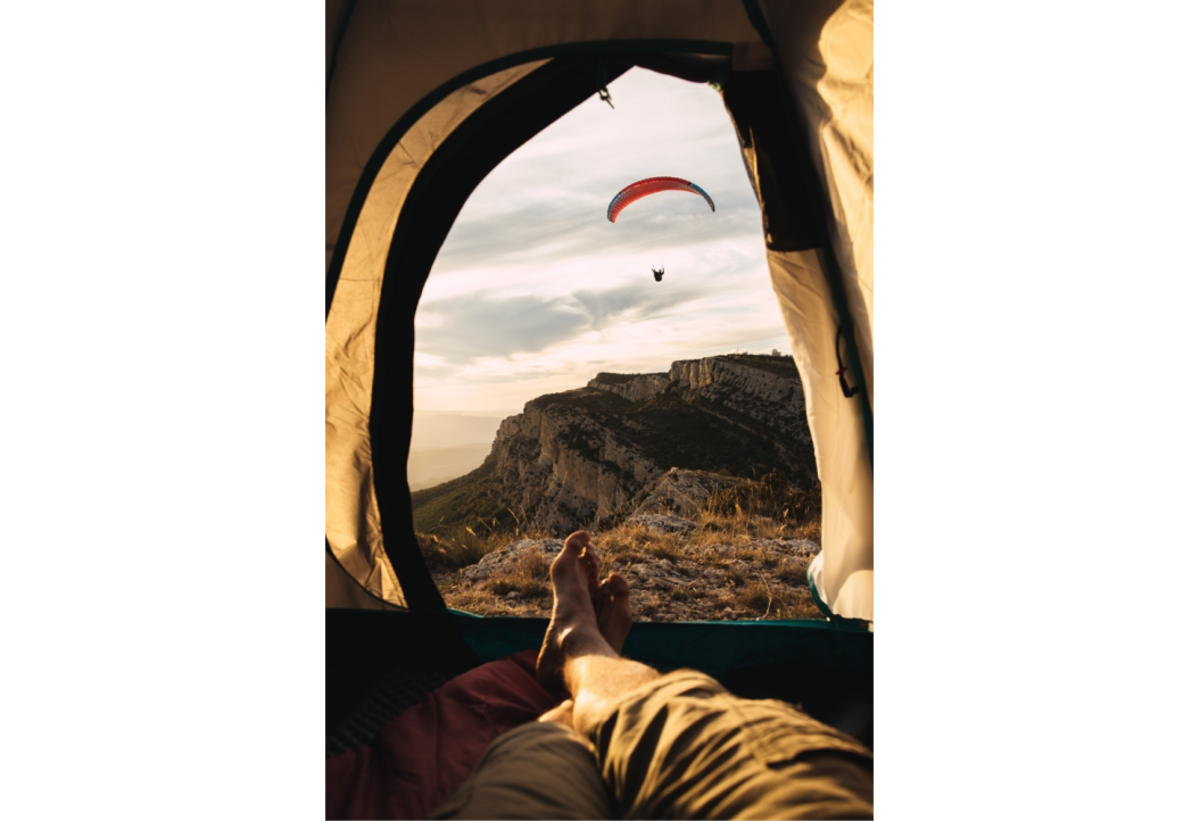 Rather than filling the bottom of your frame with empty grass or uninteresting ground, look for something that immediately grabs the viewer’s attention.
Flowers, textured rocks, driftwood, or even a lone hiker can all become the starting point of your composition. Shooting vertically gives you enough room to include these foreground elements while still comfortably fitting your main subject into the frame. The viewer’s eye naturally begins in the foreground before travelling through the rest of the landscape, making the whole image feel much more immersive.
Building Layers: Vertical compositions also work brilliantly for building layers throughout your image.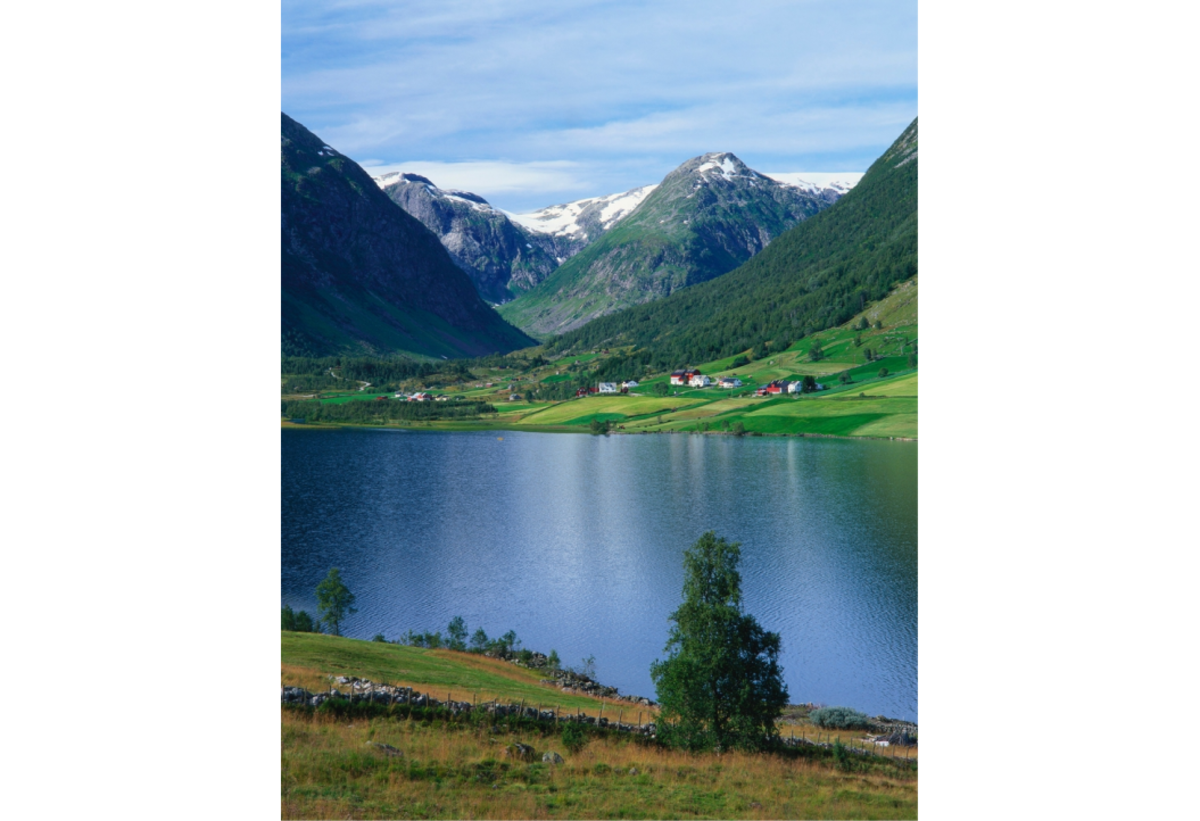 Imagine this setup: flowers in the immediate foreground, a grazing deer beyond them, then a cabin, trees, a mountain, and finally the sky. Each layer adds another level of depth and helps tell the story of the landscape.
Shooting with a telephoto lens can help compress the scene so these layers feel more tightly stacked together, an effect that works particularly well with a vertical composition.
Those are some of the strongest situations where a vertical composition can improve your landscape photography. Now let’s look at a few extra things to keep in mind when shooting vertically, as there are some common mistakes that are easy to overlook.
Elevate Your Photography with Our Advanced Software
Don’t Forget the Sky
When shooting vertically, you may be led into filling 50% of the frame with sky. Instead, consider whether the sky is actually benefiting your composition. You can include it in the top third of your frame or leave it out altogether. Ask yourself whether it’s adding something interesting, such as a colourful sunset, deep blue skies, or dramatic storm clouds that complement the overall mood of your image.
If not, simply crop it out or tilt your camera downwards and allow the landscape itself to fill the frame. That being said, we do have a quick fix for this inside Luminar, which we’ll look at later.
Negative Space
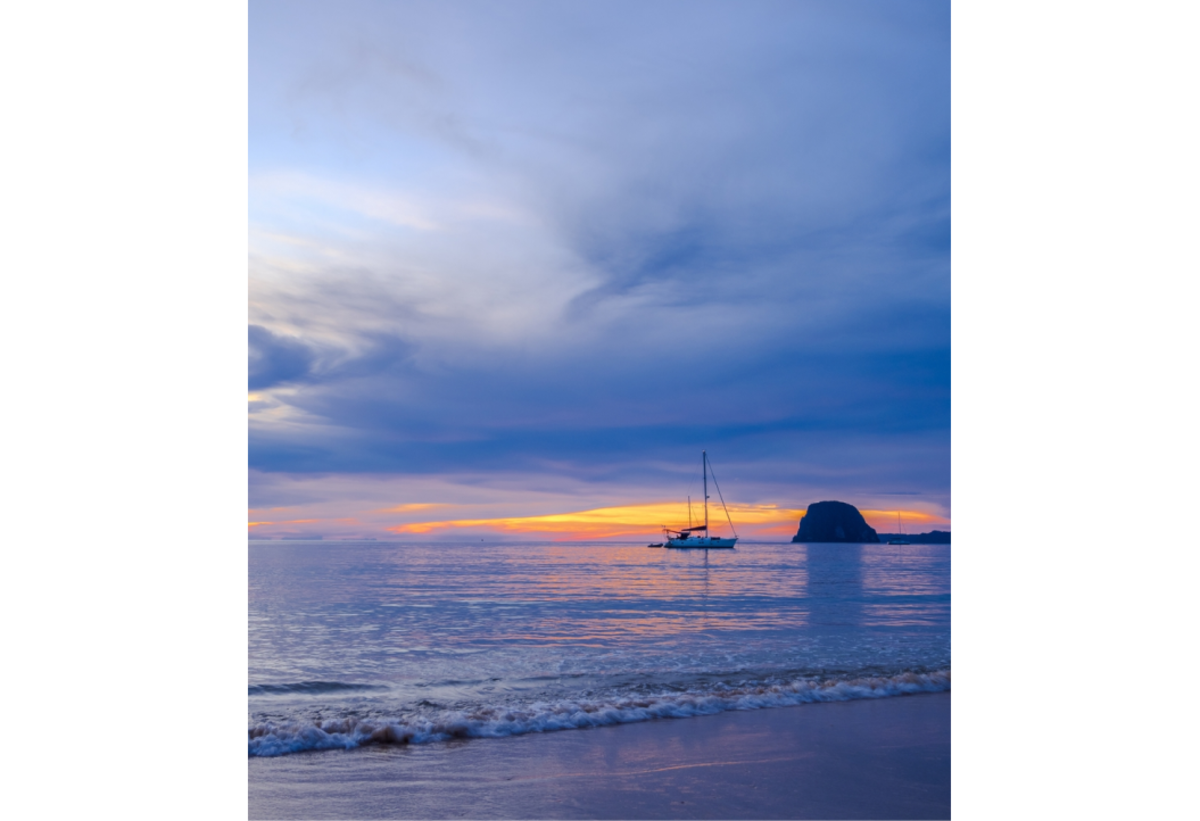
This leads me nicely on to negative space, as it’s an important compositional element that not every beginner immediately understands. Negative space refers to areas of your image that contain very little visual detail, such as the sky, fog, or open water. Even though that may sound rather boring, it can actually be incredibly important because it allows your image room to breathe. If your subject is a giant tree, for example, it may feel suffocated if the top of it is pushed right up against the edge of the frame.
Negative space is also fantastic for creating minimal compositions. A lone hiker, tree, or cabin surrounded by empty space can strengthen themes of loneliness and isolation in a way that simply wouldn’t be possible without it.
There’s also a way to turn negative space into the main subject of your image. You could allow the sky to dominate more than two-thirds of the frame while a small mountain range sits quietly beneath it. The subtle gradient of the sky meeting the horizon can be more than interesting enough to create a striking photograph.
Shoot Horizontally and Crop Later
Thanks to cropping, we can have the best of both worlds. Why not shoot horizontally first and then crop to a vertical composition later? That way, you can keep the full frame if you want to print or display your work, while also creating a vertical version that fills the screen on social media.
It’s something I’ve learned from content creators who film in a way that allows them to use the same clips for long-form YouTube videos and then repurpose those clips for short-form content simply by cropping them. It creates a much more versatile piece of content that works across multiple platforms.
So if you’re worried about having to choose between the two orientations, don’t. Shoot horizontally first and crop later, which is exactly what we’re going to look at inside Luminar.
Your AI-Powered Photo Editor for MacOS and Windows
Editing Vertical Landscape Shots in Luminar
Let’s look at a few handy tools inside Luminar that can help when editing your vertical landscape photography.
Crop AI: Head into the Crop tool and, next to the Ratio menu, you’ll see an icon that allows you to switch between landscape and portrait orientations. Simply click it if you originally shot your image horizontally with the intention of cropping it later. You can then fine-tune the composition by dragging the corners until everything sits exactly where you want it.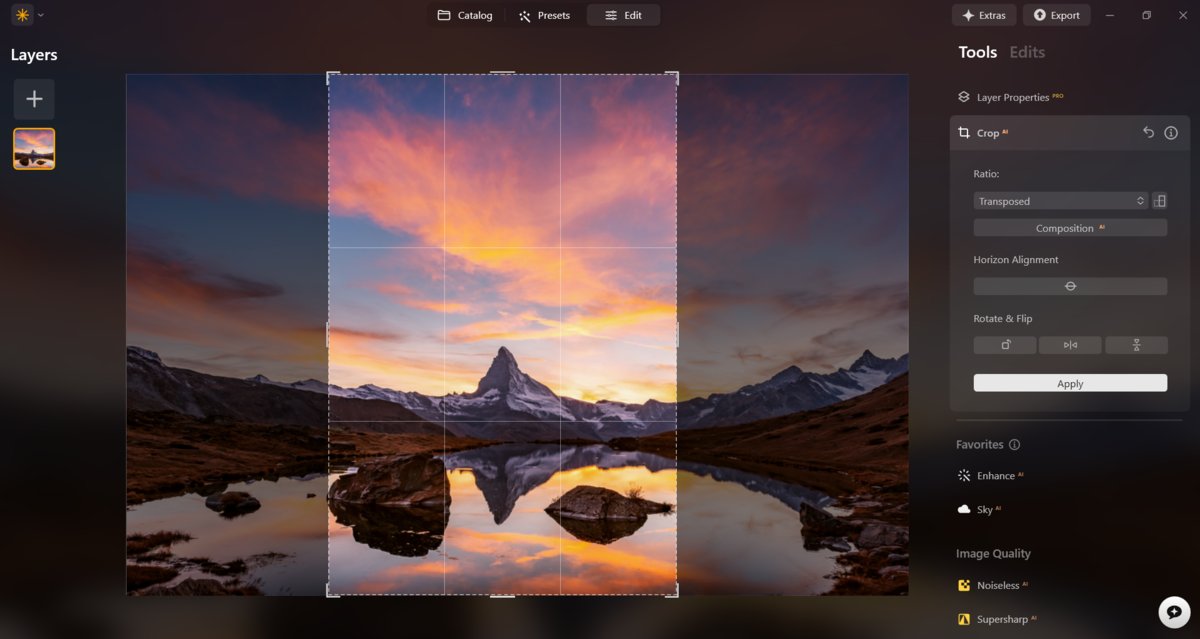
Supersharp AI: One thing to bear in mind when cropping a horizontal image into a vertical composition is that you’re working with fewer pixels than the original photograph. If you crop aggressively, any softness in the image may become more noticeable, especially if you plan to print or share it at a larger size.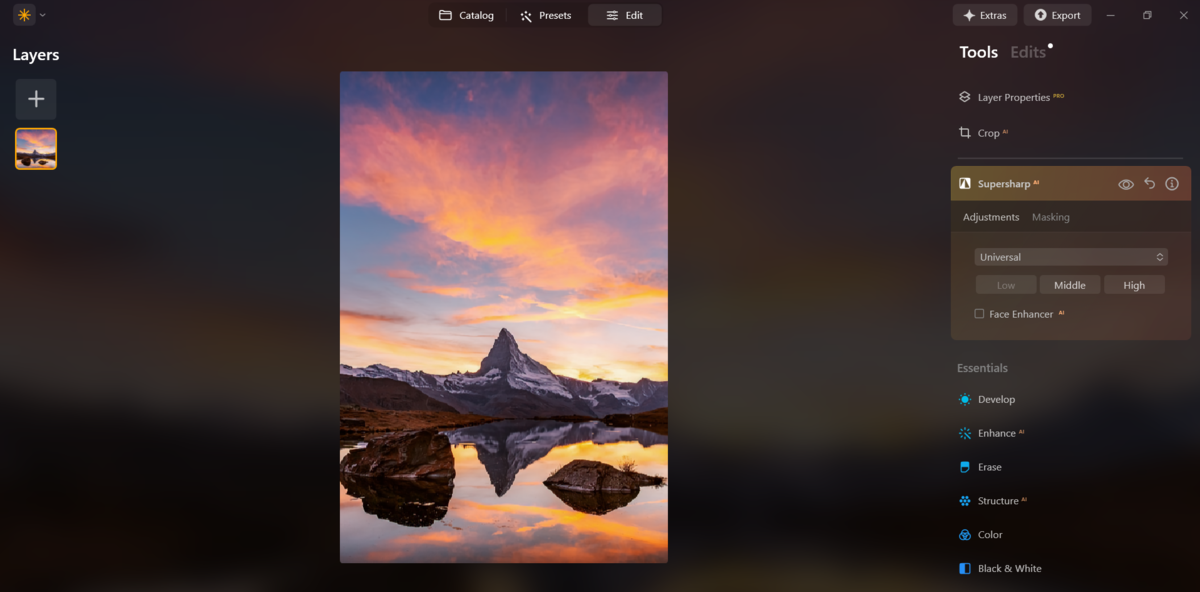
In these situations, Supersharp AI is a great tool for restoring crisp detail and helping your vertical crop look as sharp as possible.
Sky AI: Earlier, we mentioned that if the sky isn’t particularly interesting, you could simply crop it out or leave it out of your composition altogether. However, Luminar gives you another option.
Sky AI automatically detects the sky in your image and replaces it with one that’s more dramatic or visually interesting. Whether it’s a colourful sunset or moody storm clouds, the tool also relights the rest of your image to help the replacement look natural and believable. It’s well worth trying if you feel your original sky lacks impact.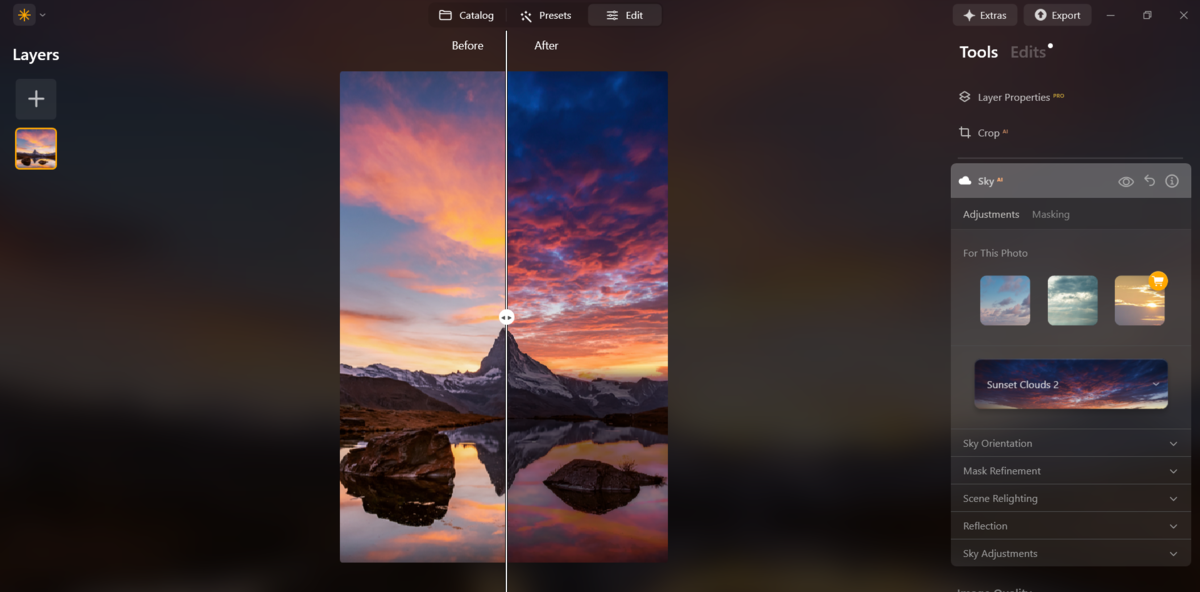
Light Depth: This tool is especially useful if you’ve used layers in your composition, as it allows you to guide attention precisely where you want it.
Light Depth creates a 3D map of your image, allowing you to relight the scene naturally. As you move the light through the image, it wraps around objects and terrain just like real light would. You can also darken or brighten the foreground and background independently. I often darken the foreground slightly to help guide the viewer’s eye through the scene. It’s a fantastic tool that instantly adds a little more polish to your image.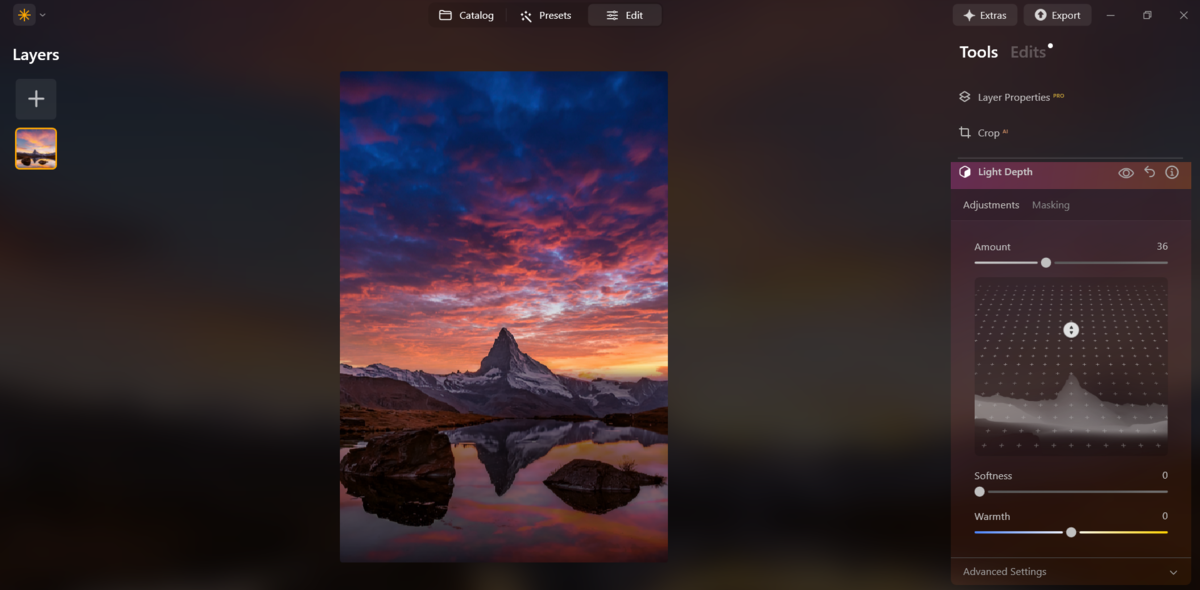
The Bottom Line
The next time you’re out shooting landscapes, consider rotating your camera and trying a vertical composition. Not only can it strengthen elements such as scale and leading lines, but it also works brilliantly for showcasing your work on modern platforms.
And if you’re worried about deciding between the two, you can always shoot horizontally first and crop to a vertical composition later using the Crop tool inside Luminar.
Have fun trying something new in your landscape photography!