Lowering your camera can change the way a familiar city scene looks. Discover 11 ways to use low-angle shots to emphasize architecture, simplify backgrounds, and create stronger urban compositions.
A low-angle shot is taken with the camera positioned below the subject and pointing upward. Although beginners sometimes associate this perspective with unflattering portraits, low-angle photography can also emphasize scale, simplify a background, reveal architectural details, and create dramatic silhouettes.
The final effect depends on the subject, lens, distance, and composition. Here is how to use low camera angles effectively in portrait, architectural, and urban photography.
Don’t feel like reading the whole breakdown? We’ve pulled together a quick summary below.
Key Takeaways
- Low-angle shots can make subjects appear larger, taller, or more powerful.
- Wide-angle lenses exaggerate perspective, particularly at short distances.
- The sky, ceiling, or upper part of a building can provide a cleaner background.
- Low angles work particularly well with architecture, silhouettes, leading lines, and foreground details.
- Perspective distortion can be used creatively or corrected during editing.
Low-Angle Photography Perks
1. Create an Unusual Perspective
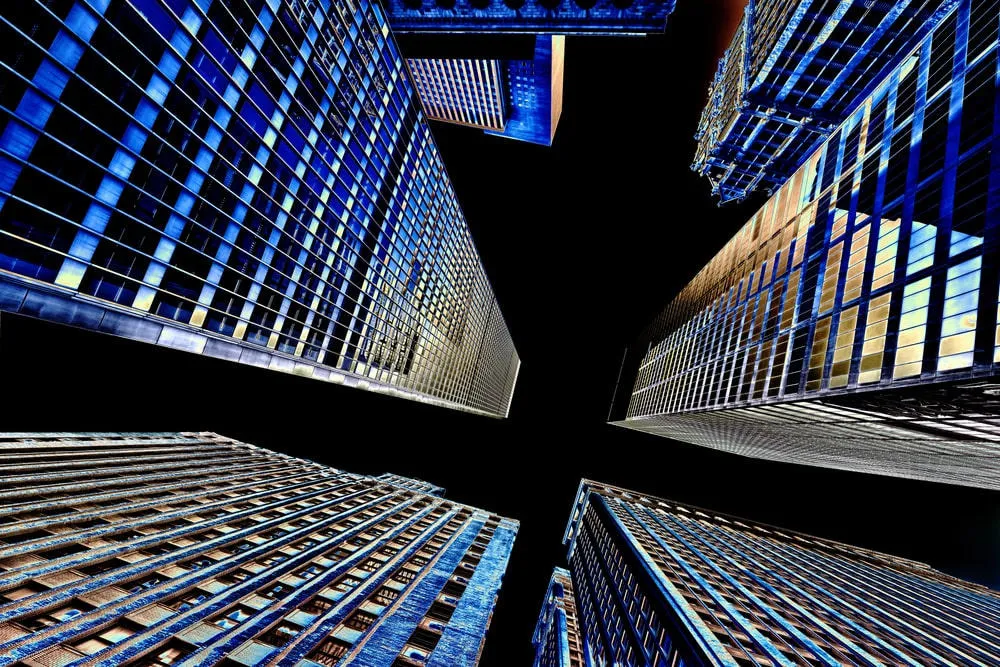
We are used to seeing the world from approximately eye level. A low-angle shot changes that familiar viewpoint and can make an ordinary subject feel unfamiliar.
The perspective may resemble the view of a child, an animal, or someone looking up from the ground. This visual change can make viewers pause and examine the relationship between the subject and its surroundings.
Exclusive Tools of Endless Possibilities in One Editor
2. Reduce Background Distractions
A low camera position often replaces a busy street-level background with the sky, ceiling, or upper part of a building.
This can help isolate a person, sculpture, plant, or architectural detail. However, low-angle photography does not automatically remove every distraction. Streetlights, wires, signs, and building edges may still enter the frame.

Small unwanted elements can be removed later with Luminar’s photo cleanup tools, provided their removal does not alter the essential meaning of the scene.
3. Simplify the Composition

A low angle can produce a cleaner composition by placing the main subject against an open sky or relatively uniform surface.
Before taking the photo, check:
- Whether the subject remains clearly recognizable
- How much empty space surrounds it
- Whether objects overlap awkwardly
- Whether the frame edges contain distracting elements
- How lines and shapes guide the viewer’s attention
Simplification comes from deliberate framing rather than the low angle alone.
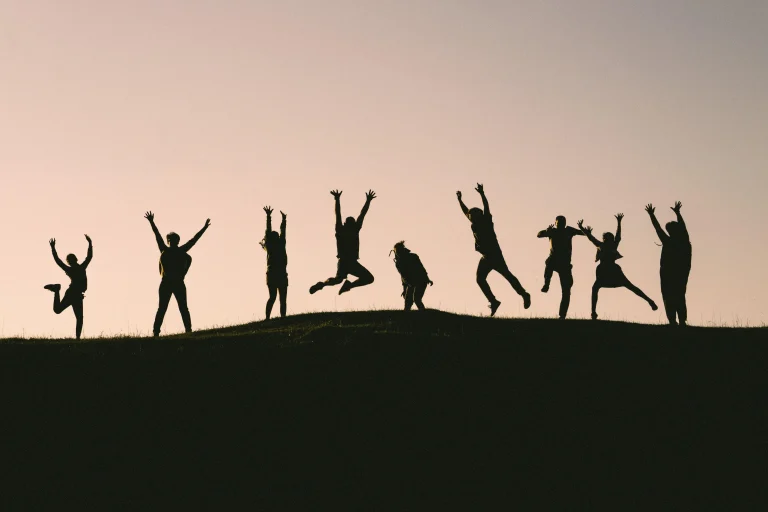
4. Capture Dramatic Silhouettes
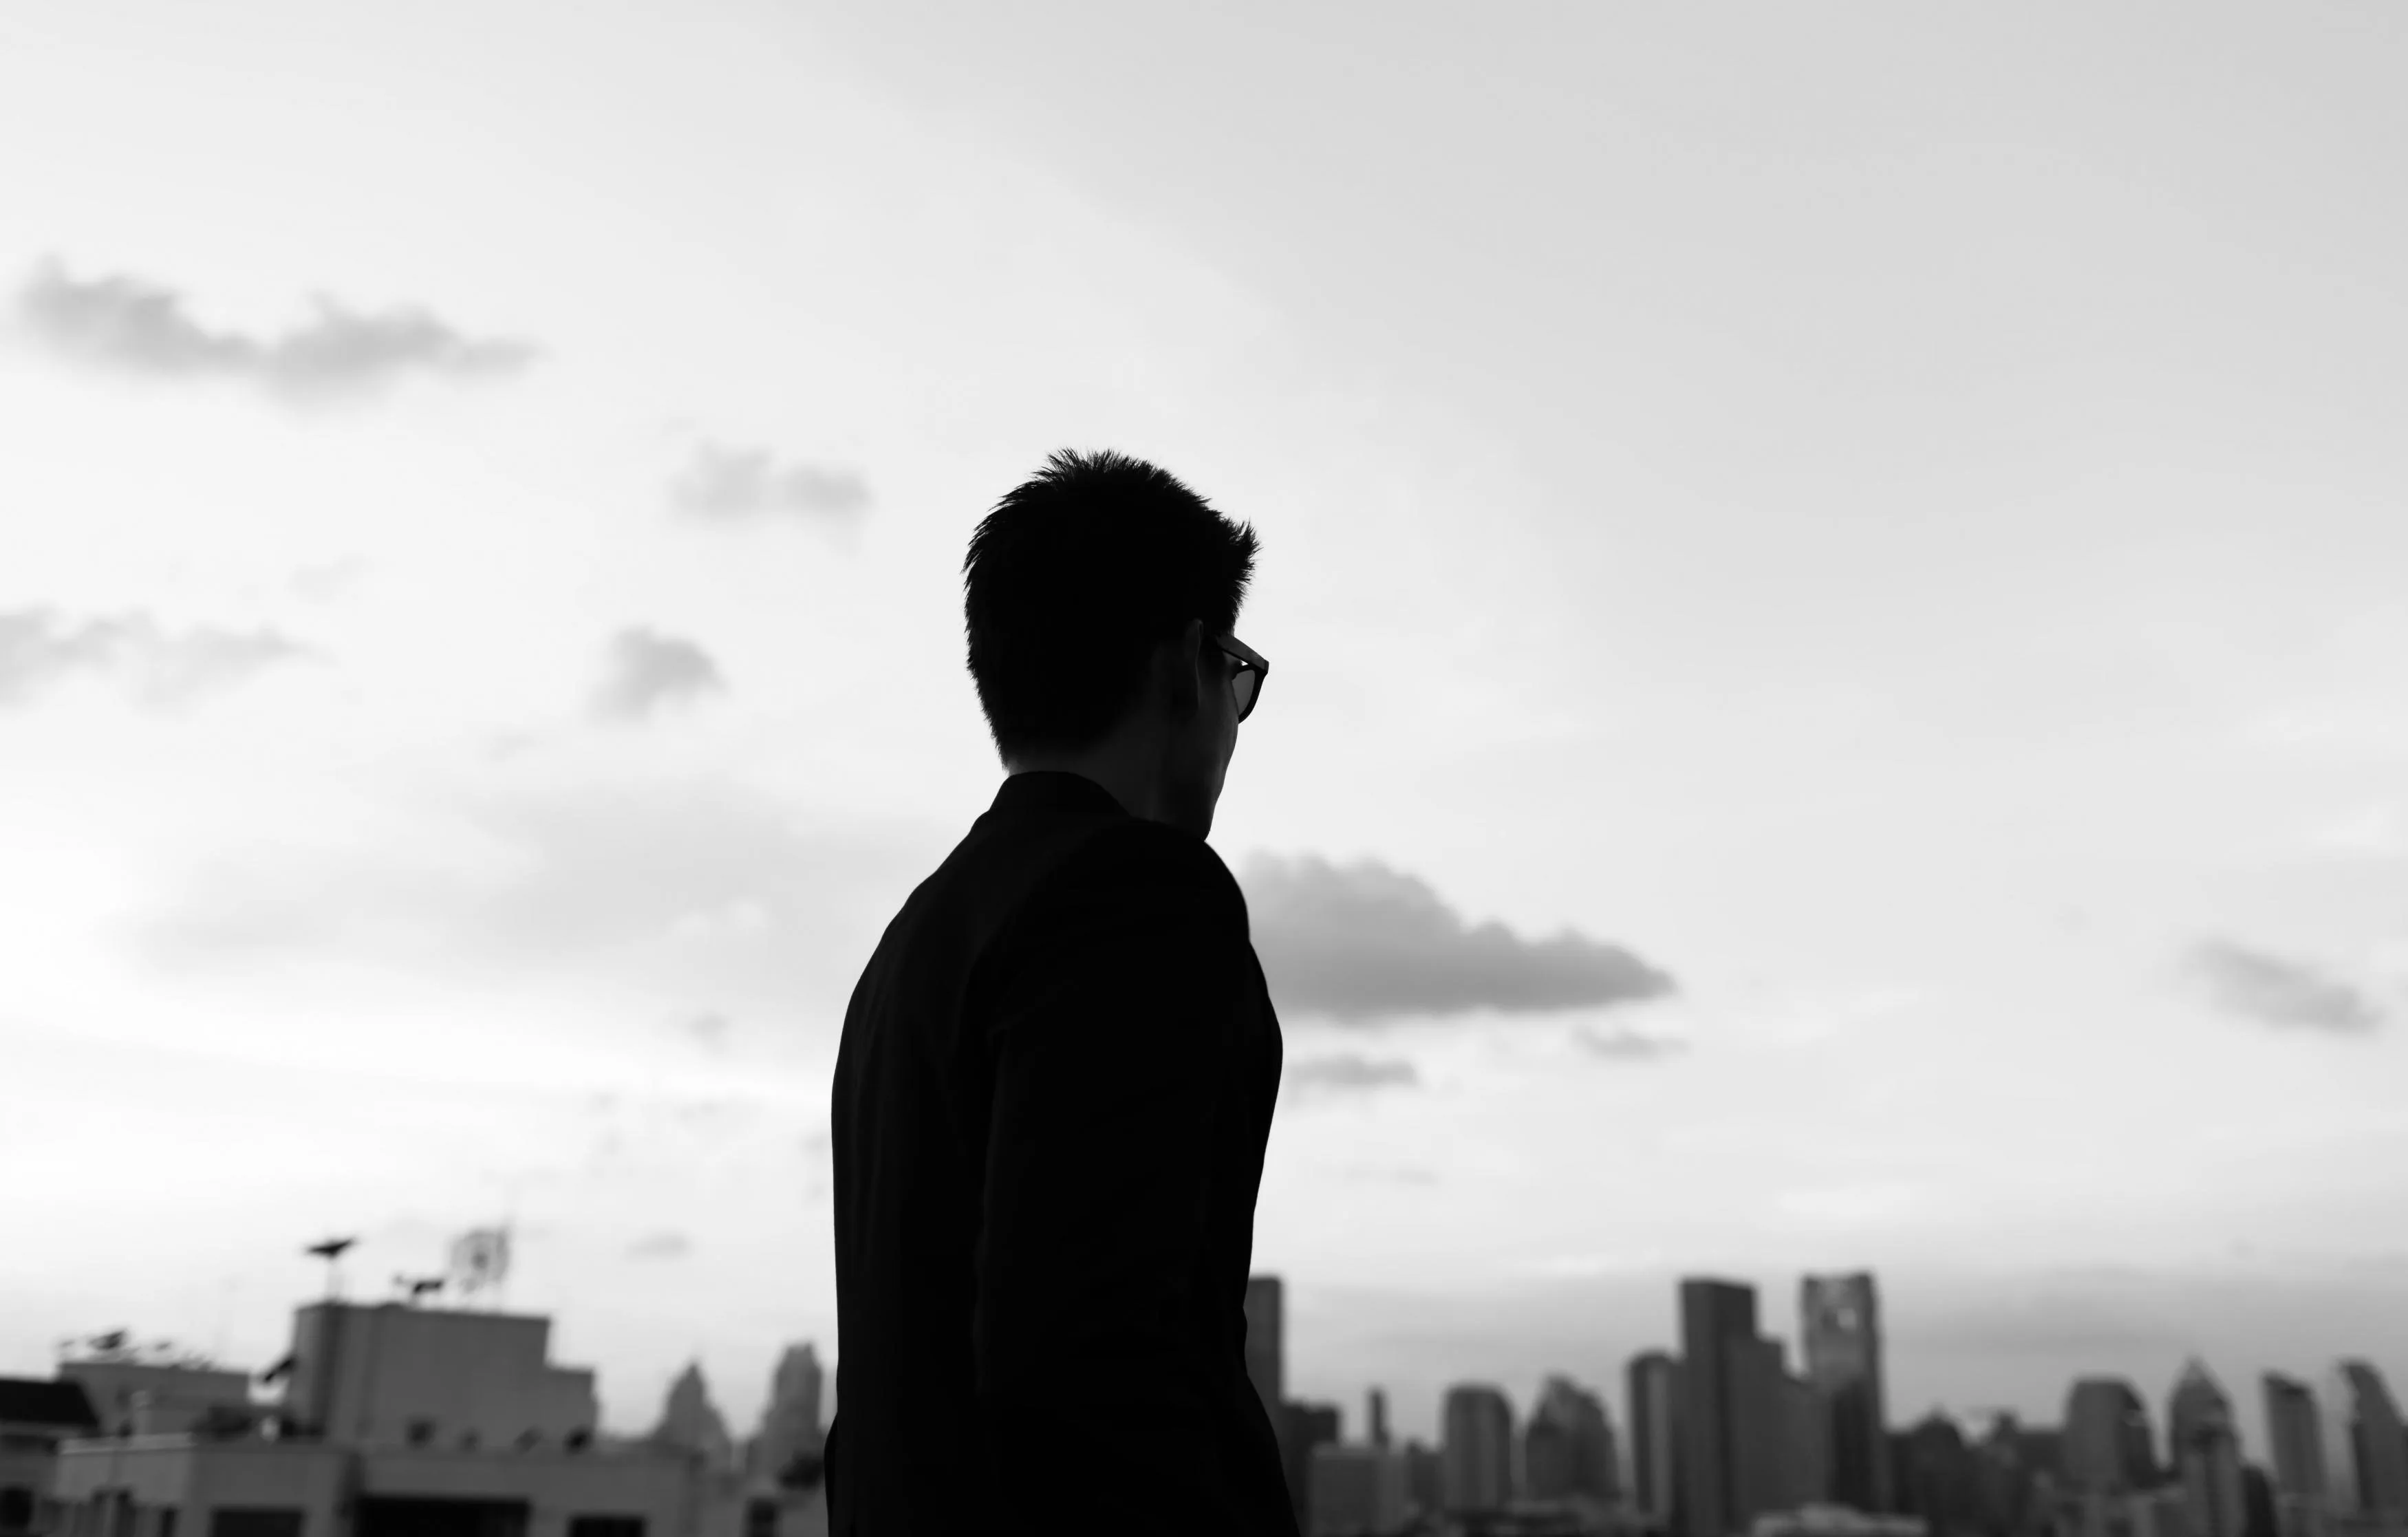
Low-angle photography works well for silhouettes because a person, tree, sculpture, or building can be placed against a brighter sky.
Expose for the bright background and allow the subject to become dark. A clear outline is important: separate arms, legs, branches, or architectural elements so that the silhouette does not turn into an indistinct shape.
5. Use Backlight to Reveal Details

A low position makes it easier to photograph flowers, leaves, fabric, and translucent objects against the light. Backlighting can reveal texture, veins, edges, and color that may not be visible under flat front lighting.
Check the brightest areas to avoid losing detail. Use exposure compensation or manual settings when the bright sky causes the subject to become darker than intended.
6. Reveal Details Above Eye Level
Low-angle photography is not limited to skyscrapers. Many subjects become more interesting when photographed from below:
- Staircases
- Balconies
- Streetlights
- Glass floors
- Decorative ceilings
- Bridges
- Trees
- Industrial structures
- Architectural ornaments
Looking upward can reveal patterns and relationships that are easy to miss from a standard camera position.
Elevate Your Photography with Our Advanced Software
7. Emphasize Leading Lines
Low-angle shots can exaggerate converging lines in roads, bridges, façades, tram wires, and other urban structures. These lines can direct the viewer toward the main subject or create a sense of height and movement.
Converging verticals are not always a defect. They can be retained when they support the intended dramatic effect. If the distortion looks accidental, use an image straightener and perspective correction tool during editing.
8. Include More Foreground
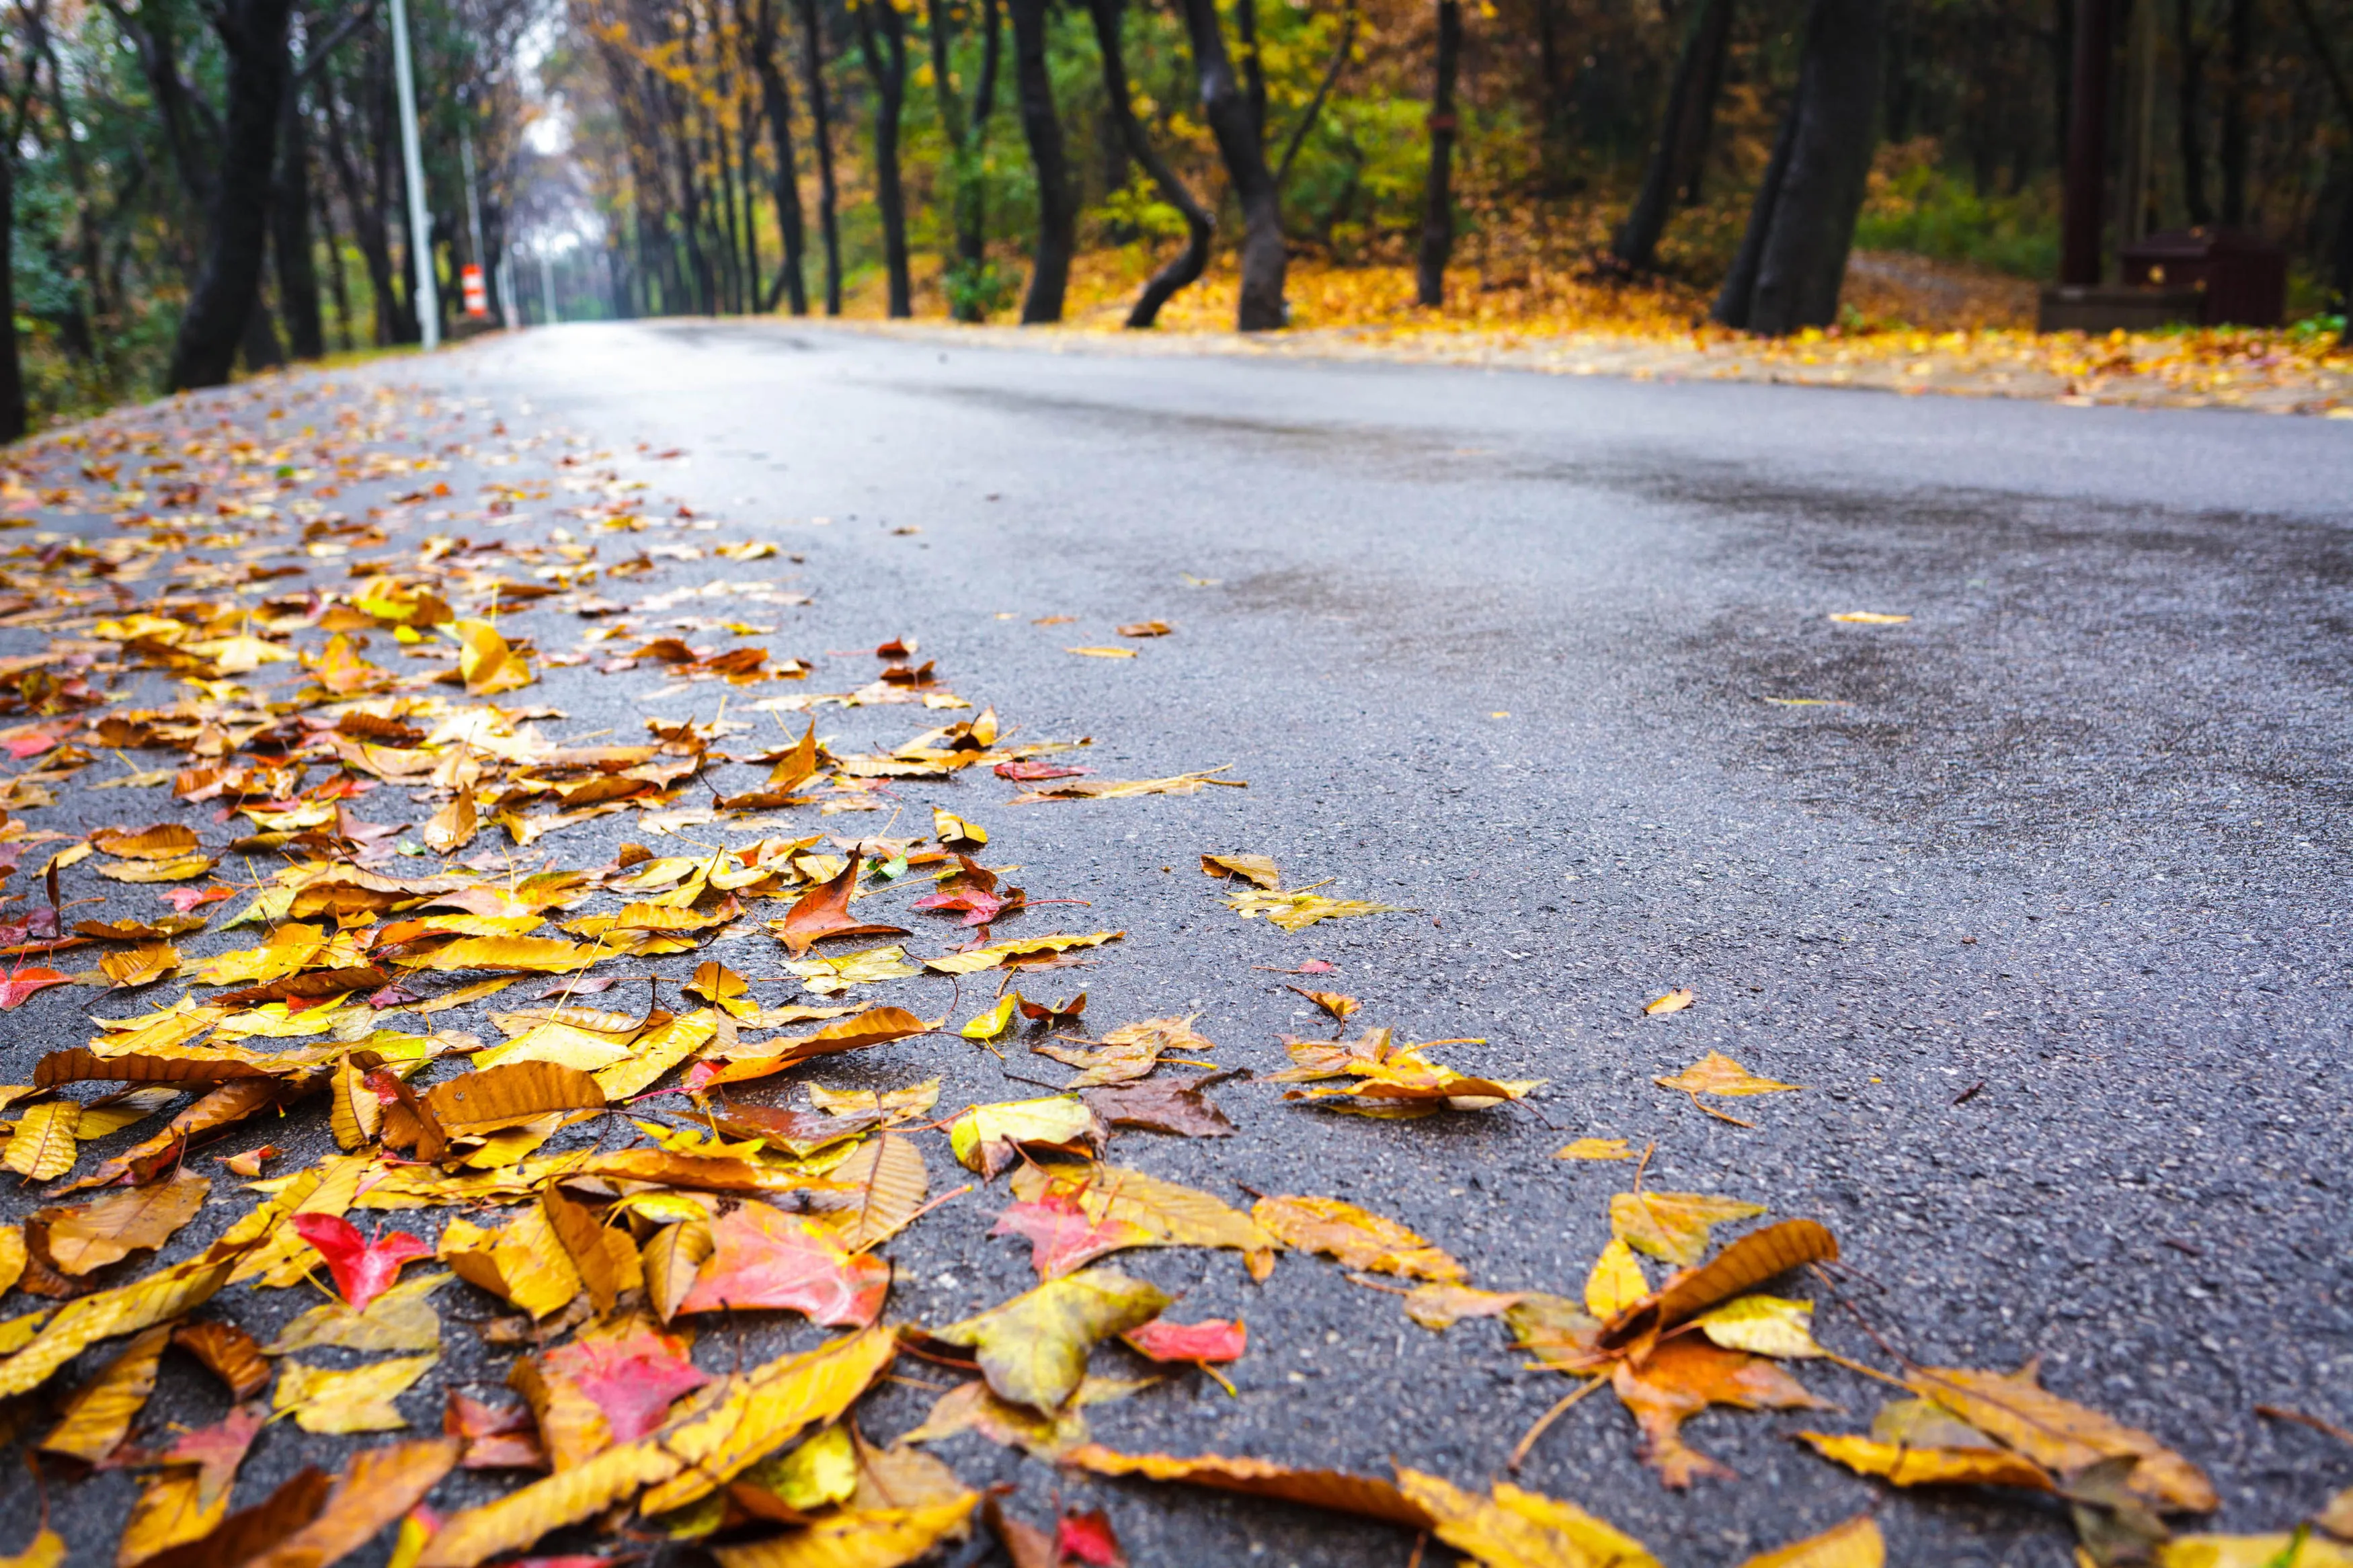
Positioning the camera close to the ground can emphasize leaves, pavement, snow, flowers, reflections, or textured surfaces.
A wide-angle lens makes nearby foreground elements appear larger in relation to the background. Use this effect to create depth, but make sure the foreground contributes to the composition instead of blocking the subject.
9. Emphasize Buildings and the Sky
A low angle can also minimize the ground and direct attention toward a building, tree, monument, or open sky.
The amount of foreground depends on the camera’s tilt and position. Low-angle photography can therefore include either more or less foreground; the result is controlled through framing rather than the angle alone.
If the sky needs subtle tonal or color improvement, Enhance AI can provide a starting point. Avoid pushing the adjustment so far that the sky no longer matches the light in the rest of the photograph.
10. Create a Powerful Portrait
Photographing a person from below can make them appear taller, more imposing, or more confident. This is sometimes described as the “Superman effect.”
The result is strongly influenced by focal length and distance. A wide-angle lens used very close to the subject can exaggerate the chin, legs, hands, or other nearby features.
For more natural low-angle portrait photography:
- Lower the camera moderately rather than placing it directly under the face.
- Step farther away from the subject.
- Use a standard or short telephoto focal length.
- Ask the subject to extend their neck slightly.
- Check the relationship between the chin, jaw, and shoulders.
Distortion can also be used intentionally for fashion, sports, or editorial portraits.
11. Experiment With Reflections
Mirrors, windows, puddles, polished surfaces, and metal can add layers to a low-angle urban photograph.
The lower viewpoint may reveal reflections unavailable at eye level, but it does not automatically produce more of them. Move the camera gradually and watch how the reflected subject changes with the viewing angle.
Reflections can be used for:
- Symmetry
- Visual repetition
- Abstract shapes
- Layered compositions
- Framing
- Contrast between real and reflected space
Urban Photoshoot Themes to Explore
Architecture
Cities provide a wide range of subjects for low-angle architecture photography. Look beyond well-known landmarks and explore:
- Bridges
- Gates
- Towers
- Factories
- Churches
- Apartment buildings
- Fire escapes
- Lamp posts
- Modern glass structures
Low angles emphasize height, geometry, repetition, and converging lines. Before photographing directly upward, inspect the frame for cables, signs, and unrelated building edges.
People and Animals
People are a common part of urban photography. A low-angle shot can make a person appear powerful, energetic, isolated, or overwhelmed by the surrounding architecture.
Portraits can also be taken from below, but the distance and lens should be chosen carefully to control facial distortion.
Photograph animals from a position close to their eye level when it is safe to do so. Do not disturb, chase, or physically reposition an animal for the photograph. Ask the owner before approaching or photographing a pet at close range.
Urban Details
Low-angle photography can direct attention toward small details that are normally overlooked:
- Windows
- Graffiti
- Chimneys
- Street signs
- Car details
- Balconies
- Plants
- Decorative stonework
- Industrial textures
HDR is useful when the scene contains a wider brightness range than one exposure can record. Capture several bracketed images while keeping the camera stationary, then combine them with HDR Merge.
HDR should not be used simply to make every surface equally bright or detailed. Preserve natural contrast and avoid halos around buildings.
Your AI-Powered Photo Editor for MacOS and Windows
Editing Low-Angle Photos in Luminar

Post-processing can refine exposure, perspective, detail, color, and composition without removing the characteristics that make a low-angle shot effective.
A practical workflow is:
- Correct exposure, highlights, shadows, and white balance.
- Decide whether converging lines are intentional.
- Straighten or correct perspective only where necessary.
- Crop distracting edges.
- Enhance important architectural detail.
- Remove small unwanted objects.
- Adjust the sky and foreground separately when needed.
- Review the result for halos and excessive saturation.
Structure AI can enhance stone, metal, glass, and other architectural textures while accounting for the content of the image. Apply it selectively so that edges do not become harsh.
A physical polarizing filter must be used while taking the photograph; it is not a post-processing effect. It can reduce glare from many non-metallic surfaces and darken parts of a blue sky. The strongest sky effect generally occurs around a 90-degree angle to the sun, but ultra-wide lenses may record uneven polarization across the frame.
For a ready-made creative direction, you can also try Luminar photo filters and then refine the individual adjustments manually.