Learn the best time to take pictures outside for portraits, landscapes, architecture, and more. Explore golden hour, midday, overcast light, and blue hour to plan stronger outdoor photos.
The best time to take pictures outside is usually close to sunrise or sunset, when the sun is lower and the light is softer and more directional. But there is no universally perfect hour. Portraits, landscapes, architecture, wildlife, and action photography each benefit from different light, and cloud cover can completely change what works.
Instead of planning around fixed clock times, consider the sun’s position, weather, season, location, and the mood you want. This guide explains what each part of the day looks like and how to use it intentionally.
Don’t feel like reading the whole breakdown? We’ve pulled together a quick summary below.
Key Takeaways
- Golden hour is a reliable choice for warm, directional light, but its timing and duration depend on location, date, terrain, and weather.
- Early morning often provides quiet locations, cooler conditions, low-angle light, mist, or dew.
- Midday light is challenging for conventional portraits but useful for architecture, graphic shadows, vibrant color, action, and documentary work.
- Open shade and overcast conditions can produce soft, even light at almost any time of day.
- Blue hour is ideal for cityscapes, architecture, water, and scenes that combine cool ambient light with warm artificial lights.
- The best outdoor photo time depends on the subject and the visual result—not on one universal schedule.
- Shoot in RAW and edit selectively so you preserve the character of the original light.
Quick Answer: When Should You Take Outdoor Photos?
| Subject | Usually the best conditions | Why it works |
| Outdoor portraits | Golden hour, early morning, open shade, or bright overcast | Softer facial shadows and less squinting |
| Landscapes | Sunrise, sunset, blue hour, dramatic weather, or directional side light | Reveals texture, depth, atmosphere, and color |
| Cityscapes | Blue hour, sunrise, or night | Balances sky brightness with street and building lights |
| Architecture | Early or late directional light; midday for graphic geometry | Light direction defines shape, texture, and shadow patterns |
| Wildlife | Often dawn or late afternoon, depending on species | Many animals are active and light levels are visually appealing |
| Sports and action | When light direction and event timing allow; often daylight | Faster shutter speeds require enough light |
| Macro and flowers | Early morning, open shade, or overcast conditions | Lower wind, dew, and controlled contrast can help |
| Events and weddings | A planned mix of shade, window light, golden hour, and supplemental light | The schedule rarely allows one “perfect” period |
Why the Time of Day Changes Outdoor Photos
As the sun moves, its angle, direction, intensity, and color change. A low sun travels through more atmosphere and creates longer shadows. A high sun produces shorter, more defined shadows and stronger overhead contrast. Twilight removes direct sunlight altogether, leaving softer ambient light that changes quickly.
The same location can therefore look completely different within a few hours. Timing affects:
- Shadow length and direction
- Contrast between highlights and shadows
- Apparent color temperature
- Texture and depth
- Reflections and glare
- Exposure settings
- Subject comfort and expression
- Crowds, traffic, heat, mist, and wildlife behavior
Weather can be as important as time. Thin clouds may soften direct sunlight; heavy clouds can create broad, even illumination; breaks in a storm can produce brief beams and dramatic skies.
Golden Hour: The Most Versatile Outdoor Light
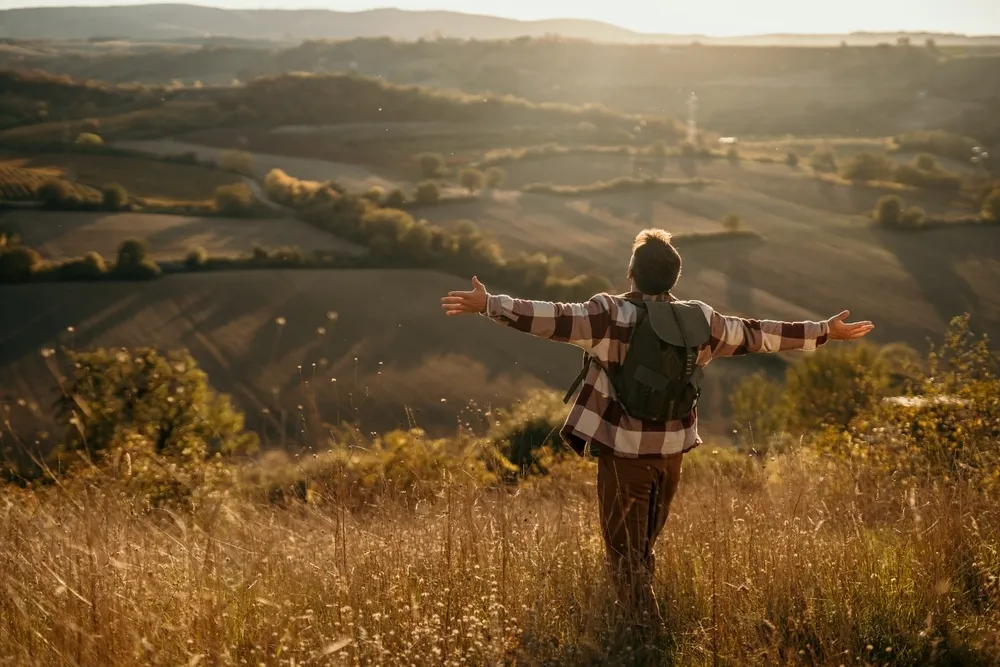
Golden hour occurs around sunrise and sunset while the sun is low above the horizon. Despite the name, it does not always last exactly one hour. Its length changes with latitude, season, elevation, local terrain, and atmospheric conditions.
Low-angle sunlight can create warm color, long shadows, rim light, backlight, flare, and visible texture. These qualities make it popular for portraits, landscapes, travel photography, and outdoor lifestyle sessions.
Golden Hour Tips
- Check the sunrise or sunset time for the exact location and date.
- Arrive early enough to scout and photograph changing light before the expected peak color.
- Use side light to reveal texture and backlight to create a rim around people, plants, or buildings.
- Watch the highlights around the sun and use the histogram or highlight warning.
- Shoot in RAW to retain more flexibility for white balance and tonal adjustments.
- Keep photographing after the sun crosses the horizon, because color and cloud illumination may continue to change.
For a deeper explanation of planning and exposure, see this golden hour photography guide.
Golden Hour Photography Guide: Secrets of Perfect Lighting
Learn moreSunrise or Sunset: Which Is Better?
Both can provide low-angle light, but the practical experience differs.
| Sunrise | Sunset |
| Locations are often quieter | Easier scheduling for most people |
| Air may be cooler, with mist or dew | Ground and air may retain warmth and haze |
| You must compose partly in darkness | You can scout and prepare in daylight |
| Conditions often feel calm | Locations may be crowded |
| Light increases after sunrise | Light falls quickly after sunset |
Choose sunrise when you want empty streets, calm water, mist, or cooler temperatures. Choose sunset when access is easier, people need a practical portrait schedule, or the location receives better light from the west. The orientation of the scene matters more than the general belief that one is superior.
Best Time of Day for Outdoor Portraits
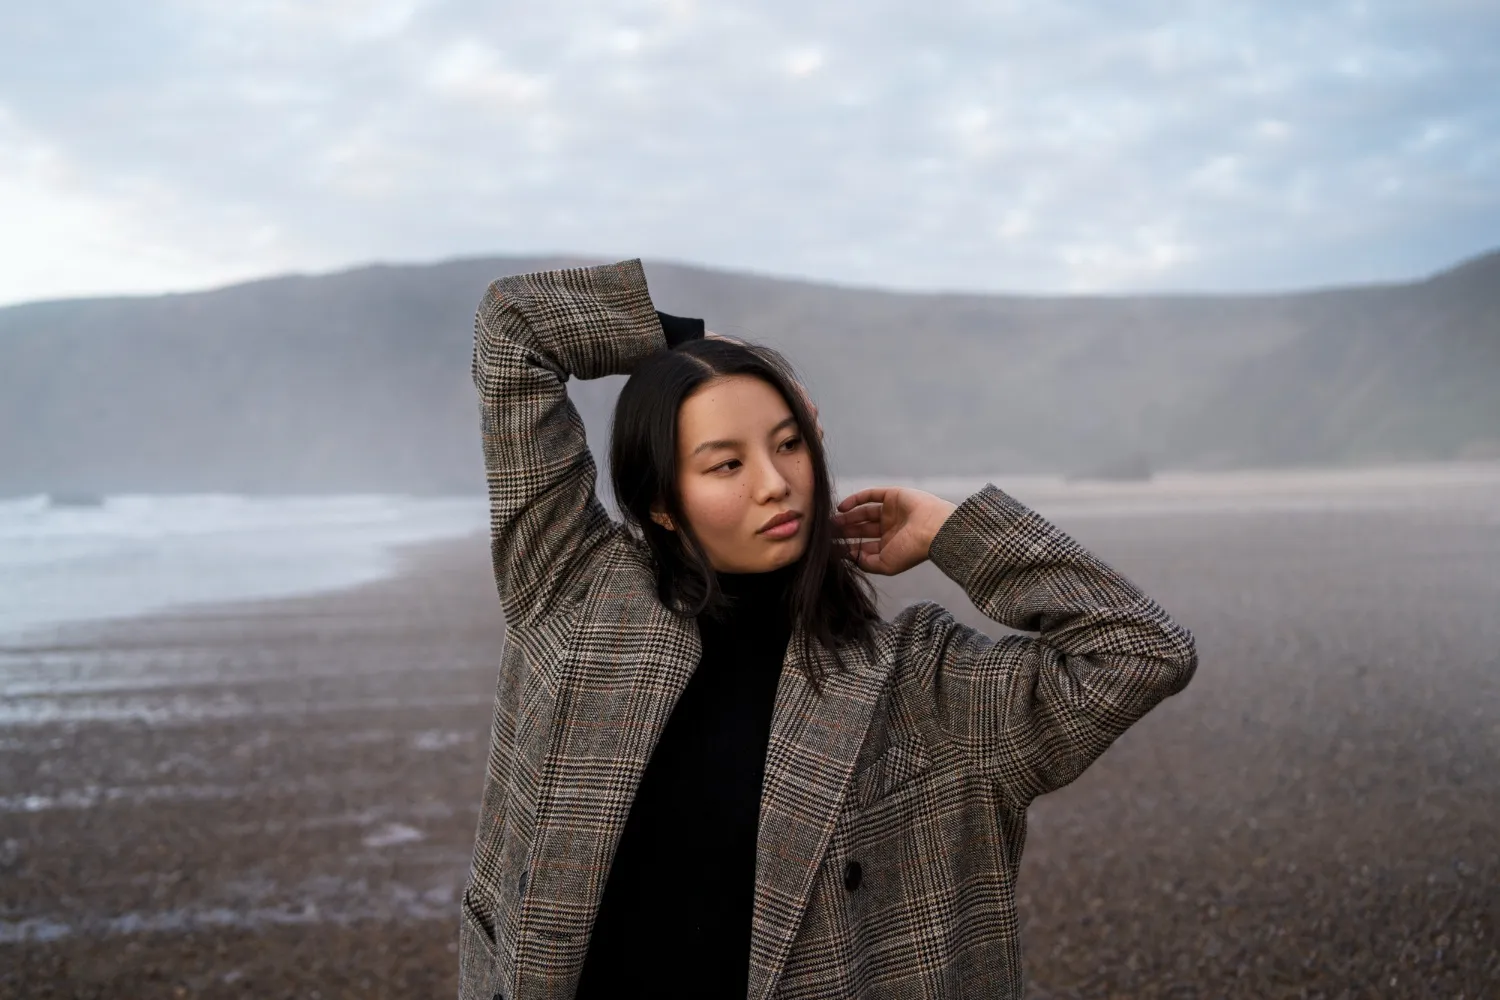
Golden hour is popular for portraits because the low sun can produce softer-looking shadows and warm backlight. However, it is not the only good option.
Early Morning
Morning sessions offer low-angle light, cooler temperatures, and fewer people in popular locations. They can work particularly well for beaches, parks, city centers, and summer portraits.
The exact time cannot be reduced to “6:30–8:30 a.m.” Sunrise varies by season and geography. Plan relative to local sunrise and examine how buildings, hills, or trees will block the light.
Open Shade
Open shade provides indirect light while the subject still faces an open area of sky. Position the person near the edge of shade rather than deep beneath dense foliage or an awning, where light can become dull or uneven.
Watch for green color reflected from leaves and mixed patches of sun on the face. A reflector or subtle fill flash can brighten the eyes when necessary.
Overcast Light
Cloud cover acts like a large diffuser, reducing harsh shadows and allowing portraits throughout more of the day. The light can still be directional near windows, open sky, or breaks in the clouds.
Overcast conditions may make the background and skin look cool or flat, so choose a clean composition and adjust white balance carefully. Avoid bright featureless skies unless they support the image.
Sunset Backlight
Place the subject between the camera and the low sun for rim light and a luminous background. Expose for the face, add a reflector or gentle fill light, or deliberately create a silhouette.
Lens flare can be attractive, but it may reduce contrast or cover the face. Shift the camera slightly or partially block the sun with the subject when you need more control.
Is Midday Really the Worst Time to Take Pictures?
No. Midday is often the hardest time for conventional outdoor portraits because overhead sun creates deep eye sockets, short shadows, bright highlights, and squinting. It is not automatically bad light.
High sun can create bold color, sharp geometry, clear water, strong architectural shadows, and a bright documentary feeling. It may also be essential for sports, travel, ceremonies, or wildlife activity that cannot be rescheduled.
How to Take Better Photos in Harsh Midday Light
- Move portraits into open shade and expose for the face.
- Use a diffuser only when someone can hold or secure it safely; large diffusers can become unstable in wind.
- Add fill flash or a reflector to reduce deep facial shadows.
- Turn the subject away from direct sun to reduce squinting.
- Look for reflections from pale walls, pavement, or water that naturally fill shadows.
- Use hard shadow patterns as a deliberate compositional element.
- Try black and white when shape and contrast matter more than color.
- Protect highlights rather than assuming every shadow can be repaired later.
If shadows remain distracting, remove or soften shadows in Luminar with targeted adjustments rather than flattening the entire photograph.
Blue Hour: Best for Cities and Moody Scenes
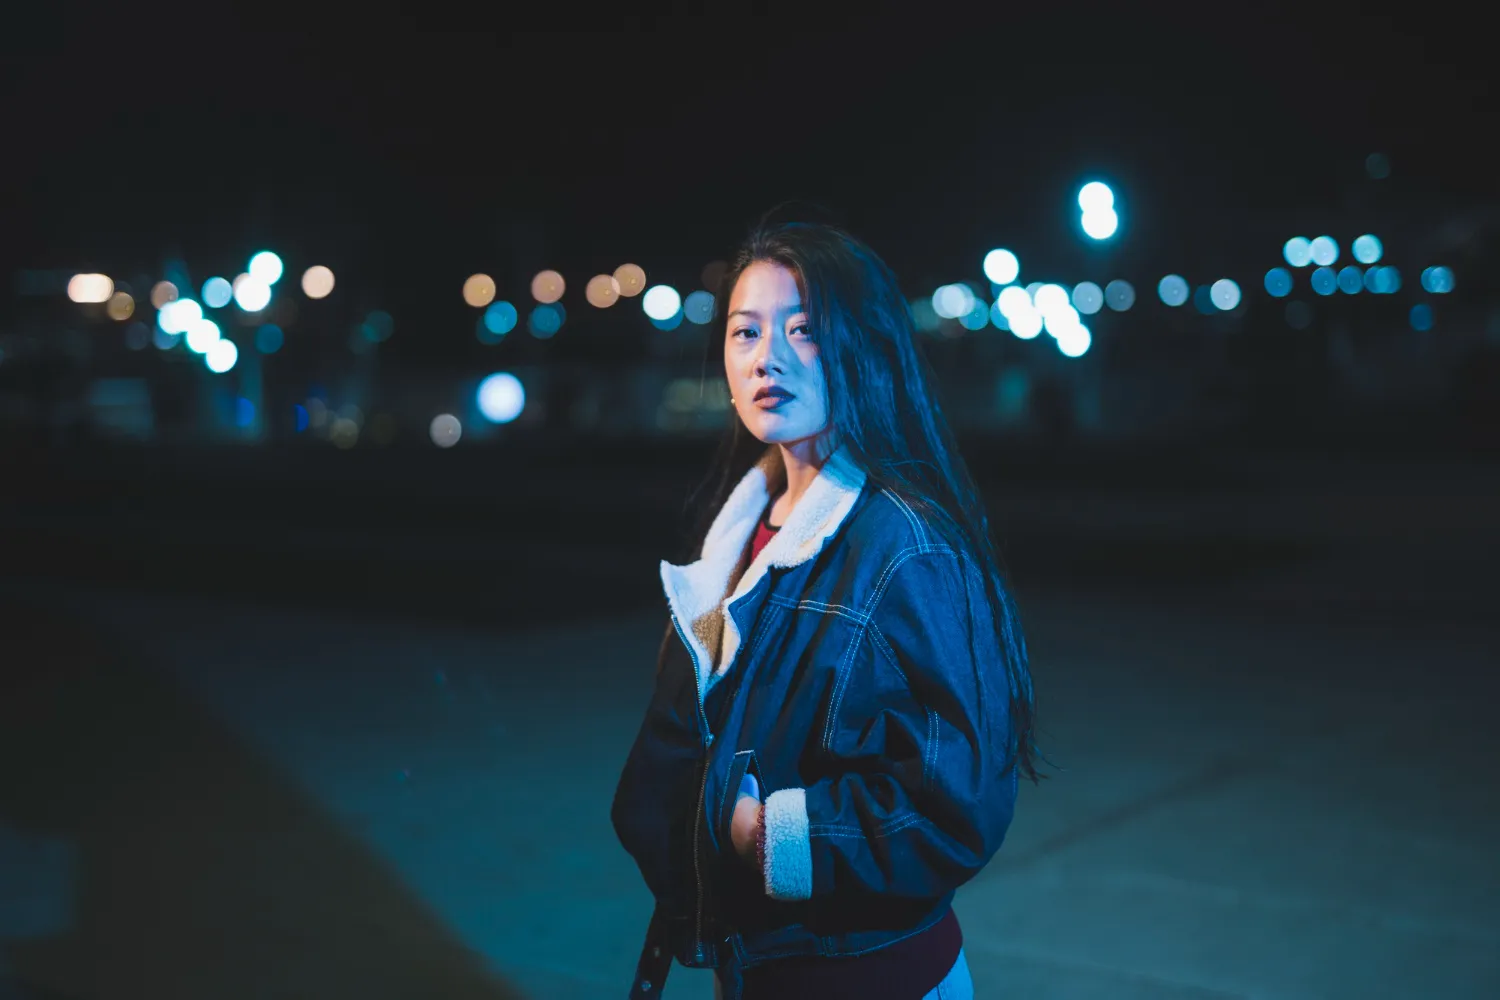
Blue hour is the twilight period before sunrise or after sunset when the sun is below the horizon and the sky often appears blue. Like golden hour, it may last much less or more than an hour depending on location, season, weather, and how the term is defined.
Blue hour is especially useful for cityscapes because ambient sky light can balance illuminated buildings, streetlights, and vehicle trails. It also works for architecture, water, snow, quiet landscapes, and environmental portraits with added light.
Blue Hour Camera Settings
For a static scene on a tripod, begin around ISO 100–400 and f/5.6–f/11, then allow the shutter speed to provide the required exposure. The result may be shorter or longer than 10–20 seconds; there is no universal blue-hour shutter speed.
For handheld portraits or movement, open the aperture, raise ISO, and select a shutter speed fast enough for the subject. Stabilization can reduce camera shake, but it cannot freeze a moving person, vehicle, tree, or wave.
Check bright signs and streetlights for clipping. During editing, Twilight Enhancer can refine the mood, but keep the relationship between the cool sky and warm artificial lights believable.
Outdoor Photography Ideas: 7 Techniques for Breathtaking Results
Learn moreWhat About the Time Between Blue and Golden Hour?
Civil twilight, sunrise, golden light, and full daylight transition continuously rather than changing at a single moment. The period immediately before sunrise and after sunset can move through cool blue, pastel, warm, and neutral stages in minutes.
Plan a shooting window instead of arriving for one exact minute. A landscape photographer may work from before dawn through full sunrise, while a portrait photographer may begin when direct light becomes soft enough for the chosen location.
Best Time to Take Pictures Outside by Season
Fixed seasonal clock times are unreliable because sunrise and sunset differ across countries, latitudes, time zones, and daylight-saving rules. Plan in relation to local solar times.
| Season | Useful planning approach | Common considerations |
| Spring | Check sunrise, sunset, rain, and flowering conditions | Rapid weather changes, fresh foliage, reflective wet surfaces |
| Summer | Consider early morning or late evening for comfort and low-angle light | Long days, heat, intense UV, crowds, short nights |
| Fall | Track foliage condition and sun direction rather than relying on a fixed afternoon hour | Shortening days, variable weather, wet leaves, warm color |
| Winter | Use the lower sun for extended directional light | Short days, cold batteries, snow exposure, ice, limited access |
Summer
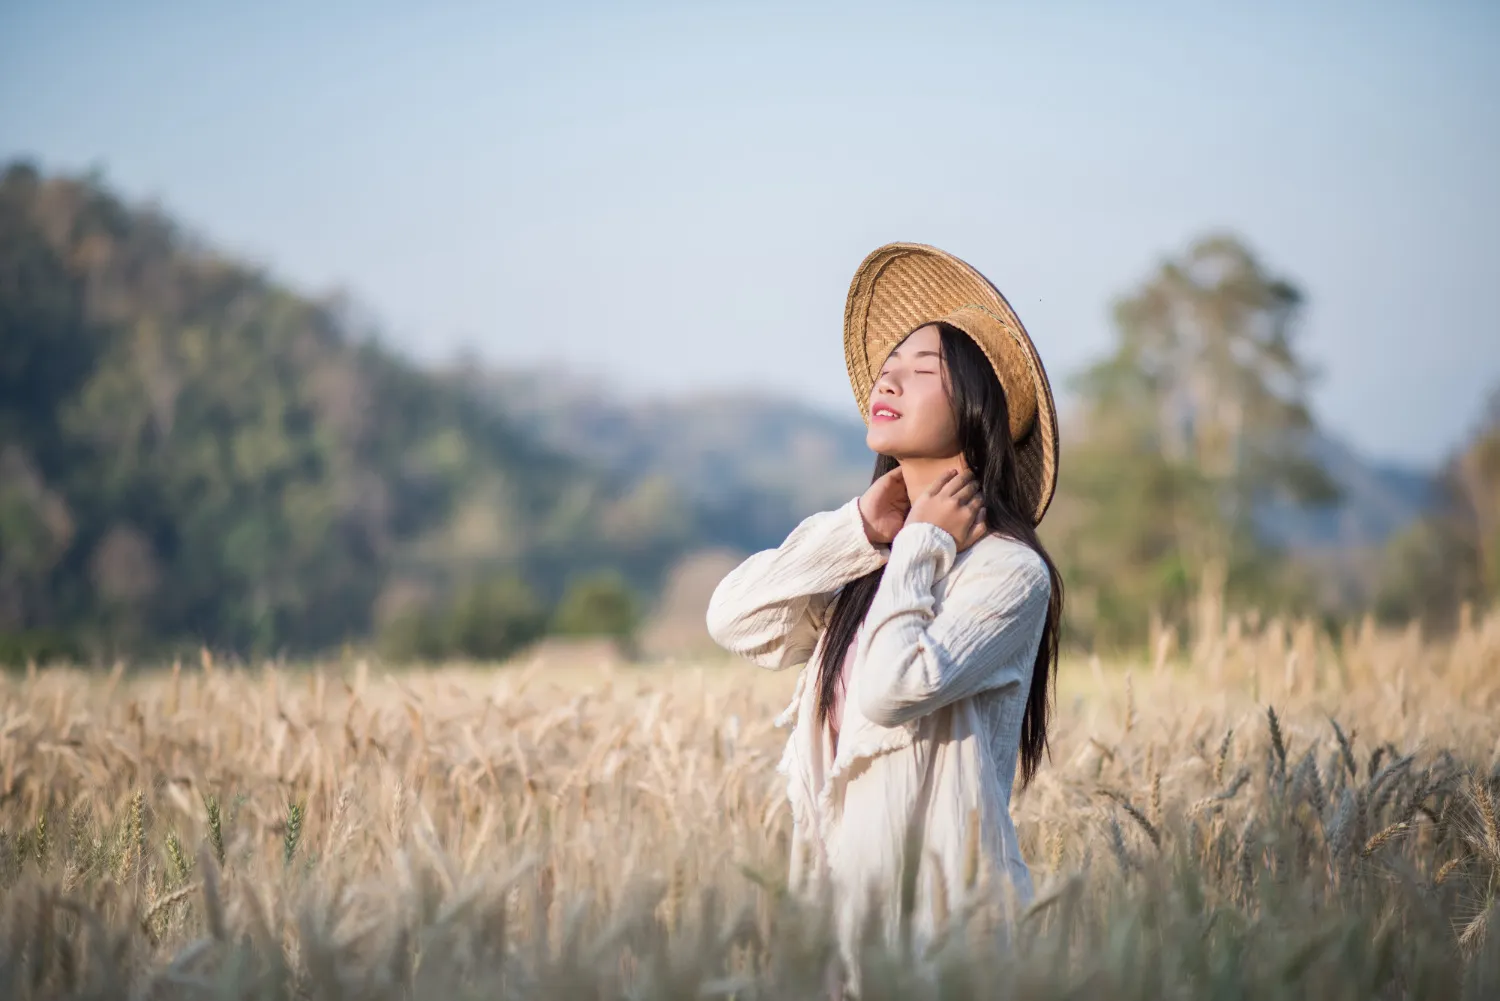
Early morning is often comfortable and quiet, while late evening provides warmer low-angle light. Midday may be hot and contrasty, but it remains useful for action, water, architecture, and travel images.
Carry water, sun protection, and shade for people and equipment. Never prioritize a photograph over heat safety. If a sky lacks interest, wait for different conditions or compose around it; use Sky AI only when a clearly creative edit suits the image and the replacement matches the light and reflections.
Fall

Low side light can reveal leaf texture, while overcast conditions reduce glare and help retain color in wet foliage. A circular polarizer may reduce reflections from leaves and water, making underlying color more visible. Its effect varies with the angle to the light and cannot be expressed as a reliable “20–30% color boost.”
Rotate the filter while viewing the whole frame. On a wide-angle lens, strong polarization can create an uneven sky.
Winter

The sun remains lower in many locations, which can extend useful directional light beyond the usual golden-hour window. Snow reflects light into shadows but can also cause the camera meter to make the scene too dark. Check the histogram and add exposure compensation when necessary.
Protect batteries from cold, watch for condensation when returning indoors, and prioritize safe footing around ice and snow.
Spring

Spring can combine soft overcast light, passing storms, fresh color, and reflective surfaces after rain. Wind may be more important than brightness for flowers and macro subjects, so early morning or sheltered locations can help.
Best Outdoor Photography Time by Weather
Bright Sun
Use low-angle light for warmth and texture, or treat midday shadows as graphic shapes. For portraits, look for open shade or add controlled fill.
Overcast Sky
Use the soft light for portraits, macro photography, woodland scenes, waterfalls, and saturated color. Exclude or minimize a blank sky unless it contributes to the composition.
Fog and Mist
Fog simplifies backgrounds and creates depth between layers. Early morning often provides mist, but local temperature, humidity, terrain, water, and wind determine whether it forms.
Rain and Storm Light
Wet surfaces reflect light and deepen color. Breaks in cloud cover may produce dramatic illumination, but weather safety comes first. Avoid exposed terrain during lightning and protect people and equipment from hazardous conditions.
Snow
Snow creates a bright natural reflector and supports minimalist compositions. Protect highlight detail, watch white balance, and keep the subject separated from a pale background.
Your AI-Powered Photo Editor for MacOS and Windows
How to Plan the Best Time for a Specific Location
- Check local sunrise, sunset, and twilight times for the exact date.
- Determine the direction of the light relative to your subject.
- Account for mountains, trees, and buildings that may block the horizon.
- Review cloud cover, visibility, wind, temperature, rain, and tides where relevant.
- Confirm access hours, parking, permits, and a safe route.
- Arrive early and prepare an alternative composition for unexpected conditions.
A planning app can predict the sun’s direction, but it cannot guarantee color, clear horizons, mist, or dramatic clouds. Treat forecasts as preparation rather than promises.
How to Edit Outdoor Light in Luminar
Begin with white balance, exposure, highlight protection, and shadow detail. Preserve the qualities that made you choose that time of day: warm direction at golden hour, cool ambient color at blue hour, or graphic contrast at midday.

In Luminar, masks allow you to adjust the subject, sky, and background separately. Light Depth can help reshape the distribution of light across the scene, while local adjustments can brighten a face without making the entire background flat.

Use the Golden Hour tool to support existing warmth rather than applying the same orange tone to every object.

Check skin, clouds, white clothing, and neutral surfaces so the result does not become uniformly yellow.
Avoid treating editing as a replacement for the chosen light. A photograph made at noon will retain different shadow direction and contrast from one captured near sunset, even after color grading.
Common Timing Mistakes in Outdoor Photography
| Mistake | Why it fails | Better approach |
| Following fixed clock times from a generic guide | Sunrise and sunset vary by location and date | Plan relative to local solar times |
| Arriving exactly at sunset | You miss setup time and earlier directional light | Arrive early and photograph through changing conditions |
| Calling midday unusable | You ignore graphic shadows, architecture, action, and documentary opportunities | Match the subject and technique to hard light |
| Assuming overcast light needs no control | Faces can look flat and skies can become blank | Use direction, clean backgrounds, and careful white balance |
| Using one exposure recipe for blue hour | Light falls quickly and subjects may move | Adjust aperture, shutter speed, and ISO to the actual scene |
| Trying to recreate every lighting condition in editing | Color changes cannot fully replace real shadow direction | Capture suitable light and enhance it selectively |
Final Thoughts
For many portraits and landscapes, the periods around sunrise and sunset are reliable starting points. They provide directional light, longer shadows, and a wide range of creative options. Blue hour is particularly strong for cityscapes and mixed natural and artificial light.
However, the best time to take outdoor photos is the time that serves the subject. Midday, open shade, fog, cloud, rain, and winter light can all produce better results than a conventional golden-hour image when they match your idea. Learn to recognize the qualities of light, and you will be able to photograph well throughout the day.
Frequently Asked Questions
The periods around sunrise and sunset are the most versatile because the sun is low and the light is directional. Open shade and overcast weather can also provide flattering light at other times.
Golden hour, early morning, bright overcast conditions, and open shade are reliable options. Choose a time when the subject can avoid squinting and the face receives even or controllable light.
Noon is challenging for traditional portraits, but it can work for architecture, street photography, travel, action, water, bold color, and graphic shadows. Use shade, fill light, or deliberate hard-light composition when needed.
There is no universal interval. For portraits, arriving 60–90 minutes before sunset often provides time to prepare and work through changing light, but terrain, buildings, latitude, season, and weather can shift the useful window.
Morning is often quieter and cooler and may bring mist or dew. Evening is easier to schedule and lets you scout in daylight. Choose according to light direction, subject comfort, access, and the appearance of the location.