Low-key photography uses controlled lighting, dark tones, and carefully placed highlights to create images with depth, contrast, and atmosphere. Rather than illuminating the entire scene evenly, you allow parts of the subject and background to fall into shadow while directing attention to the areas you want viewers to notice.
The technique is especially effective for portraits, still life, food, product, and conceptual photography. You can create a low-key image with studio lighting, a single lamp, or even natural window light. The key is controlling where the light falls.
Don’t feel like reading the whole breakdown? We’ve pulled together a quick summary below.
Key Takeaways
- Low-key photography is characterized by predominantly dark tones and selectively illuminated areas.
- A low-key image does not require a completely black background or a single light source.
- Side lighting is a simple way to create strong shadows and dimensional portraits.
- Rembrandt lighting creates a distinctive triangle of light on the shadow side of the face.
- ISO, aperture, and shutter speed should be chosen according to the available light, subject movement, and desired depth of field.
- Black and white processing can emphasize the tonal structure of a low-key photograph, but color can work equally well.
- Dark clothing and backgrounds can help reduce distractions, but they are not mandatory.
- During editing, use contrast, shadows, highlights, and local adjustments carefully so important details are not lost.
Low-Key Lighting Gear
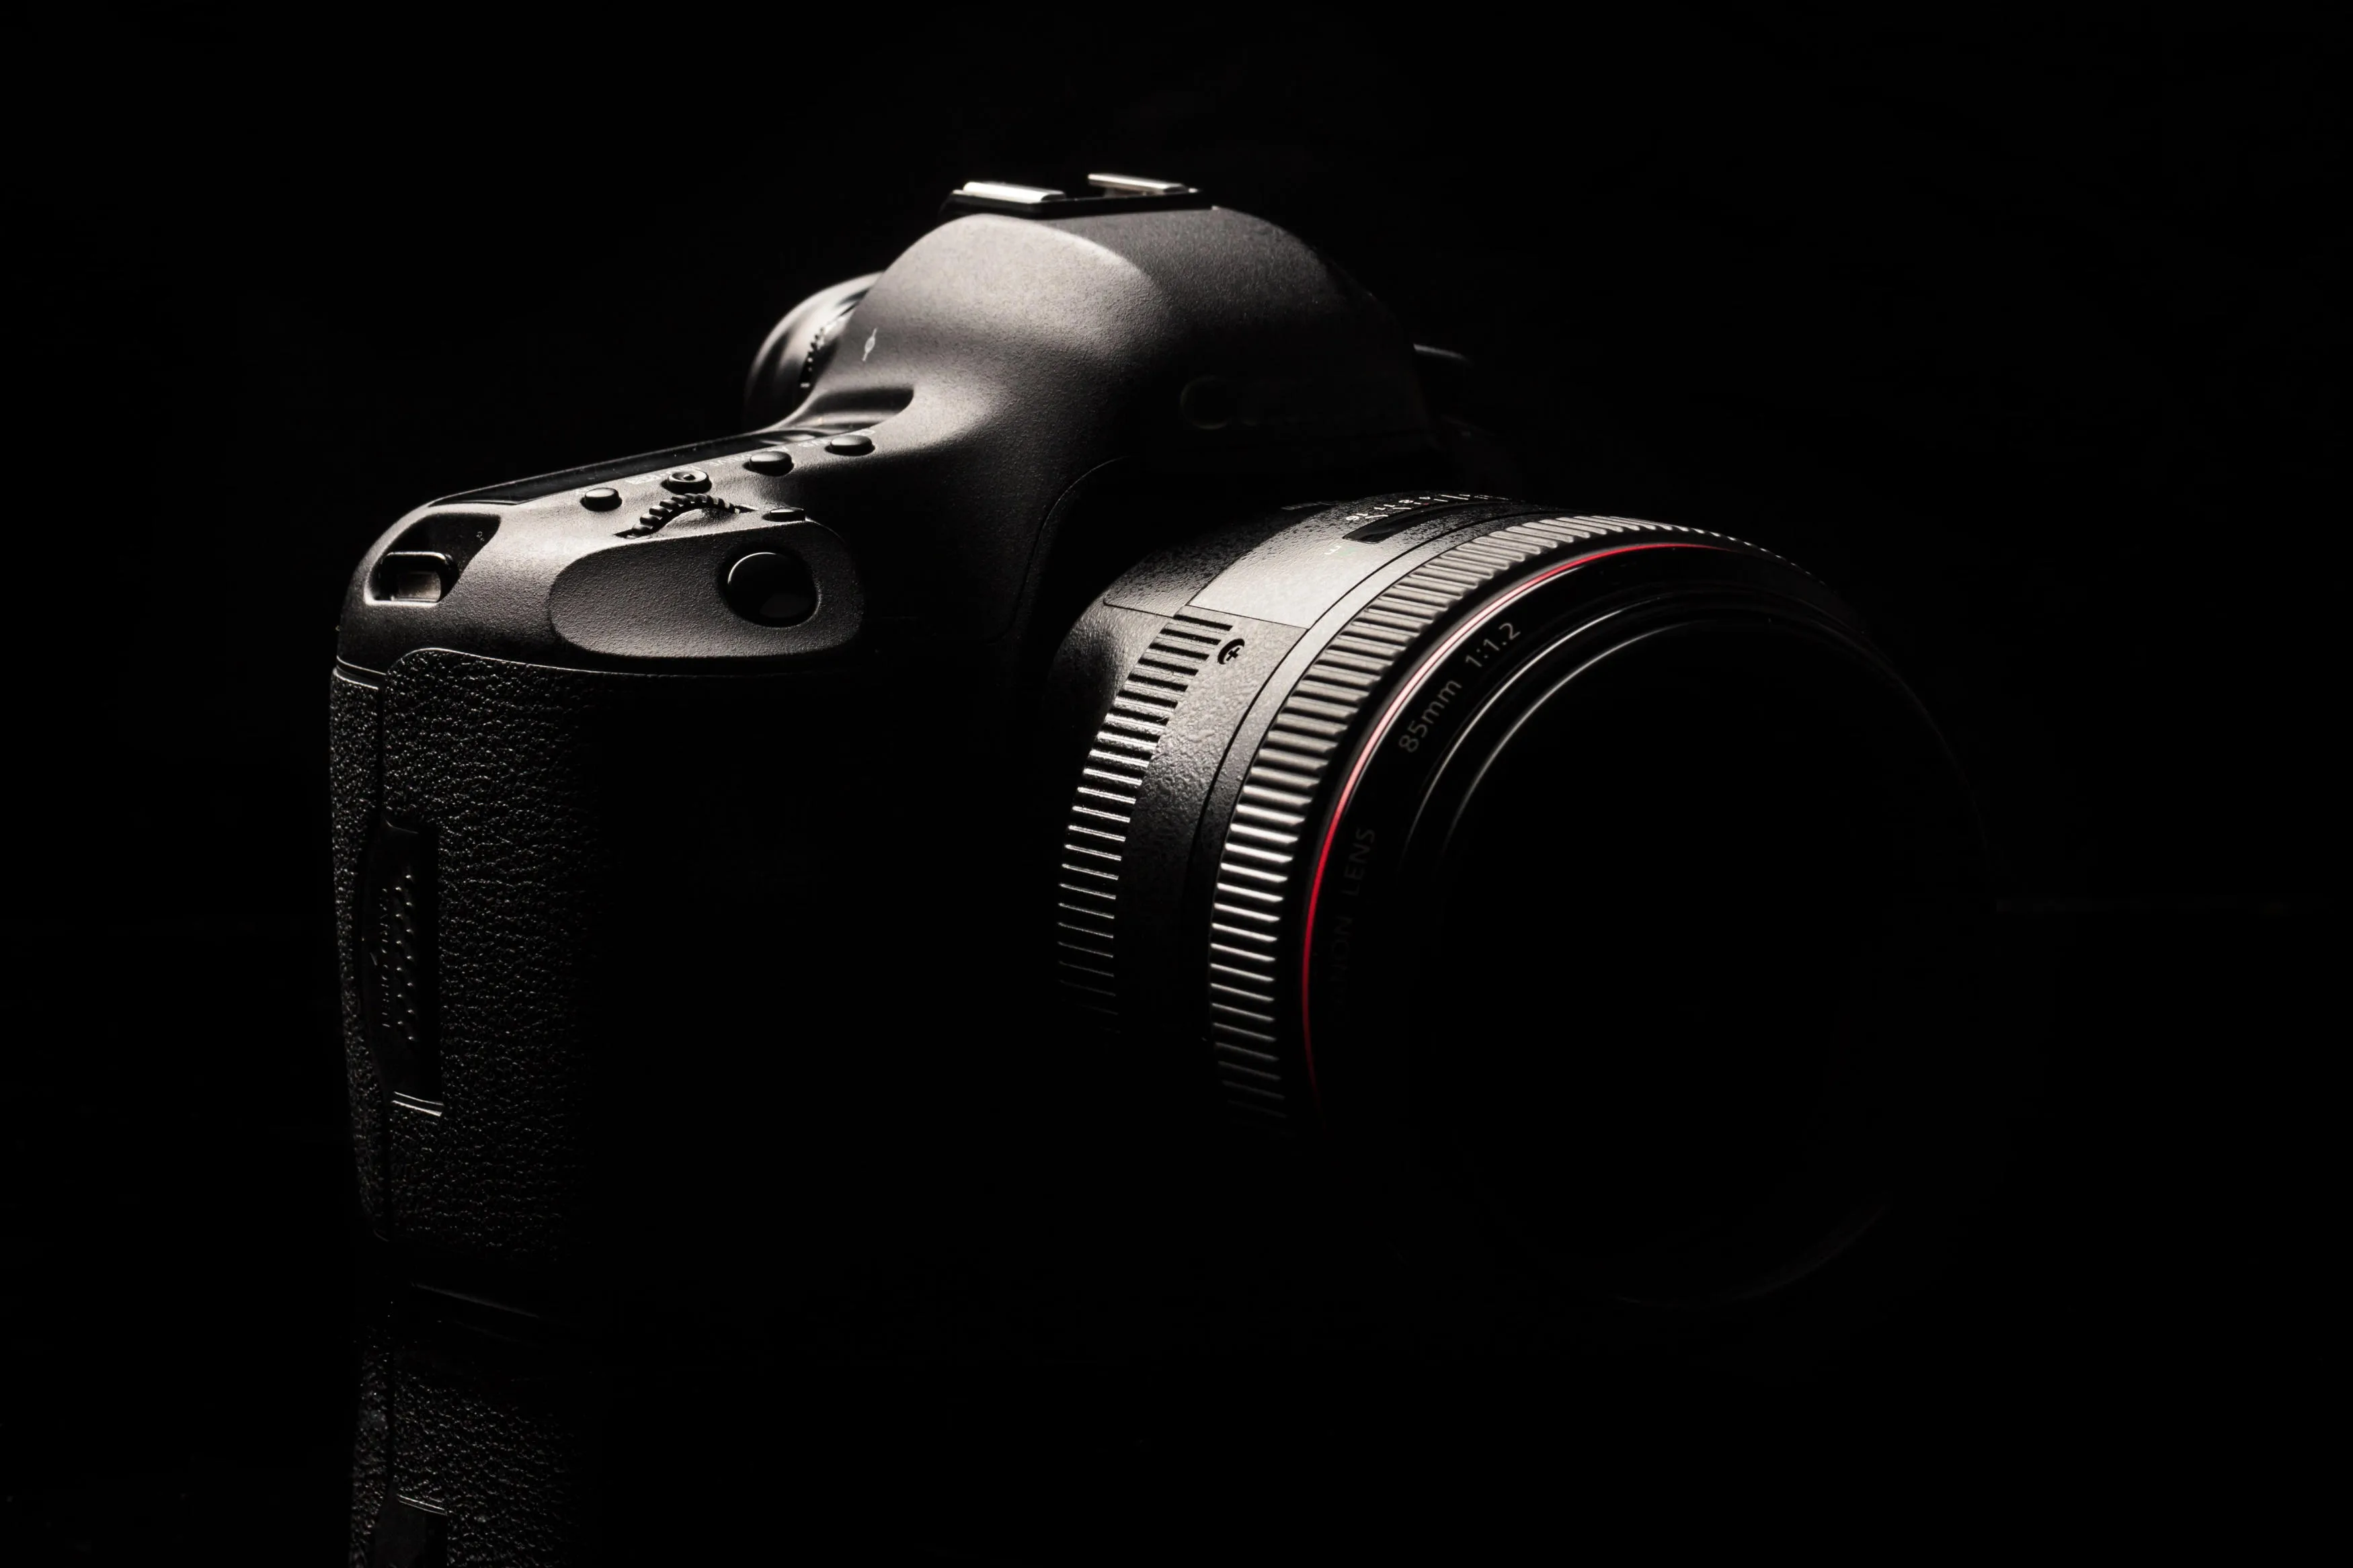
Low-key photography does not require a complicated studio setup. You can start with a camera, a light source, and a subject.
A basic setup may include:
- Camera
- Tripod, especially for stationary subjects and slower shutter speeds
- Natural or artificial light source
- Dark or neutral background
- Reflector or flag for controlling shadows
- Photo editing software
A softbox can produce softer transitions between light and shadow, while a smaller or more directional source can create harder shadows. A reflector can introduce a small amount of fill light without eliminating the dramatic contrast.
A dark background can make it easier to keep the scene visually simple, but it is not essential. What matters most is preventing unwanted light from illuminating areas you want to remain dark.
After shooting, a photo editor such as Luminar can help you refine contrast, tonal balance, detail, and selected areas of the image.
What Is Low-Key Lighting?

Low-key lighting is a photographic lighting approach in which dark areas dominate the image while light is used selectively to reveal the subject.
It is sometimes described as the opposite of high-key lighting, but low-key photography does not simply mean underexposing a photograph. A successful low-key image still contains intentional detail in the illuminated parts of the subject.
You also do not have to use only one light. A main light can be combined with a subtle reflector, fill light, rim light, or other source as long as the overall lighting remains controlled and the image retains its predominantly dark appearance.
The easiest way to think about the technique is to ask: Where do I want the viewer to look? Then use light to guide their attention.
Keep the subject positioned so that the light does not unnecessarily spill onto the background. You can use flags, curtains, doors, or other opaque surfaces to block unwanted illumination.
High-Key vs. Low-Key Photography
The main difference between high-key and low-key photography is their tonal distribution and use of shadows.
| Characteristic | Low-Key Photography | High-Key Photography |
| Overall appearance | Predominantly dark | Predominantly bright |
| Shadows | Strong and important to the composition | Usually minimized |
| Highlights | Selective and controlled | More widespread |
| Mood | Dramatic, mysterious, intimate | Bright, airy, optimistic |
| Typical subjects | Portraits, still life, conceptual work | Lifestyle, fashion, newborn, beauty |
| Background | Often dark or unobtrusive | Often light |
For a more detailed look at the opposite approach, see this guide to high-key studio lighting.
Neither technique is inherently better. The right choice depends on the mood and visual story you want to create.
Try Black and White

Black and white can be particularly effective for low-key photography because removing color puts more emphasis on brightness, contrast, shape, and texture.
A monochrome treatment can make facial contours and shadows more prominent, especially when the photograph already has a strong directional light source.
However, low-key photography does not have to be black and white. Deep, subdued colors can add atmosphere and help distinguish different areas of the subject.
If you decide to use a monochrome treatment, avoid simply making the entire photograph darker. Instead, preserve enough tonal separation for the subject’s important features to remain visible.
A dark background can also help simplify the composition. If you want to create one in post-processing, see this guide on how to create a black background in a photo.
Experiment With Lighting
Lighting direction has a major effect on the appearance of a low-key photograph. Start with one directional source and move it around the subject rather than immediately adding more lights.
Try placing the light:
- To the side for strong facial shadows
- Slightly above the subject for more sculpted features
- Behind the subject for rim or edge lighting
- Near a window for a softer natural-light effect
Watch the shadows as you move the light. Even a small change in height or angle can significantly change the shape of the illuminated area.
Side Lighting

Side lighting is one of the simplest starting points for low-key portrait photography.
Position the light to one side of the subject so that one side of the face receives more illumination than the other. Move the light closer, farther away, higher, or lower until the shadows fall where you want them.
When approximately half of the face is illuminated and the other half is substantially darker, the result can resemble split lighting.
Side lighting also works well for objects because it reveals shape and texture through changes in brightness across the surface.
Tip: You don’t need artificial lighting to create this effect. Try positioning your subject beside a window and using curtains or blinds to control the amount and direction of the incoming light.
Rembrandt Lighting

Rembrandt lighting is a portrait-lighting pattern named after the Dutch painter Rembrandt. It is recognizable by a small triangle of illumination on the shadow side of the face, beneath the eye.
To create it, position the main light to one side of the subject and slightly above eye level. Adjust the angle until the shadow from the nose connects with the shadow on the cheek while leaving a small illuminated area underneath the eye.
There is no single distance or height that works for every face. The subject’s facial structure, pose, lens, and size of the light source all affect the result.
Use the classic pattern as a starting point, then adjust it to suit the person in front of your camera.
Elevate Your Photography with Our Advanced Software
Camera Settings for Low-Key Photography
There is no universal set of camera settings for low-key photography. Your exposure depends on the light source, subject movement, lens, camera, and the amount of depth of field you want.
Manual mode can give you precise control, but aperture priority and other exposure modes can also work.
Use a Practical ISO
A low ISO is a useful starting point when you have enough light because it can help reduce noise and preserve clean shadow detail.
ISO 100 or your camera’s base ISO may work well in a controlled studio setup. But you should not treat ISO 100 as a rule.
If you’re photographing a moving subject in dim conditions, raising ISO may be preferable to using a shutter speed that produces motion blur. The best ISO is the lowest value that still allows you to achieve the shutter speed and aperture you need.
Choose the Aperture for Depth of Field
A wide aperture such as f/1.8 or f/2.8 lets more light reach the sensor and can create a shallow depth of field.
However, a wide aperture is not required for low-key photography.
For a still life or product photograph, you may want more of the subject in focus and therefore choose a narrower aperture such as f/5.6 or f/8. If the subject is stationary, a tripod can allow you to use a slower shutter speed.
Choose the aperture according to the subject and the visual effect you want rather than simply selecting the widest setting available.
Set the Shutter Speed for the Subject
Your shutter speed should reflect whether the subject is moving.
For portraits with a stationary subject, a moderate shutter speed may be sufficient. For moving subjects, use a faster shutter speed to reduce motion blur.
When photographing a stationary object on a tripod, you have much more freedom to use a slower shutter speed.
The goal is to expose the important illuminated areas correctly while allowing less important parts of the scene to remain dark.
Start With an Object

Low-key lighting is not limited to portraits. Objects can be excellent subjects for practicing the technique because they don’t move while you adjust the light.
Try photographing:
- A flower
- A piece of fruit
- A glass or bottle
- Jewelry
- Ceramic objects
- Musical instruments
- Textured fabric
Place the object against a simple background and illuminate only part of it. Then move the light and observe how the highlights and shadows change.
This is a useful way to learn how light direction, distance, and size affect the appearance of a subject before applying the technique to portrait photography.
Use Light to Reveal Texture

Low-key lighting can make textures particularly noticeable because directional light creates small variations between illuminated and shadowed surfaces.
In portraits, you can use it to emphasize hair, facial contours, clothing, or skin texture. With still life, it can reveal the surface of wood, fabric, metal, glass, or other materials.
Think about what you want the viewer to notice. If texture is the subject, position the light so that it grazes across the surface rather than illuminating it evenly.
For portraits, clothing can also affect the composition. Simple, darker clothing may help keep attention on the face, while patterns or bright areas can become competing visual elements.
Your AI-Powered Photo Editor for MacOS and Windows
Editing Low-Key Photos in Luminar
Post-processing should refine the lighting decisions you made while shooting rather than completely replace them.
In Luminar, you can use tonal adjustments, masking, and detail tools to refine a low-key image.
A practical workflow is:
- Correct the overall exposure. Make sure important highlights are not unintentionally clipped.
- Adjust contrast. Increase or reduce contrast according to the separation you want between light and dark areas.
- Control the shadows. Keep intentional shadows dark while recovering detail if an important part of the subject has disappeared.
- Refine highlights. Reduce distracting bright areas that pull attention away from the subject.
- Use masking for local adjustments. Luminar’s masking tools allow adjustments to be applied selectively rather than uniformly across the entire image.
- Enhance detail selectively. Structure AI can emphasize detail while taking a content-aware approach to people and skin.
- Try black and white if appropriate. A monochrome treatment can strengthen the relationship between highlights and shadows.
- Keep the result natural. Avoid lifting every shadow or pushing contrast so far that important tonal transitions disappear.

For portraits, Luminar’s current Face AI tools can also be used for targeted adjustments such as face lighting, eye details, and subtle skin refinement.

The strongest low-key edits usually preserve the lighting decisions made in camera rather than trying to turn an evenly lit photograph into a completely different lighting style.
A Simple Low-Key Photography Workflow

If you’re new to the technique, start with this straightforward setup:
- Choose a simple subject. Use a person or stationary object.
- Reduce ambient light. Turn off unnecessary lights and block unwanted window light.
- Separate the subject from the background. This makes it easier to keep the background dark.
- Position one directional light. Start with side lighting.
- Take a test photograph. Look at the brightest and darkest areas.
- Adjust the light first. Move it rather than immediately changing every camera setting.
- Fine-tune ISO, aperture, and shutter speed. Choose settings based on the subject and desired exposure.
- Try different angles. Small changes in light position can dramatically alter the image.
- Review the shadows. Make sure they are intentional rather than simply underexposed.
- Edit selectively. Refine contrast, highlights, shadows, and detail while preserving the original mood.
Conclusion
Low-key photography is about controlling where light appears in the frame. Start with a simple subject and a single directional light, reduce unwanted ambient illumination, and watch how the position of the light changes the shadows.
Don’t worry about finding one perfect camera setting. Adjust ISO, aperture, and shutter speed according to the subject and the light you have. Then use selective editing to refine the tonal balance without losing the details that make the image work.
With practice, low-key lighting can become a versatile technique for creating portraits, still lifes, and other photographs with a strong sense of depth and atmosphere. Luminar can help you fine-tune those tonal and local adjustments after the shoot.
Frequently Asked Questions
Low-key photography is a lighting and tonal approach dominated by dark areas, with selective illumination used to emphasize the subject or important details.
No. A black background can make the technique easier, but a background can also appear dark simply because little or no light reaches it.
There is no universal ISO. Use the lowest practical ISO when sufficient light is available, but raise it when necessary to maintain an appropriate shutter speed or aperture.
Yes. A window can provide directional light, while curtains or blinds can help control its intensity and prevent unwanted ambient light.
No. Black and white can emphasize contrast and texture, but low-key images can also work very well with dark, subdued colors.