A portable monitor adds screen space without a full desktop setup. Compare four options and learn which display, connection, and power requirements matter before buying.
The best portable monitor for a laptop depends on your priorities: a lighter bag, more workspace, higher resolution, or dependable color for editing photographs.
A second screen can hold references, documents, or another application while you work. It does not increase your laptop’s processing power, and a higher-resolution display does not automatically offer more accurate color.
This guide compares four portable displays by their published specifications and explains how to choose and connect one. It is a buying guide, not a hands-on performance test.
Don’t feel like reading the whole breakdown? We’ve pulled together a quick summary below.
Key Takeaways
- Check your laptop’s video output before buying: a USB-C connector alone does not guarantee display support.
- Full HD can suit documents and reference images; 4K provides finer detail but may require interface scaling.
- IPS and OLED describe panel technologies, not guaranteed color accuracy.
- For photo editing, evaluate gamut coverage, calibration, brightness, and reflections alongside resolution.
- A one-cable setup needs compatible video support, a suitable cable, and sufficient power.
- HDMI carries the video signal; a portable monitor normally needs a separate power connection when using it.
- Include the stand, protective case, cables, and power adapter when comparing travel weight.
Portable Laptop Monitors at a Glance
These models serve different needs. Availability varies by market, particularly for older models such as the ASUS MB16AC and AOC I1601P.
| Model | Display | Resolution | Key connection information | Main consideration |
| ASUS ZenScreen MB16AC | 15.6-inch IPS | 1920 × 1080 | Hybrid USB-C connection; USB-A operation requires compatible software | A slim secondary screen for everyday work |
| ViewSonic ColorPro VP16-OLED | 15.6-inch OLED | 1920 × 1080 | USB-C and micro-HDMI | Color-focused design, adjustable stand, and included hood |
| Intehill U17ZT | 17.3-inch IPS touchscreen | 3840 × 2160 | Confirm the supplied connections and cables for your configuration | Larger 4K workspace with a built-in stand |
| AOC I1601P | 15.6-inch IPS | 1920 × 1080 | USB-C DisplayPort Alt Mode or supported USB DisplayLink connection | Lightweight productivity display; no HDMI input |
A monitor and editing software solve different problems. If you are also choosing a photo editor for Mac, assess the editing workflow separately from the display purchase.
Exclusive Tools of Endless Possibilities in One Editor
1. ASUS ZenScreen MB16AC: For Everyday Secondary-Screen Tasks
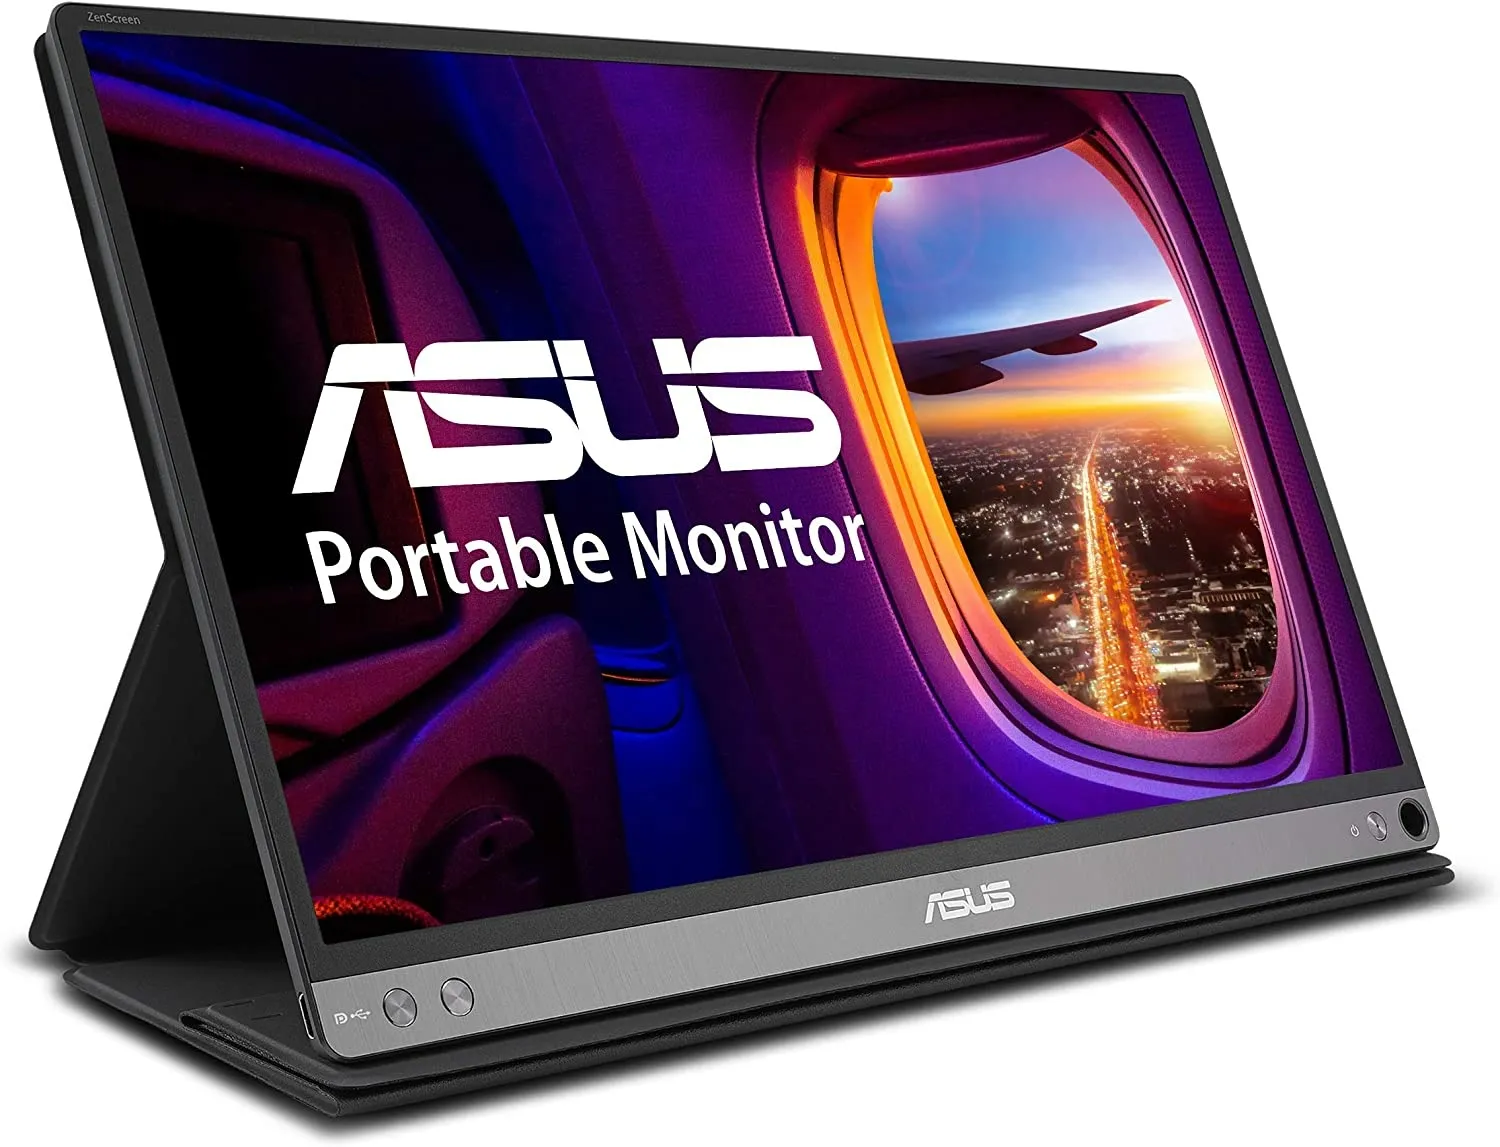 The ASUS ZenScreen MB16AC is a 15.6-inch Full HD IPS monitor with a slim body and a protective Smart Case.
Its hybrid connection supports native video over compatible USB-C ports and a software-based USB connection on supported systems. Check the required driver and operating-system compatibility before relying on USB-A.
ASUS lists typical brightness at 220 nits. Consider it for indoor documents, reference material, or an additional application window rather than assuming it will remain comfortable in bright outdoor conditions.
| Pros | Cons |
| Slim design and protective case suit a travel setup | Older model; stock and support should be checked |
| Hybrid connection offers an alternative to native USB-C video | USB-A operation depends on compatible software |
| Full HD is practical for ordinary office tasks | Panel type alone does not establish suitability for critical color decisions |
2. ViewSonic ColorPro VP16-OLED: For Color-Focused Work
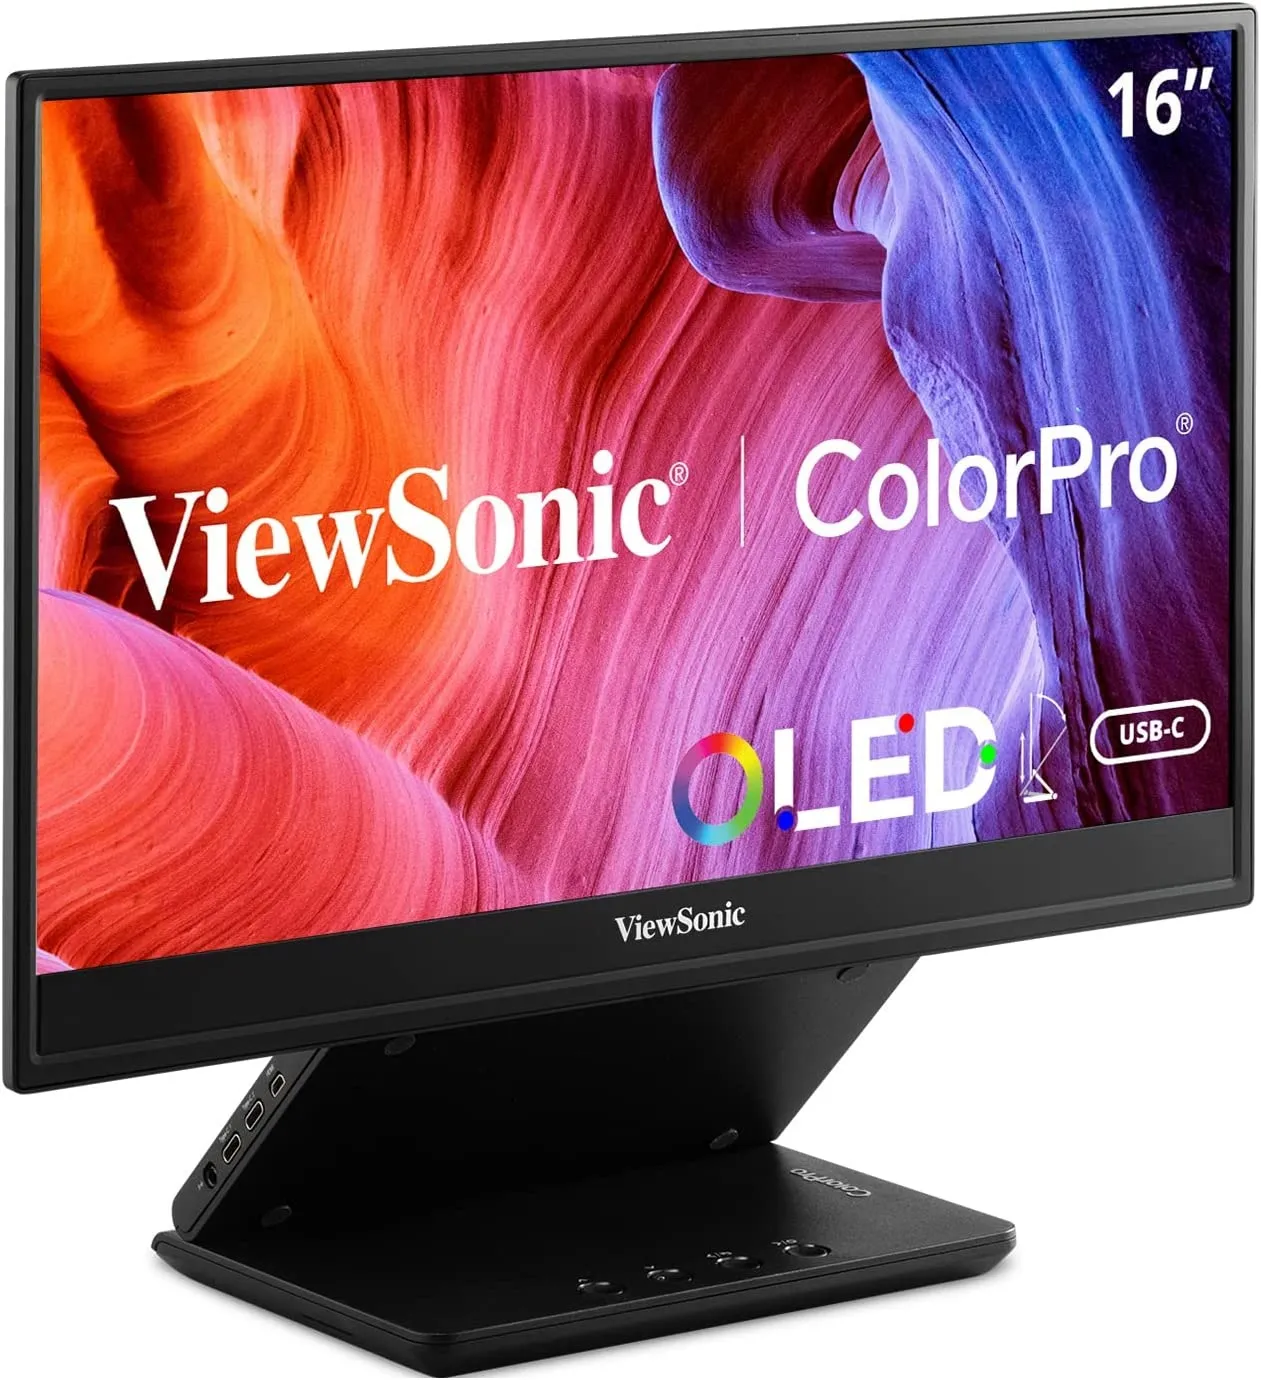 The ViewSonic VP16-OLED combines a 15.6-inch Full HD OLED panel with an adjustable stand and a supplied hood.
ViewSonic specifies 100% sRGB and DCI-P3 coverage and advertises Delta E below 2. These are manufacturer claims, rather than measurements from this comparison.
The monitor has USB-C and micro-HDMI inputs. It is not a 4K display and does not have the mini DisplayPort connection described in some older guides.
Its glossy surface makes reflections worth considering. OLED also benefits from sensible brightness and screen-sleep settings during sessions with static editing interfaces.
| Pros | Cons |
| Manufacturer specifies broad gamut coverage and factory color accuracy | Full HD rather than 4K |
| Adjustable stand and hood support flexible positioning | Glossy surface can reflect surrounding light |
| USB-C and micro-HDMI accommodate different video sources | OLED requires care with prolonged static content |
3. Intehill U17ZT: For a Larger 4K Workspace
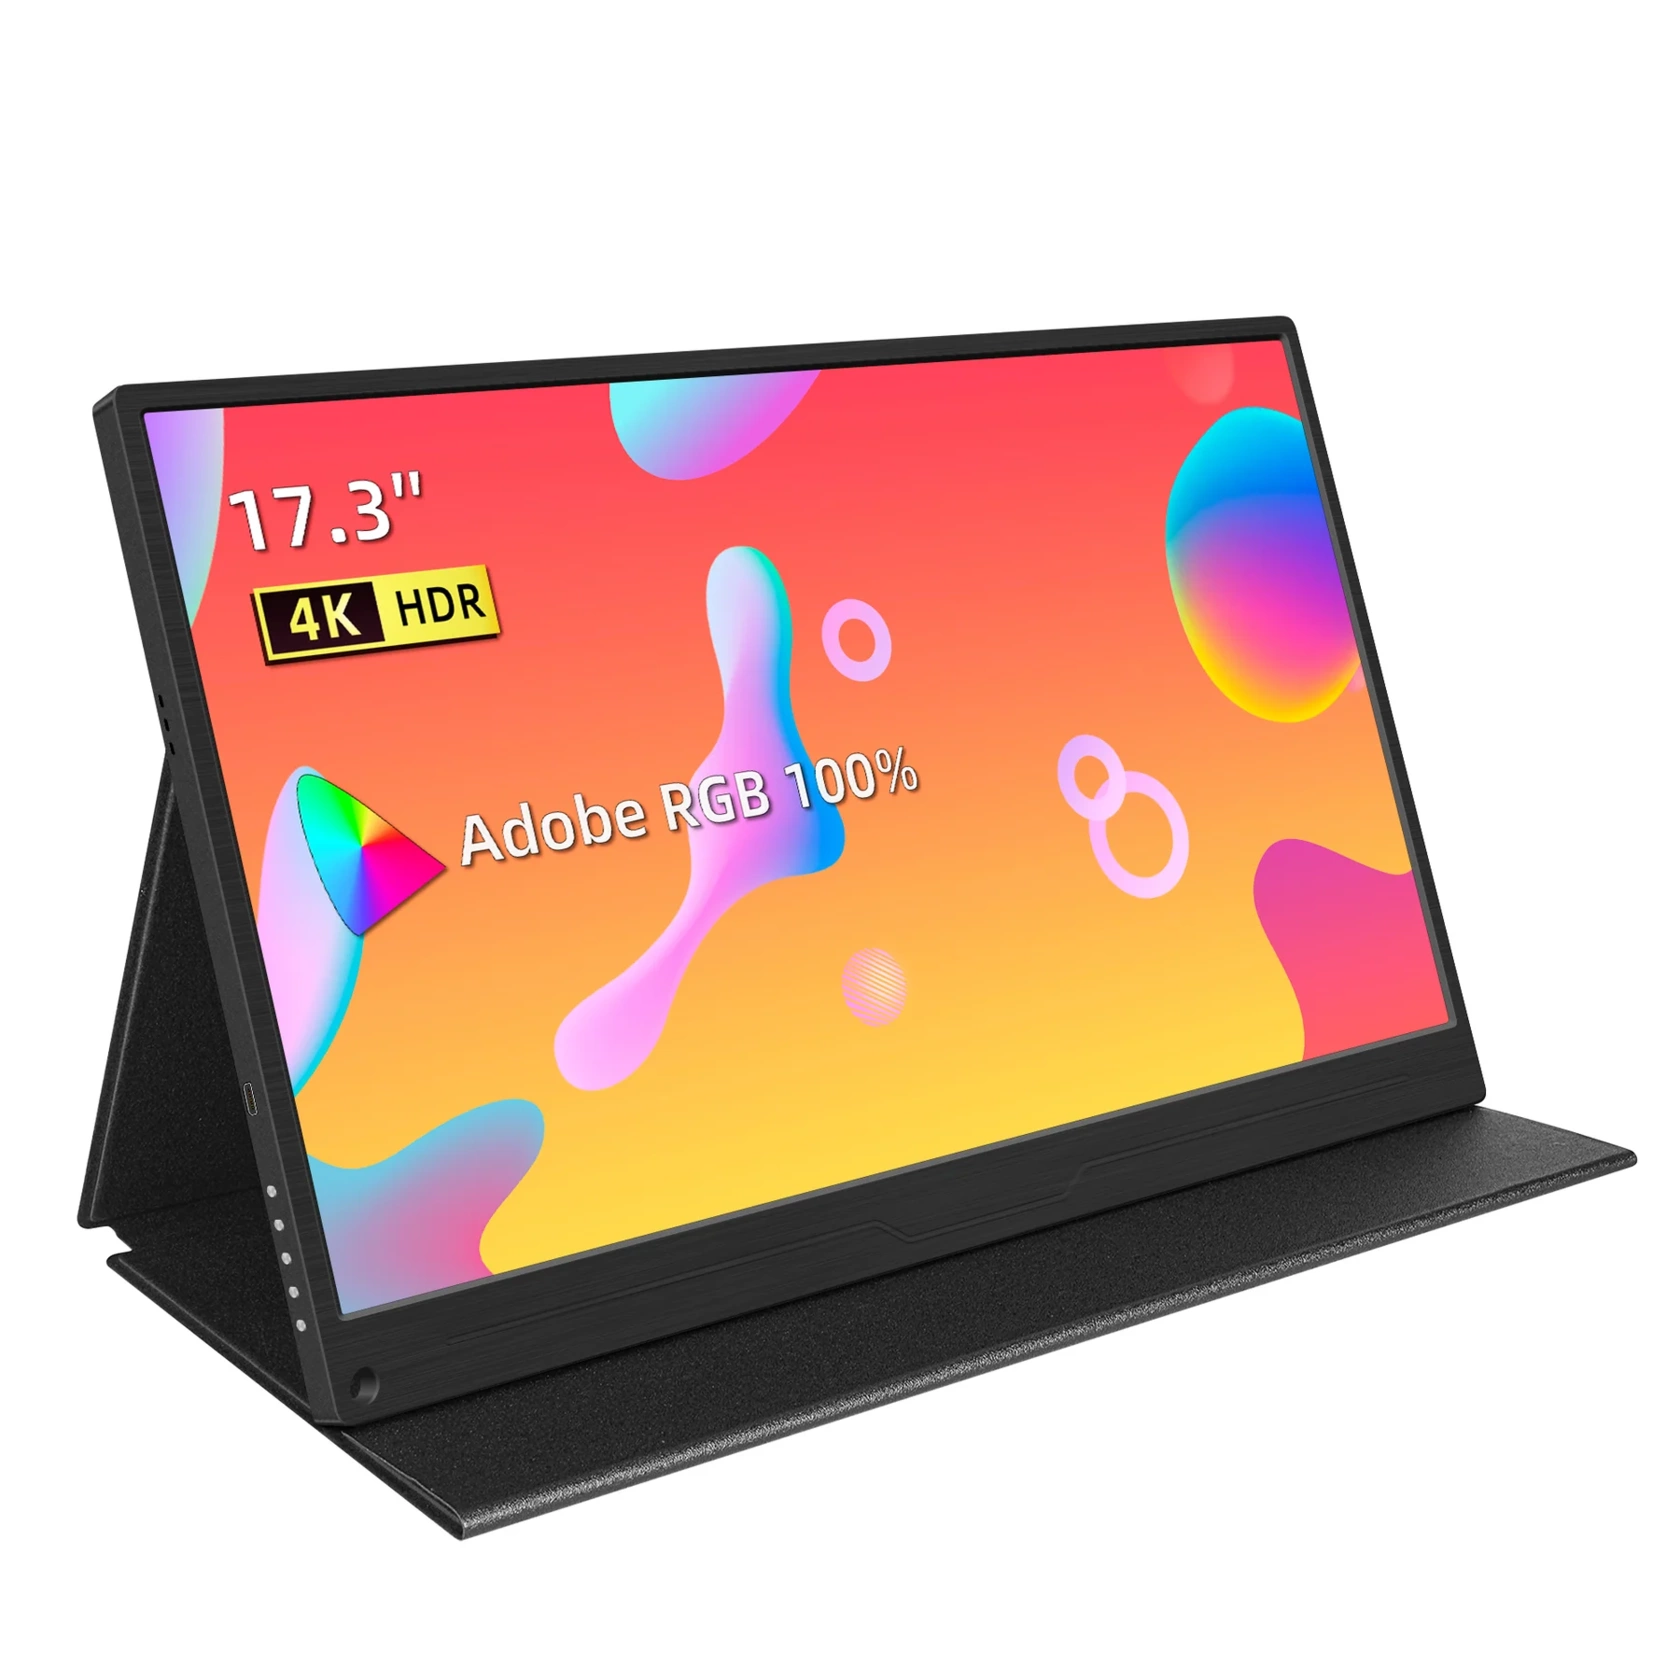 The Intehill U17ZT is a specific 17.3-inch IPS touchscreen model with 3840 × 2160 resolution and a 60Hz refresh rate.
Intehill lists 500-nit brightness, 100% DCI-P3 coverage, a built-in stand, and a weight of 1.4kg. Treat the color specifications as manufacturer claims; gamut coverage does not establish calibrated accuracy.
The larger screen offers more room, but it also takes more bag and desk space. At 4K, interface scaling may be necessary to keep text and controls readable.
Confirm touch support for your operating system. A working video connection does not guarantee that touchscreen functions will work.
| Pros | Cons |
| Larger panel and 4K resolution provide fine detail | Listed weight of 1.4kg adds substantially to a travel kit |
| Built-in stand supports practical positioning | Needs more bag and desk space than smaller displays |
| Touchscreen offers additional interaction on compatible systems | Touch compatibility and readable scaling need checking |
4. AOC I1601P: For Lightweight Productivity
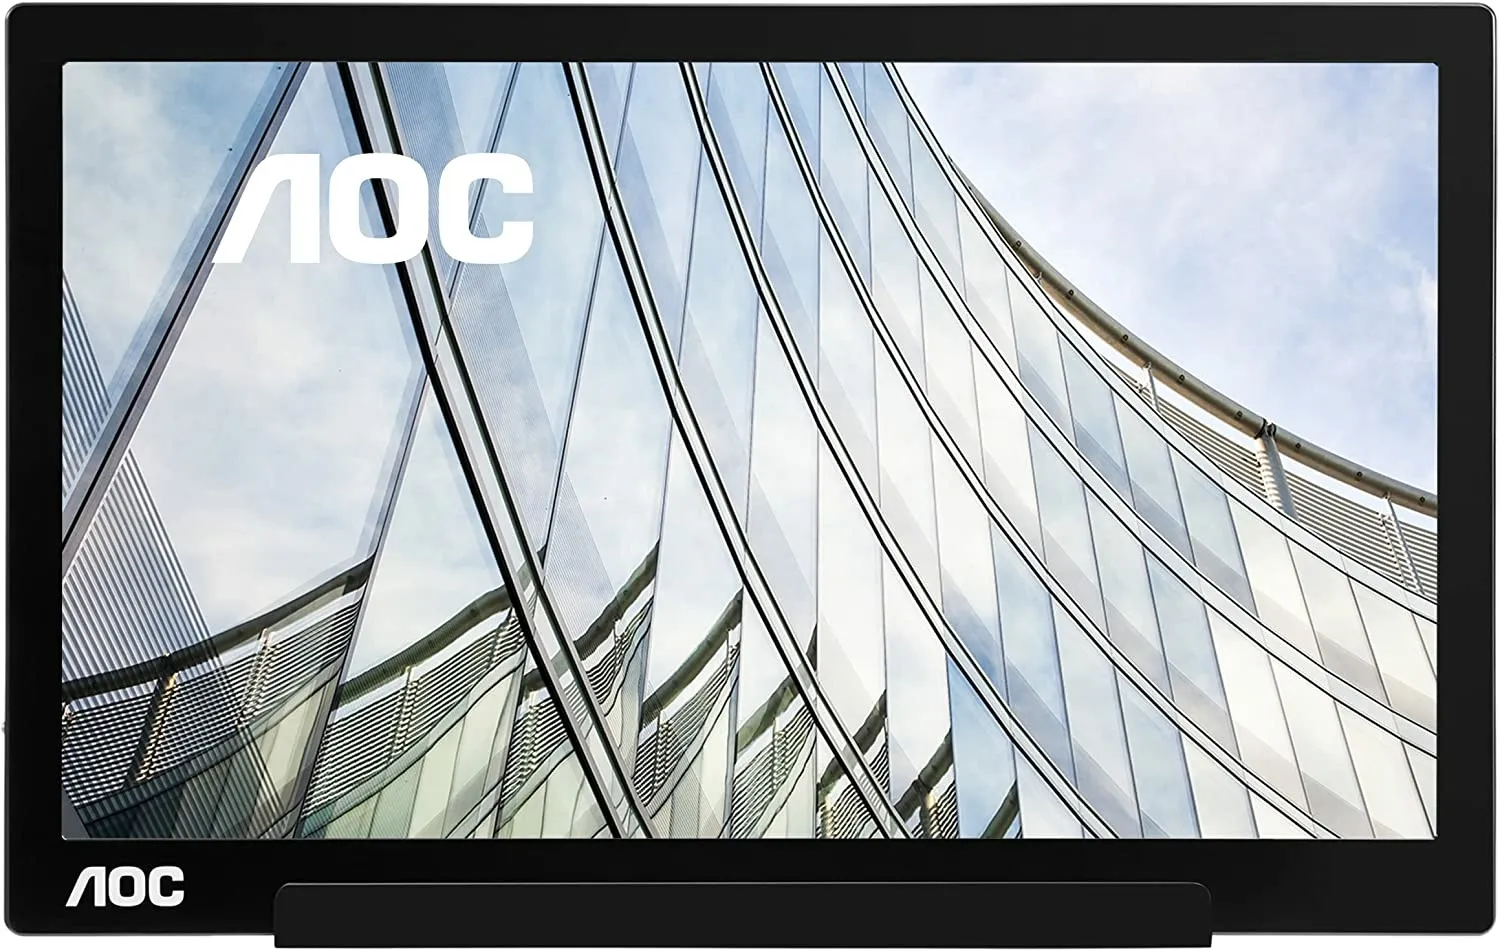 The AOC I1601P is a 15.6-inch Full HD IPS display weighing approximately 800g, according to AOC. Its smart cover protects the screen and serves as a stand.
It connects through USB-C DisplayPort Alt Mode or a supported USB DisplayLink setup. DisplayLink uses software to transmit the image over USB; it is different from native DisplayPort video.
Choose it for documents, communication apps, or reference material. The IPS panel does not by itself prove that it is suitable for final color judgments.
| Pros | Cons |
| Approximately 800g before additional accessories | Older model; availability varies |
| Protective smart cover doubles as a stand | No HDMI input |
| Offers native USB-C video and a software-based alternative | DisplayLink requires compatible software and permissions |
Elevate Your Photography with Our Advanced Software
How to Choose a Portable Monitor for Photo Editing
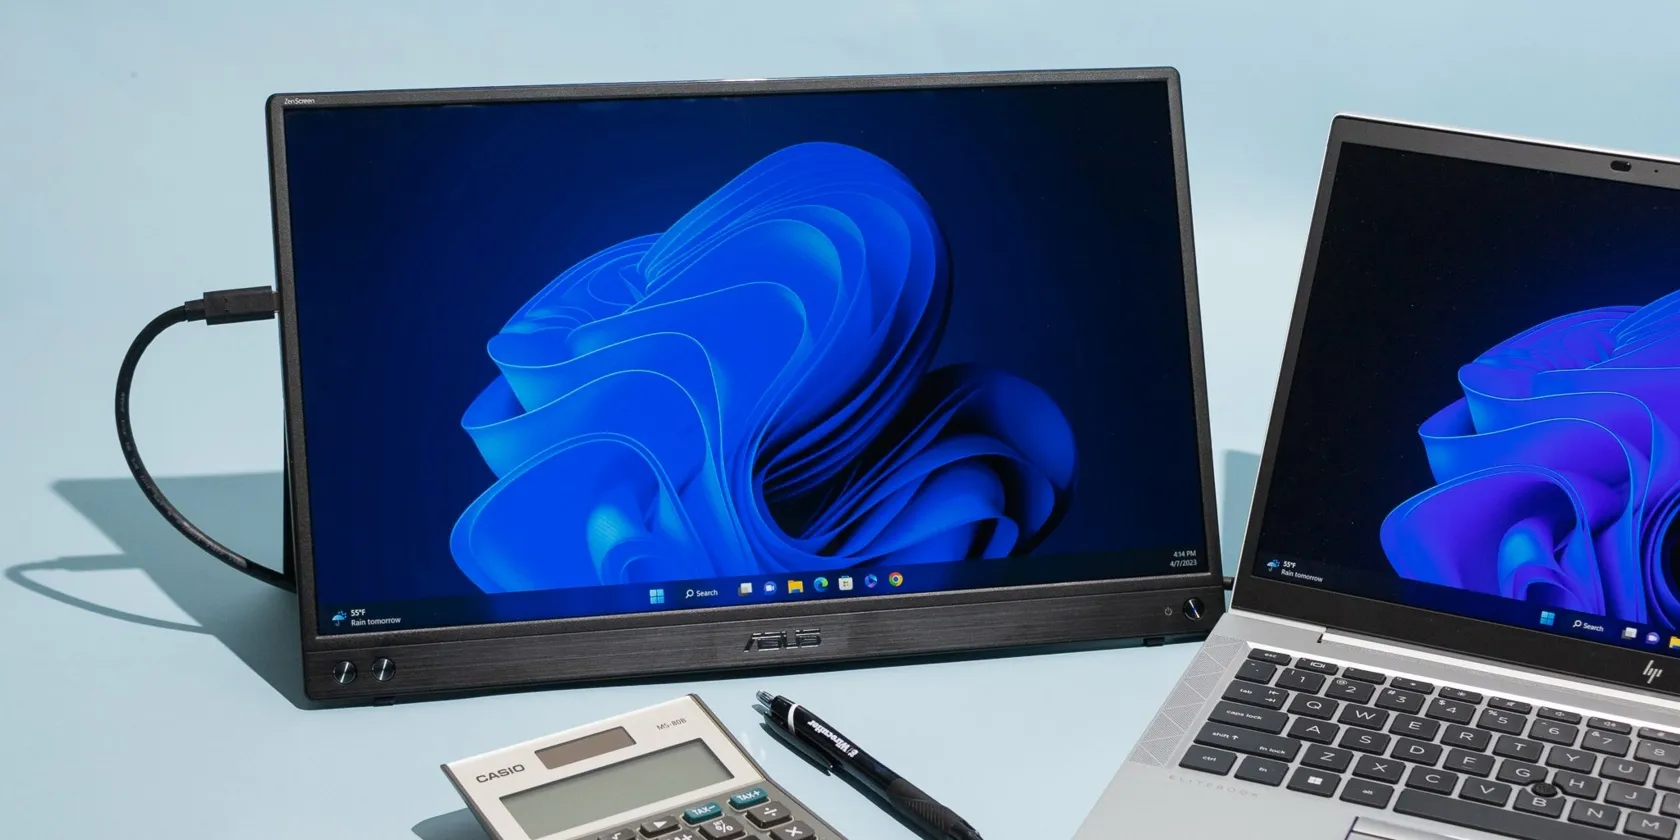 Prioritize trustworthy color and practical viewing conditions over headline specifications.
Resolution and Screen Size
Full HD can be sufficient for a secondary workspace. A 4K screen can show finer detail, but you may need scaling to make controls comfortable to use.
Compare the monitor’s dimensions with your bag and typical working surface. A large display is less useful if its stand barely fits beside your laptop.
Color Gamut and Calibration
Gamut coverage describes the range of colors a monitor can reproduce. Accuracy describes how closely displayed colors match their intended values.
For web photographs, sRGB coverage is relevant. A wider gamut can be useful, but it requires a color-managed workflow and an appropriate display profile.
When working in a RAW photo editor, avoid changing white balance simply to compensate for one screen looking warmer than another. Check display settings and profiles first.
Brightness and Reflections
Consider where you edit. Glossy panels can reflect windows and lamps, while a hood or a different seating position may improve visibility.
Avoid making final color decisions under rapidly changing light. A bright screen in a dark room can also lead you to edit images too dark.
Travel Weight and Power
Compare the complete kit, including the cover, stand, adapter, and cables.
A laptop-powered monitor can shorten battery runtime. An external power supply may offer a more dependable setup when the laptop cannot provide enough power.
How to Connect a Portable Monitor to a Laptop
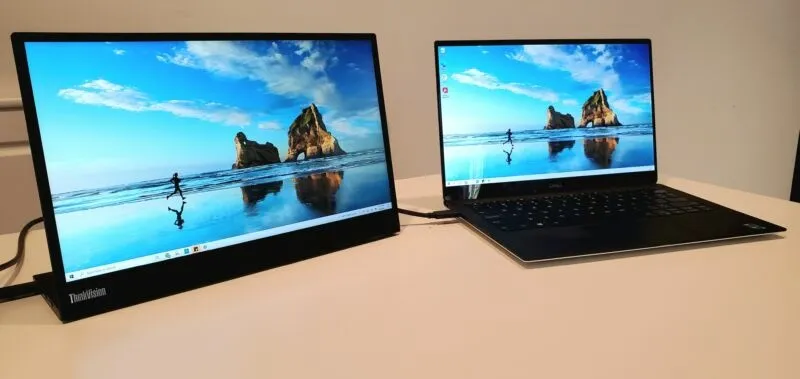
Identify the video and power requirements before choosing a cable.
| Connection | Requirements | Common limitation |
| USB-C native video | Laptop video output, compatible monitor input, and video-capable cable | Some USB-C ports and cables support charging or data only |
| HDMI | Compatible HDMI cable or adapter plus monitor power | HDMI does not normally power the monitor |
| USB DisplayLink | A DisplayLink-capable monitor or adapter and supported software | Requires driver compatibility and sometimes additional permissions |
Set Up the Connection
- Position the monitor securely.
- Connect its power supply if required.
- Connect the appropriate video cable.
- Select the correct input on the monitor.
- Configure the displays in your operating system.
There is no general requirement to shut down the laptop before an ordinary external-display connection. Follow the monitor’s instructions.
Configure Windows or macOS
On Windows, press Windows + P and choose Extend for additional workspace or Duplicate for the same image on both screens. Open Settings → System → Display to arrange the screens and adjust scaling.
On a Mac, open Apple menu → System Settings → Displays. Configure the display arrangement, resolution, and extended or mirrored behavior. Supported display counts depend on the Mac model.
If the screen stays black, check power, input selection, cable capability, and laptop video support before assuming the monitor is faulty.
Use the Extra Screen in Your Editing Workflow
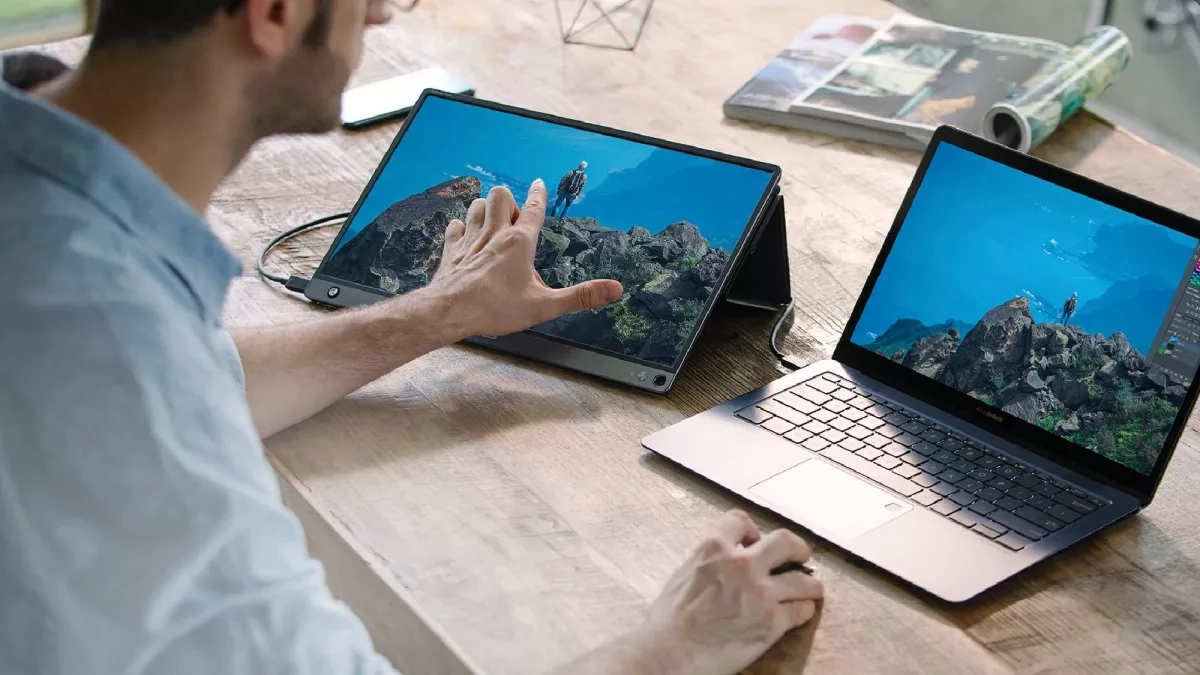
A portable monitor can hold references or supporting applications while you edit in Luminar. You can move the main editing window between displays, but do not assume that every panel can be detached.
Use the screen you trust most for color decisions. Luminar’s Develop and Color tools adjust the photograph; they do not calibrate the monitor.
For a targeted adjustment, local masking in Luminar helps restrict changes to the intended area. Check the result at normal viewing size and at 100% when examining fine detail.
Your AI-Powered Photo Editor for MacOS and Windows
Care for Your Portable Monitor
- Transport it in a padded sleeve and avoid pressure on the panel.
- Follow the manufacturer’s cleaning instructions; apply approved cleaner to a cloth rather than spraying the screen.
- Disconnect cables by holding the connector.
- Use a compatible power supply.
- Enable screen sleep during breaks, particularly with OLED.
- Check for relevant software or firmware updates when troubleshooting compatibility.
Conclusion
Choose the monitor that fits your laptop’s connections, your travel kit, and the role it will play. A lightweight Full HD display can suit supporting tasks; a color-focused or 4K model may better serve other priorities.
For photo editing, verify color behavior and viewing conditions before trusting a portable screen for final adjustments.
Frequently Asked Questions
No. The laptop needs a compatible video output or support for the monitor’s software-based connection. Check the port specification, cable requirements, and operating system before buying.
Yes, when both devices and the cable support it and the laptop supplies enough power. Otherwise, the monitor may need a separate power connection.
No. Color accuracy, suitable brightness, and a reliable workflow can matter more than resolution. 4K is useful for fine detail, but Full HD can work well as a secondary display.
No. OLED offers deep blacks, but both technologies vary in accuracy, brightness, surface treatment, and durability considerations. Compare the specific monitor rather than choosing by panel type alone.
Do not assume they do. Video may work while touch functions require unsupported software or remain unavailable. Confirm explicit macOS touch support if that feature is important.