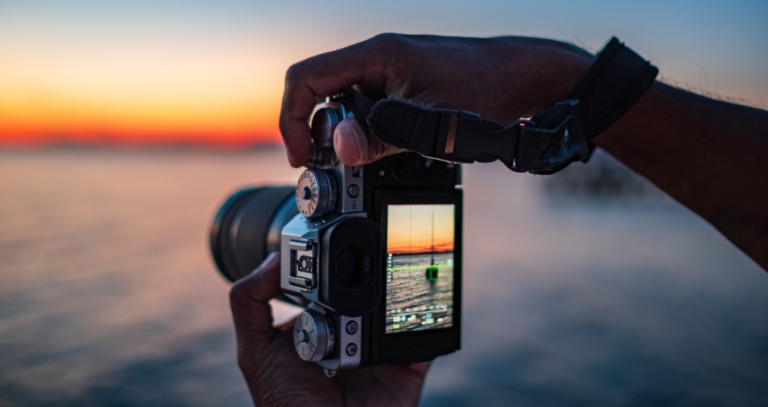
This post gives you easy composition tips to take amazing sunset photos. Check it out to learn how to make your sunset pictures really stand out!
A colorful sky alone does not guarantee a memorable sunset photo. Strong sunset photography also needs a clear subject, visual balance, and a composition that guides the viewer through the frame.
This guide covers seven practical sunset photography composition techniques, from choosing a focal point to using leading lines, reflections, and different focal lengths. You will also learn how to refine the final image in Luminar using simple tools for cropping, color correction, and light adjustment.
Don’t feel like reading the whole breakdown? We’ve pulled together a quick summary below.
Key Takeaways
- Give the viewer a clear subject instead of photographing only the sky.
- Use leading lines to connect the foreground, subject, and sunset.
- Position the horizon according to the strongest part of the scene.
- Look for natural frames, reflections, and simple silhouettes.
- Try both wide-angle and telephoto compositions.
- Capture several variations while the light changes.
- Use Luminar to adjust the composition, balance the light, and refine sunset colors.
Why Composition Matters in Sunset Photography
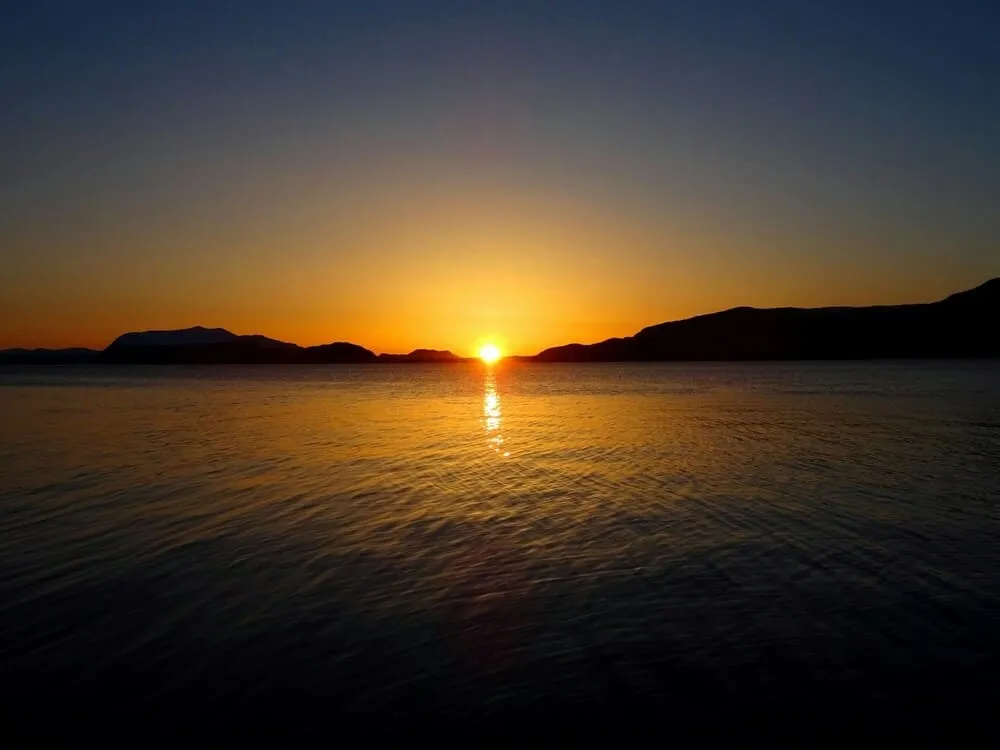 Good composition turns beautiful light into a photograph with structure and meaning. It determines where the viewer looks first, how their eyes move through the image, and which elements receive the most attention.
A well-composed sunset landscape usually combines three elements:
- A clear focal point
- Visual balance
- A sense of depth
Before taking the photo, look beyond the colors in the sky. Consider how the foreground, horizon, natural shapes, and available light work together. These decisions can make the difference between a simple snapshot and a memorable sunset photograph.
Infuse Your Photos with the Radiance of Golden Hour Light
7 Sunset Photography Composition Techniques
The following techniques provide a useful starting point, but they are not strict rules. Try several compositions and compare the results while the light changes.
1. Choose a Main Subject
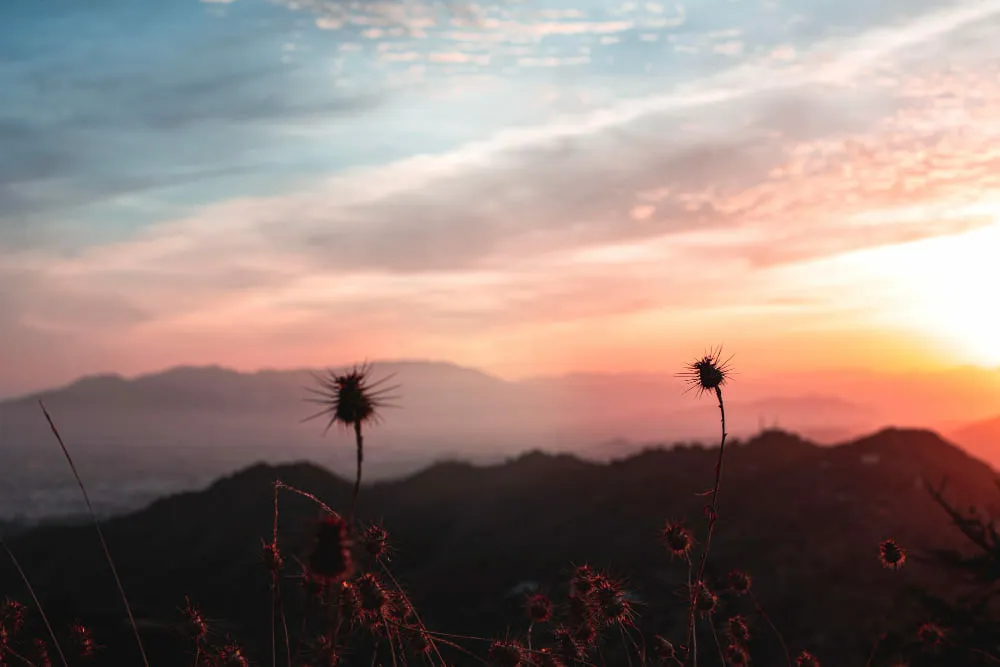
Every strong sunset photo needs a focal point. Without one, even a dramatic sky may feel empty or visually confusing.
Your main subject could be:
- A tree
- A person or animal
- A rock formation
- A boat
- A building
- A distinctive cloud
- The setting sun itself
Place the subject where it complements the surrounding landscape. The rule of thirds is a useful starting point, while a centered composition may work better when symmetry is important.
2. Use Leading Lines
Leading lines guide the viewer’s attention through the frame and toward the main subject. They can also connect the foreground with the distant sunset, creating a stronger sense of depth.
Look for:
- Roads and paths
- Shorelines
- Piers and fences
- Patterns in sand
- Rivers and streams
- Long shadows
Leading lines do not have to be straight. A curved shoreline or winding path can create a slower, more natural visual journey through the photograph.
3. Frame the Subject
Natural framing uses elements within the scene to surround or partially enclose the subject.
Tree branches, rock arches, windows, and gaps between buildings can all create a frame. This technique separates the subject from its surroundings and adds foreground depth to sunset landscape photography.
Make sure the framing element supports the composition rather than blocking important light or making the image feel crowded.
Elevate Your Photography with Our Advanced Software
4. Position the Horizon Carefully
The position of the horizon determines whether the sky or the landscape receives more attention.
- Place the horizon lower when the colorful sky is the strongest part of the scene.
- Place it higher when the foreground contains interesting textures, reflections, or leading lines.
- Use a central horizon when photographing strong symmetry, especially reflections.
Avoid placing the horizon in the middle by default. It can divide the image into two competing halves unless the composition has a clear reason for doing so.
Also check that the horizon is level. Even a slight tilt can be distracting in seascapes and other sunset photos with a clearly visible horizontal line. If you notice the problem after the shoot, you can straighten the image in Luminar while refining the crop.
5. Look for Symmetry and Reflections
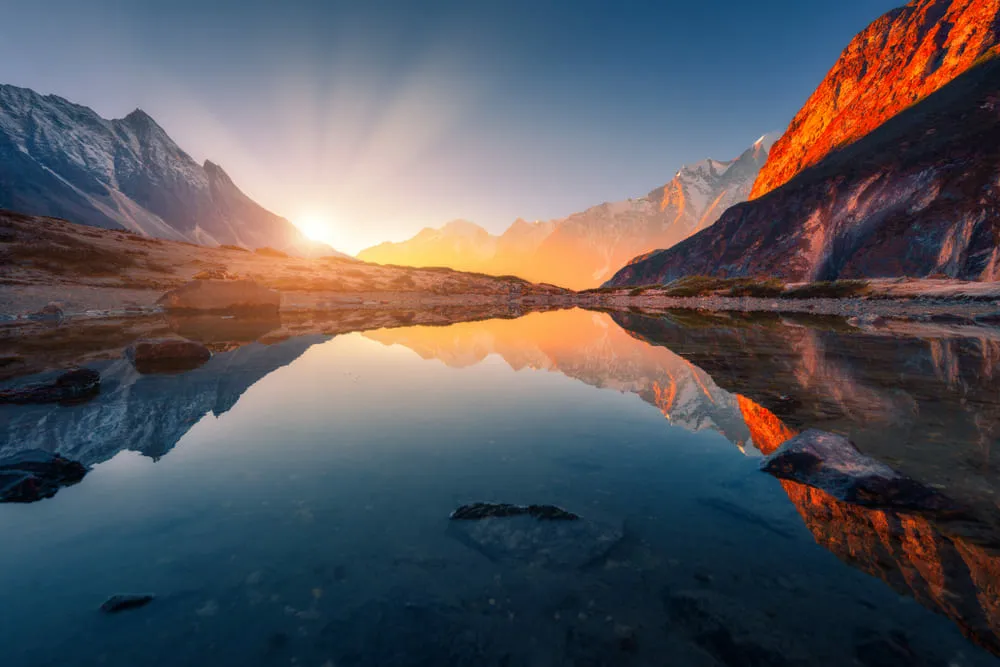 Reflections can repeat the colors and shapes of a sunset, creating natural symmetry. Lakes, wet sand, puddles, and calm coastal water are especially useful for sunset reflection photography.
A centered composition often works well in symmetrical scenes. However, perfect symmetry is not essential. A small foreground subject or ripple in the water can keep the photograph from feeling too static.
Try several camera positions before settling on the composition. Lowering the camera may reveal more reflected sky and strengthen the relationship between the foreground and background.
6. Try a Telephoto Lens
Wide-angle lenses are popular for nature sunset photography because they can include an expansive sky and foreground. However, a telephoto lens offers a different creative effect.
A longer focal length can:
- Isolate distant landscape details
- Make the sun appear larger in the frame
- Simplify a cluttered scene
- Emphasize silhouettes
- Visually compress distant layers
When including the sun in a telephoto composition, avoid looking directly at it through an optical viewfinder. Use the camera’s screen or electronic viewfinder and follow the manufacturer’s safety guidance.
7. Simplify the Composition
Sunset scenes often contain more visual information than the photograph needs. Removing distractions can make the main subject and colors more powerful.
Try isolating a single tree, person, boat, or mountain ridge against the sky. Silhouettes work particularly well because their recognizable shapes create contrast without introducing unnecessary detail.
Check the edges of the frame before pressing the shutter. Small branches, partial objects, and bright distractions can weaken an otherwise strong sunset composition.
If an unwanted sign, branch, or person remains in the frame, changing the crop may solve the problem. For isolated distractions that cannot be cropped out, Luminar’s Erase tool can help clean up the image without changing its main composition.
How to Photograph Landscapes at Sunset
Learn moreHow to Enhance Sunset Photos in Luminar
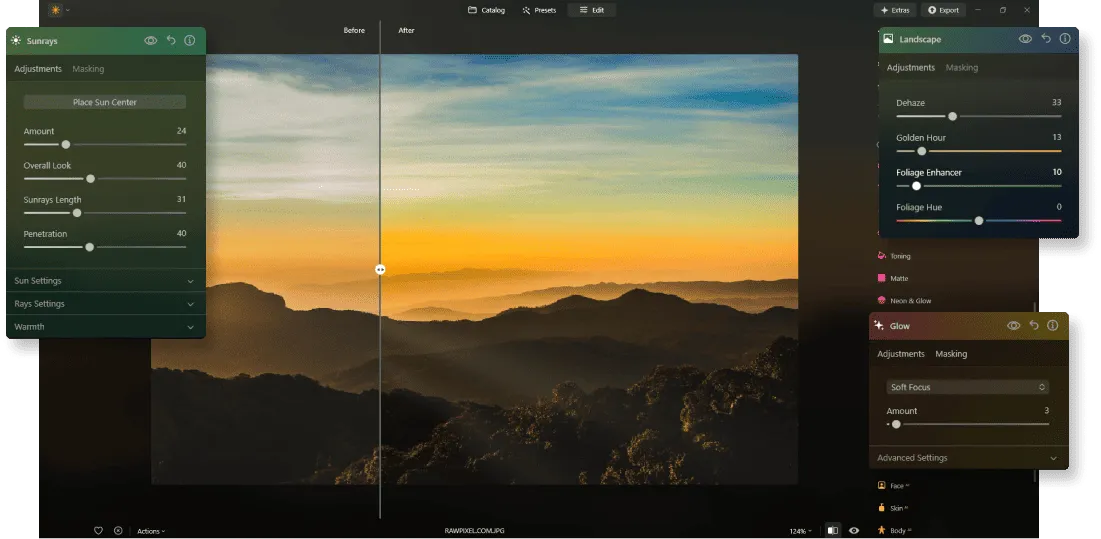 Good sunset photo editing should preserve the atmosphere of the original scene rather than make it look artificial. Begin with exposure and white balance, then make small adjustments to contrast, shadows, and color.
In Luminar, you can use Enhance AI as a starting point for balancing the image. Then use the Color tool to refine warmth, saturation, and individual hues.
Keep the result natural:
- Recover detail in the bright areas around the sun.
- Open the shadows without making the foreground look flat.
- Adjust vibrance before increasing overall saturation.
- Use local masks when only the sky or foreground needs correction.
- Compare the edited image with the original to avoid excessive color.
For a complete post-processing workflow, Luminar can also be used as a landscape photo editor for adjusting light, color, detail, and composition in one place.
Final Thoughts
Successful sunset photography is not only about finding colorful light. It is about arranging the sky, landscape, and subject so that they work together.
Start with a clear focal point, use the foreground to create depth, and position the horizon intentionally. Then experiment with leading lines, natural frames, reflections, silhouettes, and different focal lengths.
Capture several compositions while the light changes. After the shoot, subtle adjustments in Luminar can help balance the exposure, refine the colors, and remove minor distractions without losing the natural character of the scene.