The screen that “lies,” or how the best monitor for photo editing keeps skin tones natural, shadows detailed, and exports predictably across devices.
The frame looks clean: the skin is not overly red, the sky is soft, and the shadows retain their texture. You export it, send it to the client, and get the response: “Everything is darker on the phone, and the face has turned yellow in print.” At moments like this, it becomes clear that the problem may not be with the retouching or the preset. The screen sometimes “colors” reality so convincingly that the mistake is only visible when the photo goes beyond the desktop.
The search for the best monitor for editing photos starts with the little things: can you see the difference between two similar shades of gray in the background? Are the details in dark clothing lost? Does the color look the same in Lightroom and after exporting to sRGB? Today, we’ll talk about how to choose a screen that shows true shades so that edits don’t turn into endless “blind tweaking.”
Your AI-Powered Photo Editor for MacOS and Windows
Don’t feel like reading the whole breakdown right now? Here’s a tighter, more practical summary of what actually changed.
Key Takeaways
- Color accuracy beats “looks good.” If prints go yellow or phone screens look darker, the issue is usually brightness/white point and profiling, not the preset.
- Start in sRGB, then expand as needed: for web delivery, a monitor with a very accurate sRGB mode and low color deviation is the priority; wider gamuts (DCI-P3/Adobe RGB) matter more for print workflows.
- Uniformity matters as much as gamut. Uneven backlighting and corner falloff can trick exposure decisions, vignetting fixes, and edge work—test with a flat gray image before chasing edits.
- Calibration is non-negotiable for repeatable results, especially for monitors for photographers; a colorimeter + ICC profile is what makes Lightroom/Luminar edits translate beyond your desktop.
- QHD 27″ is the practical sweet spot. 2560×1440 at 27″ gives clean UI and solid pixel density without heavy scaling; 32″ 4K is great for texture detail but increases the “everything is visible” workload.
- Budget monitors can still work well. QHD 27″ IPS panels with solid sRGB coverage (like Dell P2723D, BenQ PD2705Q, ASUS ProArt PA278QV) handle most commercial sRGB retouching—profiling tightens neutrals and skin tones.
- Two monitors help only if the main one is right. Put the image on the calibrated primary display and move tools/histograms/reference shots to the secondary screen to avoid constant tab switching and bad comparisons.
Choosing the Ideal Monitor for Accurate Photo Editing
When the retouching is done, the biggest trap is in the “right” screen. Some panels have a wide color gamut and work well in sRGB, while others are super bright but uneven and shift skin tones. It is worth looking at the factory calibration, backlight stability, and how the monitor behaves after profiling, so that the frame does not change the mood outside the desktop.
Key Features to Look for in Photo Editing Displays
In photo editing, the screen should maintain a stable color balance from morning to evening. When working in light editing software, the panel’s weaknesses are most noticeable: gray gradations stick together, shadows lose their texture, and white shifts to the warm or cold side. RTINGS separately highlights monitors with accurate sRGB mode, such as the ASUS ROG Swift OLED PG27UCDM, where sRGB is so accurate even before calibration that additional calibration provides minimal gain.

When your monitor provides perfect black depth and color accuracy, working with exposure becomes easier, especially when using Luminar’s smart filters, which automatically pull up details in shadows without introducing digital noise.
- best display for photo editing with accurate sRGB mode and low color deviations;
- wider color gamut, such as DCI P3 or Adobe RGB, for printing tasks;
- uniform backlighting across the entire field, without darkening at the edges;
- OLED or mini LED if HDR is planned in Lightroom.
This set simplifies selecting a model for your workflow and reduces the number of edits required after exporting to sRGB.
Budget-Friendly Monitors Suitable for Photo Editing
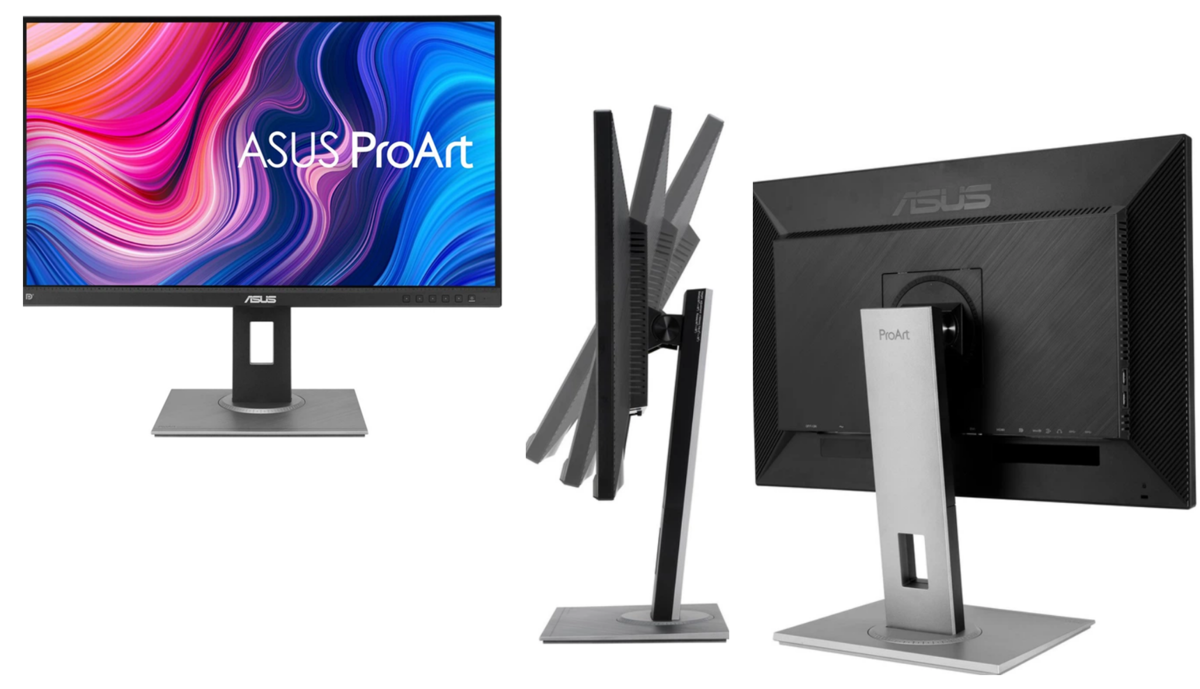
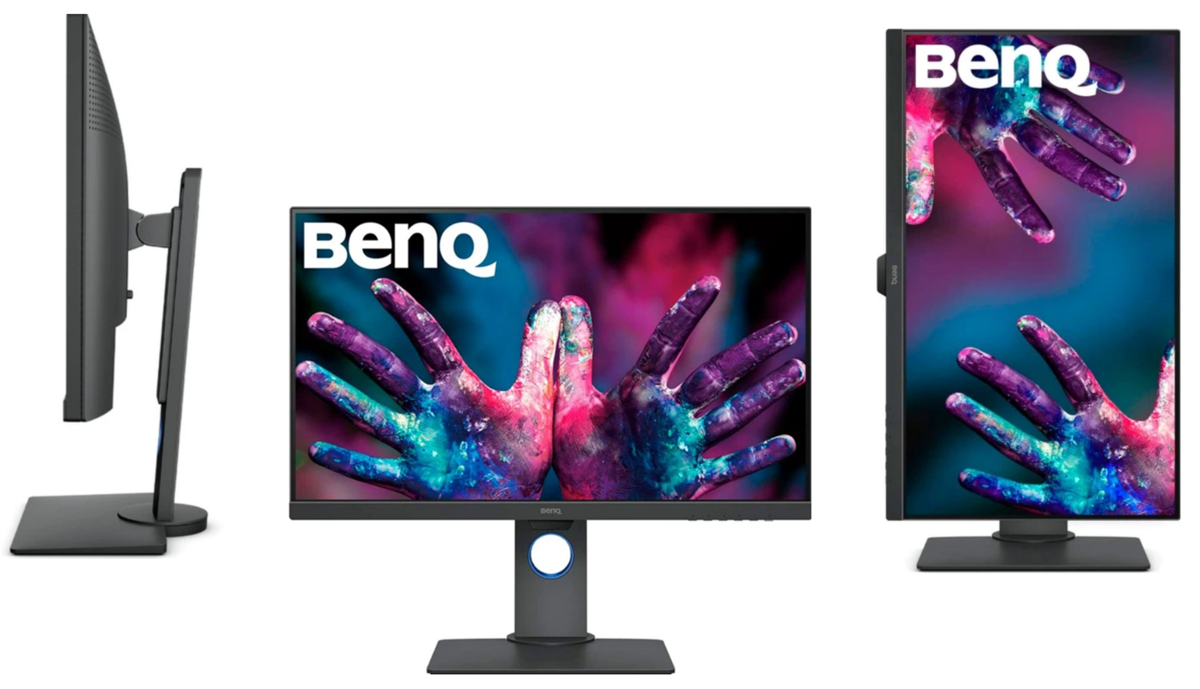
The low-cost segment delivers good results if you stick with QHD 27″, IPS, and normal sRGB. In Lightroom threads, people often narrow their choice down to models such as the Dell P2723D, BenQ PD2705Q, and ASUS ProArt PA278QV, because they offer basic color accuracy without overpaying for reference modes.
| Model | Approximate price | Color performance | Practical details |
| ASUS ProArt PA278QV | ~$263 | 100% sRGB / 100% Rec.709. For web and standard video, it completely covers the necessary colors. Color deviations are usually so small that they are difficult to notice without measurements. | QHD 2560×1440, SDR retouch rate |
| BenQ PD2705Q | ~$384 | 100% sRGB / 100% Rec.709. For web and standard video, it covers the necessary colors fully. Out of the box, colors are generally close to accurate, though small shifts can still show up in skin tones or near-neutral grays without profiling. | USB-C 65W, convenient for a laptop |
| Dell P2723D | ~$339 | 99% sRGB. For web work, it covers almost the entire sRGB range, so most colors look consistent across browsers and phones. It usually benefits from profiling to tighten accuracy, especially if the project depends on clean neutral grays and repeatable white balance. | QHD IPS, universal office + retouch option |
Such a budget monitor for photo editing usually covers the web, social networks, and most commercial retouching in sRGB. After selecting a model, it remains to configure it correctly so that the processing does not change after saving the files.
Best Monitor Resolutions and Sizes for Editing Photos

For the best computer monitors for photo editing, the most important characteristics are pixel density and physical screen size. Displays with a diagonal of 27 inches and a resolution of 2560×1440 (QHD) provide a clear display of the interface without the need for scaling. This provides optimal pixel density without the need for heavy interface scaling.
Professional 4K (3840×2160) panels at 32 inches open up even more space for texture retouching. However, great detail requires significant resources to process each pixel manually. When the hardware provides visibility of the smallest flaw, there is a need for tools that can instantly analyze this amount of data and automate complex manipulations using intelligent algorithms.
Exclusive Tools of Endless Possibilities in One Editor
Setting Up Your Monitor for Optimal Color Accuracy

Proper calibration makes a big difference for monitors for photographers because even small shifts in white point or brightness change how edits read on another screen. A first step is to use a calibration tool like a colorimeter with its software to measure and adjust your display’s response to a set of reference colors.
This results in a color profile that traces the display’s behavior so that your edits in a color photo editing program appear the same. Software tweaking alone cannot substitute for actual profiling, but starting with a neutral white point of 6500K and a medium brightness level will give a starting point. Periodic recalibration is used to account for drift over time, as the panels drift, producing an output that varies with age.
Recommendations for MacBook Users Editing Photos
MacBooks have capable built-in displays, but many photographers connect an external screen to expand workspace and improve fidelity. After attaching a calibrated external monitor, match its white balance and gamma to your MacBook’s internal screen before profiling both together.
Doing this reduces the jumps you might see between devices when you’re in a color photo editor and adjusting fine detail like lens distortion correction, far from simple automatic fixes. Using consistent profiles across hardware keeps hues stable and avoids chasing settings that looked right on one screen but shifted on another.
For MacBook owners accustomed to high mobility, it is important to have software that runs as fast as their hardware. Using Luminar lets you instantly synchronize the processing style between your laptop screen and an external monitor, thanks to AI-based presets.
Troubleshooting Common Monitor Issues for Photographers
When colors turn after several weeks, then begin with the obvious: rerun calibration and make sure that the right ICC profile has been chosen in the operating system and picked up by your editing software. When the brightness is set too high, you see the shadows appearing less dirty than they are, so the prints are darker than they should be. A lumpy backlight might give you a false impression of contrast in the frame, and a rapid, uniform gray test picture will show you this before you start trying to correct it by exposure.
If your monitor has slight darkening in the corners, this can lead to errors when correcting vignetting. In such cases, Luminar’s smart tools help avoid subjective errors by analyzing actual pixel data rather than how it is displayed on a particular panel.
During lens distortion correction, pay attention to edges and corners: if the panel has falloff or color tinting near the borders, it can trick the eye into overcorrecting vignetting or local tone. For monitors for photographers, stable ambient lighting and regular profiling usually solve most “something feels off” moments without changing your entire workflow.
Enhancing Your Photo Editing Workflow with Multiple Monitors

Having two screens makes working on a picture feel different. The entire image may be displayed on one screen, with histograms, layers, and reference shots on the second screen without obscuring the frame.
It is this arrangement that prevents the need to switch tabs regularly and allows for more accurate color comparisons, particularly when one wants to look at skin tones or fine gradients at 100 percent zoom. To ensure that the main image area is clean and uncluttered, many photographers have a secondary display with tools and previews with a primary calibrated panel.
Finally, despite the most excellent workflow, the screen would be useful only when the color is displayed correctly on the primary screen. An excellent arrangement demonstrates that the appropriate monitor is uniform, calibration, and controlled for light. A reliable editing system gives predictable results when transferred to a different display or printed, which is what counts as a photo editing system.