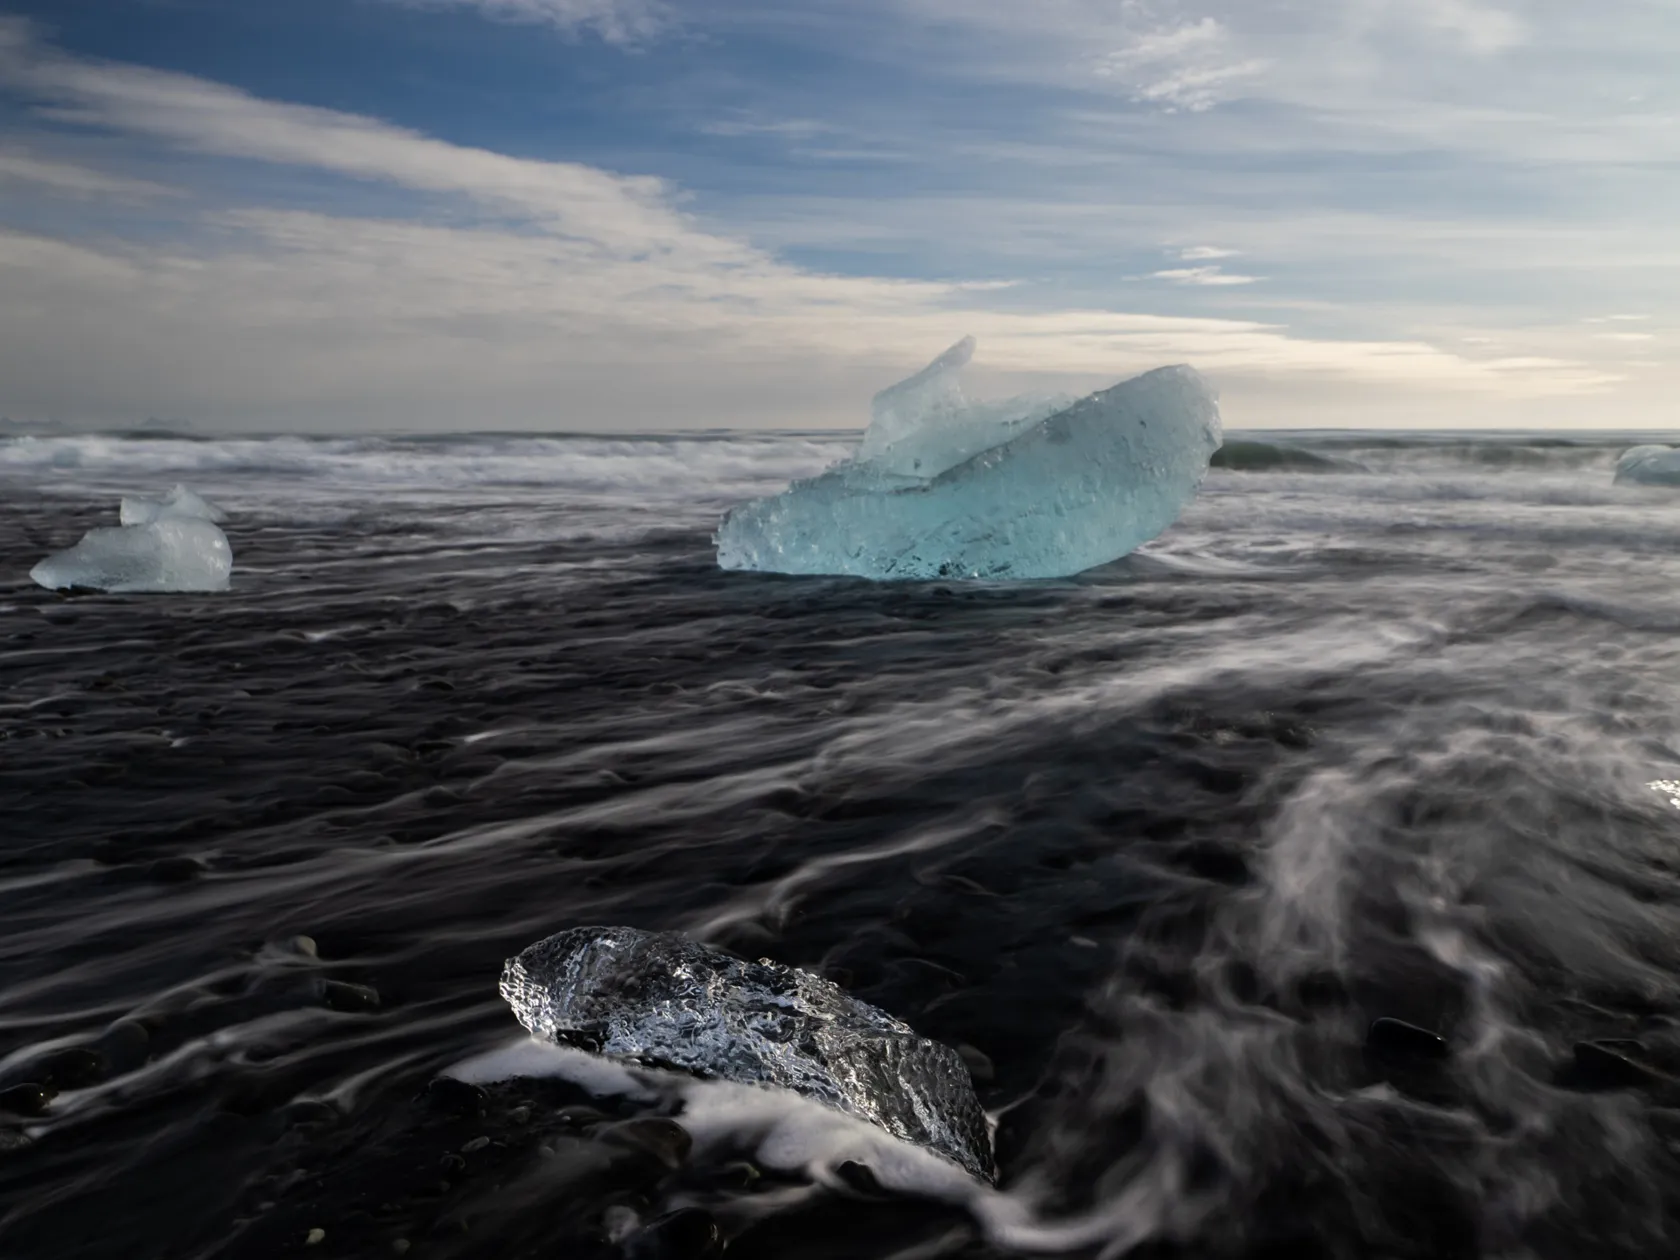
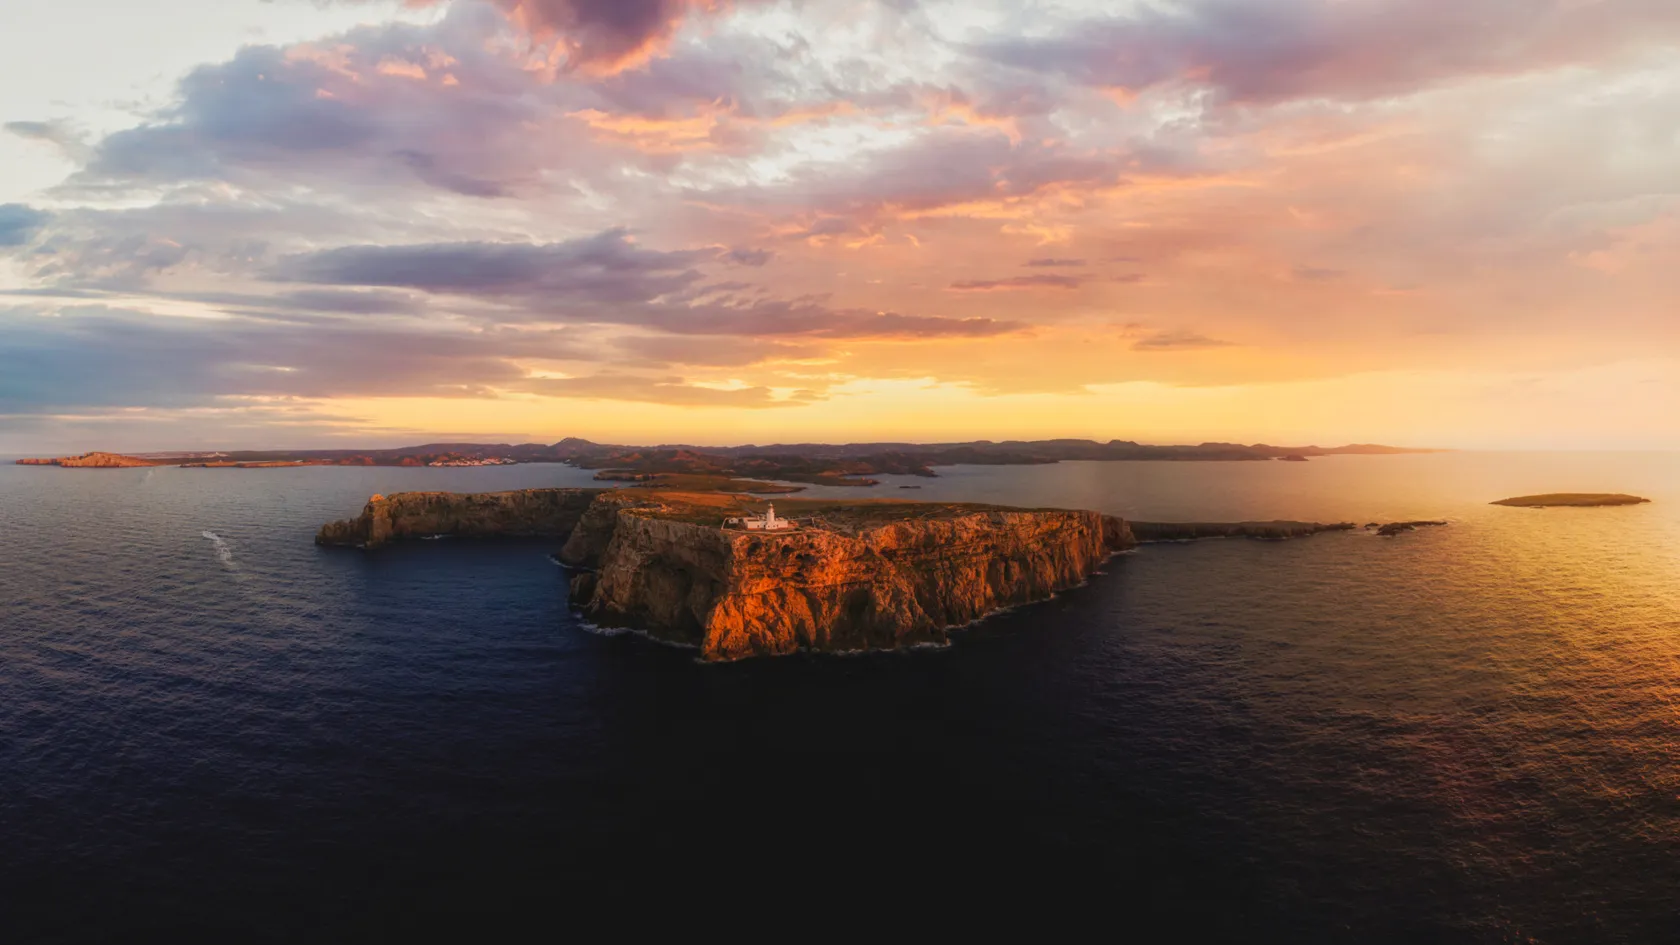
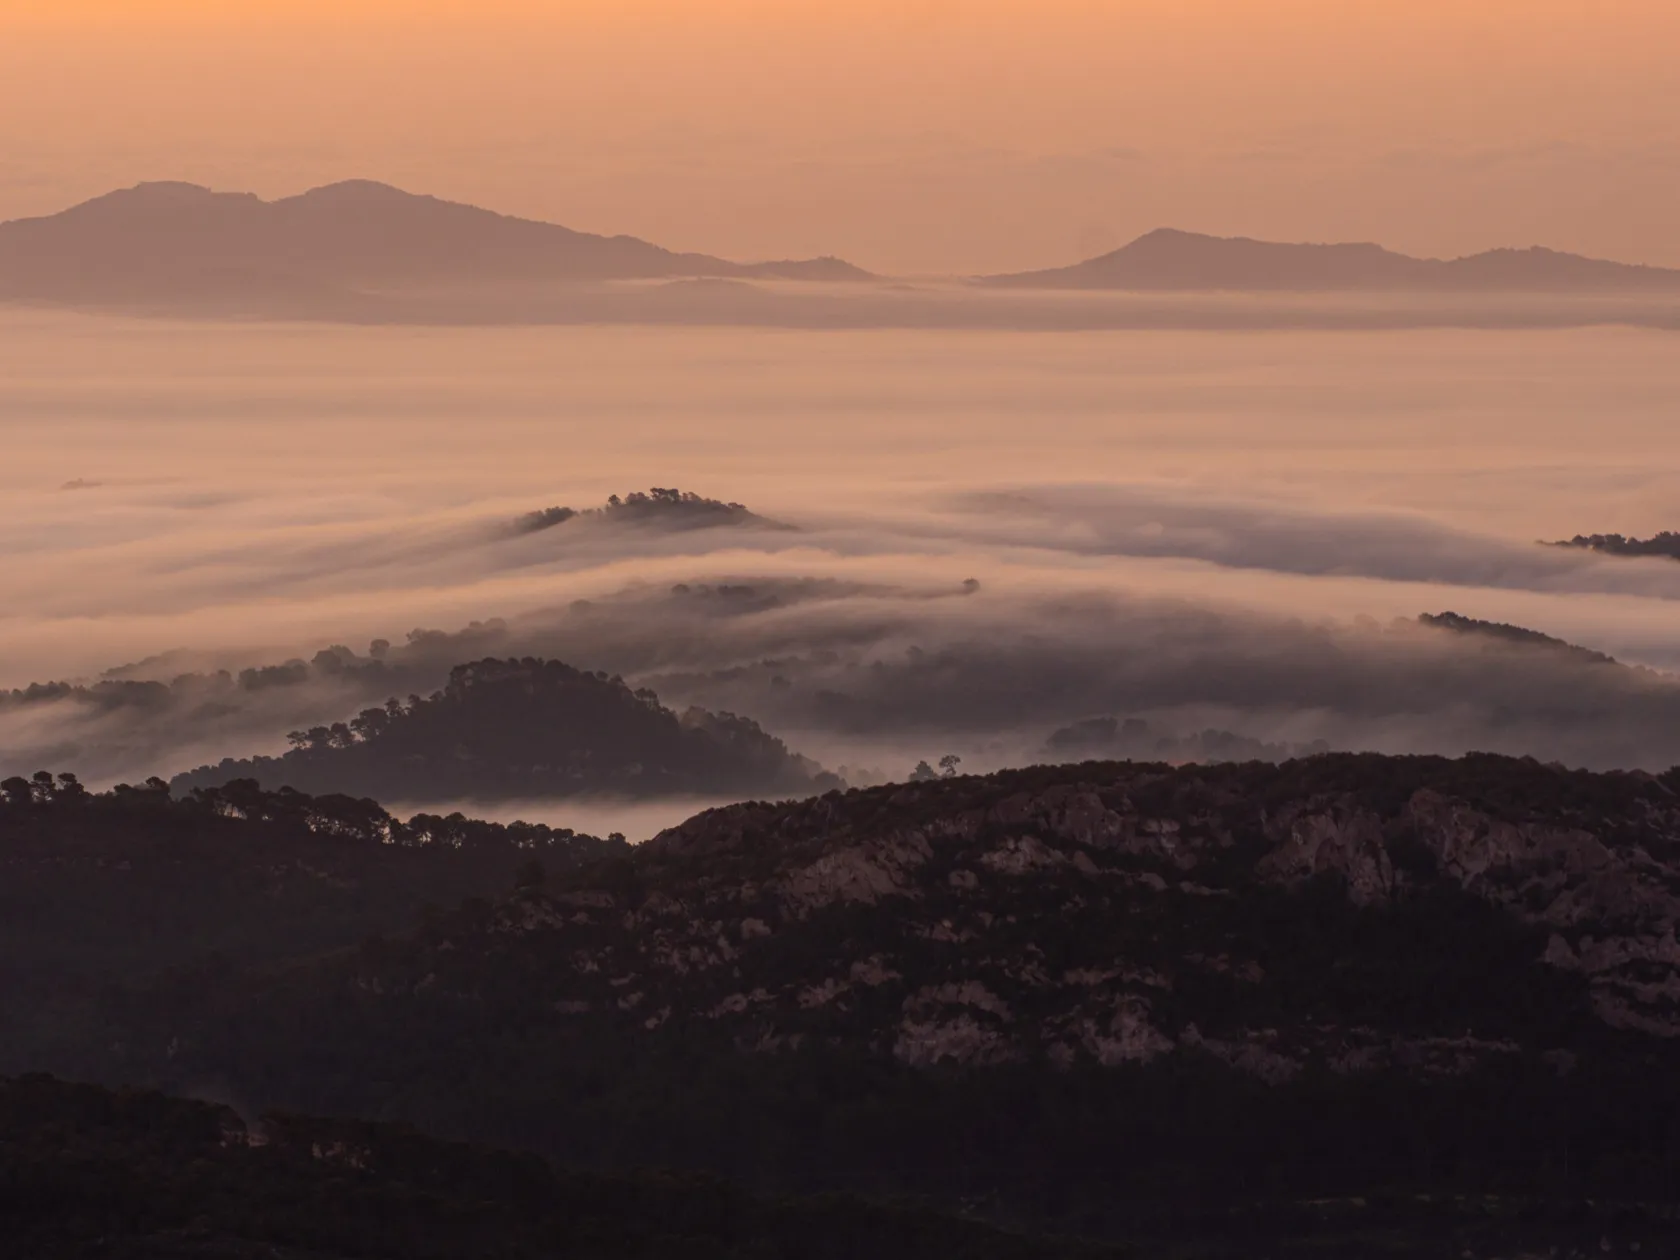
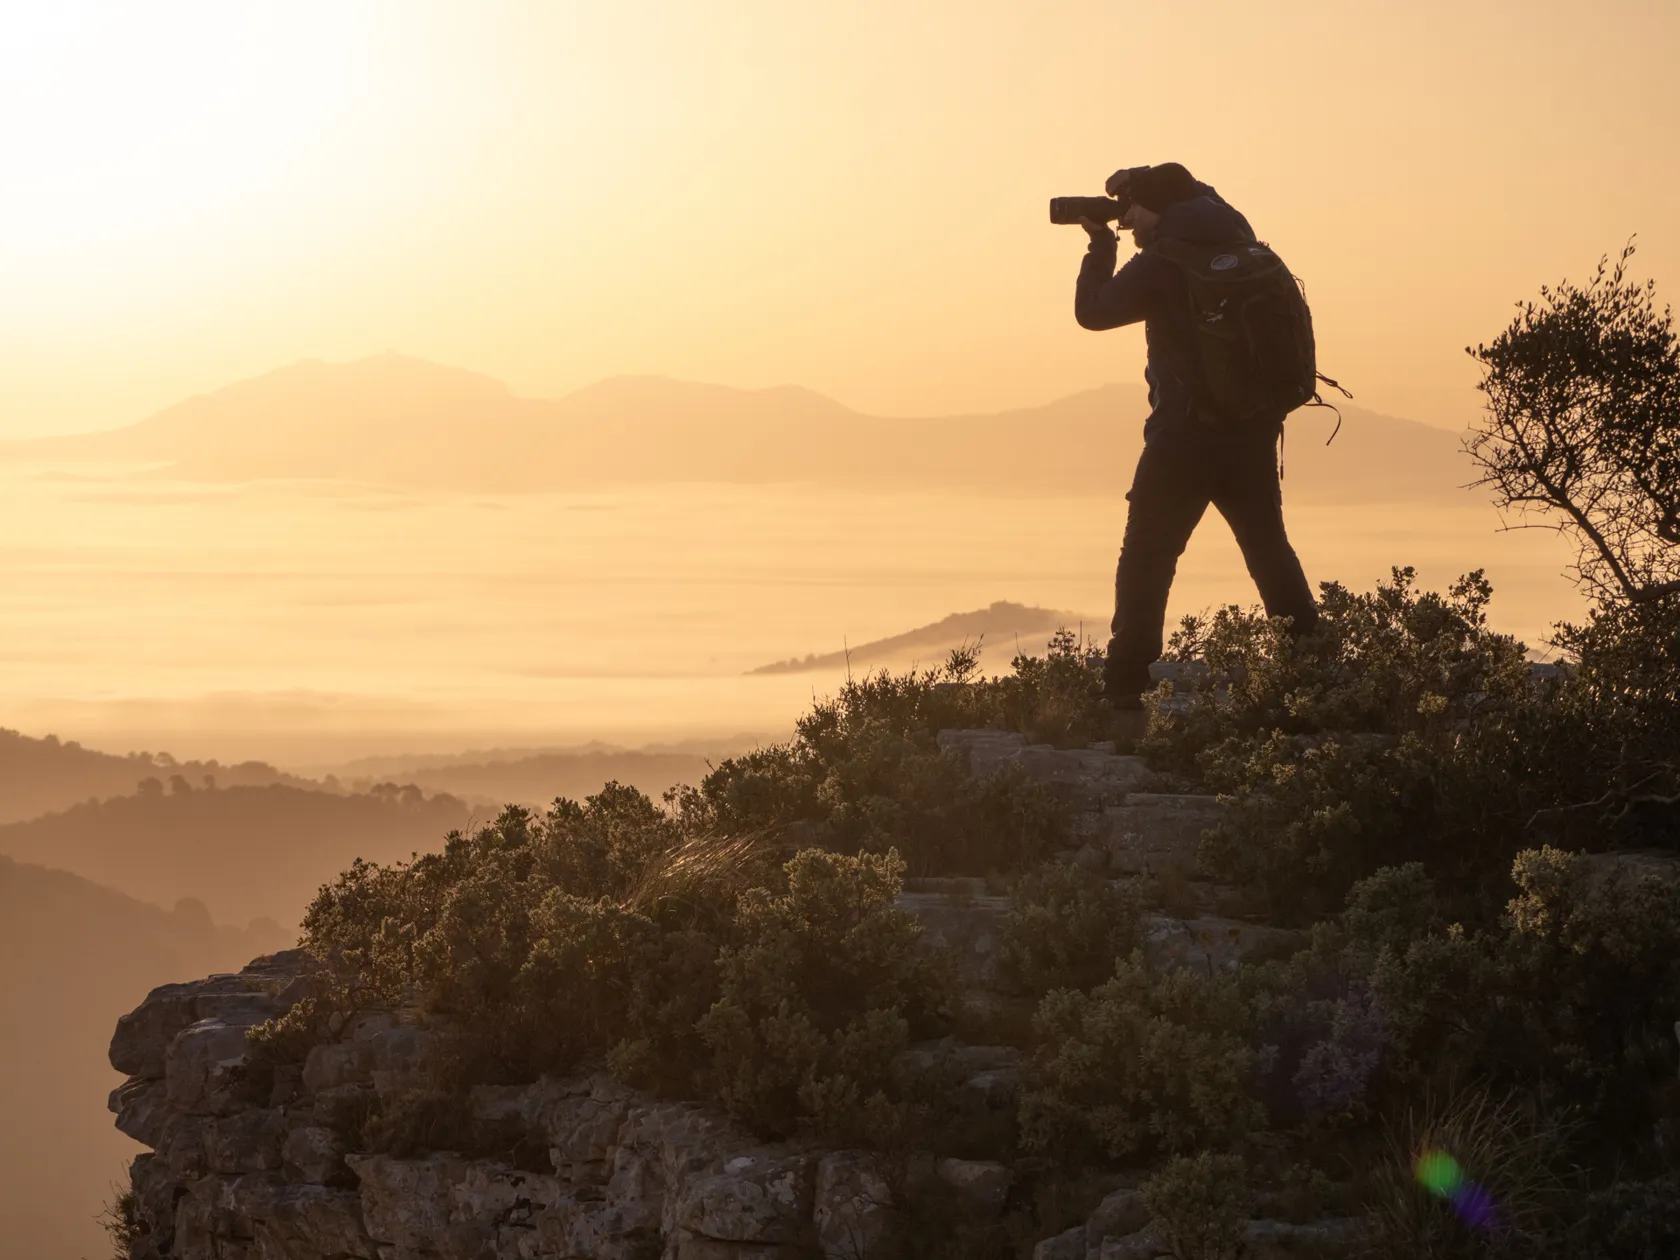
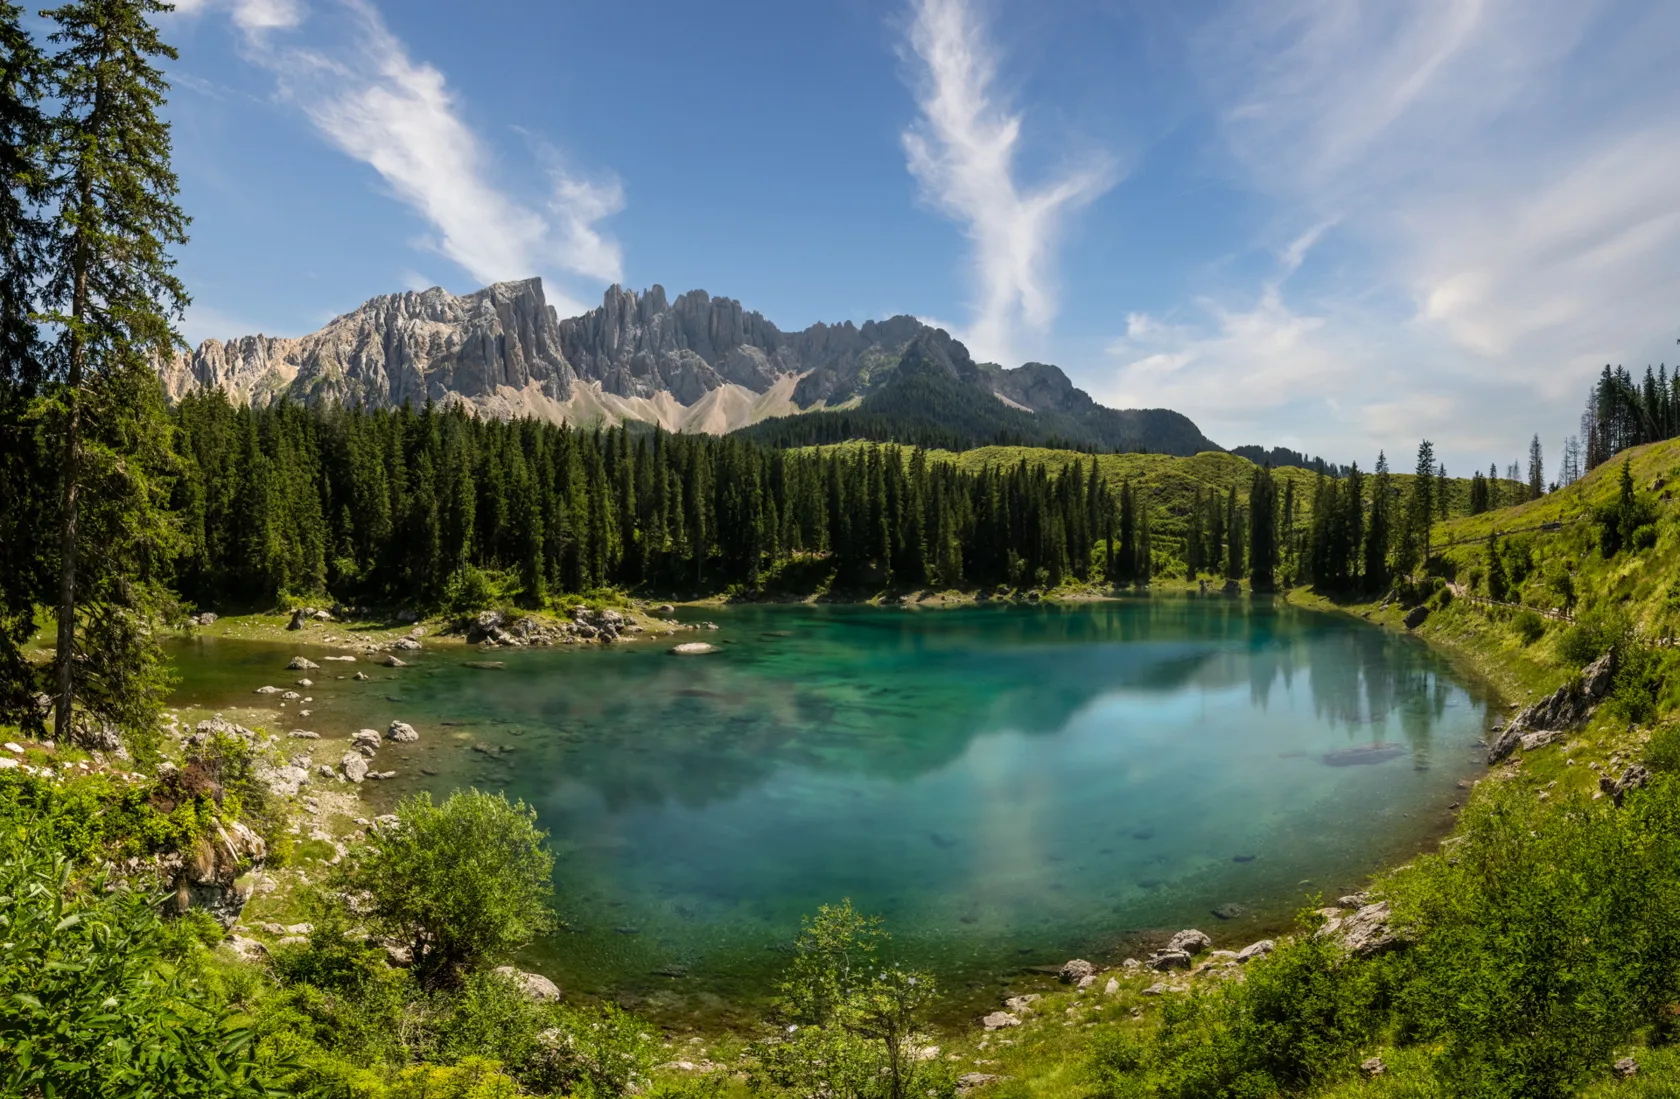
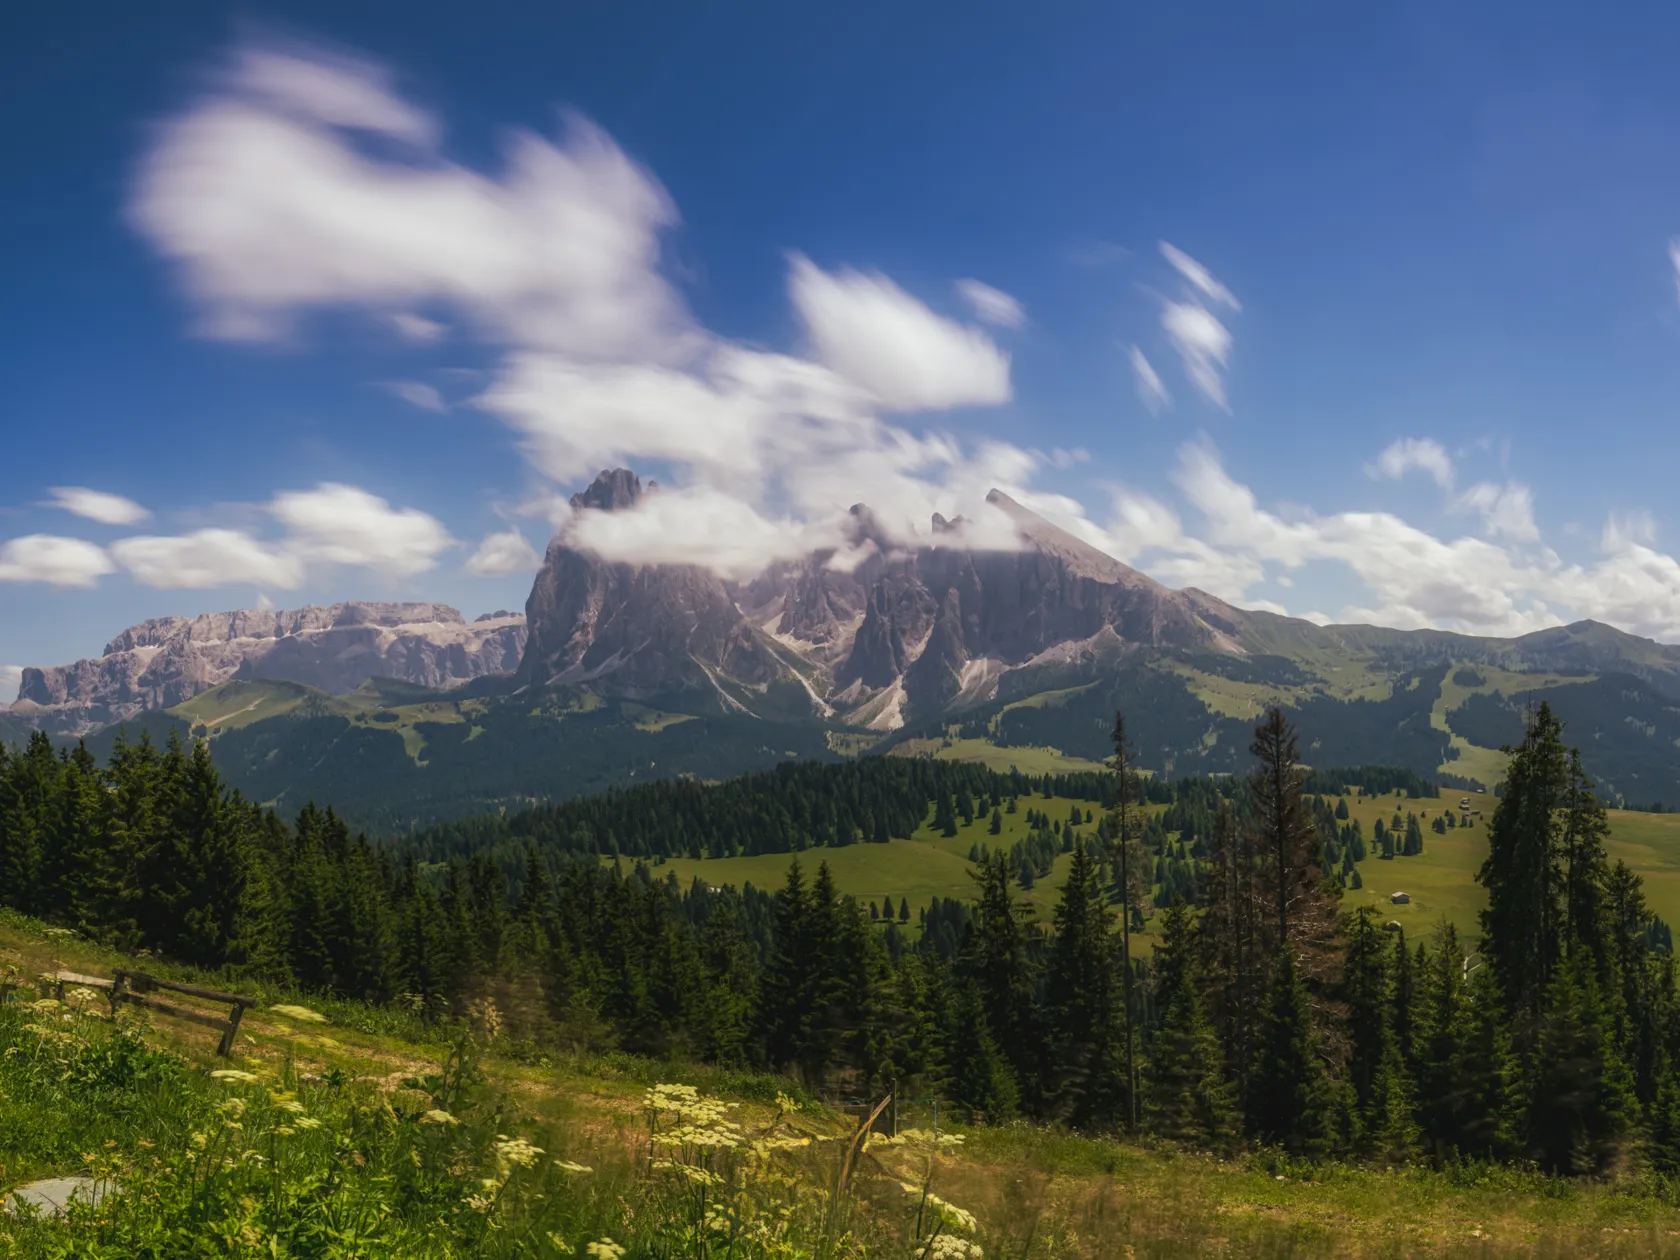
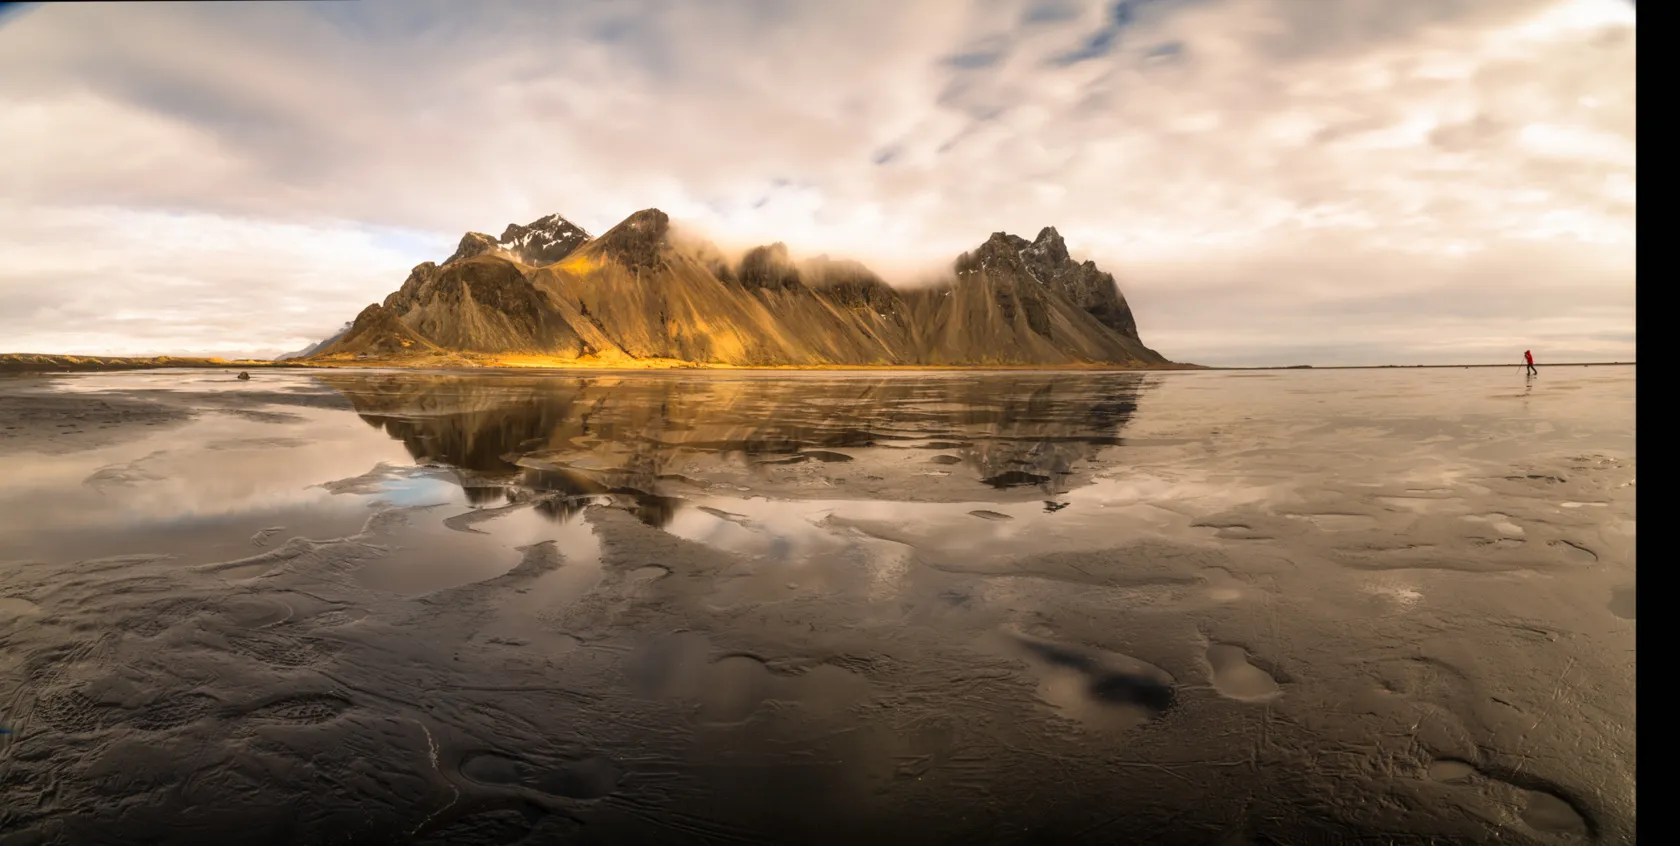
Join us on a journey through the art of nature photography, where we delve into the essentials of capturing the essence of the natural world. We’re here to guide you through creating memorable images
Nature photography is the practice of photographing landscapes, wildlife, plants, and other elements of the natural world. Strong nature photos depend not only on an interesting subject but also on light, composition, timing, and thoughtful post-processing.
This guide explains how to work with changing light, choose effective compositions, anticipate fleeting moments, and edit nature photos without losing their authentic character.
Don’t feel like reading the whole breakdown? We’ve pulled together a quick summary below.
Key Takeaways
Observe the direction, intensity, and color of natural light before taking a photo.
Use composition techniques as flexible guidelines rather than strict rules.
Anticipate changes in weather, light, and wildlife behavior.
Use ND, polarizing, and graduated ND filters for specific lighting challenges.
Enhance exposure, color, detail, and composition during post-production without over-editing the scene.
Natural light determines how colors, textures, depth, and atmosphere appear in a nature photograph. Its direction, intensity, color, and softness can completely transform the same landscape or subject.
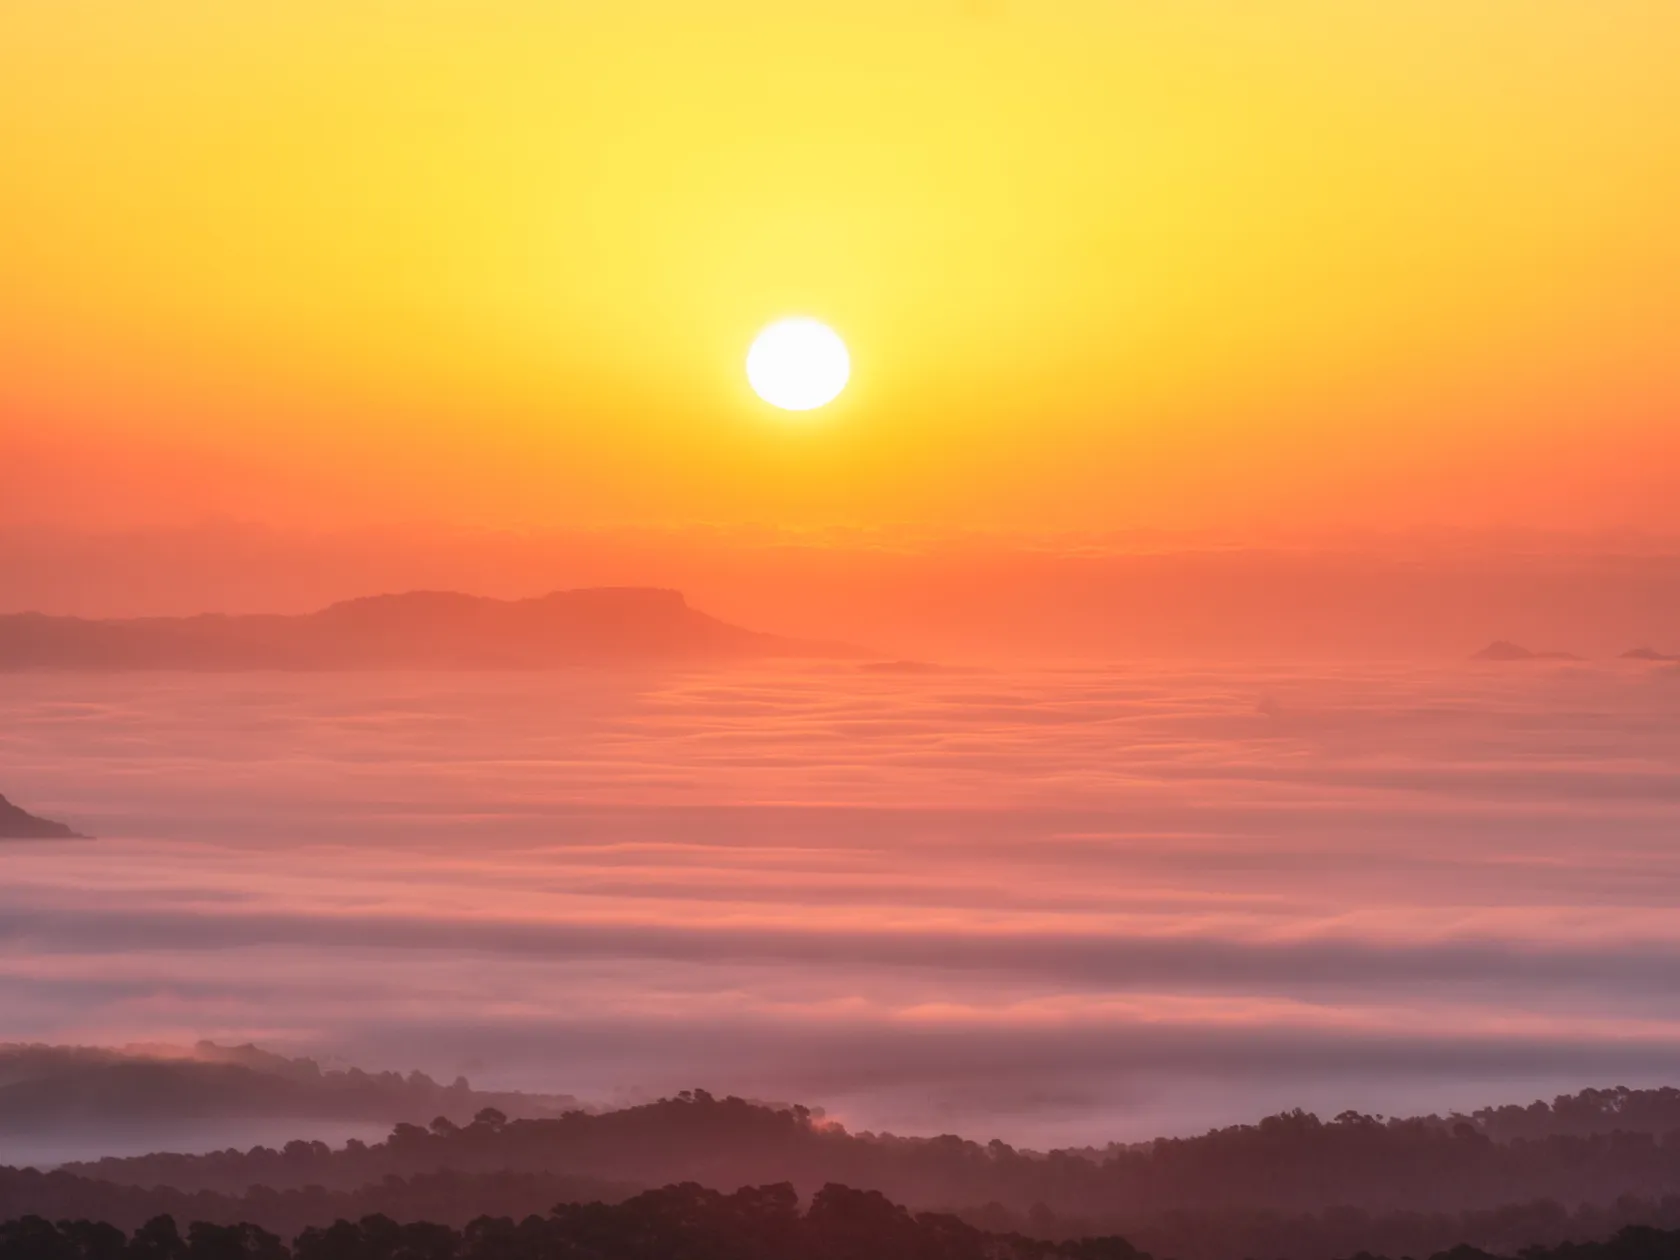
Harsh midday sunlight often produces strong contrast and hard-edged shadows. Softer light around sunrise and sunset creates gentler transitions and can add warm colors to a scene. Overcast conditions produce more even illumination, which is useful for forests, waterfalls, plants, and close-up nature photography.
What Are the Main Types of Natural Light?
Different types of natural light create different visual effects:
Direct sunlight: Strong, unfiltered sunlight that creates high contrast, bright highlights, and clearly defined shadows.
Golden-hour light: Warm, low-angle light that appears shortly after sunrise and before sunset.
Blue-hour light: Cool, subdued light that occurs shortly before sunrise and after sunset.
Diffuse light: Soft, even illumination produced by clouds, mist, or shade.
Backlight: Light that comes from behind the subject relative to the camera, creating silhouettes, rim light, or translucent effects.
Side light: Light that reaches the subject from the side, emphasizing texture, shape, and depth.
Reflected light: Light that bounces from surfaces such as water, snow, sand, or rock and illuminates another part of the scene.
Understanding these types of light helps photographers decide where to stand, how to expose the image, and which mood to emphasize.
How Can You Make Better Use of Natural Light?
Effective use of natural light begins with observation. Before adjusting camera settings, study where the light comes from, how quickly it is changing, and which parts of the scene you want to preserve.
1. Observe the Direction of the Light
The direction of light affects which details appear prominent and which areas fall into shadow.
Side light can reveal textures in mountains, tree bark, leaves, and sand. Front light produces more even illumination but may make a scene appear flatter. Backlight can create silhouettes, glowing outlines, or visible rays passing through mist and foliage.
Move around the subject when possible and compare how the scene changes from different positions.
2. Plan Around Golden Hour
Golden hour provides warm, directional light that can add depth and atmosphere to landscapes and wildlife photos.
The exact duration of golden hour depends on the location, season, and weather. Check local sunrise and sunset times and arrive early enough to choose a composition before the light reaches its most favorable angle.
Golden hour is especially useful for:
Images with long, textured shadows
Landscape photography
Wildlife portraits
Backlit plants and leaves
Mountain and coastal scenes
3. Use Shadows as Part of the Composition
Shadows are not necessarily defects that need to be removed. They can add depth, structure, contrast, and mystery to a nature photograph.
Look for shadows created by branches, clouds, rocks, or uneven terrain. Light passing through leaves can also create patterns that add visual interest.
4. Protect Important Highlights
In high-contrast scenes, expose carefully to preserve detail in the brightest important areas.
Instead of simply “reducing exposure in bright light,” check the histogram and highlight warnings on the camera. If important highlights are clipping, use a faster shutter speed, narrower aperture, lower ISO, exposure compensation, or an appropriate filter.
When photographing in RAW, some highlight and shadow detail can be recovered later. However, severely clipped highlights contain little or no usable image information.
5. Experiment With Backlight and Silhouettes
Backlight can produce glowing edges, translucent leaves, sun stars, or dramatic silhouettes. For a silhouette, expose primarily for the brighter background and allow the subject to become dark.
If you want to preserve detail in both the subject and background, consider:
Using a reflector or fill flash
Bracketing several exposures
Repositioning the camera
Waiting for softer light
Recovering moderate shadow detail during RAW editing
6. Set White Balance for the Intended Mood
White balance controls how warm or cool the colors in a photograph appear.
Automatic white balance is often a practical starting point, but it may neutralize some of the warmth of sunrise or sunset. A daylight or cloudy preset can preserve warmer colors, while a custom Kelvin setting provides more precise control.
Photographing in RAW allows white balance to be adjusted non-destructively during post-production.
Your AI-Powered Photo Editor for MacOS and Windows
Reflections can introduce symmetry, depth, color, and visual repetition. Calm water can create a nearly mirror-like result, while moving water produces abstract shapes and textures.
Change the camera height and angle to control how much of the reflection appears. A polarizing filter can reduce reflections, but sometimes preserving them creates the stronger composition.
Which Filters Are Useful for Nature Photography?
We’ve got a handle on natural light, so let’s shift focus to filters.
Lens filters modify the light that reaches the camera sensor and can solve problems that are difficult to reproduce fully during editing. The most useful options for nature photography include neutral density, polarizing, and graduated neutral density filters.
Neutral Density (ND) Filters
A neutral density filter reduces the amount of light entering the lens without intentionally changing its color.
ND filters are useful for:
Using slower shutter speeds in daylight
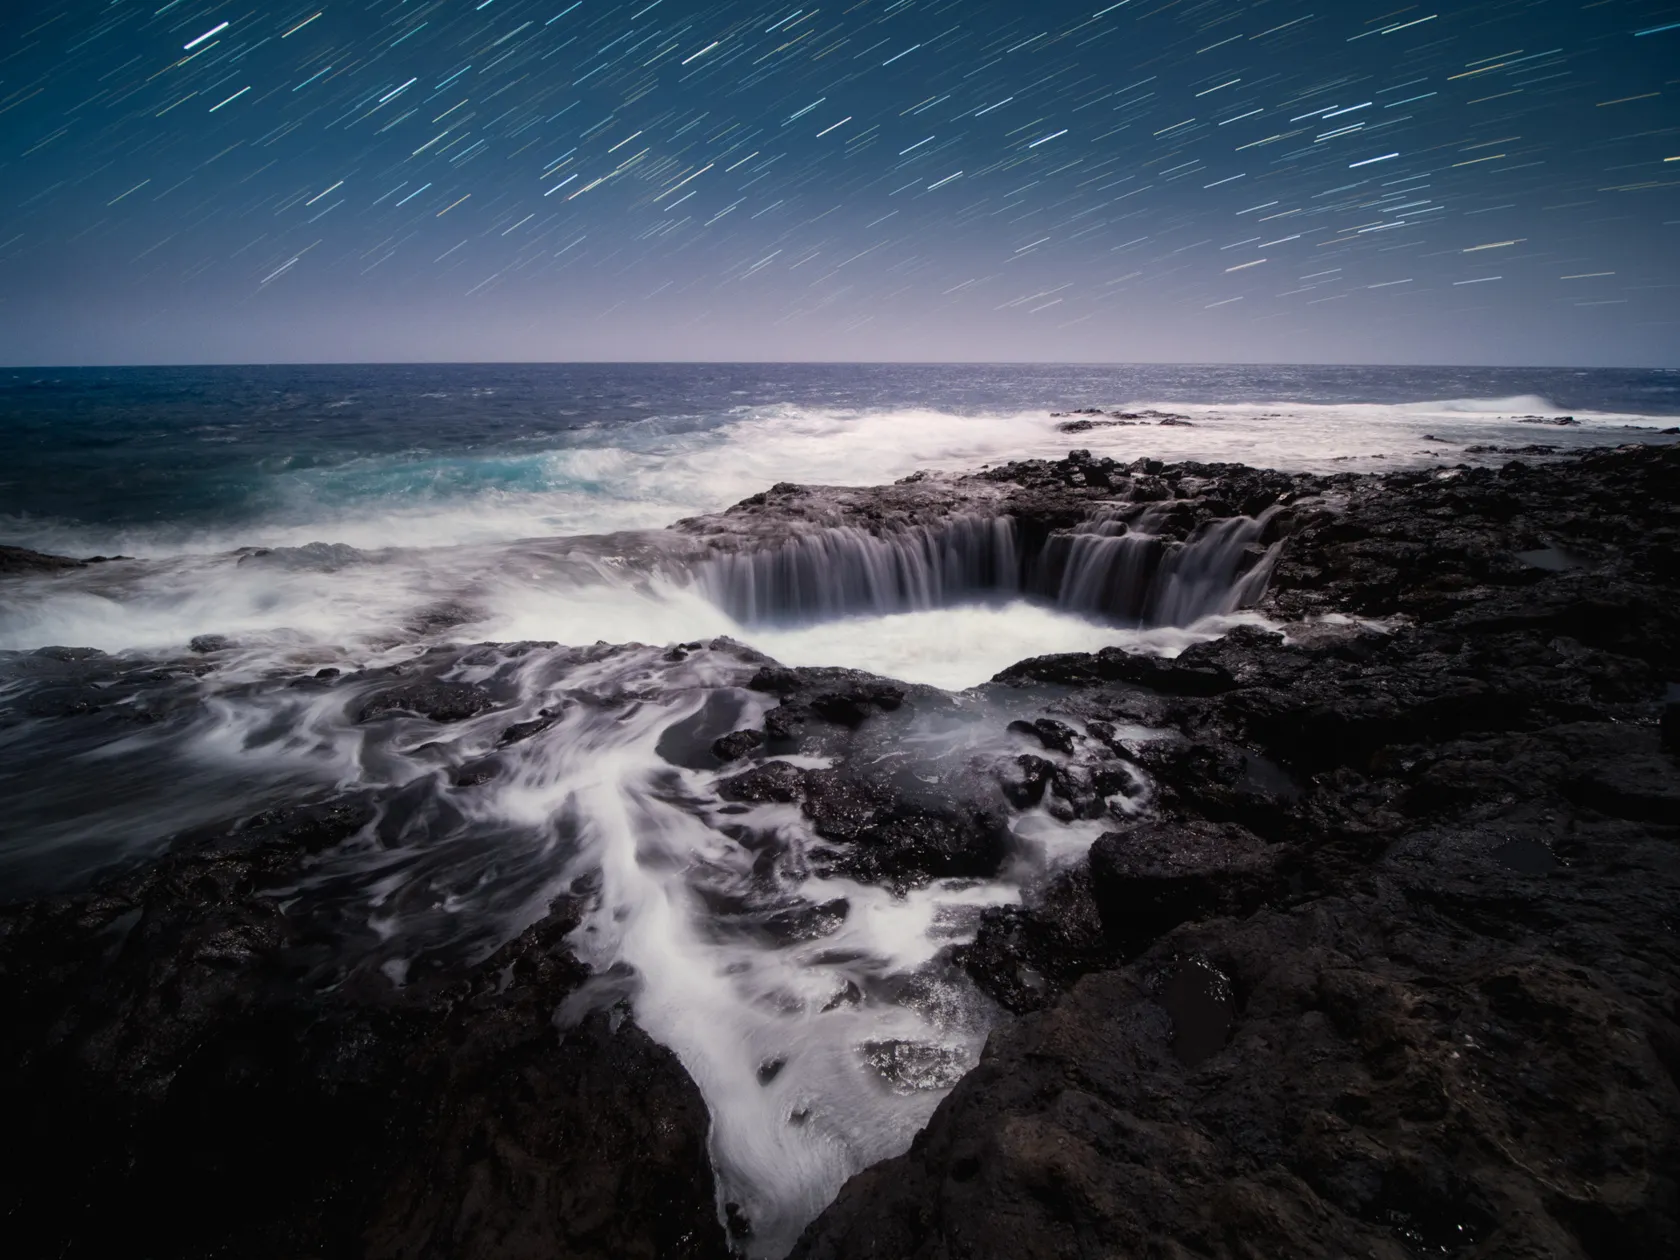
Smoothing moving water
Showing movement in clouds
Using wider apertures in bright conditions
Creating long-exposure landscape photographs
The stronger the ND filter, the more the exposure must be compensated with shutter speed, aperture, or ISO. According to Canon’s landscape photography guidance, ND filters allow photographers to use slower shutter speeds to blur movement in water and skies.
Polarizing Filters
A circular polarizing filter can reduce glare and reflections from many non-metallic surfaces, including water and wet leaves. Reducing glare can also make colors appear richer and increase separation between clouds and a blue sky.
Polarizing filters are useful for:
Reducing glare on water
Revealing details beneath the water’s surface
Controlling reflections on leaves and rocks
Increasing contrast in some skies
Enhancing color in wet landscapes
The effect depends on the camera’s angle relative to the light source. Polarizers do not remove every reflection and can produce uneven darkening in wide-angle images of a clear sky.
Graduated ND Filters
A graduated ND filter transitions from dark to clear across its surface. It reduces the brightness of one part of the frame while leaving another part largely unaffected.
Graduated ND filters are useful when:
The sky is much brighter than the foreground.
A bright horizon dominates the exposure.
The photographer wants to balance the scene in a single capture.
Exposure bracketing is impractical because elements are moving.
The transition should be positioned carefully to avoid unnaturally darkening mountains, trees, or buildings that extend above the horizon.
What Is Composition in Nature Photography?
Composition is the arrangement of subjects, lines, colors, shapes, and empty space within the frame. Effective composition guides the viewer’s attention and helps communicate scale, atmosphere, movement, or a relationship between elements.
Composition techniques are guidelines, not universal rules. The appropriate approach depends on the subject and the photographer’s intention.
The Photo Perspective Correction Tool You've Been Waiting For
Which Composition Techniques Work Well in Nature Photography?
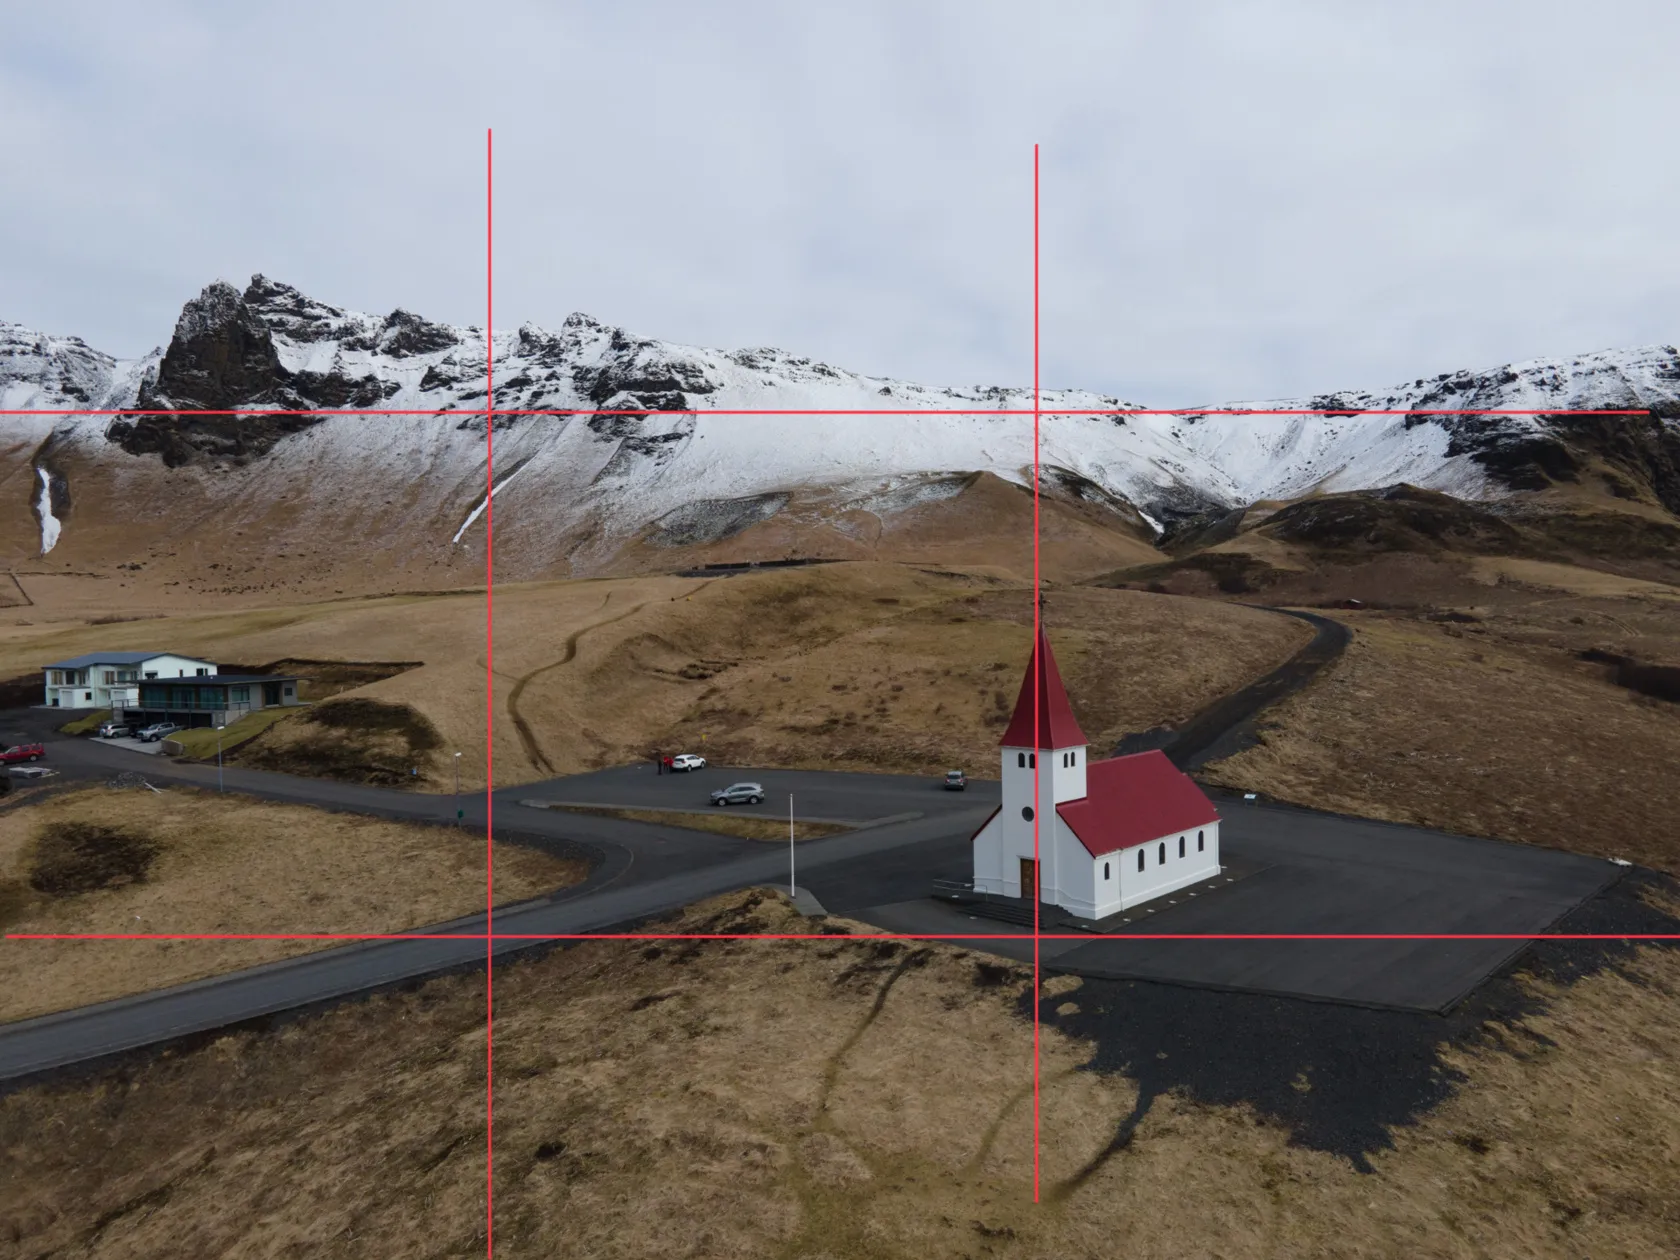
Rule of Thirds
Divide the frame into a three-by-three grid and place important subjects near the grid lines or their intersections.
The rule of thirds can create balance between the main subject and the surrounding space. It is a useful starting point, but centered compositions may work better for symmetry, reflections, patterns, or subjects with a strong frontal presence.
Symmetry and Asymmetry
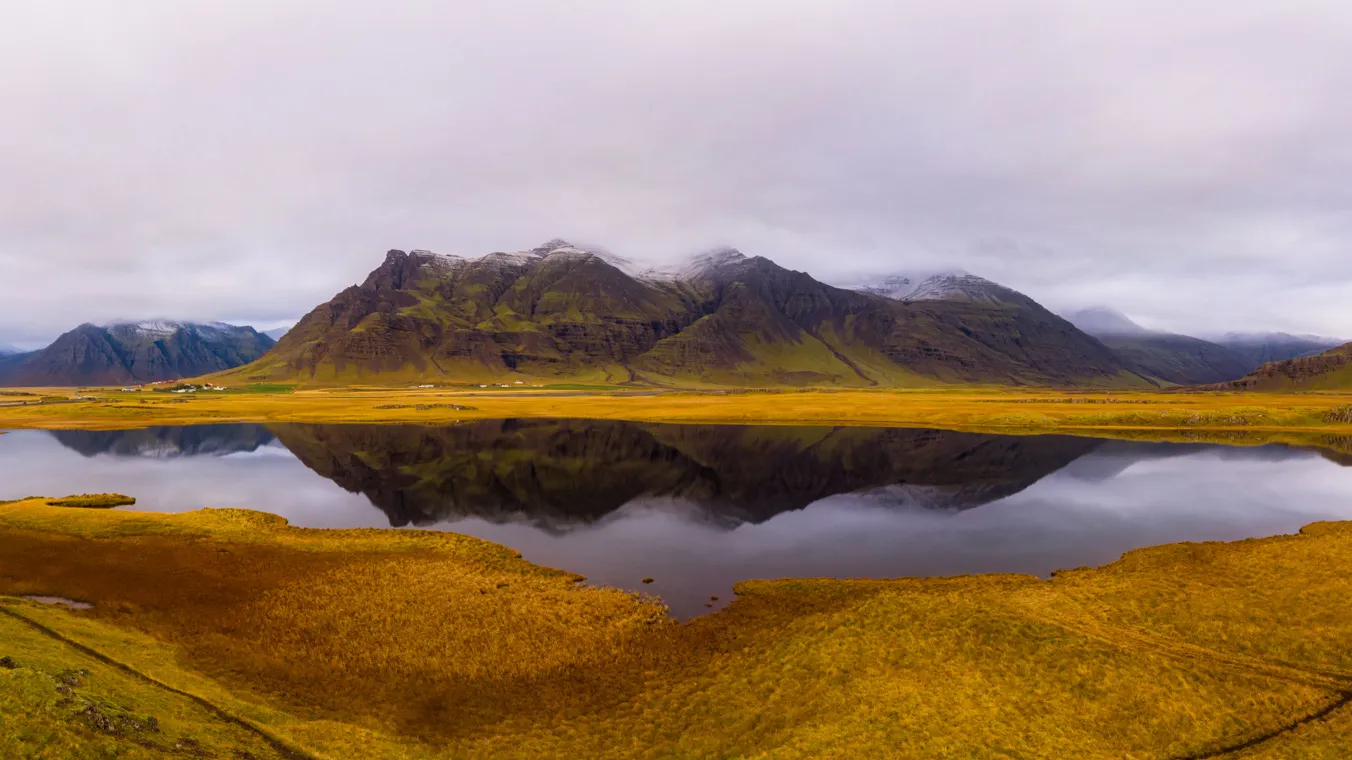
Symmetry places similar visual elements on opposite sides of the frame. It works particularly well with reflections, tunnels of trees, flowers, and centered landscapes.
Asymmetrical balance uses elements with different sizes or visual weights. For example, a small bright subject on one side may be balanced by a larger, darker shape or an area of negative space on the other.
Negative Space Use
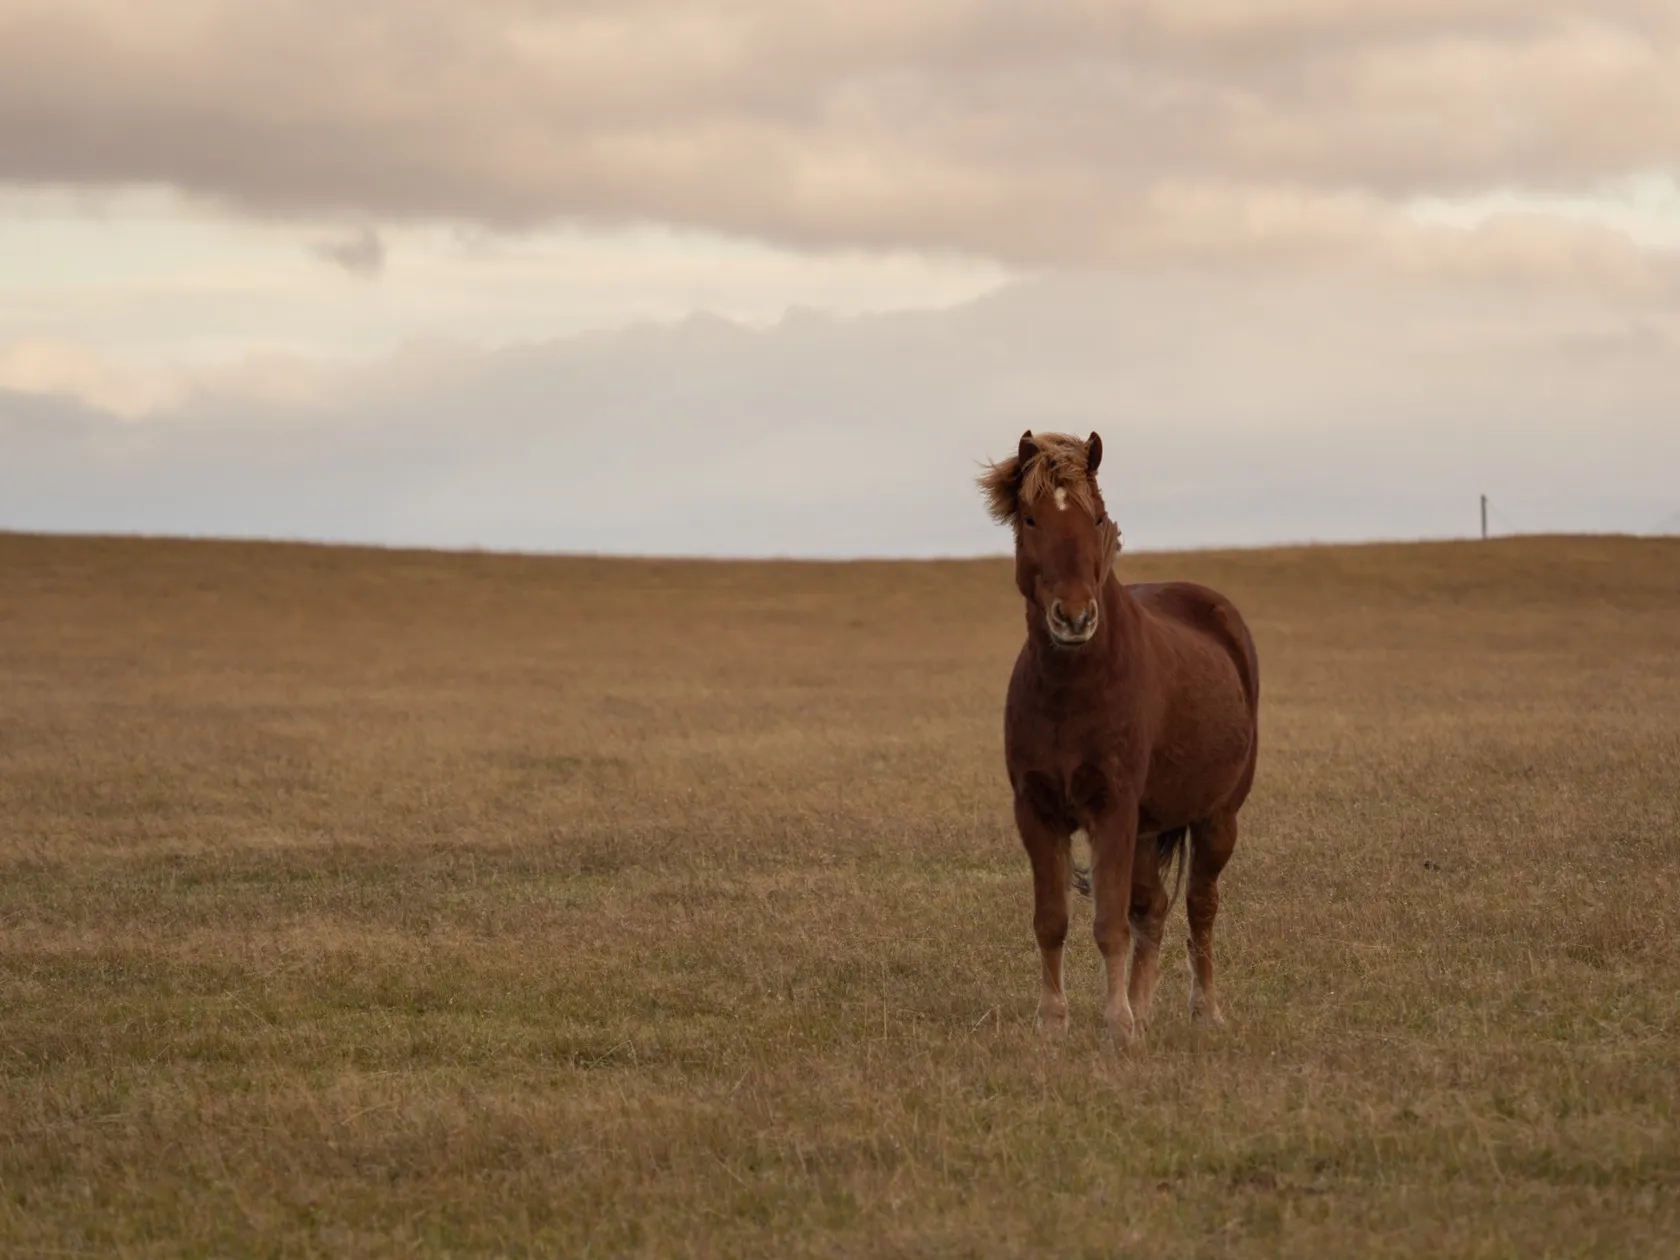
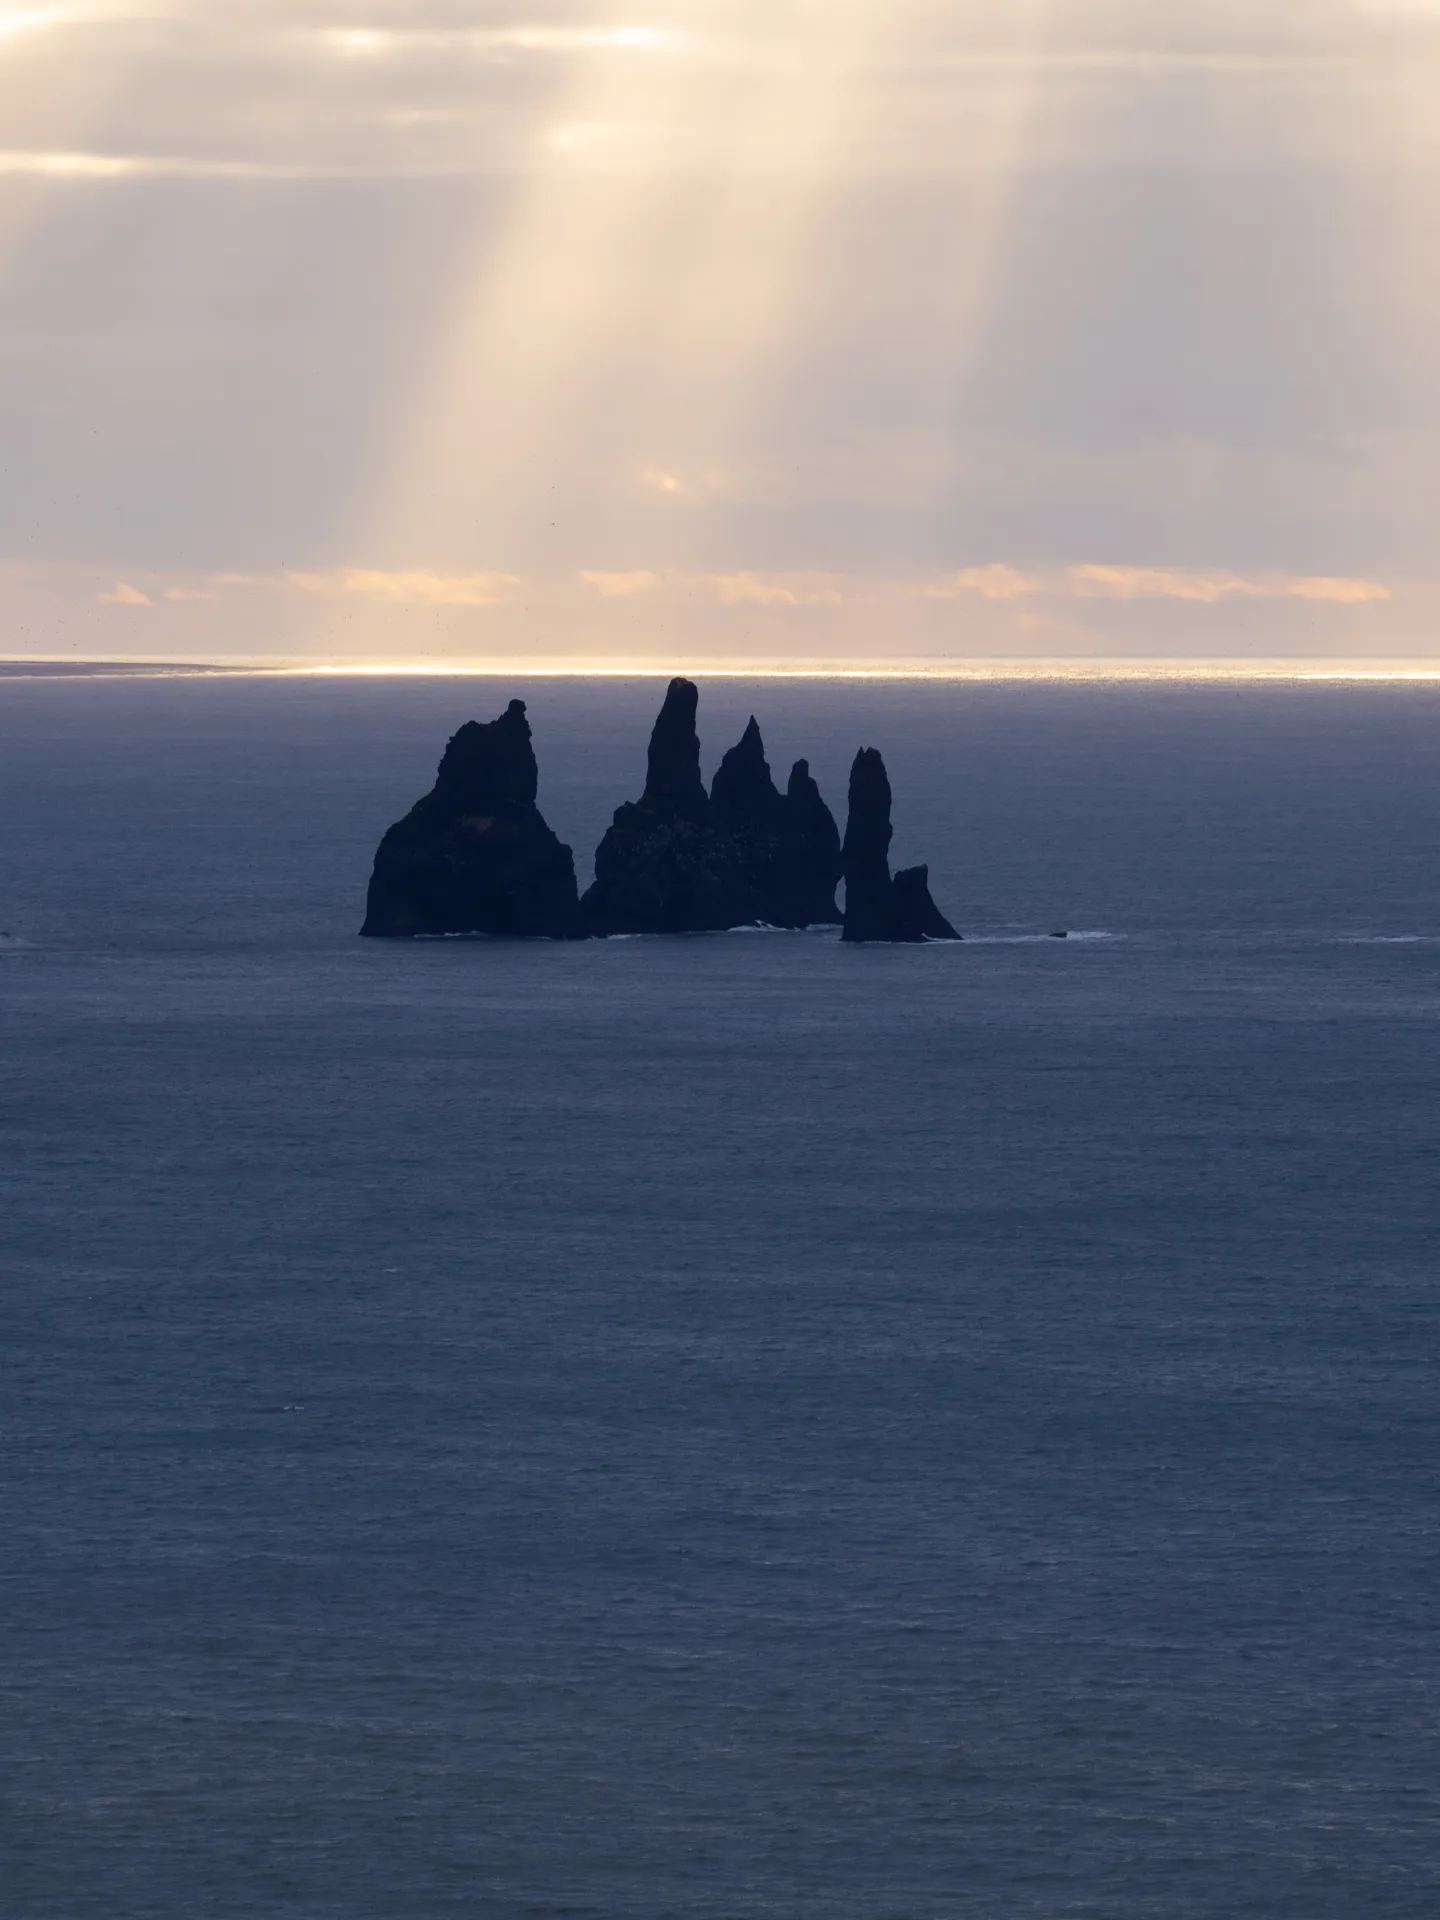
Negative space is the relatively empty area surrounding the main subject. It can isolate the subject, suggest distance or solitude, and prevent a composition from feeling crowded.
Color Harmony
Colors can unify a scene or separate the main subject from its surroundings.
Use:
Similar colors for a calm, cohesive result
Complementary colors for stronger visual contrast
Warm and cool colors to create separation
A small area of vivid color as a focal point
Color should support the subject rather than compete with it.
Perspective and Depth
Including visual elements at different distances adds depth to a two-dimensional photograph. A rock, flower, branch, or patch of grass can serve as a foreground element that leads into a broader landscape.
Avoid adding a foreground element only because a composition rule suggests it. The element should contribute to the image rather than obstruct the view.
Rule of Gaze
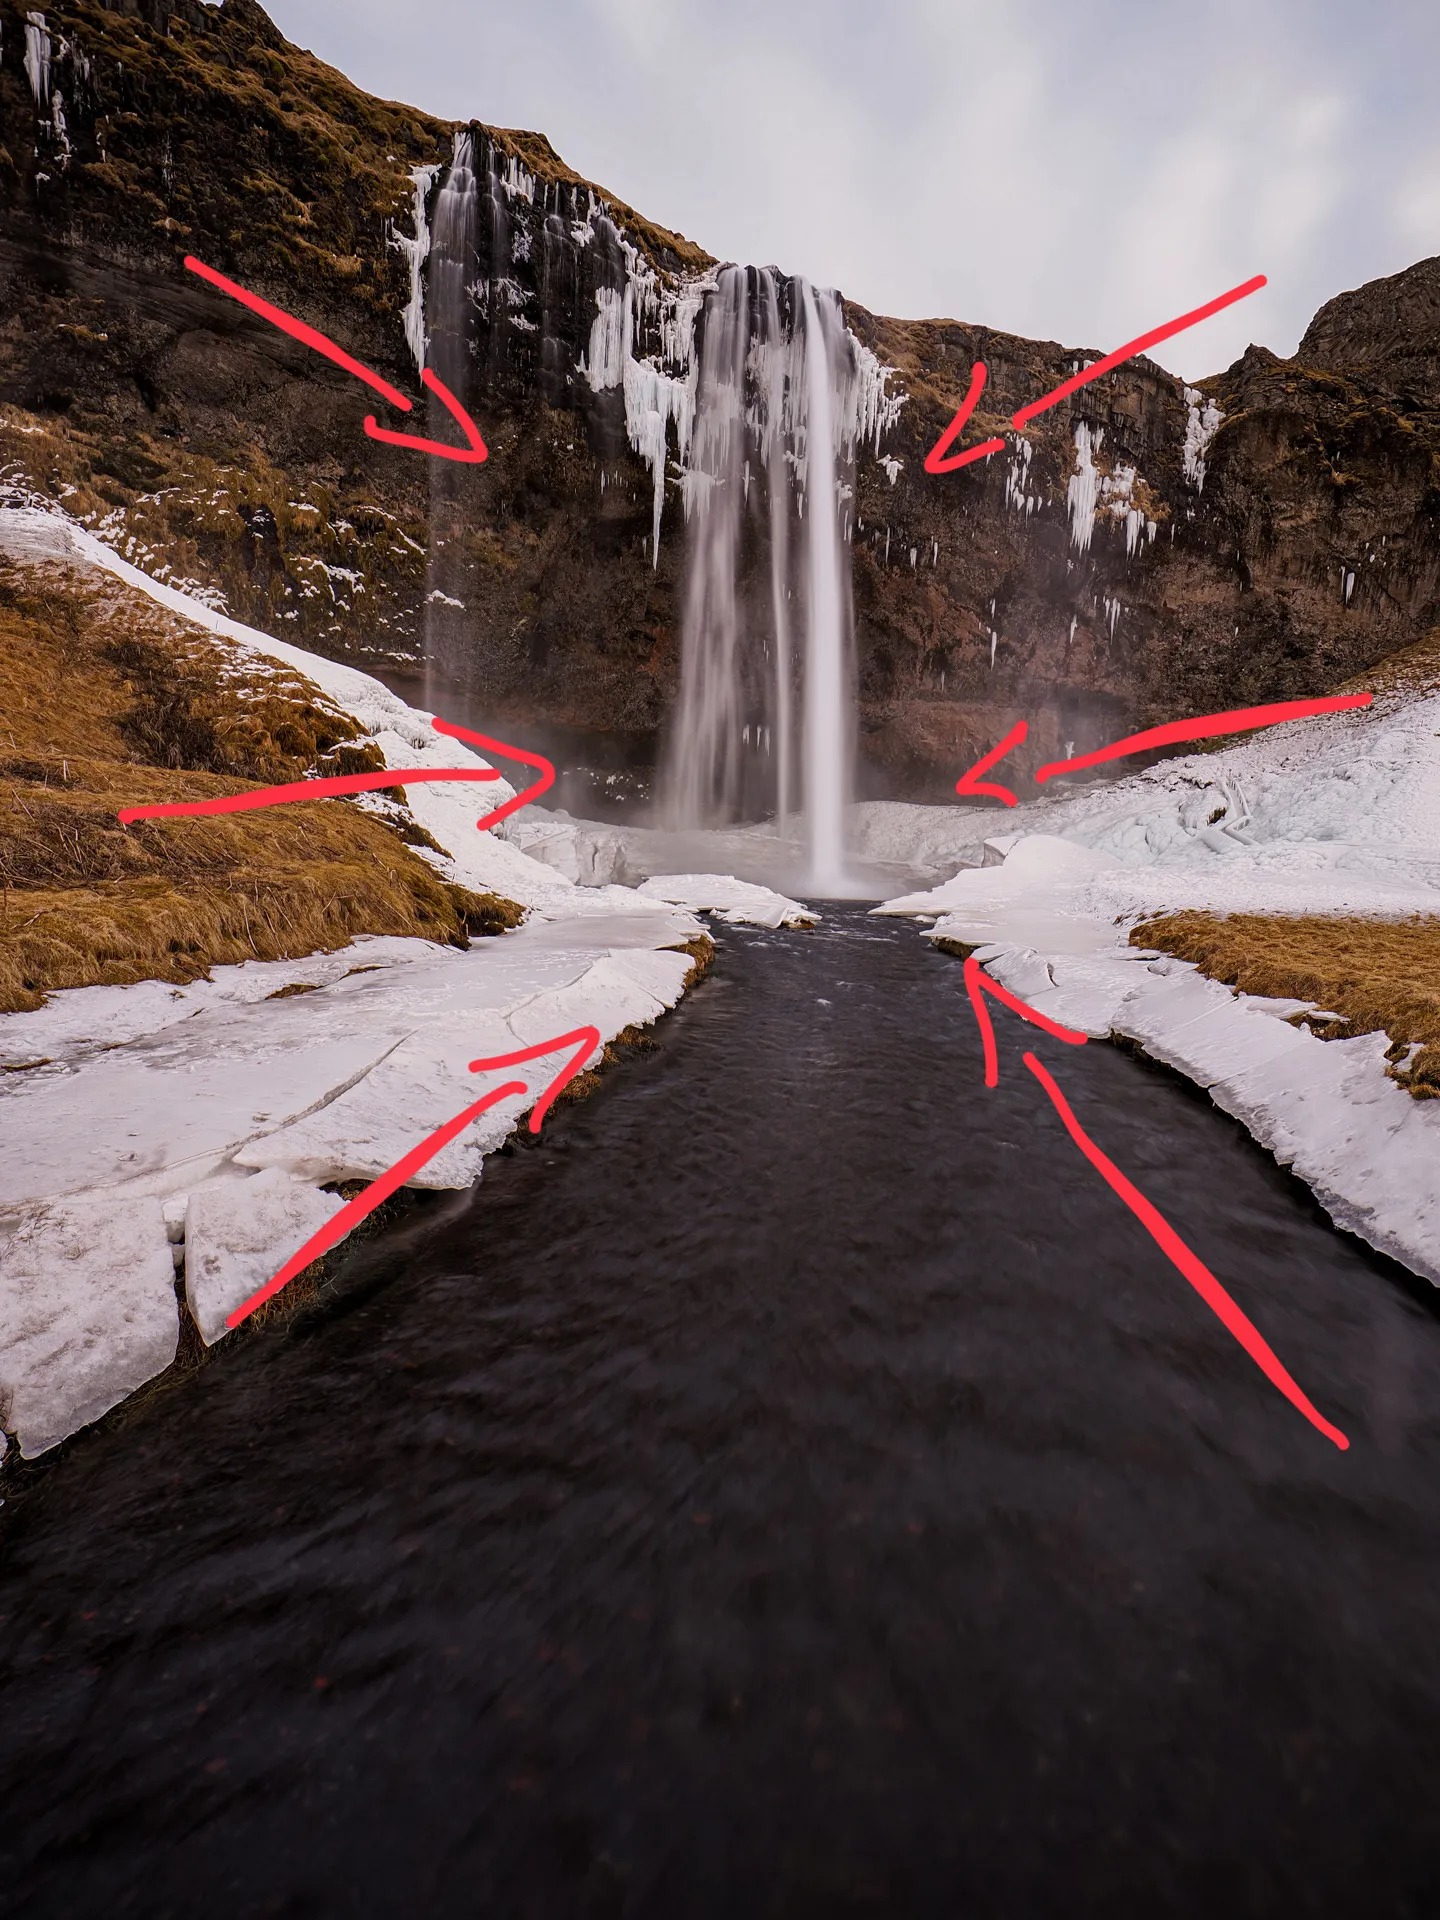
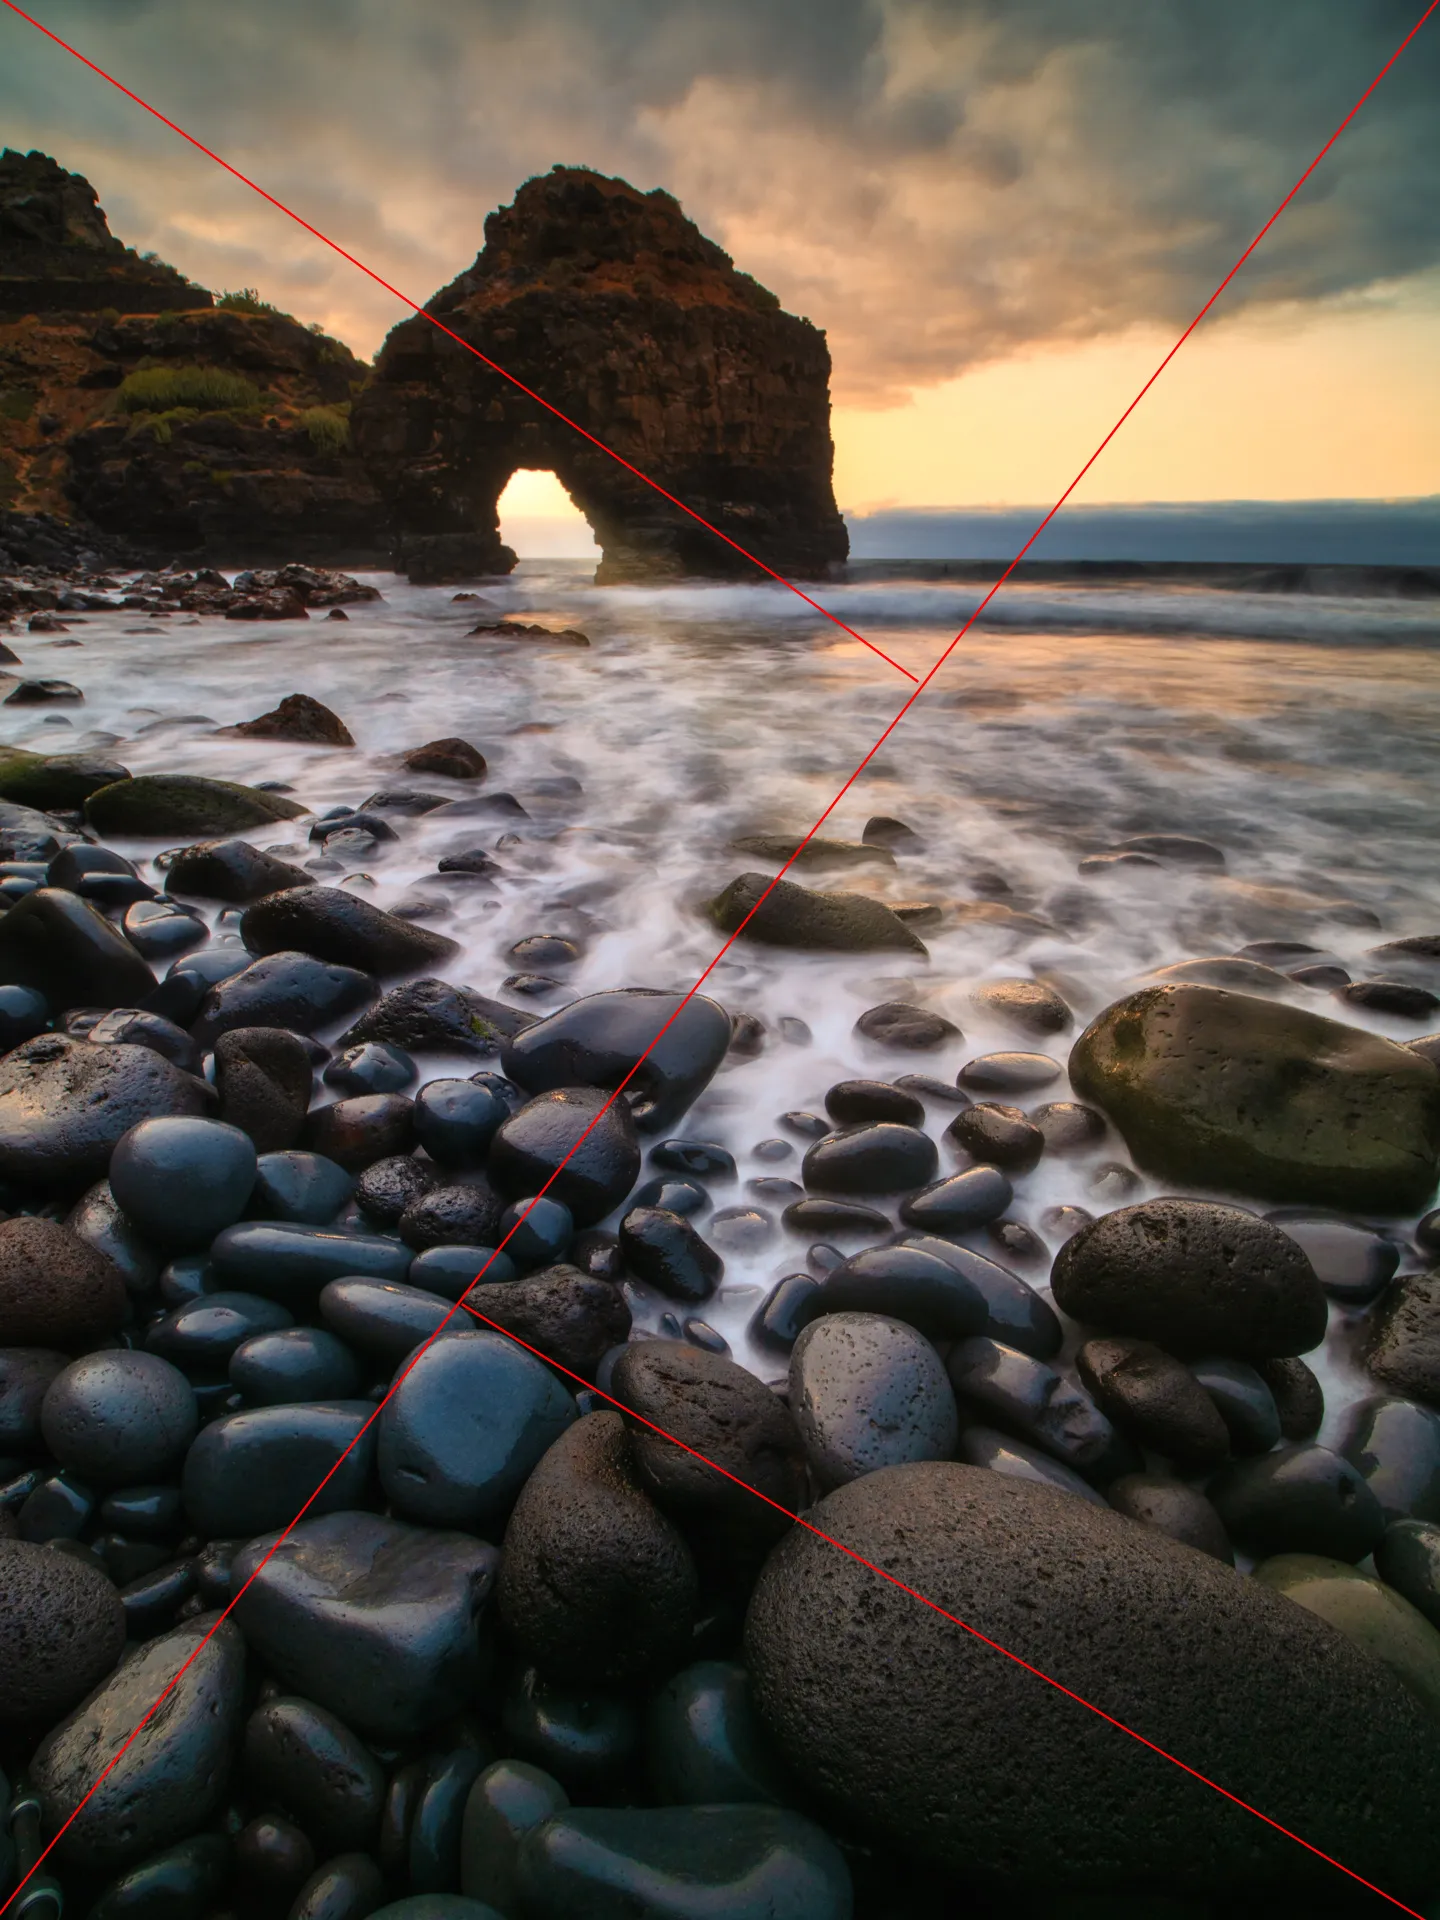
Leading lines guide the viewer toward the main subject or through different areas of the image. Roads, rivers, shorelines, branches, shadows, and mountain ridges can all function as leading lines.
Curved or diagonal lines often suggest movement, while horizontal lines can make a scene feel calmer.
Triangles and Diagonals
Diagonal lines create direction and visual tension. Triangular arrangements can connect several subjects and give the composition a stable underlying structure.
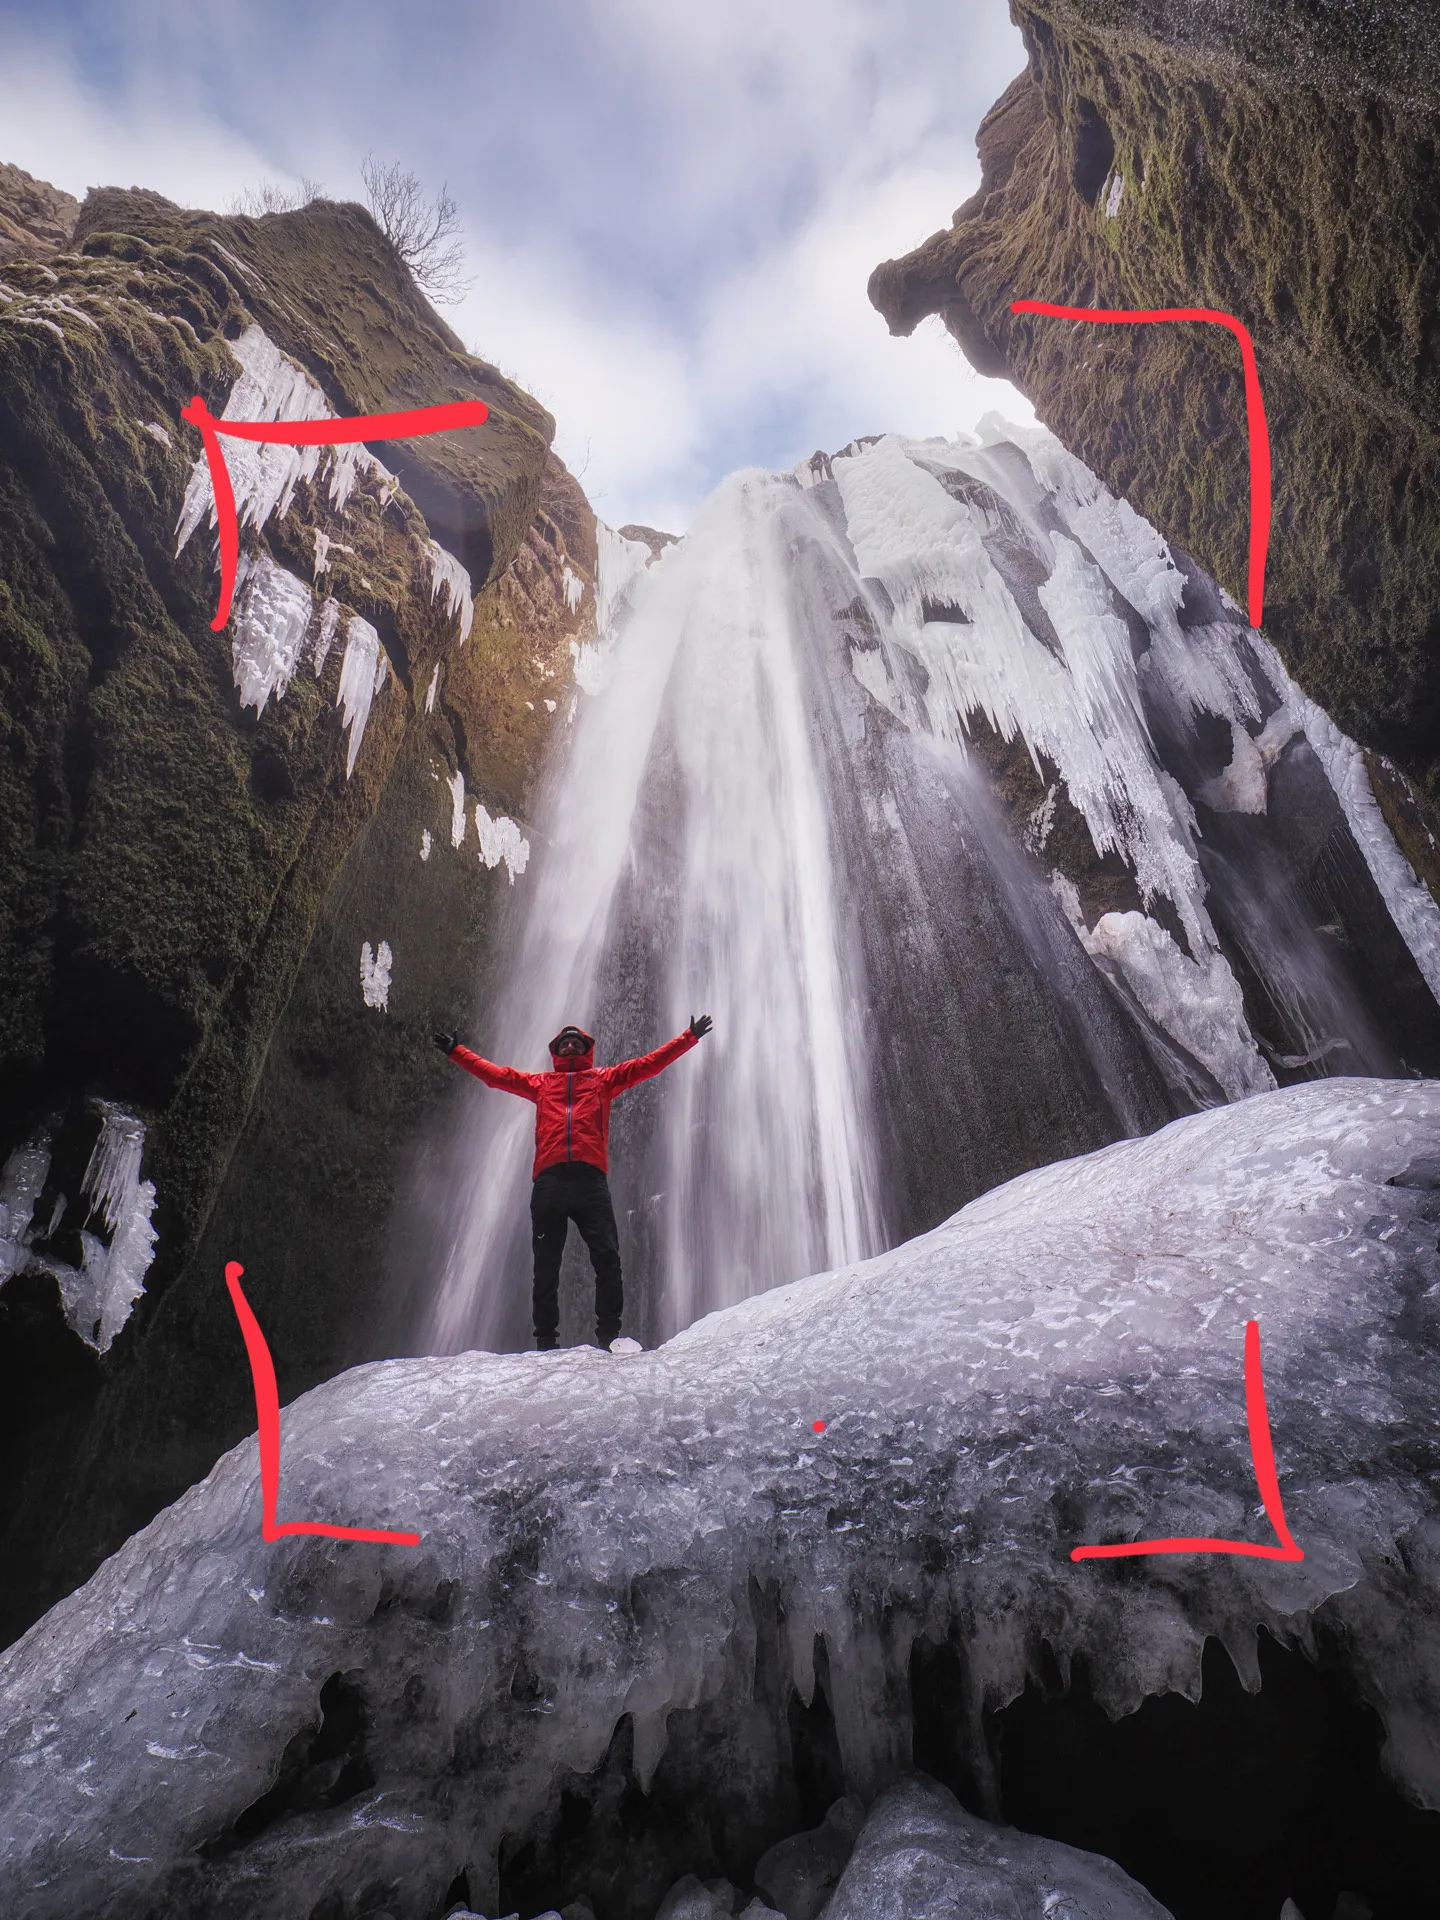
Natural Framing
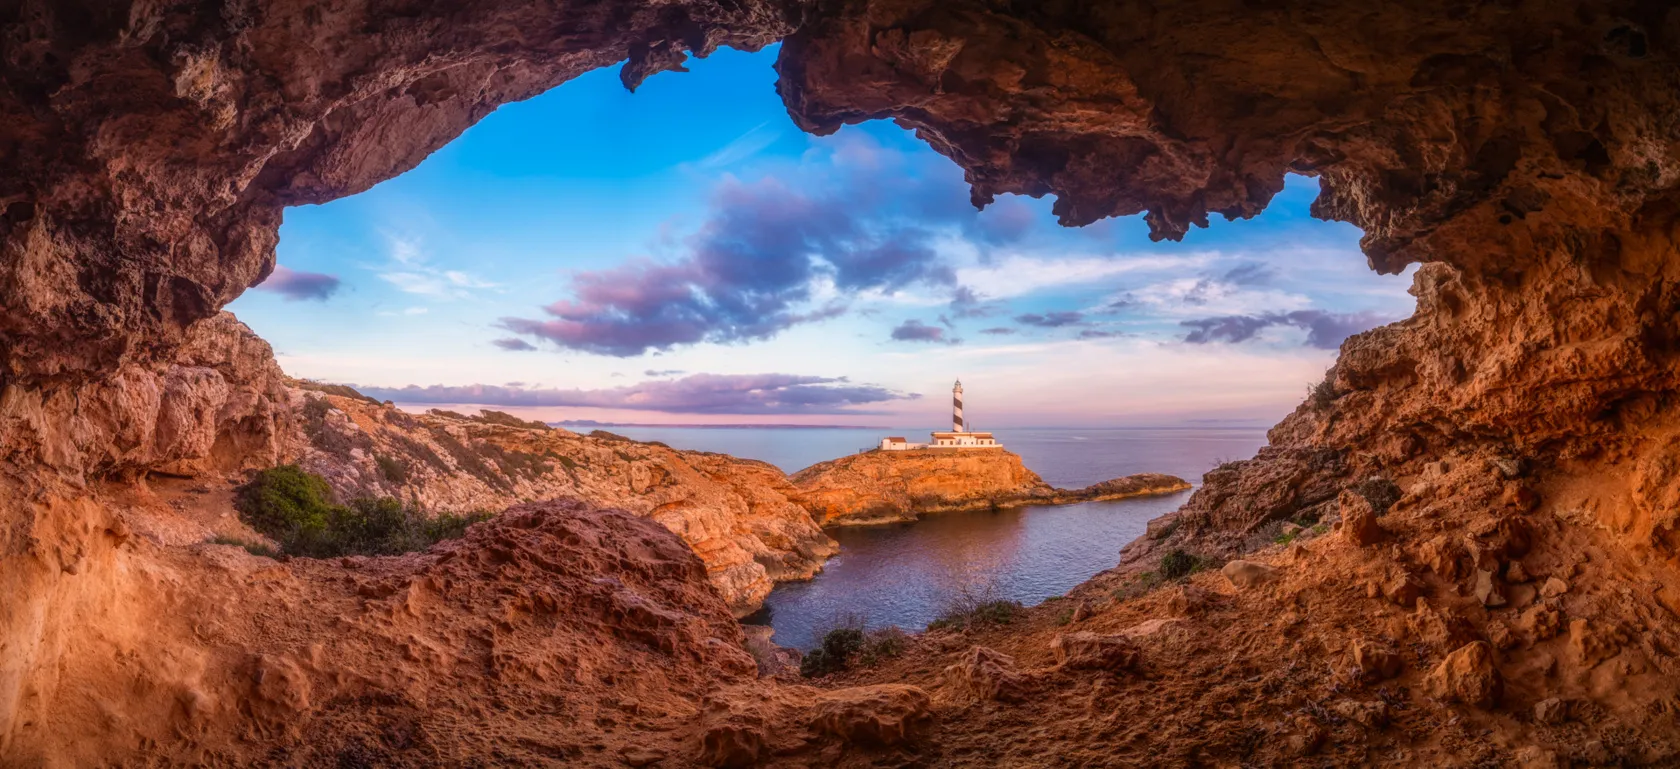
Branches, leaves, rock formations, cave openings, and other environmental elements can frame the main subject. A natural frame can add depth and focus attention, but it should not become more visually dominant than the subject itself.
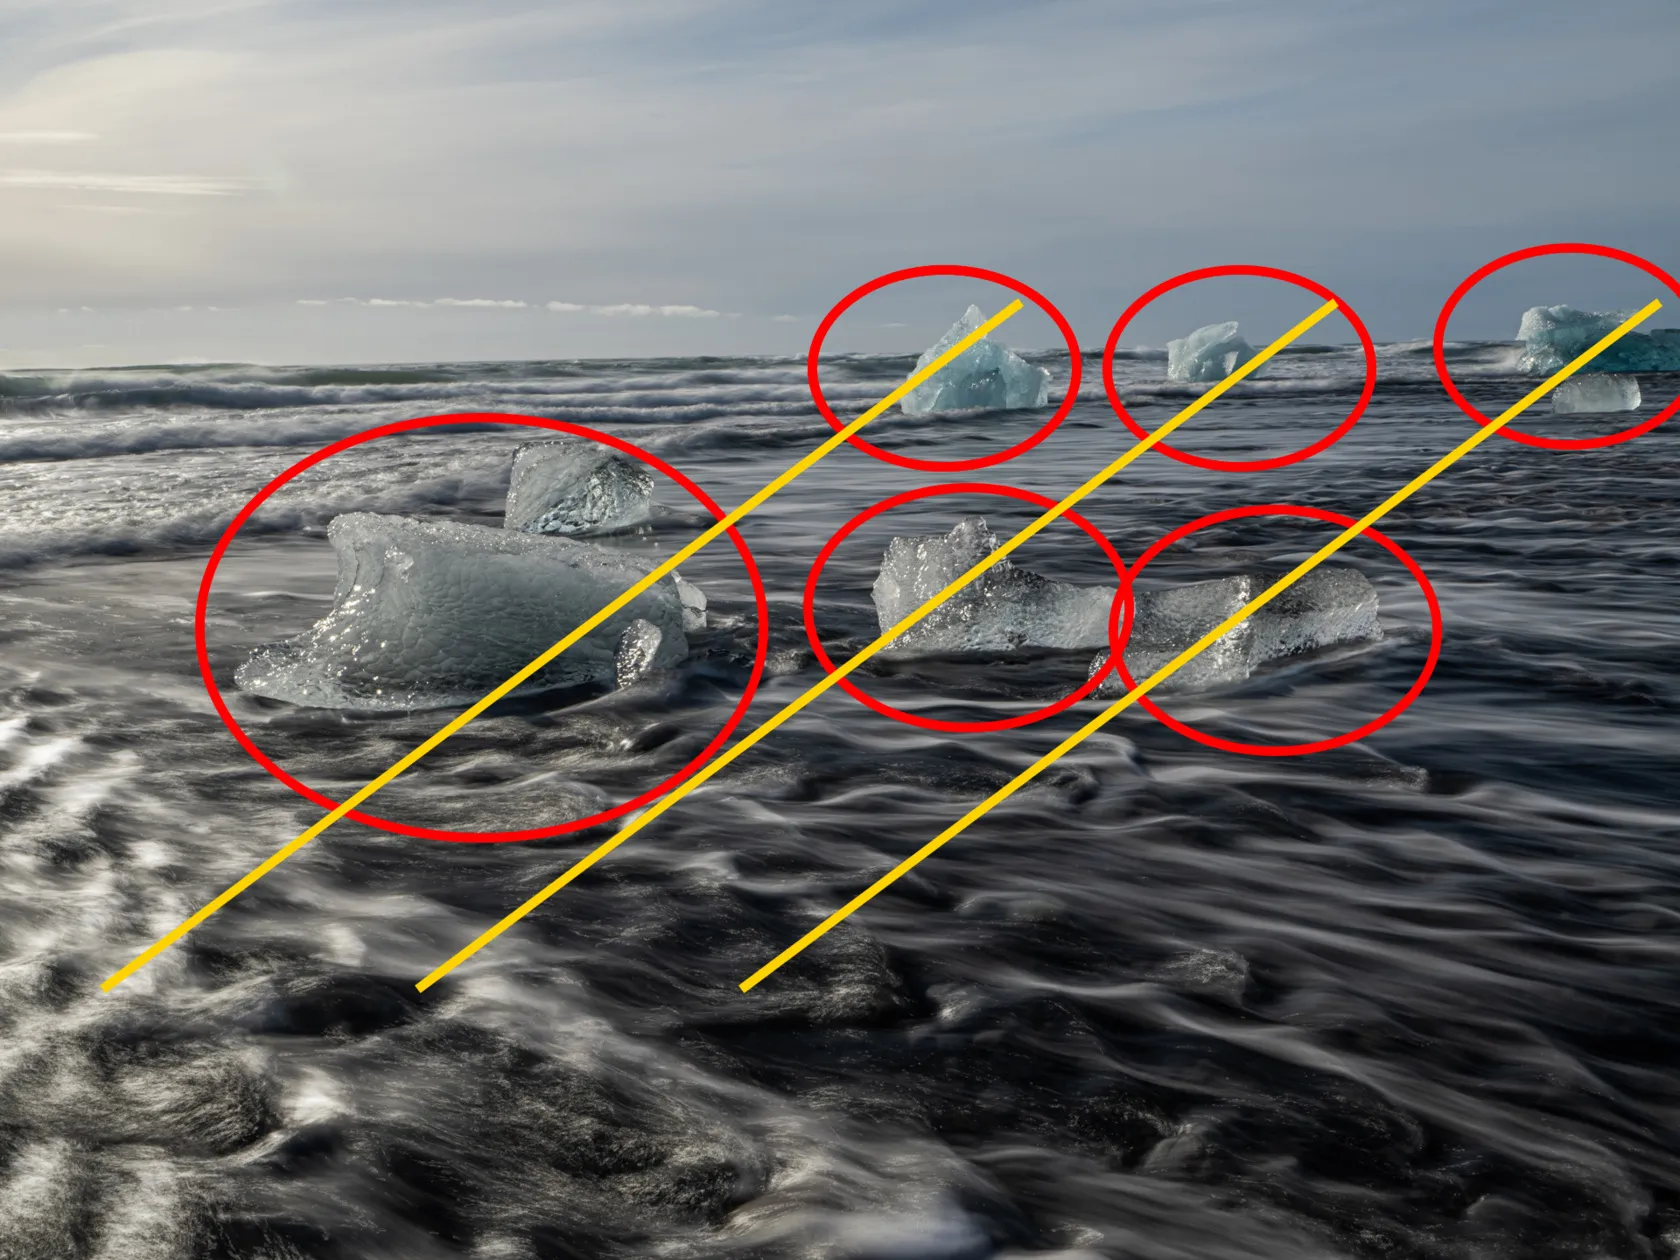
Rule of Odds
Groups containing an odd number of similar elements can sometimes feel more natural and less rigid than even-numbered arrangements. This approach is useful for flowers, rocks, trees, birds, or repeated details.
It is a creative guideline rather than a scientific rule. The strongest arrangement depends on the spacing, scale, and relationship between the subjects.
Rhythm and Pattern
Repeated colors, shapes, textures, or lines create visual rhythm. Breaking an established pattern with one contrasting element can produce a clear focal point.
Elevate Your Photography with Our Advanced Software
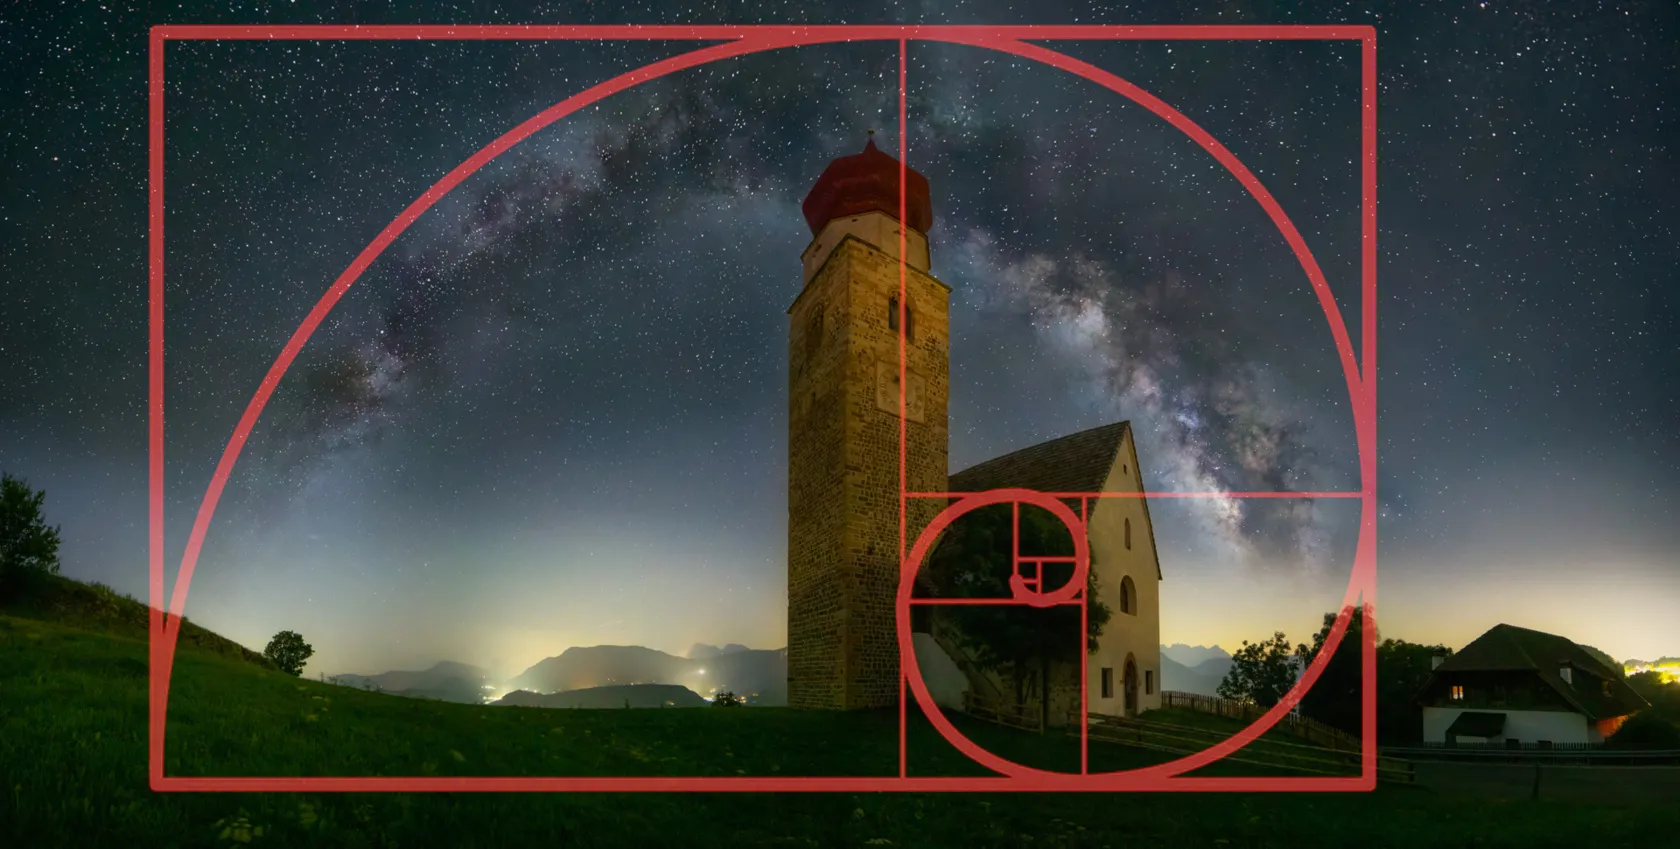
The golden ratio can be represented as a grid or spiral that helps position important elements along a curved visual path. It offers an alternative to the rule of thirds and can work well in landscapes with winding rivers, clouds, coastlines, or layered subjects.
The golden spiral is associated with the golden ratio and is often explained through its relationship to Fibonacci-based constructions. However, photographers do not need to calculate a Fibonacci sequence when composing a photo.
Visual Contrast
Contrast can be created through differences in:
Light and shadow
Color
Size
Shape
Texture
Focus
Movement
Use contrast to separate the main subject from its environment and establish a clear visual hierarchy.
Scale
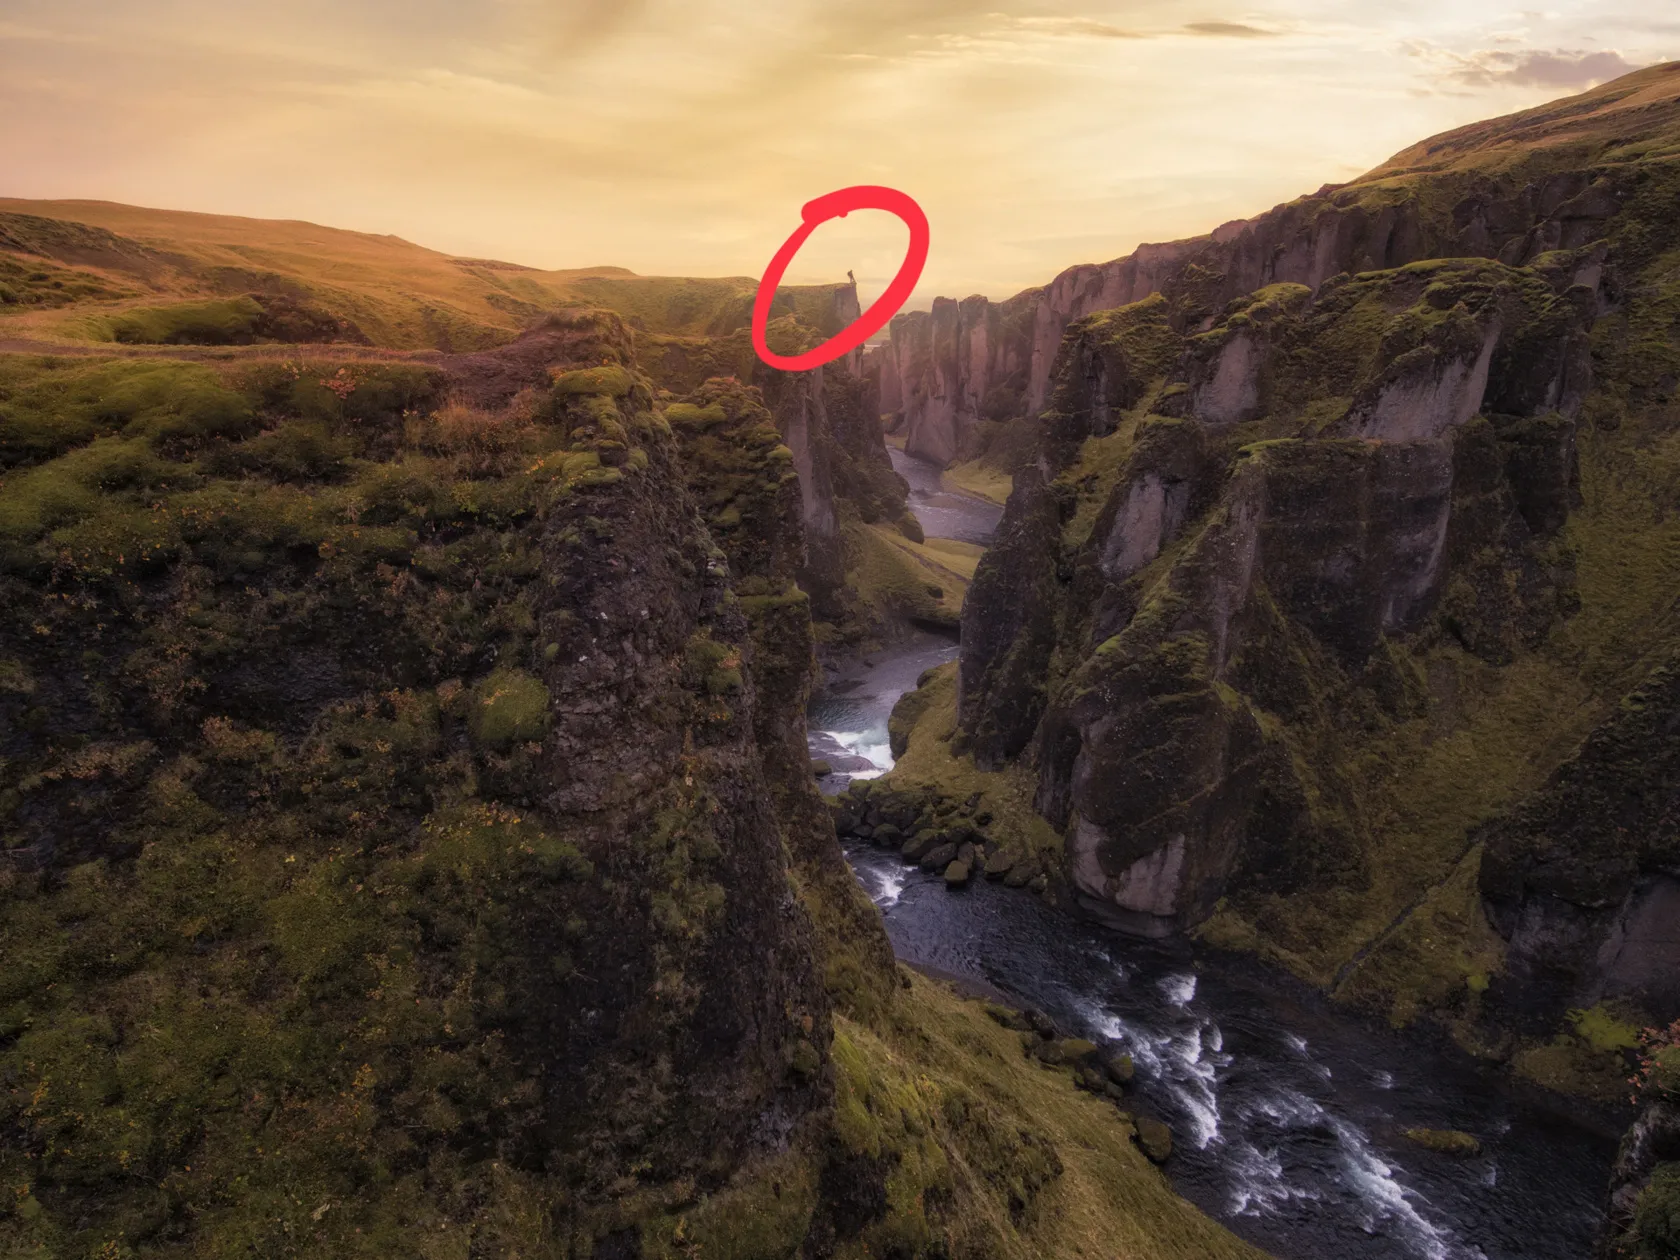
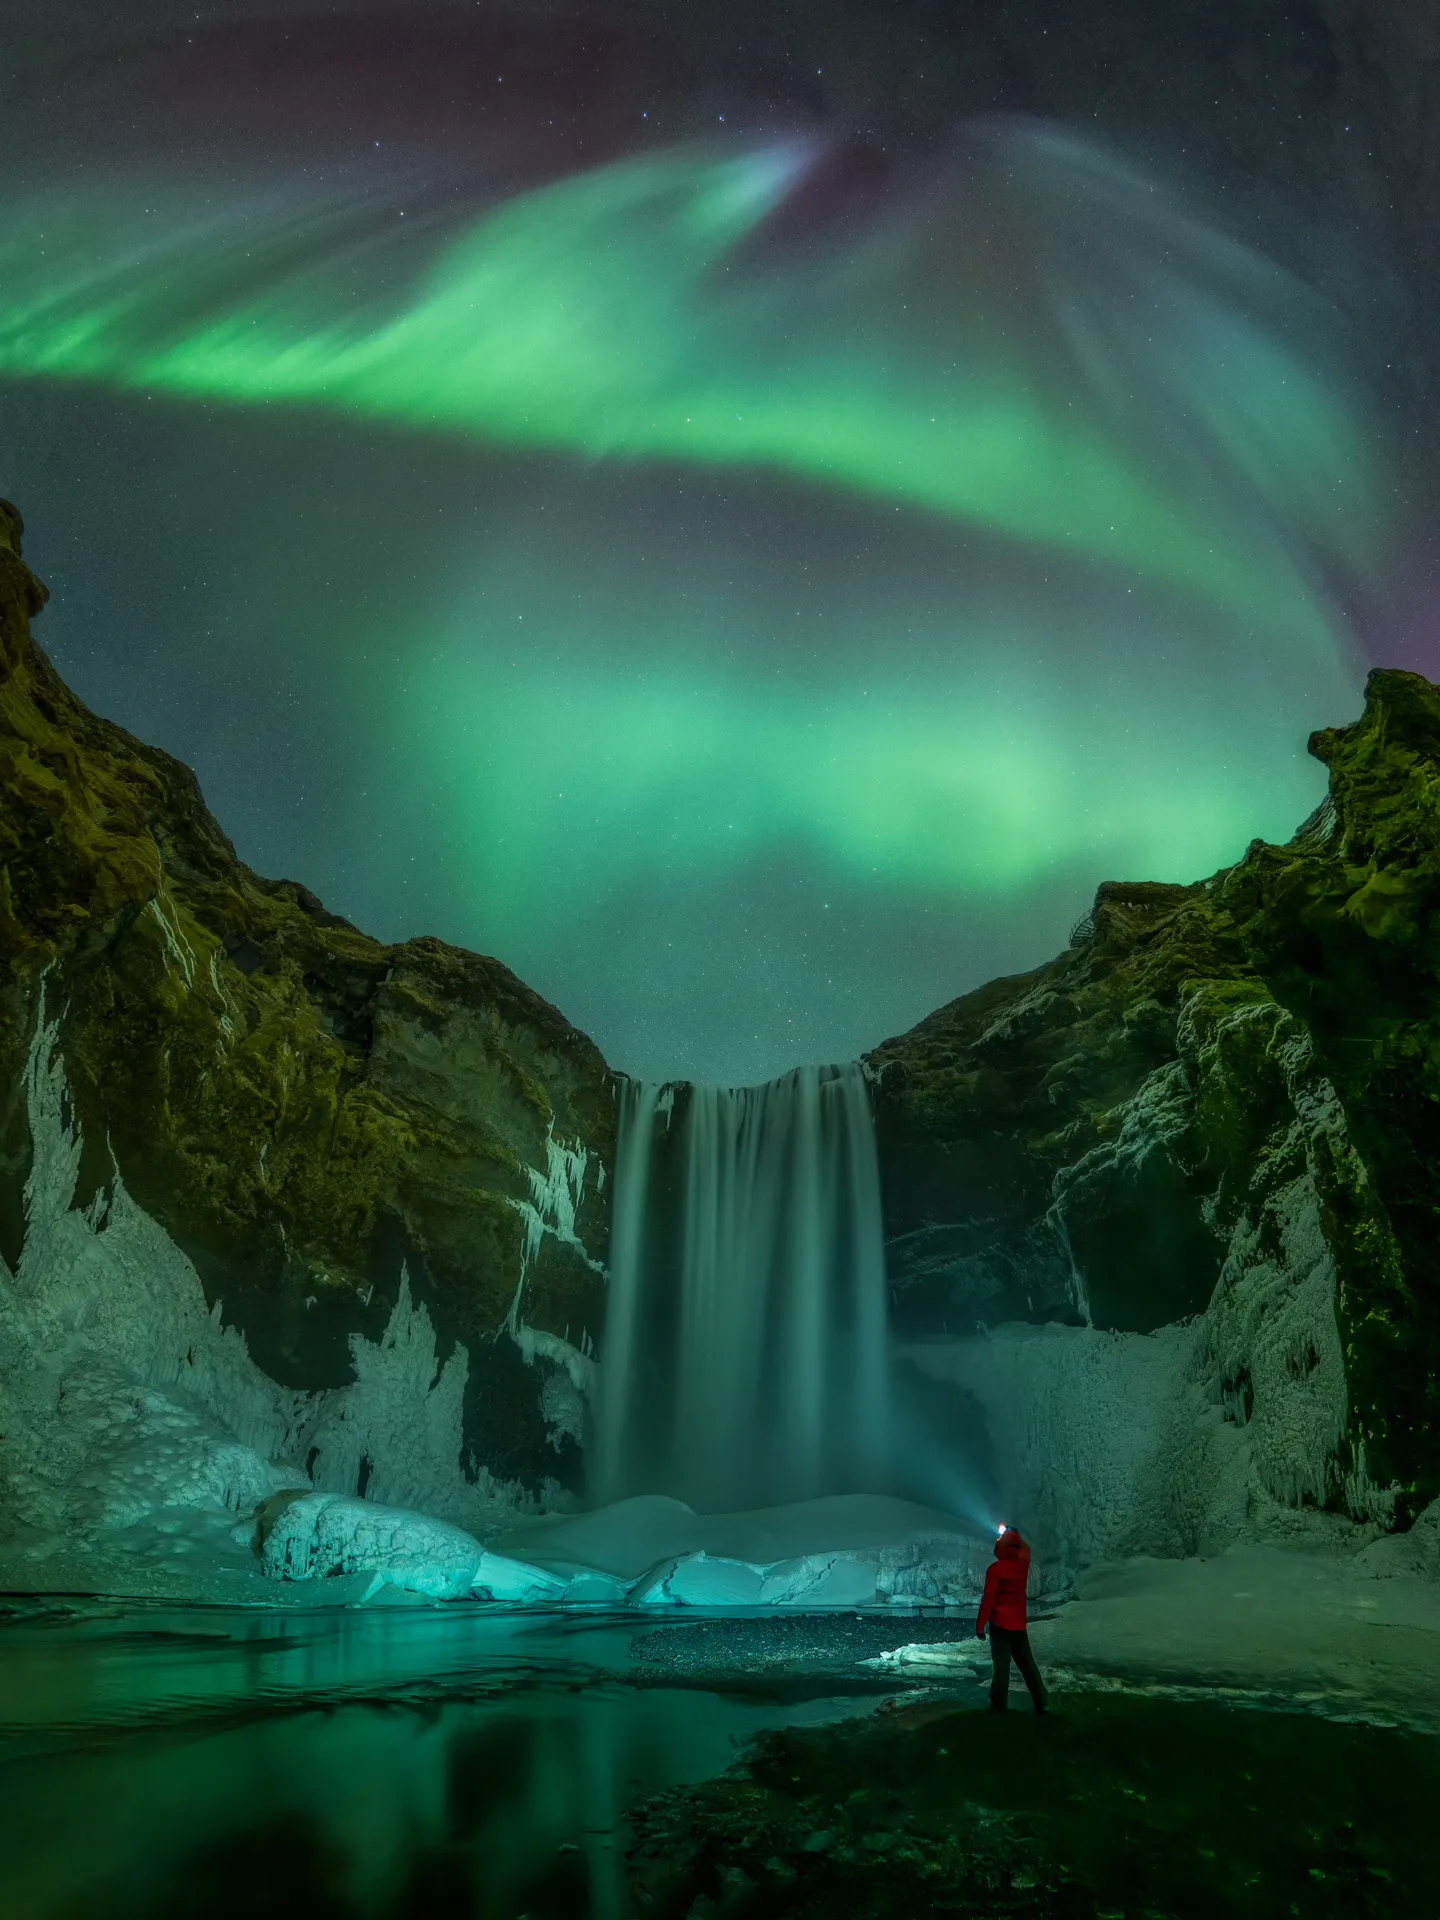
Scale describes the size relationship between elements in a photograph. Including a recognizable reference, such as a person, tree, animal, or building, can communicate the size of a mountain, waterfall, canyon, or other natural feature.
How Do You Capture the Right Moment in Nature Photography?
Capturing the right moment requires observation, preparation, and an ability to respond quickly to changes in light, weather, and subject behavior.
Nature is constantly changing. A cloud may briefly reveal the sun, wind may alter a reflection, or an animal may move into a stronger position. The “ideal moment” is therefore not one fixed time but the instant when the visual elements best support the intended image.
Observe Changes in the Environment
Watch for changes in:
Light direction and intensity
Cloud cover
Wind
Water movement
Fog and atmospheric conditions
Tides
Wildlife behavior
Remaining in one location for longer can reveal compositions and moments that are not immediately visible.
Understand Weather and Light
Weather does more than determine whether a shoot is comfortable. It affects color, visibility, contrast, reflections, and atmosphere.
Storm clouds can produce dramatic light, while fog simplifies a busy landscape and creates depth through layered tones. Rain intensifies colors and reflections, and wind introduces movement into water, foliage, and clouds.
Check the forecast before leaving, but remain prepared for conditions to change. Safety should always take priority during storms, strong winds, extreme temperatures, or difficult terrain.
Wildlife photography often depends on learning how an animal moves, feeds, rests, or interacts with its environment.
Use a suitable focal length and maintain a respectful distance. Avoid baiting, chasing, surrounding, or otherwise disturbing wildlife for the sake of a photograph.
Develop a Personal Vision
The best moment is not always the most dramatic one. It may be a subtle gesture, an unusual arrangement of shapes, or a temporary relationship between light and landscape.
Experiment with:
High and low camera positions
Wide and tight framing
Abstract details
Reflections and shadows
Motion blur
Unconventional weather
Minimalist compositions
How Should You Edit Nature Photos?
Nature photo editing should strengthen the subject, correct technical limitations, and preserve the intended atmosphere. Editing does not need to make every scene brighter, sharper, or more saturated.
A practical post-production workflow may include:
Correct the crop and straighten the horizon.
Adjust exposure and recover usable highlight or shadow detail.
Set the white balance.
Refine contrast and tonal balance.
Correct color selectively.
Reduce noise where necessary.
Apply sharpening at an appropriate viewing size.
Remove sensor dust or small distractions.
Review the image for unnatural halos, clipping, or excessive saturation.
How Can Luminar Help Edit Nature Photos?
Luminar provides tools for correcting composition, exposure, color, and detail:
Layers allow photographers to combine and control multiple visual elements.
Crop AI suggests a crop and helps correct perspective.
Develop provides controls for exposure, highlights, shadows, curves, color, and other fundamental adjustments.
Enhance AI applies adaptive adjustments to tone, color, contrast, and detail.
Structure AI enhances local detail while accounting for the content of the image.
Masking limits adjustments to selected parts of the photograph.
Exclusive Tools of Endless Possibilities in One Editor
There is no single acceptable level of editing for every type of nature photography. Fine-art images may involve more interpretation than documentary, scientific, or competition photography.
To keep the result believable:
Avoid excessive saturation.
Check for halos around trees, mountains, and horizons.
Do not oversharpen fine textures.
Keep noise reduction from erasing natural detail.
Make sure localized adjustments blend smoothly.
Disclose major compositing or generative edits when context requires it.
Conclusion
Strong nature photography combines an understanding of light with purposeful composition, careful timing, and restrained post-production.
Observe how light changes the scene, use compositional techniques according to the subject, and remain ready for short-lived natural events. During editing, focus on the visual qualities that made the scene worth photographing instead of applying the same treatment to every image.
Frequently Asked Questions
What is the best light for nature photography?
There is no single best type of light. Golden-hour light works well for warm, dimensional landscapes, while diffuse overcast light is useful for forests, plants, waterfalls, and scenes with reflective surfaces.
Which camera filter is best for landscape photography?
The best filter depends on the goal. An ND filter enables slower shutter speeds, a polarizing filter controls glare from many non-metallic surfaces, and a graduated ND filter helps balance a bright sky with a darker foreground.
What is the easiest composition technique for beginners?
The rule of thirds is a practical starting point because most cameras and phones can display a three-by-three grid. Leading lines, natural framing, and negative space are also easy to recognize and practice.
Can nature photography be improved in post-production?
Yes. Post-production can correct exposure, white balance, composition, noise, color, and sharpness. The strongest edits support the original scene and avoid introducing visible artifacts.
Can Luminar automatically improve photo composition?
Crop AI in Luminar can analyze a photo and suggest changes to its crop, framing, and perspective. The photographer can then adjust the result manually.
Subscribe to know first
Our delivery owl will bring you our best deals and news about Skylum news.