
Learn seven ways to compose stronger landscape photos, create depth, and guide the viewer’s eye through the frame.
A beautiful landscape doesn’t automatically make a strong photograph. The way you arrange the elements inside the frame can determine where the viewer looks, how they experience the scene, and what story the image communicates.
That is why landscape photography composition is worth studying. You don’t need to follow every composition rule in every photograph. Instead, learn how different techniques affect balance, depth, scale, and visual flow, then decide when they help your particular scene.
In this guide, we’ll explore seven useful composition techniques for landscape photography, from the Rule of Thirds and leading lines to negative space and unusual perspectives. We’ll also look at how thoughtful editing can refine the composition after you take the photograph.
Don’t feel like reading the whole breakdown? We’ve pulled together a quick summary below.
Key Takeaways
- Composition determines how visual elements interact inside the frame.
- The Rule of Thirds can help create a balanced starting point, but it isn’t a requirement.
- Leading lines guide the viewer through a landscape and can add depth.
- Foreground elements make distant landscapes feel more three-dimensional.
- Framing can emphasize a subject and create layers within a scene.
- Negative space can simplify a composition and strengthen the sense of scale.
- Changing your viewpoint is one of the simplest ways to make a familiar landscape look different.
- Post-processing should support the composition rather than distract from it.
Why Composition Matters in Landscape Photography
Landscape photography often gives you a lot to work with: mountains, rivers, forests, clouds, rocks, buildings, roads, and changing light.
The challenge is deciding what deserves attention and what can be left out.
Composition is essentially the arrangement of visual elements within the frame. It helps establish hierarchy, directs the viewer’s eye, and determines how different parts of the image relate to one another.
Good composition can:
- Create a clear focal point
- Guide the viewer’s eye
- Establish depth
- Show scale
- Balance visual weight
- Create a particular mood
- Strengthen the story behind the photograph
Composition rules are useful starting points, but they shouldn’t become restrictions. If breaking a rule produces a stronger image, break it.
The Photo Perspective Correction Tool You've Been Waiting For
1. Use the Rule of Thirds
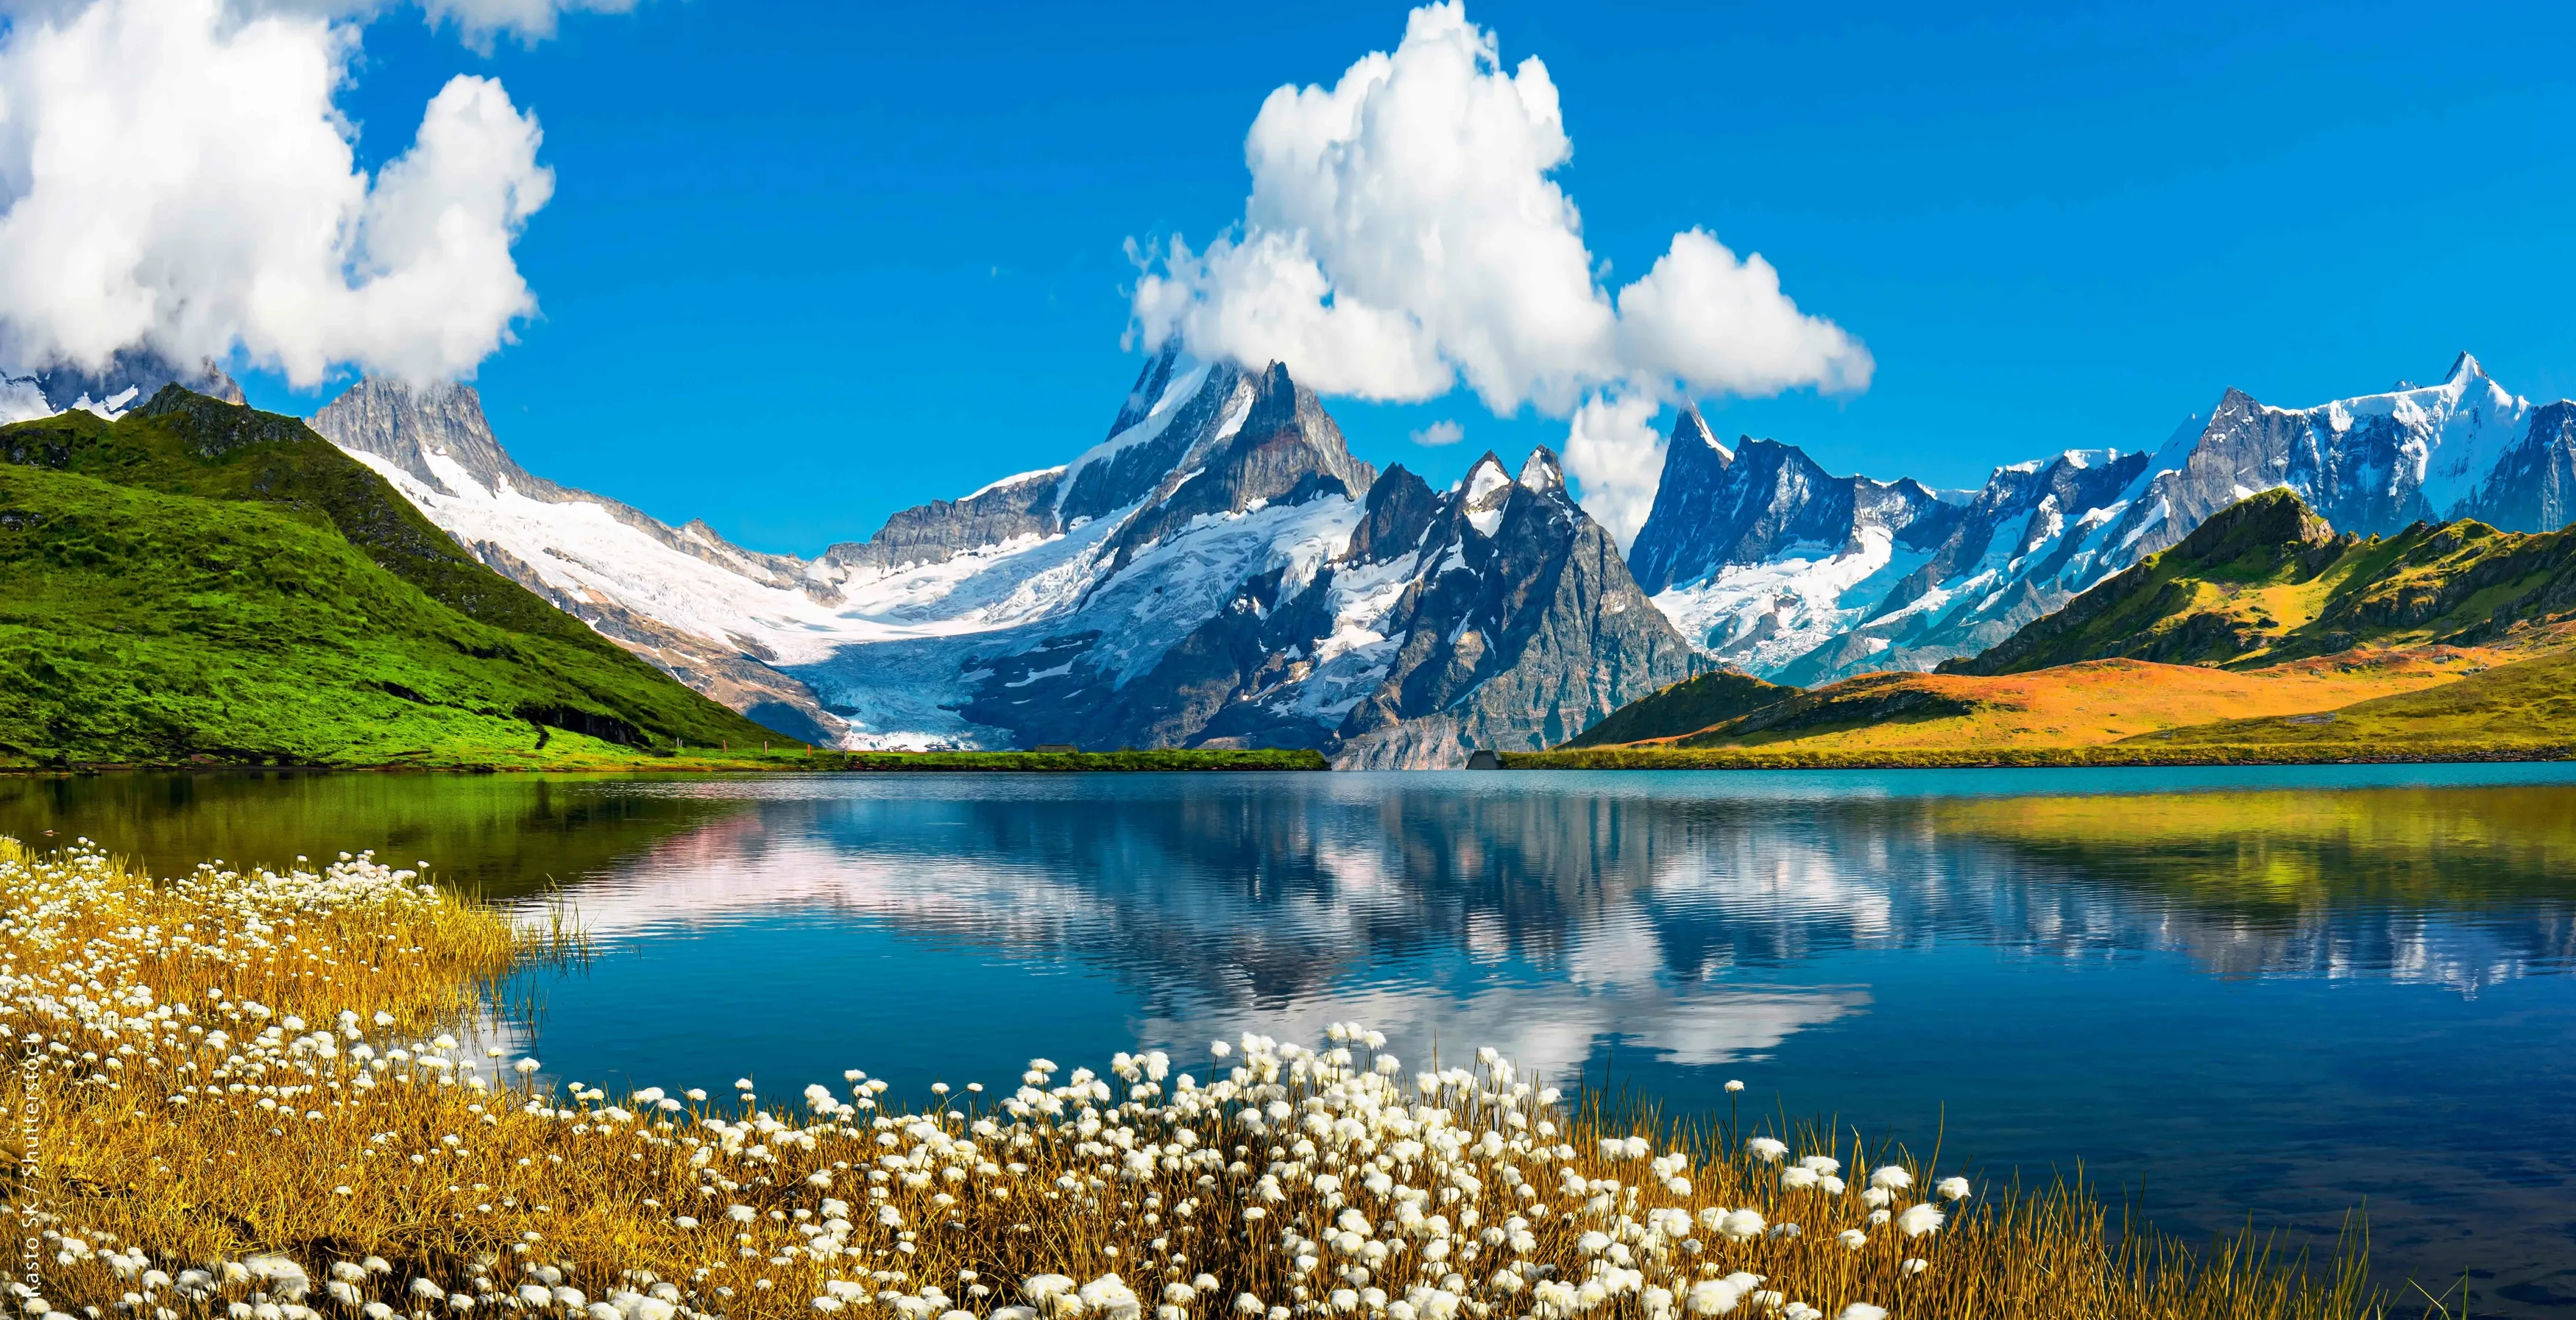 The Rule of Thirds is one of the most familiar composition techniques in photography.
Imagine dividing the frame into a 3 × 3 grid with two horizontal and two vertical lines. Placing important elements near these lines or their intersections can create a balanced composition.
In landscape photography, the technique is especially useful for deciding where to place the horizon.
For example:
- Give the sky more space when the clouds or sky are an important part of the scene.
- Give the land more space when the foreground contains interesting textures, reflections, or other details.
You can also position a mountain peak, tree, building, or other focal element near one of the vertical gridlines.
Read more about the Rule of Thirds in photography.
Don’t Treat It as a Requirement
A centered horizon isn’t automatically wrong, and a subject doesn’t always need to sit on a third.
Symmetrical scenes, reflections, minimalist compositions, and architectural landscapes can work particularly well with centered compositions.
Use the Rule of Thirds as a way to explore alternatives rather than a formula you must follow.
2. Look for Leading Lines
 Leading lines are visual elements that guide the viewer’s attention through the photograph.
They can be obvious, such as:
- Roads
- Trails
- Rivers
- Fences
- Bridges
But they can also be created by less obvious shapes, such as rows of trees, shadows, shorelines, or patterns in rocks.
A strong leading line can begin near the bottom of the frame and guide the eye toward a mountain, building, person, or another focal point.
Use Lines to Create Depth
Lines can also make a two-dimensional photograph feel more three-dimensional.
A path that becomes smaller as it moves into the distance creates a sense of perspective. A river winding toward the horizon can connect the foreground and background while giving the viewer a visual route through the scene.
Before taking the photograph, ask:
Where does this line lead?
If it leads toward your main subject, it is likely contributing to the composition. If it leads the viewer out of the frame, that may be intentional — but it is worth noticing.
3. Use Natural Framing
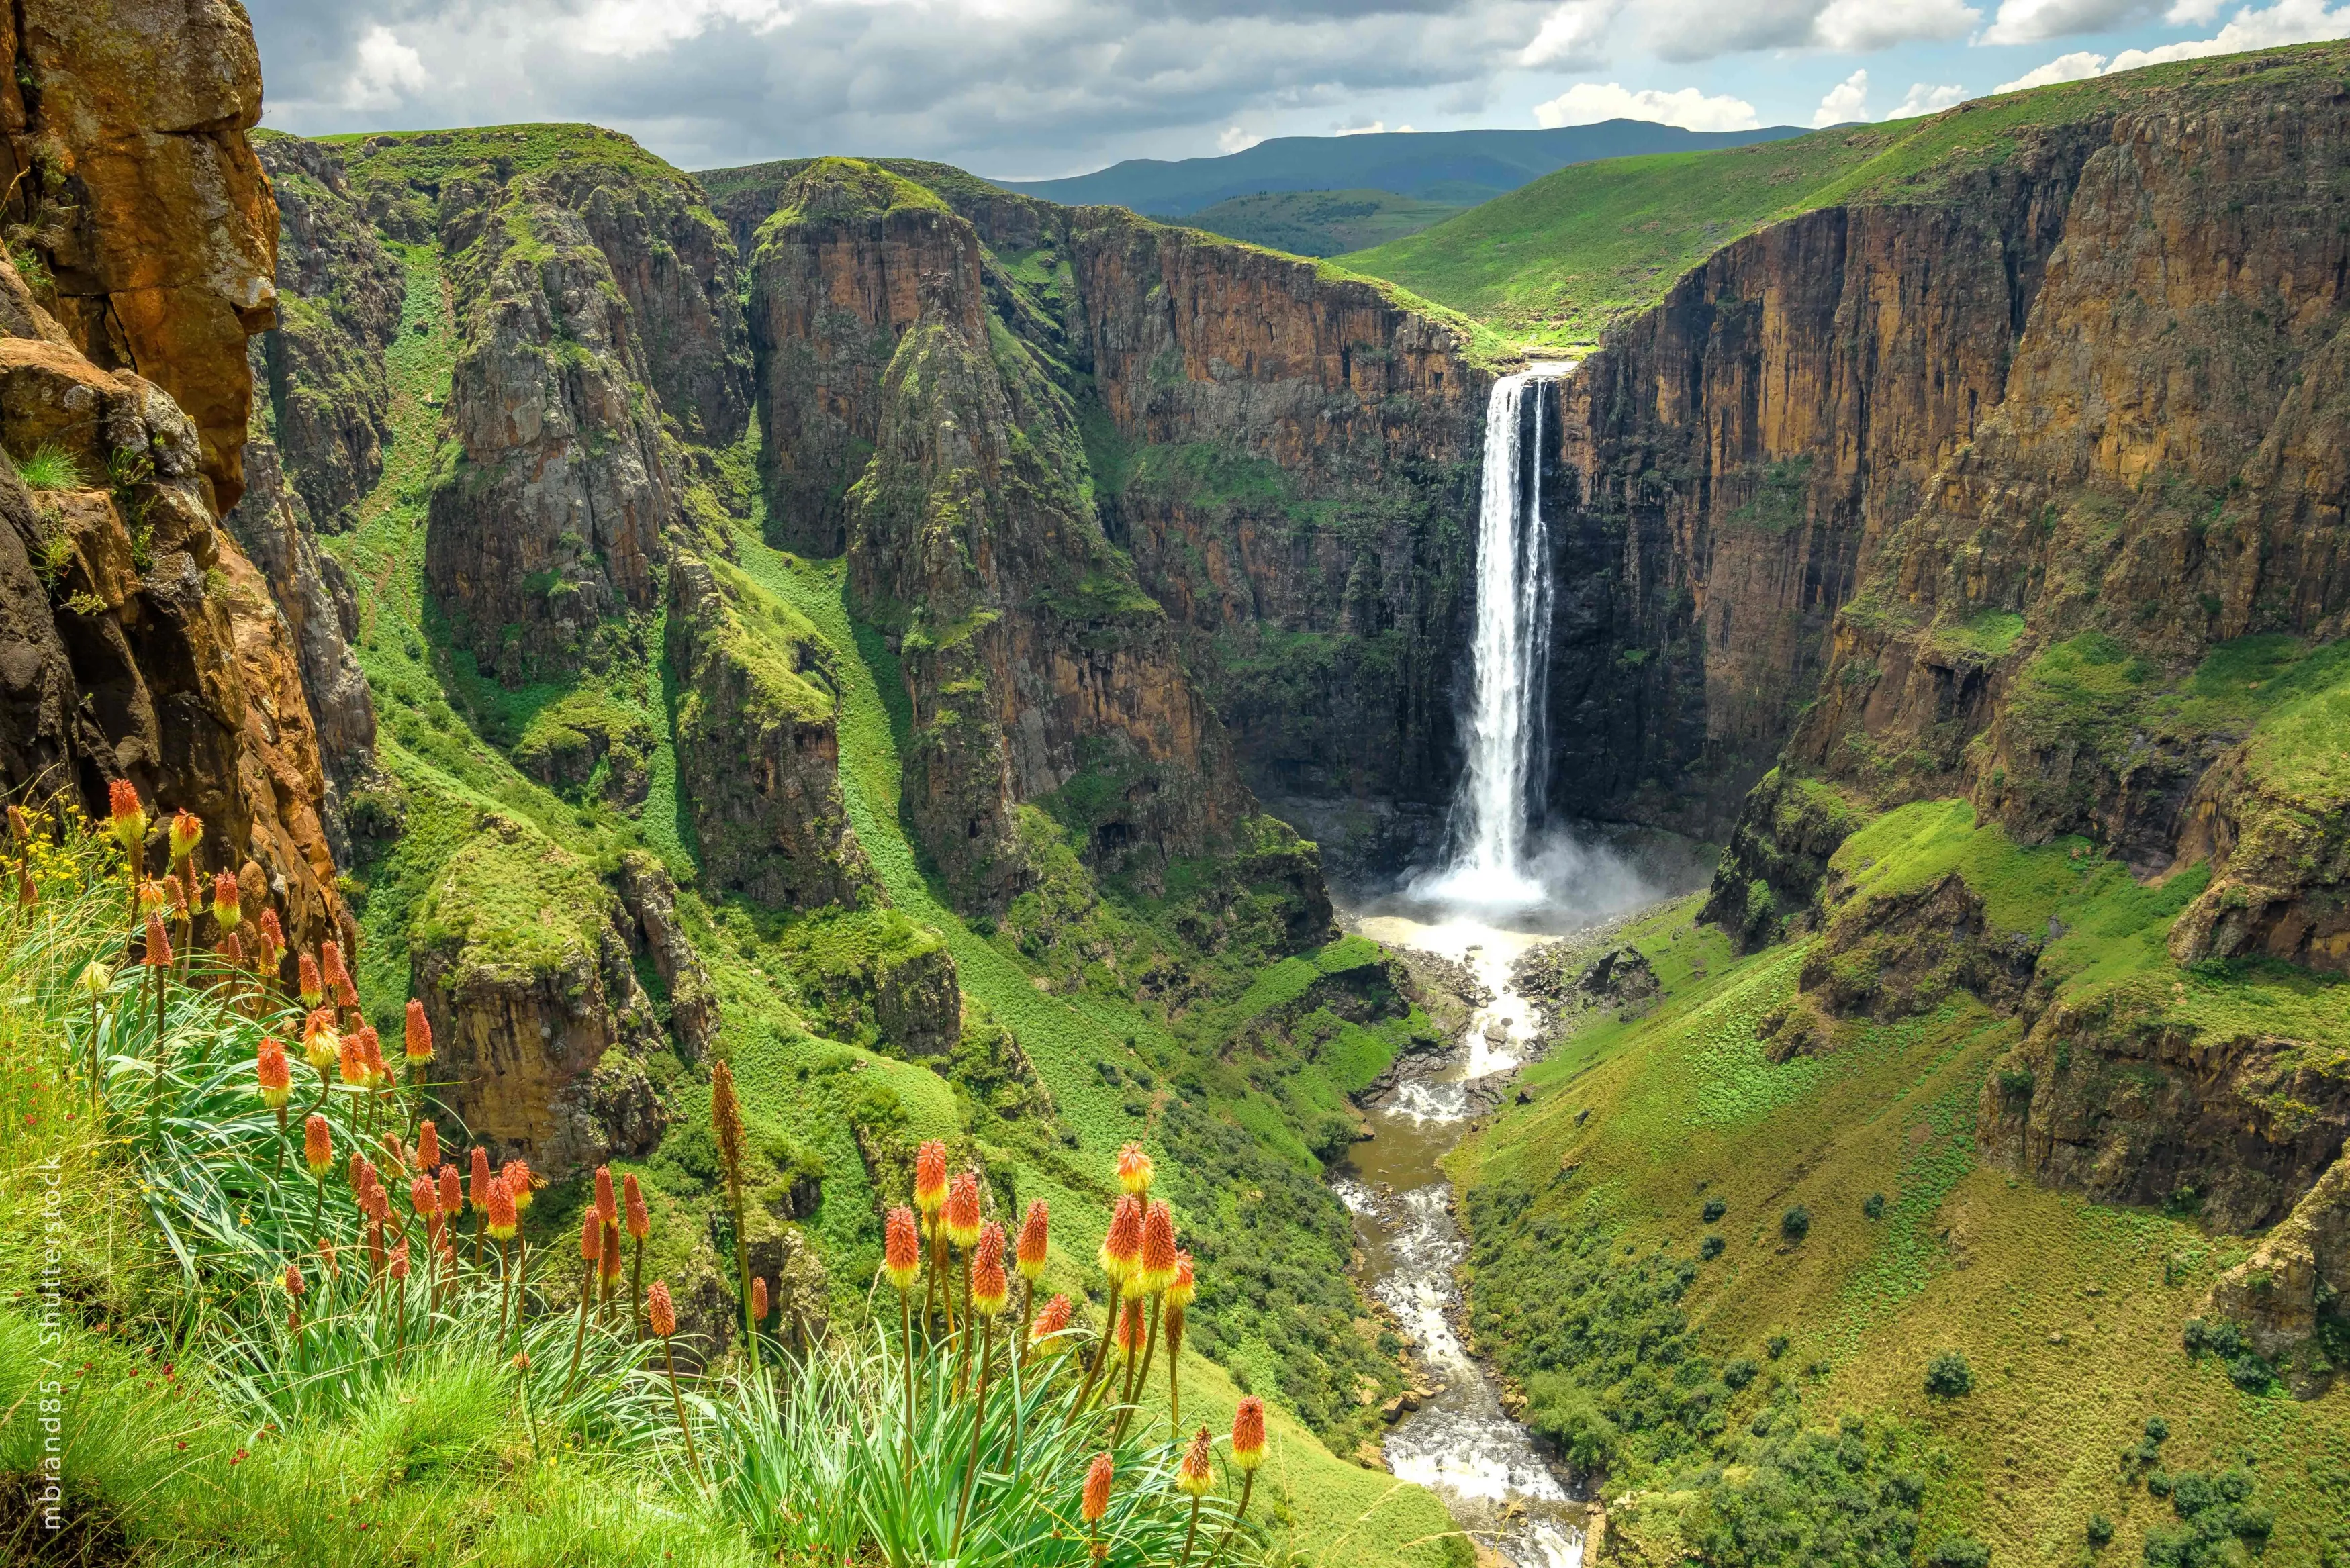 Natural framing means using an element within the scene to surround or partially frame another subject.
Common examples include:
- Tree branches
- Rock formations
- Arches
- Doorways
- Caves
- Buildings
- Mountain formations
A frame can help isolate the main subject while adding another visual layer.
For example, tree branches around the edges of a photograph can frame a distant mountain. An arch can surround a cityscape. A gap between rocks can reveal a lake.
Why Framing Works
A foreground frame can:
- Draw attention toward the main subject.
- Create a stronger sense of depth.
The frame doesn’t need to surround the subject completely. Even a partial frame can be enough to establish the relationship between foreground and background.
4. Add Interesting Foreground Elements
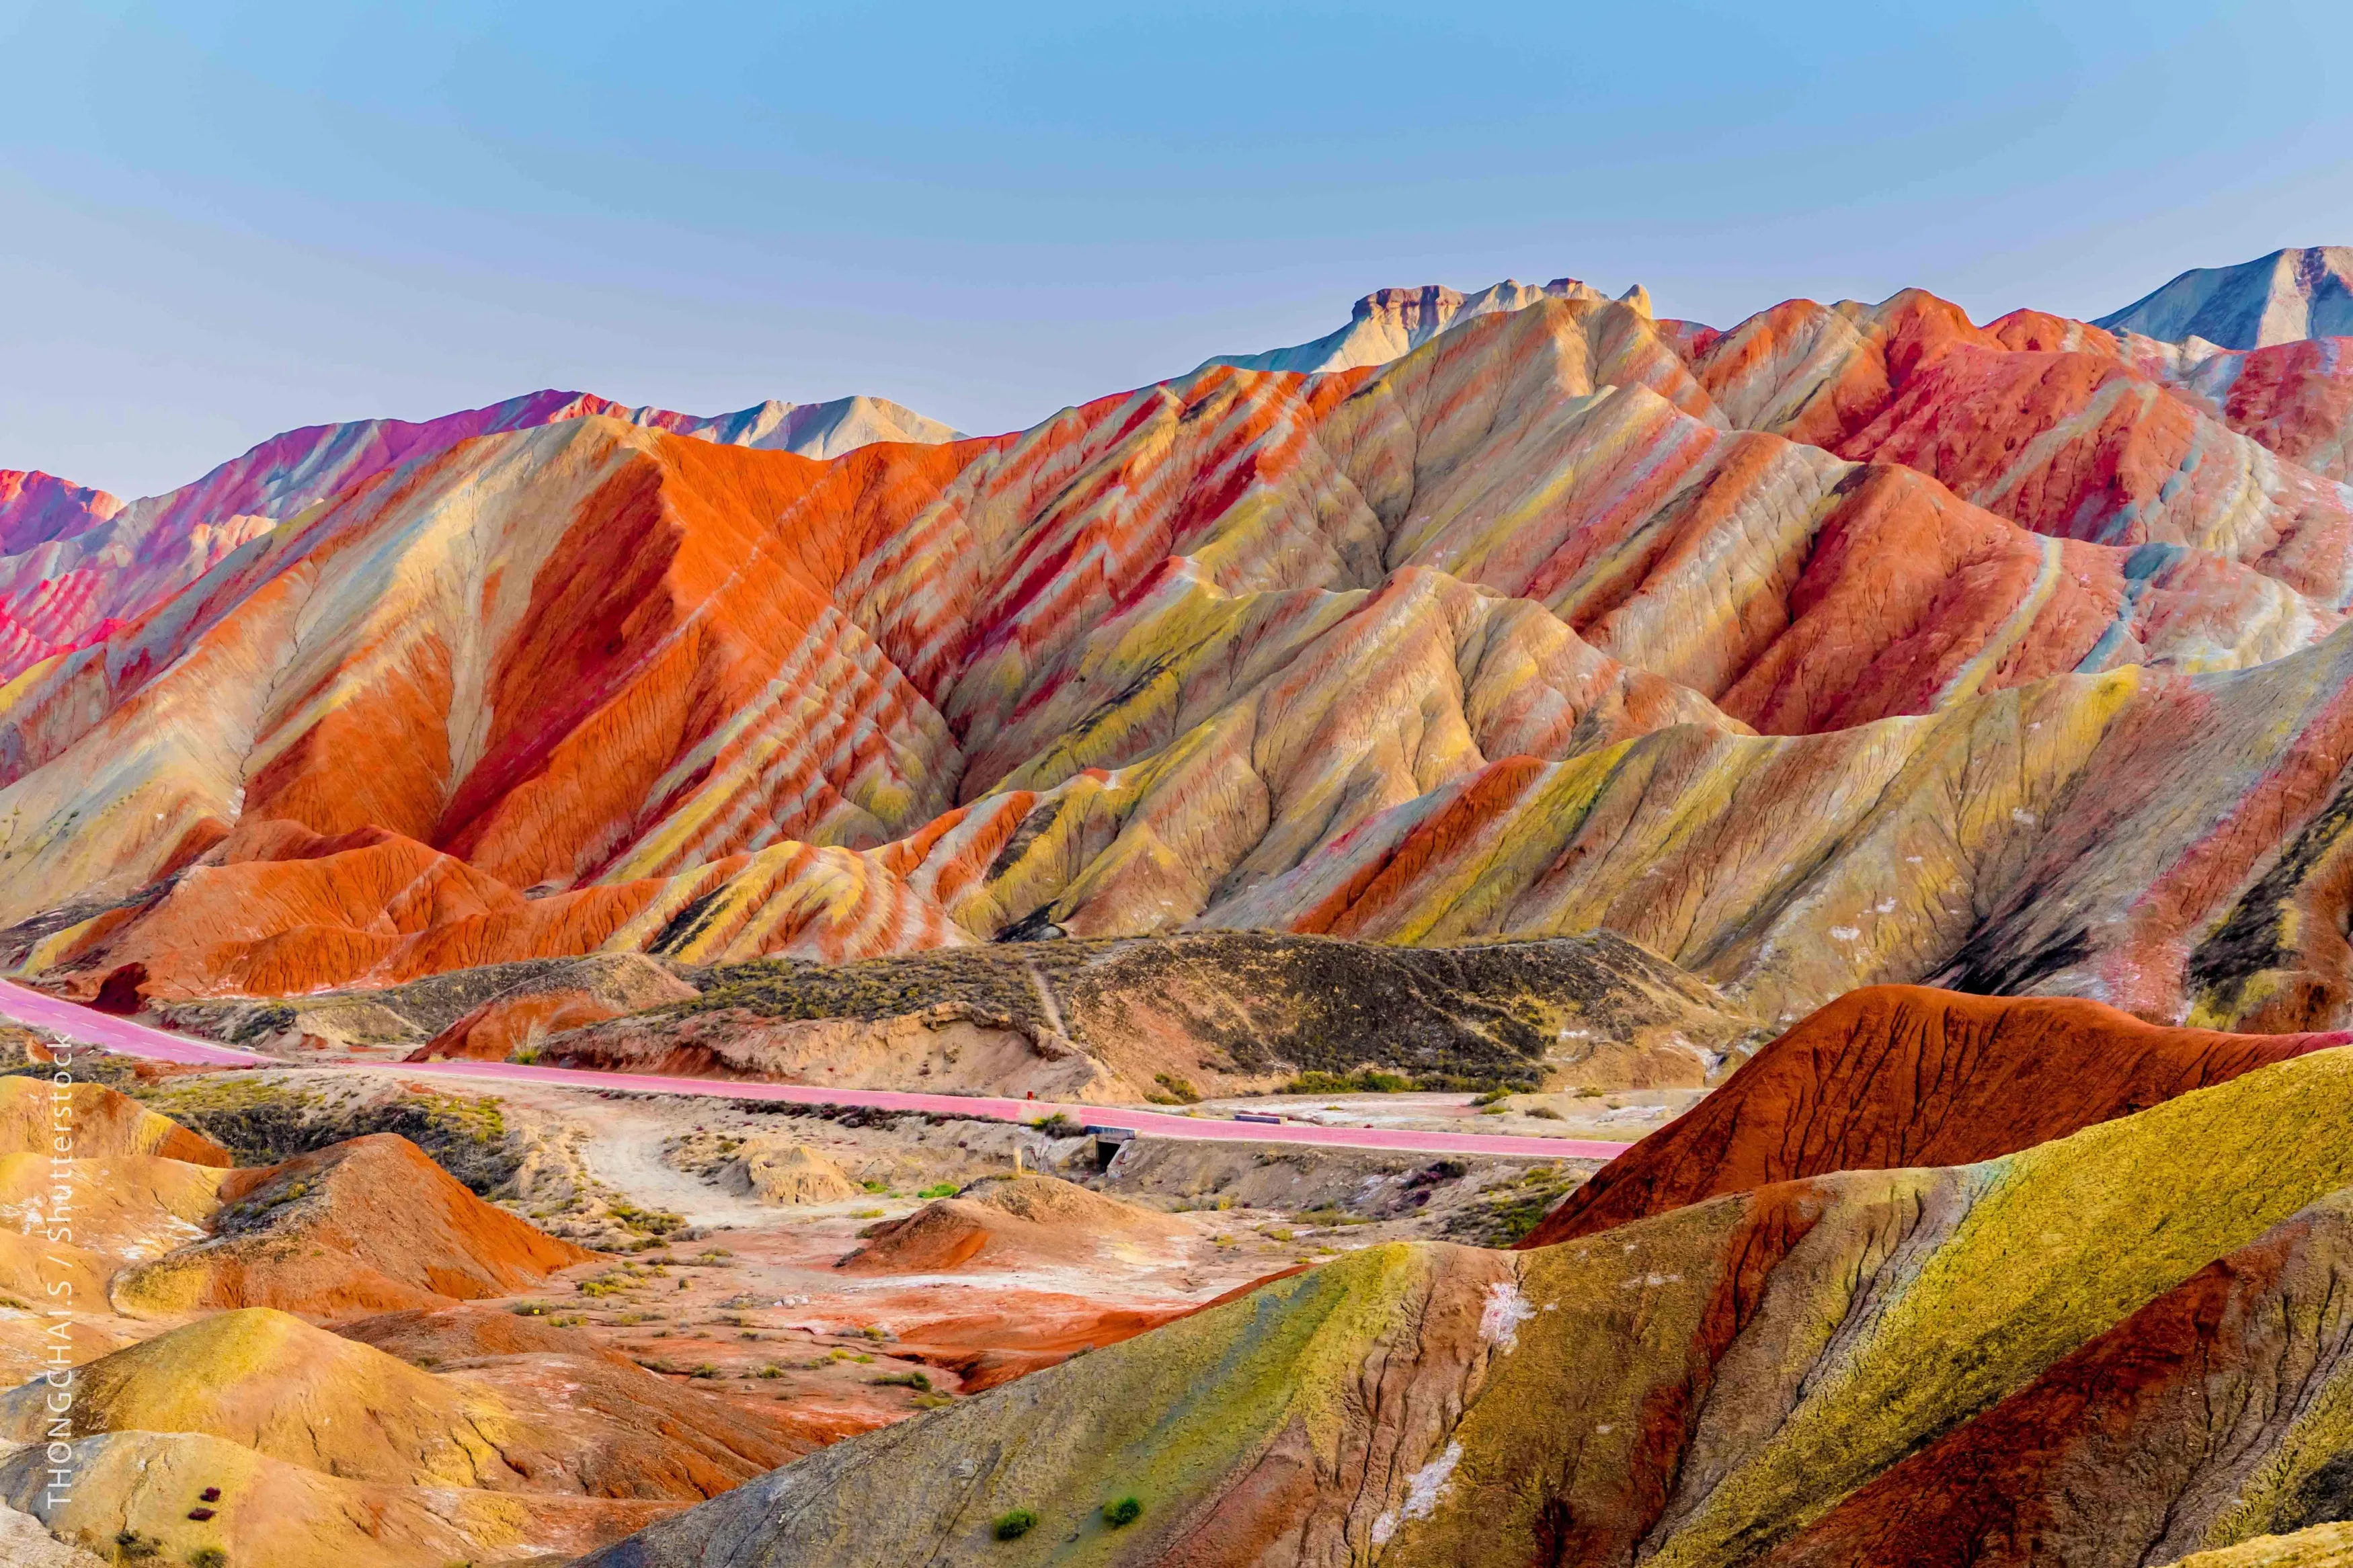 One of the easiest ways to improve landscape composition is to stop photographing only the distant view.
Look for something interesting in the foreground.
It could be:
- A rock
- Flowers
- Grass
- Driftwood
- A person
- A tent
- A road
- A reflection
- Patterns in sand or snow
Foreground elements give the viewer something to explore immediately and can create a visual path toward the background.
Use Foreground to Show Scale
A small person standing beneath a huge mountain can communicate the mountain’s scale much more effectively than the mountain photographed alone.
The same idea works with a tiny boat on a large lake or a hiker on an expansive trail.
Foreground subjects aren’t just decorative. They can provide context and help the viewer understand the size of the landscape.
5. Experiment With Balance and Symmetry
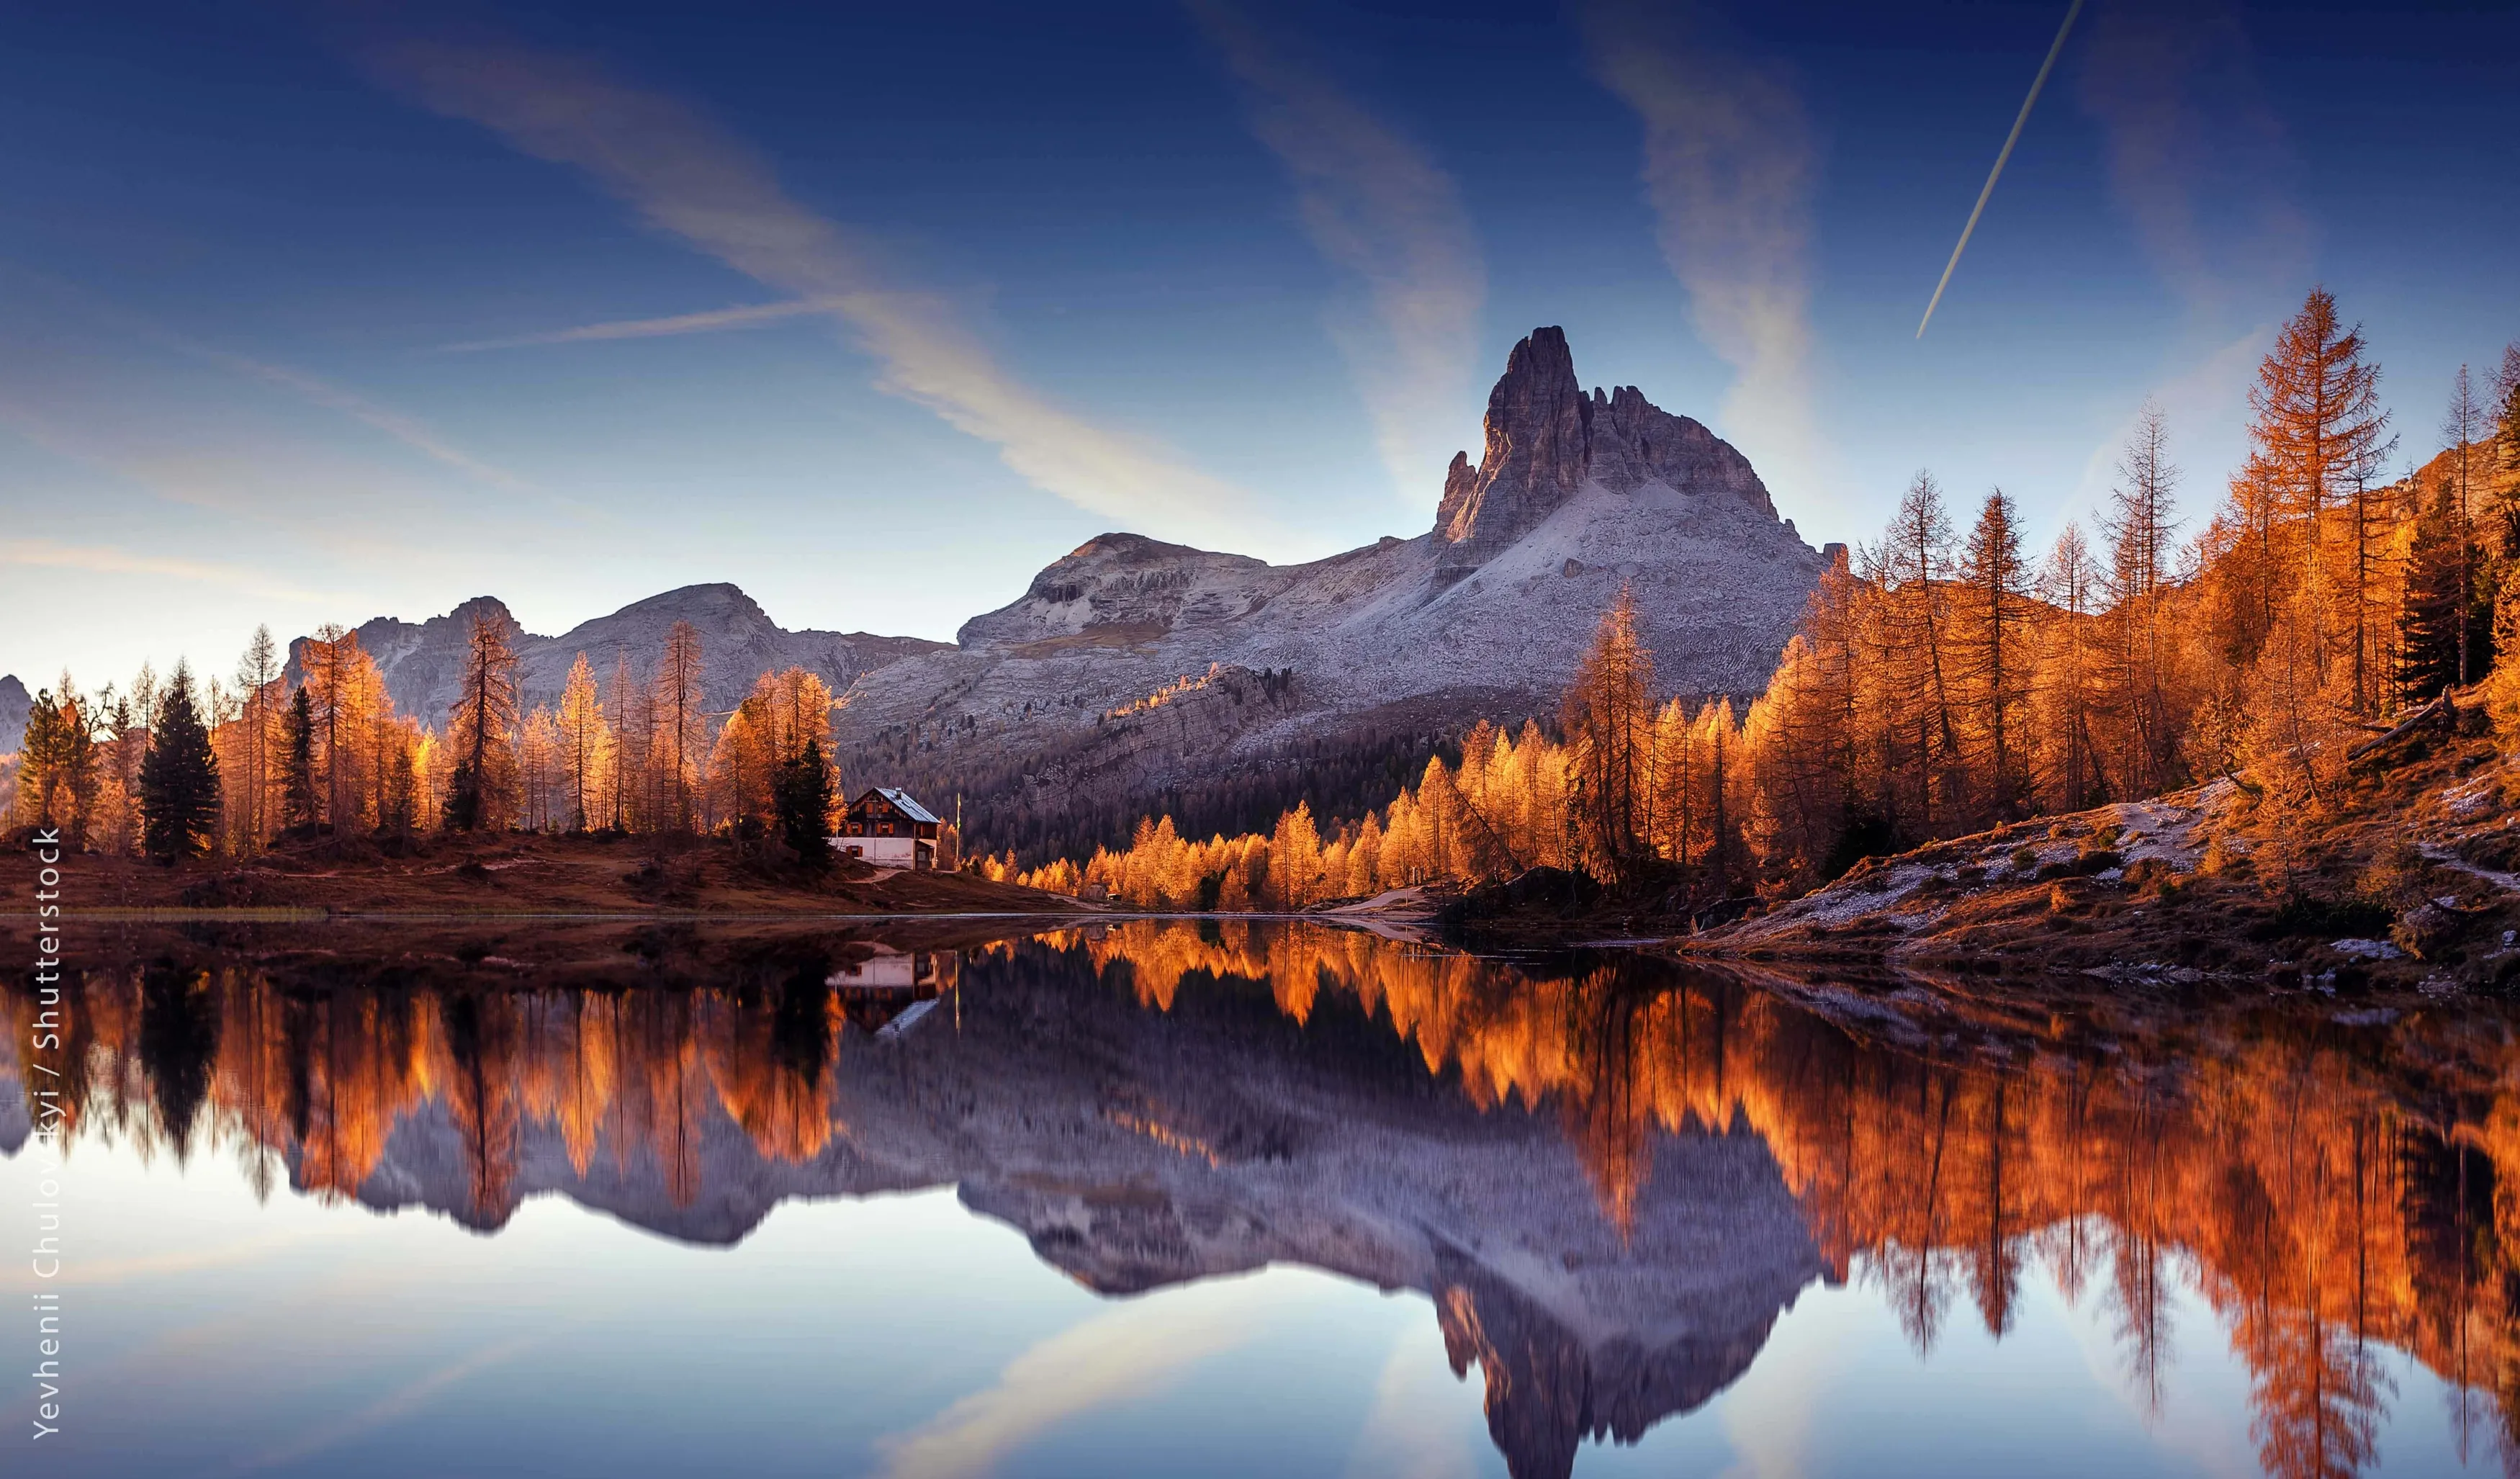 A composition doesn’t always need to be symmetrical to feel balanced.
Symmetry occurs when elements on opposite sides of the frame mirror or closely correspond with one another.
Reflections are a classic example. A calm lake can reflect a mountain range, creating a visual balance between the upper and lower halves of the photograph.
But balance can also be asymmetrical.
For example, a large dark mountain on one side of the frame may be balanced by several smaller, brighter elements on the other side.
Think of visual weight rather than physical size.
Bright colors, strong contrast, large shapes, and detailed areas can attract attention and therefore carry more visual weight than their size alone might suggest.
For more ideas, explore repetition, symmetry, and balance in photography.
Exclusive Tools of Endless Possibilities in One Editor
6. Use Negative Space
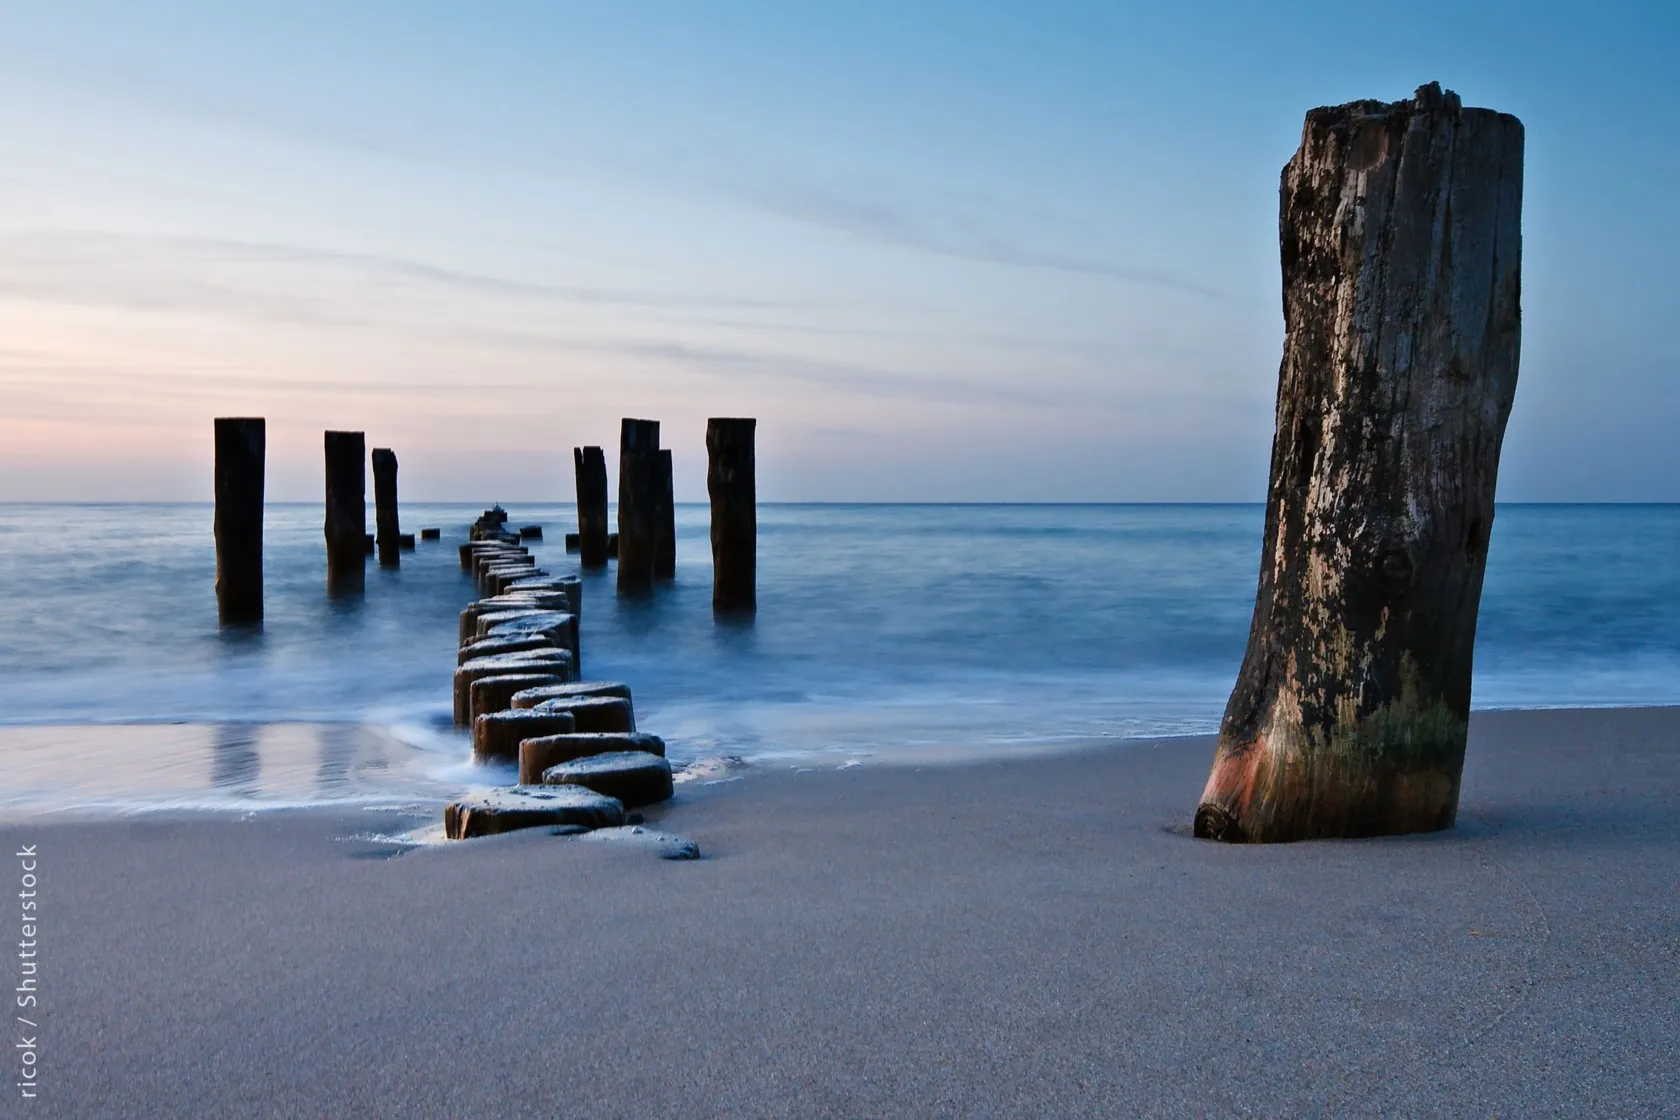 Negative space is an area of the photograph that contains relatively little visual information compared with the main subject.
In landscape photography, negative space can be:
- Sky
- Water
- Snow
- Sand
- Fog
- A plain wall
- A simple field
Imagine a lone tree against a large, open sky. The sky gives the tree room to stand out while creating a feeling of scale and simplicity.
Negative space can also change the mood of a landscape.
A large empty area may communicate:
- Calm
- Solitude
- Simplicity
- Isolation
- Stillness
- Scale
It doesn’t need to be completely blank. Clouds, subtle textures, or gentle color variations can still function as negative space if they don’t compete strongly with the main subject.
7. Change Your Perspective
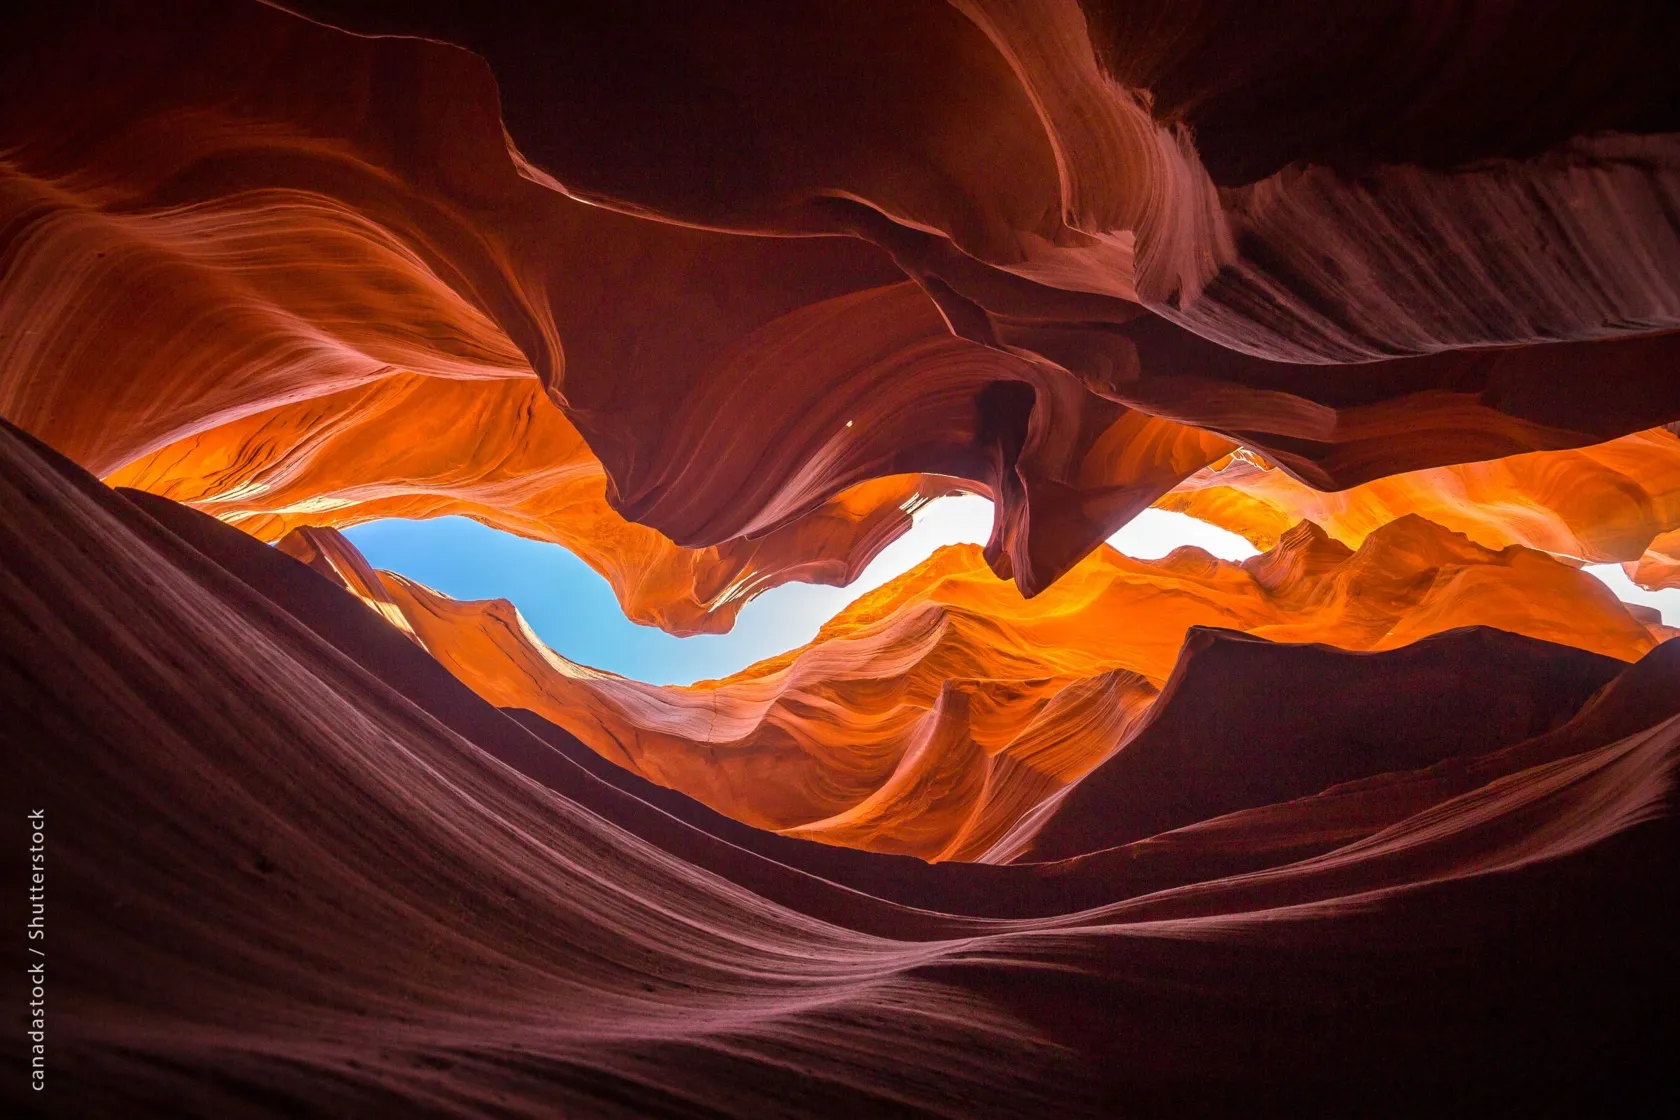 Sometimes the best way to improve a landscape photograph is simply to move.
A familiar scene can look completely different when photographed from a different height or direction.
Try:
- Getting close to the ground
- Shooting from a higher viewpoint
- Moving closer to a foreground subject
- Photographing from the side
- Looking upward
- Looking directly downward
- Changing the camera orientation
Get Low
A low viewpoint can make foreground elements appear larger and more dramatic.
For example, placing the camera close to wildflowers can make them dominate the foreground while mountains remain visible in the distance.
Look for a High Viewpoint
A hill, observation deck, or elevated trail can reveal patterns that aren’t visible from ground level.
Roads, rivers, fields, and buildings can form strong geometric compositions when viewed from above.
Photograph Familiar Places Differently
You don’t need an exotic destination to practice composition.
Try photographing a familiar park, beach, street, or forest from an angle you’ve never used before.
Changing your viewpoint forces you to reconsider relationships between foreground, middle ground, and background.
Create Depth With Foreground, Middle Ground, and Background

A strong landscape often contains several visual layers.
Foreground
The closest part of the scene. It can contain rocks, flowers, water, people, or other details.
Middle Ground
The area between you and the distant background. Mountains, buildings, trees, or roads can occupy this area.
Background
The farthest part of the scene, often containing mountains, clouds, or the horizon.
Including all three layers can create a stronger sense of depth.
You don’t need all three in every photograph, though. A minimalist image with only a subject and a simple background can be just as effective.
How to Choose the Right Composition
When you’re standing in front of a landscape, don’t immediately raise the camera and start shooting.
Take a moment to ask:
What attracted me to this scene?
Then identify the visual element that communicates that attraction.
If it is the mountain, make sure the mountain has enough visual importance.
If it is the light, look for a composition that emphasizes the light.
If it is the reflection, consider whether the image should contain an equal amount of sky and water.
If it is a small subject within a huge landscape, give that relationship enough space to communicate scale.
This simple process can prevent a common problem: trying to include everything simply because everything looks interesting in person.
Post-Processing Your Landscape Composition
Composition begins when you take the photograph, but editing can help refine the result.
Start with adjustments that support what you already created in the camera:
- Crop distracting edges
- Straighten the horizon
- Adjust exposure
- Balance highlights and shadows
- Refine color
- Control contrast
- Bring out important textures
- Reduce distracting elements

Luminar includes tools for refining exposure, color, detail, and other aspects of a landscape image.
For example, Structure AI can enhance visible details and textures while allowing you to control the strength of the effect. This can be useful for rocks, mountains, architecture, and other detailed areas.

If an unwanted object distracts from your composition, GenErase can help remove it.

The important thing is to use editing to support the composition rather than compensate for every compositional problem after the fact.
Your AI-Powered Photo Editor for MacOS and Windows
Think About Cropping
Cropping is particularly useful when the original frame contains unnecessary information.
Try different aspect ratios and ask:
- Does the crop strengthen the focal point?
- Is the horizon still balanced?
- Is there enough space around the subject?
- Does the crop preserve the sense of scale?
A crop can also change the emotional character of a landscape. A wide panoramic crop can emphasize scale, while a tighter crop can focus attention on a particular feature.
A Simple Landscape Composition Exercise
The next time you visit a landscape, don’t take just one photograph.
Choose one scene and create five versions:
- Rule of Thirds — place the main subject near a third.
- Centered — put the subject or horizon in the center.
- Foreground-led — add a strong element close to the camera.
- Minimalist — remove as many distractions as possible.
- Unusual perspective — change your height or shooting position.
Review the images later without knowing which technique you used.
Which photograph communicates the scene most effectively?
This is a better way to learn composition than memorizing rules. You begin to recognize how different choices affect the final image.
Final Thoughts
Great landscape composition isn’t about following a checklist every time you take a photograph. It’s about understanding how visual elements interact and making deliberate decisions about what belongs in your frame.
The Rule of Thirds can create balance. Leading lines can guide the eye. Foreground elements can add depth and scale. Framing can create layers. Negative space can simplify a scene, while symmetry and visual balance can bring structure to complex landscapes.
Most importantly, keep experimenting. Once you understand why a composition works, you have much more freedom to decide when the traditional rules are useful — and when they aren’t.
FAQ
There isn’t one universally most important rule. The Rule of Thirds, leading lines, framing, negative space, balance, and foreground elements are all useful depending on the scene.
Include distinct foreground, middle-ground, and background elements, use leading lines, and look for overlapping shapes. Changing your viewpoint can also make depth more apparent.
No. The Rule of Thirds is a useful starting point, but a centered horizon can work particularly well for symmetrical scenes and reflections.
A strong foreground can add depth, provide visual interest, and help communicate the scale of distant subjects such as mountains or buildings.
Yes. Cropping, straightening, exposure adjustments, color correction, and removing distracting elements can refine a composition. However, editing works best when it complements decisions made while shooting.


