Learn the essentials of cityscape photography, from choosing gear and camera settings to composing striking urban scenes. Get practical tips for daytime, night, panoramic, and long-exposure shots.
Cityscape photography captures the character of a city through its skyline, architecture, streets, transport, light, weather, and human activity. A cityscape can be a wide view from a rooftop, a compressed pattern of buildings, a reflection in glass, or a carefully framed street leading toward a landmark.
You do not need the newest camera or an ultra-wide lens to begin. Strong urban photographs depend more on viewpoint, timing, composition, exposure, and an understanding of how the city changes throughout the day. This guide covers the essential gear, camera settings, and techniques for daytime and night cityscape photography.
Key Takeaways
- Cityscape photography includes wide skylines, architecture, streets, transport, reflections, and details that communicate a sense of place.
- Wide-angle lenses are useful but not mandatory; normal and telephoto lenses can create cleaner, more distinctive compositions.
- Golden hour, blue hour, harsh midday light, rain, fog, and full darkness each produce different visual opportunities.
- Tripod-based night cityscapes generally favor a low ISO and longer exposure, while handheld night photography requires a faster shutter speed and often a higher ISO.
- There is no universal cityscape setting such as f/16 or 30 seconds; choose settings according to motion, depth of field, light, wind, and equipment.
- Straight verticals matter in architectural scenes, but intentional perspective can also create energy.
- Editing should refine exposure, color, geometry, and attention without making the city look artificial.
What Is Cityscape Photography?
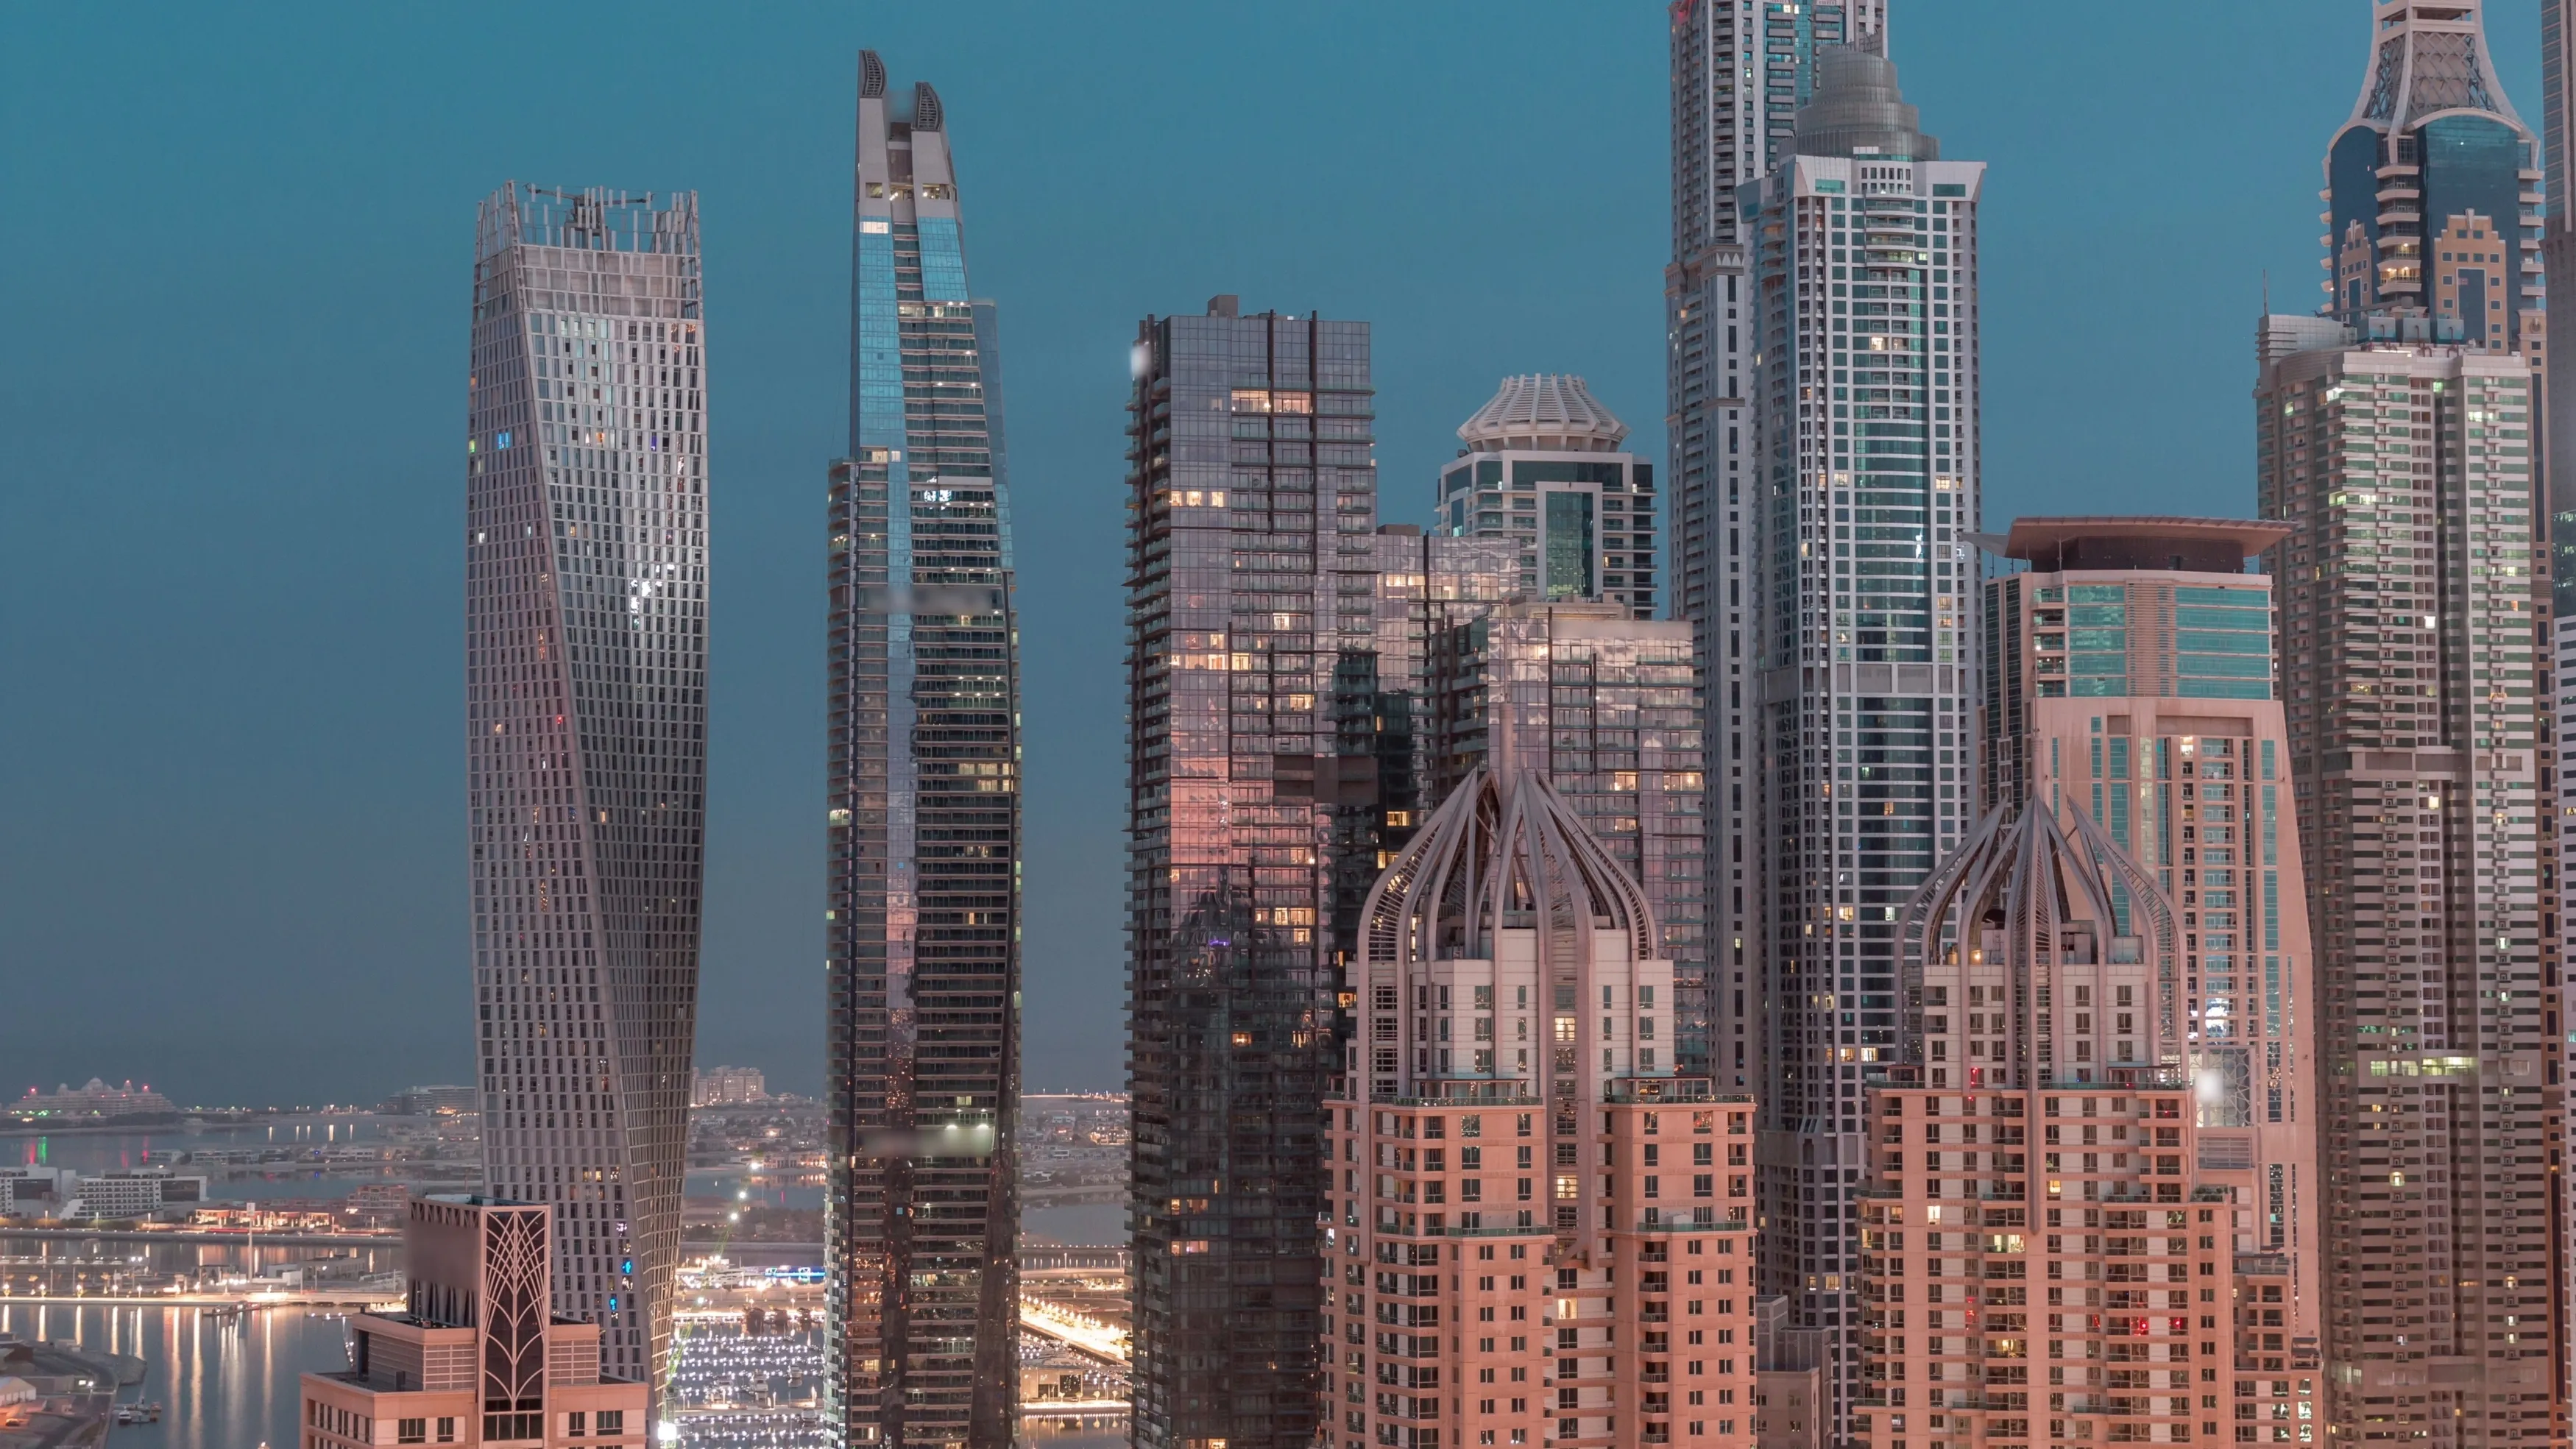
Cityscape photography is the urban counterpart to landscape photography. Instead of mountains, forests, or coastlines, it uses buildings, roads, bridges, public spaces, and artificial light as the main visual elements.
A cityscape does not have to show an entire skyline. The category can include:
- panoramic views from rooftops or hills;
- architecture and groups of buildings;
- bridges, roads, railways, and light trails;
- urban reflections and geometric patterns;
- street-level scenes that show the scale or rhythm of a city;
- industrial areas and changing neighborhoods;
- minimalist details that still feel distinctly urban.
Cityscape and street photography sometimes overlap, but their priorities differ. Street photography commonly centers on spontaneous human moments, while cityscape photography usually gives greater visual weight to the built environment. People can still provide scale, motion, or context within an urban composition.
Exclusive Tools of Endless Possibilities in One Editor
Cityscape Photography Gear
You can begin with any camera that allows reliable exposure control, including a DSLR, mirrorless camera, compact camera, or phone. Gear becomes useful when it solves a specific problem rather than simply adding weight.
Camera
Useful features include RAW capture, manual exposure, exposure bracketing, a level display, a self-timer, and good controls in low light. High resolution can help with large prints and perspective cropping, but dynamic range, handling, and lens choice often matter more in practice.
The original article’s claim that older cameras inherently lack acceptable sharpness or pixel quality is too broad. Older models can produce excellent cityscapes when technique, lens quality, exposure, and output size are appropriate.
Lenses
| Lens type | Useful for | Main caution |
| Ultra-wide, roughly 12–20mm full-frame equivalent | Tight viewpoints, interiors, dramatic foregrounds | Stretched edges and exaggerated empty space |
| Wide zoom, roughly 16–35mm | General skylines, architecture, bridges | Easy to include too much without a clear subject |
| Normal, roughly 35–50mm | Natural perspective and stitched panoramas | May require more distance or multiple frames |
| Short telephoto, roughly 70–200mm | Compressing skyline layers and isolating patterns | Atmospheric haze and camera shake become more visible |
A 24mm prime can be a good choice, but it is not automatically the ideal beginner lens. A 16–35mm-class zoom offers flexibility, while a 35mm, 50mm, or telephoto lens can produce less predictable cityscape photographs by excluding distractions.
Tripod
A stable tripod supports long exposures, exposure bracketing, blue-hour work, and carefully aligned panoramas. Check local rules before setting up because some viewpoints, stations, commercial spaces, and crowded pavements restrict tripods.
If a tripod is not allowed, use image stabilization, brace the camera against your body, increase ISO as needed, and select a shutter speed appropriate to the focal length and subject motion.
Filters
- Circular polarizer: can reduce reflections and deepen some colors, but may produce uneven skies on an ultra-wide lens.
- Neutral-density filter: reduces incoming light so you can lengthen exposure in daytime for smoother water, cloud movement, or reduced pedestrian visibility.
- Graduated ND filter: can help balance a bright sky, although city skylines make the transition difficult to position cleanly.
A ten-stop ND filter is not the default choice for every city. It is a specialized tool that can require long exposures, careful light-leak control, and precise focusing before the filter is attached.
Small Accessories
Bring a charged spare battery, lens cloth, weather cover, remote release or self-timer, and a small light for finding controls safely. At night, avoid shining a bright light toward other photographers, traffic, residents, or reflective windows.
Best Camera Settings for Cityscape Photography
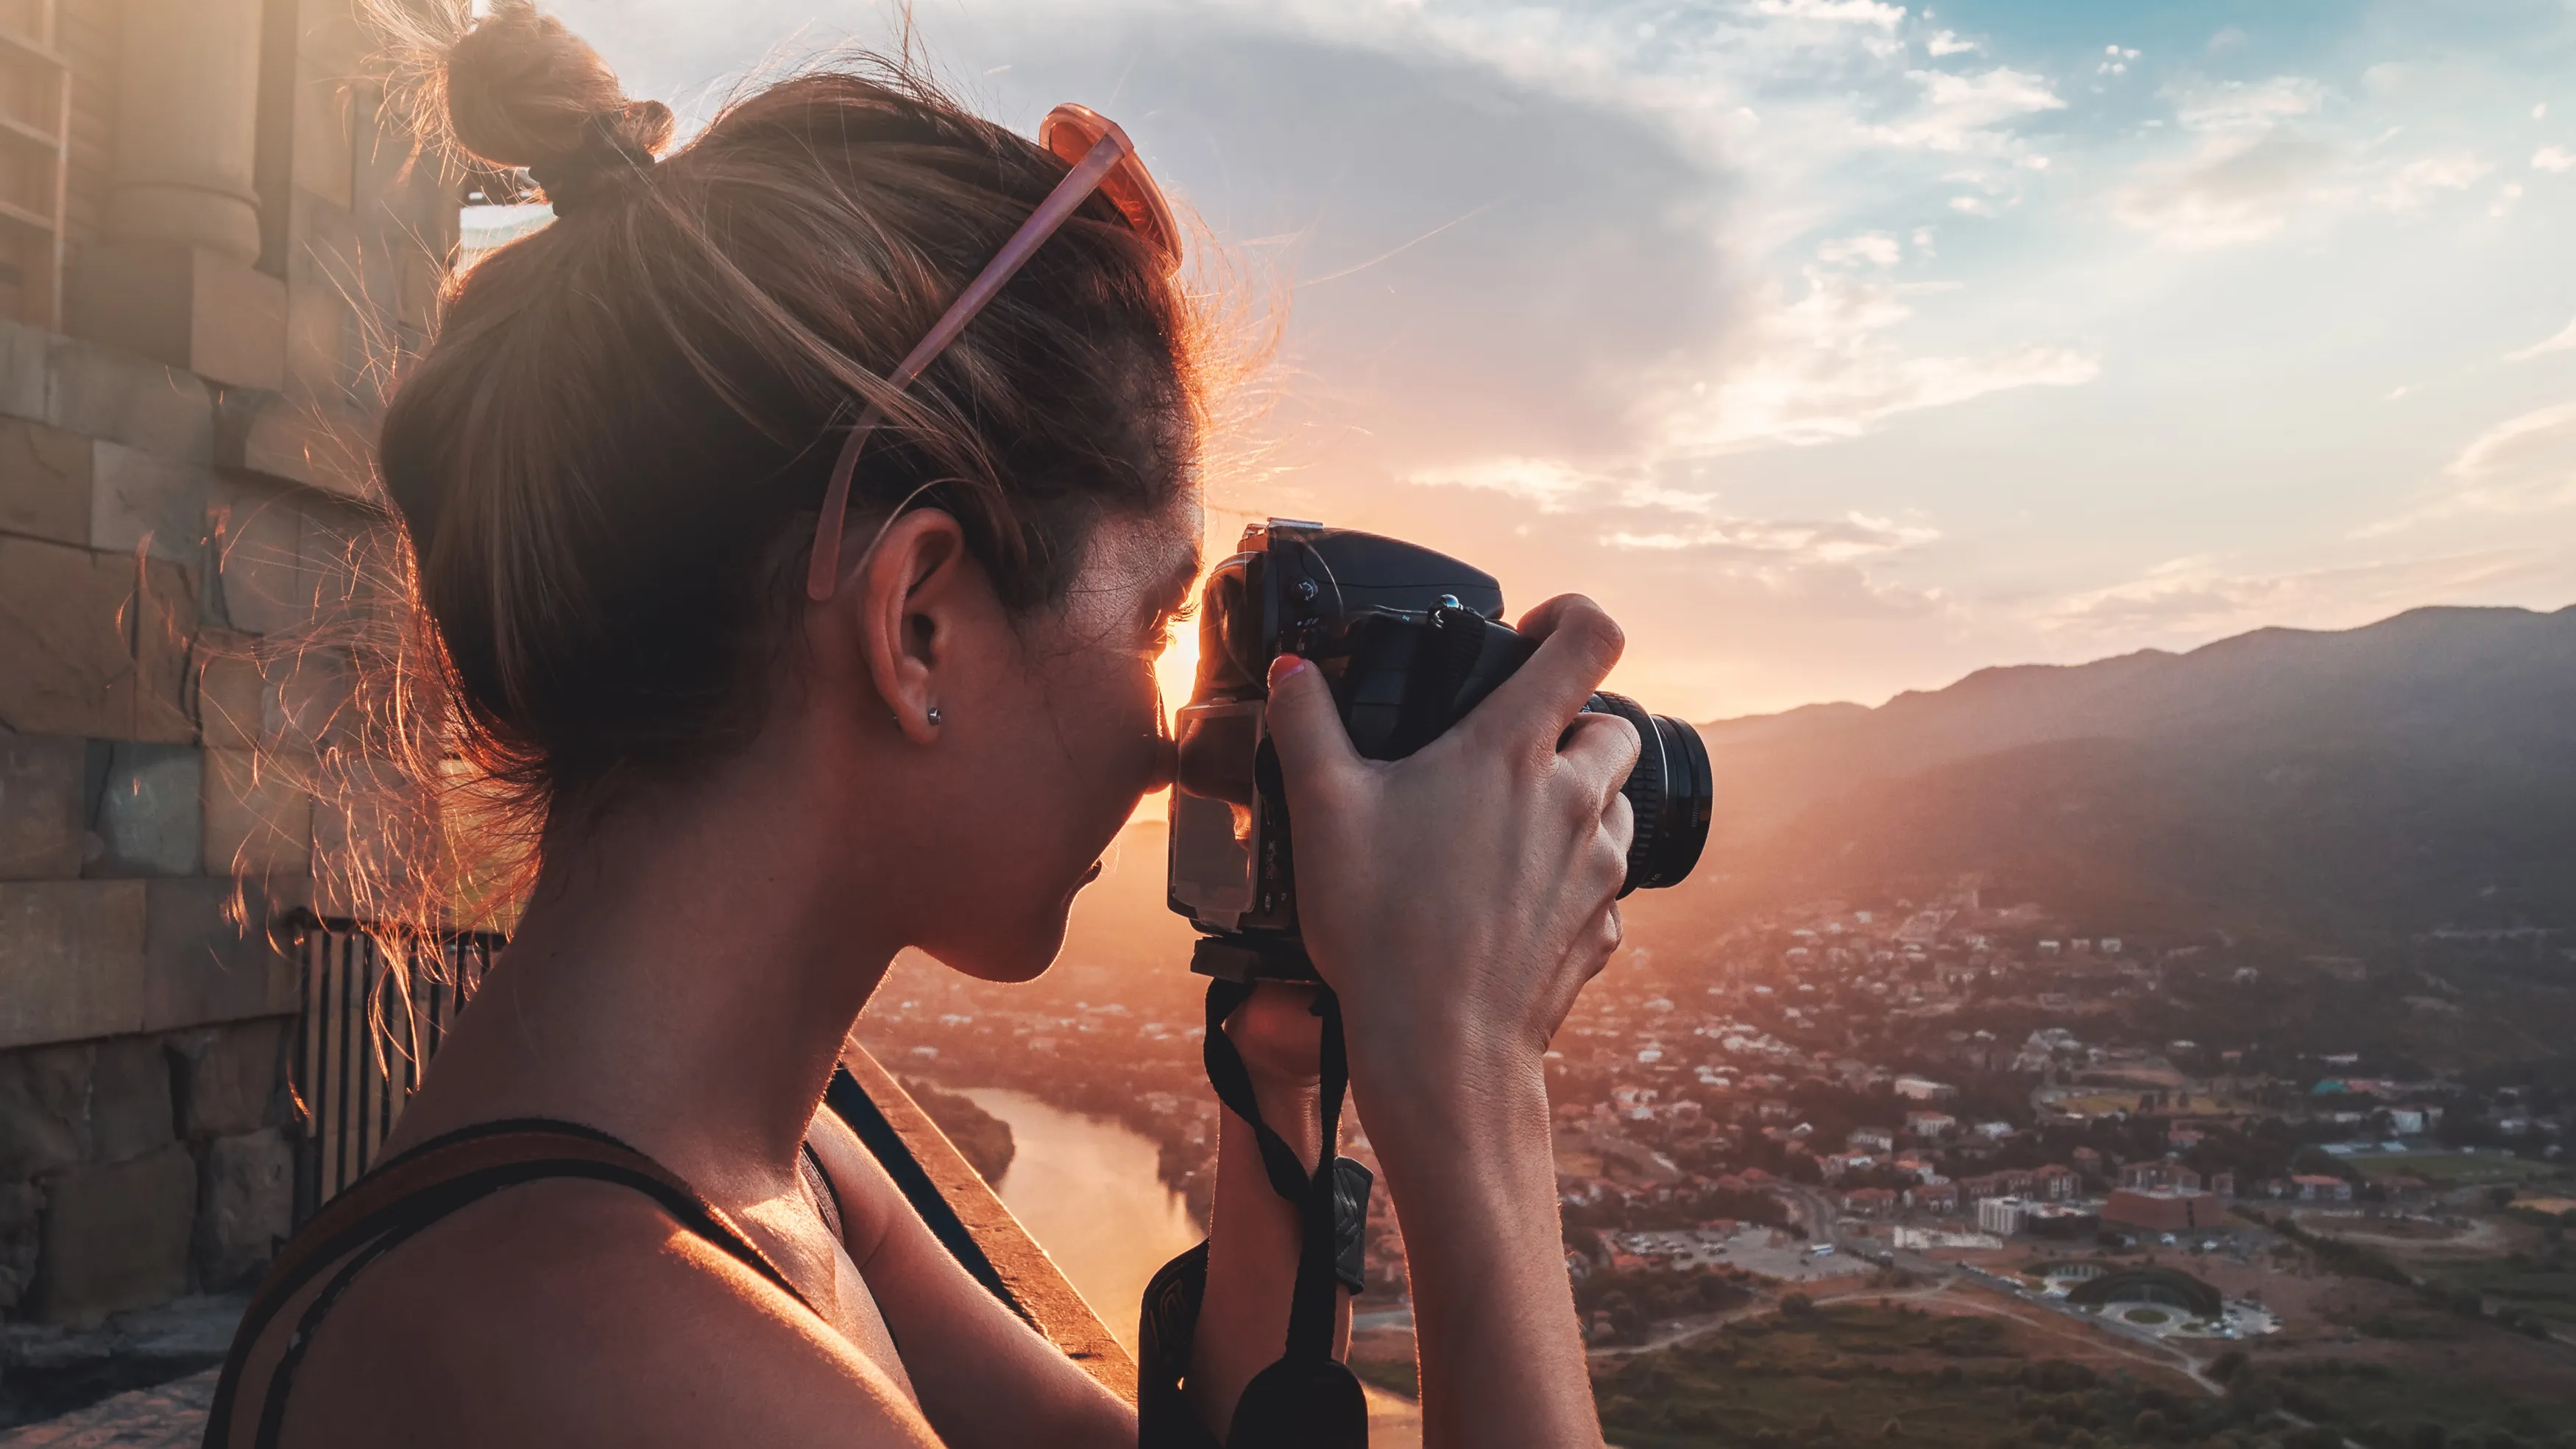
Use the following values as starting points, not fixed rules.
| Situation | Mode | Aperture | Shutter speed | ISO |
| Daytime cityscape on tripod | Aperture Priority or Manual | f/5.6–f/11 | As required | Base or low ISO |
| Golden or blue hour on tripod | Manual | f/5.6–f/11 | 1/2–15 seconds or as required | Low ISO |
| Night skyline on tripod | Manual | f/5.6–f/11 | Several seconds, adjusted to highlights | Low ISO |
| Handheld night city | Manual or Aperture Priority | f/1.8–f/4 | Fast enough for sharpness and motion | Auto or raised ISO |
| Light trails | Manual | f/8–f/16 | Often several seconds | Low ISO |
| People moving through the frame | Shutter Priority or Manual | As required | Fast to freeze or slow to blur | As required |
Aperture
For a deep city view, f/5.6 to f/11 often provides a good balance of depth of field and lens performance. Smaller apertures such as f/16 can create starbursts around point lights and increase depth of field, but diffraction may reduce fine detail. Focus placement and subject distance matter as much as the f-number.
For handheld night scenes, opening to f/1.8–f/4 lets you use a faster shutter speed or lower ISO. The tradeoff is shallower depth of field and potentially softer corners, depending on the lens.
Shutter Speed
Choose shutter speed according to the effect:
- fast speeds freeze pedestrians, traffic, flags, and water;
- 1/4 to several seconds can blur people and introduce short light trails;
- longer exposures can smooth water and extend vehicle trails;
- extremely long exposures can soften clouds or reduce intermittent foot traffic.
Thirty seconds is not inherently better. Wind, vibration, changing signs, boats, moving foliage, and blown highlights may all favor a shorter exposure.
ISO
Use a low ISO when the camera is stable and the subject allows a long exposure. Raise ISO when shooting handheld or when movement must remain sharp. A noisy but sharp photograph is generally more useful than a clean file ruined by camera shake or subject motion.
Focus
Autofocus on a high-contrast building edge or bright feature, then confirm the result at high magnification. In very dark scenes, manual focus may be more reliable. Do not automatically focus at infinity: foreground elements can fall outside the acceptable depth of field.
White Balance and RAW
Cities often combine LEDs, fluorescent lamps, headlights, illuminated signs, and remaining daylight. Auto white balance is a reasonable starting point, while a fixed Kelvin setting keeps a panorama or bracketed series consistent. RAW files preserve more flexibility for balancing mixed light later.
How to Compose Strong Cityscape Photos
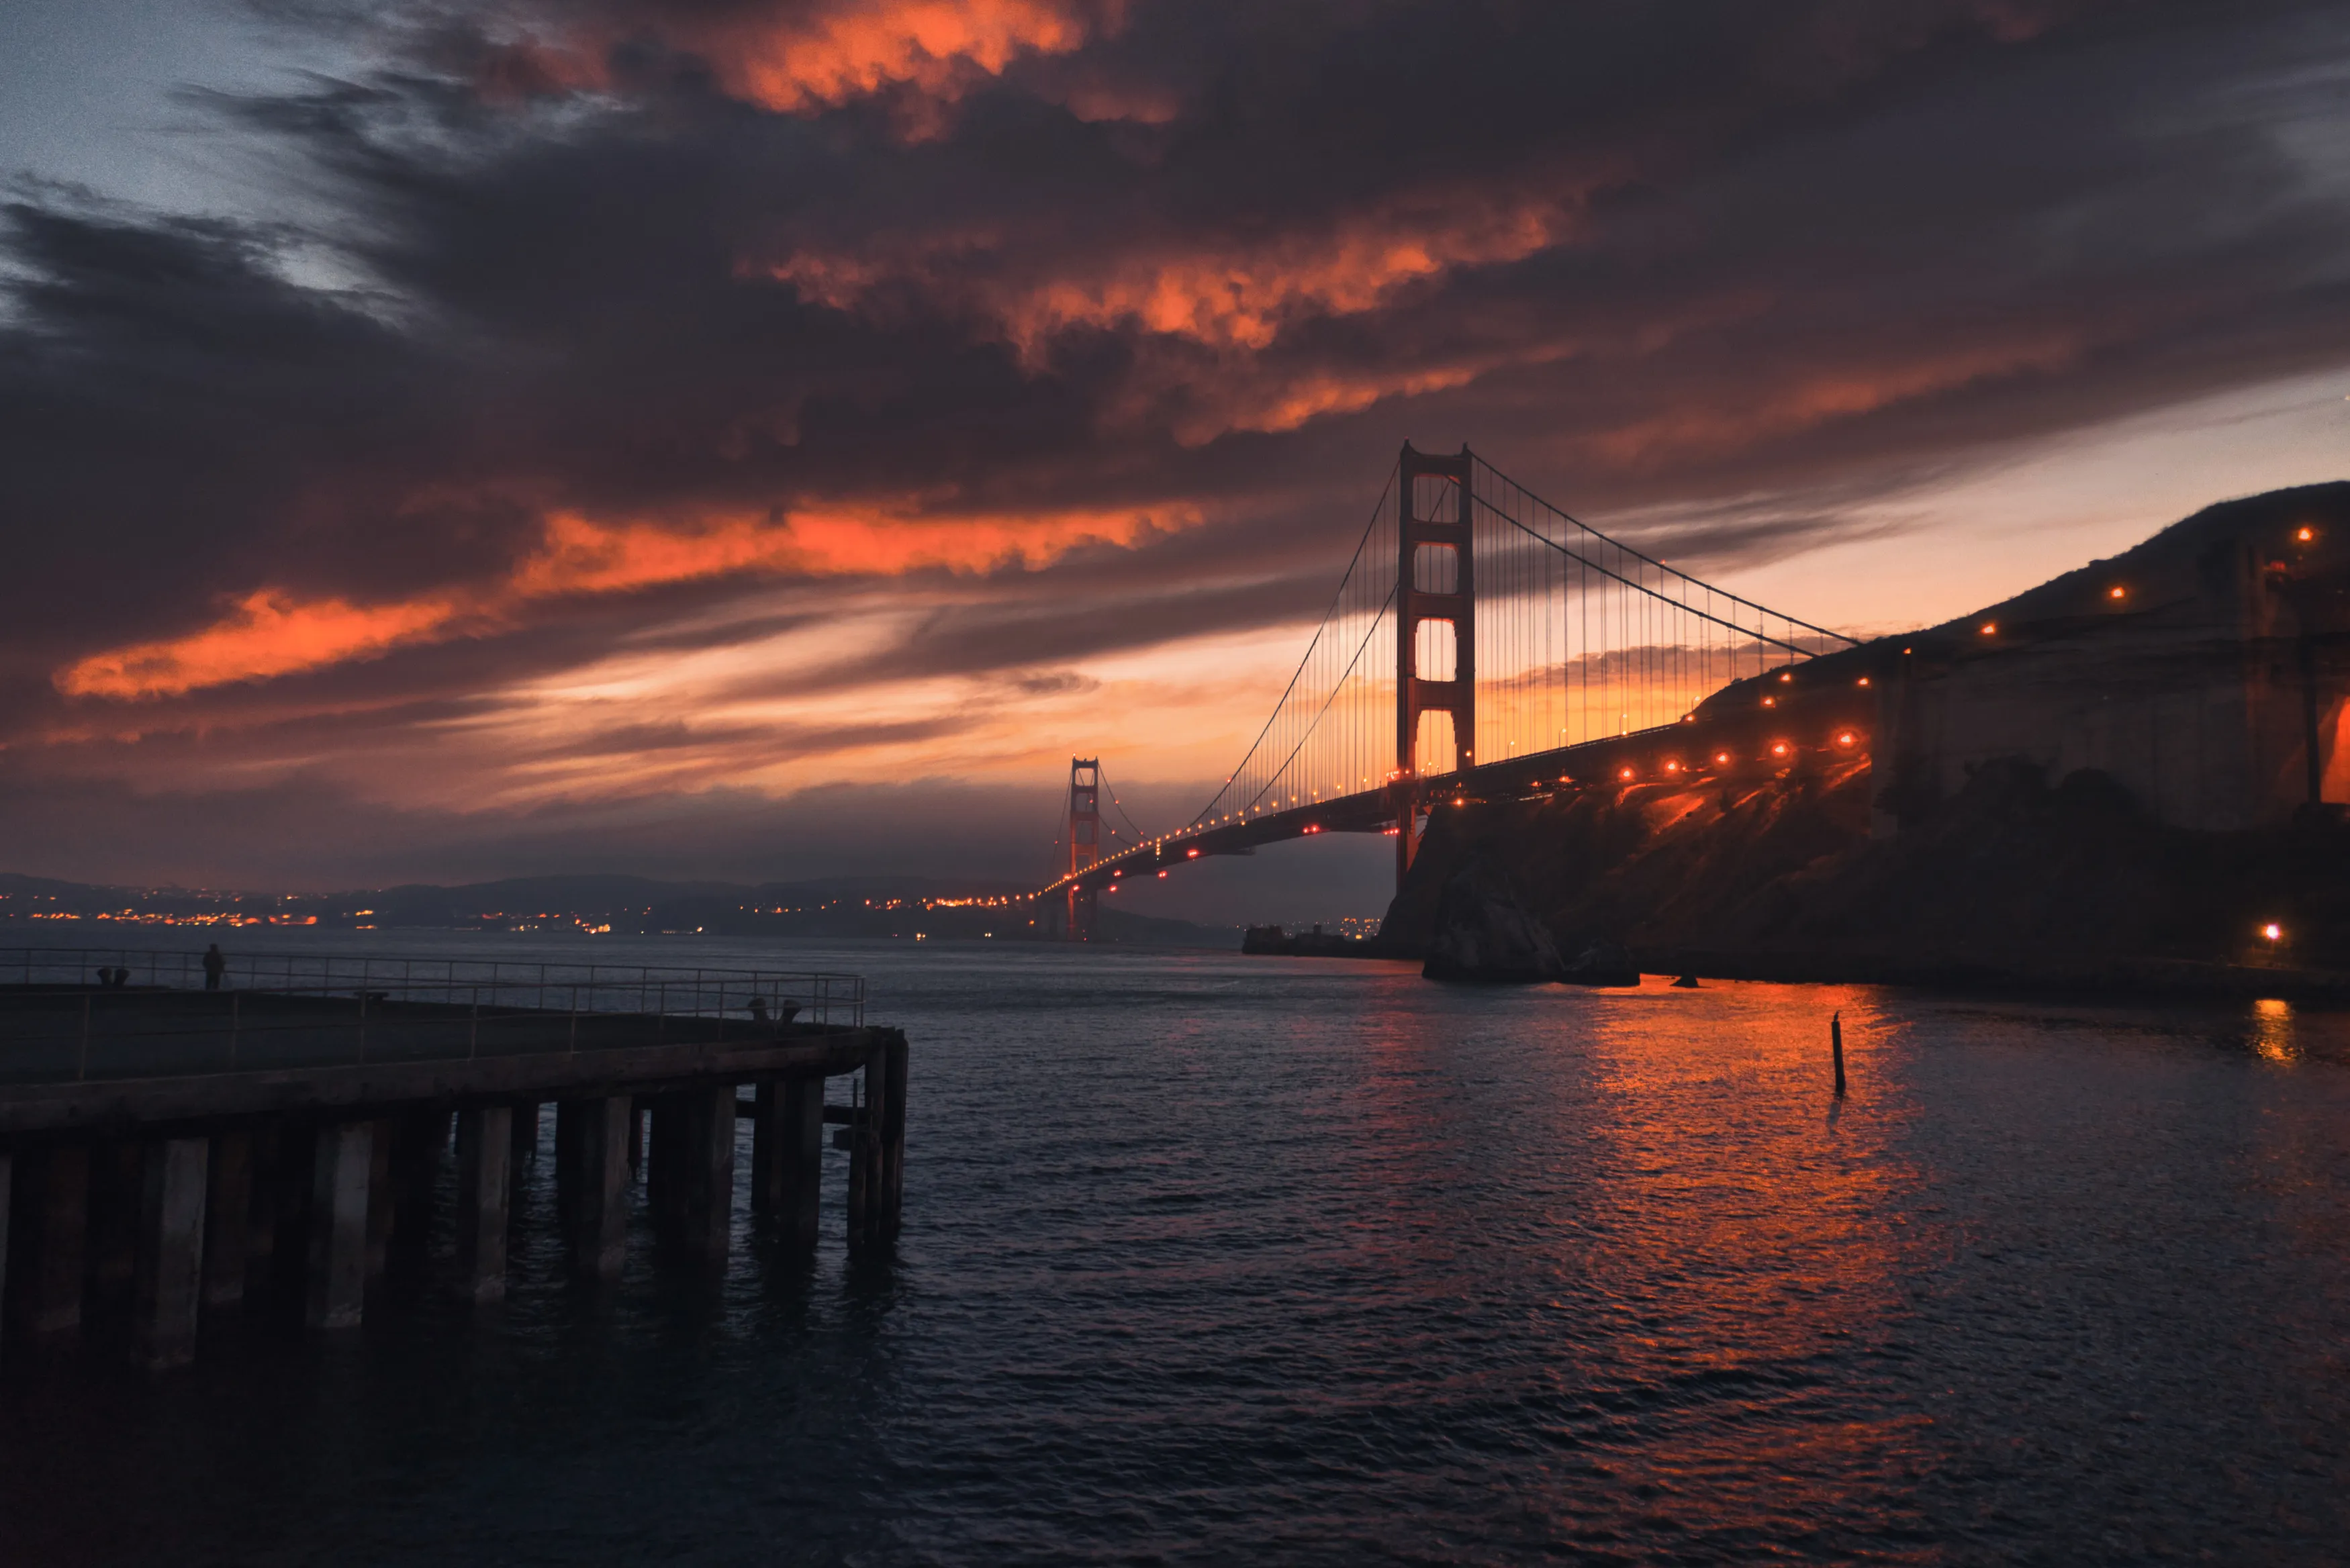
1. Choose a Clear Subject
A wide view can contain hundreds of details, but the photograph still needs a visual priority. Decide whether the main subject is a tower, bridge, road, pattern of windows, patch of light, or the relationship between several buildings.
Remove visual clutter by changing position, using a longer focal length, waiting for movement to clear, or simplifying the frame.
2. Use Leading Lines
Roads, rails, bridges, rivers, light trails, shadows, and building edges can guide attention into the scene. Check where each line enters and leaves the frame; a strong line that points away from the subject may weaken the composition.
3. Create Layers
Combine foreground, middle distance, and skyline to create depth. A railing, rooftop, tree, reflection, or person can anchor the foreground, but it should support the city rather than block it.
4. Look for Symmetry and Repetition
Glass façades, apartment windows, arches, columns, escalators, and road markings create patterns. Centered symmetry can feel deliberate, while breaking the pattern with one open window, person, or patch of color adds tension.
Elevate Your Photography with Our Advanced Software
5. Frame the City
Use arches, windows, bridges, tunnels, balconies, or gaps between buildings as natural frames. When shooting through glass, place the lens close to the surface and shield it with dark fabric or a lens skirt to reduce reflections.
6. Control Vertical Lines
Keeping the camera level helps vertical architecture remain parallel. If you tilt upward, buildings appear to converge. This can be corrected partly during editing, but strong correction requires cropping and stretches pixels near the edges.
Converging verticals are not always a mistake. An upward viewpoint can emphasize height when used intentionally and symmetrically.
7. Add People for Scale
A small figure can show the size of a building or bring life to an otherwise static scene. Wait until the person reaches a visually useful position instead of photographing continuous random movement.
Respect privacy, local law, restricted property, and vulnerable situations. A public location does not remove the need for judgment and courtesy.
The Best Light and Weather for Urban Photography

Golden Hour
Low sunlight can warm building surfaces, create long shadows, and add depth to glass and stone. Golden hour is not always exactly sixty minutes; its duration depends on latitude, season, weather, terrain, and surrounding buildings.
Scout the direction of light in advance because a skyscraper may block the sun earlier than the published sunset time.
Blue Hour
Blue hour often creates the most balanced night cityscape photography. The sky retains color while streetlights and building illumination are already visible. Exposure changes quickly, so arrive early, finalize the composition, and make several frames as ambient light falls.
For more planning ideas, see this blue hour photography guide.
Midday
Strong overhead light can look harsh, but it is useful for graphic shadows, bright colors, reflective façades, minimalism, and high-contrast black-and-white images. Instead of waiting for softer light, compose around the contrast.
Rain and Wet Streets
Rain adds reflections, color, haze, umbrellas, and texture. Protect the camera, keep the lens hood attached, and check the front element for drops. Avoid standing in roads or stepping backward into traffic while following a reflection.
Fog, Snow, and Atmospheric Haze
Fog separates skyline layers and simplifies busy backgrounds. Snow changes exposure and color, while haze can soften distant detail. A telephoto lens emphasizes atmospheric layers; adjust contrast carefully rather than trying to remove every trace of weather in editing.
How to Photograph Cityscapes at Night
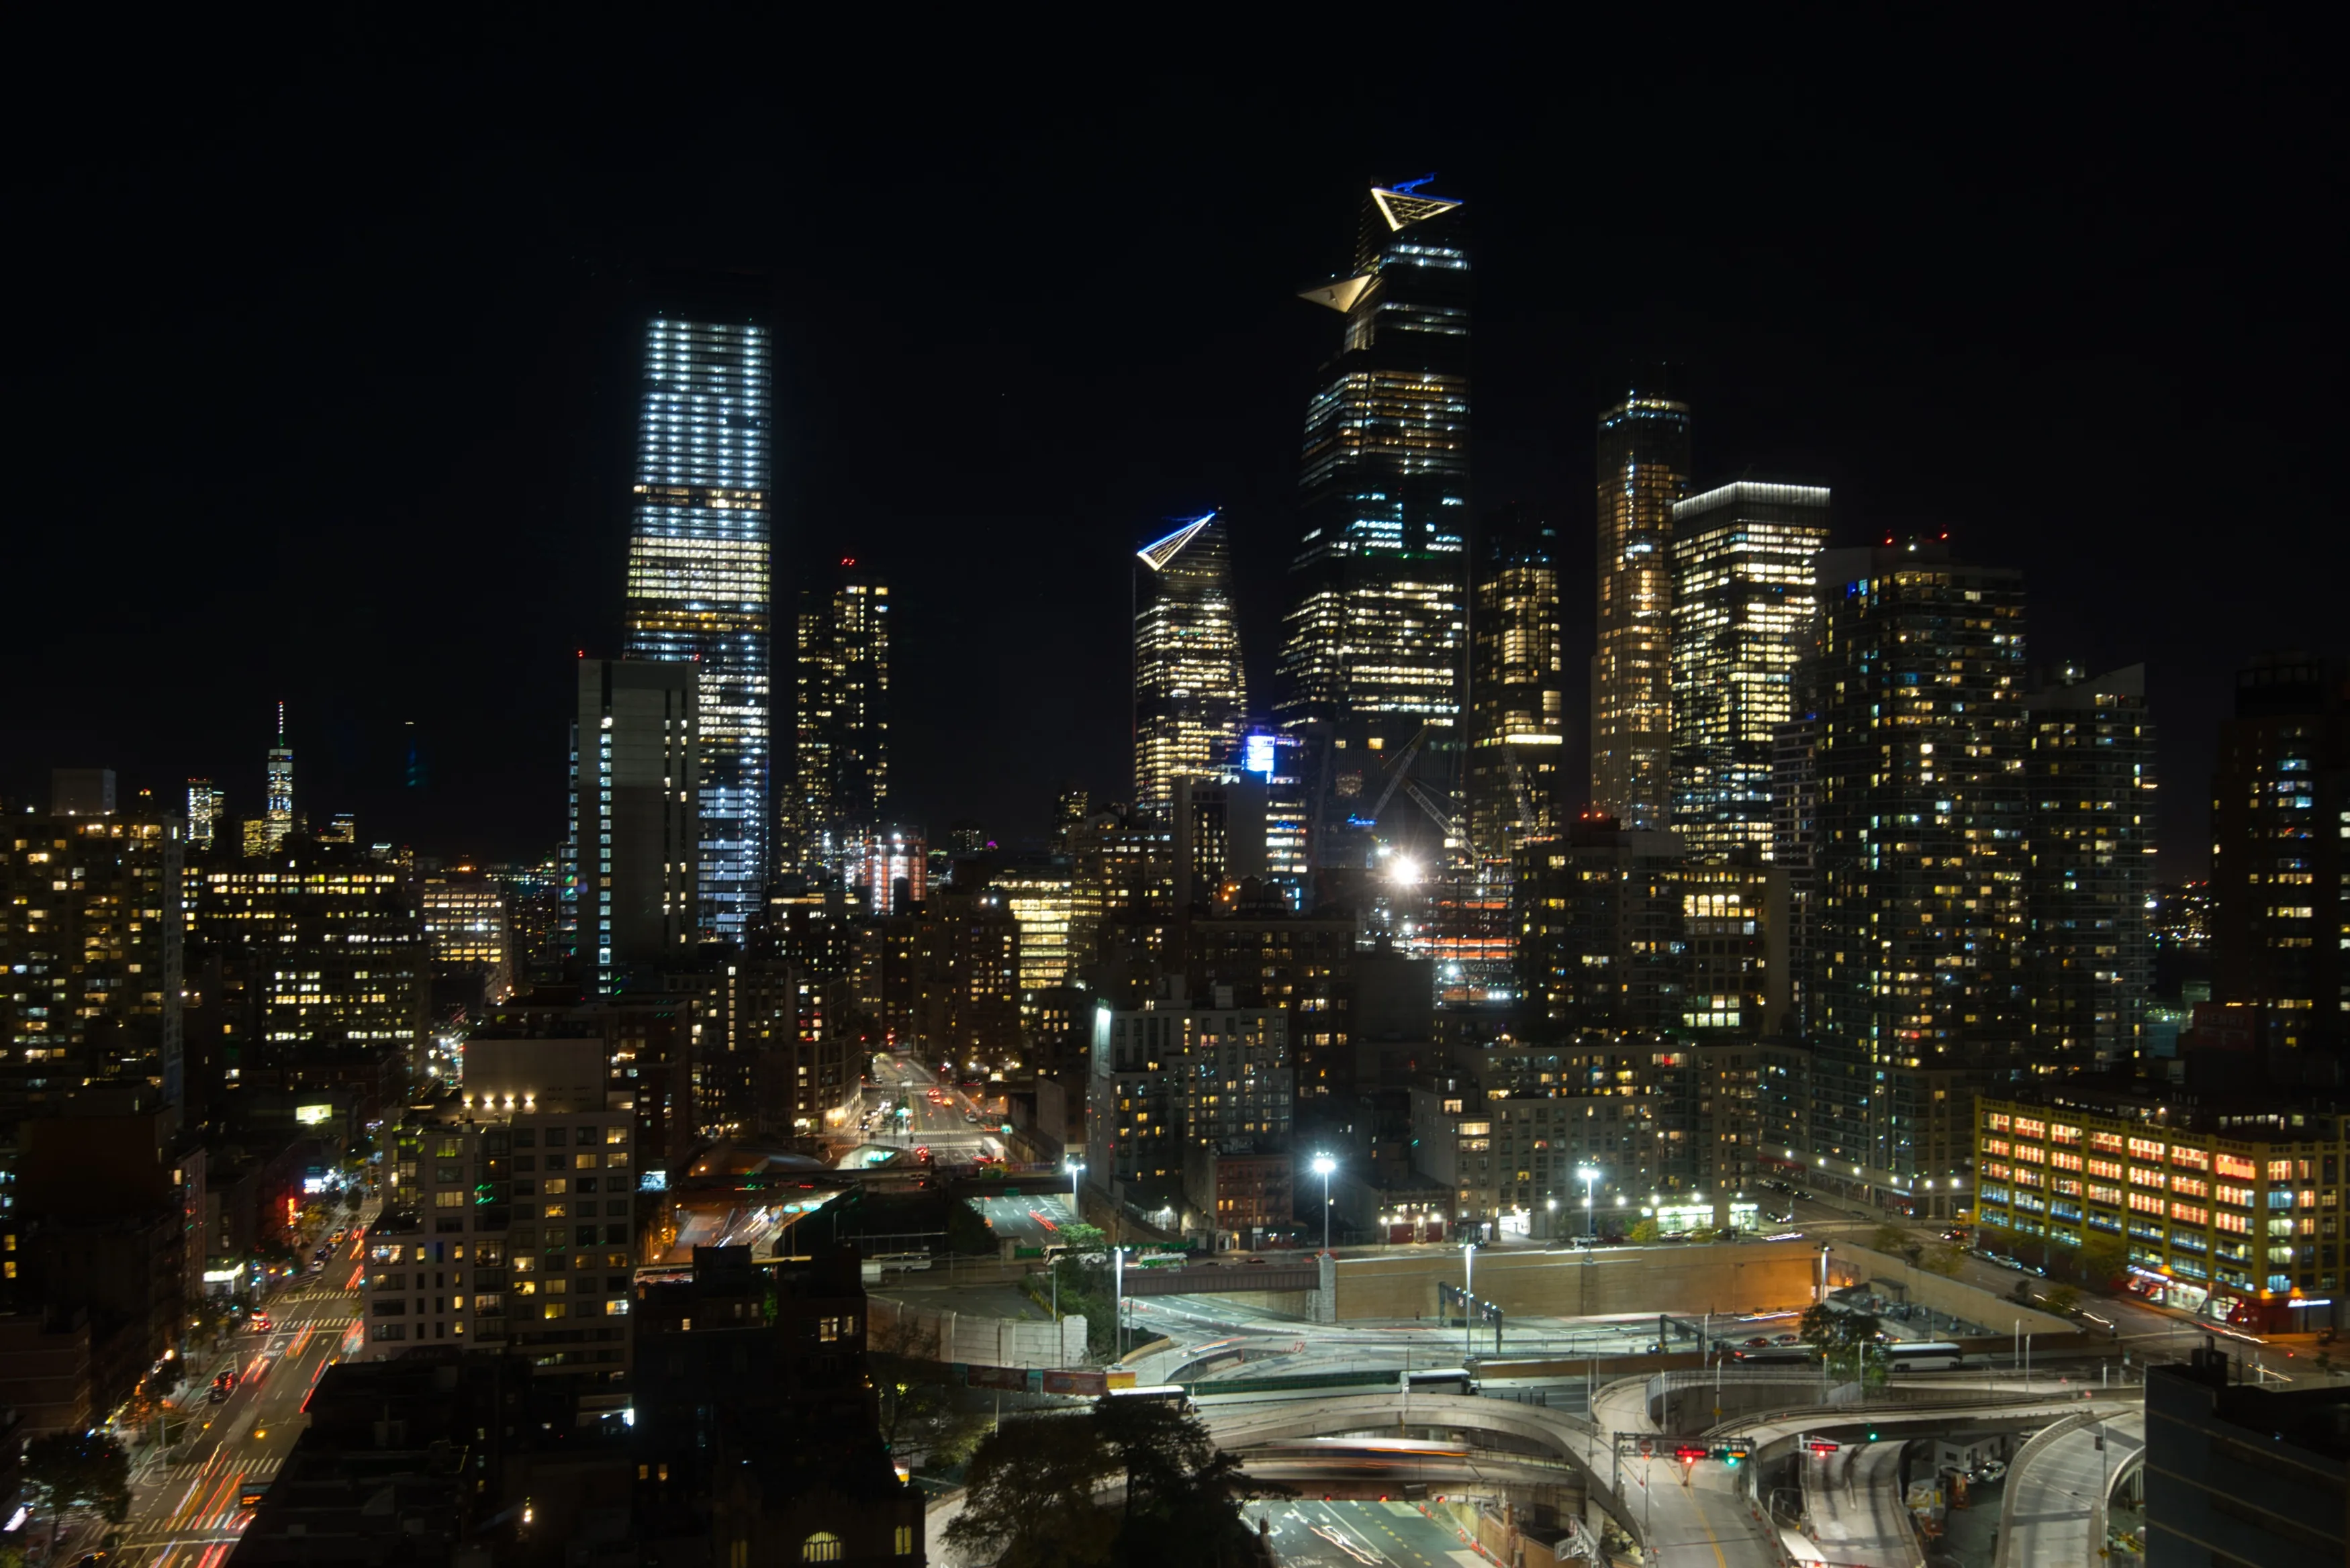
Night work requires two different approaches: tripod-based cityscapes and handheld urban photography.
Night Cityscapes With a Tripod
- Compose and level the camera before darkness becomes complete.
- Shoot RAW and select Manual exposure.
- Start around f/8 and a low ISO.
- Adjust shutter speed while protecting illuminated signs, windows, and streetlights.
- Use a two-second timer or remote release.
- Check sharpness and the histogram, not only the rear-screen brightness.
- Make shorter and longer alternatives when traffic or water is moving.
Turn off lens stabilization when the lens or camera manufacturer recommends doing so on a tripod. Some modern systems detect tripod use automatically, so check the manual rather than applying a universal rule.
Handheld Night Photography
When shooting handheld, prioritize a usable shutter speed. Open the aperture, use stabilization if available, and raise ISO until both camera movement and subject movement are acceptably controlled.
For static architecture, careful handholding may allow slower speeds. For pedestrians and traffic, you may need 1/125 second or faster depending on motion. Review images at full magnification because a shot can look sharp on the small screen while still containing blur.
Avoid Blown Highlights
Bright signs and lamps clip easily. Slight underexposure can protect them, but do not underexpose so far that lifting shadows creates severe noise. When the scene exceeds the camera’s dynamic range, bracket exposures or return during blue hour when the sky and artificial lights are closer in brightness.
Long-Exposure Cityscape Photography

Long exposures can transform ordinary movement into structure:
- headlights and taillights become colored trails;
- water becomes smoother;
- crowds turn into translucent shapes or disappear when movement is intermittent;
- clouds create directional streaks;
- illuminated rides and transport become abstract patterns.
Start without an ND filter at blue hour or night. In daylight, add an ND filter only after composing and focusing. Cover the viewfinder on DSLRs when necessary, and check for light leaks during very long exposures.
For a deeper workflow, read this guide to long-exposure city photography.
When to Use Exposure Bracketing
Exposure bracketing is useful when the scene contains both deep shadows and intense highlights. A common starting series is −2, 0, and +2 EV, but the number and spacing of frames should reflect the actual contrast. Some scenes need smaller intervals; others need more exposures.
Keep aperture, focus, white balance, and focal length consistent. Change shutter speed between frames so depth of field and noise characteristics remain stable. A tripod makes alignment easier, although modern software can sometimes align careful handheld brackets.
Do not use HDR merely because the camera offers it. A single well-exposed RAW file may be enough, and moving people, vehicles, trees, and water can create ghosting when frames are merged.
When a bracketed sequence is genuinely needed, HDR Merge in Luminar can combine the exposures into a broader tonal result.
Creating High-Resolution City Panoramas
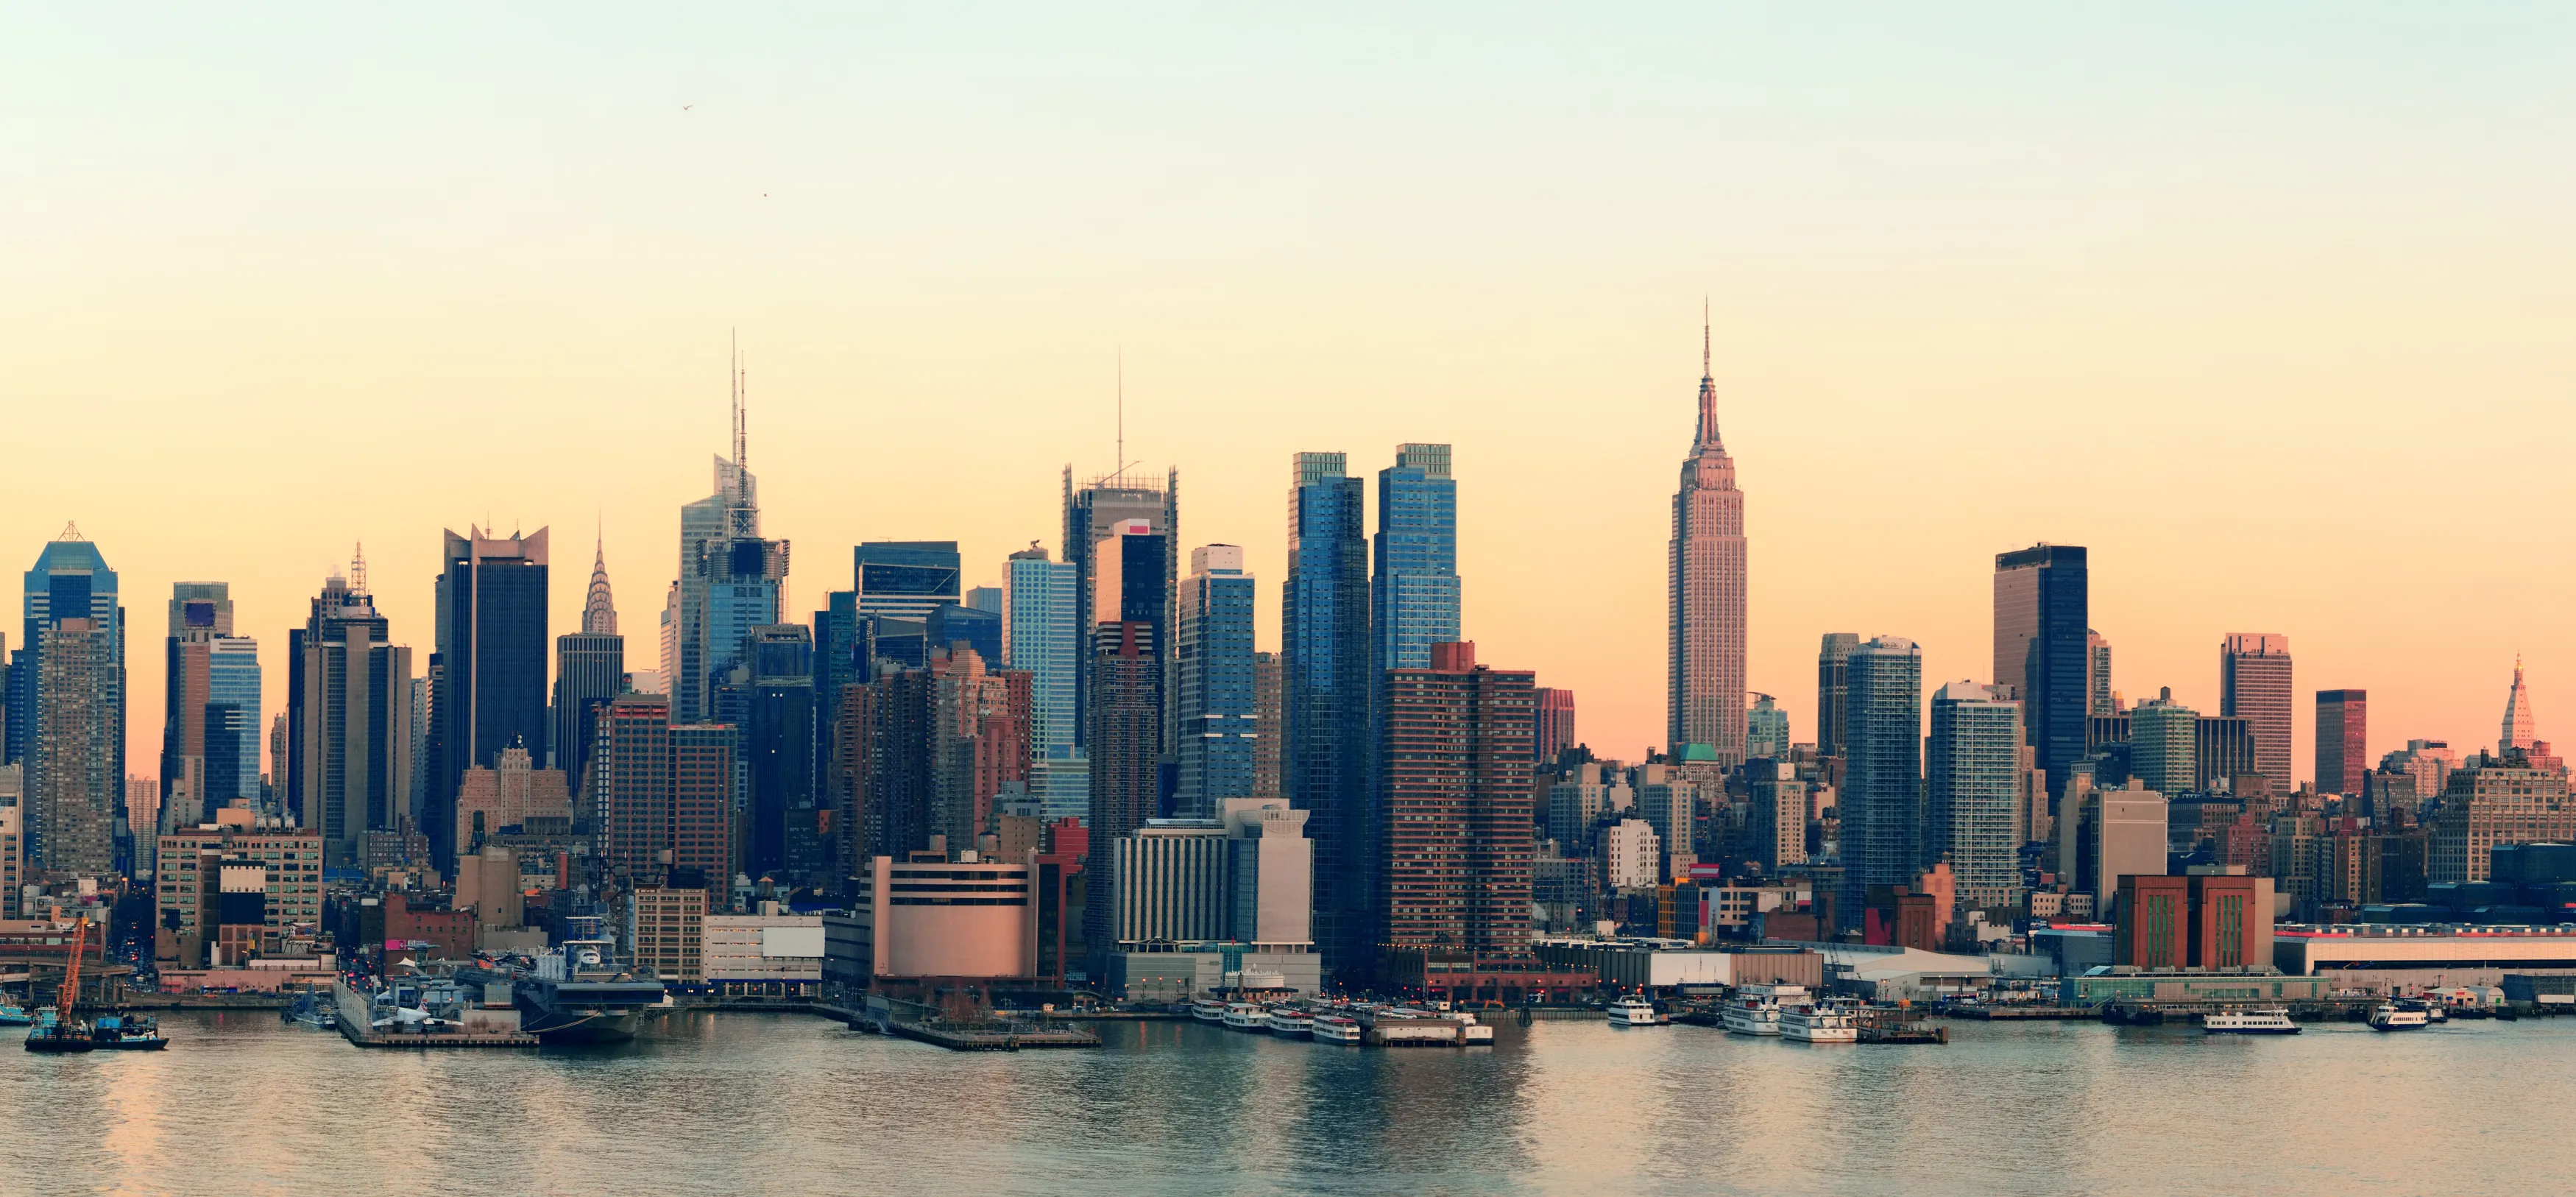
A panorama can provide a wider field of view without relying on an ultra-wide lens. It can also preserve architectural proportions and produce a larger final file.
- Level the tripod and choose a manual exposure.
- Set a fixed white balance and manual focus.
- Use a normal or short-telephoto focal length when space allows.
- Overlap adjacent frames by roughly 25–35%.
- Keep the camera orientation and focal length consistent.
- Capture extra room around the intended edges for cropping.
- Make a second series if people or vehicles interrupt important joins.
Rotating around the lens’s no-parallax point is particularly helpful when close foreground objects overlap a distant skyline. For distant scenes without a near foreground, ordinary tripod rotation is often sufficient.
Use Panorama Stitching in Luminar to assemble the sequence and refine the final crop.
Your AI-Powered Photo Editor for MacOS and Windows
Editing Cityscape Photos in Luminar
Editing should reinforce the structure and atmosphere already present. In Luminar, use a deliberate order:
- Apply lens corrections and check chromatic aberration.
- Level the horizon and refine vertical perspective.
- Set exposure and recover highlights without flattening all contrast.
- Correct white balance while preserving believable mixed city light.
- Use masking to adjust the sky, buildings, foreground, or reflections separately.
- Apply noise reduction according to ISO and shadow recovery.
- Add sharpening at the intended output size.
- Remove temporary distractions only when doing so does not misrepresent documentary content.
Reflections on windows are better controlled at capture with lens position, a polarizer, or dark fabric around the camera. Editing can reduce some glare and remove small distractions, but it cannot reliably reconstruct large areas hidden by strong reflections.
Avoid excessive clarity, saturation, and HDR-style shadow lifting. Night city scenes need dark areas, and every illuminated surface does not require equal brightness.

Cityscape Photography Mistakes to Avoid
| Mistake | Why it hurts the photo | What to do instead |
| Always using the widest lens | Adds empty space and stretches frame edges | Select the focal length for the subject |
| Automatically choosing f/16 | May introduce diffraction without adding useful depth | Start around f/5.6–f/11 and evaluate |
| Using low ISO for every night shot | Handheld images may blur | Raise ISO enough for the required shutter speed |
| Making every exposure 30 seconds | Lights can clip and moving elements may become messy | Match shutter speed to the intended effect |
| Correcting extreme perspective later | Requires heavy cropping and pixel stretching | Level the camera when possible |
| Arriving at sunset | Leaves no time to scout or compose | Arrive early and plan the light direction |
| Ignoring safety and access | Risks injury, conflict, or lost equipment | Stay aware of traffic, edges, rules, and surroundings |
| Overprocessing mixed light | Removes atmosphere and creates unnatural color | Correct selectively and preserve believable variation |
Final Thoughts
The most effective way to improve cityscape photography is to revisit the same location under different light, weather, focal lengths, and levels of activity. A familiar skyline can produce completely different photographs at noon, in fog, during blue hour, or after rain.
Begin with one clear subject and a simple composition. Choose settings according to whether the camera and city are still or moving, then refine geometry, color, and tonal balance in Luminar. Technical control matters, but the final image should communicate how the city feels—not merely prove that every building is sharp.
Frequently Asked Questions
A 16–35mm full-frame-equivalent zoom is a versatile starting point, but normal and telephoto lenses are equally useful for panoramas, compressed skylines, and architectural details. Choose the lens according to the composition rather than the category.
For a tripod-based daytime or blue-hour scene, start around f/5.6–f/11, a low ISO, and a shutter speed that produces the required exposure. For handheld night photography, open the aperture and raise ISO enough to maintain a safe shutter speed.
Golden hour adds warm directional light, while blue hour balances the sky with city illumination. Midday, rain, fog, and full darkness can also work when they support the intended mood and composition.
A tripod is useful for low-ISO long exposures, brackets, and panoramas, but it is not essential. Handheld night photography is possible with a faster lens, stabilization, careful technique, and a sufficiently high ISO.
Keep the camera level and position it high enough to include the required scene without tilting. Then apply restrained vertical perspective correction during editing. A tilt-shift lens offers greater in-camera control for specialized architectural work.