If your product photos are starting to look alike, a few creative changes to lighting, composition, and styling can make all the difference.
Product photography doesn’t have to rely on plain white backgrounds and predictable angles. A creative backdrop, interesting shadows, or an unexpected reflection can make an ordinary item stand out.
A good photo should do more than show what something looks like. It should give people a closer look at its details and a feel for the brand behind it. Whether you’re shooting cosmetics, food, accessories, or electronics, you can get creative with simple setups and everyday materials. Here are ten product photo ideas to try.
Key Takeaways
- Use directional light and controlled shadows to reveal product texture, shape, and material instead of relying on flat illumination.
- Choose backgrounds and props that reinforce the item’s identity without competing with its most important features.
- Combine lifestyle compositions with clean catalog shots to give customers both emotional context and useful purchasing information.
- You can create professional-looking setups at home using window light, foam boards, inexpensive surfaces, and household objects.
- Keep a consistent visual style across product images, and use editing to correct distractions.
10 Creative Product Photography Ideas to Try
Not sure where to start? Take a look at these 10 ideas. They cover different styles and budgets, and most can be recreated with things you already have at home.
1. Create Dramatic Shadows With Directional Light

Move the product near a window and see what the sunlight does. You can change the look of the shot with a simple piece of cardboard. Cut a few shapes into it and hold it between the window and your setup. The light will pass through the openings, leaving patterns of light and shadow across your scene. You can experiment with stripes, diagonal lines, or shapes that resemble sunlight streaming through blinds.
2. Use Color Blocking for a Bold Editorial Look

Sometimes, changing the background color is enough to give a product photo a completely different feel. A pale yellow surface can make a blue bottle pop, while softer shades create a more understated look.
Just a couple of sheets of colored paper or foam board may be all you need to construct a basic product-photography background. To ensure a seamless flow between the two sides of the background, use the same color throughout.
3. Make Reflections Part of the Shot

The water droplets will give your skincare bottle a refreshing look. When taking pictures of drinks, you can use ice and splashes of liquid. The external flash is useful for this since it has a short flash duration. Focus on the point where the splash will fall, then take several photos. Most photographers tend to waste the first few shots.
Glass bottles need a little more attention. They reflect nearby objects and light sources, which can leave unwanted bright spots across the surface. Try shooting near a window with a sheer curtain or using a large softbox. White cards can add highlights, while black cards help bring out the bottle’s edges.
4. Build a Story Around the Product

An object usually appears more appealing when it is photographed in an environment where one would naturally find it. Place a mug on the dining table, keep a notebook open on the desk, or place skincare items near the bathroom sink. This requires very little clutter in the picture. It usually takes just a few objects to do the job.
Don’t bring in too many props. A couple of objects are often enough. Also, leave a little breathing room around the product so you can crop the image later without losing anything important.
5. Try Floating Product Photography
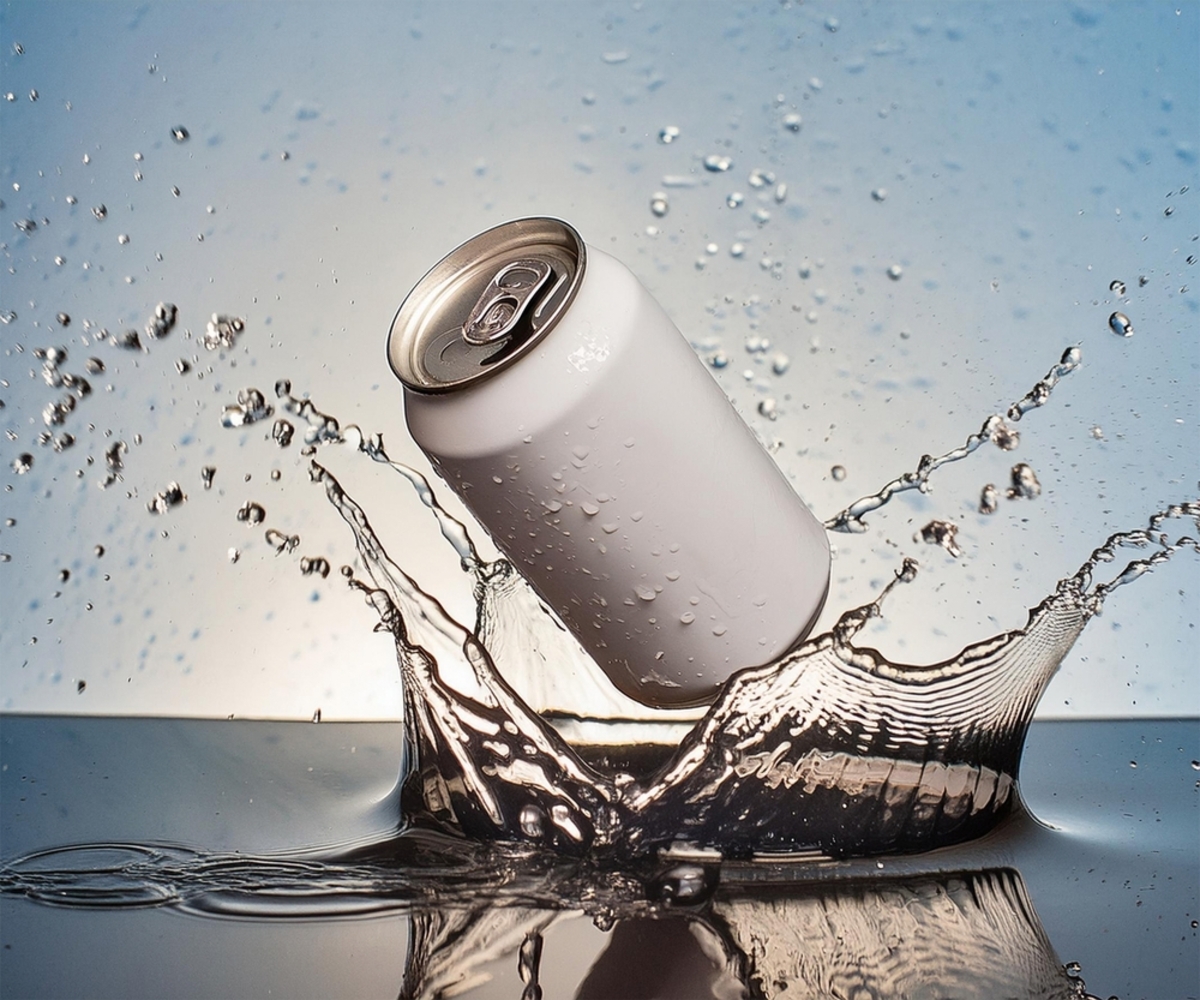
A tabletop is not always required for product shots. For instance, you may want to suspend a perfume bottle or a tiny accessory in mid-air and see how it appears in your frame. Fishing line may be helpful when working with lightweight objects, while a little stand may be used for heavy ones. The key is to shoot one more picture without any object and without moving the camera.
A tripod is essential because the background and product frames need to align. For more complicated cleanup, Generase can help remove distracting objects and unwanted supports from a photograph.
6. Photograph Products From an Unusual Perspective
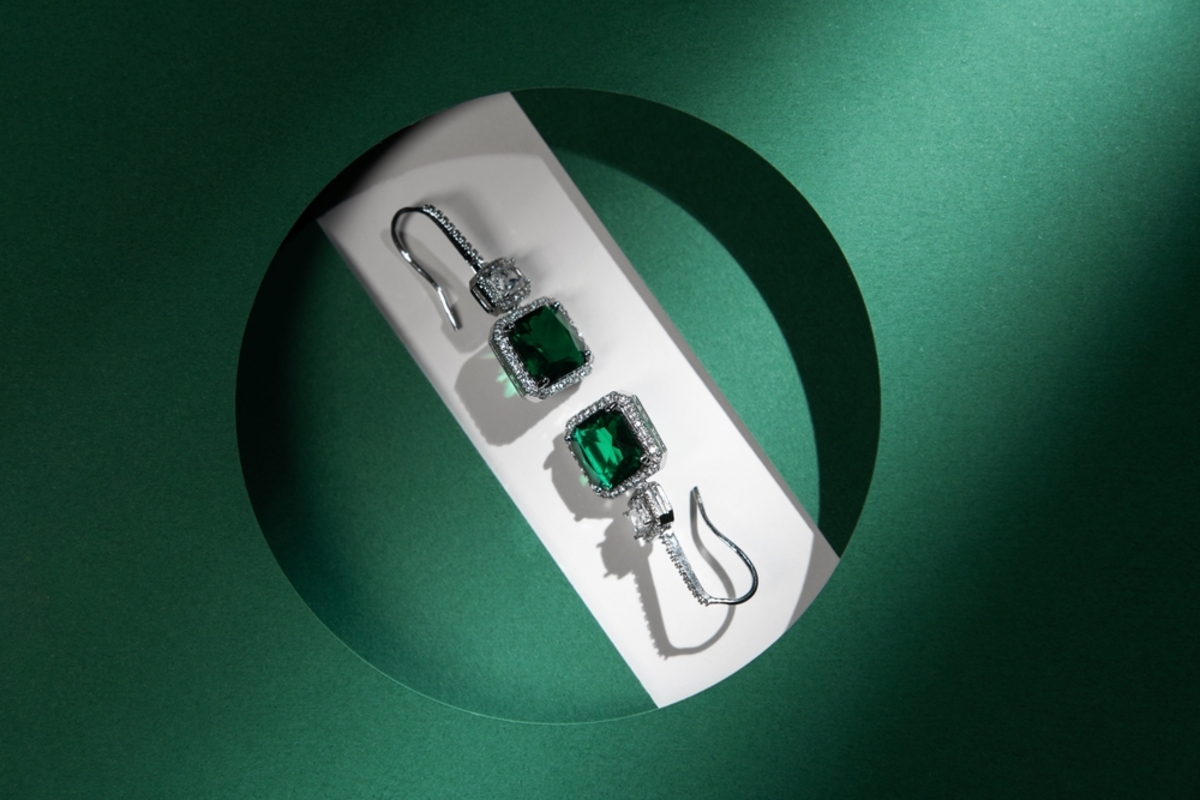
A change in camera angle can make the same product look completely different. Try photographing it from above, from a lower position, or close enough to capture just one detail. Flat lays work particularly well for smaller items such as jewelry, cosmetics, and stationery. For shoes, bottles, and electronics, a lower angle can make the product stand out more.
There’s no need to choose an angle at random. If the packaging or overall arrangement matters, shoot from above. If you want to show the product’s profile or how it’s made, move the camera to the side.
7. Find Interesting Textures Around You

You don’t need to buy a new backdrop for every shoot. Some creative product photography ideas at home start with things you already have: leftover tiles, a wooden cutting board, or even a piece of stone. You should experiment by mixing different items such as ceramic pieces, accessories, and skincare bottles. Yet, keep in mind the surface pattern, as a very busy one might distract from the main subject.
Think about how the materials look together. A glass bottle on a stone surface creates a different feel than the same bottle placed on soft linen. You can also try putting a metal accessory against fabric to make its finish stand out. Just don’t add too many things to the frame. The product should still be the first thing people notice.
8. Bring Water Into the Frame

A spray bottle, a few ice cubes, and some patience can go a long way here. Add droplets to the outside of a bottle, arrange ice around a drink, or drop an ice cube into water and capture the splash.
You don’t need much equipment to try it. A regular spray bottle will give you the droplets. Move your light to the side or behind the product so it picks up the reflections. If the droplets aren’t standing out, try a darker background.
Want to capture a splash in mid-air? Set up your camera on a tripod, use burst mode, and start with a shutter speed of around 1/1000 second. You may need several attempts to catch the right moment.
9. Create a Minimalist Monochrome Composition

Try keeping the background, surface, and props within the same color palette. Soft beige, warm gray, and muted green work particularly well for understated product shots.
The tricky part is making sure the product doesn’t disappear into the background. A little variation in tone usually does the job. For example, a beige bottle will stand out against a darker stone surface, especially when light falls on it from the side.
10. Use a Macro Shot to Reveal Hidden Details

The entire product does not have to be visible in the picture at all times. Sometimes it may be enough to show the leather’s texture, the stitching, or the embossing on the packaging.
For this kind of shot, a macro lens and a tripod will make things easier. Start at f/8 or f/11, then check how much of the subject is actually sharp. When the product has details at different distances, focus stacking can help. It involves taking several images focused on different areas and merging them into one.
Exclusive Tools of Endless Possibilities in One Editor
How to Choose the Right Lighting and Background

Proper lighting is essential to make a creative setup effective. You need to determine which element you want to convey through your photograph before creating your setting.
| Product type | Lighting approach | Background |
| Glass perfume bottles | Large diffused light with edge highlights | Acrylic or neutral paper |
| Jewelry | Controlled directional light | Dark velvet or stone |
| Skincare | Soft side lighting | Linen or matte paper |
| Food and beverages | Side or backlighting | Wood or textured surfaces |
| Clothing and accessories | Large, even light source | Neutral fabric or seamless paper |
| Electronics | Controlled reflections | Matte gray or black |
One important consideration is color accuracy. A warm lamp mixed with cool daylight can produce inconsistent white balance across the same image. Use one dominant light source and check the product’s actual color against a physical reference.
For additional product photography inspiration, experiment with different studio lighting effects and observe how changing light direction, softness, and intensity affects the final image.
How to Build a Product Photography Portfolio That Sells

A strong portfolio should demonstrate more than creative styling. It should show that you understand how to photograph for different commercial purposes.
For each, aim to capture:
- A clean hero image showing the complete product.
- A three-quarter angle revealing its shape.
- A close-up highlighting materials or construction.
- A lifestyle photograph showing the product in use.
- A creative composition demonstrating your visual style.
This mix of images works especially well for online stores. Shoppers want to see more than just the front of a product. Different angles, close-ups, and lifestyle shots give them a better idea of its size, texture, and details. Google Merchant Center recommends using images of at least 1,500 × 1,500 pixels for better results across its shopping formats.
Making Your Product Images Stand Out
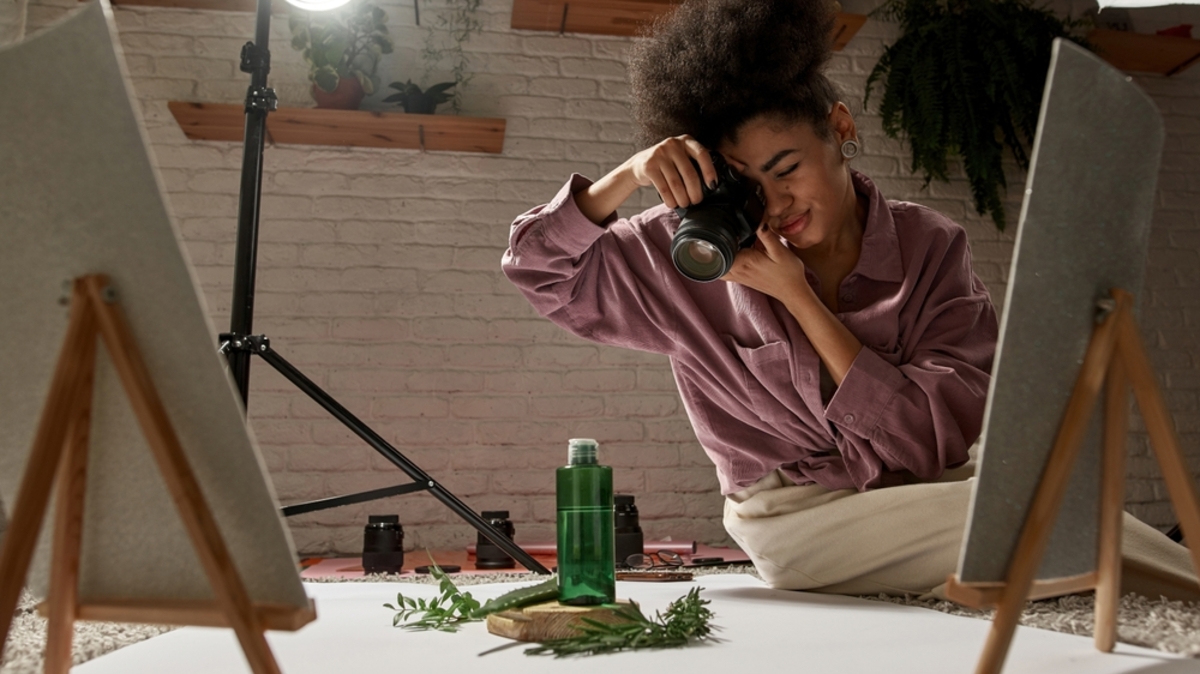
You don’t need a complicated setup to get good product photoshoot ideas. Sometimes, changing the background, moving the light, or adding one well-chosen prop is enough to give an image a completely different feel.
Take a few shots before deciding which setup works. A different angle or lighting position can change the way a product looks, so give yourself room to experiment. You’ll get a better feel for what works with you over time.