Master the art of portrait photography on overcast days with our guide to utilizing soft, natural light. Elevate your photography game now!
Cloudy day portrait photography uses soft, diffused light to create flattering outdoor portraits without the harsh shadows and bright highlights caused by direct sun.
Sunny weather may offer warm tones and dramatic shadows, but it is not always ideal for photographing people. Under an overcast sky, clouds act like a huge natural softbox, spreading light more evenly across the subject’s face. This can reduce squinting, soften skin texture, and make exposure easier to control.
In this guide, we’ll cover the best camera settings for cloudy day portraits, explain how to use diffused light, and explore locations and creative techniques for overcast portrait photography.
Don’t feel like reading the whole breakdown? We’ve pulled together a quick summary below.
Key Takeaways
- An overcast sky acts like a natural diffuser, creating soft and even light for outdoor portraits.
- Keep the shutter speed fast enough to prevent subject movement, then adjust aperture and ISO for the correct exposure.
- Use a consistent white balance or shoot in RAW to avoid unwanted color shifts as cloud cover changes.
- Wide apertures can separate the subject from muted backgrounds, while narrower apertures preserve more environmental detail.
- Concrete, foliage, urban streets, and natural landscapes all work well as cloudy-day portrait locations.
- Overcast conditions are especially suitable for moody color palettes, black-and-white portraits, rain, and fog.
Understanding Diffused Light
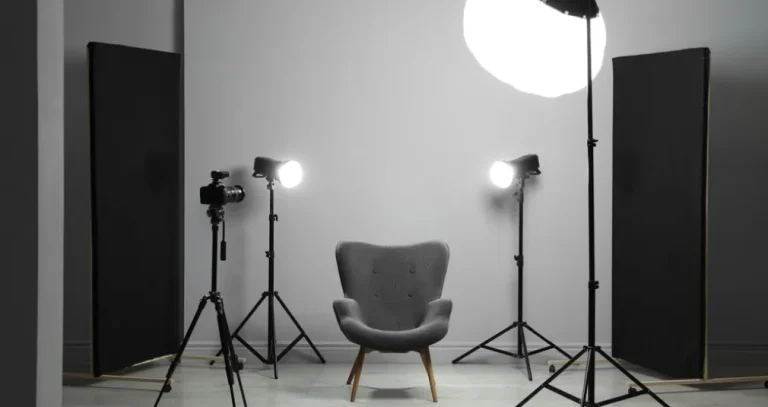
 Firstly, consider what a diffuser does in a studio setting for portrait photography. With a single light source and a bare bulb, parts of our model’s face will be well-lit, but there will be pronounced shadows. Depending on the light’s position, the nose might cast a dense shadow on the cheek or above the lips. Now, introduce a diffuser over our light source. The light now distributes more evenly across the face, softening shadows or making them barely noticeable.
Let’s take this concept outdoors. Envision a sunny day as akin to working with a bare bulb, and a cloudy day as equivalent to using diffused light; a cloudy sky acts like one gigantic softbox. Studio photographers frequently use diffused light, so it stands to reason that we can still achieve excellent results outdoors on overcast days.
Best ISO For Portraits: Sharp Details, Flawless Shots
Learn moreAdvantages of Soft Light
Studio photographers favour diffused light for several reasons:
- It’s Flattering: Softer light softens features, creating a smoother appearance on the skin, while harsh light can accentuate wrinkles, blemishes, and other imperfections.
- It’s Less Distracting: With light spread more evenly across the subject, we avoid the stark contrast between harsh highlights and deep shadows that direct sunlight creates. Although using shadows can be striking, if you want to divert attention elsewhere, soft, diffused light is preferable.
- Reduces Glare: If your model’s face is shiny, it will be exacerbated by harsh light. This can be time-consuming to correct during post-processing. However, on overcast days with diffused light, glare is significantly reduced, and shiny skin is unlikely to be an issue.
- Increases Comfort: Models can relax their faces in softer light conditions. It can be taxing for the model to maintain a relaxed pose with bright light in their face, as their instinct may be to squint. This is also beneficial for the photographer, as it results in a more natural and relaxed pose to work with.
- Enhances Colours: While sunny days can make some colours pop, they can also bleach them out. Cloudy days, however, can enhance rich tones within the model’s outfit and appearance, closely matching the original colour without interference from the sun.
Both sunny and cloudy days have their merits, but it all depends on the mood you aim to capture within your image and the stories you wish to convey. In the following section, we’ll ensure your camera settings are optimised for overcast days, so you can achieve sharp and high-quality images.
Camera Settings for Cloudy Weather
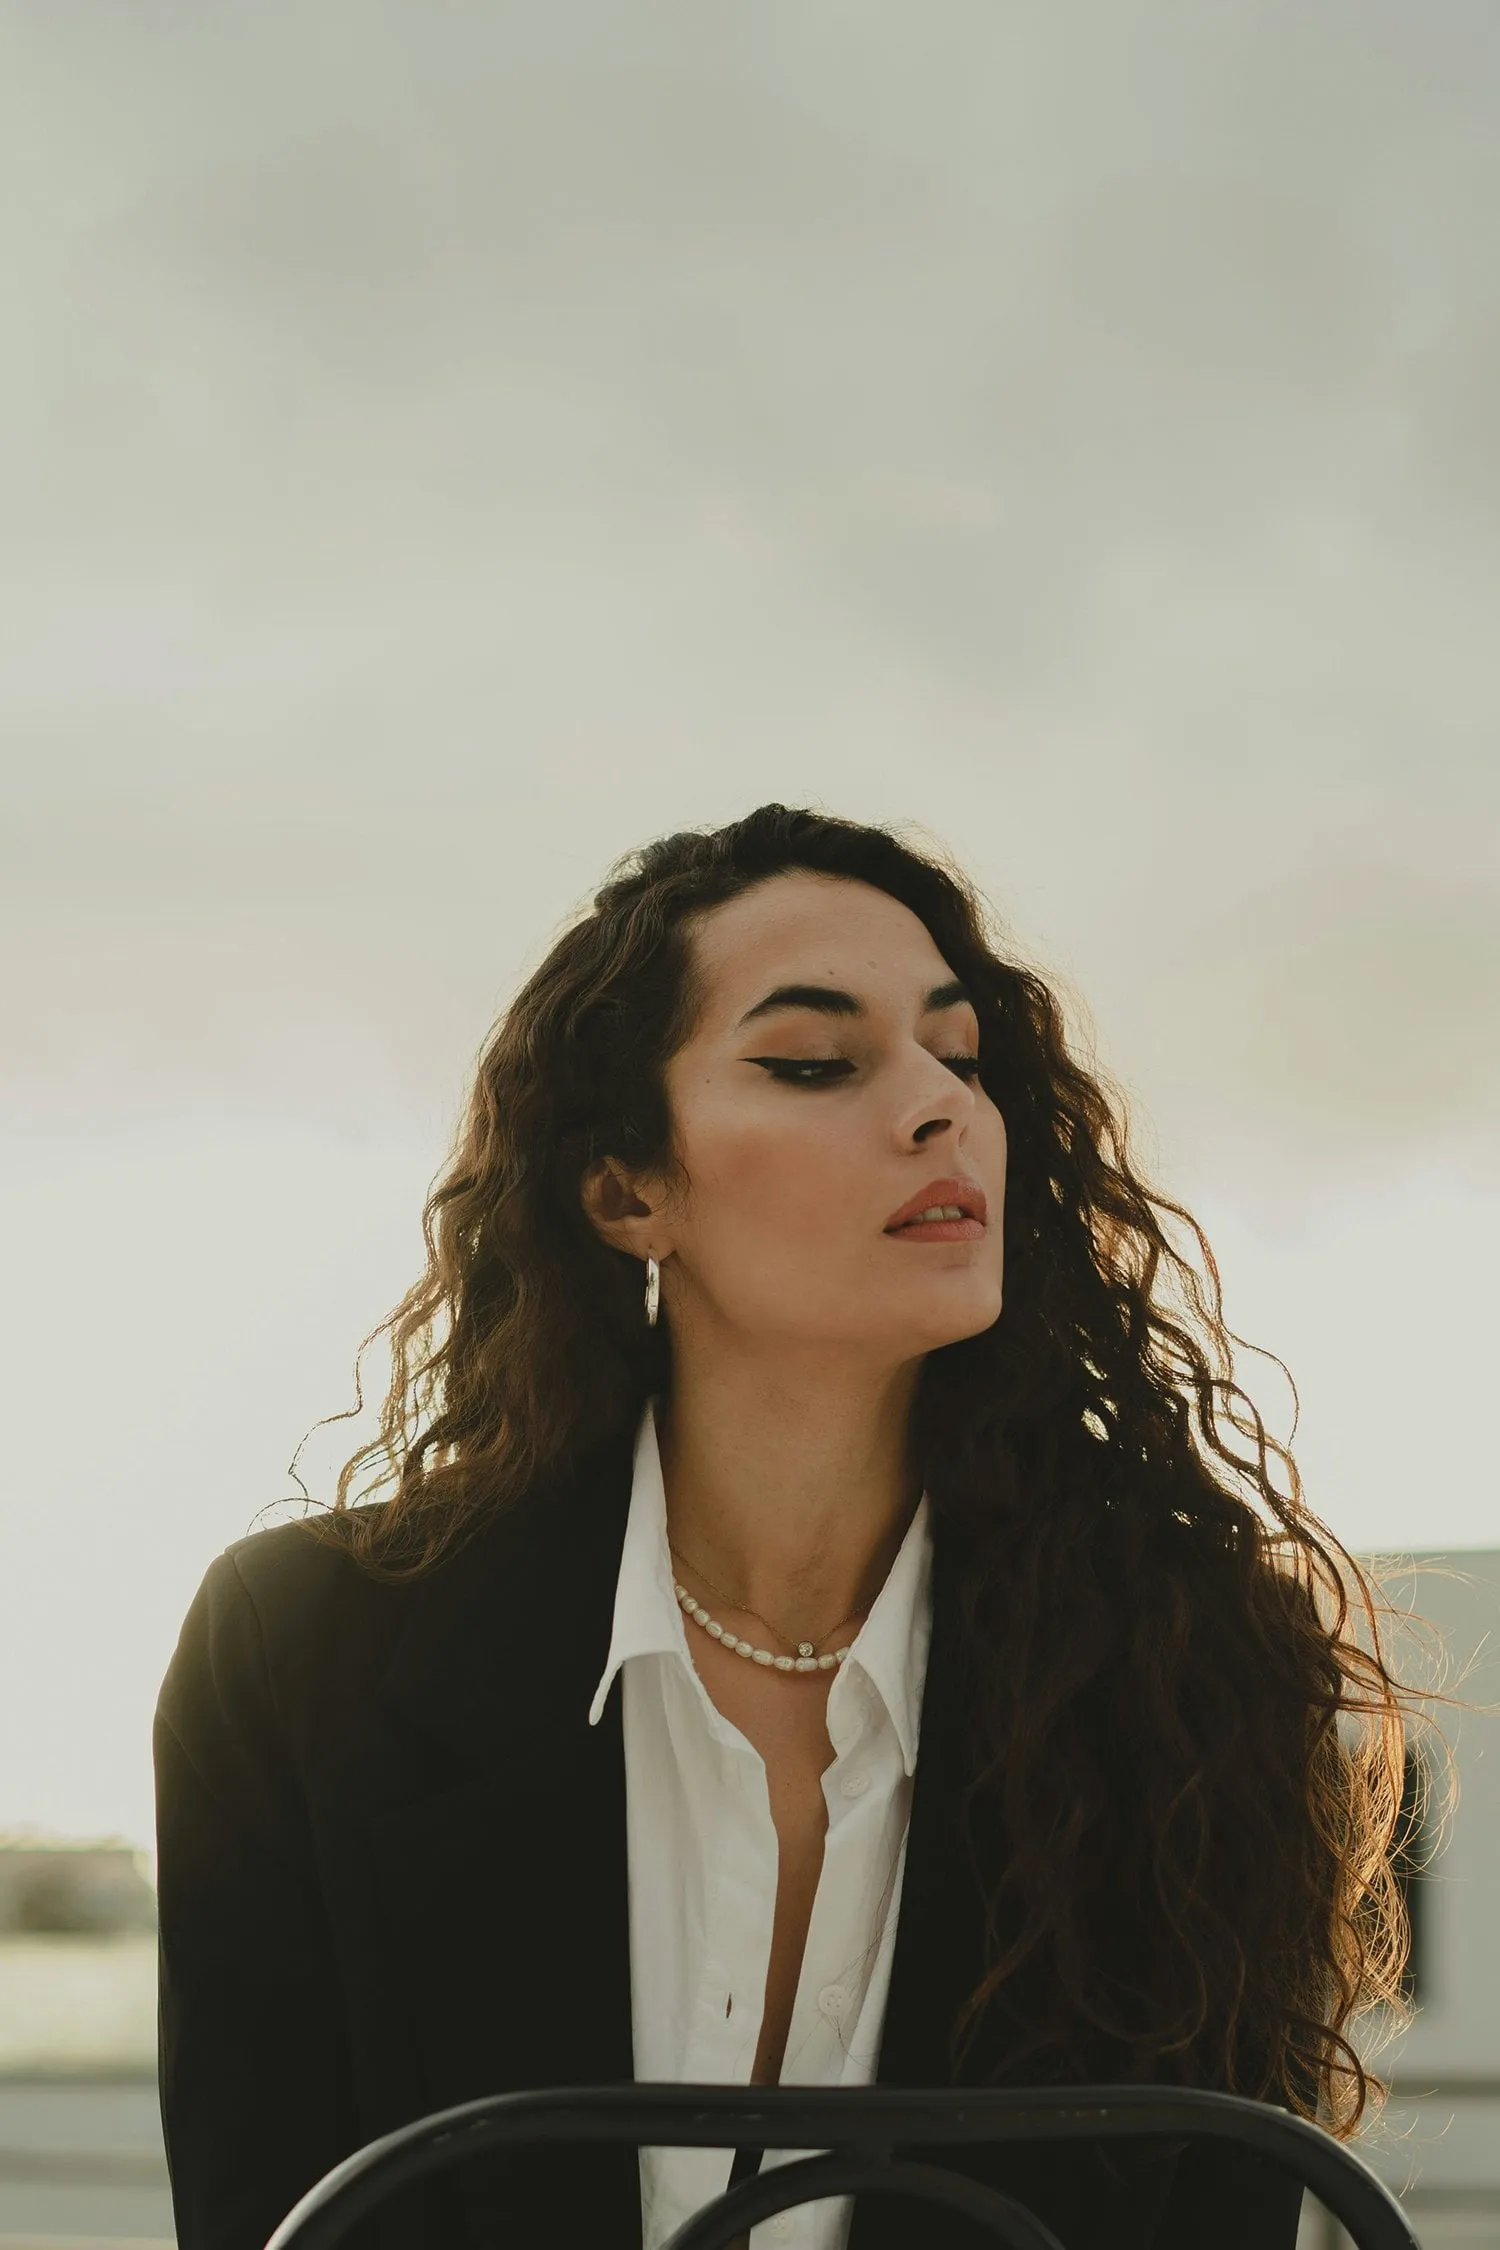
 Cloudy days present unique challenges for photographers, characterised by lower light conditions and varying degrees of cloud cover.
White Balance
Start with a critical setting for overcast skies. It’s important to switch off the automatic white balance and adjust this setting manually. Light conditions can fluctuate significantly during a cloudy day, resulting in your white balance shifting from warmer to cooler tones. This can become time-consuming to correct during post-processing, so adjust your white balance accordingly for consistent results. Some cameras even have a cloudy day white balance preset that you can experiment with.
ISO
Cloudy days can result in lower light conditions, tempting you to increase your ISO. Before doing so, consider adjusting your aperture and shutter speed to compensate. This helps to reduce unwanted noise.
Aperture
The choice of aperture depends on the mood you’re targeting. For portraits with a blurred background, you might open your aperture as wide as possible, which allows more light into the lens and reduces the need to increase your ISO. Given the reduced shadows and contrast on cloudy days, a blurred background can effectively isolate your model. Alternatively, you might prefer to use your lens’ sweet spot for extra sharp images, but this might require adjusting your shutter speed and ISO to let in more light.
Carefully consider your settings depending on the mood you aim to capture. Cloudy days are all about experimentation, so be sure to fire off a few test shots before getting started.
Elevate Your Photography with Our Advanced Software
Choosing the Right Location
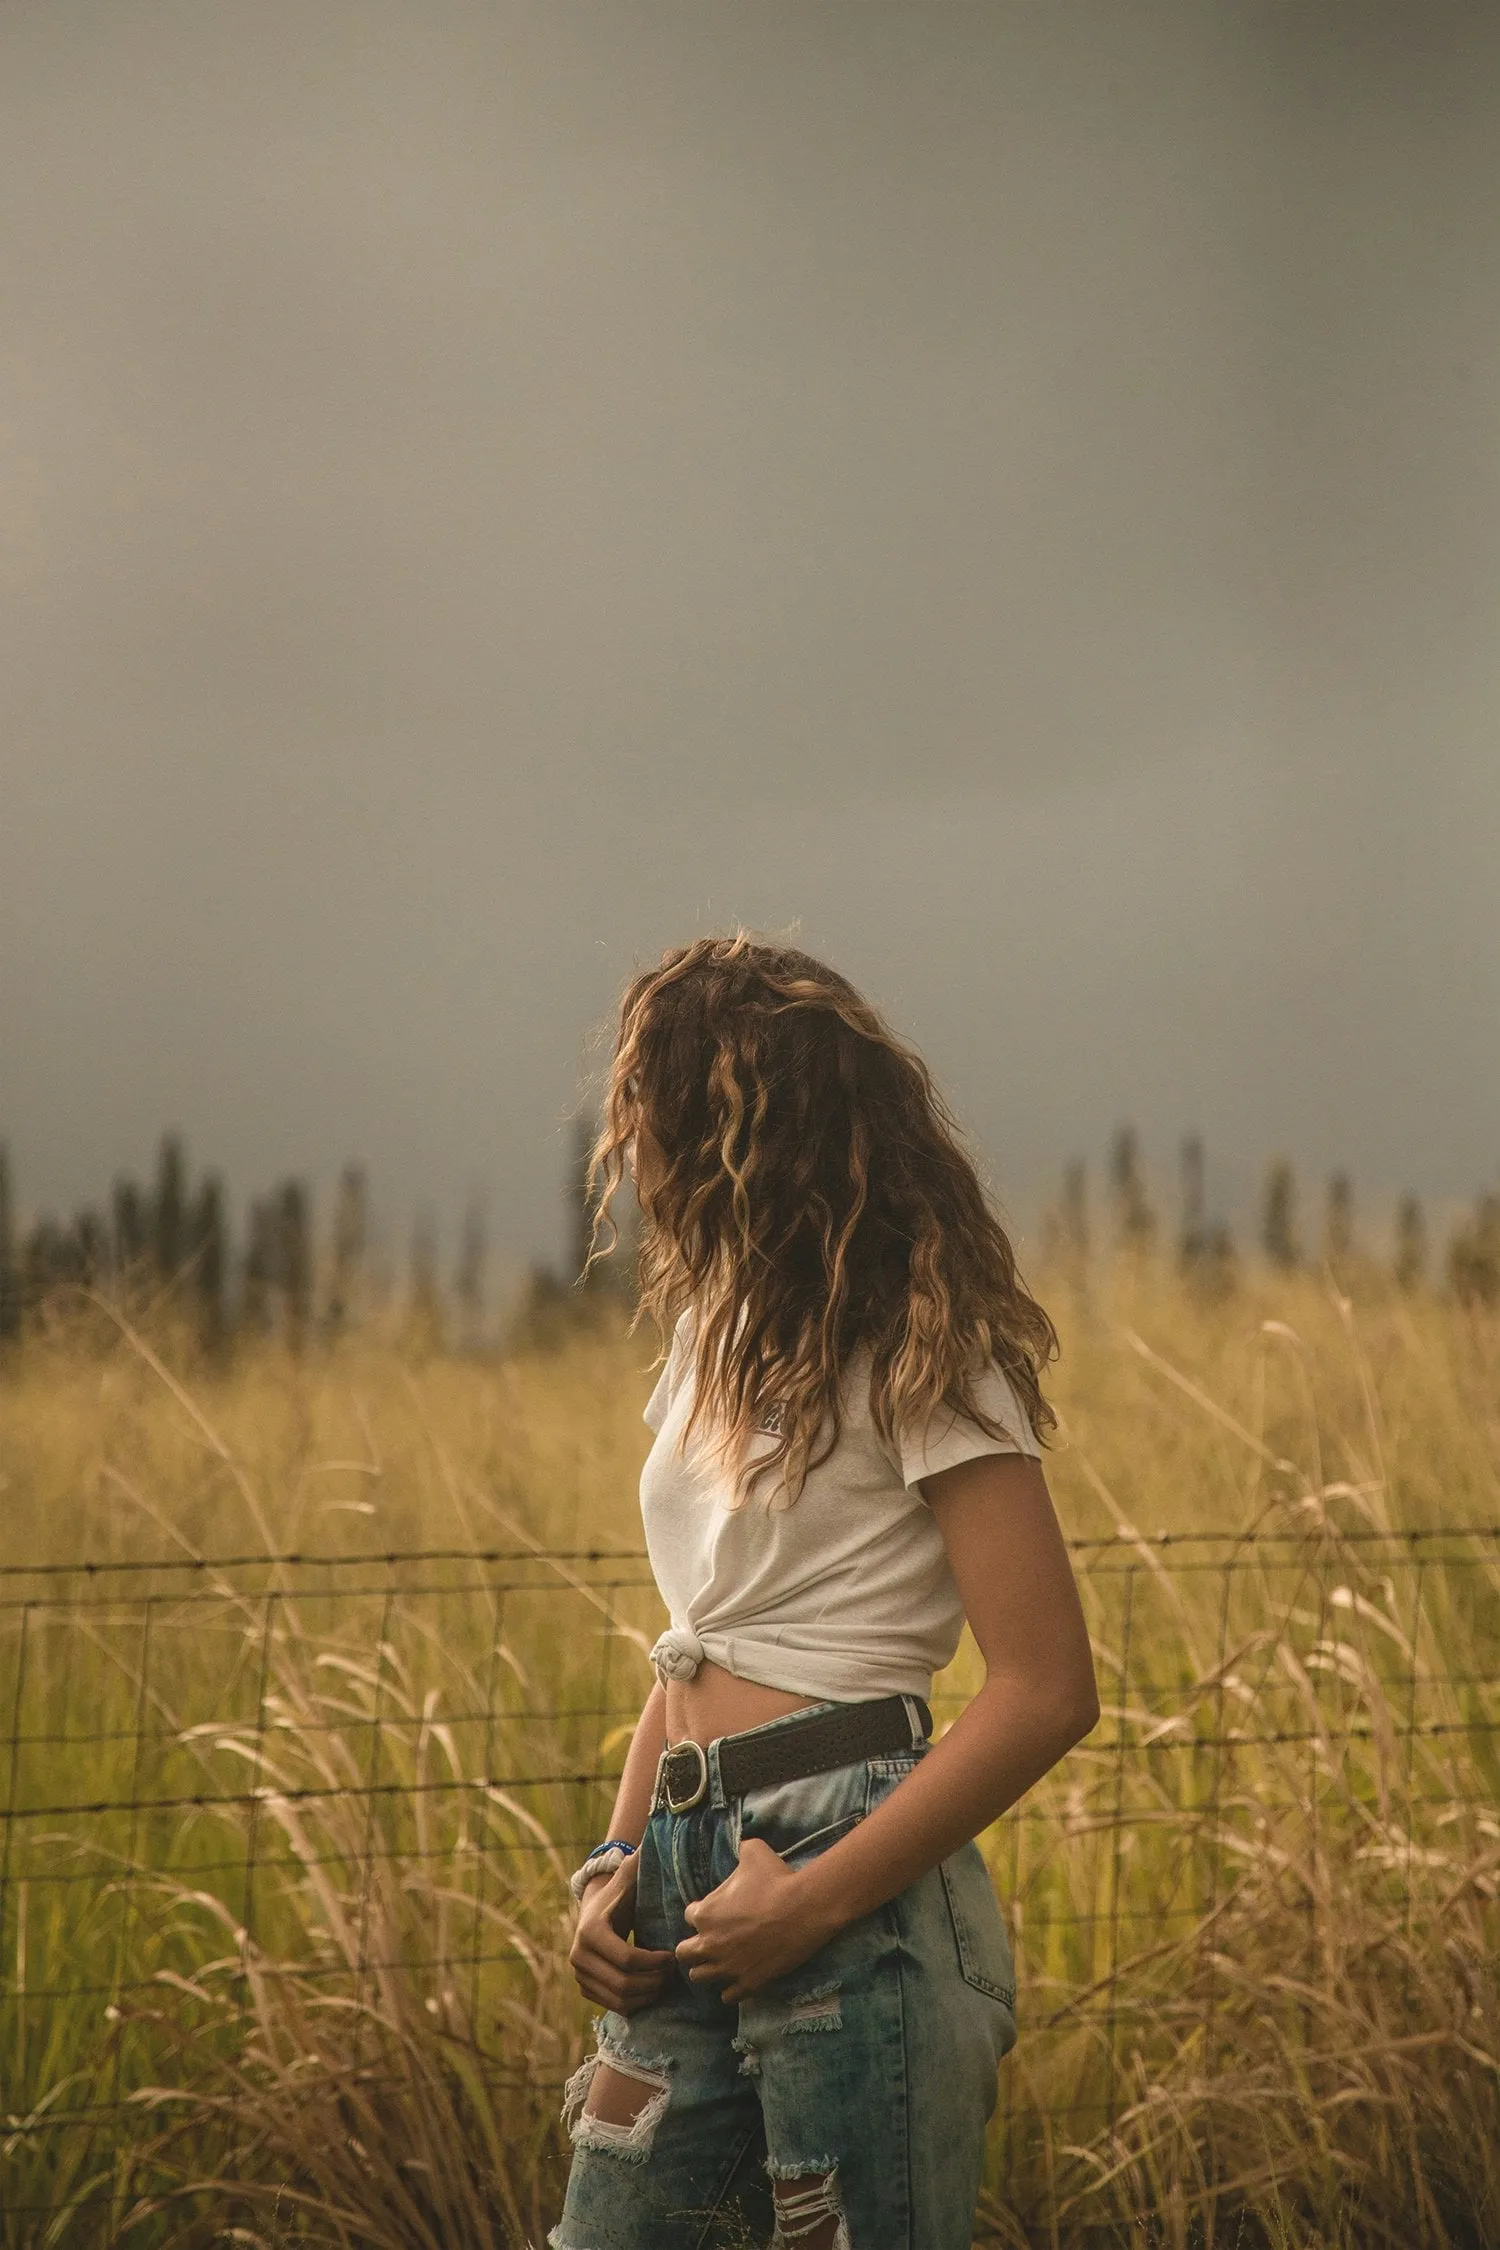
 When planning shoots for cloudy days, it’s beneficial to lean into the characteristics overcast skies bring. Cloudy conditions are ideal for capturing muted or deep tones and adopting a minimalist approach. Here are some location ideas to consider for creating the perfect mood in your portrait sessions.
Concrete Backdrops: In a previous discussion on architecture photography, we highlighted how Brutalist architecture complements overcast conditions. This principle also applies to portraiture. Using concrete backdrops provides a muted, minimalist aesthetic. Styling your shoot with the model wearing darker tones can create a striking contrast against a lighter concrete backdrop.
Foliage: The rich green tones of leaves work wonderfully under soft light, which enhances the colours. Complementary colours like reds, blues, and darker tones can create a striking contrast amidst the foliage, adding depth to your image.
Murals and Painted Walls: Murals and brightly painted walls can achieve vivid, saturated colours that make your portraits pop. Ensure the colours of your model’s outfit harmonise with the vibrant backdrop to enhance the visual impact.
Urban Streets: The city streets offer a wealth of textures and colours to explore. Look for interesting elements like metal fences, brick walls, or storefronts that can serve as engaging backdrops. The diffused light of cloudy days softens the harsh textures, providing a more flattering light for portraits.
Mountains and Nature: The ruggedness of harsh landscapes is softened under the diffused light of an overcast sky, providing a grand yet subdued backdrop for your model. Natural elements like tree bark, open fields, and bodies of water also serve as excellent settings, benefiting from the lack of glare and harsh shadows.
Whether you’re in a bustling city or the serene countryside, overcast days can help you achieve striking portraits. Let’s explore some creative ideas in the next section to incorporate into your shoot.
Creative Techniques and Composition
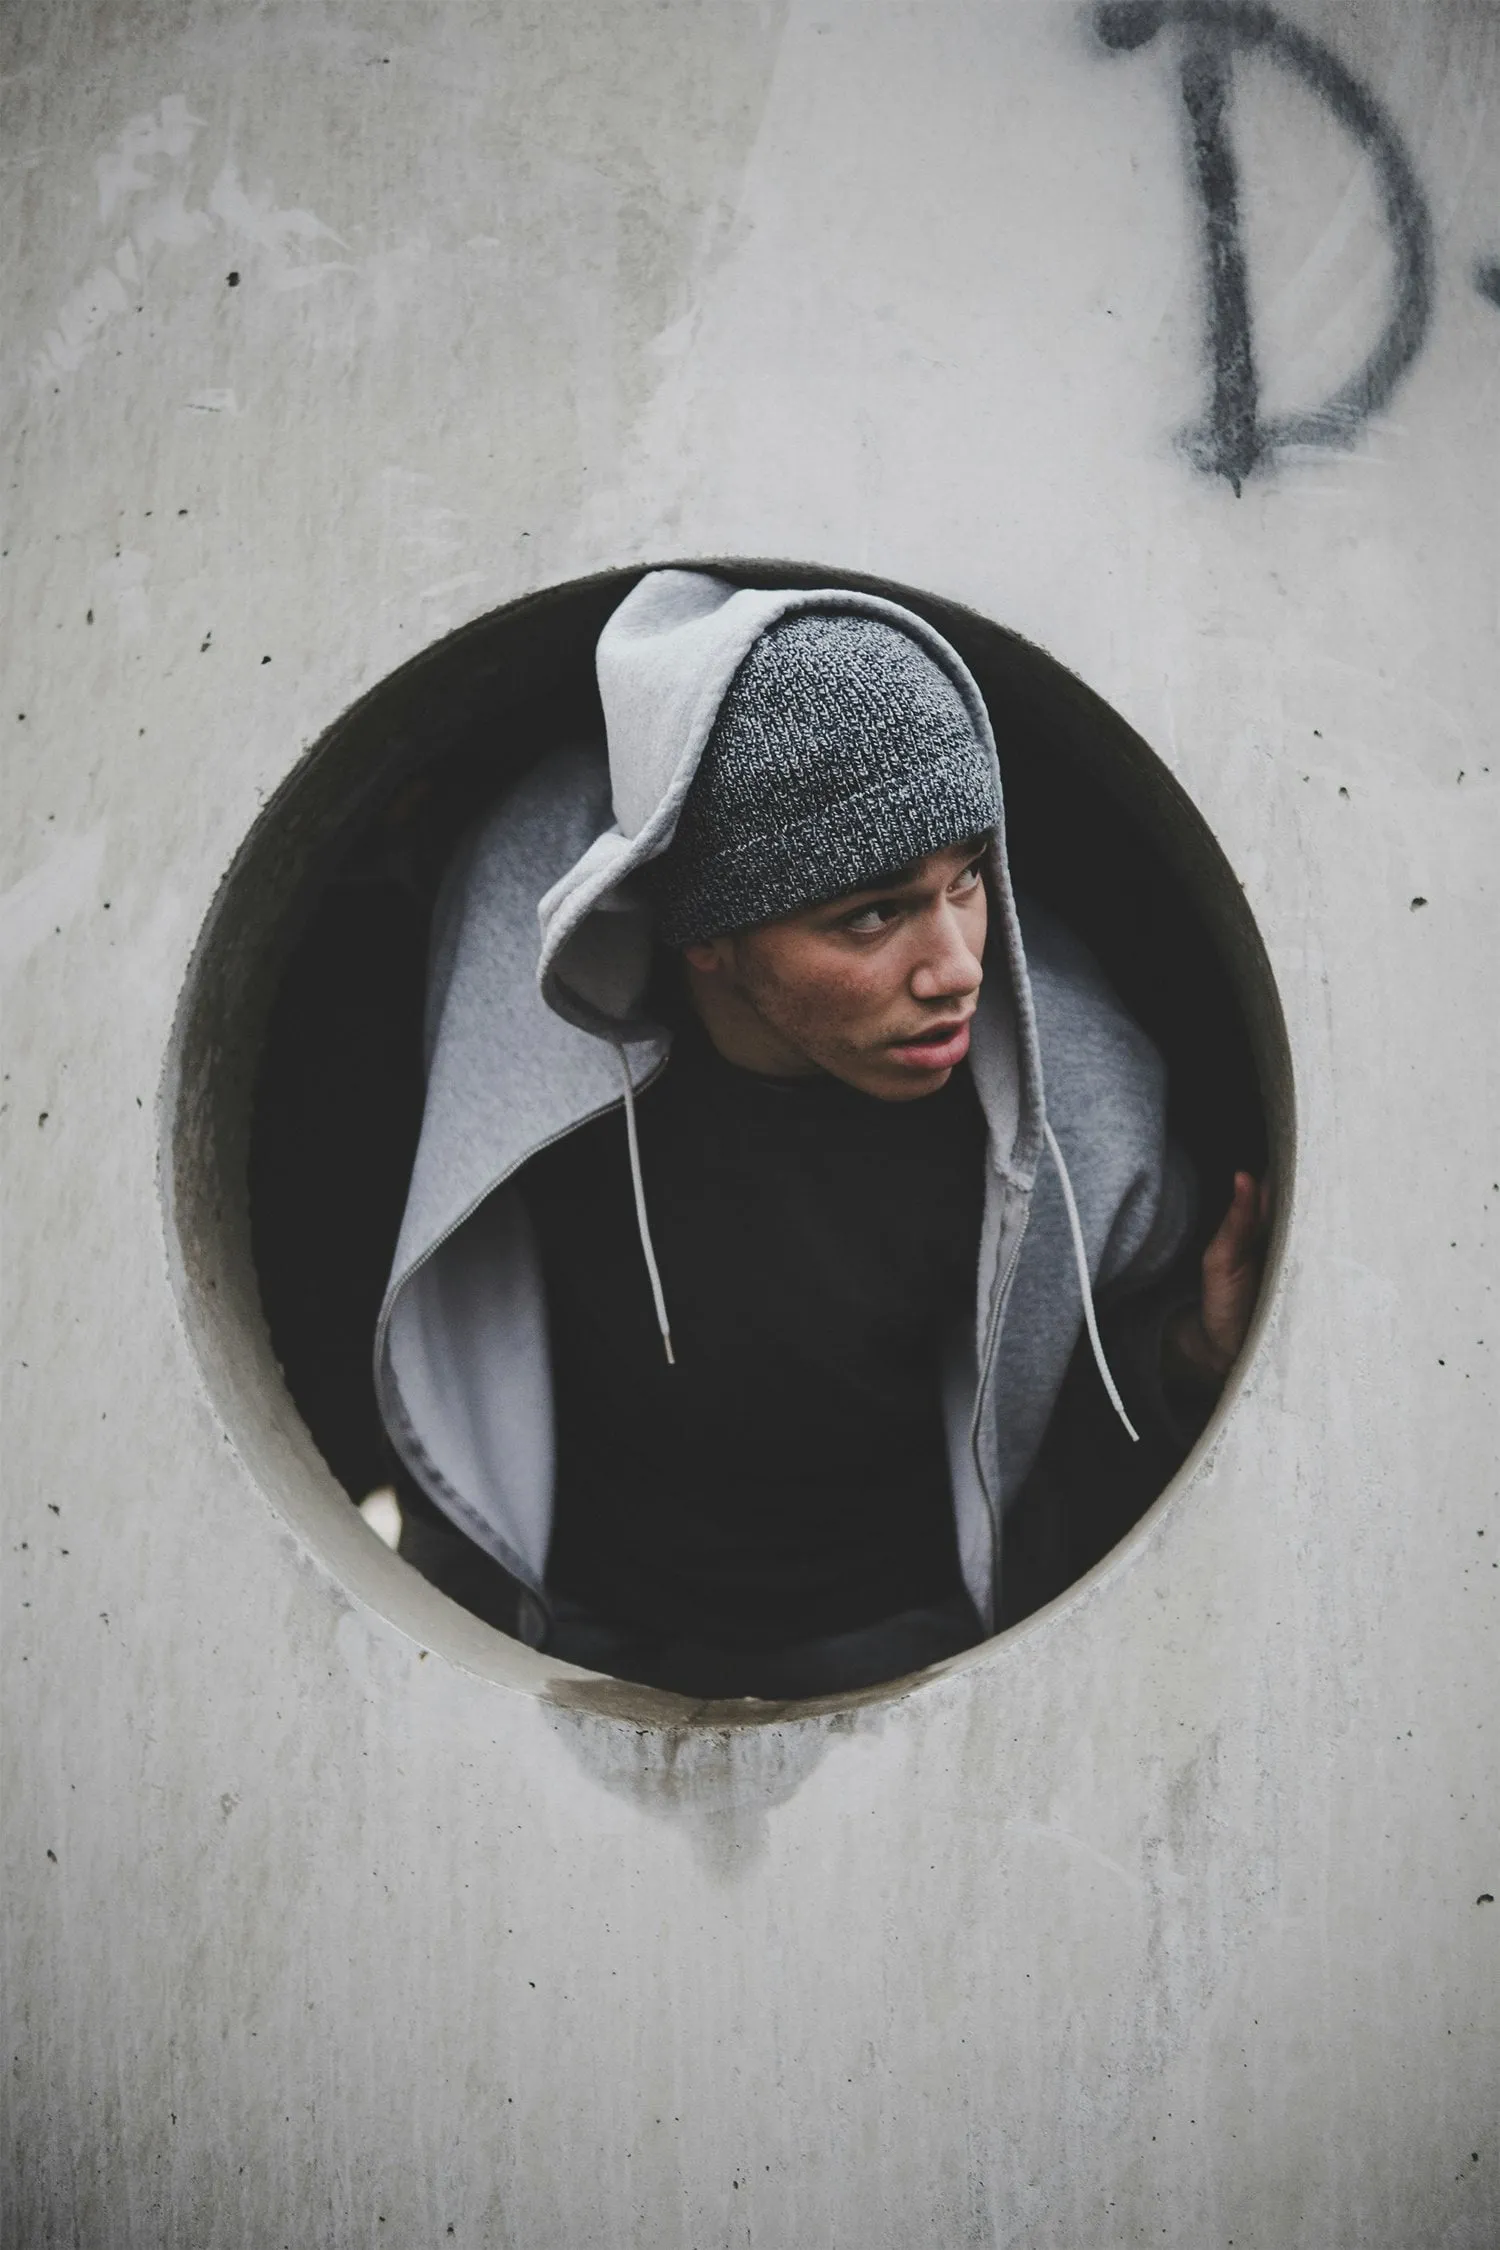 The possibilities for creative portraits on cloudy days are endless. Without the distraction of harsh light and dense shadows, we can better focus attention on our subjects.
Minimalism and Silhouettes
Find a light or dark background to contrast with our model and their outfit. By introducing minimal colours, we can create a silhouette of our model, delivering an eye-catching piece of work. For example, a dark stony background contrasted with our model wearing all-white clothing, or a brighter background such as concrete, with our model wearing all-black clothing.
Colour
Conversely, you can lean into the colourful opportunities that cloudy days present. Whether that is to have a single pop of colour, such as a plain dark background with a model wearing a vividly coloured outfit, or an array of colours, the choice is yours. Just remember to ensure that colours complement and not clash.
Moody Portraits
With cloudy days, we can achieve moody portraits. This can be done anywhere, from the city streets to the beach. The overcast skies will allow you to create mood with a lower exposure, outfit choice, and backdrop. Steer clear of flowers and bright murals, and opt for textures and darker backgrounds.
Black and White
You can strip away all colour and go for even moodier portraits with black and white. The even light will allow you to create flattering portraits of your model, with a stylish black and white overlay that will be especially striking. Black and white shots further smooth skin and conceal blemishes and imperfections, allowing you to achieve an even more flattering portrait.
Rainy Portraits
Add further interest to your cloudy day shots if it also happens to be raining. You can make use of reflections with puddles on the floor, and using umbrellas as props. You can further enhance your image by bringing out the textures of raindrops on your model’s face.
Foggy Portraits
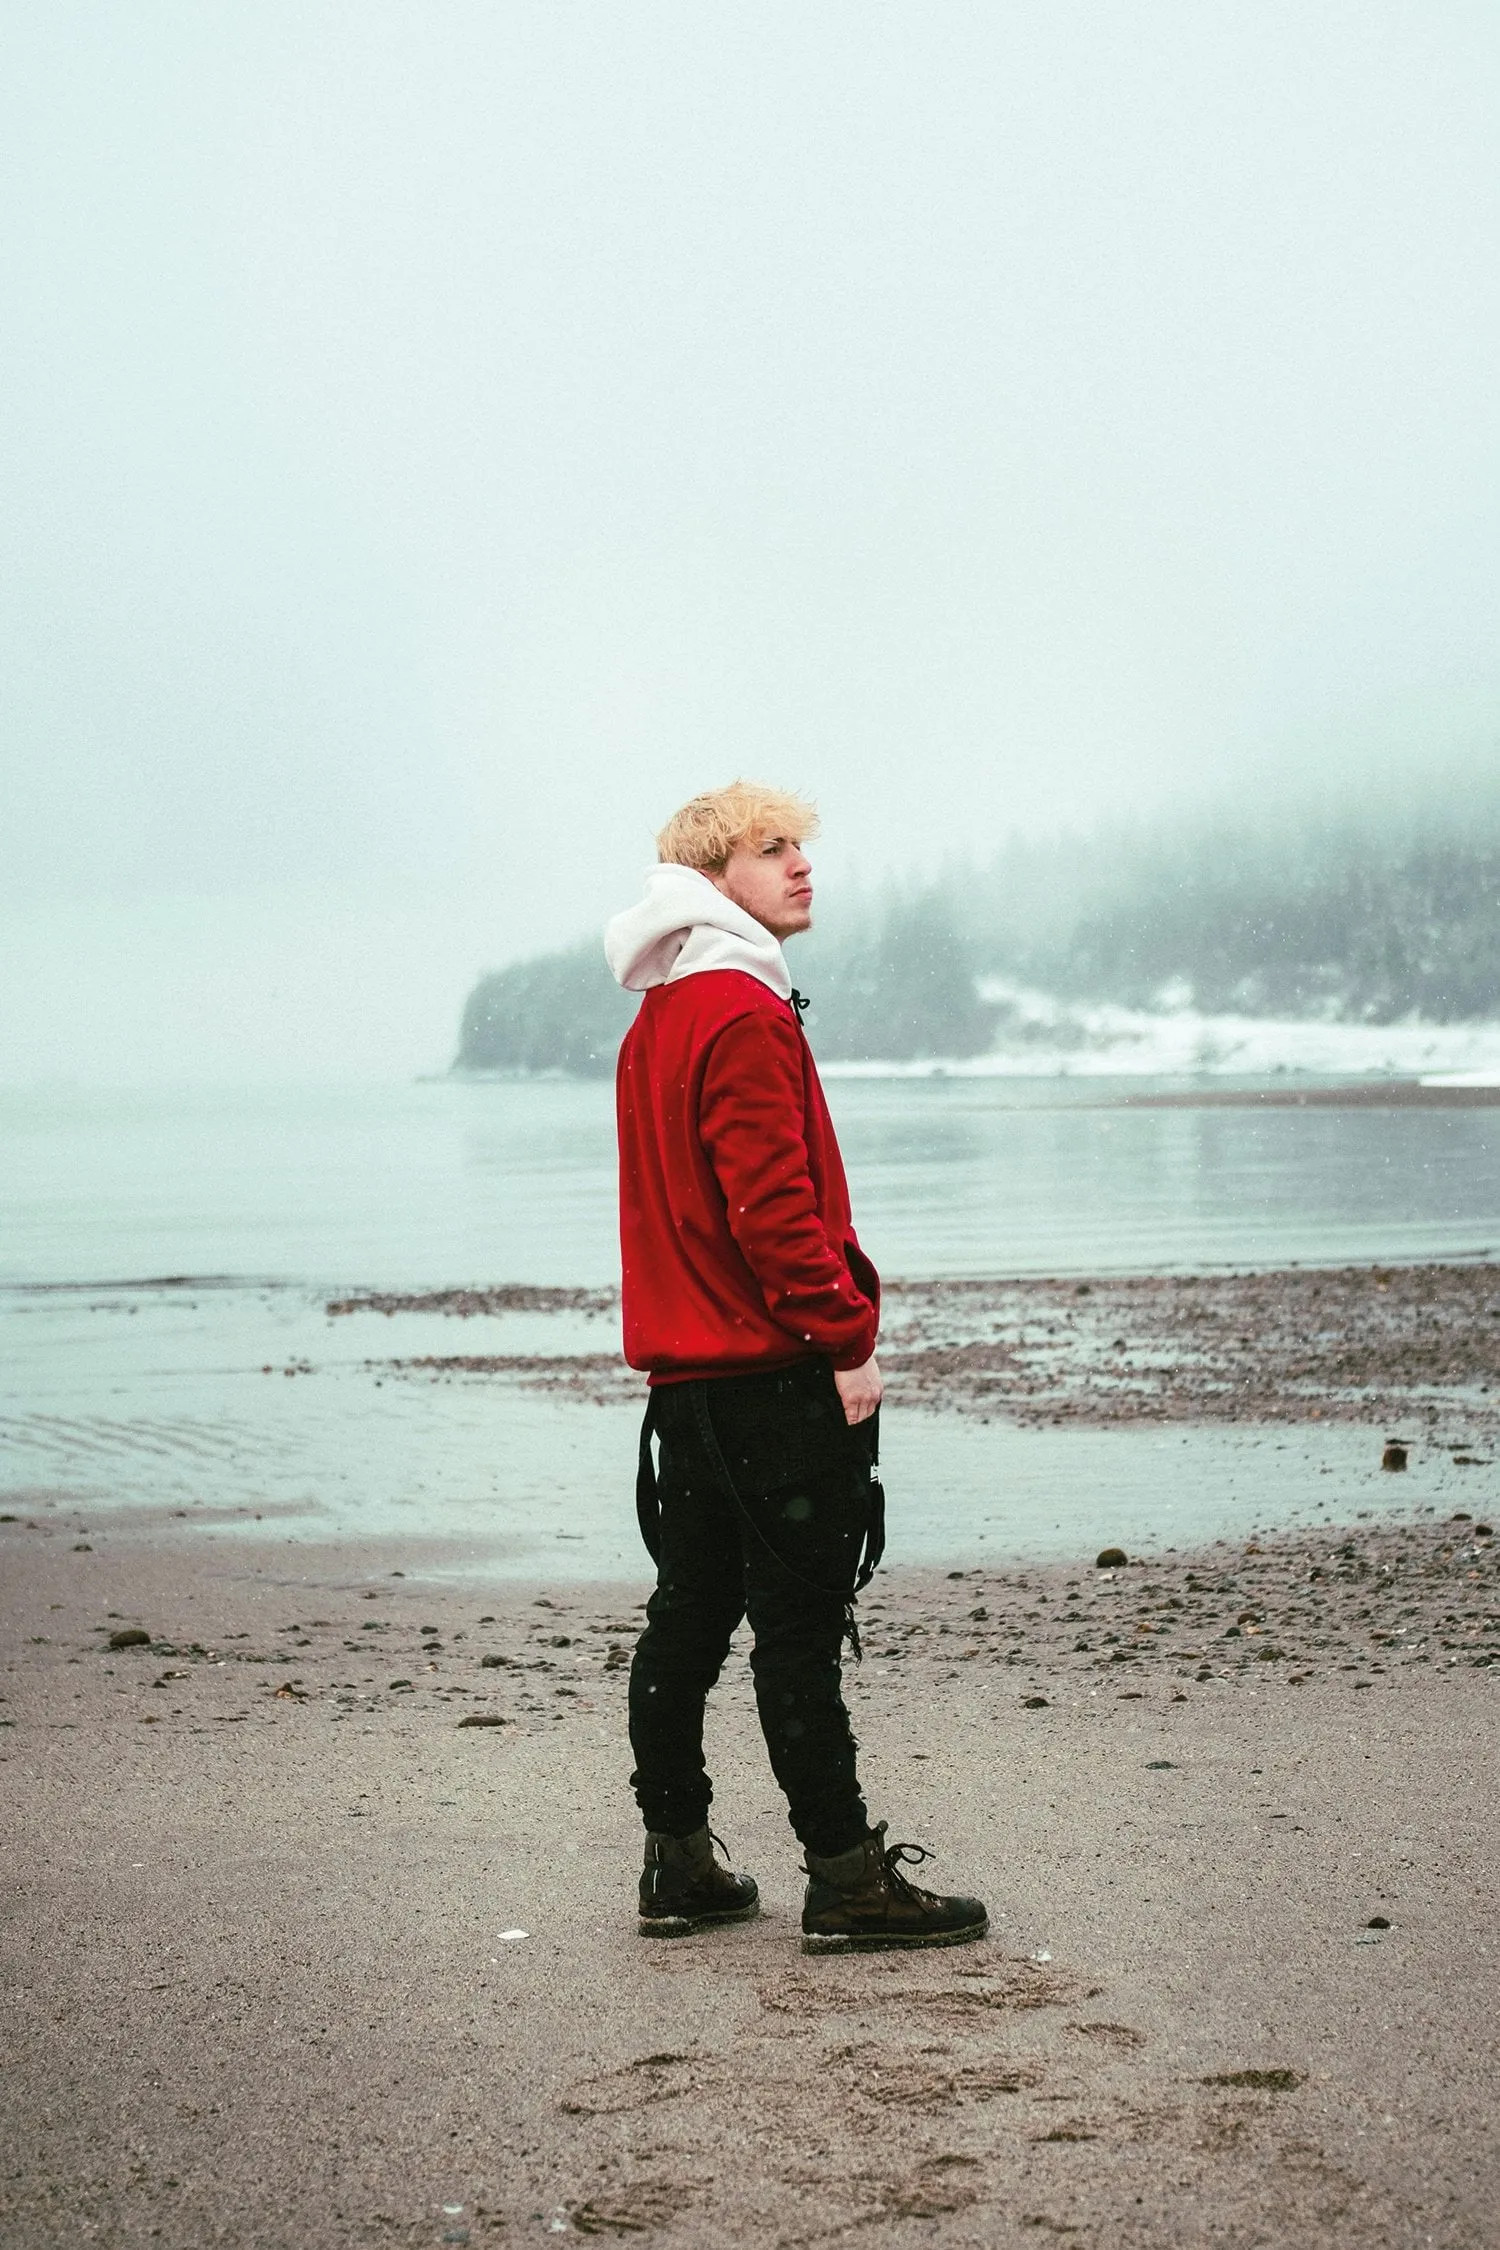
Enhance the mood with foggy portraits. The dense fog and overcast sky will add a mysterious appeal to your image, which you can further enhance with your choice of mood and pose for your model. Foggy portraits will look good in any environment, and you can either lean into the muted tones or try and bring in a pop of colour to attract the attention of the viewer.
To a certain extent, cloudy days can restrict a photographer with some ideas they may want to try out, especially if they were planning on bright shots with dense shadows. However, a whole new world of creative possibilities opens up on overcast days, and certain moody looks that wouldn’t actually be achievable on sunny days become much easier to manage. So get creative, experiment and see how a cloudy day can benefit your shoot.
Mastering the Art of Street Portrait Photography (+Pro Ideas)
Learn moreEditing Cloudy Day Portraits in Luminar
Overcast light is soft and flattering, but it can sometimes leave portraits looking flat or slightly cool. In Luminar, begin by correcting the white balance and exposure, then add a small amount of contrast to restore depth without losing the gentle quality of the natural light.
Use local adjustments to brighten the face, enhance the eyes, or subtly darken a distracting background. If the colors appear muted, increase vibrance carefully rather than pushing saturation across the entire image. Portrait tools can also help reduce shine and soften minor skin imperfections, but keep the effect restrained so the subject retains natural texture.

For a moodier result, lower the overall exposure slightly and refine the shadows while protecting skin tones. Alternatively, a black-and-white conversion can emphasize expression, shape, and texture when the original colors do not contribute much to the portrait.
The Bottom Line
Cloudy weather gives portrait photographers soft, even light that flatters the face and reduces the harsh shadows created by direct sun. The key is to watch the direction of the light, maintain a safe shutter speed, and keep white balance consistent as the clouds change.
Use muted locations for a moody result or introduce colorful clothing and backgrounds for contrast. With the right settings and composition, an overcast day can be one of the most flexible conditions for outdoor portrait photography.
Frequently Asked Questions
Yes. Clouds diffuse direct sunlight, creating softer shadows and more even illumination across the face. This makes overcast conditions particularly useful for natural-looking outdoor portraits.
Start with Aperture Priority or Manual mode, choose the aperture for the depth of field you want, and keep the shutter speed around 1/250 second or faster for a moving subject. Use the lowest ISO that still gives you a safe shutter speed.
The Cloudy preset can add warmth, but a fixed Kelvin value or custom white balance gives more consistent results when the light changes. Shooting in RAW provides the greatest flexibility for correcting color later.
Not necessarily. Soft natural light is often enough. A reflector or subtle fill flash can help if the eyes look dark or if the subject needs more separation from the background.
Look for the brightest open part of the sky and turn the model toward it or slightly away from it. Even under cloud cover, the direction of the light affects catchlights, facial shape, and shadows.