Want to take better landscape photos? These eight beginner tips will help you plan a shoot, work with changing light, compose stronger images, and edit the results.
Landscape photography may look simple at first. The subject is usually stationary, and you have time to choose a viewpoint without directing a model or waiting for action. But creating a compelling image takes more than pointing a camera at a beautiful view. Light and weather can change the mood of a scene, while a landscape that looks impressive in person may appear flat or cluttered in a photograph.
For beginners, it’s a great way to practice composition, camera settings, perspective, and timing. You can revisit the same location in different conditions and see how your choices affect the result.
This guide covers eight practical tips, from planning a location and choosing equipment to composing your frame and editing RAW images.
Don’t feel like reading the whole breakdown? We’ve pulled together a quick summary below.
Key Takeaways
- Plan your location, weather, light, and shooting time before heading out.
- You can start landscape photography with a smartphone or basic interchangeable-lens camera.
- A wide-angle lens is useful for expansive scenes, while telephoto lenses help isolate distant details.
- Use aperture, shutter speed, and ISO according to the scene rather than following one fixed formula.
- Include foreground elements and leading lines to create depth.
- Do not limit yourself to horizontal compositions or traditional scenic viewpoints.
- Golden hour, blue hour, overcast weather, fog, and changing skies can all produce different results.
- A tripod, polarizing filter, and neutral density filter can be useful for specific situations.
- Shoot RAW when possible so you have more flexibility during editing.
- Luminar can help refine exposure, color, detail, distractions, and composition after the shoot.
Landscape Photography Basics
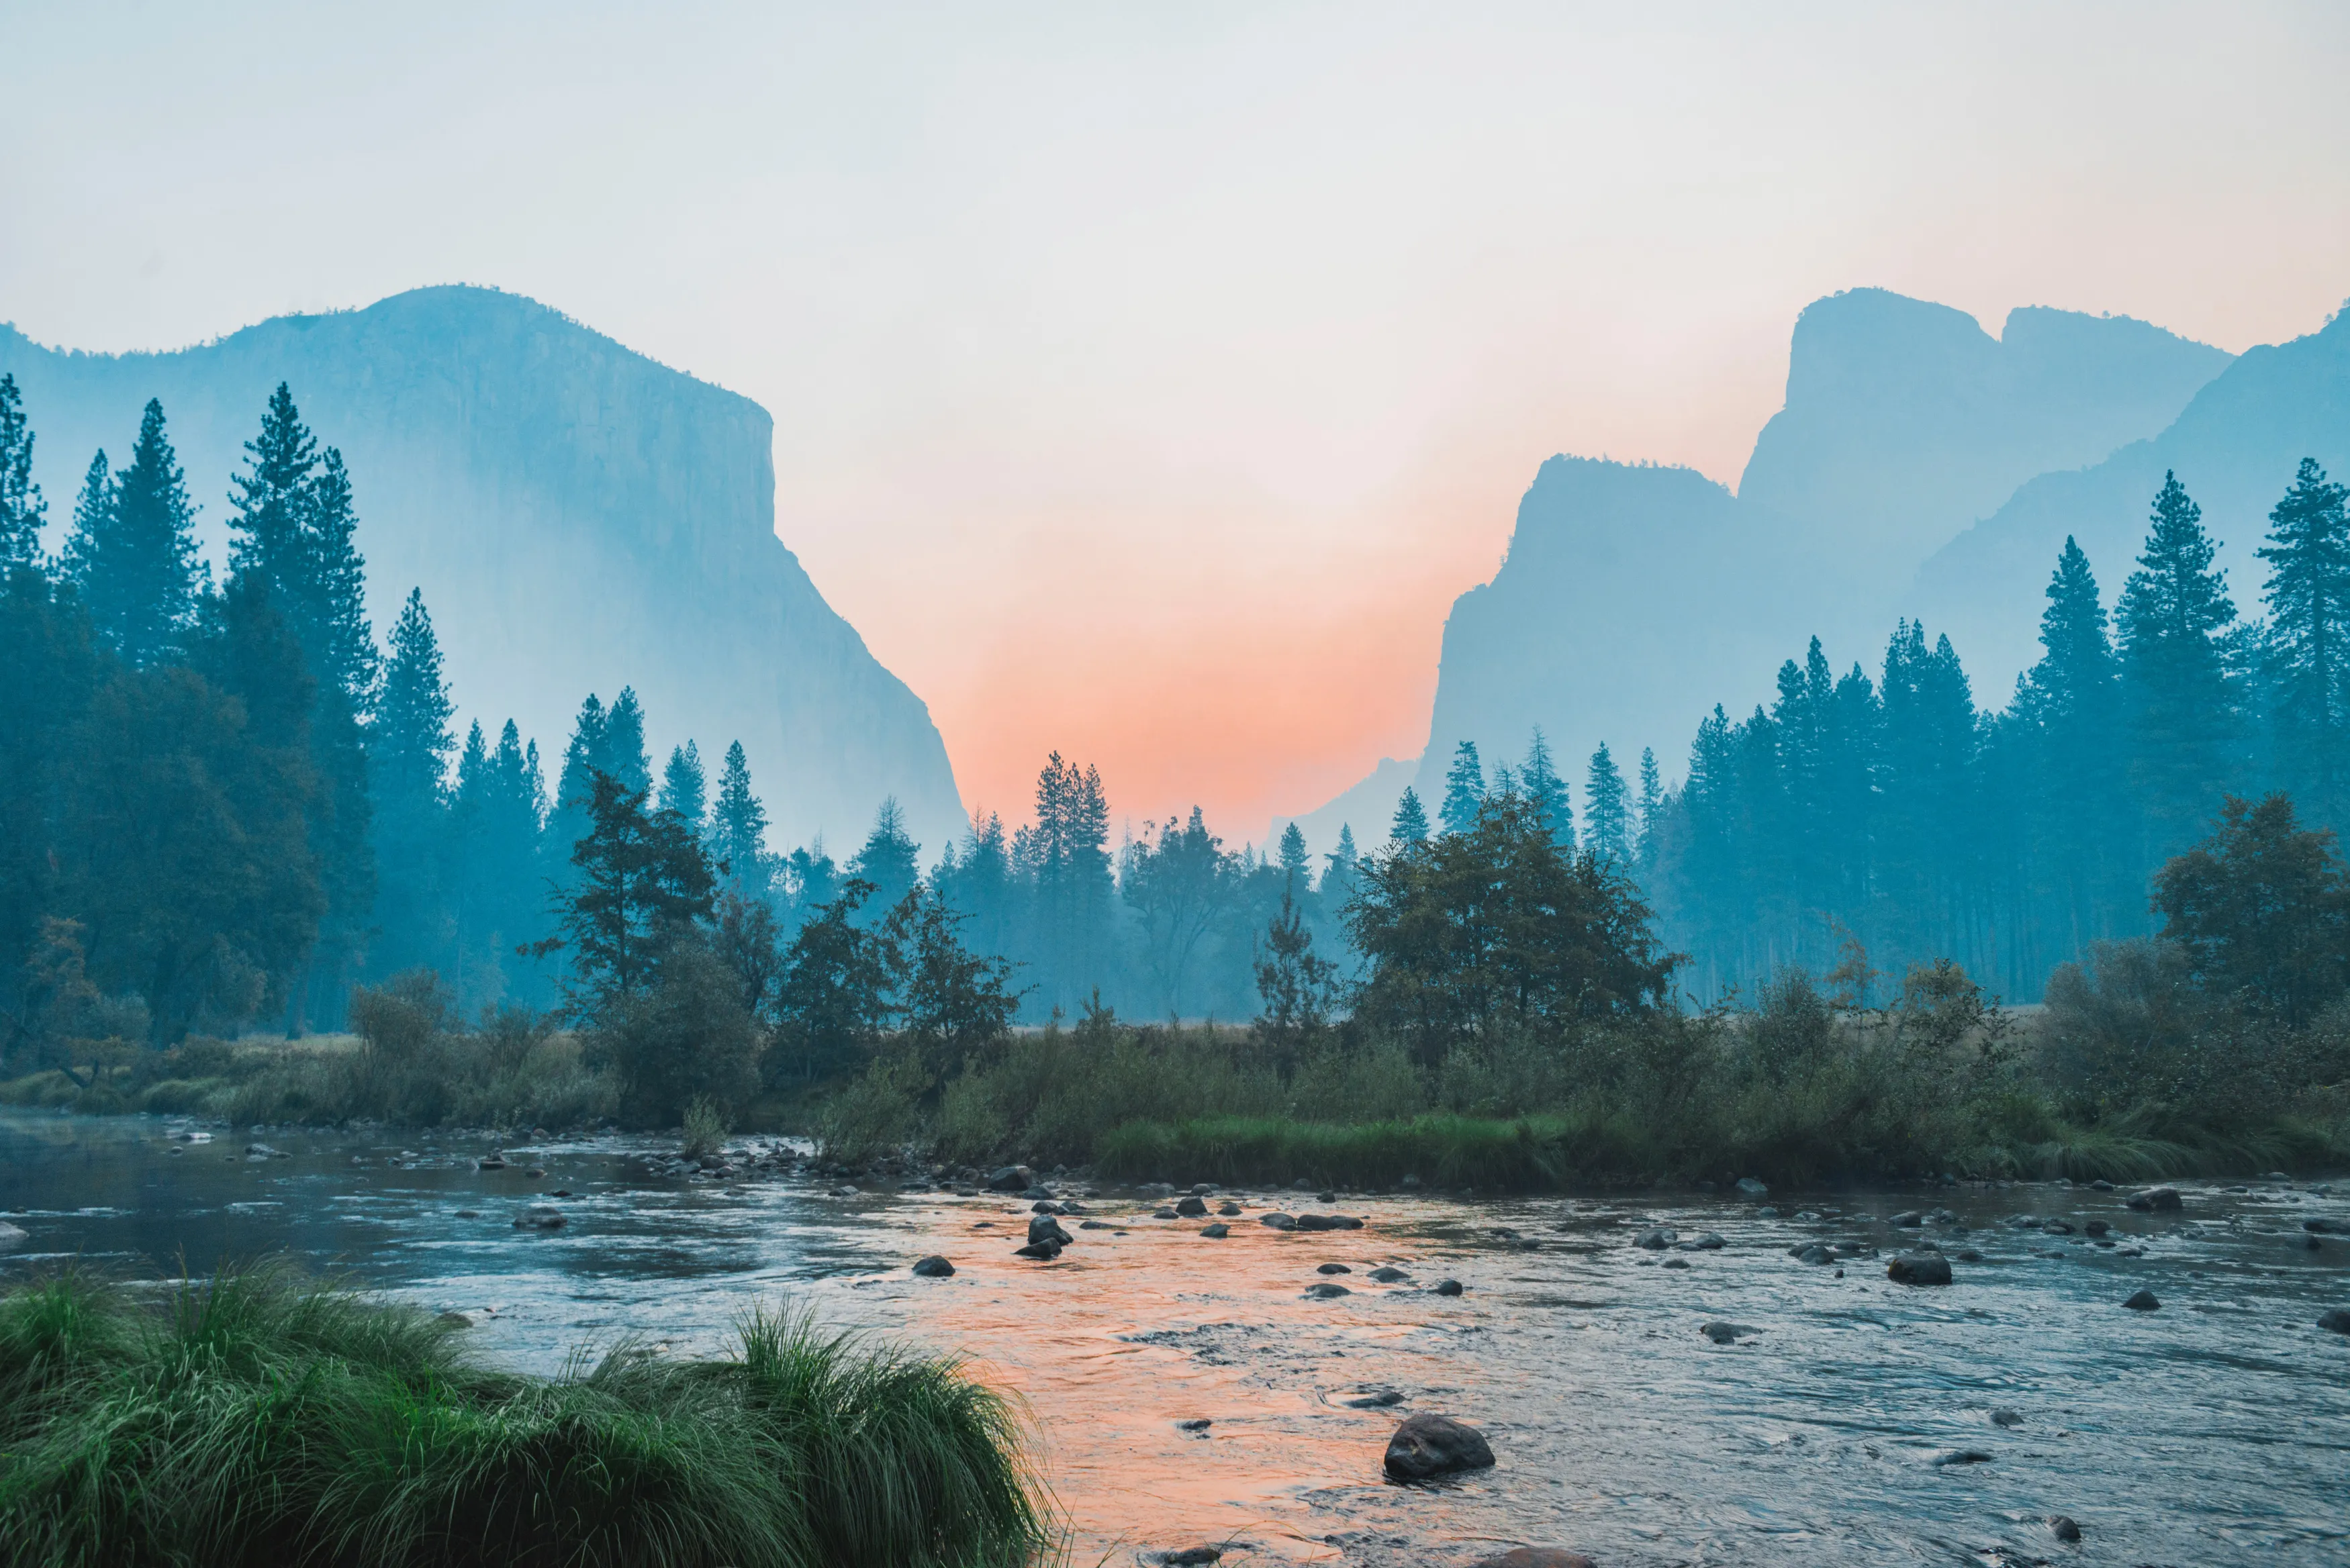 Landscape photography focuses on natural or outdoor environments, including mountains, forests, coastlines, deserts, rivers, lakes, fields, and other expansive scenes.
The genre can be approached in many ways. One photograph may emphasize the scale of a mountain range, while another may focus on a single tree, rock, or patch of grass. A landscape photograph does not have to show an enormous panorama to qualify as landscape photography.
What often makes a landscape image effective is the relationship between different elements in the frame: light and shadow, foreground and background, texture and color, or still objects and moving water or clouds.
Composition plays an important role, but there are no rules that every landscape photograph has to follow. A vertical frame can work just as well as a horizontal one when the scene contains strong vertical elements such as mountains, waterfalls, trees, or cliffs.
For more inspiration, explore these beautiful landscape photography examples and pay attention to how photographers use perspective and light.
Exclusive Tools of Endless Possibilities in One Editor
8 Landscape Photography Tips for Beginners
1. Plan Your Location and Shooting Conditions
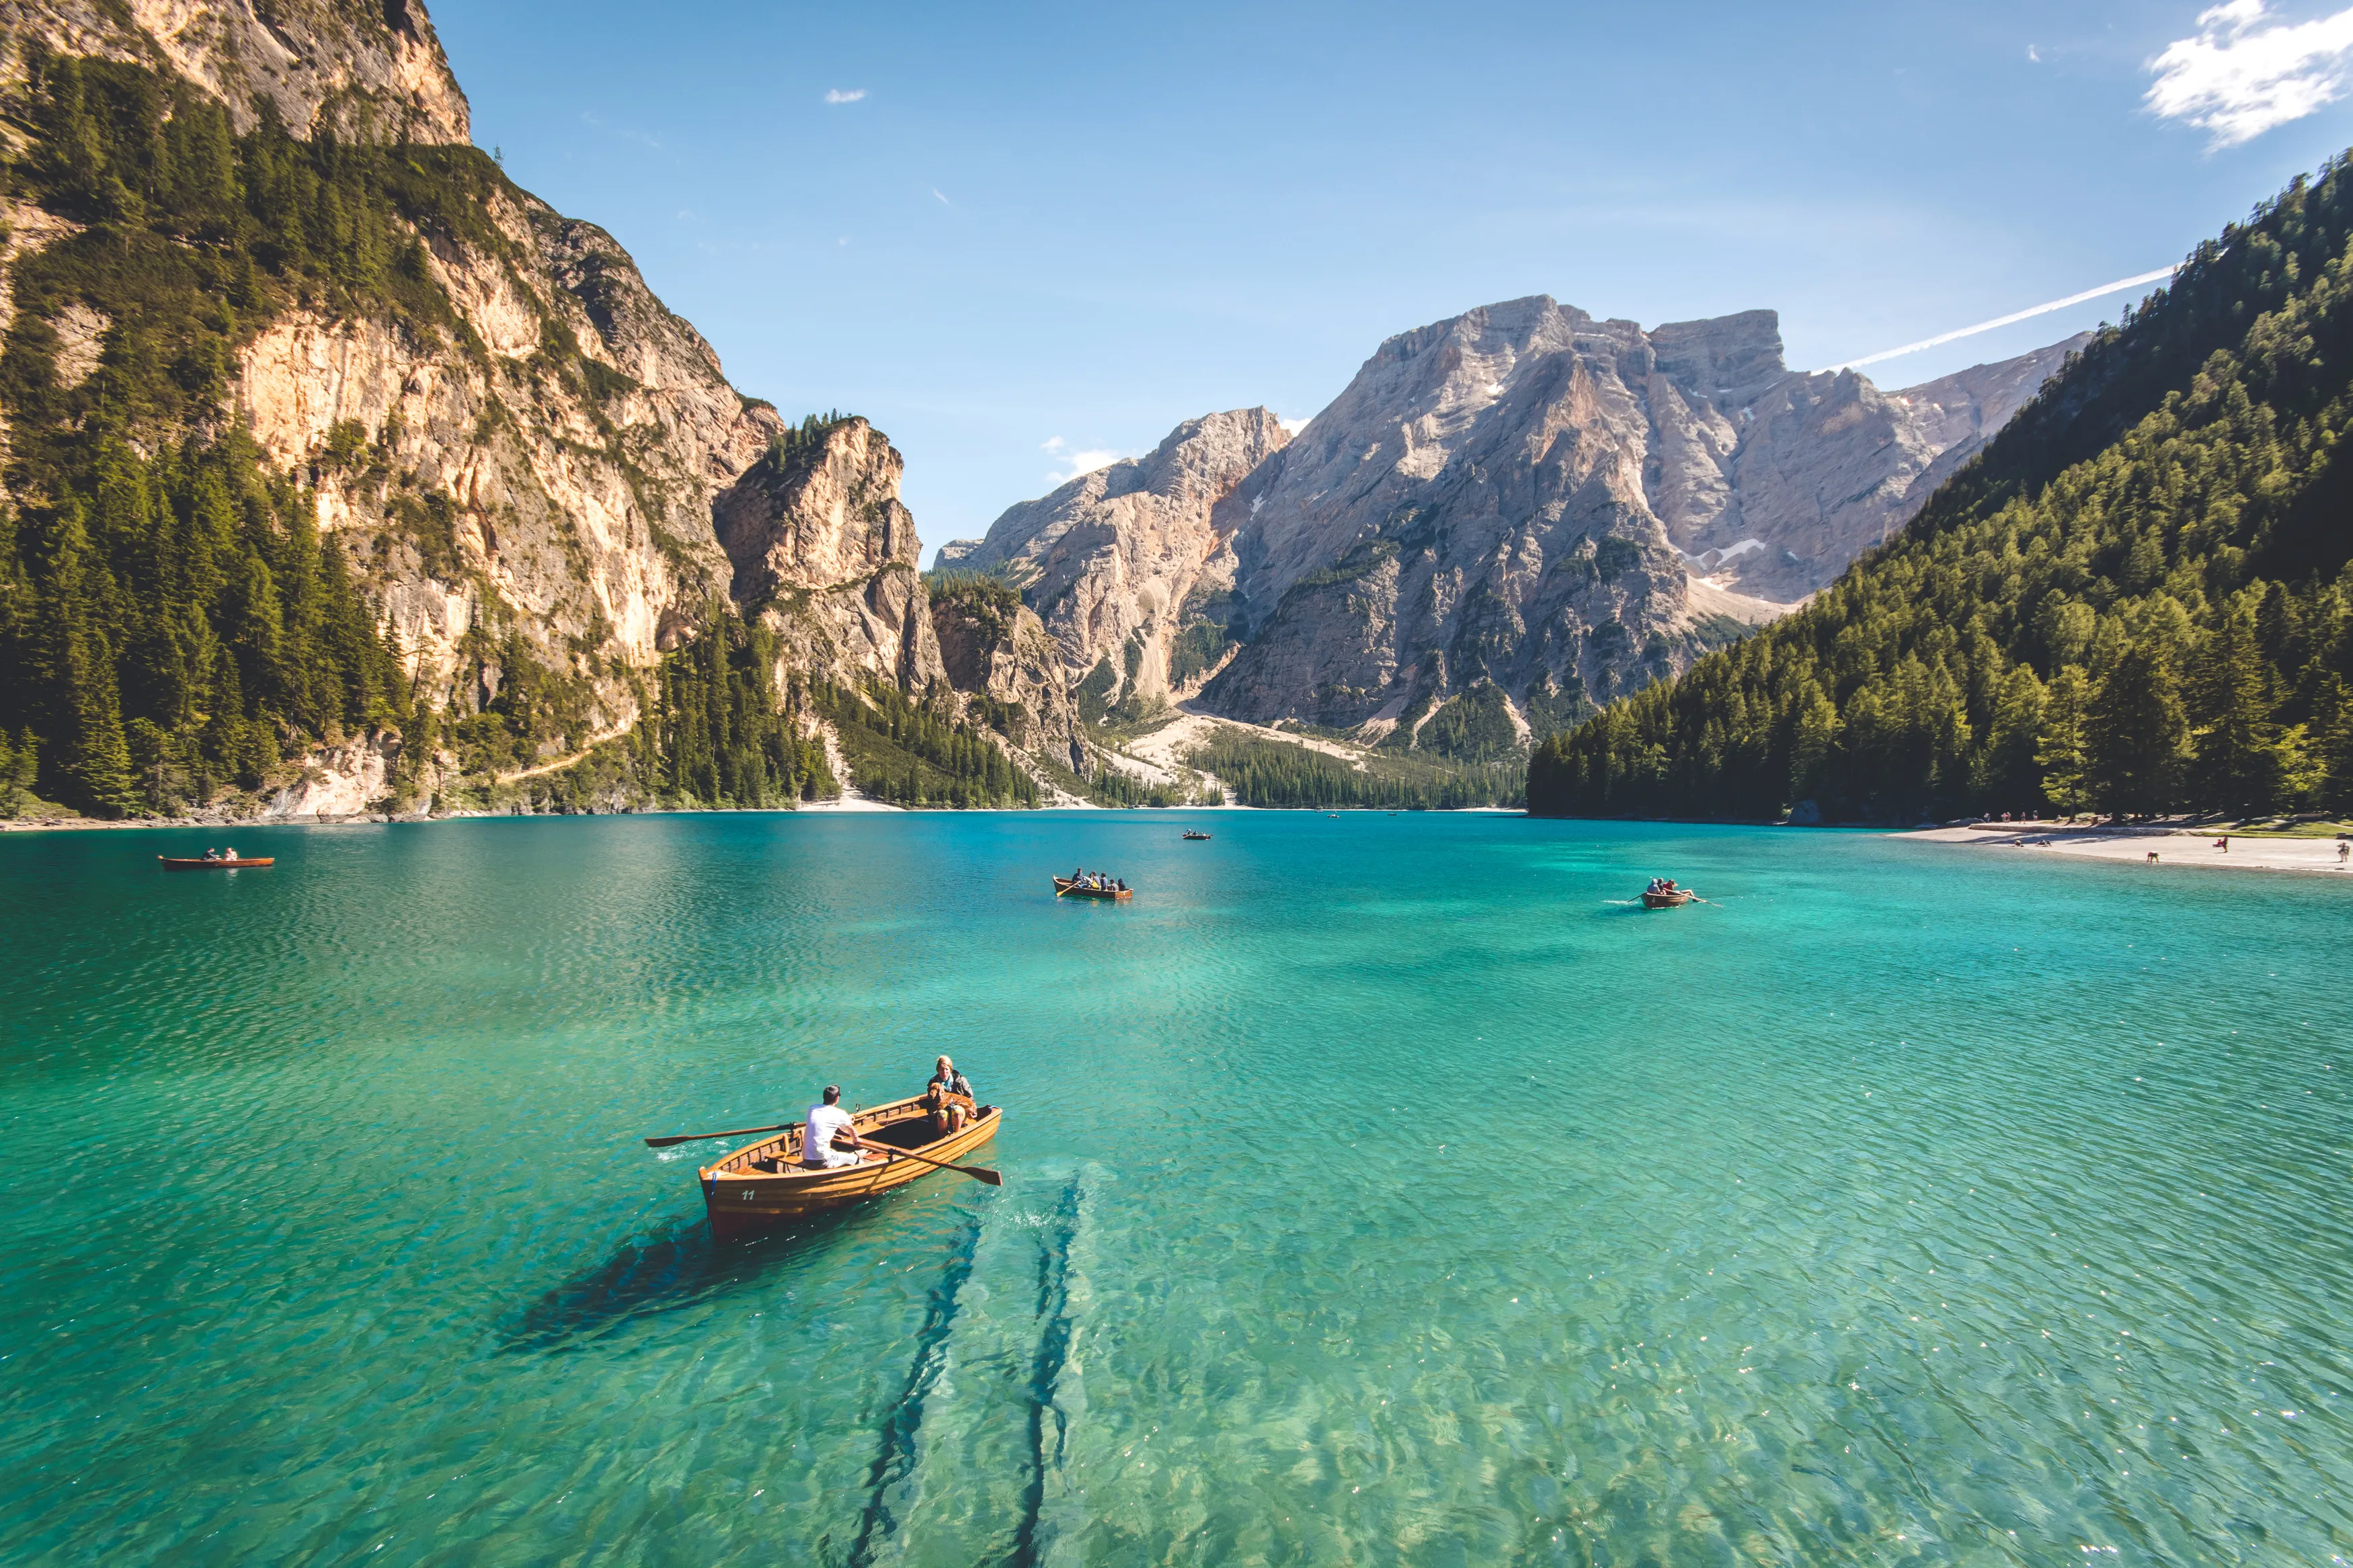 Good landscape photography often starts before you take your camera out of the bag.
Research the location and look for interesting viewpoints, trails, overlooks, bodies of water, unusual geological formations, or other elements that could give your composition structure.
Weather forecasts are equally important. Do not assume that clear skies are always better. Fog can simplify a busy landscape, clouds can add texture to the sky, and rain can deepen colors and create reflections.
Also consider the position of the sun. A location that looks ordinary at noon may become much more interesting when low-angle light reaches it in the morning or evening.
If possible, visit the location before the planned shoot. Scouting in advance gives you time to find safe viewpoints and decide where you want to position yourself.
2. Choose Equipment That Matches Your Approach
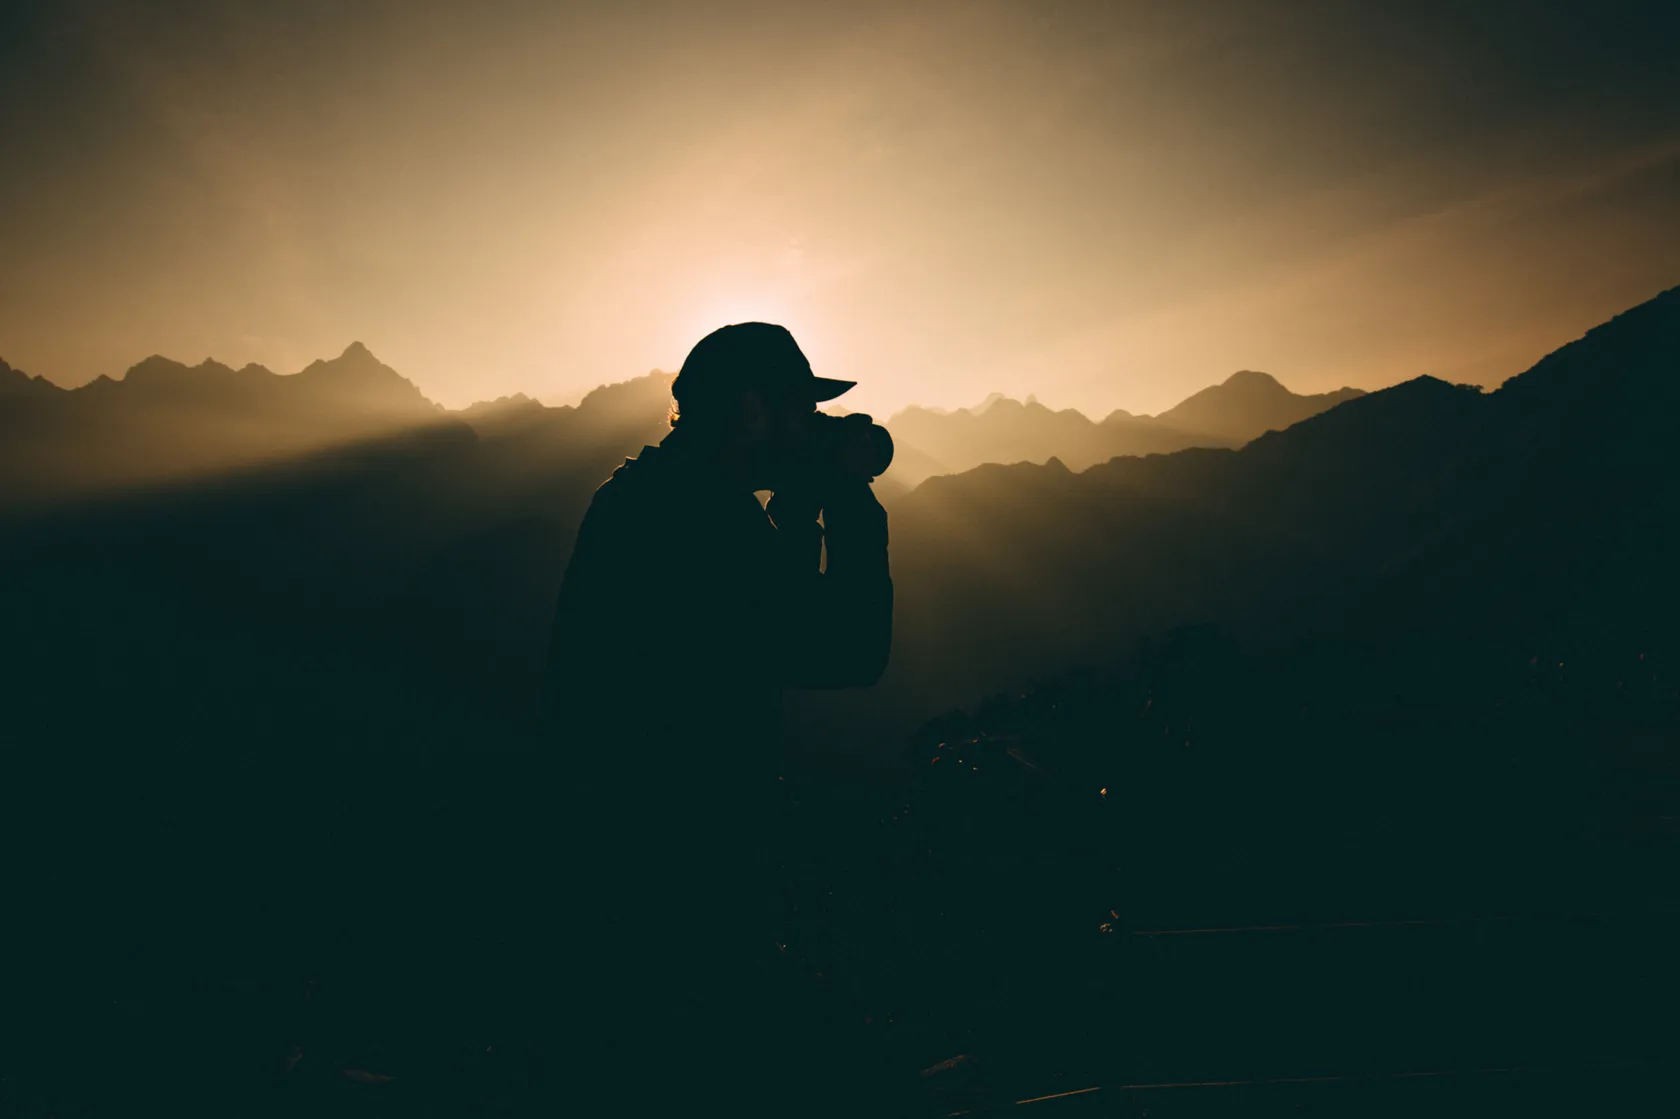 You do not need expensive equipment to begin photographing landscapes. A smartphone can be enough to learn composition, light, and perspective.
For interchangeable-lens cameras, a wide-angle lens is a common choice for expansive scenes. Focal lengths around 14–35mm on a full-frame camera can capture a broad field of view, while lenses around 24–70mm offer more flexibility for general-purpose landscape work.
A telephoto lens can also be extremely useful. Longer focal lengths allow you to isolate distant peaks, trees, architectural details, or layers of a landscape instead of always trying to fit the entire scene into the frame.
The important question is not simply which lens is “best,” but what you want the photograph to emphasize.
3. Pack Your Gear for the Environment
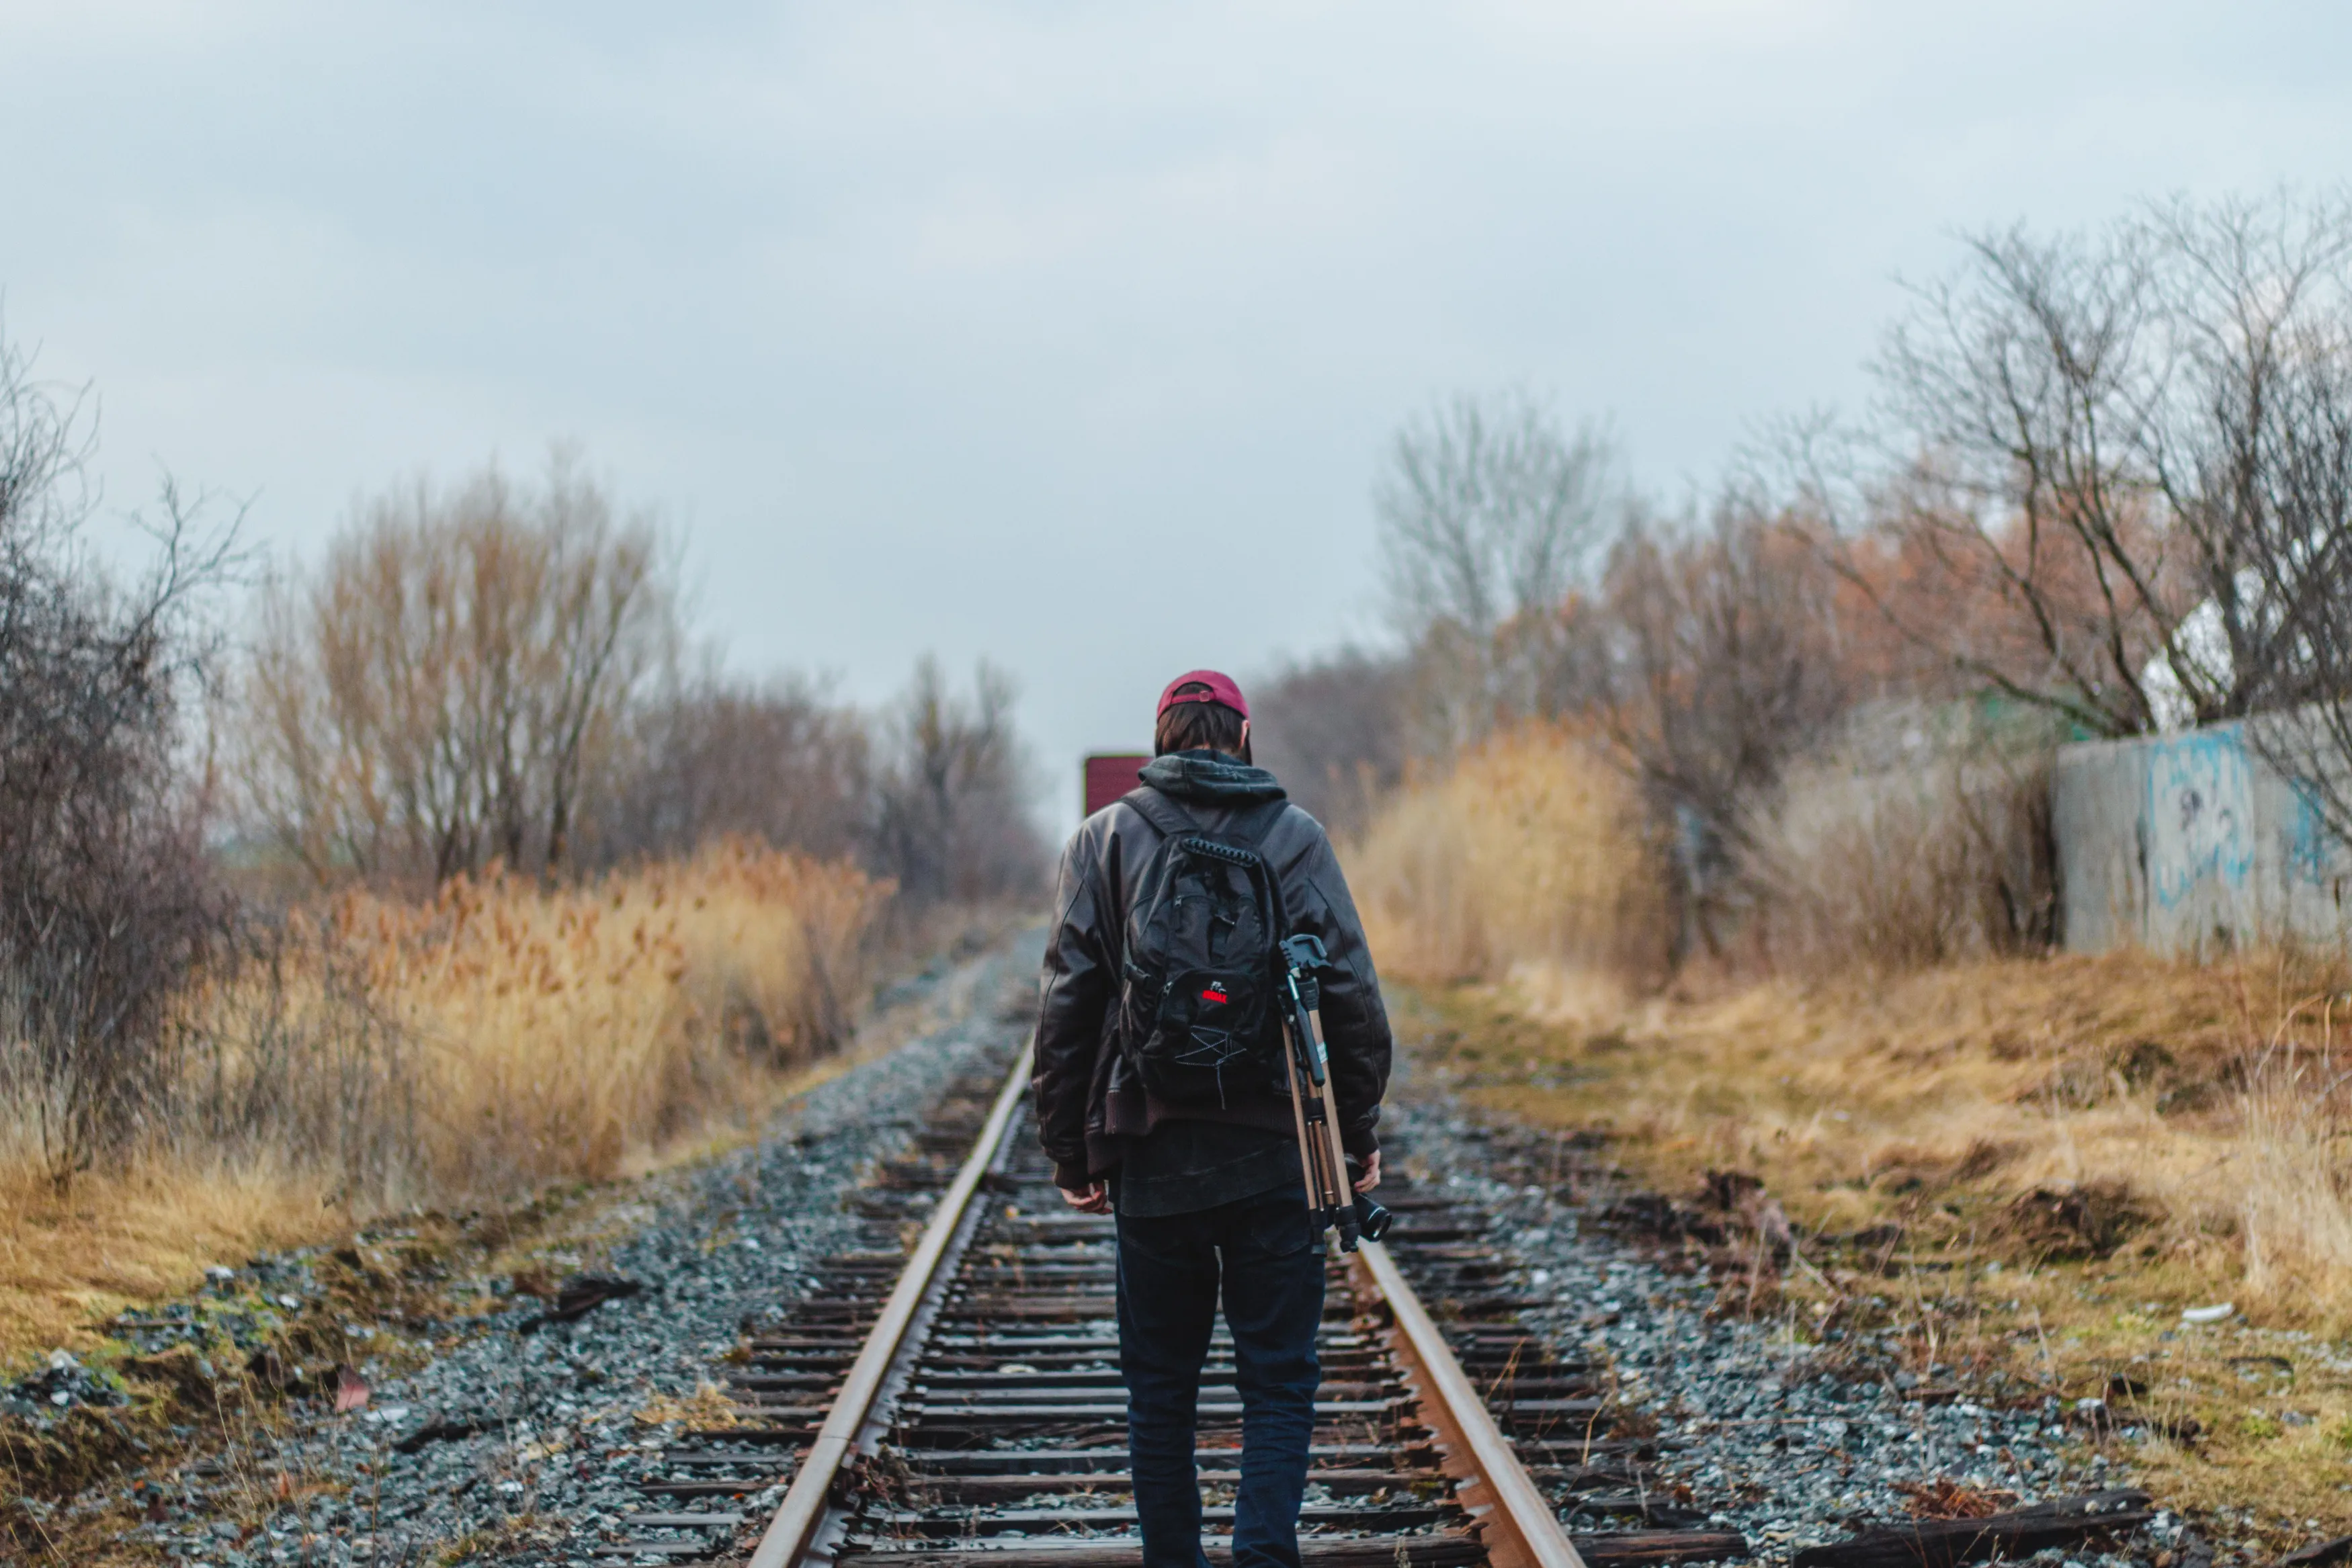 Landscape photography often involves walking, changing weather, and long periods outdoors. Pack according to the conditions rather than taking every piece of equipment you own.
A basic checklist might include:
- camera and preferred lenses;
- spare batteries;
- memory cards;
- tripod;
- lens cloth and cleaning supplies;
- rain protection;
- polarizing or neutral density filters when appropriate;
- comfortable clothing and suitable footwear;
- water and basic outdoor supplies.
Keep your equipment protected from rain, dust, sand, and sudden temperature changes. If you are photographing in cold weather, spare batteries are particularly useful because low temperatures can reduce battery life.
A lightweight tripod can be a better travel companion than a large model if you expect to walk long distances.
4. Understand Your Camera Settings
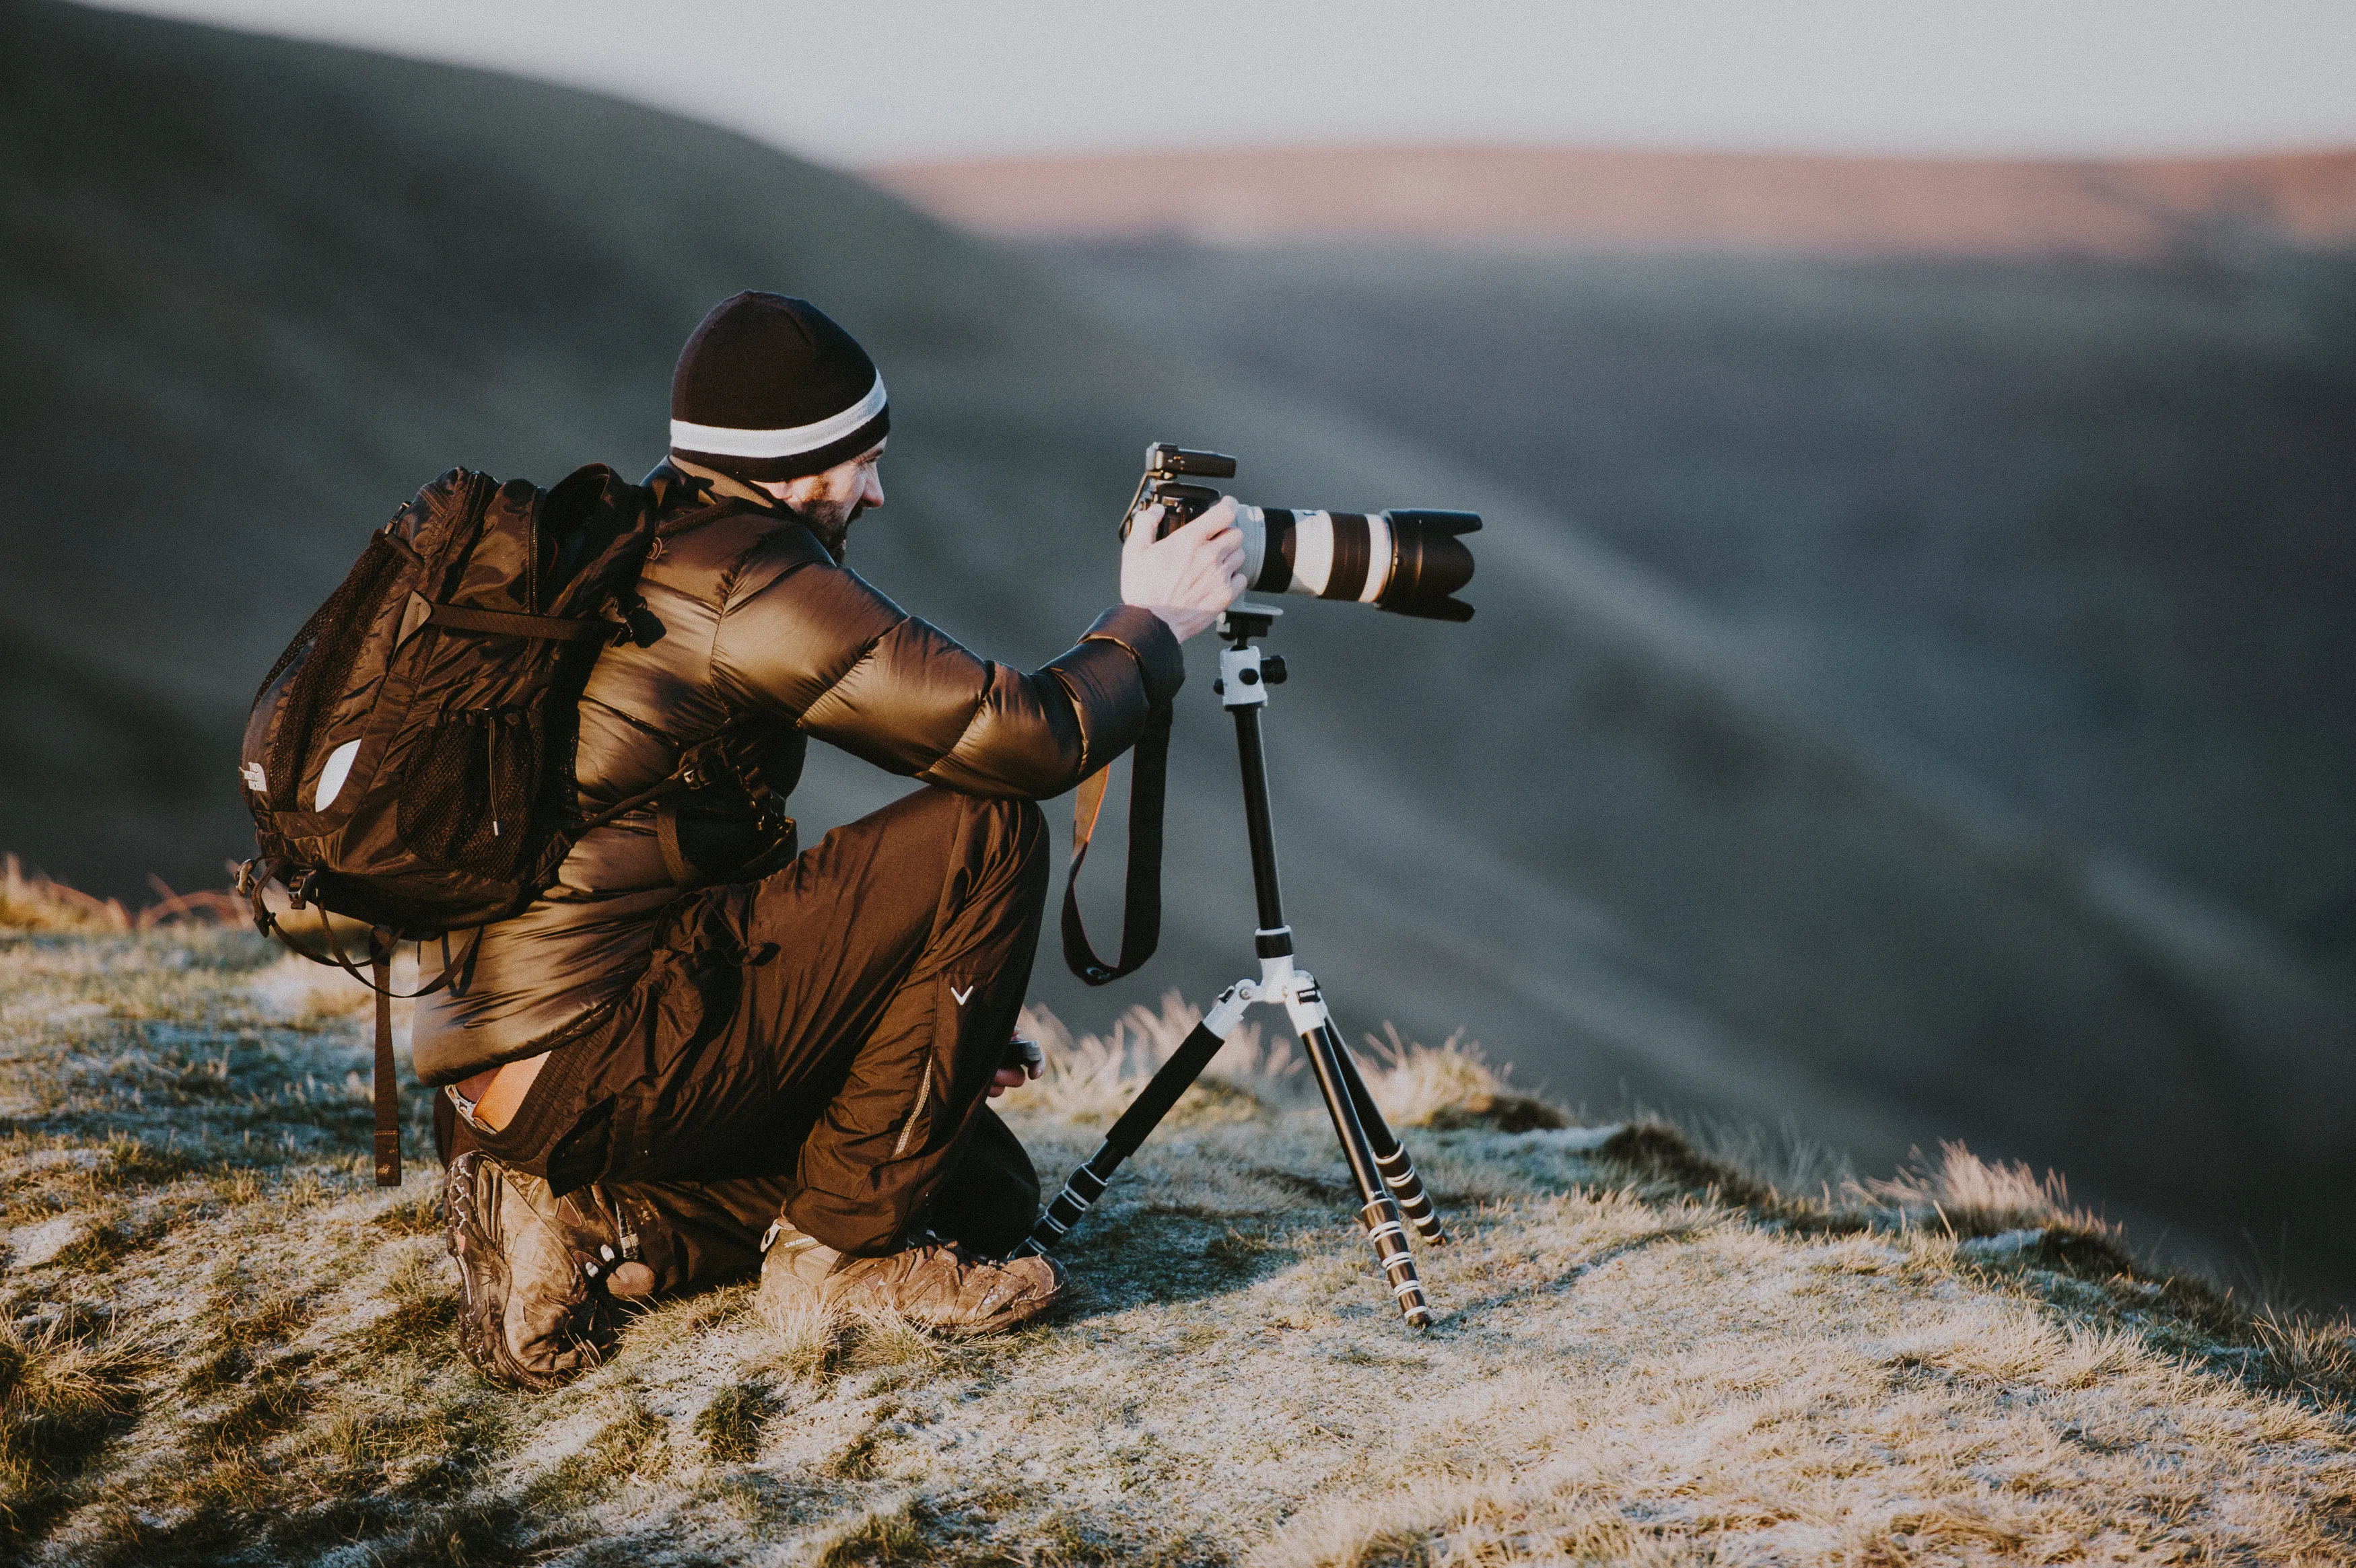 There is no single set of camera settings that works for every landscape. Your choices should depend on the available light, movement in the scene, depth of field, and the effect you want to create.
Here are useful starting points:
| Setting | Starting point | Why |
| Mode | Aperture Priority or Manual | Gives you control over exposure and depth of field |
| Aperture | Around f/8–f/11 | Often provides a useful balance of depth of field and image quality |
| ISO | 100–400 when possible | Helps minimize noise in well-lit scenes |
| Shutter speed | Adjust to the scene | Fast for moving subjects, slow for intentional motion |
| Focus | Single-point AF or manual focus | Helps place focus deliberately |
| White balance | Auto or a fixed setting | Choose based on how consistently you want color rendered |
An aperture around f/8 or f/11 can be a useful starting point when you want substantial depth of field, but you do not need to use it for every photograph. If the foreground and background are at very different distances, you may need to adjust your focus or use a different aperture.
For moving water or clouds, a tripod allows you to experiment with slower shutter speeds. For handheld shooting, choose a shutter speed fast enough to account for camera movement and the focal length you are using.
Keep ISO as low as practical, but do not be afraid to increase it when necessary. A sharp photograph with some noise is generally more useful than a blurred photograph captured at an unnecessarily slow shutter speed.
Shoot in RAW
When your camera supports it, RAW capture gives you more flexibility when adjusting exposure, white balance, highlights, shadows, and color during post-processing.
Luminar supports RAW editing and also provides tools for color, detail, masking, layers, and other adjustments.
Elevate Your Photography with Our Advanced Software
5. Build a Strong Composition
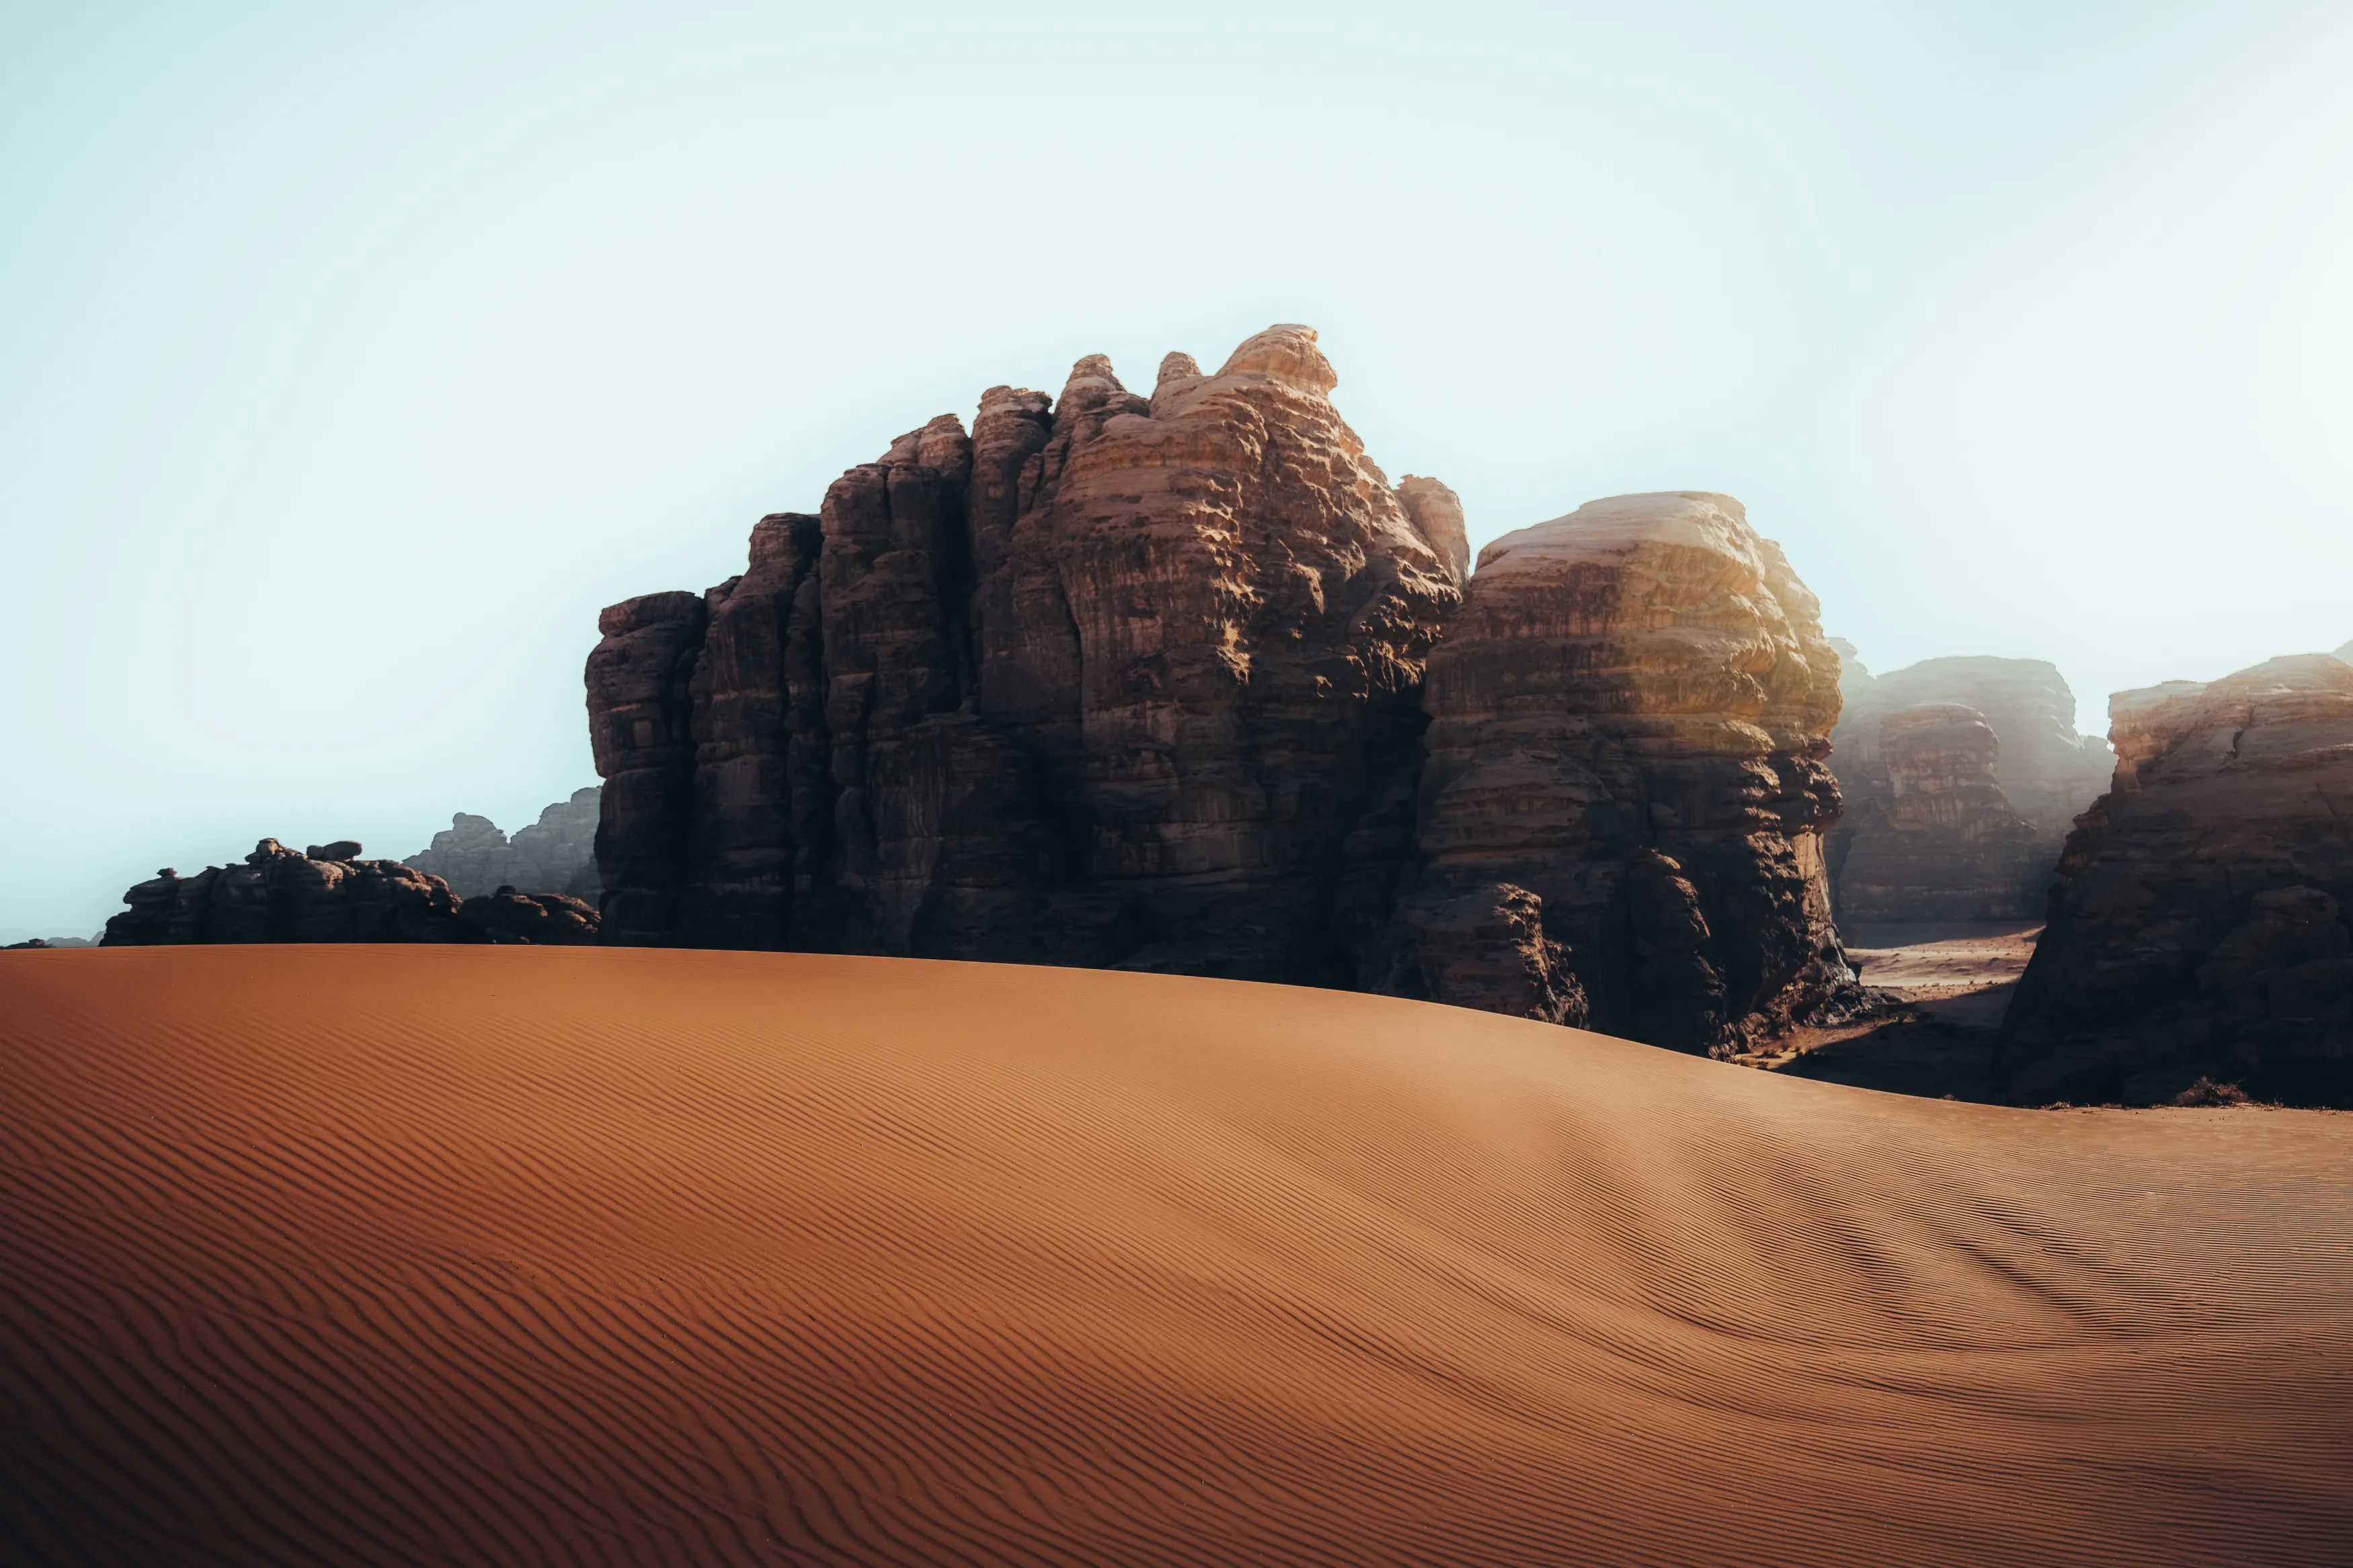 Composition is one of the most important skills to develop when learning landscape photography.
Start by identifying a clear subject or focal point. It could be a mountain, tree, rock, person, building, or another element that gives the viewer somewhere to look.
Use the Rule of Thirds
The rule of thirds divides the frame into nine sections. Placing important elements near the grid lines or intersections can create a balanced composition.
However, it is only a starting point. A centered mountain reflected in perfectly still water may work better with a symmetrical composition.
Learn more about this approach in our guide to the rule of thirds in photography.
Add a Strong Foreground
Foreground elements help create a sense of depth. Rocks, flowers, grass, fallen leaves, paths, or water can lead the viewer from the front of the image toward the distant landscape.
Instead of standing in one place, move closer to an interesting foreground element and experiment with your camera height.
Look for Leading Lines
Paths, fences, rivers, roads, shadows, and rows of trees can guide the viewer through the frame.
Try to position these lines so they lead toward your main subject rather than simply pointing toward the edge of the photograph.
Try Different Perspectives
A small change in camera position can completely change a landscape.
Try:
- getting closer to the ground;
- photographing from a higher viewpoint;
- moving several steps to either side;
- using a longer focal length;
- photographing vertically;
- including a person for scale;
- looking for details within a larger scene.
Do not assume that the viewpoint everyone uses at a popular location is the only worthwhile composition.
6. Pay Attention to Light
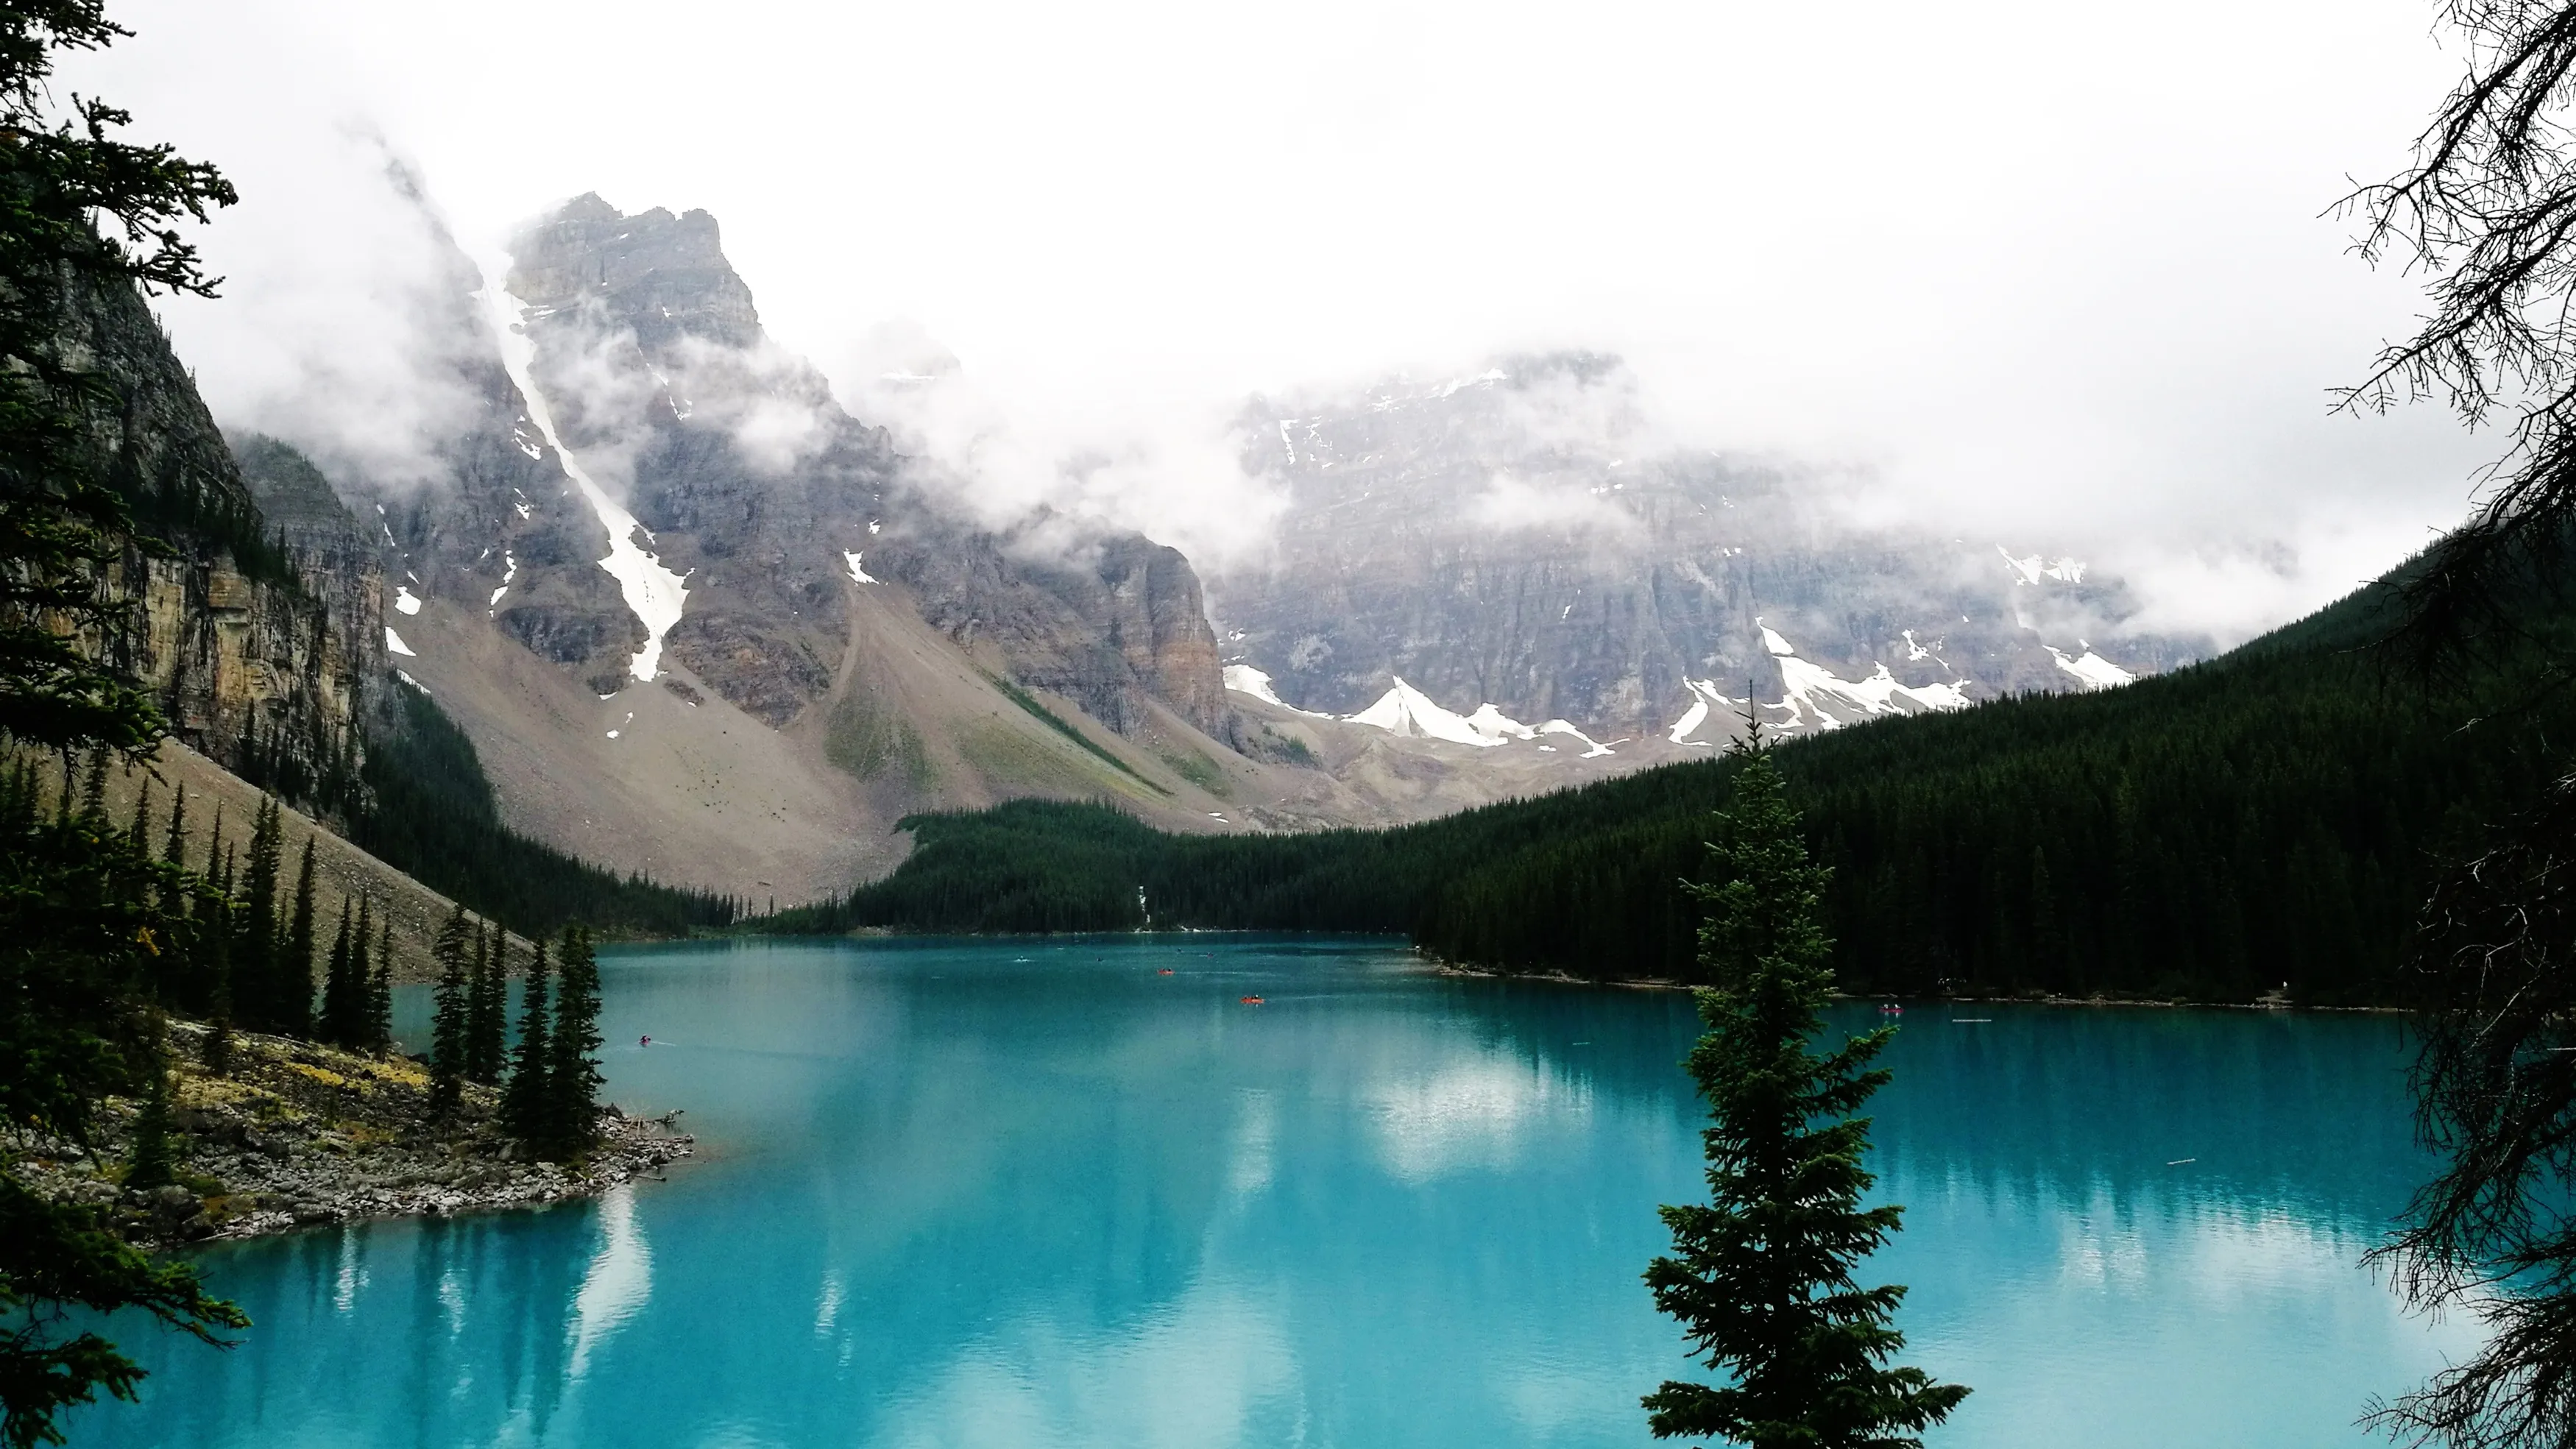 Light can completely change the character of a landscape.
Golden Hour
The period shortly after sunrise and before sunset provides lower-angle light that can create warm tones, longer shadows, and more pronounced texture.
You do not have to photograph directly toward the sun. Side lighting can reveal the shape of mountains, rocks, trees, and other landscape elements.
Blue Hour
The period around sunrise and sunset, when the sky takes on deeper blue tones, can produce a cooler and quieter atmosphere. It can work particularly well with cityscapes, mountains, lakes, and scenes containing artificial lights.
Overcast Conditions
Cloudy weather is not a reason to put your camera away. Diffused light reduces harsh shadows and can be particularly useful for forests, waterfalls, close-up details, and scenes with subtle textures.
Dramatic Weather
Fog, storm clouds, rain, and breaks in the clouds can create strong atmospheric conditions.
Always prioritize safety, especially during thunderstorms, strong winds, flooding, or difficult mountain conditions. A dramatic sky is never worth putting yourself at risk.
Watch the Shadows and Highlights
Look for the way light falls across the landscape. A patch of sunlight can isolate a mountain, tree, or section of a field and create a natural focal point.
When editing, Luminar’s Light Depth can be used to adjust how light interacts with depth in an image. Its depth-based controls are designed to help shape light and atmosphere without relying on the outdated Relight AI workflow.
7. Use the Right Filters and Accessories
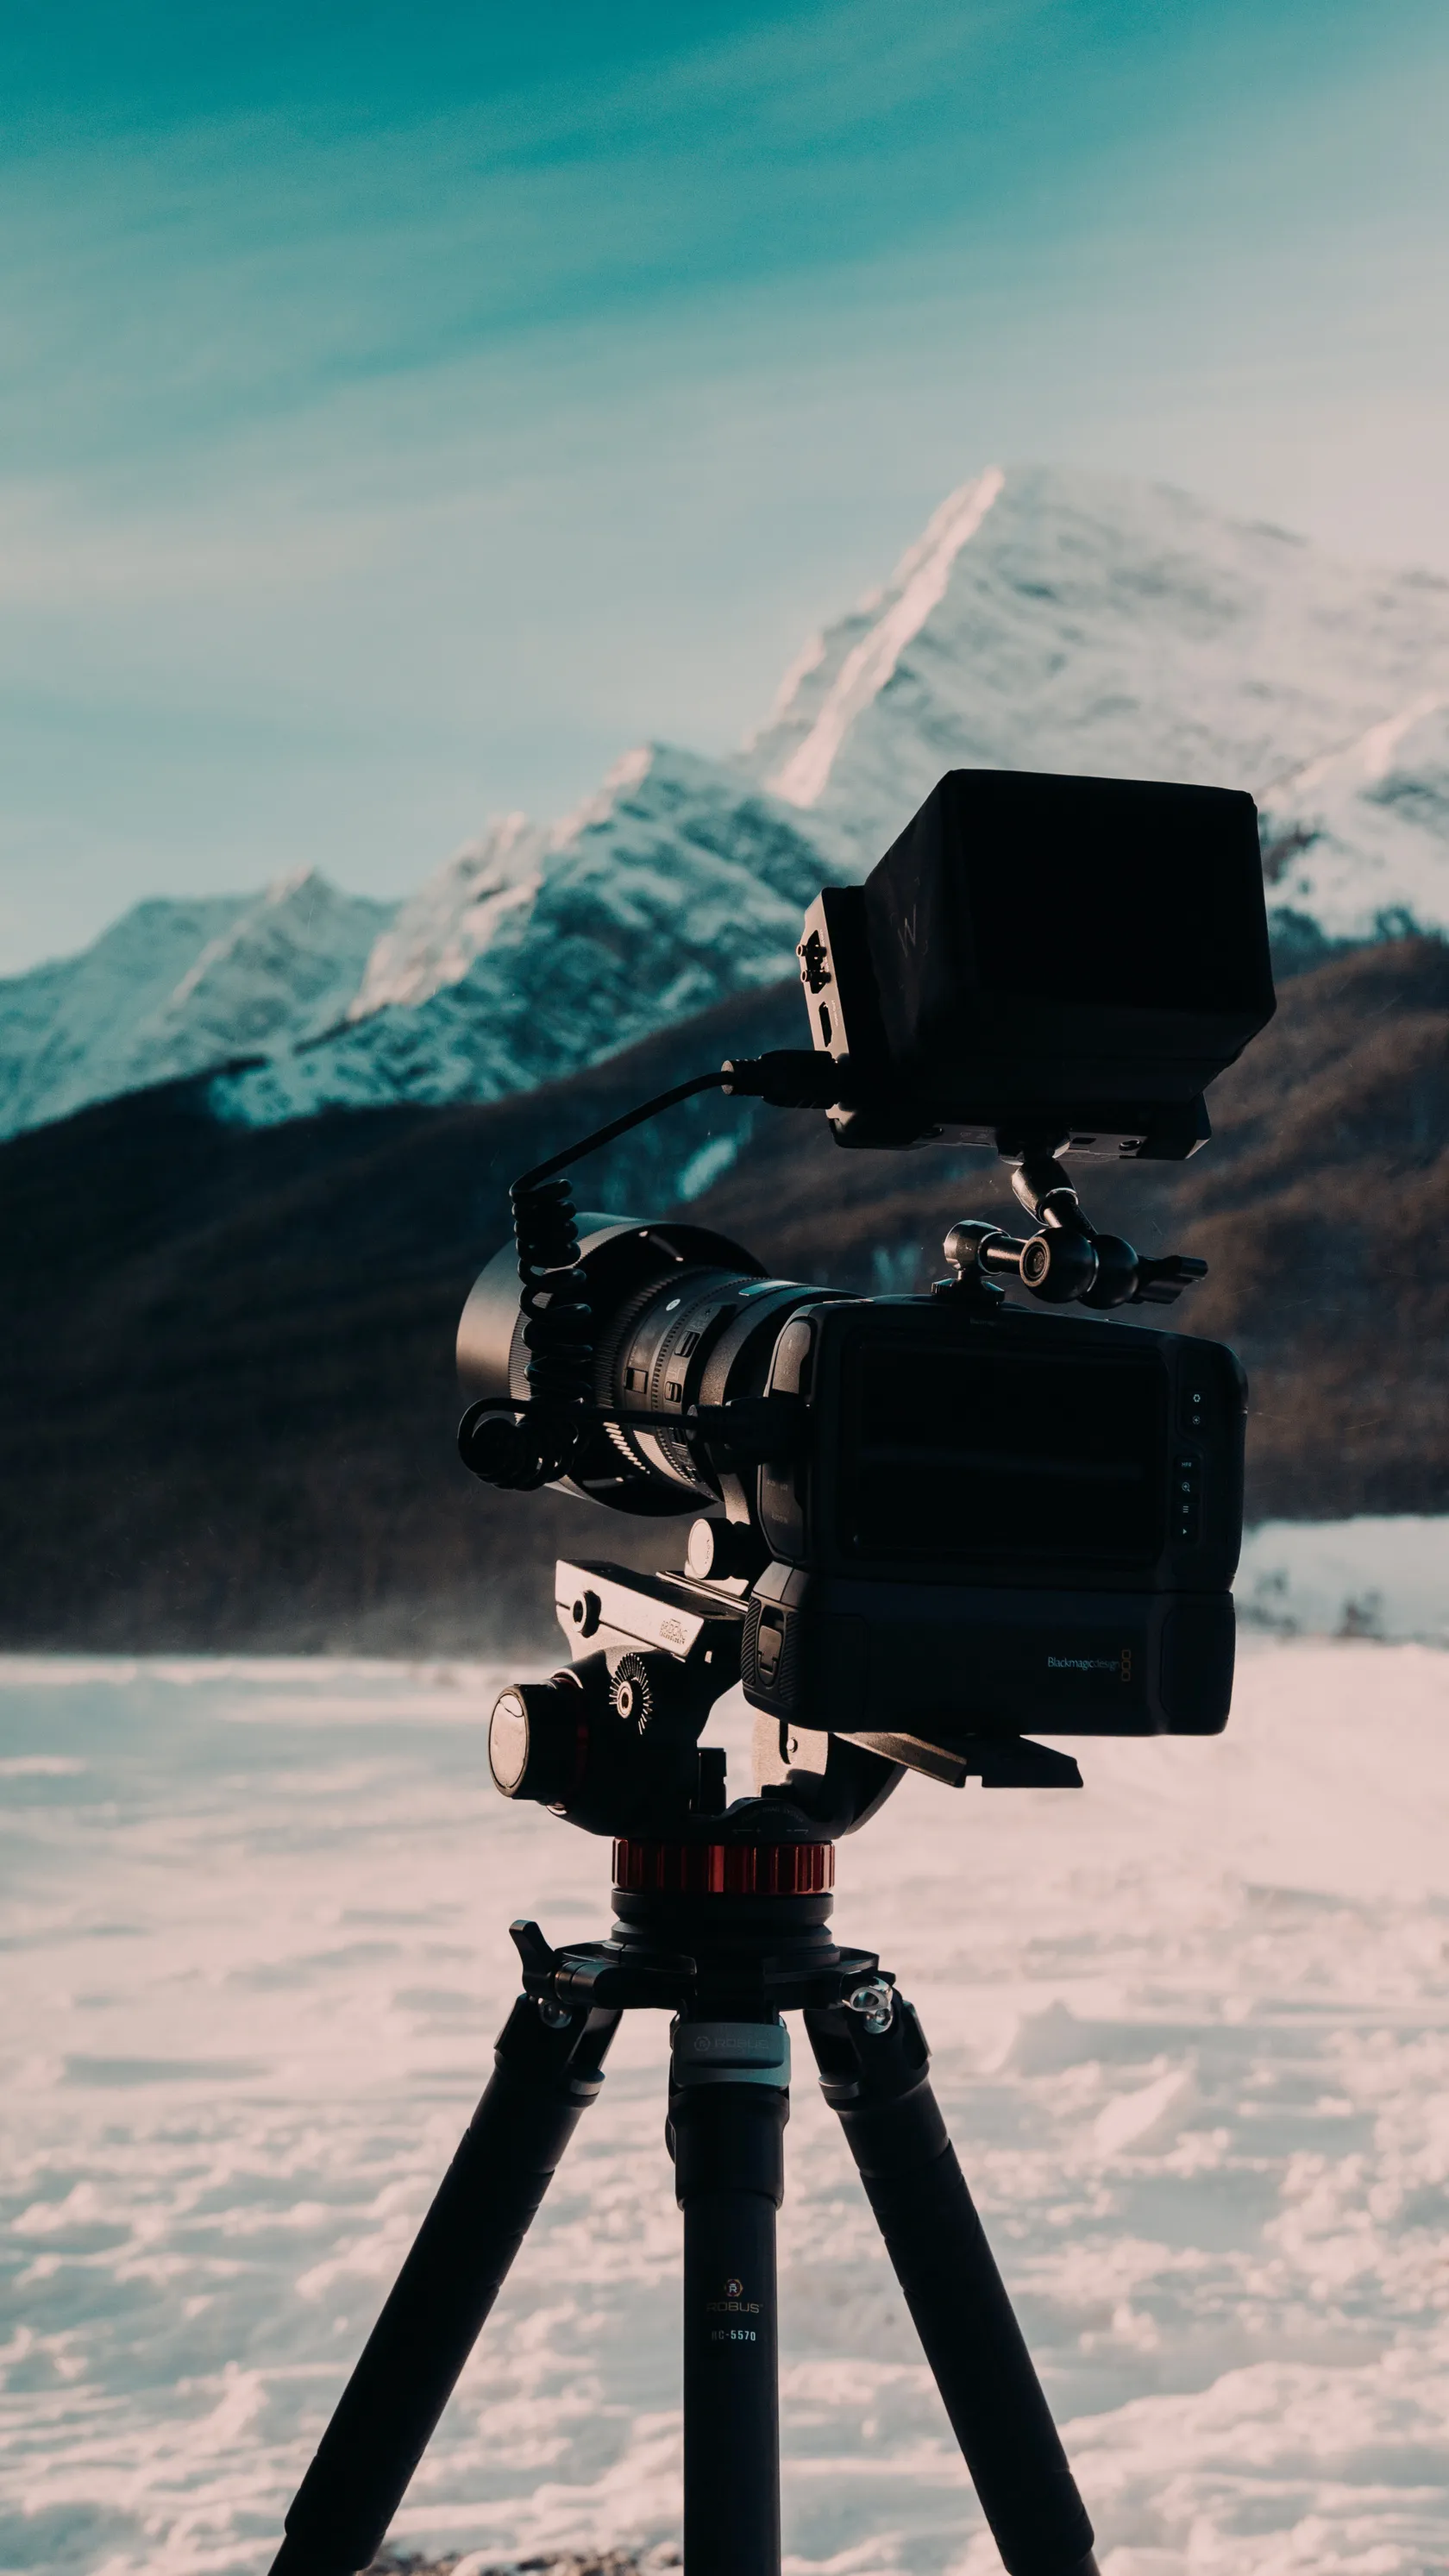 Accessories are not mandatory, but certain tools can solve specific landscape photography problems.
Tripod
A tripod is useful for:
- long exposures;
- low-light photography;
- focus stacking;
- precise composition;
- bracketing;
- keeping the camera steady while using slower shutter speeds.
A remote shutter or the camera’s self-timer can further reduce movement when the camera is mounted on a tripod.
Polarizing Filter
A circular polarizer can reduce reflections from water and some non-metallic surfaces. It can also increase separation between clouds and sky and change how foliage appears under certain lighting conditions.
The effect depends on the angle of the camera relative to the light source, so rotate the filter while looking through the viewfinder or screen.
Graduated Neutral Density Filter
A graduated neutral density filter is darker on one part and gradually becomes clear on the other. It can help balance a bright sky against a darker foreground.
The technique is particularly useful when the brightness difference between the sky and land is too large for a single exposure.
Neutral Density Filter
An ND filter reduces the amount of light entering the lens. This allows you to use slower shutter speeds in brighter conditions, which can be useful for creating smooth water or intentional cloud movement.
Do not buy every filter at once. Start with the accessory that solves a problem you actually encounter.
8. Experiment with Post-Processing
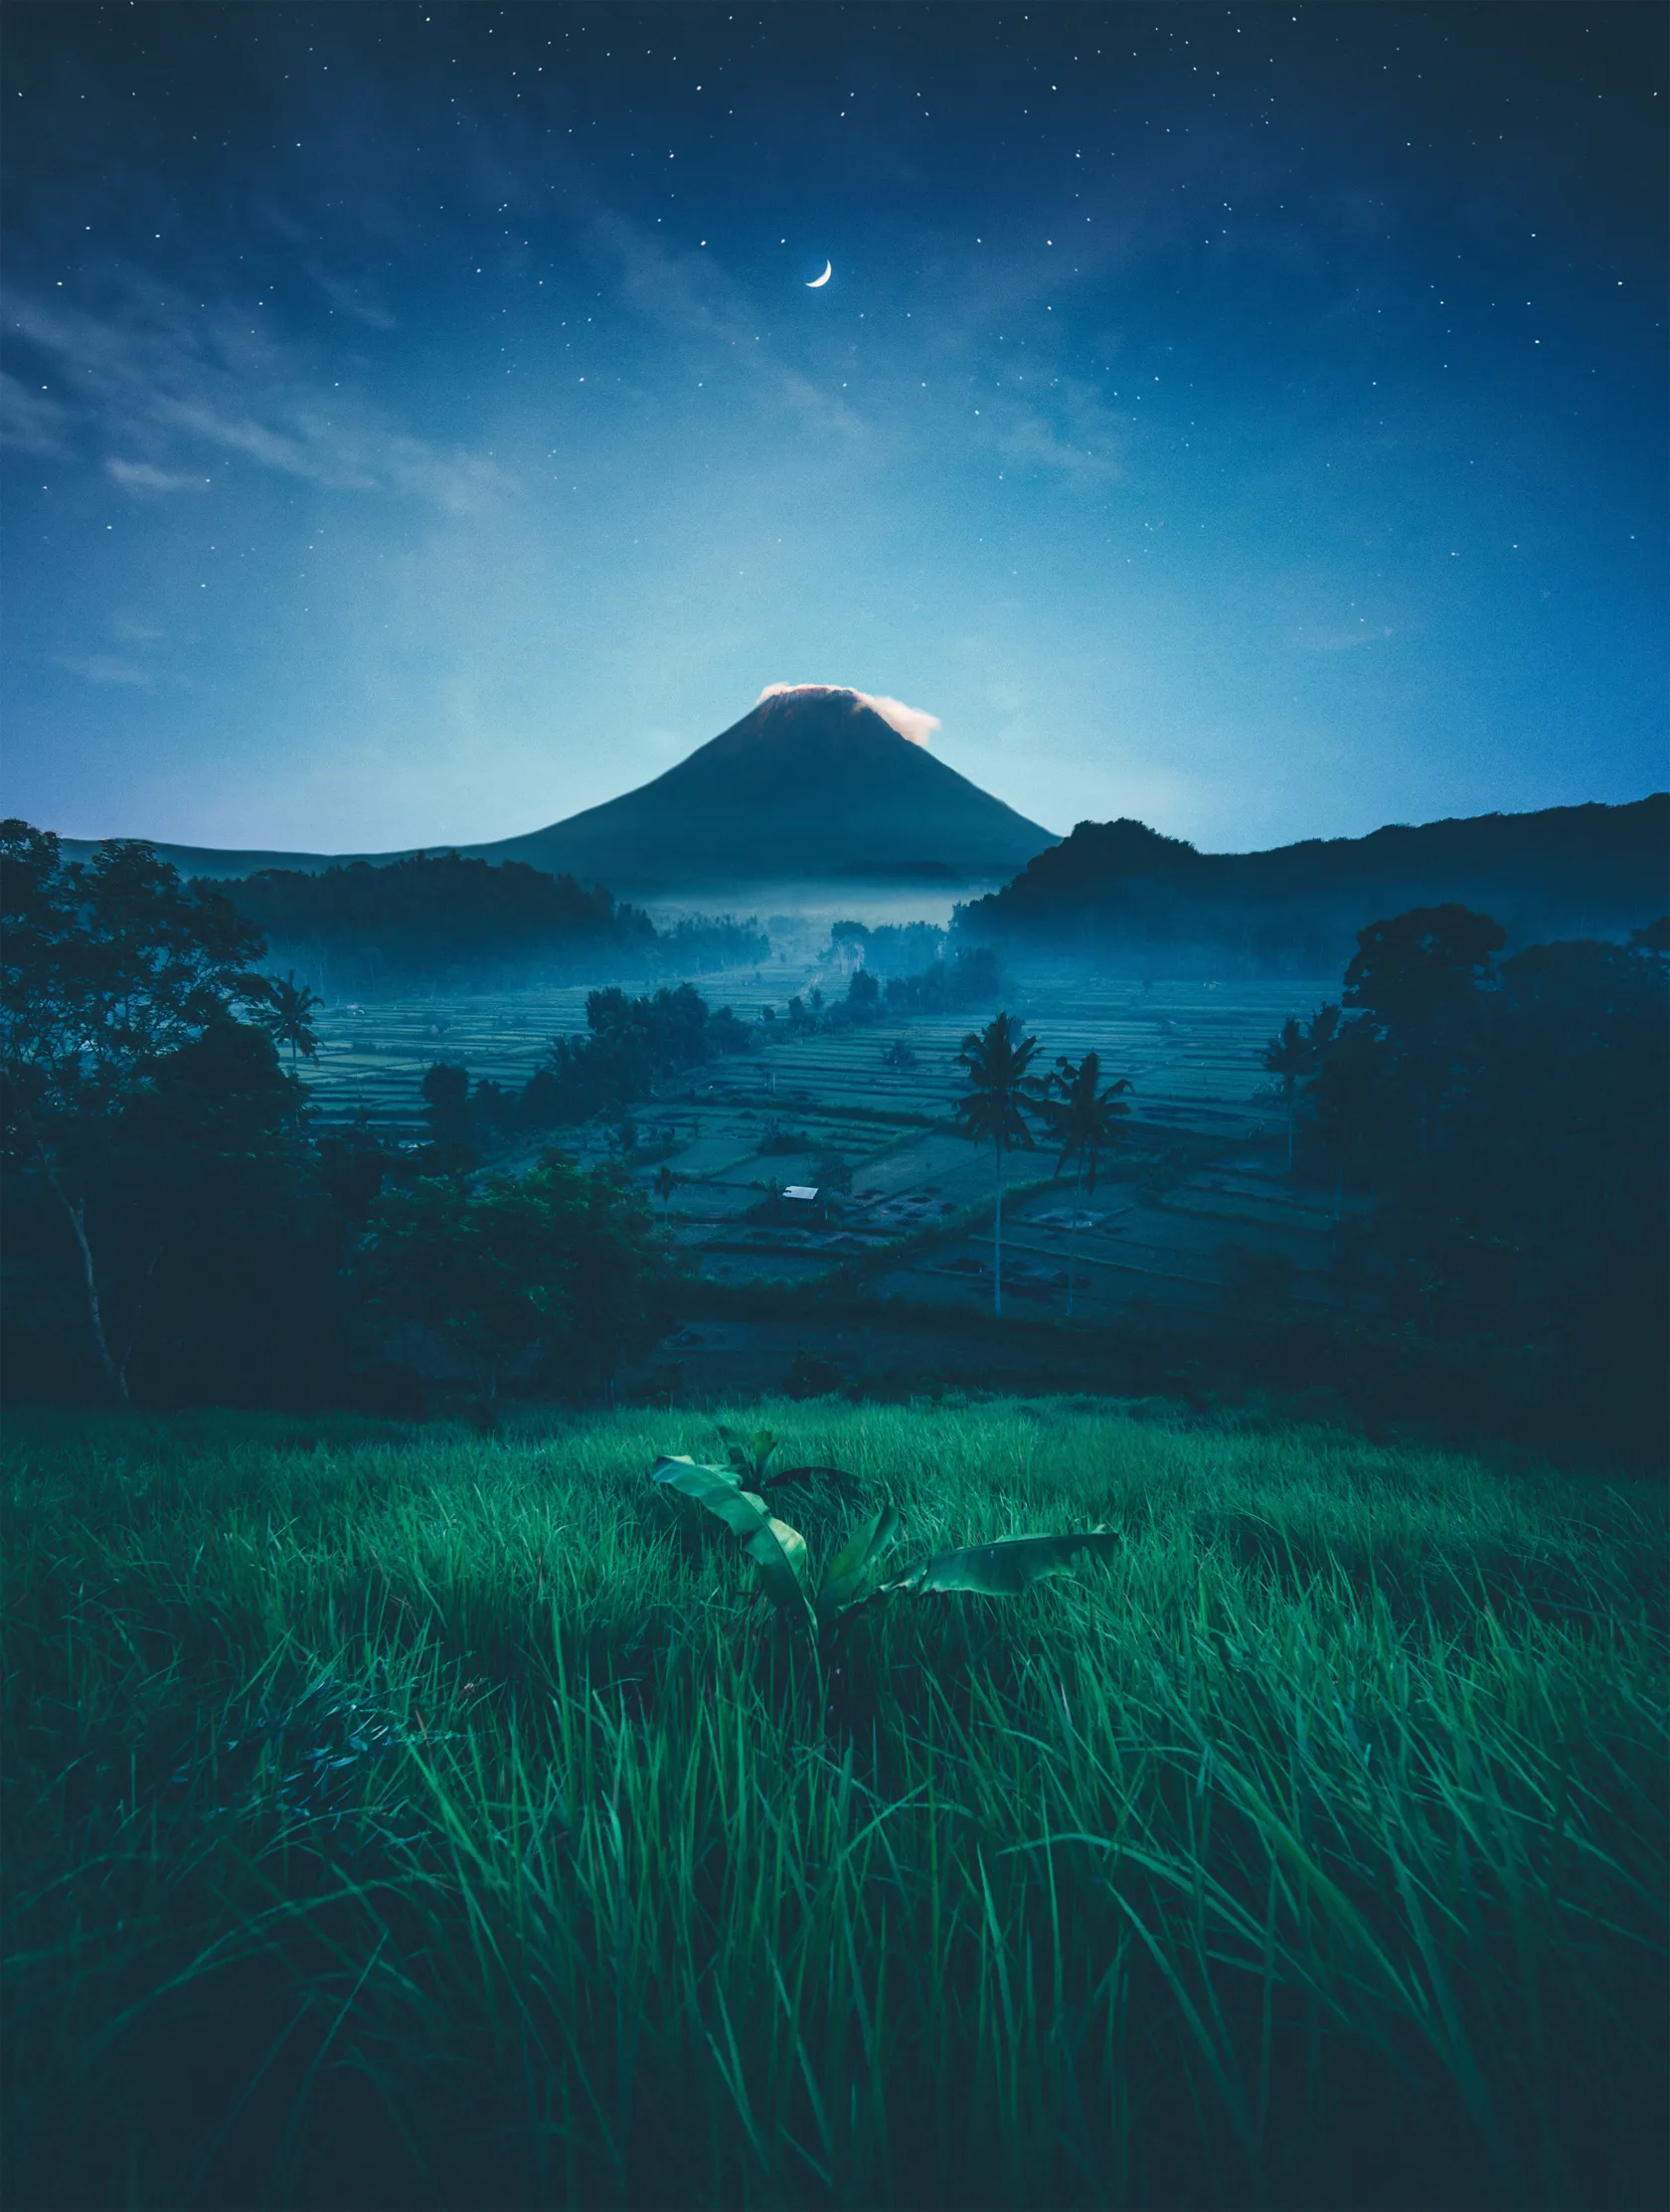 Editing should support the photograph rather than replace the decisions you made in the field.
Start with basic corrections:
- Adjust exposure.
- Recover highlights if necessary.
- Lift or deepen shadows according to the scene.
- Correct white balance.
- Fine-tune contrast.
- Adjust individual colors selectively.
- Apply sharpening and noise reduction carefully.
Landscape photographs can contain large areas of similar colors, so aggressive saturation can quickly make them look unnatural. Instead of increasing global saturation, try adjusting individual color ranges.
Luminar provides tools for color and tonal adjustments, layers, masking, RAW editing, and AI-assisted editing. For example, GenErase can help remove distracting objects such as litter or unwanted elements in the foreground.
If a composition is strong but the subject occupies too little of the frame, Upscale AI can enlarge an image by up to 6×.
For creative work, generative tools such as GenExpand can extend the boundaries of an image, while GenSwap can replace selected elements. These tools are best treated as creative options rather than mandatory steps in a landscape workflow.
Your AI-Powered Photo Editor for MacOS and Windows
Common Landscape Photography Mistakes
| Mistake | What to try instead |
| Photographing only during sunny weather | Try fog, clouds, rain, and changing weather when conditions are safe. |
| Using the widest lens for every scene | Try different focal lengths and isolate individual elements. |
| Putting the horizon in the center automatically | Test different horizon positions based on what matters most in the scene. |
| Ignoring the foreground | Look for rocks, leaves, plants, paths, or other elements that add depth. |
| Using very small apertures for every shot | Start around f/8–f/11 and adjust according to the scene. |
| Increasing saturation too much | Make selective color adjustments and preserve natural tones. |
| Always shooting from eye level | Try low, high, vertical, and telephoto perspectives. |
| Ignoring safety for a dramatic photograph | Check weather and terrain conditions before and during the shoot. |
A Simple Landscape Photography Exercise
Choose one familiar location and photograph it three ways:
Wide: Show the overall landscape.
Medium: Isolate an interesting group of elements, such as several trees or a mountain and foreground.
Close: Photograph a small detail such as a rock texture, leaf, flower, or reflection.
Then repeat the exercise at a different time of day.
This simple practice helps you understand how focal length, distance, light, and composition influence the way a landscape is perceived.
Final Thoughts
Landscape photography is a great way to build a strong foundation in photography because it gives you time to observe and experiment. You can return to the same location repeatedly and discover completely different photographs depending on the season, weather, light, and viewpoint.
Do not worry about finding the perfect location or using the most expensive equipment. Start by learning to recognize good light, build depth into your compositions, and make deliberate choices about your camera settings.
Most importantly, slow down. Walk around before taking the photograph, look at the foreground and background, check the edges of the frame, and wait when the light is about to change.
The landscape is already there. Your job is to decide how you want the viewer to see it.
FAQ
There is no universal setting, but Aperture Priority or Manual mode, a relatively low ISO, and an aperture around f/8–f/11 can be useful starting points. Adjust the shutter speed according to movement and available light.
Sunrise and sunset are popular because of their lower-angle light, but blue hour, cloudy weather, fog, and changing weather can also produce distinctive results.
No, but a tripod is very useful for long exposures, low-light scenes, bracketing, focus stacking, and precise compositions.
No. Wide-angle lenses are useful for expansive scenes, but telephoto lenses can isolate distant subjects and emphasize layers in the landscape.
Yes. Smartphones are capable of producing strong landscape photographs. Focus on composition, light, perspective, and timing rather than relying on specialized equipment.