Unlock the secrets to emotionally-rich child portrait photography. Explore our tips to elevate your skills and create unforgettable images of children.
What is the difference between a standard photo of a child and one that captures deep, impactful emotion? High-quality child portrait photographers understand this distinction, and it’s the reason parents hire them to create cherished memories that can be proudly displayed long after their child has grown up. If you’re looking to create such emotionally-rich images, this guide will walk you through how to capture high-quality child portraits and how to engage the child in a way that makes the shoot enjoyable and successful.
Don’t feel like reading the whole breakdown? We’ve pulled together a quick summary below.
Key Takeaways
- Build trust before expecting a child to engage with the camera.
- Keep directions simple and never force a pose, expression, or physical interaction.
- Photograph from the child’s eye level, but change your perspective when it strengthens the composition.
- Use play, prompts, and familiar activities to encourage genuine expressions.
- Choose a shutter speed fast enough to freeze unpredictable movement.
- Continuous autofocus and burst mode can improve your chances of capturing sharp action.
- Soft window light, open shade, and overcast conditions are reliable for flattering portraits.
- Edit gently so the child still looks natural and recognizable.
1. Understand the Child’s Perspective
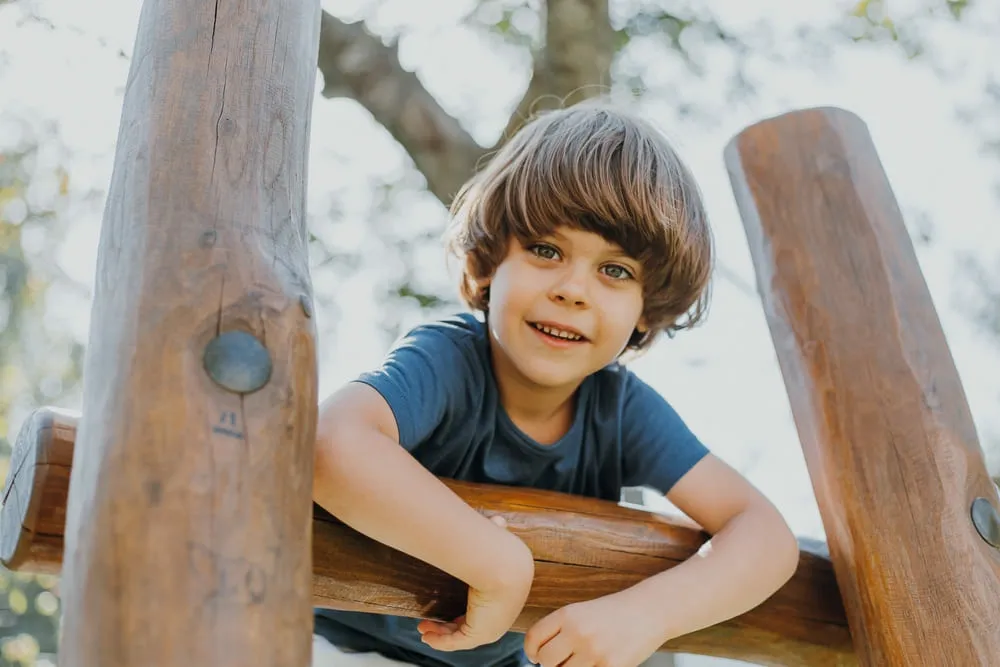
Children experience a photoshoot differently from adults. A new person, unfamiliar equipment, and repeated instructions can quickly feel overwhelming. Before taking pictures, give the child time to observe you and the camera.
Photographing at eye level often creates a stronger connection and shows the world from the child’s perspective. It can also make the photographer appear less intimidating. However, it should not become a rigid rule: a higher viewpoint may emphasize smallness, while a lower angle can add energy or confidence.
Watch what naturally holds the child’s attention. Their favorite toy, a puddle, a book, or a conversation with a parent may produce a more meaningful portrait than a carefully arranged pose.
Exclusive Tools of Endless Possibilities in One Editor
2. Build Trust and Keep the Session Comfortable
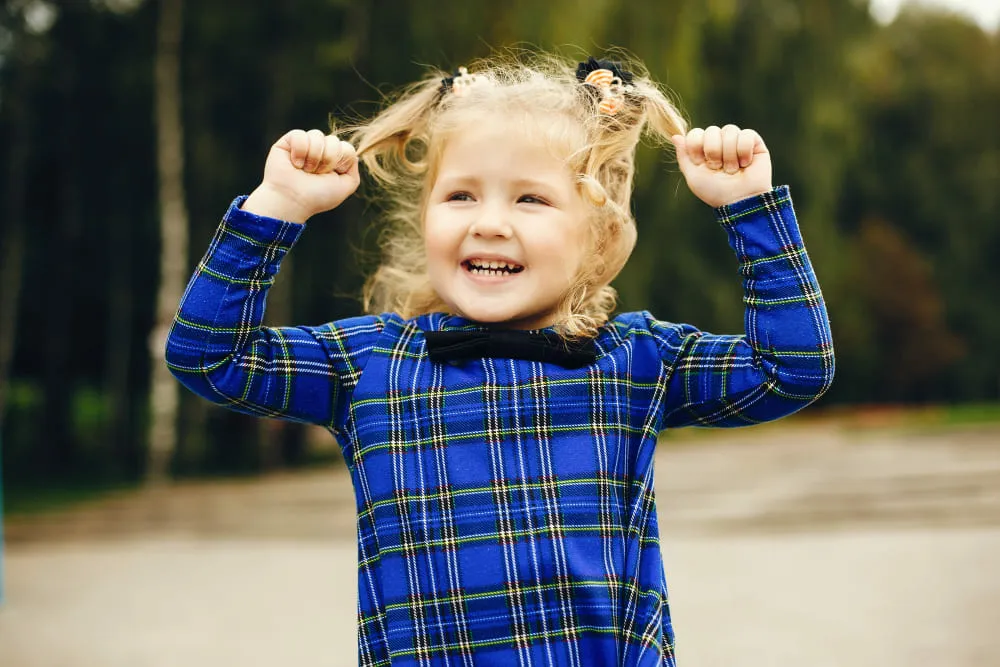
Begin with a short conversation or simple activity rather than immediately placing the child in front of the camera. Explain what will happen in age-appropriate language and show them a photo on the camera screen if they seem curious.
During the session:
- use a calm voice and short instructions;
- offer specific encouragement without demanding a smile;
- allow time for breaks, food, water, or movement;
- let a parent or caregiver remain nearby;
- adapt the plan when the child becomes tired or uncomfortable;
- stop if the child clearly does not want to continue.
Parents or guardians should agree to the session and understand how the images will be used. Ask for separate permission before publishing a child’s portrait online, entering it in a competition, or using it for promotion.
3. Capture Candid Moments
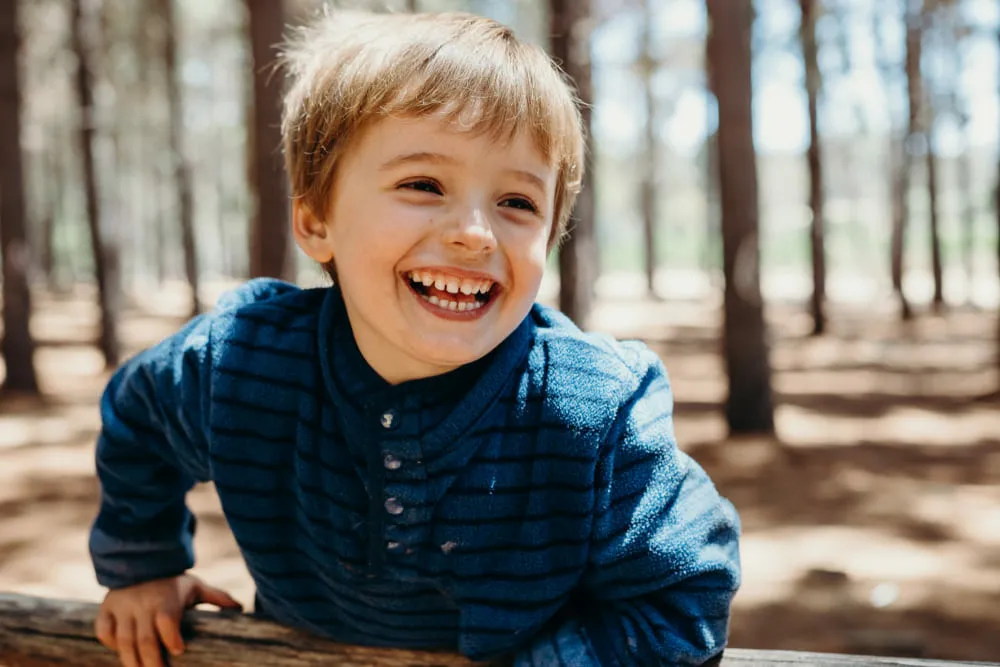
Candid child portraits work best when the child has something real to do. Instead of saying “act natural,” create a situation that invites a natural reaction.
Try prompts such as:
- look for an interesting leaf or shell;
- whisper a secret to a parent;
- race toward a familiar person;
- read a favorite book together;
- blow bubbles or play with a toy;
- tell a silly story or make up a character.
Choose activities suited to the child’s age, personality, and abilities. The goal is not to manufacture emotion but to give genuine expressions room to appear.
Keep photographing the transitions between activities. A thoughtful glance, a hand reaching for a parent, or the moment after laughter often carries more feeling than the main action.
4. Use Soft, Directional Light
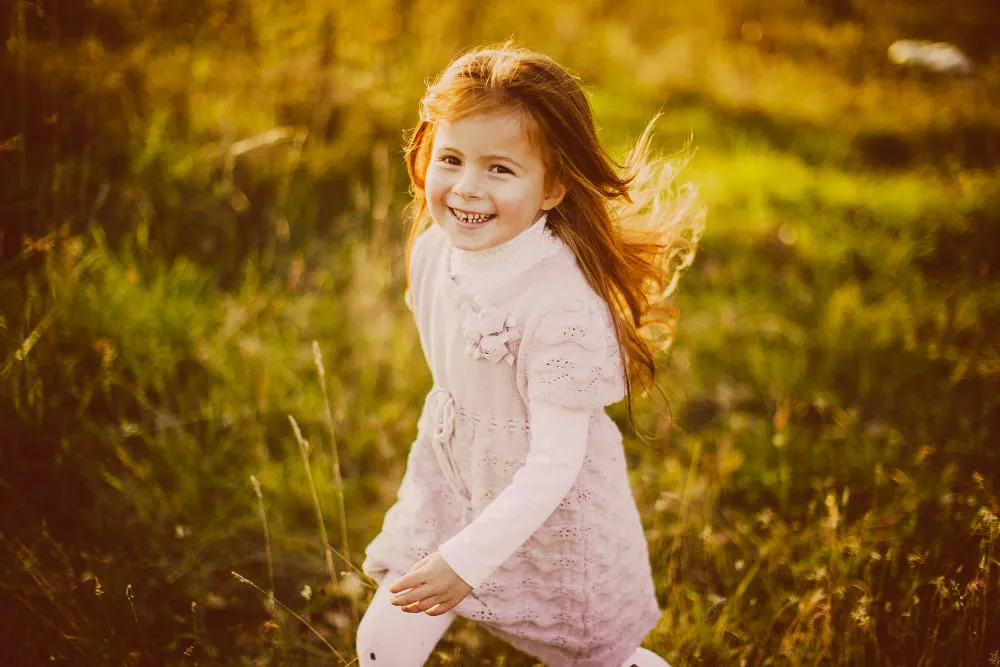
Soft light is a reliable choice because it creates gentle shadows and allows children to move without constantly stepping into harsh highlights. If you plan to shoot near sunset, use our golden hour photography guide to time the session more accurately.
Useful lighting conditions include:
- window light from the side;
- open shade near a building or doorway;
- overcast outdoor light;
- golden-hour light shortly after sunrise or before sunset.
Natural light is not automatically softer than studio light. A small, direct sunlit area can be much harsher than a large softbox. What matters is the apparent size and direction of the light source.
Avoid patchy light beneath trees, where small areas of sun can create distracting bright spots on the face. If you must shoot in strong daylight, move into even shade or use a diffuser. You can find more practical guidance in our portrait photography tips for beginners.
5. Focus on the Eyes and Expressions
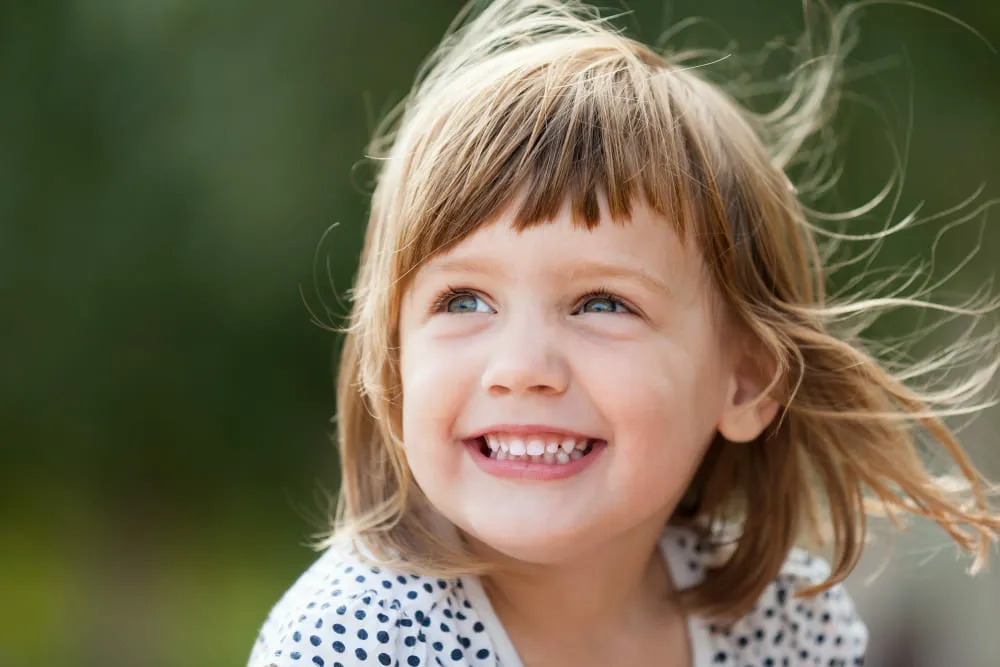
When the face is visible, the nearest eye is usually the safest focus point. Eye-detection autofocus can help, but always review a few frames at higher magnification because hair, hands, or nearby objects may distract the autofocus system.
A wide aperture can separate the child from the background, but an extremely shallow depth of field makes focus less forgiving. If the child is moving or several people are in the frame, stop down enough to keep the important faces sharp.
Direct eye contact is not required for an emotional portrait. Looking at a parent, concentrating on an activity, or watching something outside the frame can tell a stronger story than looking directly into the lens.
Your AI-Powered Photo Editor for MacOS and Windows
6. Choose Camera Settings for Movement
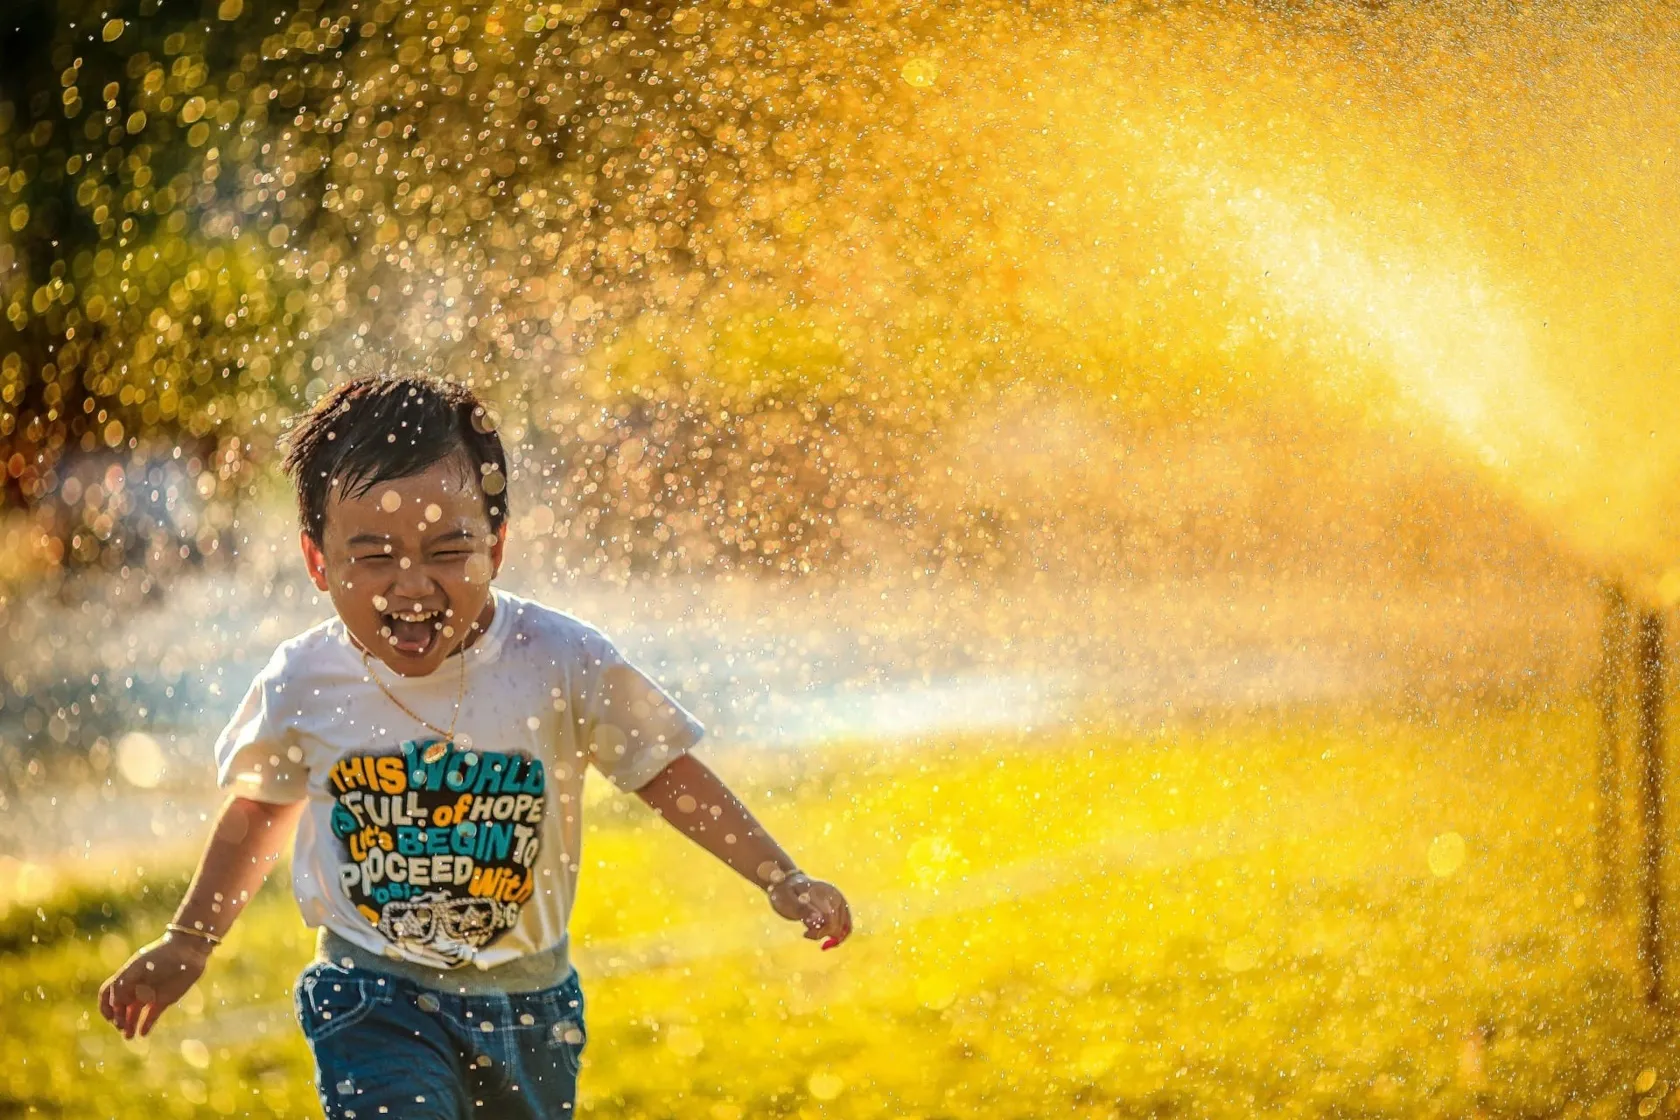
Children can move without warning, so prioritize shutter speed. For relatively calm activity, around 1/250 second can be a useful starting point. For running, jumping, or spinning, try 1/500 second or faster and adjust according to the child’s speed and direction.
Use:
- continuous autofocus or subject tracking;
- eye detection when it works reliably;
- burst mode for short action sequences;
- Auto ISO with a sensible upper limit if the light changes quickly;
- a wider aperture when more light is needed, while keeping enough depth of field.
These are starting points, not universal rules. Review the images and increase the shutter speed if hands, hair, or eyes show motion blur.
7. Encourage Safe, Natural Movement

Movement brings energy to child portraits, but it should fit the child rather than the photographer’s shot list. Walking, dancing, spinning, playing, or running toward a parent can all produce lively images.
Do not encourage risky actions simply because they may look impressive. Check the ground, nearby traffic, water, playground equipment, and other hazards before suggesting movement. Let the parent or guardian decide whether an activity is appropriate.
Leave space in the frame in front of a moving child and consider using a slightly wider composition so an unpredictable change of direction does not cut off hands or feet.
8. Include Parents and Meaningful Details

Not every portrait needs to show the child alone. A parent’s hand, a shared glance, or a quiet embrace can add context without turning the image into a formal family portrait.
Also photograph small details that may become meaningful over time:
- hands holding a favorite object;
- muddy shoes after playing outside;
- curls, freckles, or a temporary missing tooth;
- a bedroom, garden, or familiar family space;
- the way the child reaches for a parent.
These details help the final gallery tell a fuller story rather than presenting a collection of similar headshots.
9. Edit Child Portraits Naturally
Post-processing should support the mood without removing the features that make the child recognizable.
Start with basic adjustments:
- correct exposure and white balance;
- recover distracting highlights when the RAW file allows it;
- crop for a clearer composition;
- reduce temporary distractions such as dust or food marks if appropriate;
- use local adjustments to guide attention toward the face.
Avoid reshaping facial features, removing permanent characteristics, or smoothing skin until it loses texture. Children generally do not need beauty-style retouching.
With Luminar, you can make selective exposure and color adjustments, soften a distracting background, or use subtle portrait tools while keeping the result natural. Overlays and effects can work for a deliberately stylized image, but they should not overpower the expression or replace thoughtful lighting.
Final Thoughts
Emotionally rich child portrait photography is built on trust, observation, and timing. Give the child space to settle in, use activities instead of forced expressions, and choose settings that can handle movement.
The strongest images may be joyful, thoughtful, curious, or quiet. They do not all need smiles. What matters is that the emotion feels real and that the child’s comfort remains more important than completing a predetermined shot list.
Frequently Asked Questions
For calm portraits, start around 1/250 second and increase the shutter speed for movement. Use continuous autofocus, eye detection, and an aperture that provides enough depth of field to keep the important features sharp.
Avoid repeatedly asking the child to smile. Use play, conversation, movement, or interaction with a parent to create genuine reactions, and keep photographing between the obvious moments.
Soft window light, open shade, overcast conditions, and golden-hour light are dependable choices. The best light is even enough to let the child move without crossing between harsh highlights and deep shadows.
Do not make sitting still the goal. Use a fast shutter speed, continuous autofocus, and short bursts while giving the child a safe activity that allows natural movement.
Keep retouching minimal. Correct exposure and color and remove only temporary distractions when appropriate. Preserve natural skin texture, permanent features, and the child’s recognizable appearance.