Improve photography composition with the rule of thirds, framing, reflections, contrast, and perspective. Learn when to use each technique and what to avoid.
Composition is the arrangement of visual elements within a photograph. Subject placement, background, lines, color, space, and viewpoint all influence what the viewer notices and how the image feels.
The quickest way to improve photo composition is to choose a clear subject, check the background and frame edges, then adjust your position before taking the picture. A small movement can separate overlapping shapes or remove a distraction more effectively than an elaborate edit.
The ten techniques below provide practical ways to organize a frame. They are starting points, not formulas that every photograph must follow.
Don’t feel like reading the whole breakdown? We’ve pulled together a quick summary below.
Key Takeaways
- Give the frame a clear priority. Decide what the viewer should notice first and which surrounding details support it.
- Choose a technique for a reason. Thirds, symmetry, framing, and negative space work differently depending on the scene.
- Change position before relying on a crop. Moving the camera changes relationships between elements; cropping only changes what remains visible.
- Check edges, overlaps, and empty space. These small decisions often matter more than perfect alignment with a grid.
- Use editing to refine the composition. Crop, rotation, and selective adjustments can help, but they cannot replace a missing viewpoint or lost subject detail.
Why Composition Matters

A technically sharp image can still feel unclear if several elements compete for attention. Composition helps establish relationships: a person and their surroundings, a repeated shape and its interruption, or a small object and a large area of open space.
It can also change the story. A close portrait emphasizes expression; a wider frame can explain where the person is. Neither is automatically better—the choice depends on what the photograph needs to communicate.
Before choosing a compositional technique, answer three questions:
- What is the main subject or relationship?
- What belongs in the frame to explain it?
- What pulls attention away without adding useful information?
Your AI-Powered Photo Editor for MacOS and Windows
1. Use the Rule of Thirds as a Starting Point

The rule of thirds divides the image into nine equal rectangles using two vertical and two horizontal lines. Placing an important element near a line or intersection creates one possible arrangement of subject and surrounding space.
For a landscape, place the horizon near the lower third when the sky is the main interest, or near the upper third when the foreground matters more. In a portrait, placing the person toward one side can leave room for the environment or their gaze.
Try it: Turn on the camera’s grid, make an off-center version, then take a centered version. Compare the balance rather than assuming the first is superior.
Watch for: Moving a subject onto an intersection without considering the rest of the frame. The grid is a guide, not proof of a strong image. These rule of thirds examples explain how placement and space work together.
2. Use Leading Lines to Connect the Frame

Paths, walls, rivers, shadows, and architectural edges can create a visual route through an image. They may connect a foreground element to the subject or help the viewer explore a wider scene.
A winding path toward a distant building can give depth. A diagonal shadow can connect an otherwise empty foreground to a person farther away. The line does not have to point directly at the subject to contribute structure.
Try it: Move sideways or lower the camera until the line’s starting point and destination make sense together. Check whether it intersects the subject awkwardly.
Watch for: A strong line that leads toward a bright distraction or exits the frame without supporting the intended arrangement. These landscape composition techniques show how lines can work alongside foregrounds and depth.
3. Create a Frame Within the Frame

A doorway, window, arch, or opening between branches can surround a subject and provide context. The framing element may form a complete border or appear along just one or two edges.
For example, photographing a craftsperson through a workshop doorway can connect them to their working environment. Including a nearer frame can also create a sense of depth between foreground and subject.
Try it: Find a frame that relates to the scene, then adjust position until it supports the subject without covering important features. Decide whether the foreground frame should be sharp or softly blurred.
Watch for: A bright or bulky border that attracts more attention than the subject. A natural frame is useful only when its visual weight fits the image.
4. Fill the Frame to Emphasize Detail
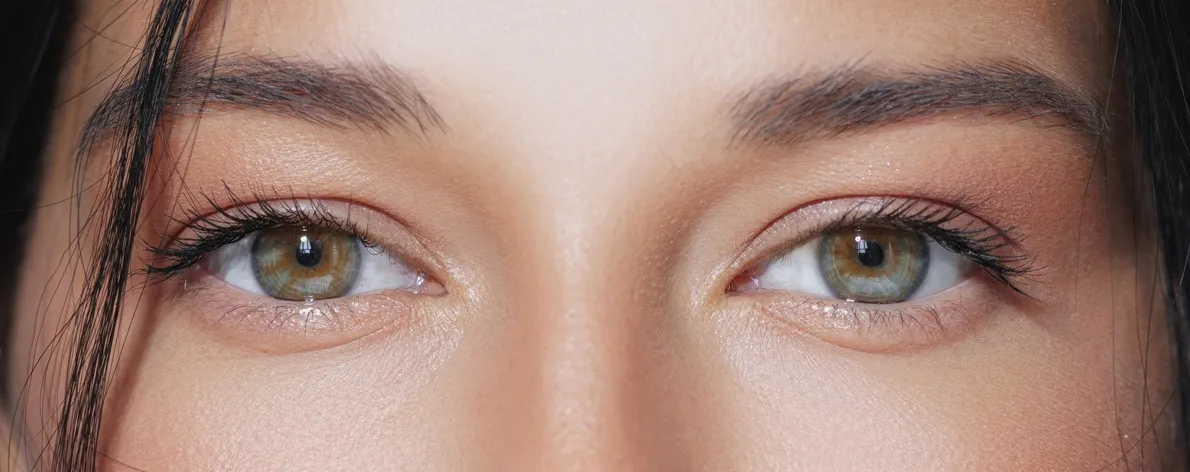 Filling the frame gives the subject more space within the image and reduces unrelated surroundings. It can suit expressions, food, textures, and small objects when context is less important than detail.
Move closer, use a longer focal length from an appropriate position, or make a considered crop afterward. These choices are not identical: moving closer changes perspective, while changing focal length from the same position changes framing.
Try it: Photograph the whole subject, then make a tighter image that concentrates on one meaningful detail. Compare what each version communicates.
Watch for: Excluding information that makes the image understandable, focusing closer than the lens allows, or cropping important features unintentionally. Lens correction can address some optical distortion, but it cannot undo the perspective created by a very close camera position.
5. Use Reflections for Symmetry or Contrast
 Water, glass, mirrors, and polished surfaces can repeat the subject or introduce another layer of the scene. A reflection may create symmetry, an abstract shape, or a relationship between two overlapping views.
For a building reflected in a puddle, lowering the camera can make the reflection more prominent. For a window, changing the angle can reveal a different balance between reflected objects and the scene behind the glass.
Try it: Make one image showing both the subject and reflection, then another using only the reflected view. Check which version has the clearer structure.
Watch for: Assuming sunrise or sunset always produces stronger reflections. Surface condition, viewing angle, brightness differences, and wind all matter. A centered horizon can work well when a deliberate reflection gives both halves of the frame a role.
6. Separate the Subject with Contrast
 Contrast is a difference between elements. It can involve brightness, color, texture, size, or subject matter—not just the Contrast slider in an editor.
A bright figure against a darker wall can stand out through tonal contrast. A smooth petal on rough stone creates a textural difference. One saturated object among muted surroundings can become a clear visual priority.
Try it: Look for a viewpoint where the subject differs from the background. Move until a face, object, or outline sits against a suitable tone rather than a similarly bright patch.
Watch for: Several high-contrast areas competing equally. Stronger contrast everywhere can make the image harder to read. In portrait composition, separation between the person and background often matters more than simply darkening the whole photograph.
7. Use Negative Space to Give the Subject Room
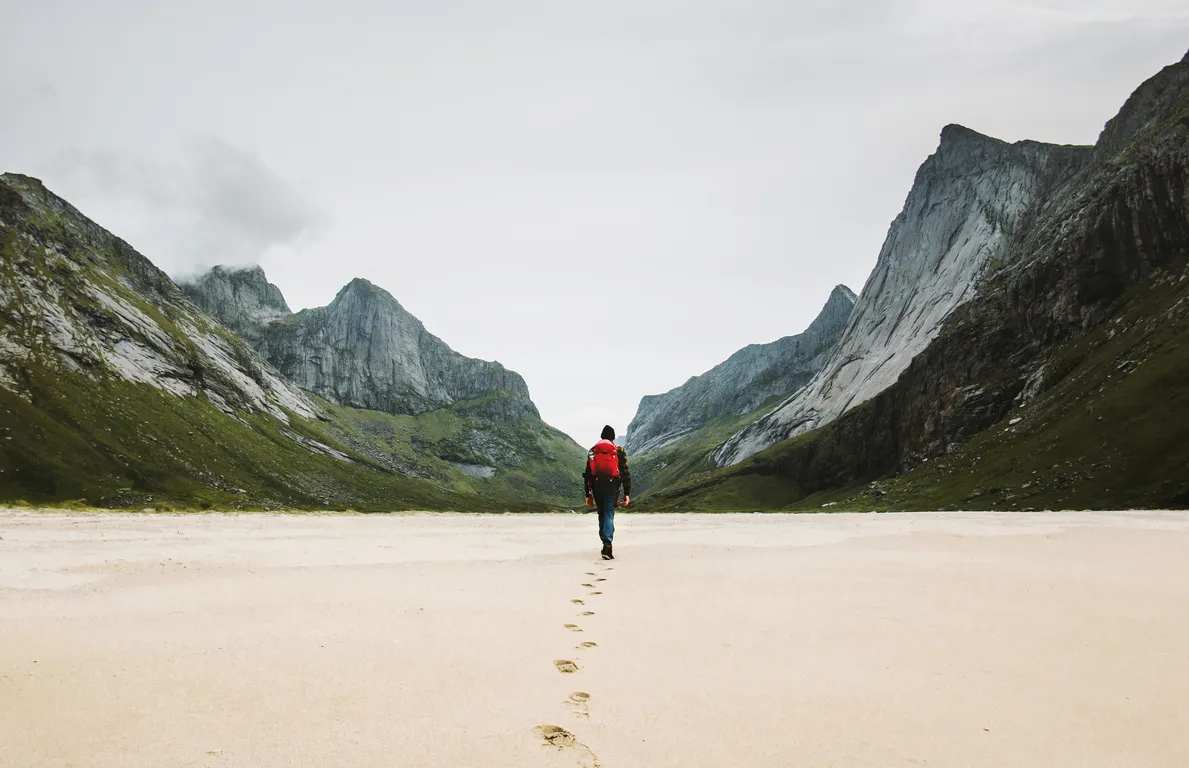 Negative space is the area surrounding the main subject. It may be relatively plain, but it can still contain subtle tone or texture.
A small tree on a broad snowy slope can communicate isolation or scale. A person beside an open stretch of wall can create a calmer arrangement than a tightly packed frame.
Try it: Leave more room around the subject than usual, then check whether the open area contributes to the mood. Consider space in the direction a person looks or moves.
Watch for: Treating unused space as automatically meaningful. Bright patches, text, or unrelated objects can compete even in an apparently simple background. Minimalism works when the remaining elements have a clear relationship.
Exclusive Tools of Endless Possibilities in One Editor
8. Build Rhythm with Repetition
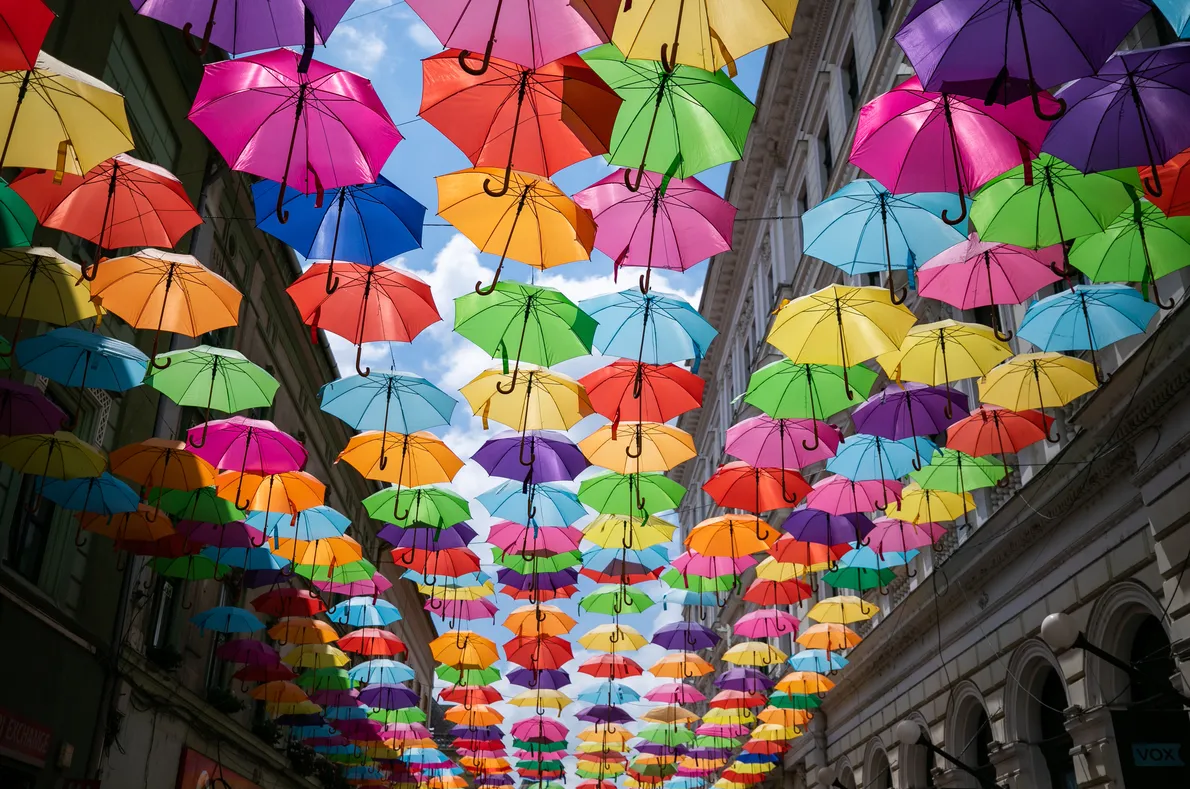 Repeated windows, chairs, leaves, or shadows can organize an image into a pattern. Spacing and alignment affect whether the repetition feels ordered, irregular, or dynamic.
An interruption can create emphasis: one open window in a closed row, or one differently colored object among similar shapes. A pattern without an interruption can also work as an abstract or textural photograph.
Try it: Find a sequence, then move until spacing and overlap become clear. Compare a straight-on viewpoint with an oblique angle that creates depth.
Watch for: A partial shape at the edge that looks accidentally cut off, or a distracting object that weakens the rhythm. Decide whether the repeated pattern or its interruption is the main subject.
9. Compose for Movement
 Motion can be shown through a frozen gesture, directional space, or deliberate blur. The composition should make the action readable before shutter speed is considered.
Leave space ahead of a walking person or cyclist if you want the frame to suggest continuation. Placing them close to the edge can create tension, but it should be a conscious choice.
For panning, follow the subject with the camera during the exposure to seek a relatively sharp subject against a streaked background. A speed around 1/30 or 1/60 second can be a starting experiment, but the right value depends on speed, distance, focal length, and the effect you want.
Try it: Make a sharp action frame and a slower-shutter version of the same movement. In the blurred version, check whether there is still a recognizable point of interest.
Watch for: Blur that obscures the subject completely or backgrounds that remain distracting. Stabilizing the camera helps with camera shake; it does not freeze a moving subject.
10. Change Perspective by Moving the Camera
 Camera position changes the relative appearance of near and distant objects. A lower viewpoint can make a foreground element more prominent; a higher viewpoint can reveal a pattern or separate overlapping shapes.
For a flower, moving to its level may replace a busy ground background with a simpler distant view. For a table scene, an overhead position can reveal arrangement more clearly than eye-level framing.
Try it: Photograph the same subject from eye level, a lower position, and a higher position. Keep track of what changes in the background as well as in the subject.
Watch for: Assuming a tilted camera creates a new perspective. Tilting the frame mainly changes its orientation; moving the camera changes the spatial relationships. Unusual angles are useful when they reveal something, rather than simply make the image look different.
When Centered Composition Works
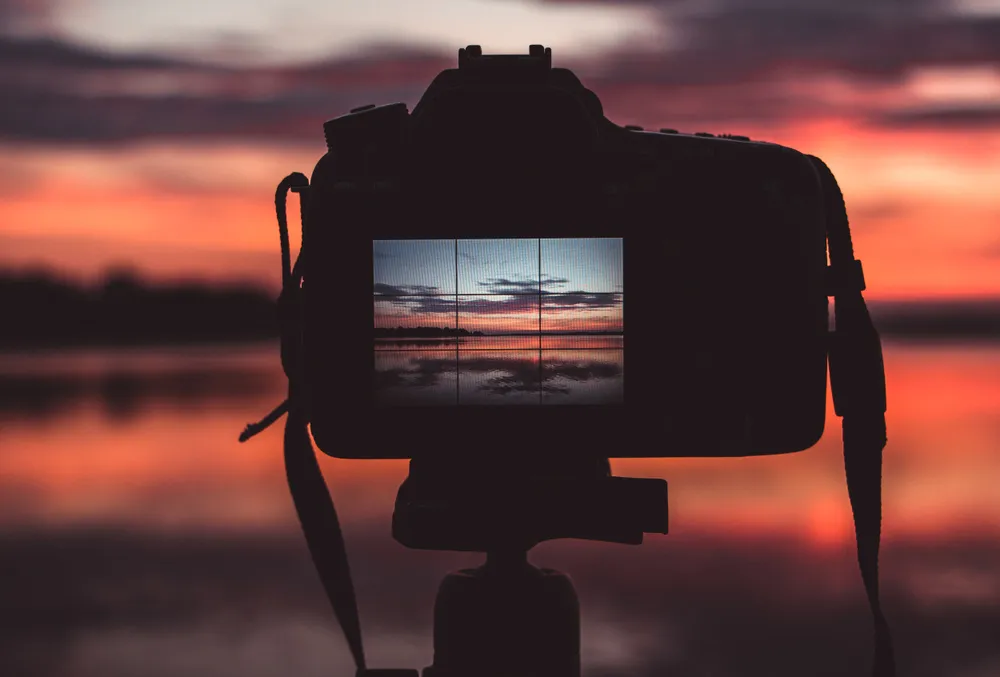
Centering a subject is not inherently a mistake. It can support symmetry, formality, directness, or a strong graphic shape. A centered doorway, portrait, or reflection can be more effective than an off-center version.
The key is to check what balances the subject. Symmetrical surroundings may support central placement; a bright object on one side may create an unintended imbalance.
Make several arrangements when possible. Compare centered placement, thirds, and a tighter crop, then choose the frame that best expresses the scene.
Common Composition Problems and How to Fix Them
| Problem | What to check | A practical adjustment |
| Unclear main subject | Several objects have similar visual weight | Change framing, distance, or light to establish priority |
| Distracting background | Bright areas, clutter, or unrelated text | Move sideways, change camera height, or choose another angle |
| Awkward overlap | A pole or branch merges with the subject | Shift position to separate the shapes |
| Accidental edge crop | A hand, shoe, or important detail touches the border | Leave room or make the crop more deliberate |
| Unwanted tilted horizon | The frame feels unintentionally unstable | Level on capture or rotate during editing |
| Unhelpful empty space | The open area adds no mood, scale, or context | Rebalance the subject or make a tighter frame |
| Too many techniques | Pattern, framing, blur, and contrast all compete | Choose one main organizing idea |
Not every photograph needs one isolated subject or a perfectly straight horizon. A crowded scene can tell a story, and a deliberate tilt can support motion. The problem is an unintended effect that works against the image’s purpose.
A Five-Step Composition Check Before Shooting
- Name the priority. Identify the person, object, action, or relationship that matters most.
- Scan the background. Check whether it adds context or competes.
- Check all four edges. Look for partial shapes, accidental crops, and distractions.
- Move once. Try a different height, distance, or side position.
- Make an alternative. Capture a wider or tighter version to compare.
This habit works with a phone, DSLR, or mirrorless camera. Use the grid as a reference, then look beyond it at the full arrangement.
The Photo Perspective Correction Tool You've Been Waiting For
Refining Composition in Luminar
Luminar offers cropping, rotation, geometry adjustments, and tonal controls for refining a captured image. It can help remove unwanted edges, balance space, and make the intended subject easier to notice.
Start by choosing an aspect ratio that suits the photograph and its planned use. Luminar’s photo cropping tools can help test a tighter frame, but preserve any context essential to the image. Cropping reduces the remaining pixel dimensions, which may matter for large output.
Use image straightening for an accidentally tilted horizon. Inspect the resulting edges because rotation and geometry corrections can require additional cropping. These adjustments do not reveal content that was never captured.
After framing, adjust brightness or color selectively where useful. A restrained vignette can support the subject, but it cannot create a convincing arrangement if important elements already overlap. Avoid adding detail or contrast indiscriminately to every line in the scene.

A Simple Exercise to Practice Composition
Choose one subject and make five photographs without changing it:
- A centered frame.
- An off-center frame using thirds.
- A close view that fills the frame.
- A wider view with negative space.
- A photograph from a different camera position.
Review what each version includes, excludes, and emphasizes. This comparison builds judgment more effectively than treating a compositional rule as an automatic improvement.
Choose Structure That Supports the Photograph
Composition techniques help organize attention, depth, and relationships. Their value comes from how they serve the subject and story.
Start with one clear intention, make small changes in position, and check the whole frame. With practice, thirds, lines, patterns, and space become options you can choose deliberately rather than rules you must obey.
FAQ
Composition is the arrangement of visual elements within a photograph. It includes subject placement, framing, background, space, lines, color, and the relationships created by the viewpoint.
Start with a clear subject, a checked background, and deliberate framing. Then practice the rule of thirds, leading lines, filling the frame, and negative space using the same subject for comparison.
No. Central placement can work well for symmetry, portraits, reflections, and graphic shapes. Choose it deliberately and check how the surrounding elements balance the frame.
Yes. It can remove distractions, change the balance of space, and emphasize a subject. It cannot change the original camera position, reveal missing content, or preserve pixels that have been cropped away.
Yes. Framing, light, subject placement, and viewpoint matter regardless of the camera. A phone’s grid can help, but moving to a better position and checking the background often makes the bigger difference.