Learn how to plan an engagement shoot, guide couples into natural poses, work with changing light, and create a gallery that feels personal.
An engagement photoshoot is a chance to capture how a couple interacts before the wedding day. The strongest images often come from a mix of gentle direction and moments that happen naturally: a shared laugh, a familiar gesture, or the way they walk together.
A relaxed session still benefits from preparation. Choosing a location that matters to the couple, planning for the light, and discussing what they feel comfortable with can make the shoot easier for everyone. This guide covers practical engagement photography tips, from posing and camera settings to selecting, editing, and delivering the final images.
Don’t feel like reading the whole breakdown? We’ve pulled together a quick summary below.
Key Takeaways
- Discuss the couple’s preferences, location, outfits, and expectations before the shoot.
- Choose a setting where they feel comfortable and plan for the available light.
- Bring equipment you know well and a backup for essential gear.
- Give simple prompts that encourage interaction instead of holding rigid poses.
- Capture a mix of wide scenes, close portraits, and candid details.
- Adjust shutter speed and autofocus for movement, especially when the couple is walking.
- Watch for distractions in the background and leave room for different crops.
- Edit the gallery consistently and deliver it within the agreed timeframe.
1. Pack Light for an Engagement Photoshoot
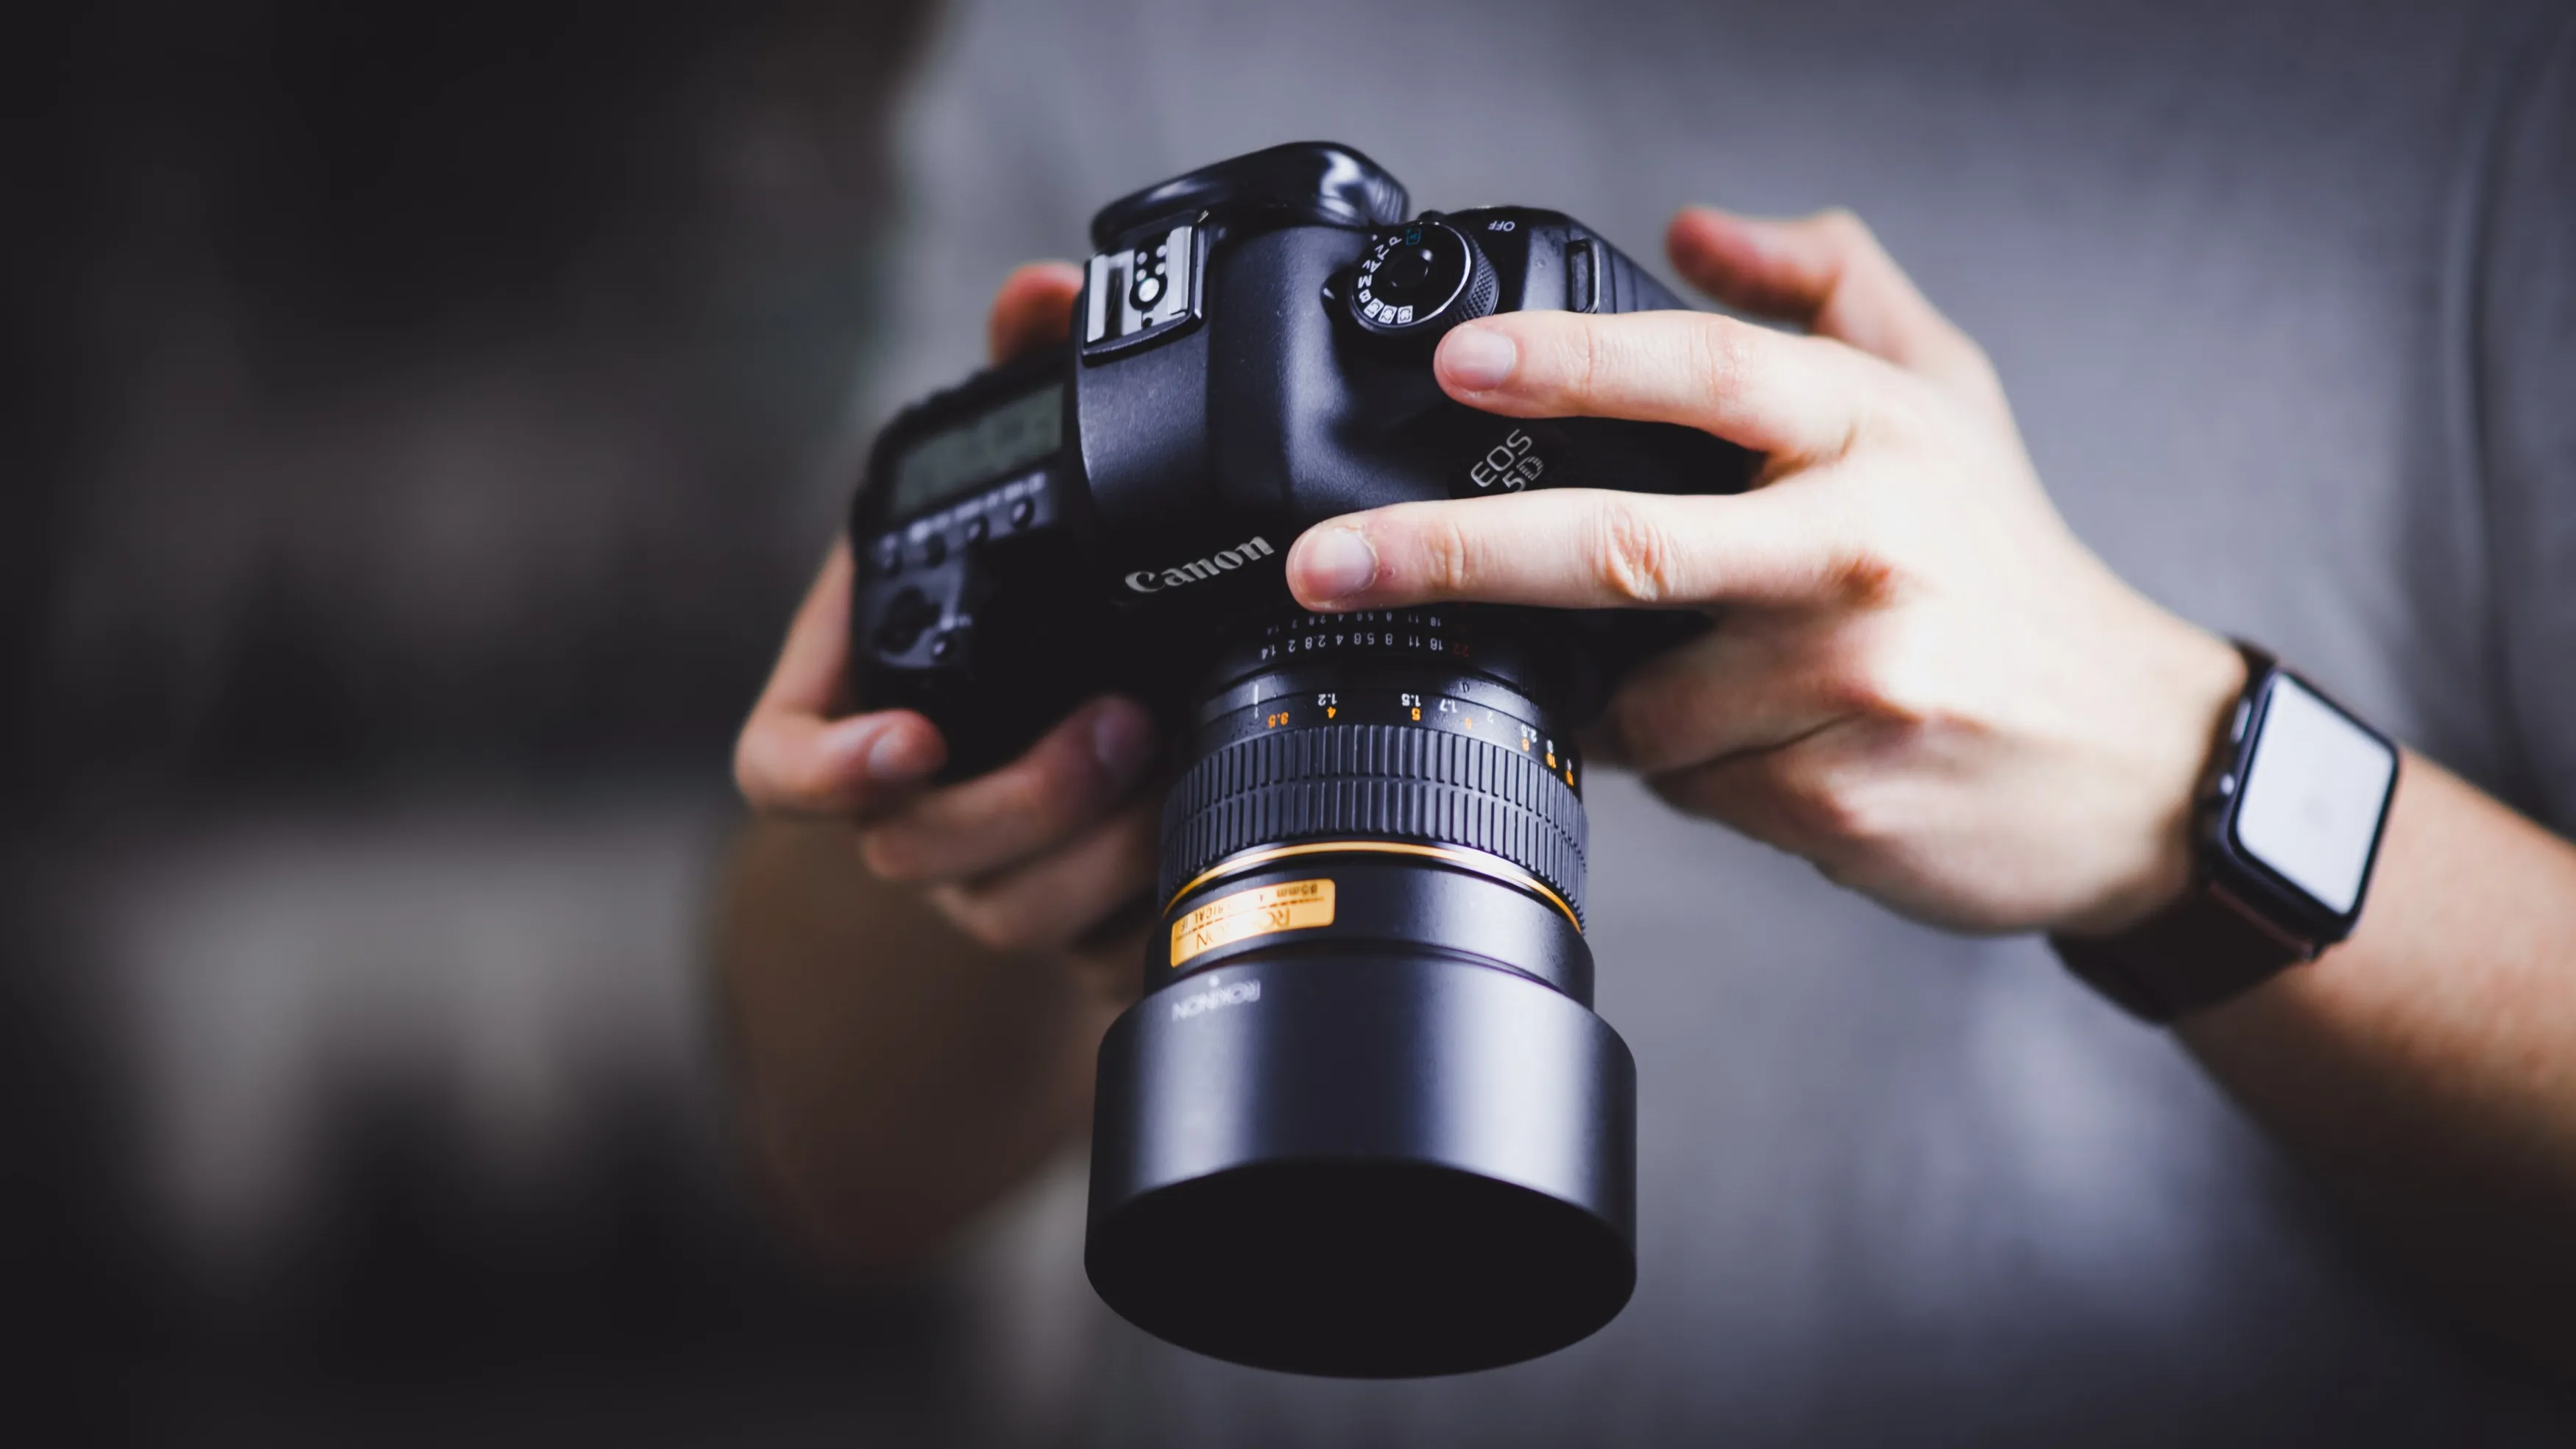
Engagement sessions often involve walking and changing locations, so bring equipment that lets you work quickly. One camera body and one or two familiar lenses are enough for many shoots. A 24–70 mm zoom offers flexibility, while a 35 mm, 50 mm, or 85 mm prime can create a more consistent look.
Do not rely on editing to replace careful exposure, focus, or composition. Pack light because it helps you stay attentive to the couple—not because every problem can be corrected afterward.
2. Bring Essential Backup Equipment
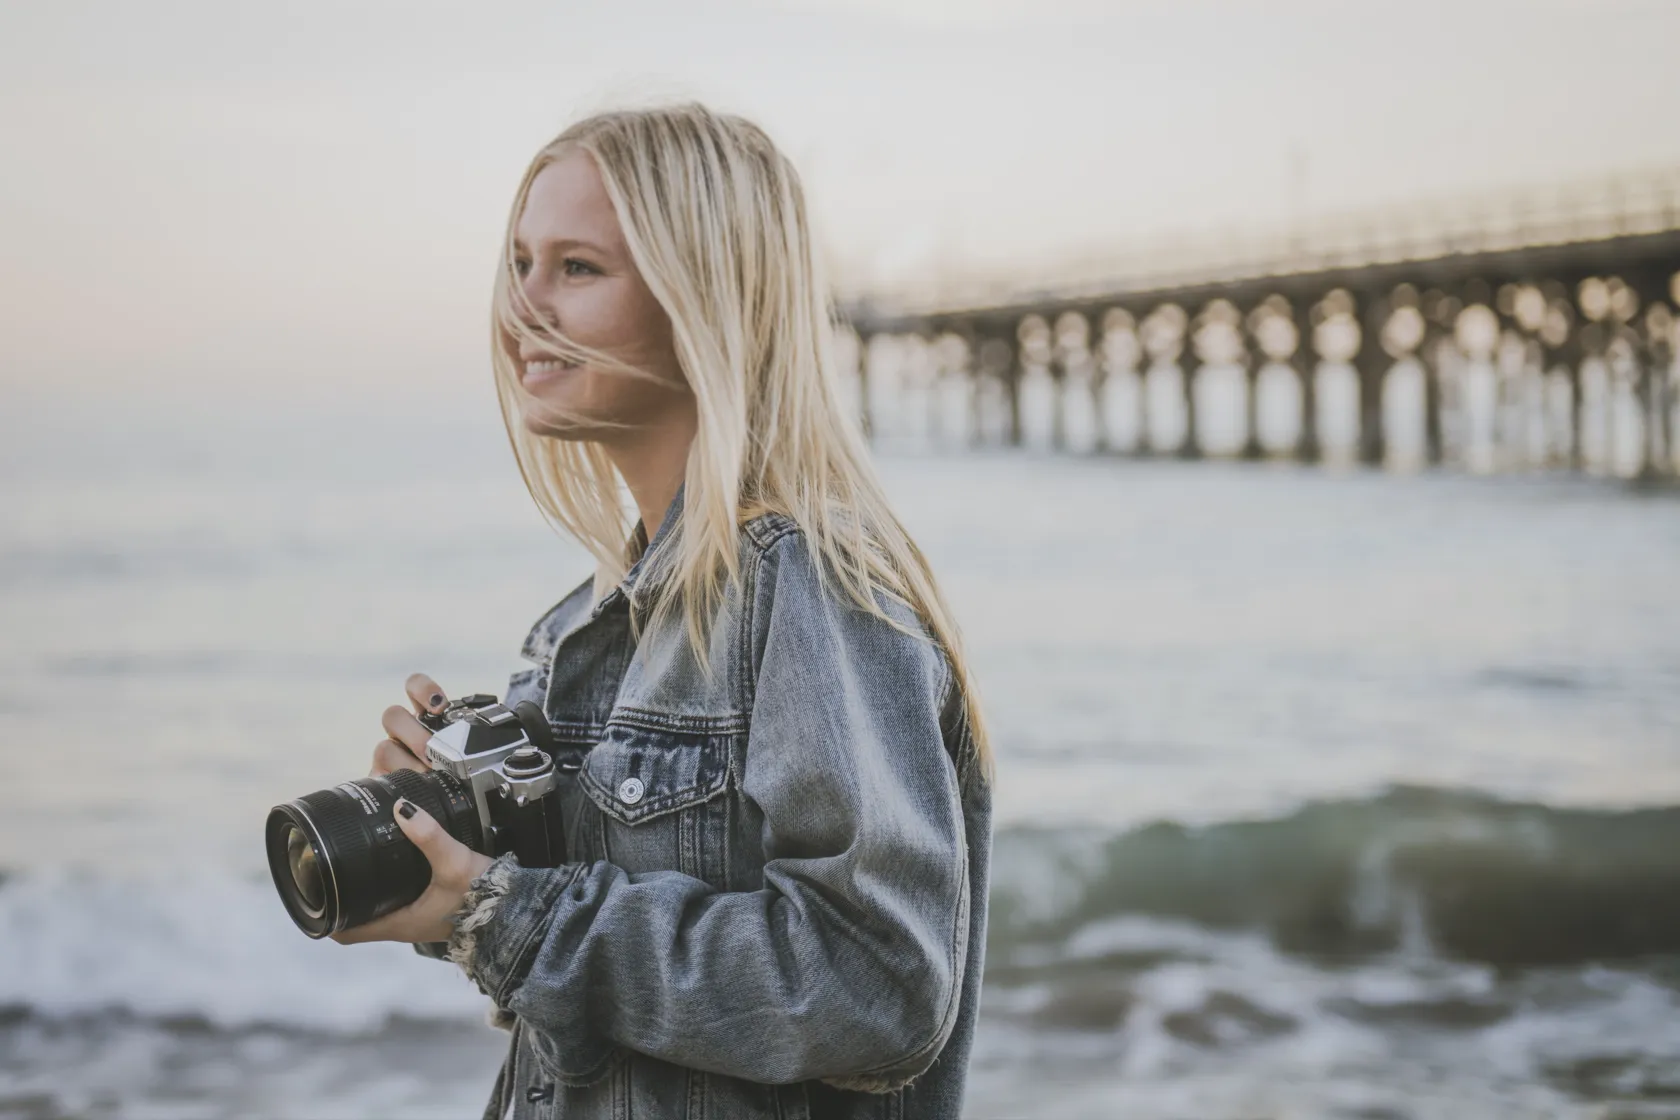
Traveling light does not mean arriving unprepared. Bring:
- charged batteries;
- formatted memory cards;
- a lens cloth;
- weather protection;
- water and basic personal essentials;
- a small reflector or compact light when the location requires it.
For paid sessions, a backup camera body or an emergency plan is sensible. Check the forecast, travel time, parking, access rules, and sunset time before leaving.
3. Plan the Session With the Couple
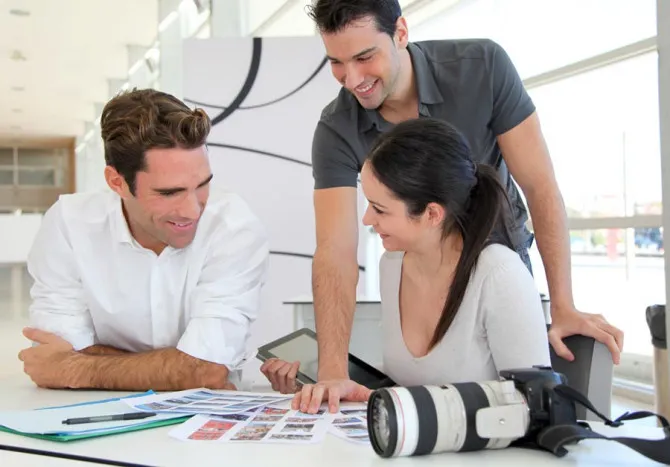
Discuss the couple’s style, preferred level of formality, meaningful locations, insecurities, and intended use for the photos. Ask whether they want save-the-date images, social media crops, prints, or a guest-book album.
Coordinate outfits rather than requiring exact matches. Colors and textures should work together without making the couple look like they are wearing a uniform. Recommend comfortable clothing and shoes suited to the location.
Create a loose route with enough time to move between spots. If you plan to photograph on private property, inside a venue, or at a location with permit rules, confirm permission in advance.
4. Give Clear, Calm Direction
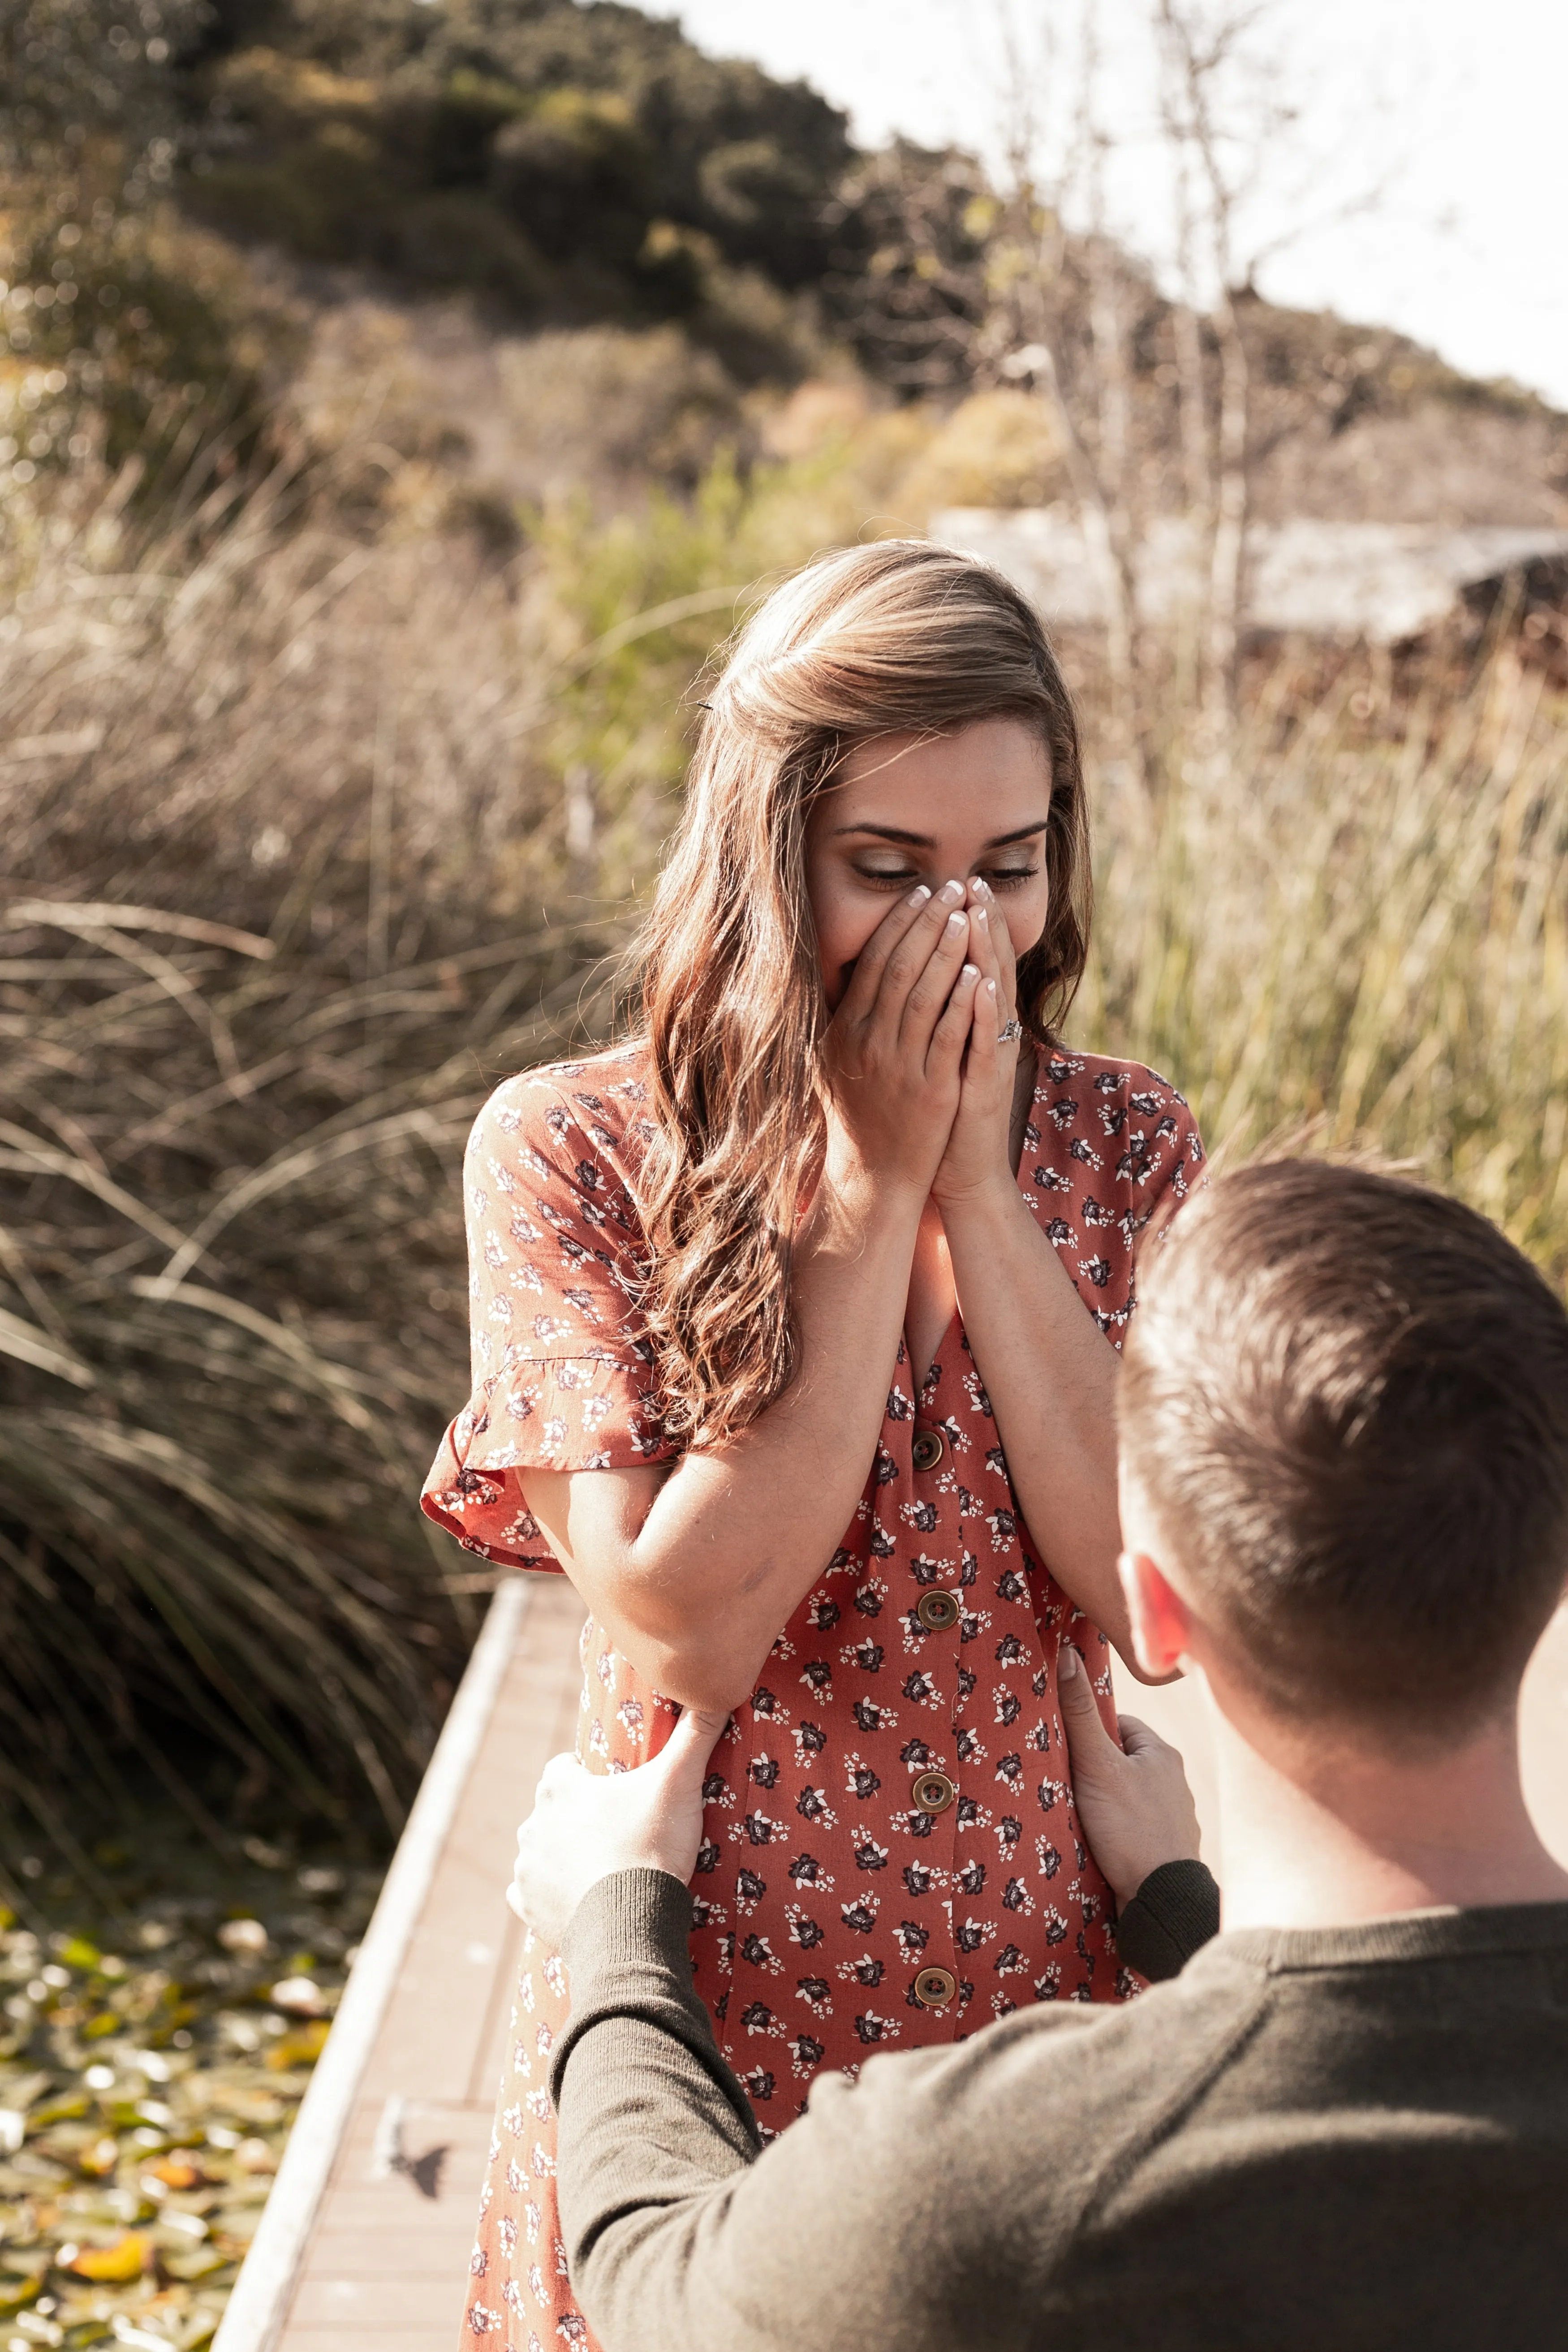
Most couples are not professional models and will expect guidance. Explain each prompt simply, demonstrate when helpful, and make small adjustments instead of listing several instructions at once.
Confidence helps people relax, but direction should remain collaborative. Check whether a pose feels comfortable and avoid jokes about bodies, height, or appearance. Encouragement such as “That looks natural—stay there” is more useful than vague praise or constant correction.
5. Use Prompts Instead of Rigid Poses
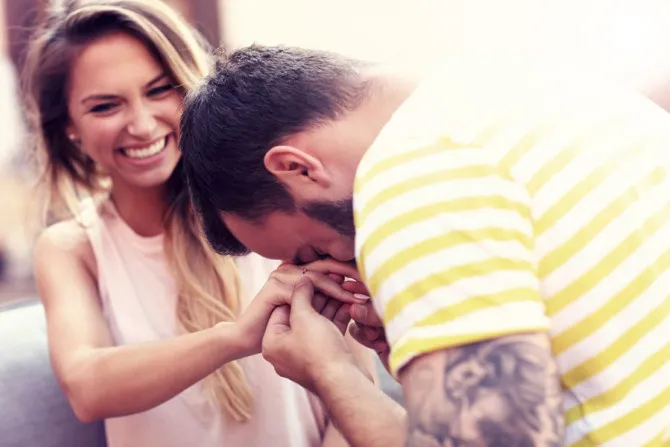
Begin with simple positions, then introduce movement. Ask the couple to walk slowly, lean together, talk about a shared memory, or adjust each other’s clothing. These prompts create natural gestures while still giving the photographer control over light and composition.
Watch hands, posture, and the space between faces. Avoid forcing a pose that does not suit the couple’s mobility, clothing, or way of interacting. Include a few classic portraits for relatives and prints, even if the overall session is candid.
6. Capture Candid Moments Between Poses
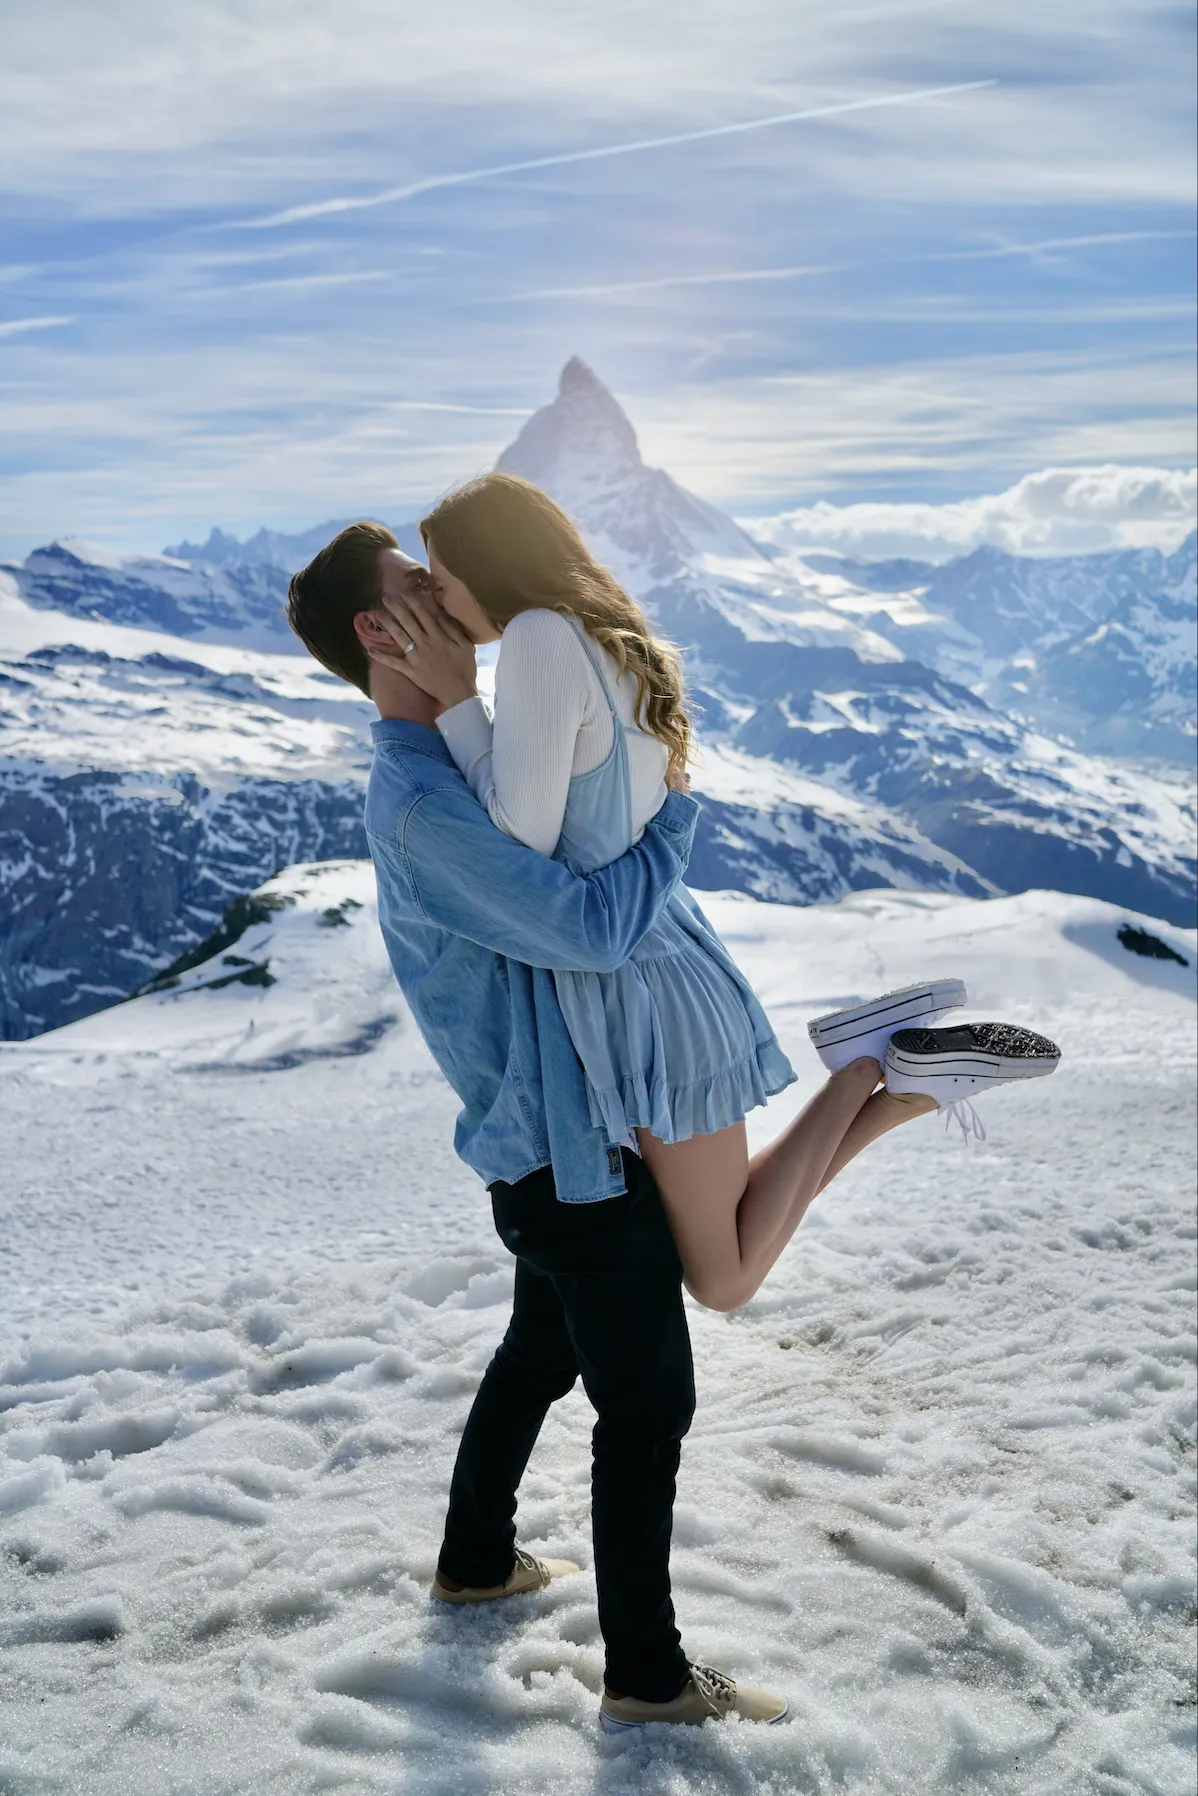
Keep the camera ready after giving a prompt. The laugh after an awkward attempt, a quick glance, or the moment the couple relaxes can be stronger than the planned frame.
Candid does not mean photographing people without regard for their boundaries. Explain that you may keep shooting between prompts, and exclude images that could embarrass the couple. A gallery should feel authentic and flattering, not invasive.
Exclusive Tools of Endless Possibilities in One Editor
7. Plan for Golden Hour—But Have a Backup
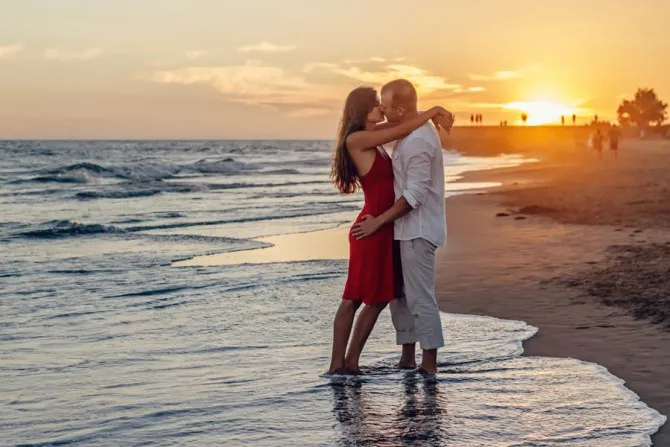
The hour after sunrise and the period before sunset often provide warm, low-angle light. The exact duration depends on season, latitude, terrain, and weather, so check local conditions rather than assuming it lasts precisely one hour.
Arrive early enough to use open shade before the light softens. On overcast days, look for direction in the light near buildings, trees, or covered areas. If the sky becomes brighter than expected, expose carefully for skin and use a reflector or subtle fill light when needed.
Editing can refine warmth and contrast, but it should not be presented as a substitute for believable lighting. In Luminar, adjust white balance, highlights, and color carefully so skin tones remain natural.
8. Vary Your Point of View
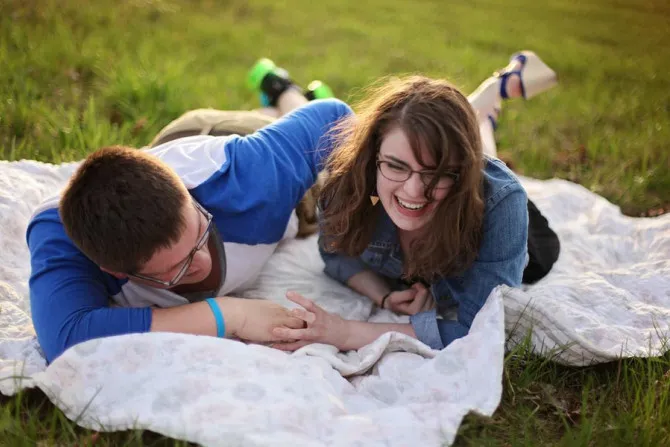
Once you have a safe version of the scene, change your height, distance, and focal length. Shoot a wide environmental portrait, a mid-length image, and a close detail without making the couple repeat the entire interaction.
Use high and low angles selectively. Very wide lenses placed close to a person can distort faces and bodies, so keep important features away from the edges of the frame. Include details such as joined hands or the engagement ring, but do not let them replace photographs of the couple’s connection.
9. Compose With the Couple and Location in Mind
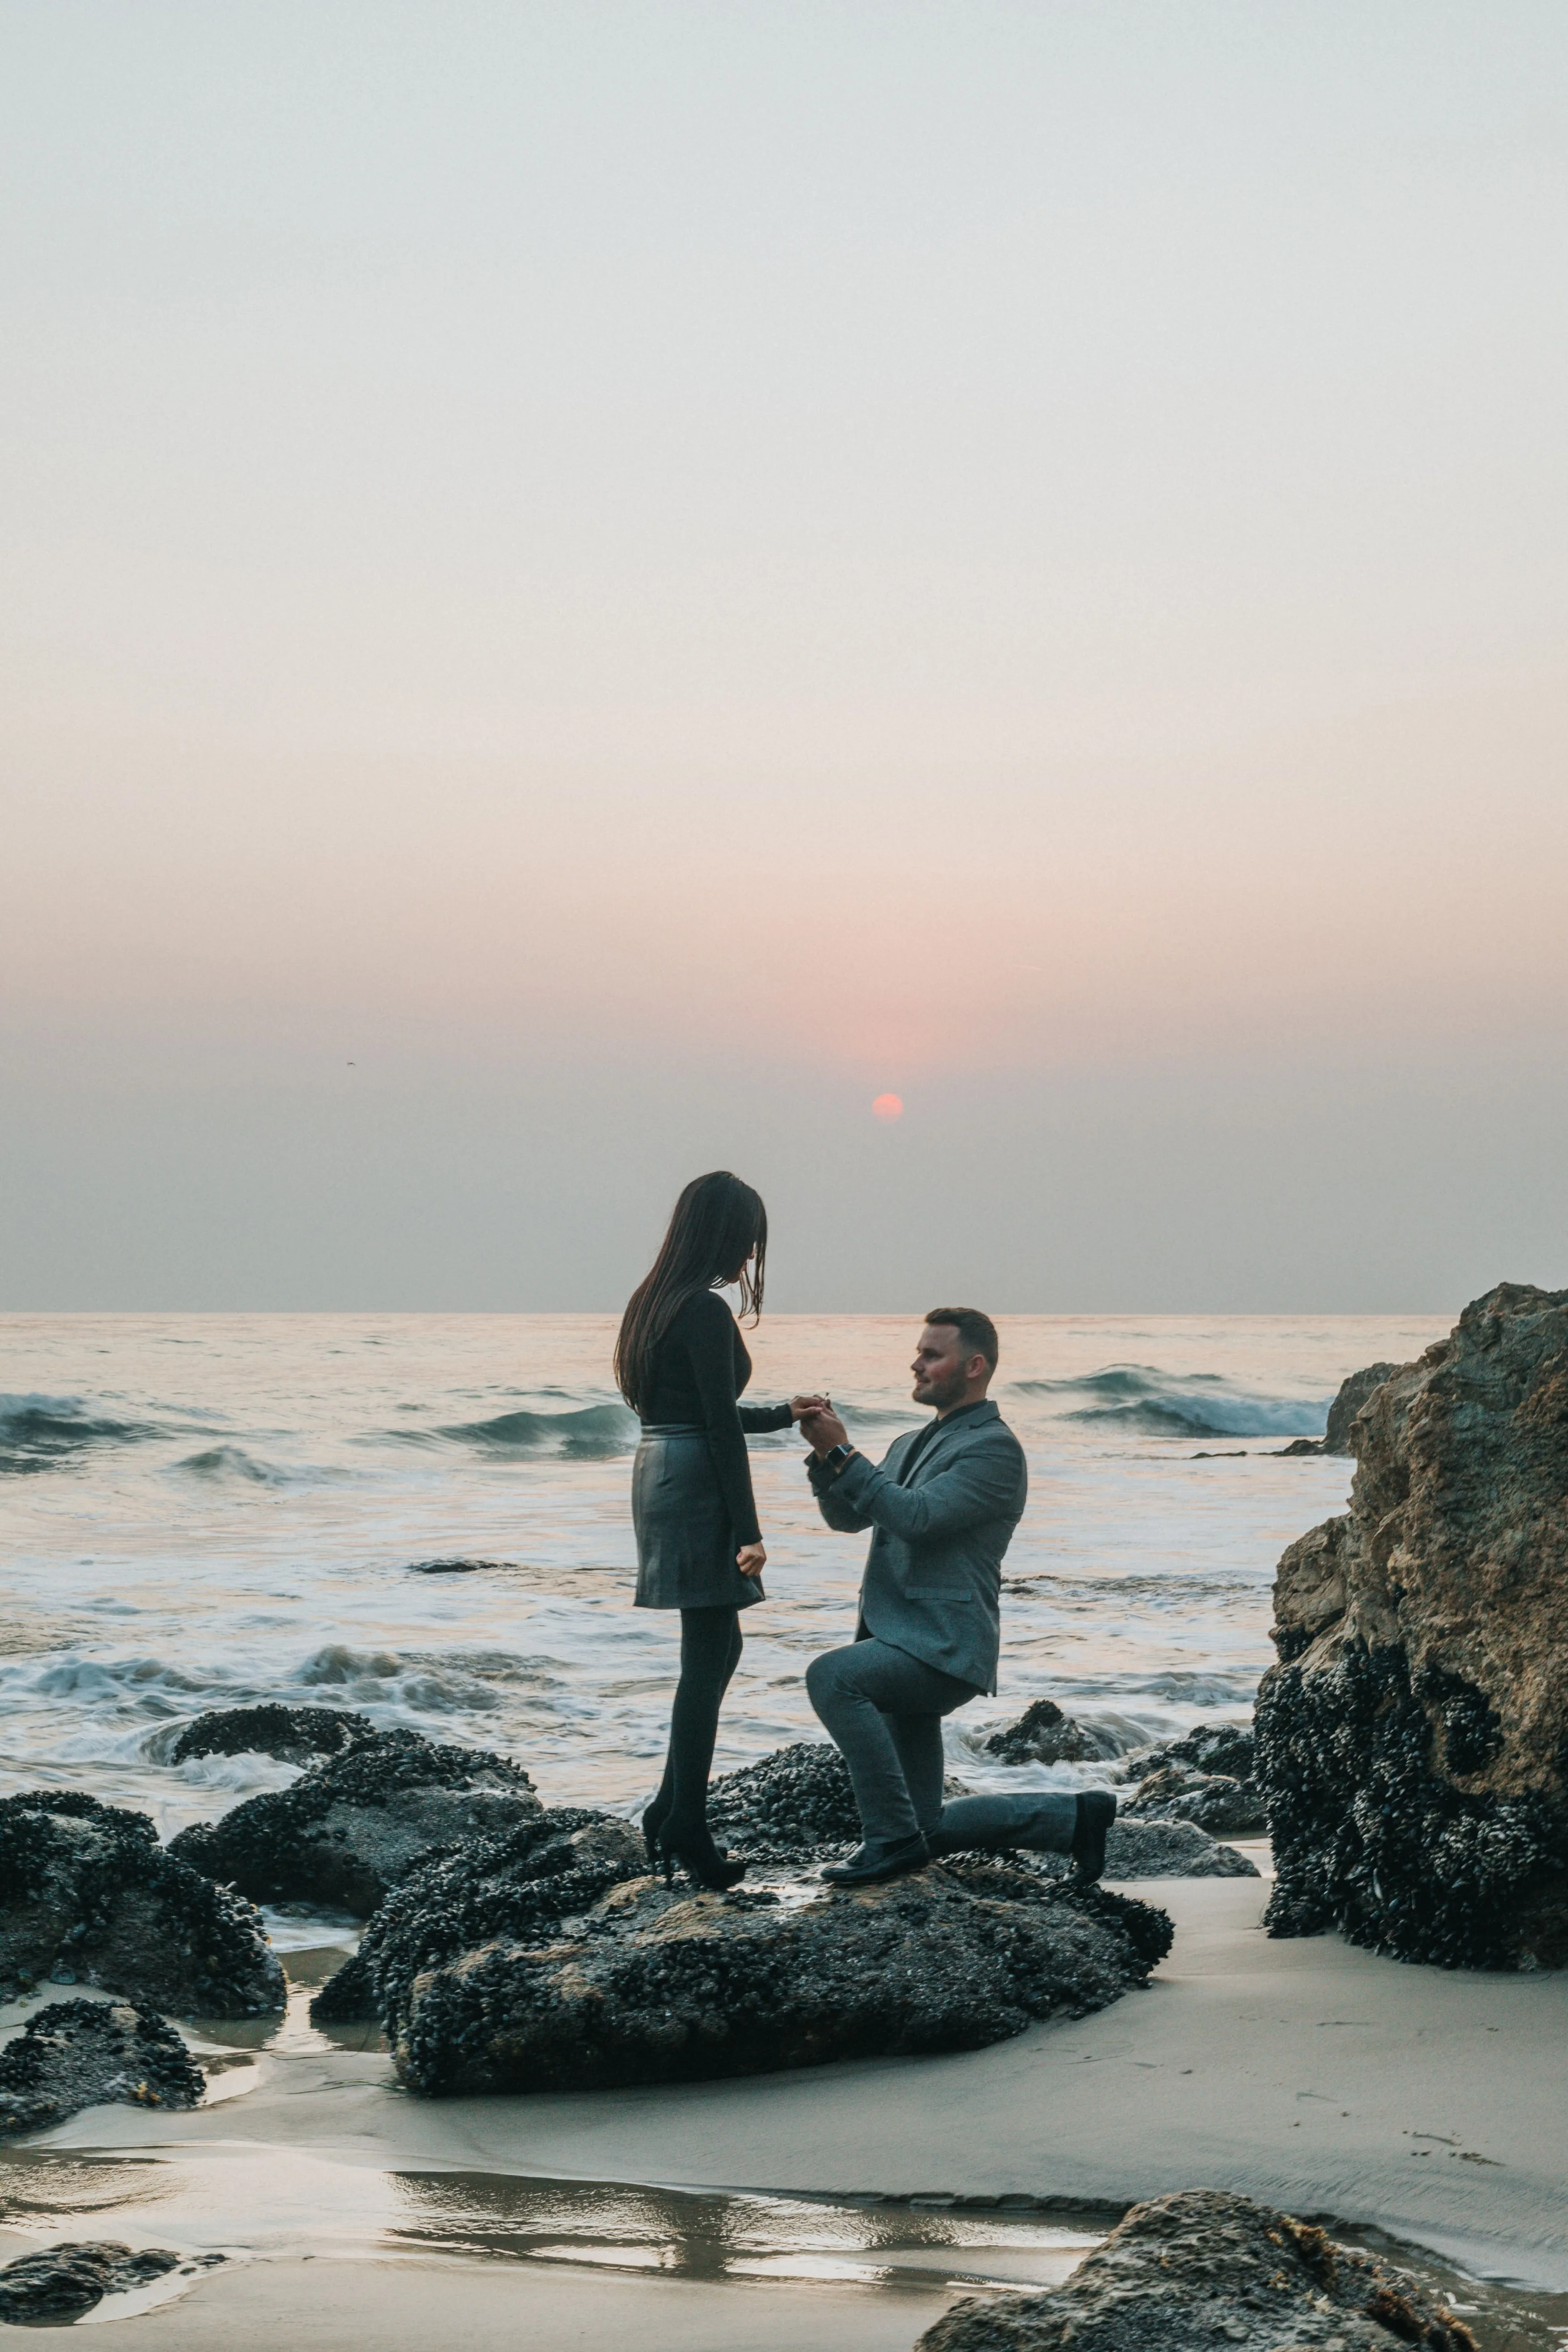
Use leading lines, negative space, symmetry, frames, and layers to support the couple rather than overwhelm them. Check the background for poles, signs, cars, bright patches, and people that compete for attention.
Leave room for different crops when the photos may be used for invitations or social media. Capture horizontal and vertical options, and avoid cropping tightly at joints such as wrists, ankles, and knees.
If a strong composition requires a significant crop, Upscale may help prepare the image at a larger resolution. It cannot restore every lost detail, however, so start with the best-focused and highest-resolution file available.
10. Shoot Intentionally
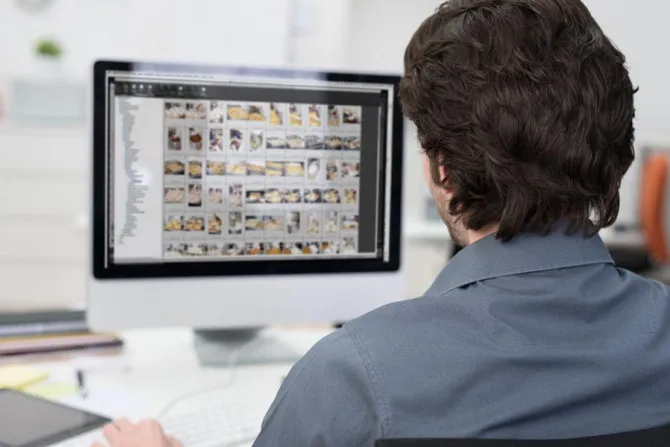
Burst mode is useful for walking, dancing, hair movement, and other brief actions. For quiet portraits, single frames or short bursts make it easier to watch expression, focus, and composition.
More files do not automatically create a stronger gallery. Photograph enough variations to protect against blinking and missed focus, then move on when the scene has been covered. Intentional shooting reduces culling time and prevents nearly identical images from diluting the final selection.
Useful starting settings include:
| Situation | Shutter speed | Aperture | Focus mode |
| Still portrait | 1/250 sec or faster | f/2–f/4 | Eye AF or single-point AF |
| Walking couple | 1/500 sec or faster | f/2.8–f/5.6 | Continuous AF |
| Fast movement | 1/1000 sec or faster | f/4–f/8 | Continuous AF + burst |
| Two faces at different distances | 1/250 sec or faster | f/4–f/8 | Focus on the nearer eye |
Raise ISO as needed rather than accepting motion blur. These values are starting points and should be adjusted for the lens, light, and desired effect.
11. Edit the Full Gallery Consistently
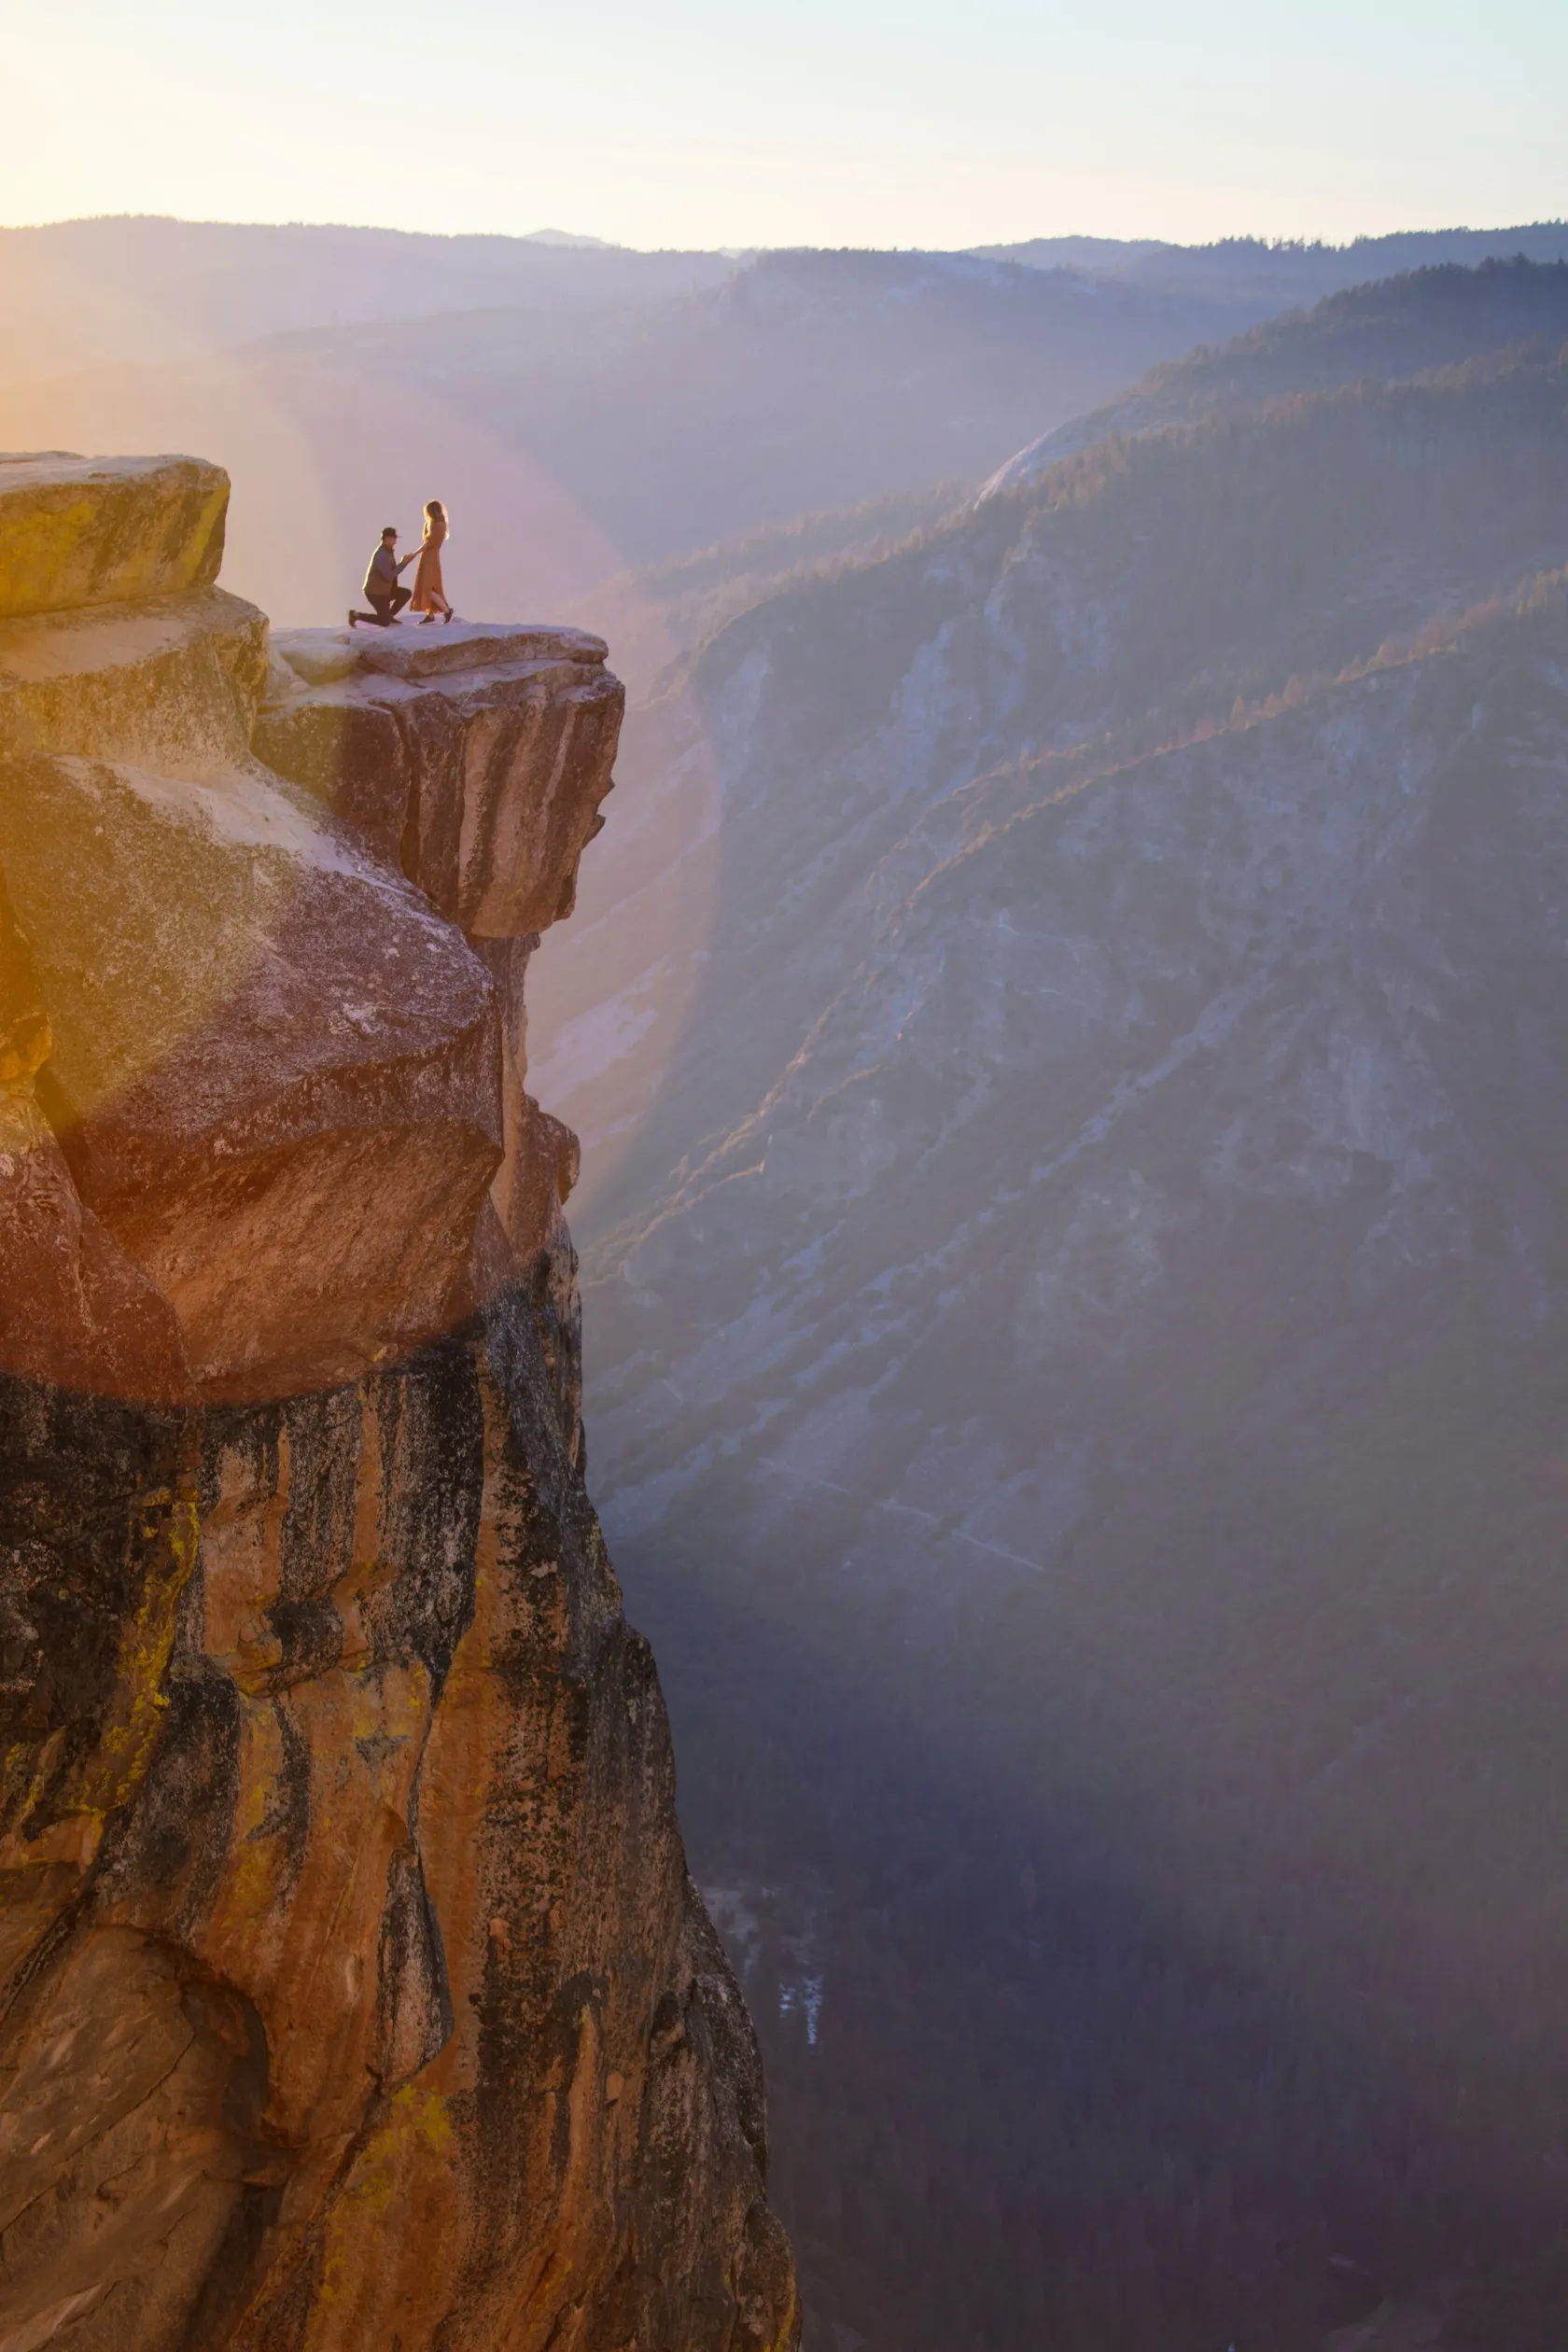
Begin by removing duplicates, missed focus, blinking, and unflattering transitional expressions. Then correct exposure, white balance, contrast, and color across the complete selection before refining individual images.
Keep skin tones consistent and avoid excessive smoothing, eye brightening, or body reshaping. Remove temporary distractions when appropriate, but preserve identifying features unless the client specifically requests otherwise. A coherent gallery usually feels more professional than a collection of unrelated presets.
Your AI-Powered Photo Editor for MacOS and Windows
12. Deliver and Present the Photos Clearly
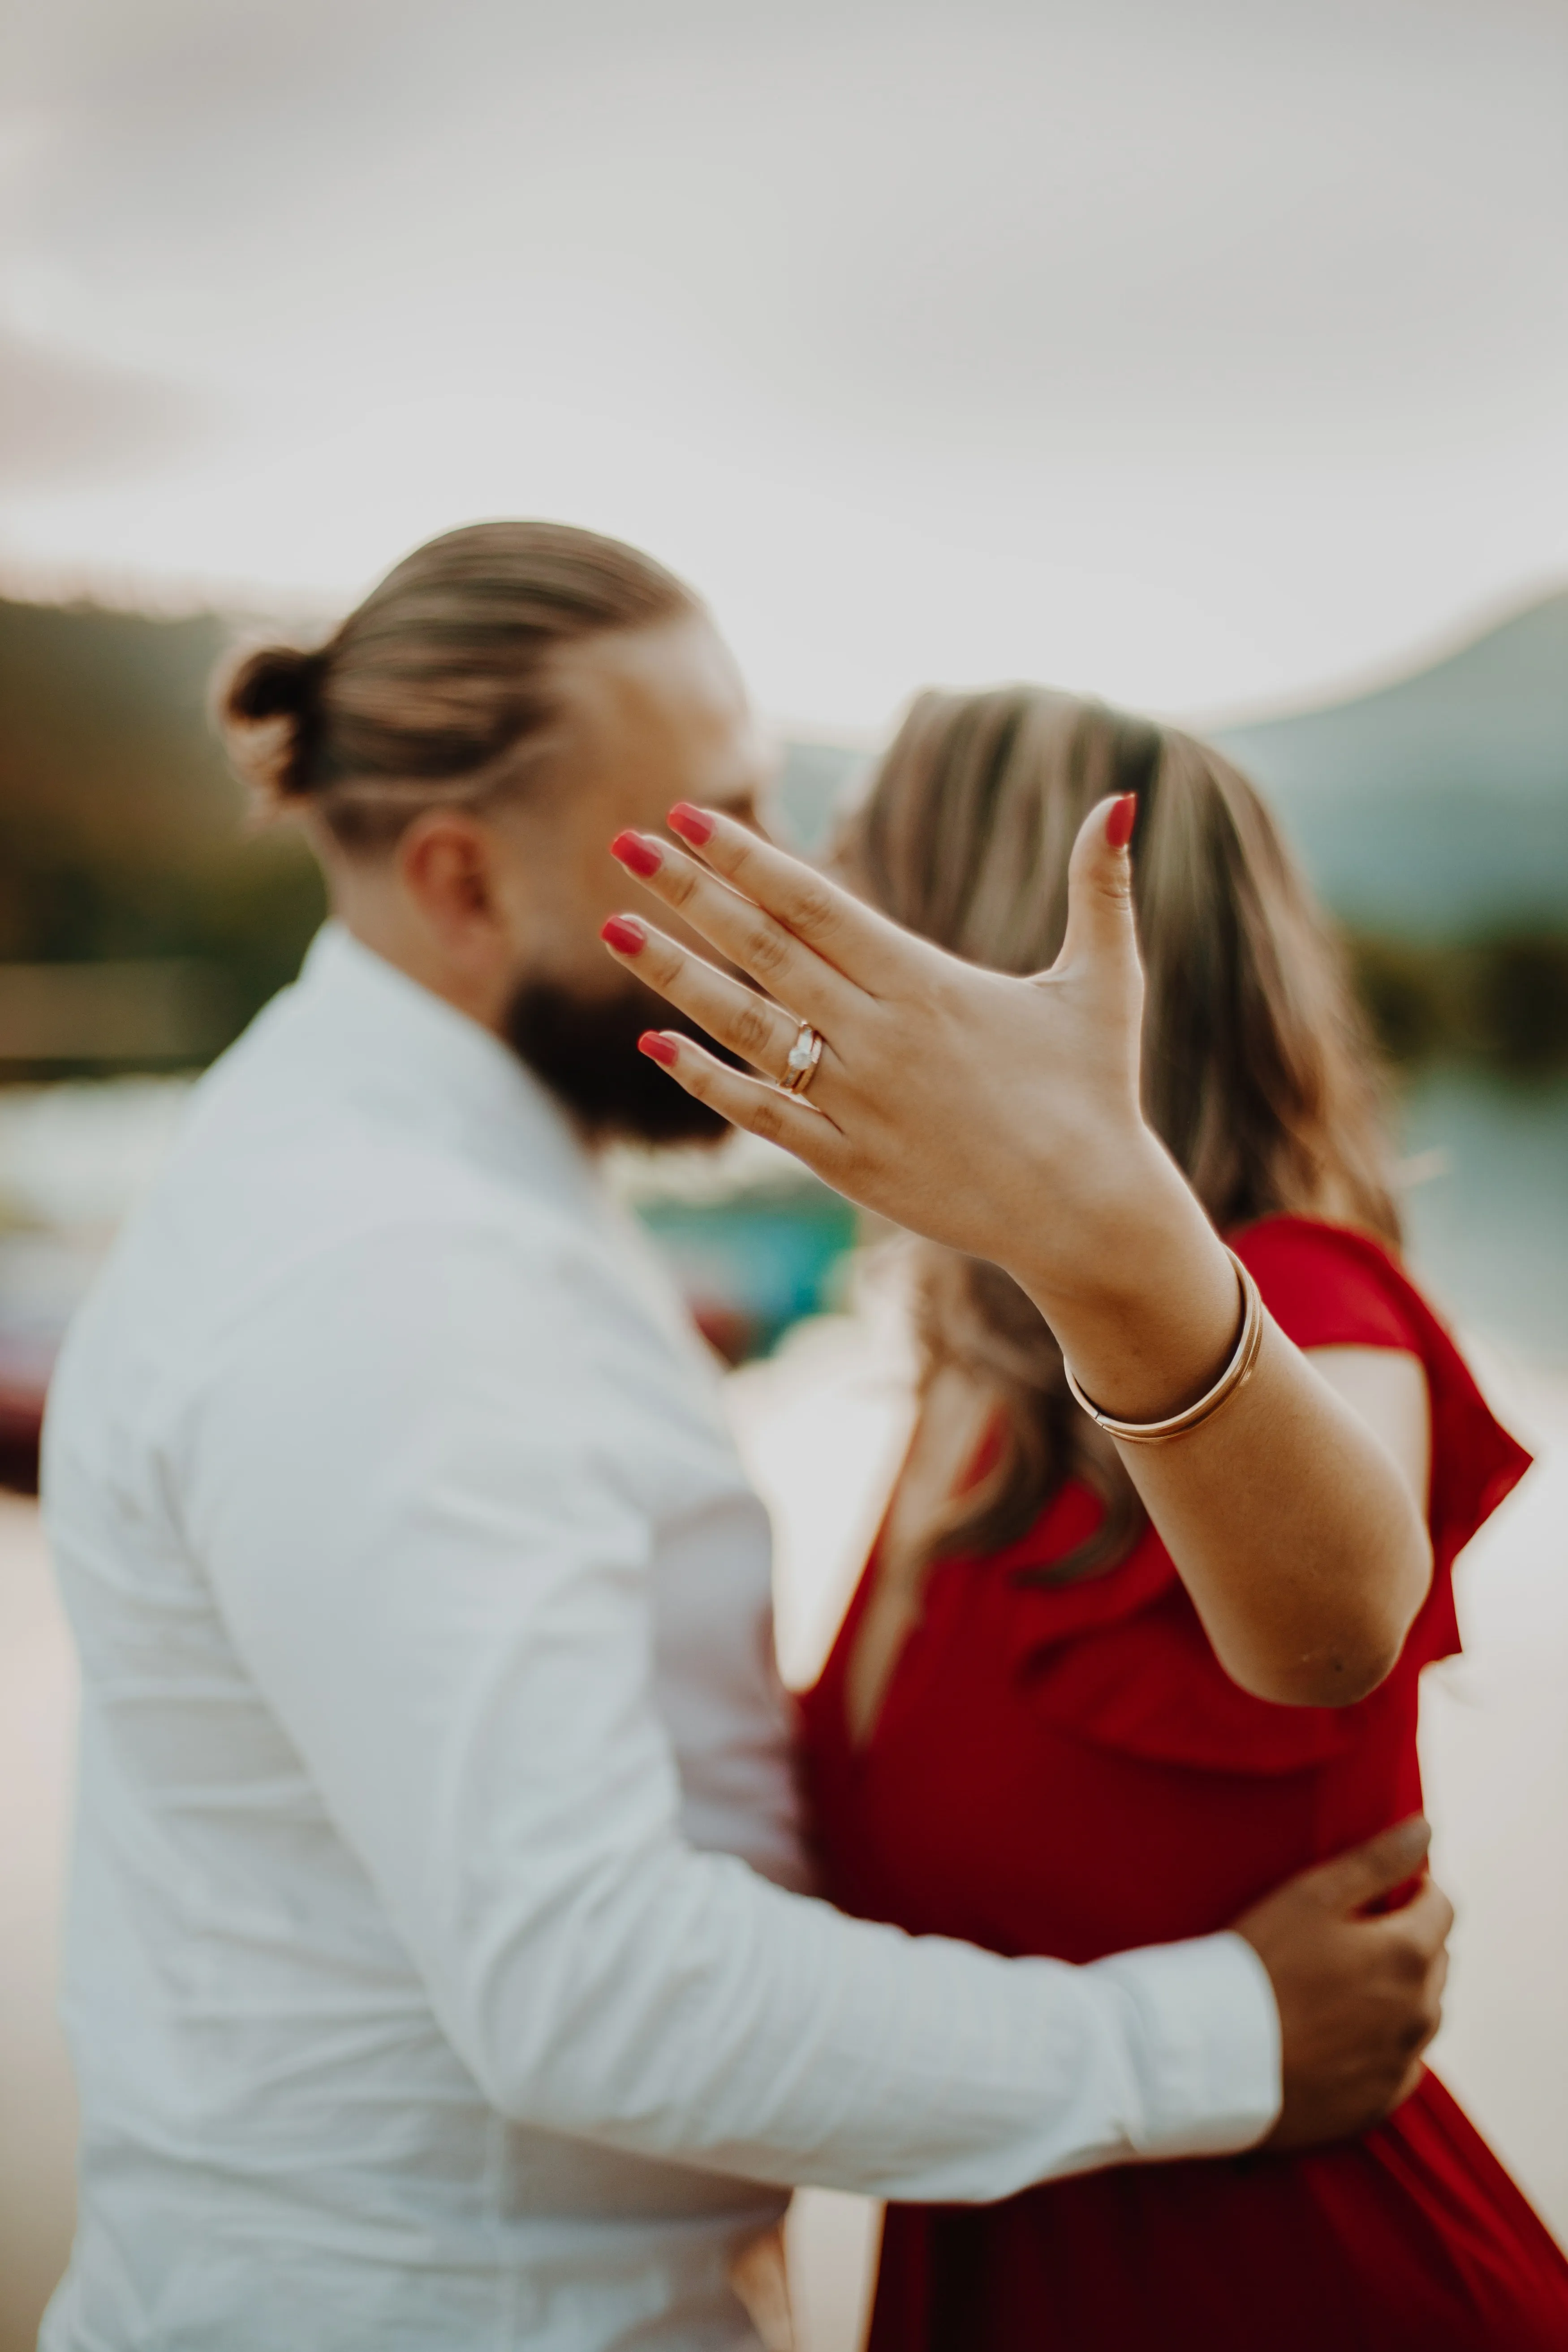
Deliver the gallery through a reliable platform with clear download instructions. Arrange images in a simple visual sequence: an establishing scene, portraits, movement, close details, and a strong closing image.
For paid work, the contract should specify the delivery date, approximate number of edited images, file resolution, backup period, print rights, and the photographer’s right to publish images. Ask for explicit permission before using a couple’s photos in a portfolio or advertising when local law or the agreement requires it.
Optional prints, albums, or slideshow files can add value, but they should match the couple’s needs rather than complicate the package.
Final Thoughts
Successful engagement photography combines preparation with room for spontaneity. Plan the practical details, give the couple confident but respectful direction, and remain alert to the natural moments between poses. Thoughtful selection, consistent editing, and reliable delivery complete the experience.
Frequently Asked Questions
The period shortly after sunrise or before sunset often offers soft, directional light. Open shade and overcast conditions can also work well, so choose the time according to the location, weather, and couple’s schedule.
Choose comfortable outfits that coordinate in color and level of formality without matching exactly. Avoid distracting logos and bring suitable shoes or an extra layer when the location or weather requires it.
Many sessions take about one to two hours, depending on travel, outfit changes, and the number of locations. A shorter, well-planned shoot is often better than an exhausting session with repeated setups.
A 24–70 mm zoom is versatile, while 35 mm and 50 mm lenses work well for environmental portraits and an 85 mm lens creates flattering close portraits. The best choice is a lens you can use confidently in the available space.
There is no universal number. The photographer should set a realistic range based on session length and style, state it clearly before booking, and deliver a varied gallery without unnecessary duplicates.