Learn eye photography with practical tips on lighting, macro gear, camera settings, and focusing to capture detailed, natural-looking close-ups.
You don’t necessarily need expensive equipment to experiment with eye photography. A camera or smartphone, a suitable light source, and careful focusing can be enough to get started. However, photographing an eye at very close range requires more attention to lighting, camera stability, and comfort than an ordinary portrait.
Don’t feel like reading the whole breakdown? We’ve pulled together a quick summary below.
Key Takeaways
- Use soft, diffused light to illuminate the eye while avoiding uncomfortable glare.
- Catchlights—the reflections of light sources in the eyes—can add depth and liveliness to a photograph.
- A macro lens or close-up accessory can help you capture detailed images of the iris.
- Keep the camera steady and use a fast enough shutter speed to compensate for small movements.
- Focus carefully on the iris or another specific detail you want to emphasize.
- Avoid forcing a subject to stare without blinking; eye photography sessions should include regular breaks.
- Keep ISO as low as practical while maintaining enough shutter speed and exposure.
- Retouch selectively so that the eye remains realistic rather than looking overly processed.
Light for Macro Pictures of Eyes
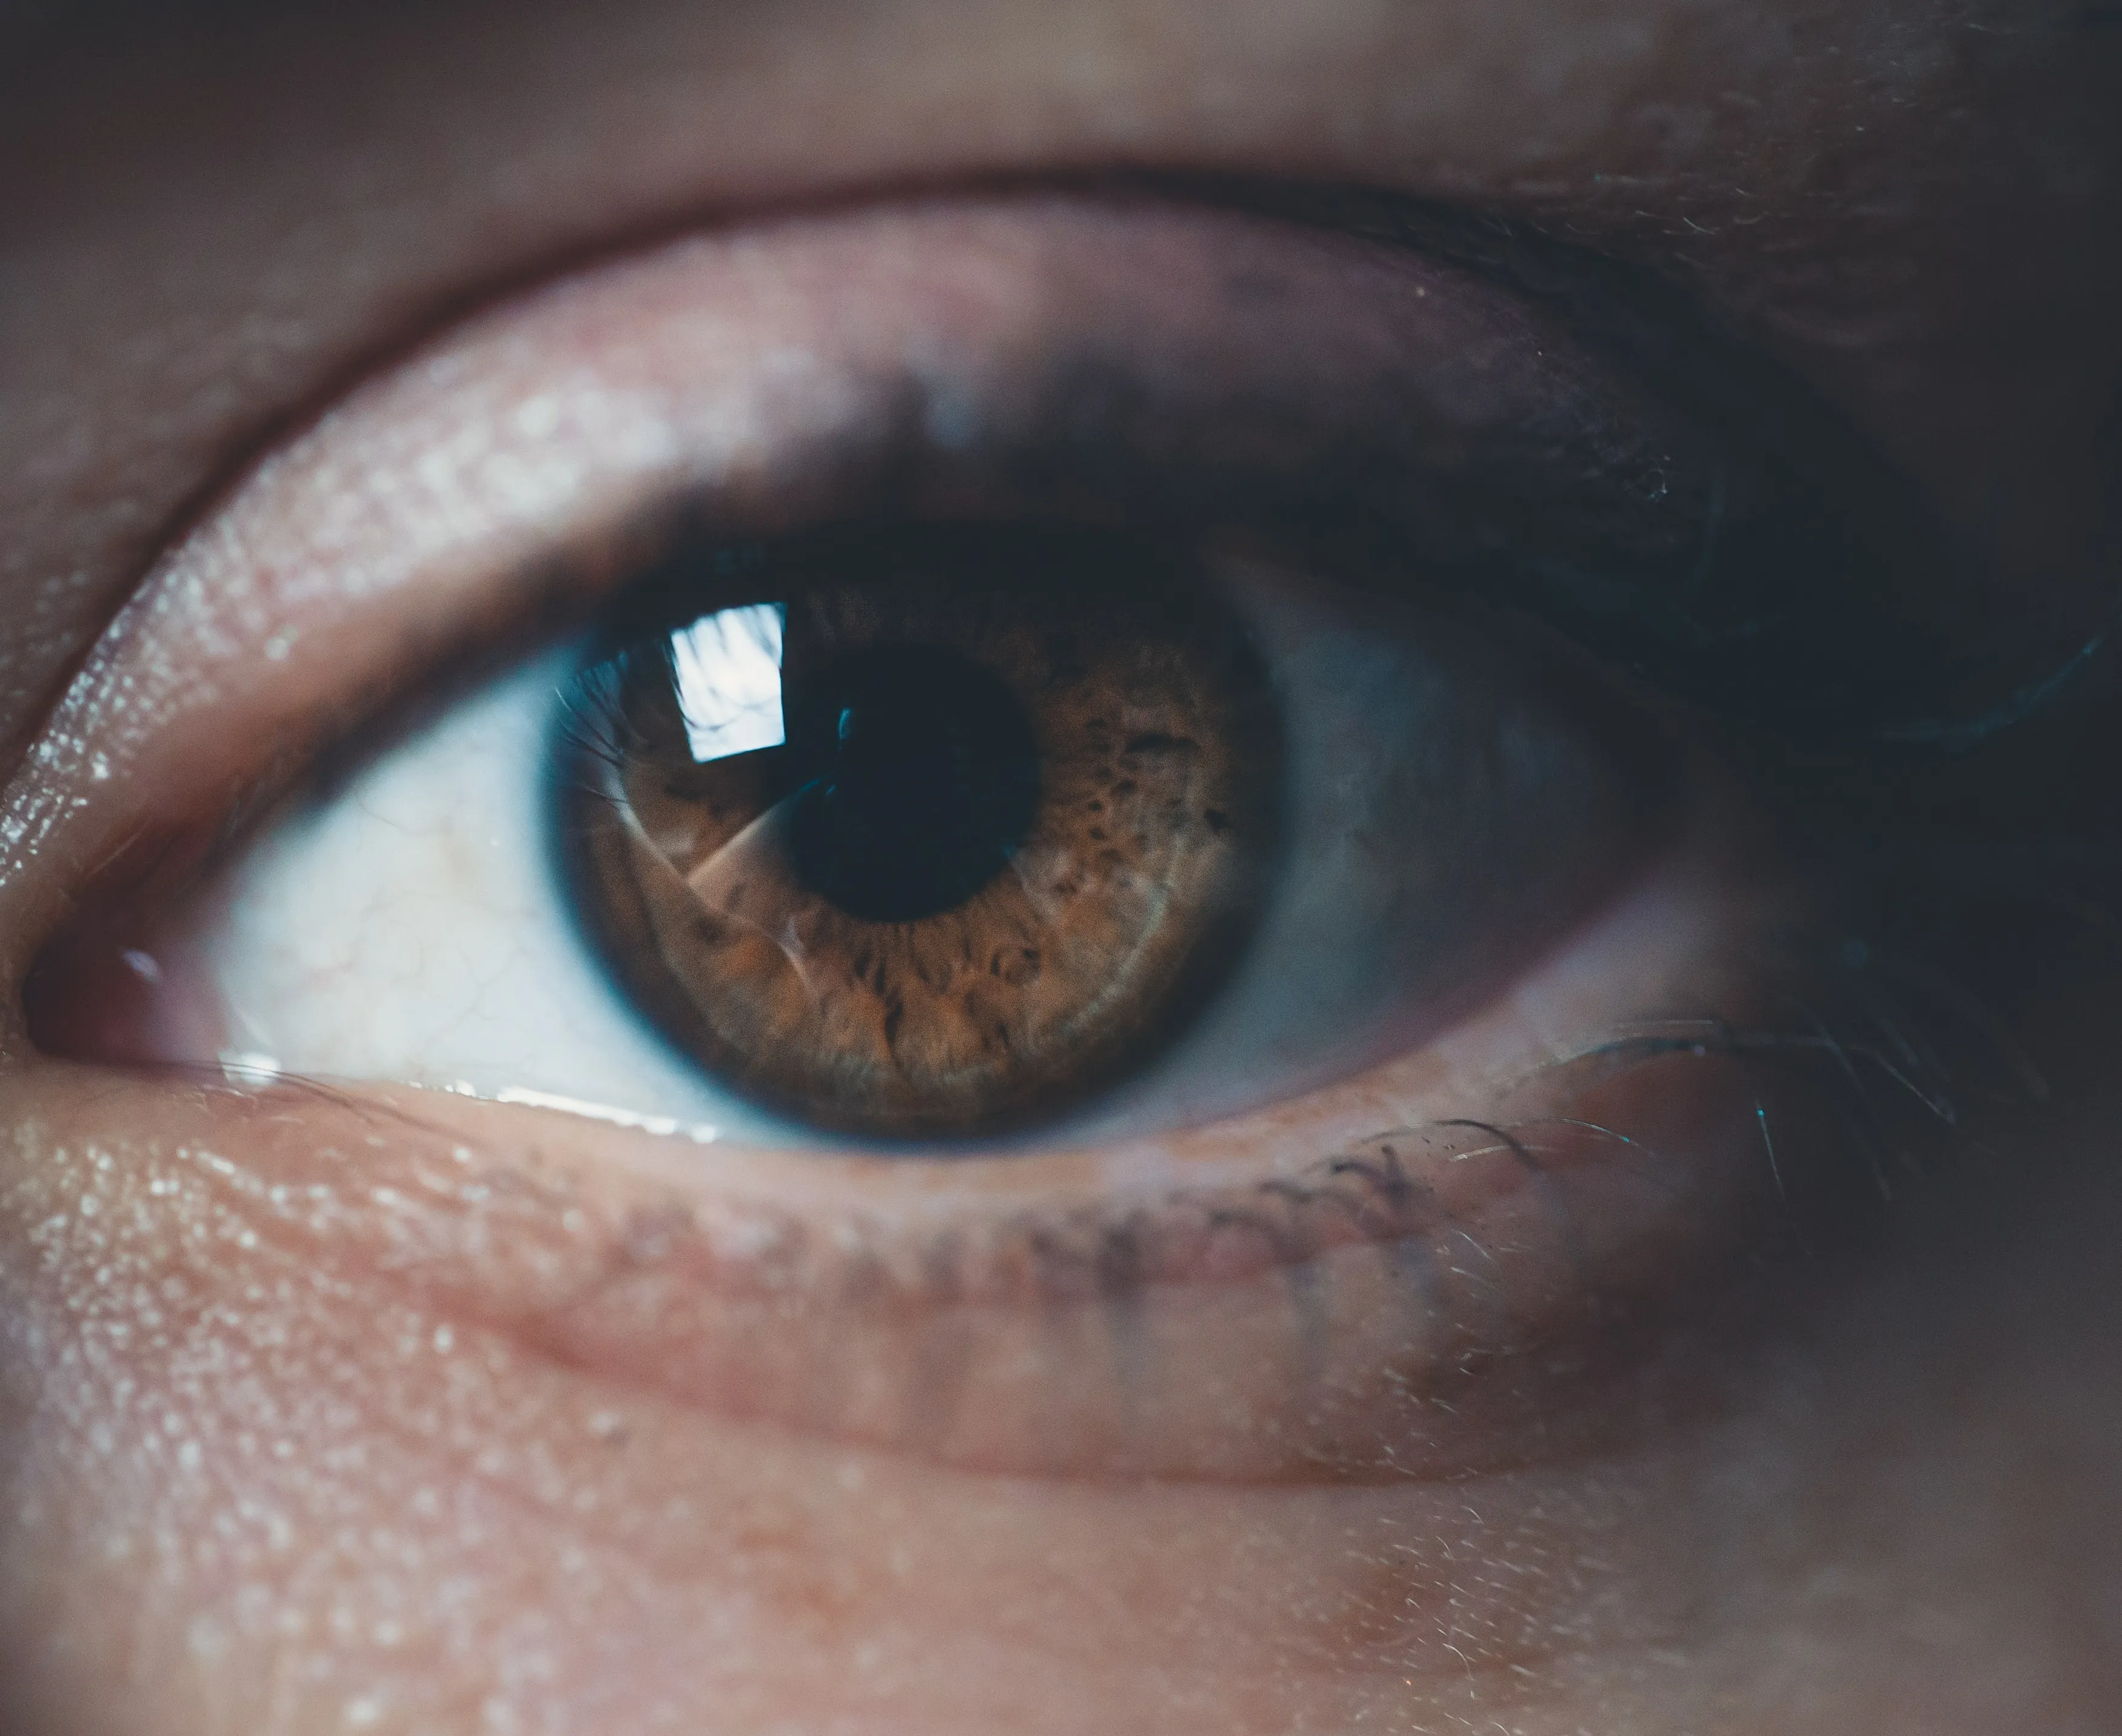 Lighting is one of the most important elements in eye photography. The right light can reveal the texture of the iris, create attractive catchlights, and add depth to the image.
A catchlight is a reflection of a light source visible on the surface of the eye. Its shape depends on the size and position of the light source. A large window can create a broad, soft reflection, while a smaller light source produces a more defined catchlight.
Soft, diffused light is generally a good choice. A window with indirect daylight, a softbox, or a diffused continuous light can illuminate the eye without producing unnecessarily harsh shadows.
Be careful with bright lights, especially when photographing at very close range. The subject should never be asked to stare directly into an intense light source for an extended period.
Reflections can also become an important creative element. A window, room, landscape, or another object may appear in the eye’s surface and add context to the photograph. Just make sure the reflection supports the composition rather than distracting from the iris.
How to Avoid Red-Eye
Red-eye occurs when light from a flash reflects from the blood-rich retina at the back of the eye and returns toward the camera. It is more likely when the flash is close to the camera’s optical axis.
To reduce the risk:
- Use off-camera lighting when possible.
- Move the light source away from the camera’s direct axis.
- Bounce or diffuse the light when appropriate.
- Use your camera’s red-eye reduction feature if you’re working with an on-camera flash.
- Consider continuous or natural light for close-up eye photography.
For a macro photograph of an iris, soft continuous lighting is often easier to control than a direct flash.
Camera Settings for Eye Macro Photography
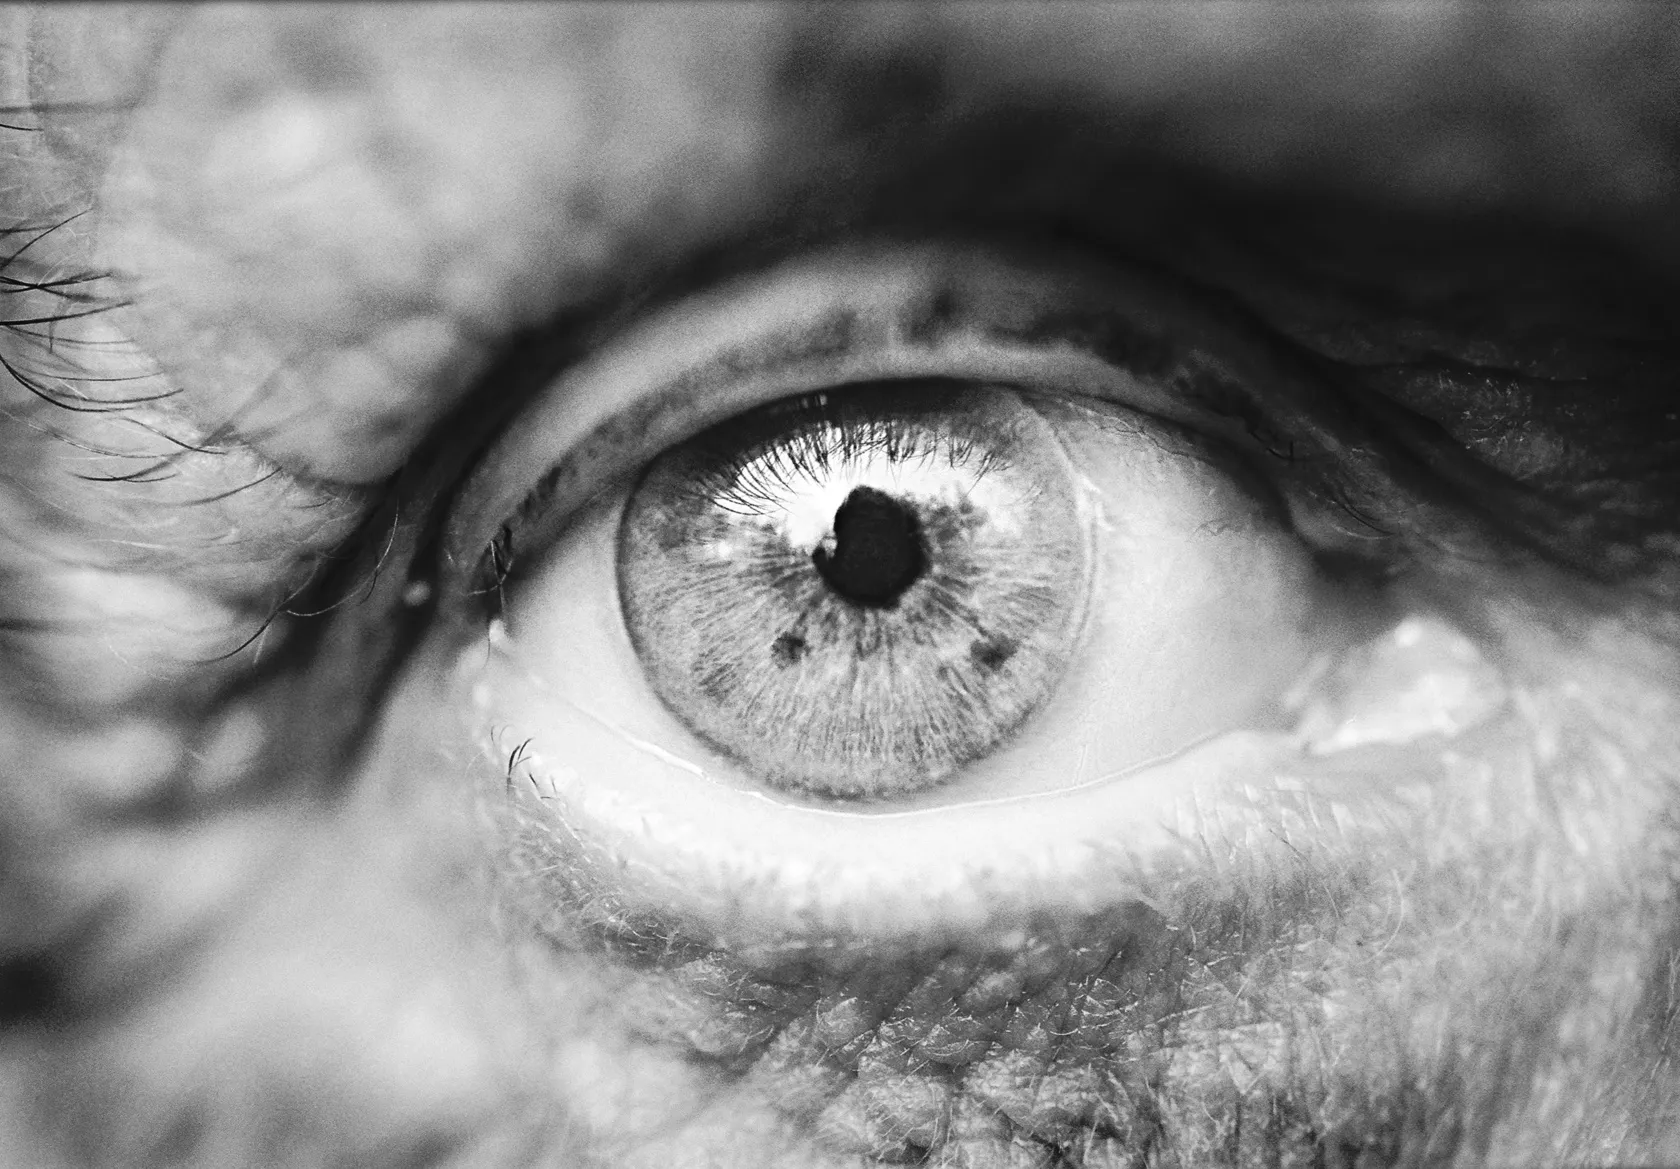 There isn’t one universal set of camera settings for photographing eyes. Your choices depend on the lighting, lens, camera, desired depth of field, and whether the subject is holding completely still.
A good starting point is to use a fast enough shutter speed to prevent motion blur. Around 1/100 second or faster can be useful for a relatively still subject, but you may need a faster shutter speed if the subject or camera is moving.
A tripod can help stabilize the camera, especially when you’re photographing a stationary subject under controlled lighting. However, a tripod doesn’t eliminate movement from blinking or small changes in the subject’s position.
Aperture
Macro photography often produces a very shallow depth of field. If you’re photographing the iris at high magnification, only part of it may be sharp at a wide aperture.
Stopping down the aperture can increase depth of field, but extremely small apertures aren’t automatically better. Diffraction can reduce fine detail at very small apertures.
Instead of following a fixed rule such as always using f/11, take a few test shots and choose an aperture that gives you the balance of sharpness and background blur you want.
How to Fix Closed Eyes in a Photo?
Learn moreISO
Keep ISO as low as practical while maintaining a sufficiently fast shutter speed and correct exposure. Lower ISO generally produces cleaner files with less visible noise, which is particularly useful when you’re photographing fine iris details.
Focus
Accurate focus is critical. For an iris close-up, even a small focus error can make the most important details appear soft.
Manual focus can be useful in a controlled setup, especially if the camera and subject remain in fixed positions. Autofocus can also work well when you select the appropriate focus point and ensure that it locks onto the area you want to emphasize.
If your camera supports focus magnification or focus peaking, these features can make manual focusing easier.
How to Take Beautiful Eye Macro Photography
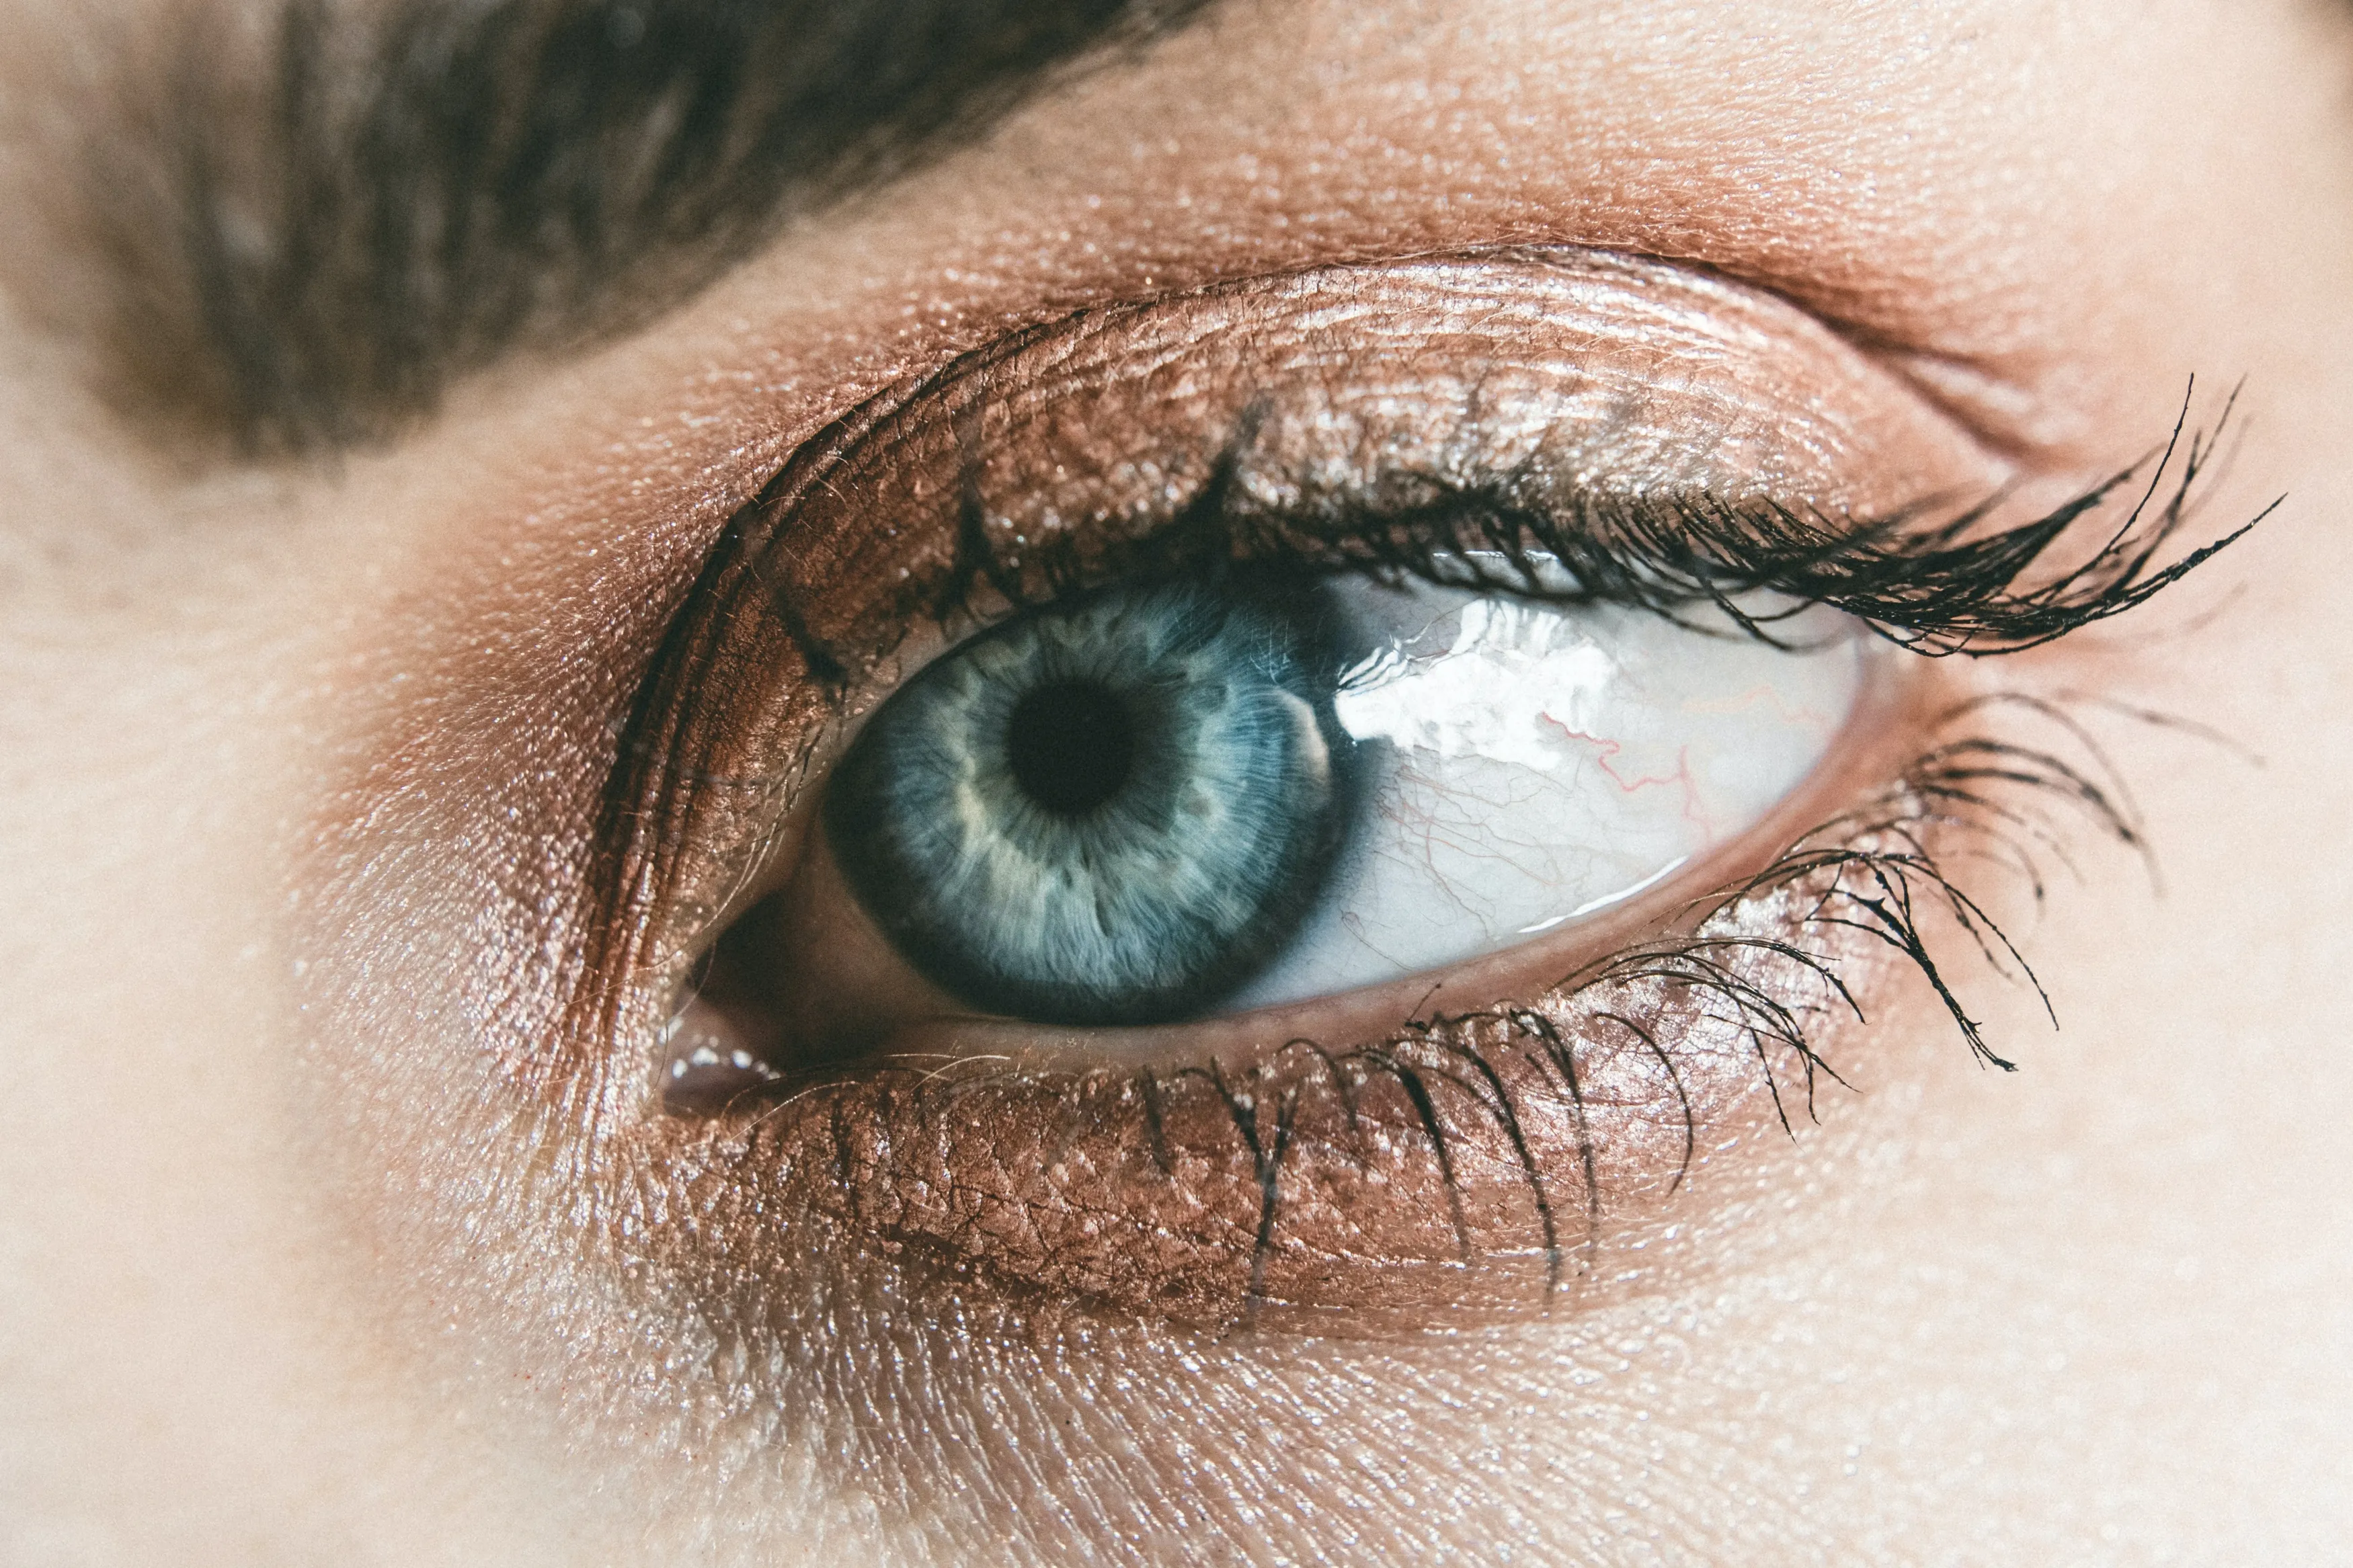 The most compelling eye photographs aren’t necessarily the ones with the most dramatic editing. Start by creating a comfortable shooting environment and controlling the basics: light, focus, exposure, and composition.
Here are some practical eye photography ideas to try.
1. Experiment With Catchlights
The reflection of a window or softbox can add depth to an eye. Try changing the position and size of the light source and observe how the catchlight changes.
A large light source placed close to the subject generally creates a larger, softer reflection, while a smaller source produces a more defined shape.
2. Photograph One Eye
You don’t always need to photograph both eyes. A close-up of a single eye can create a stronger composition and allow you to emphasize the iris, pupil, eyelashes, or surrounding texture.
Because human faces are naturally asymmetrical, choosing one eye as the primary subject can also make the composition more visually interesting.
3. Look for Reflections
Try incorporating an intentional reflection into the photograph. A window, plant, room, or other object can create a recognizable shape in the eye.
Keep the reflected object relatively simple. At macro distances, too much visual information can quickly become distracting.
4. Try Different Angles
A straight-on photograph isn’t your only option. Slightly changing the camera angle can alter the shape of the iris, catchlights, eyelashes, and surrounding skin.
However, avoid extreme angles if your goal is to accurately represent the eye. Small changes are often enough to create a different image.
5. Give the Subject Regular Breaks
Eye photography can be uncomfortable if the subject has to keep their eyes open and stare in one direction for too long.
Allow the subject to blink normally and take regular breaks. If their eyes begin to water, become irritated, or feel strained, stop the session rather than trying to get one more photograph.
Eye drops should not be treated as a photography accessory or used simply to keep someone’s eyes open longer. If a person normally uses eye drops, they should follow the instructions provided for that product.
Your AI-Powered Photo Editor for MacOS and Windows
Close-Up Filters
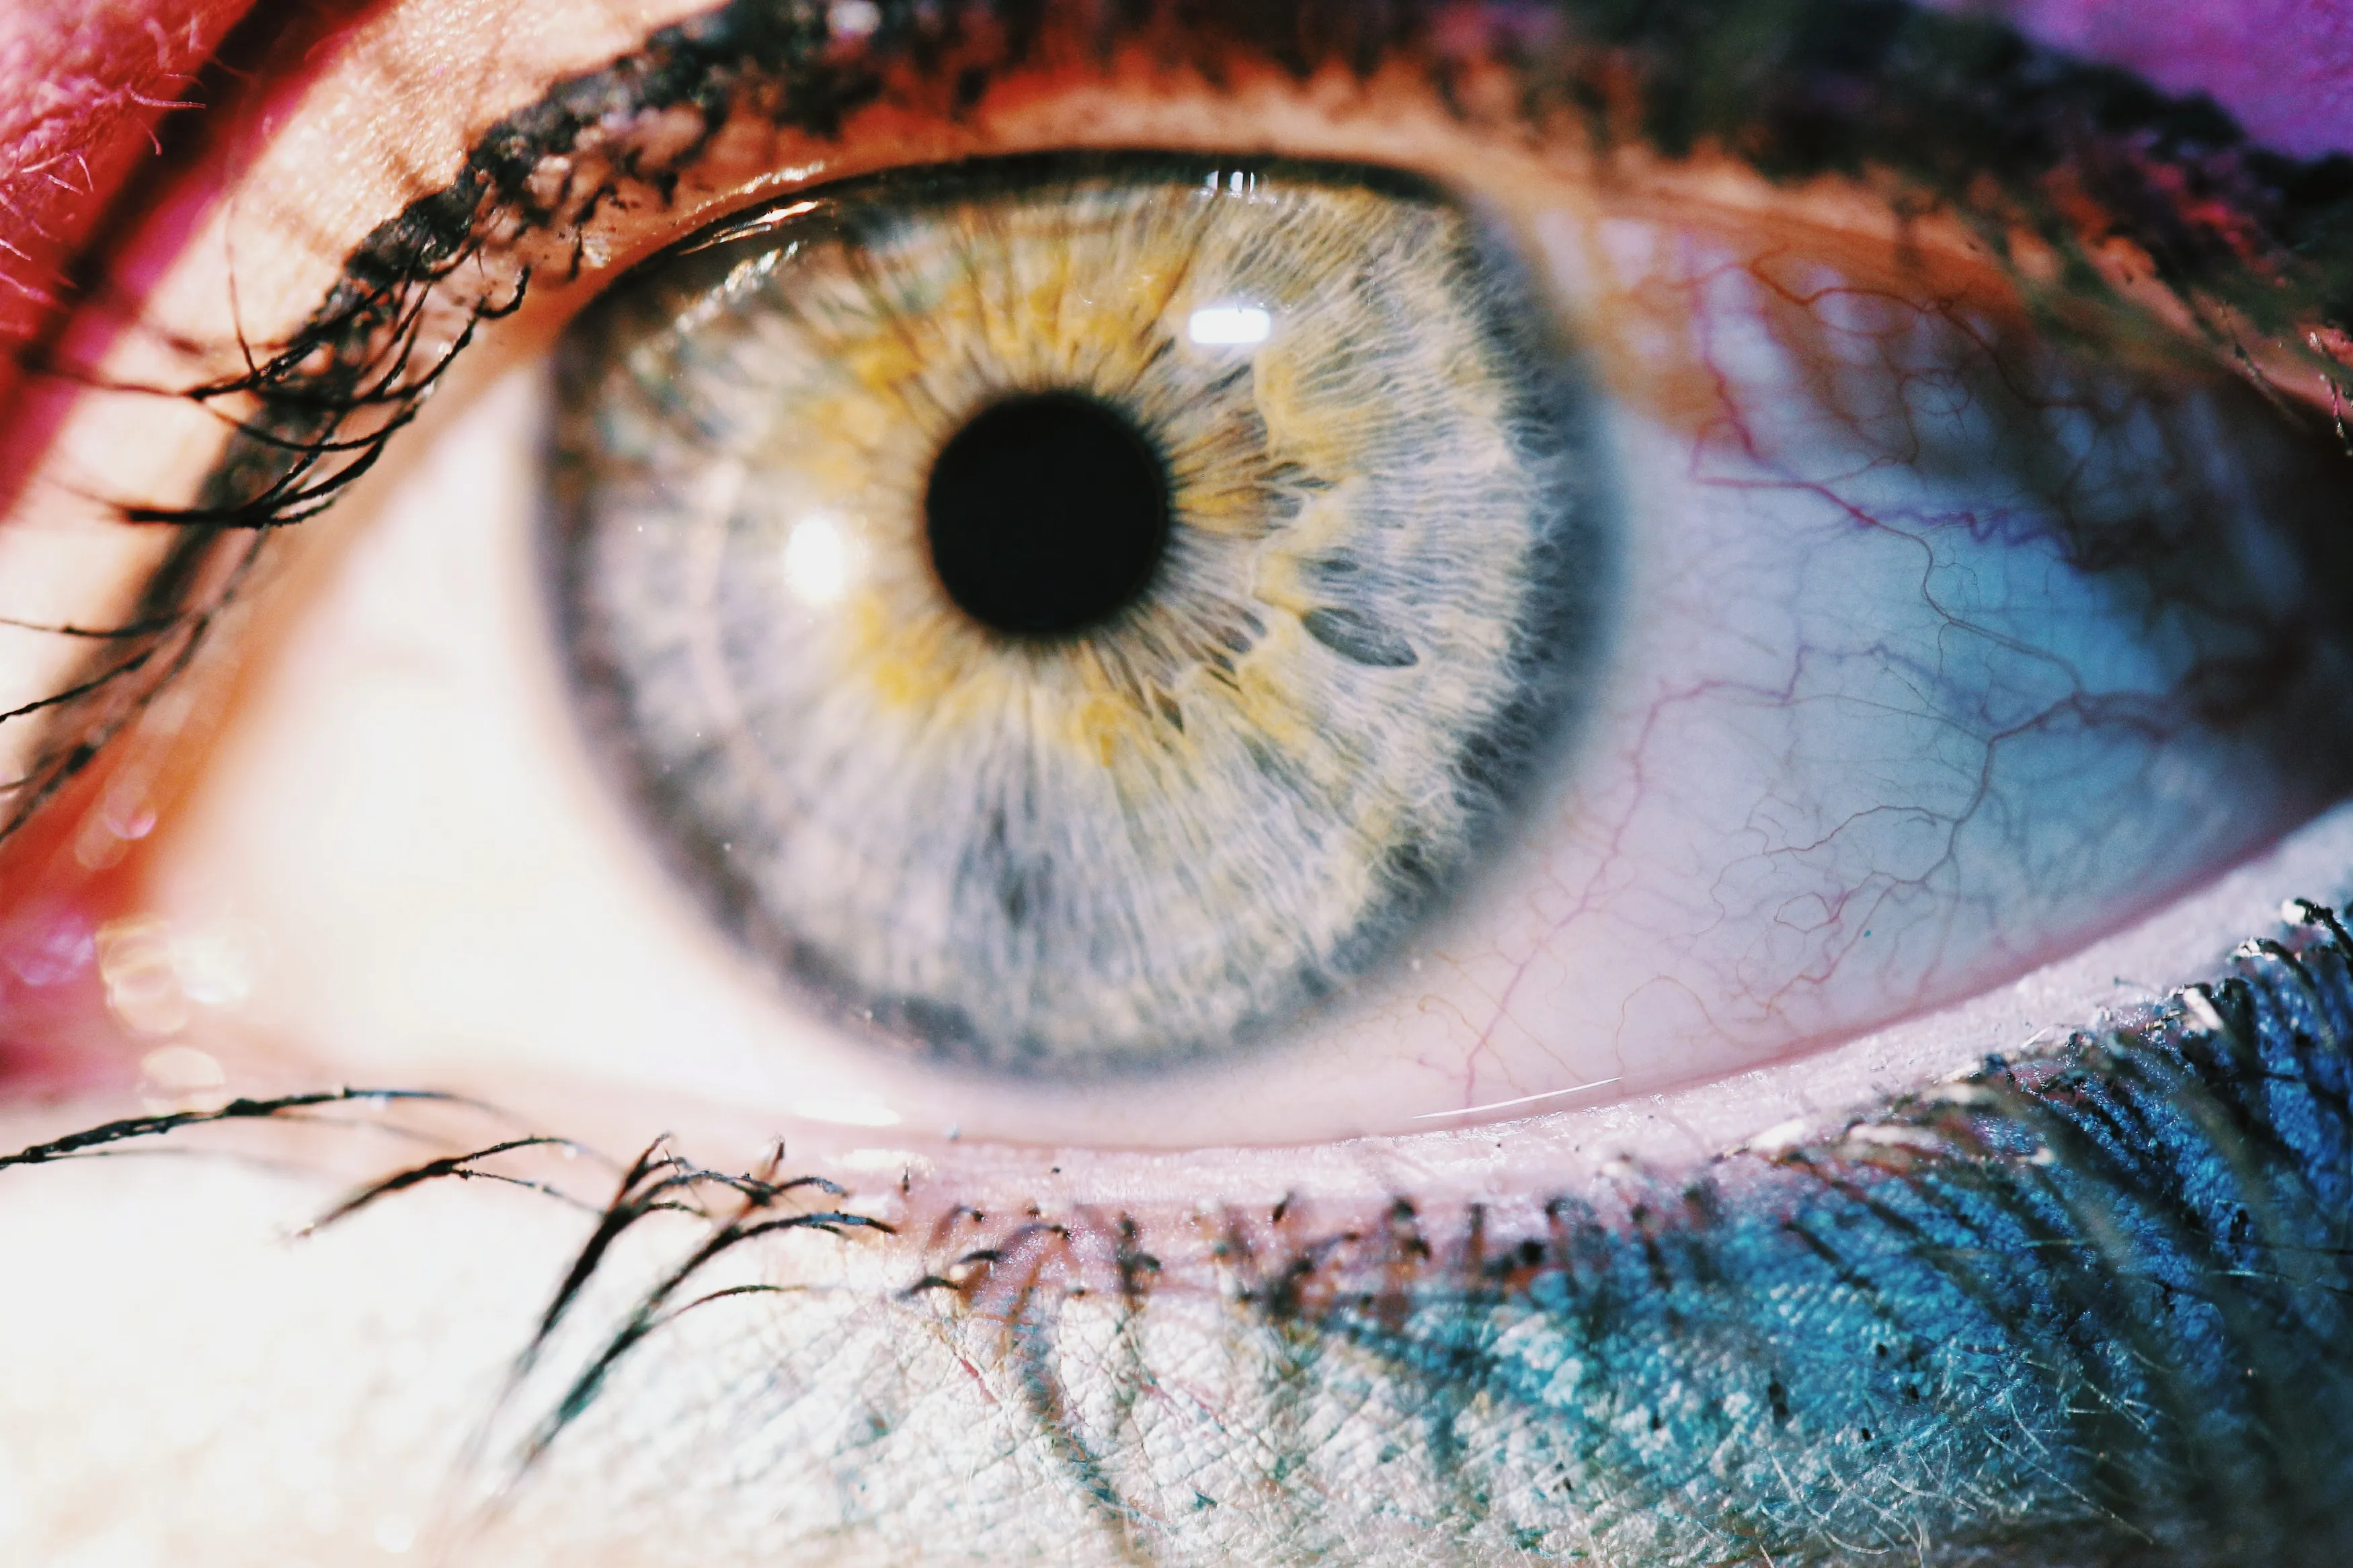 Close-up filters, also called close-up lenses or diopters, attach to the front of a camera lens and allow it to focus more closely on a subject.
They can be a relatively inexpensive way to experiment with close-up photography if you don’t own a dedicated macro lens.
Close-up filters are available in different strengths. Stronger filters generally provide greater magnification but can also make focusing and composition more demanding.
Unlike extension tubes, which increase the distance between the lens and camera sensor, a close-up filter is mounted on the front of the lens.
Both options can be useful, but a dedicated macro lens generally provides more flexibility and predictable optical performance.
Choosing a Macro Lens for Eye Photography

A dedicated macro lens is one of the most straightforward ways to photograph an eye in detail. Macro lenses are available in different focal lengths, and the choice affects how close you need to position the camera.
A shorter macro lens can work well for controlled setups where you can position the camera relatively close to the subject. A longer macro lens provides greater working distance, which can be more comfortable and useful for certain subjects.
Don’t choose a macro lens based solely on its focal length. Also consider its maximum magnification, minimum focusing distance, autofocus performance, image stabilization, and compatibility with your camera.
For smartphone photography, a dedicated macro mode or macro accessory can also provide enough magnification for experimentation.
What Does the Model Need to Do?
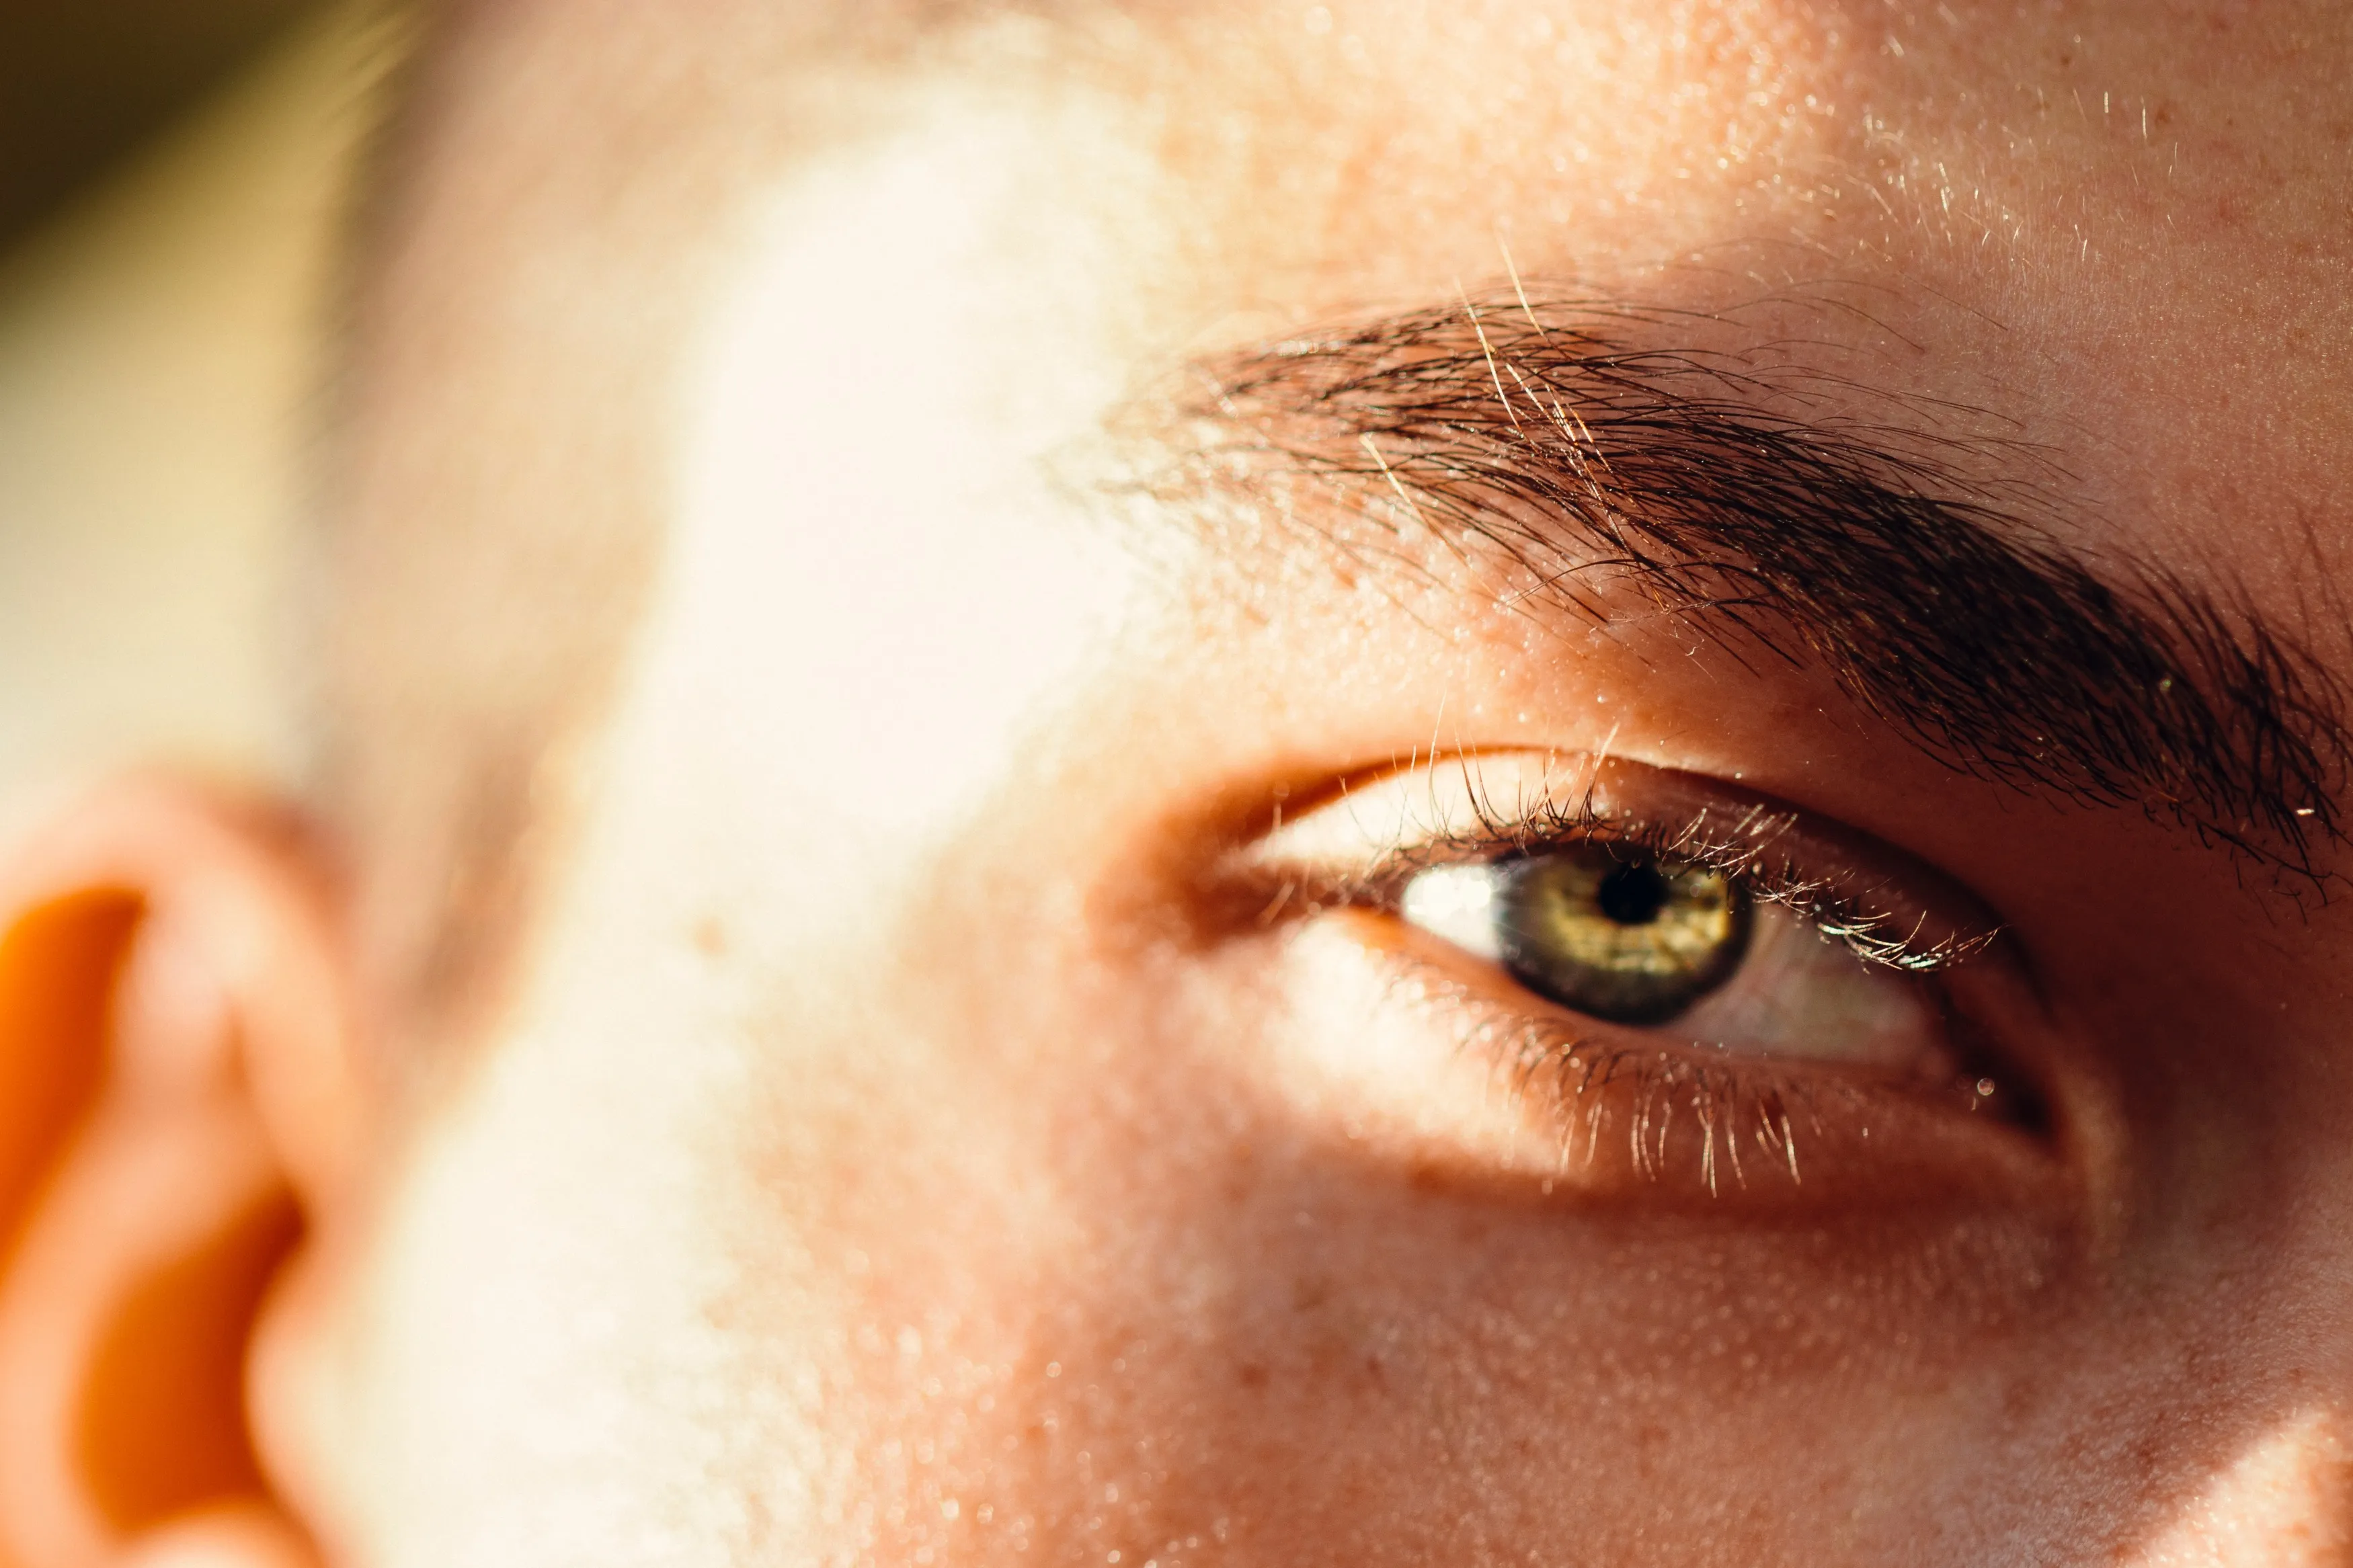 The photographer isn’t the only person responsible for a successful eye photography session. The subject’s comfort matters just as much.
Rather than giving the model strict instructions about sleep, parties, or their appearance the day before the shoot, focus on practical preparation:
- Allow enough time for the session.
- Avoid prolonged staring without blinking.
- Take regular breaks.
- Keep the lighting comfortable.
- Stop if the eyes become irritated or watery.
- Make sure the subject is comfortable with the shooting distance and setup.
The appearance of the eyes can naturally vary with fatigue, lighting, hydration, and other factors. There is no need to promise that a certain routine will guarantee a particular appearance.
If the whites of the eyes appear slightly red, uneven, or discolored, subtle retouching may help. However, editing should not remove every natural variation.
Post-Processing Eye Macro Photos
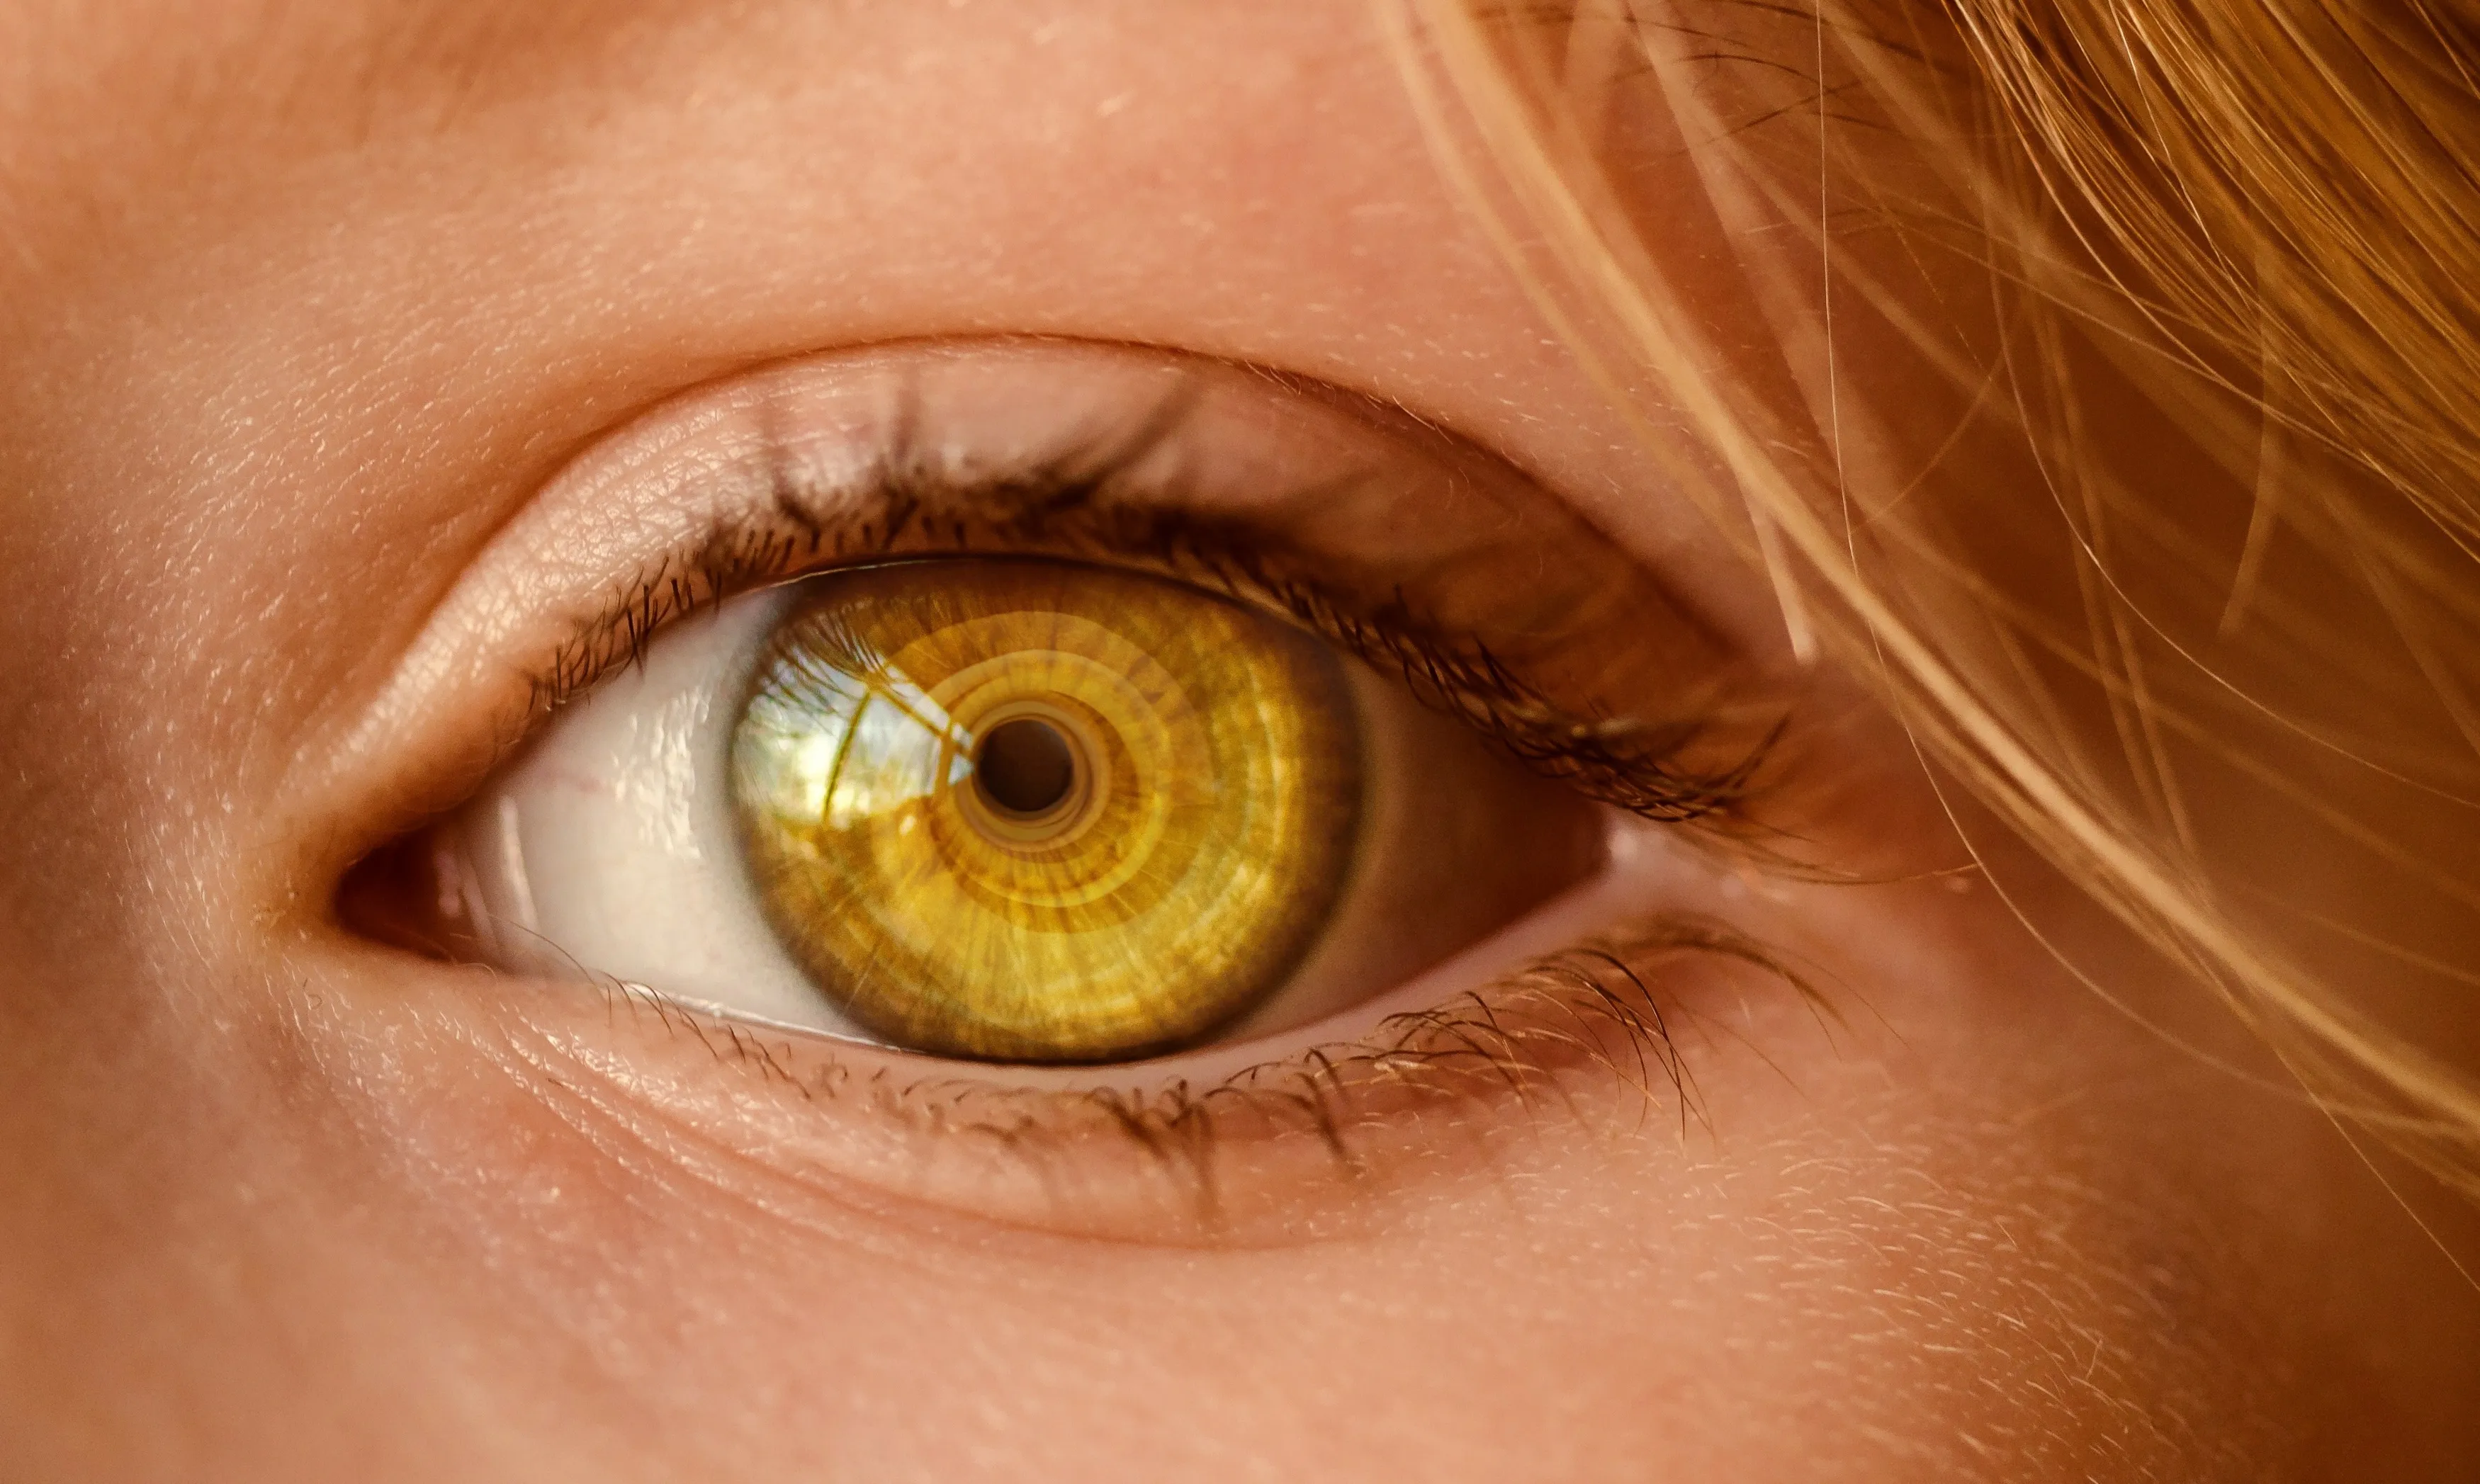 Editing can help bring out the fine patterns of an iris, balance exposure, and remove temporary distractions. The key is restraint.
Start with basic adjustments such as:
- Exposure
- White balance
- Contrast
- Highlights and shadows
- Color
- Cropping
- Sharpness
When working with iris details, avoid excessive clarity, texture, or sharpening. Strong adjustments can create halos and unnatural-looking patterns.
You can also make selective corrections to temporary redness or small distractions. However, the goal should be to improve the photograph rather than completely change the natural appearance of the eye.
Exclusive Tools of Endless Possibilities in One Editor
Edit Eye Macro Photos in Luminar

Luminar can be useful for refining close-up eye photographs after the shoot. Start with basic exposure and color corrections before making more detailed adjustments.
For example, you can use sharpening and detail controls selectively to emphasize the texture of the iris, while cropping can help create a tighter composition.
Luminar’s retouching tools can also help clean up small distractions when necessary. Keep the adjustments subtle, particularly around the whites of the eyes and skin, so the final image still looks natural.
For creative projects, you can also experiment with color and contrast to create a more stylized interpretation of the iris. If the goal is a realistic portrait, however, avoid edits that substantially change the original eye color or structure.
Conclusion
Eye macro photography can reveal an extraordinary amount of detail in a subject we usually see only as part of a portrait. The patterns of the iris, reflections in the eye, catchlights, and surrounding textures can all become important elements of the composition.
Start with comfortable, controlled lighting and accurate focus. Use a macro lens or close-up accessory if you want greater magnification, keep your camera steady, and choose settings that give you enough depth of field without sacrificing image quality.
Most importantly, give your subject time to blink and rest. A comfortable model and careful shooting technique will do more for the final photograph than any single camera setting or editing effect.
Frequently Asked Questions
A dedicated macro lens is generally the most convenient option because it is designed to focus closely and provide high magnification. The ideal focal length depends on how much working distance you want and what camera system you use.
There is no single correct setting. Start with a shutter speed fast enough to avoid motion blur, a moderate aperture that provides enough depth of field, and the lowest practical ISO. Adjust these settings according to your lighting and subject movement.
Focus carefully on the iris or the specific detail you want to emphasize, keep the camera stable, and use a sufficiently fast shutter speed. In a controlled setup, a tripod and manual focus can make the process easier.
A camera flash should not be aimed directly into someone’s eyes at close range unnecessarily. For eye macro photography, soft natural or continuous light can often provide more comfortable and controllable illumination.
Begin with accurate exposure and white balance, then make modest adjustments to contrast, sharpness, and detail. Avoid excessive sharpening or texture because these adjustments can make the iris look unnatural.