Wondering why your pictures sometimes turn out too dark or too light? Try to use different types of metering in digital photography and see how much better your shots become!
Photographing a drink is a small product shoot with several technical challenges: transparent glass, reflective surfaces, melting ice, condensation, and liquids that may look darker on camera than they do in person.
The right lighting and preparation can make a simple beverage look fresh, dimensional, and true to life. Here is how to plan the set, control reflections, style the glass, and choose practical camera settings.
Don’t feel like reading the whole breakdown? We’ve pulled together a quick summary below.
Key Takeaways
- Backlight and side-backlight help transparent drinks glow and reveal their color.
- Large diffused light sources create cleaner, more attractive reflections on glassware.
- White and black cards let you shape reflections without changing the entire setup.
- Prepare the composition before adding ice, garnish, foam, or condensation.
- Choose aperture according to the depth of field you need; f/8 is not mandatory.
- Still drinks can be photographed with a slow shutter speed on a tripod, while pours and splashes need a faster shutter or short flash duration.
- Artificial ice and simulated condensation are useful for commercial sets but should remain separate from anything intended for consumption.
- Clean glassware carefully because dust, fingerprints, and dried droplets become obvious in close-up photographs.
1. Start With Backlight or Side-Backlight
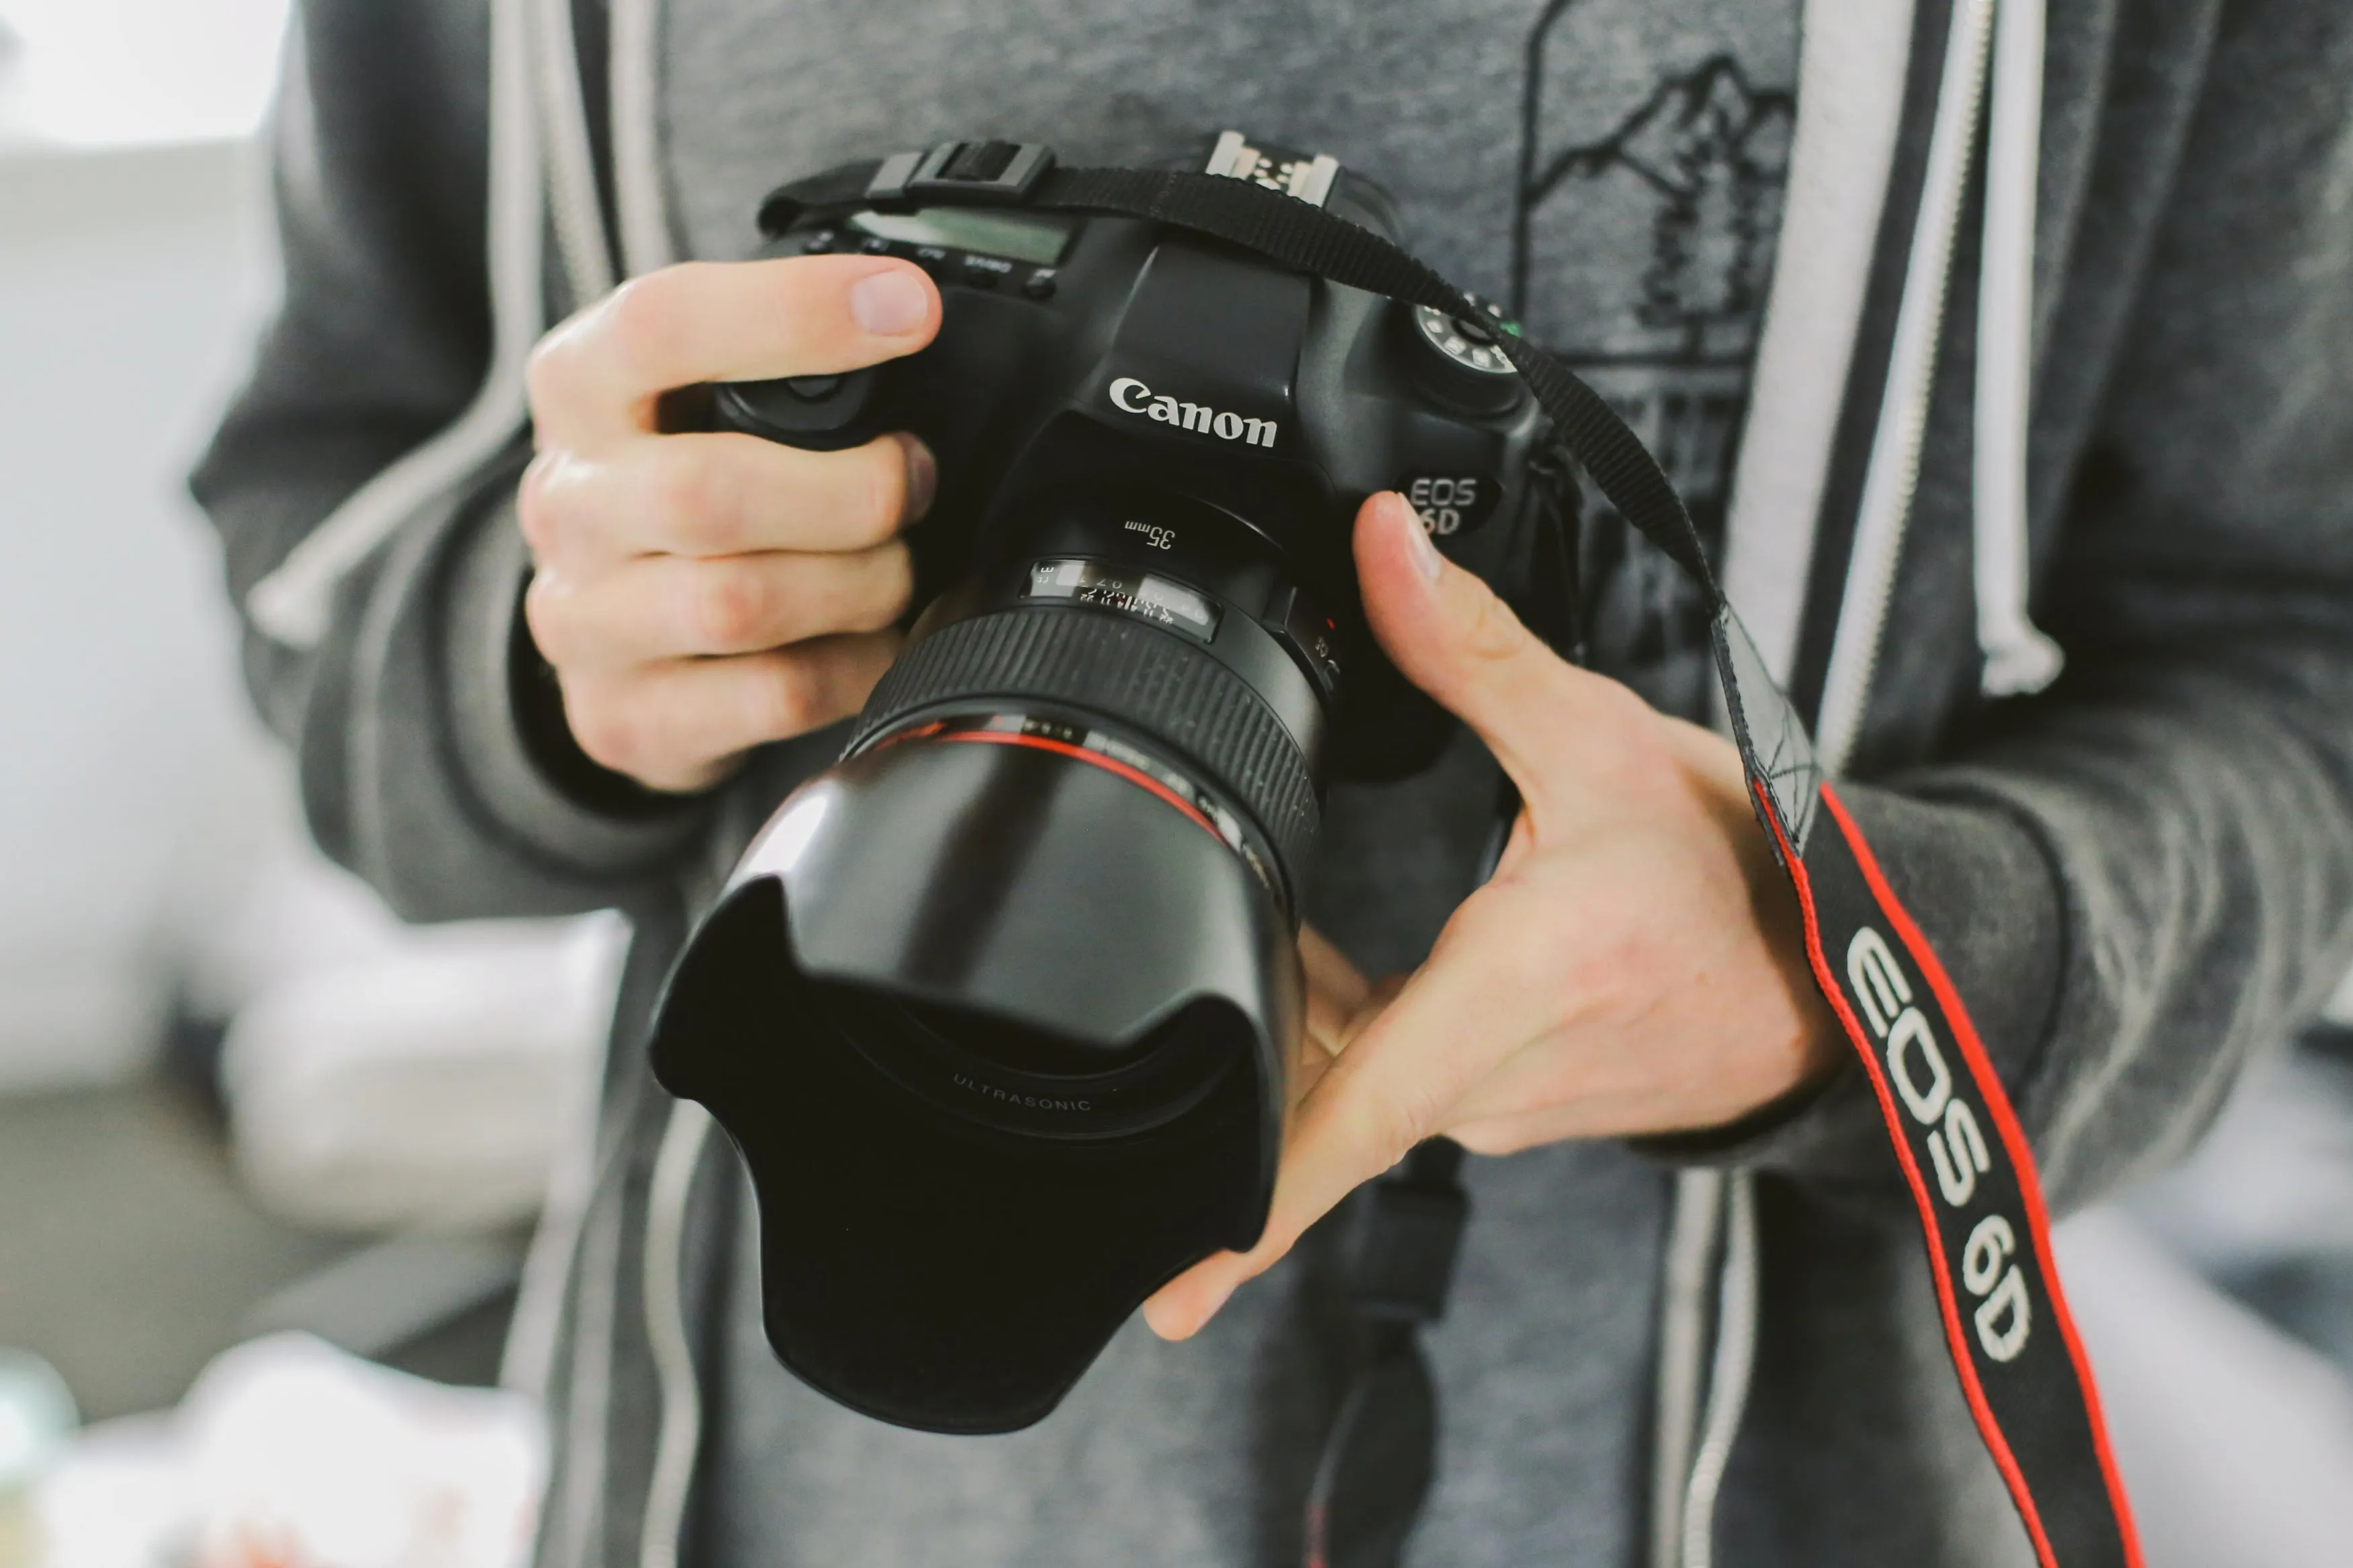
Light passing through a drink can reveal color, bubbles, ice, fruit, and other details that front lighting may flatten. Place a window, softbox, or diffused light behind the glass, then move it slightly to one side until the liquid has shape rather than appearing as a bright silhouette.
Clear and translucent drinks often respond well to backlight. Dark or opaque drinks may need additional fill from the front or side to preserve detail in the glass, label, foam, or garnish.
Keep the light source larger than the glass whenever possible. A broad diffuser or scrim creates long, smooth highlights, while a small bare light produces harder reflections and sharper shadows.
Exclusive Tools of Endless Possibilities in One Editor
2. Shape Reflections With Cards
Glass reflects the room around it, including windows, walls, the photographer, and equipment. Rather than trying to remove every reflection, design the ones that define the glass.
Place white foam boards near the drink to create bright vertical highlights. Use narrow black cards when the edges of a clear glass disappear against a light background. Move the cards gradually while watching the reflections through the camera.
A circular polarizing filter may reduce some glare from non-metallic surfaces, but it does not remove every reflection from glass. It can also reduce the amount of light reaching the sensor, so adjust the exposure accordingly.
Also read: Focus Stacking in Photography: Share Secrets of Making Images Sharp
3. Diffuse the Light When Necessary
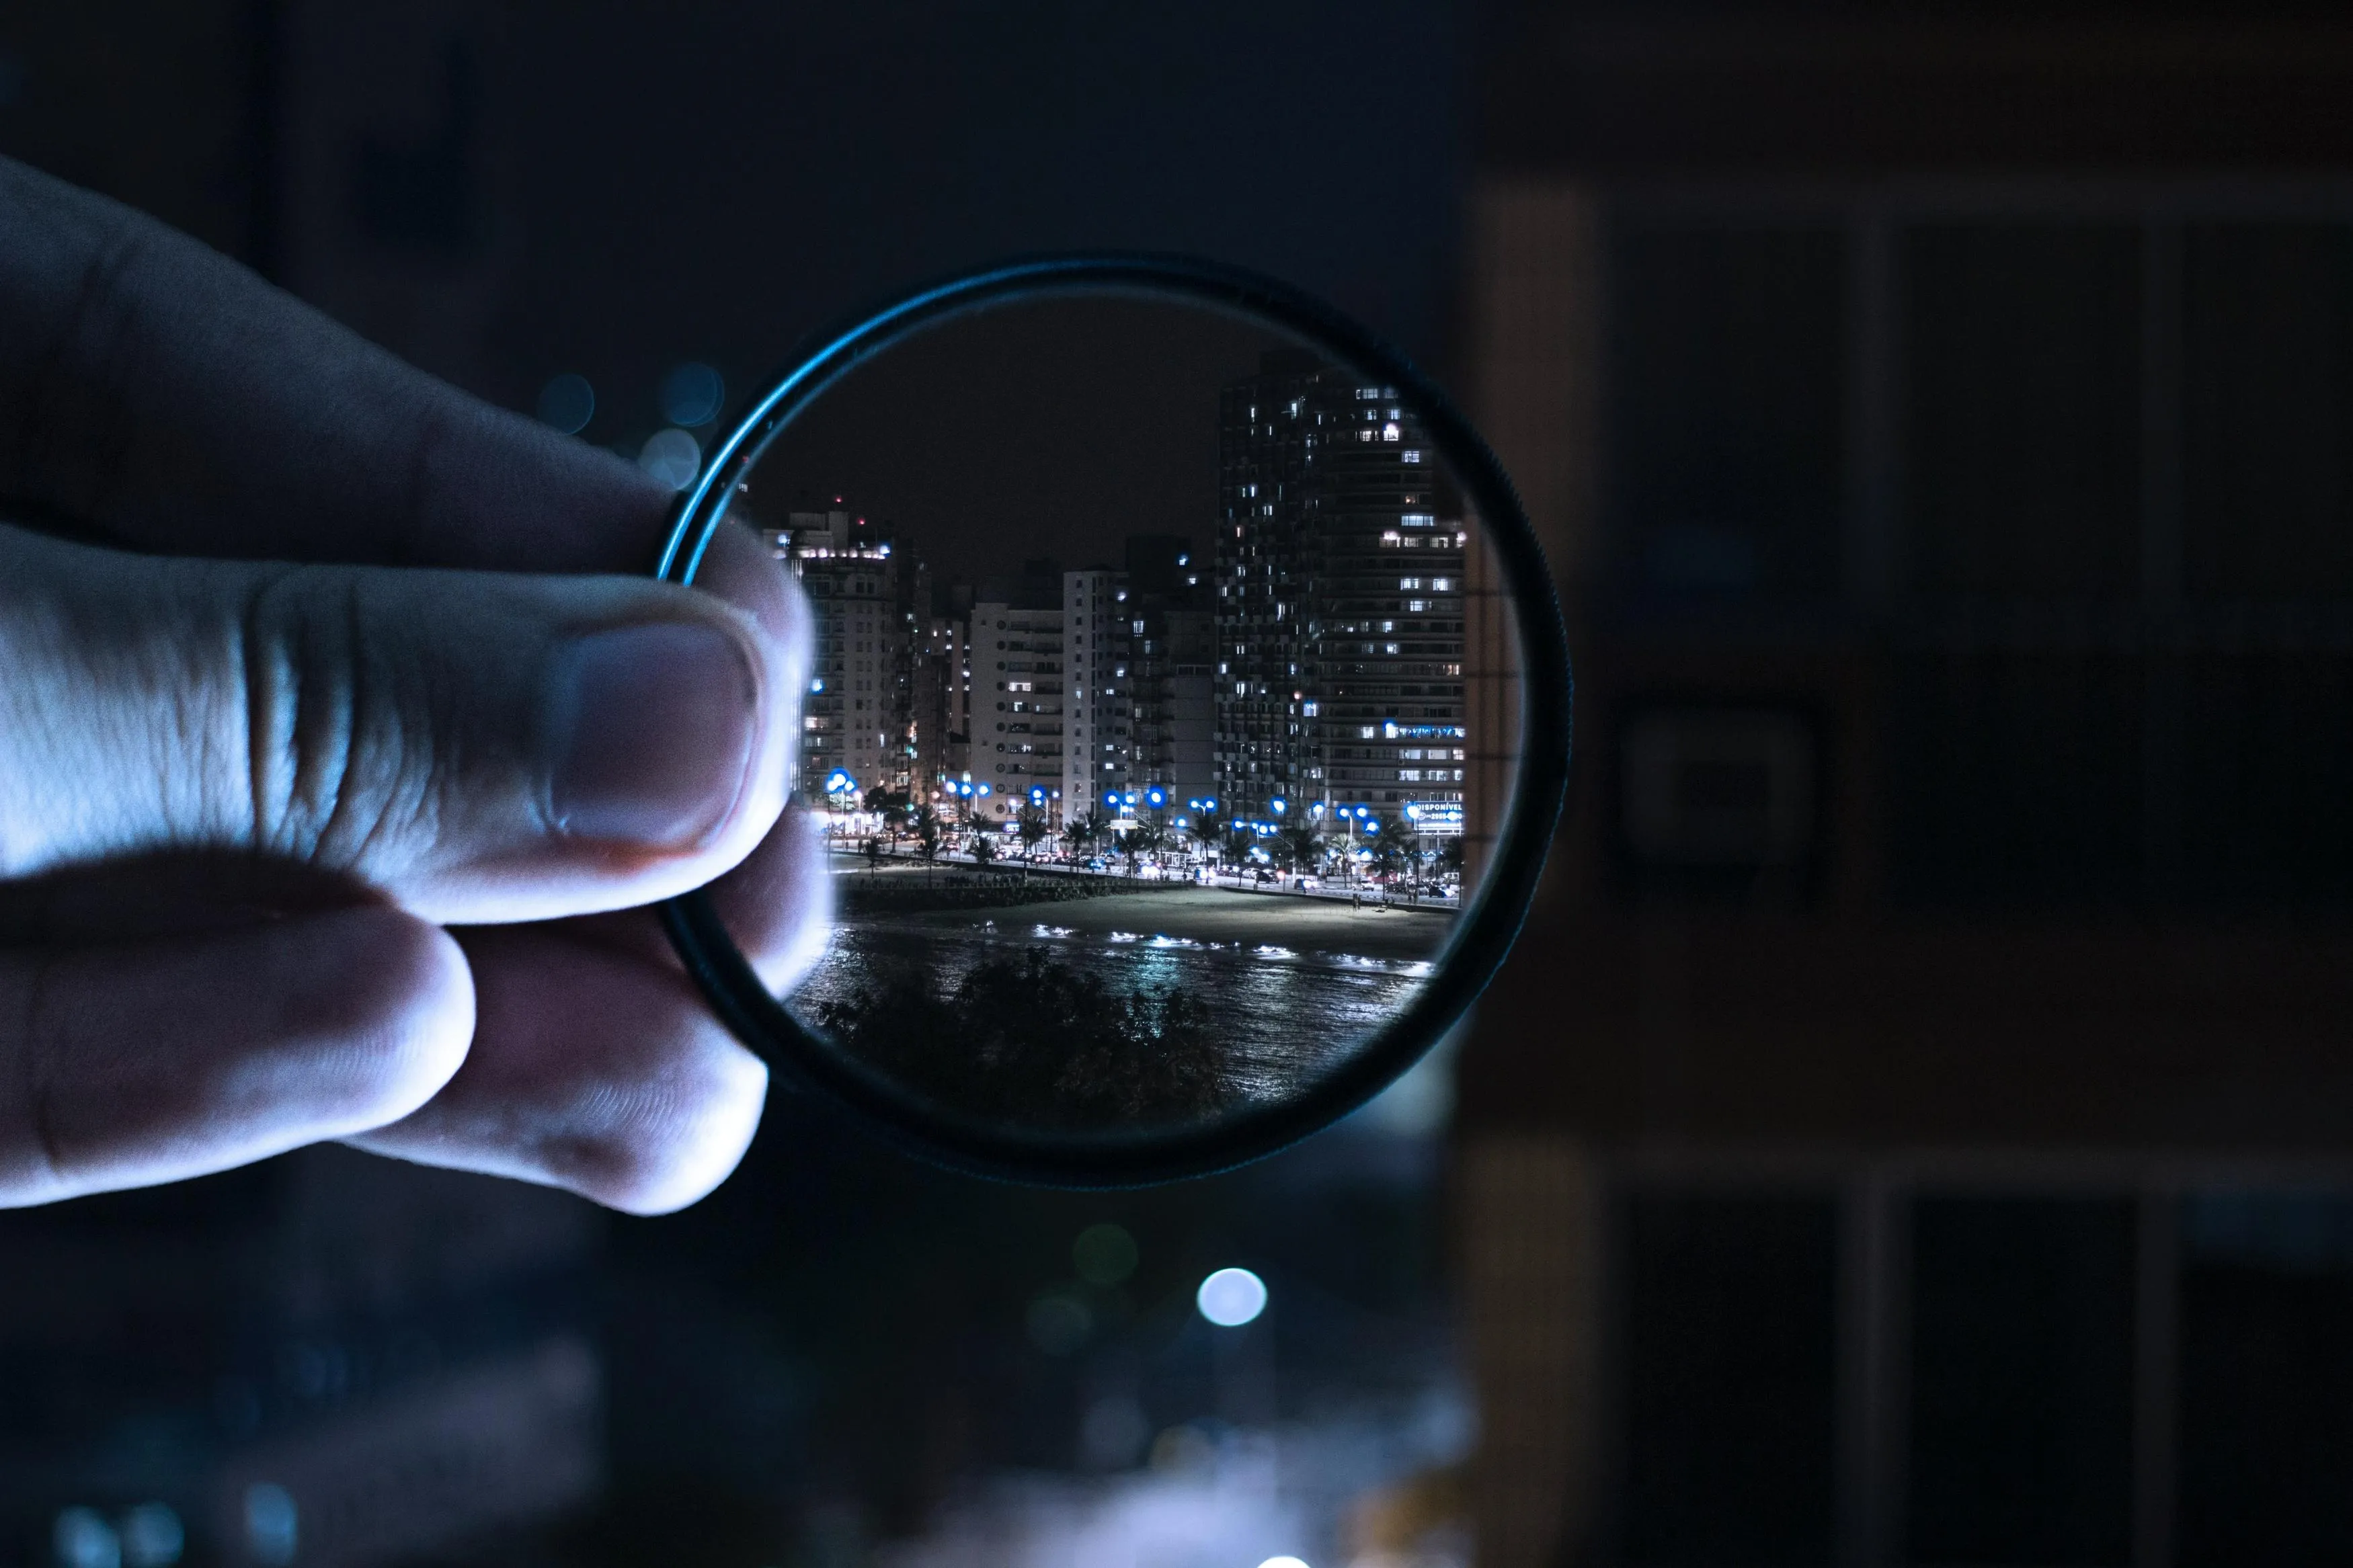
One layer of diffusion may be enough for a simple setup. Double diffusion—such as a softbox shining through a second scrim—can produce an especially broad and even reflection, but it also reduces light output.
Use additional diffusion when the original highlights are harsh, uneven, or reveal the shape of the light modifier too clearly. If the glass begins to look flat, reduce the diffusion or add black cards to restore edge definition.
Natural window light is perfectly suitable for drink photography. Artificial light is more repeatable, which is useful when photographing a series of products or building composites from multiple exposures.
4. Choose the Background and Surface Carefully
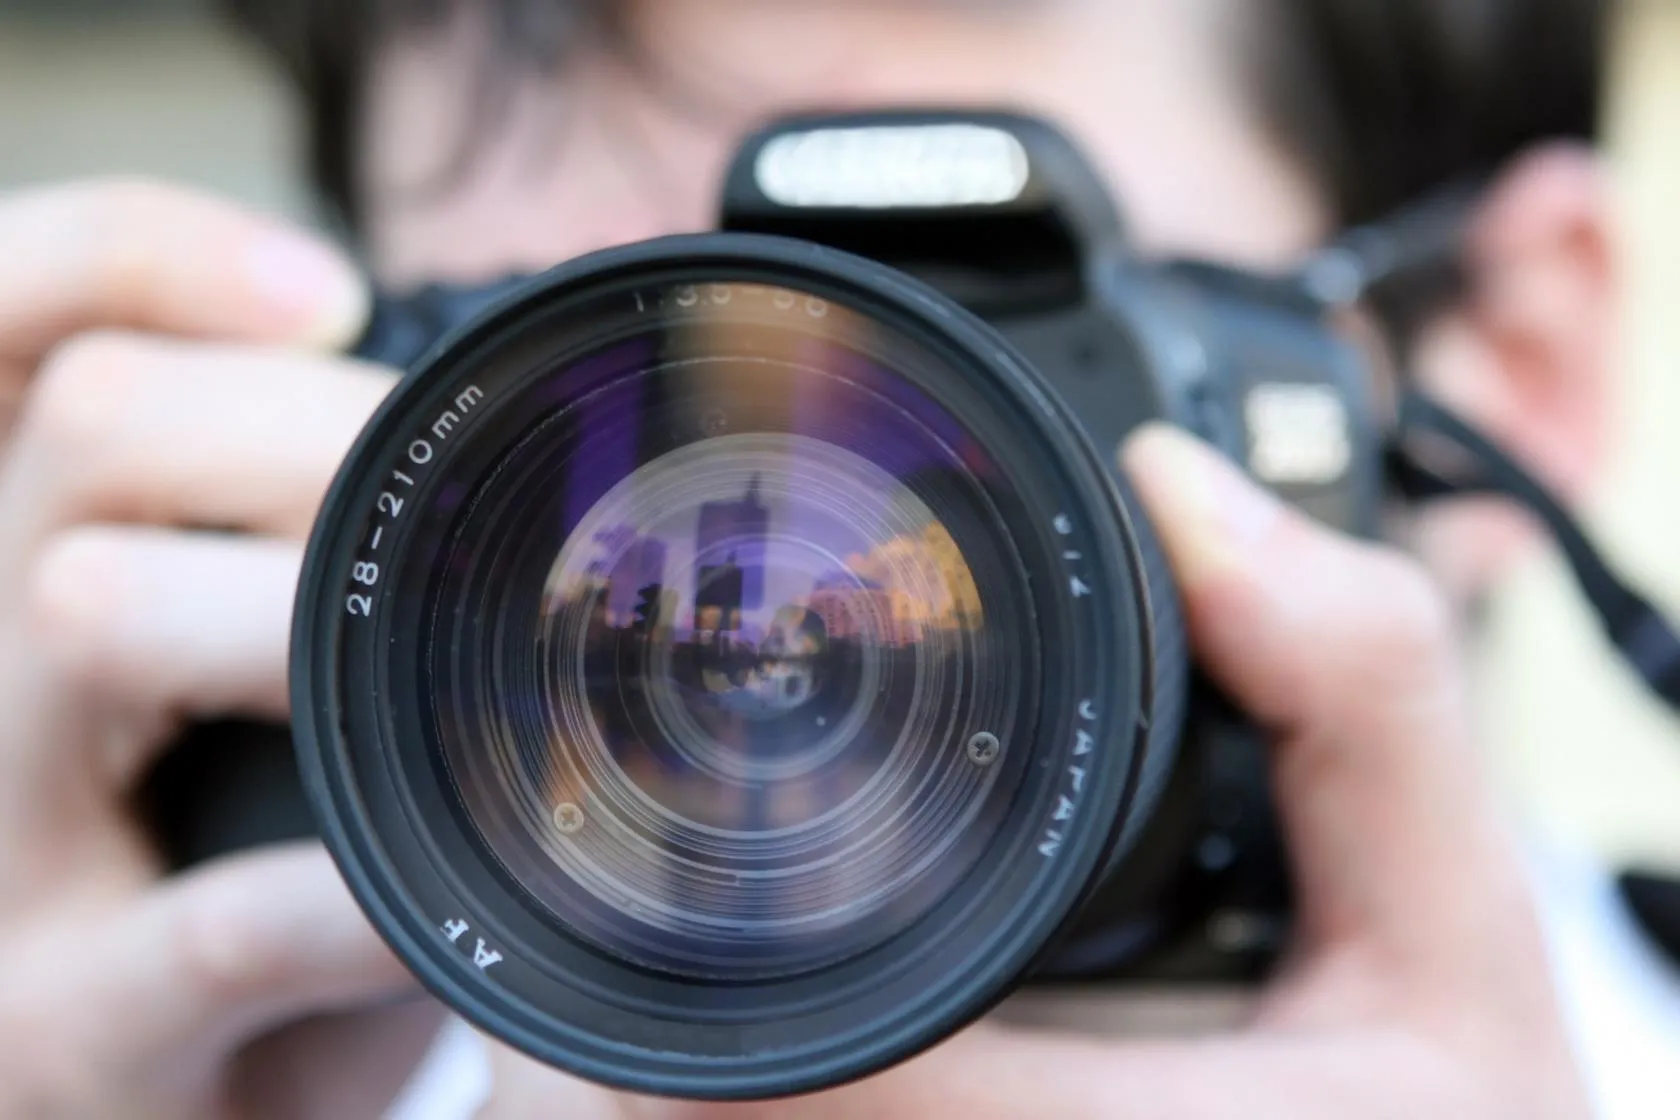
A clean background keeps attention on the drink, but it does not have to be neutral. Color, texture, and reflected light can help communicate whether the beverage is refreshing, elegant, warm, casual, or luxurious.
Consider how the glass separates from the background:
- use a darker edge behind pale or clear glassware;
- avoid placing a dark drink against a background with the same tone;
- check whether glossy surfaces create distracting duplicate reflections;
- leave enough negative space for text when shooting commercial content;
- remove unrelated props and bright objects from the frame.
Choose a stable, level surface. If glassware needs temporary support for a controlled commercial setup, use a product intended for securing props and keep it away from the rim and drink. Do not serve or consume a beverage that may have contacted styling chemicals or non-food-safe materials.
Elevate Your Photography with Our Advanced Software
5. Style Ice, Condensation, and Garnishes
Real ice looks natural but melts, floats unpredictably, and changes the drink as the shoot continues. Add it only after the lighting and composition are ready. Keep replacement ice and garnishes nearby so you can refresh the hero glass quickly.
Artificial ice is useful for long commercial shoots because it keeps its shape and position. High-quality acrylic cubes usually photograph more convincingly than lightweight plastic ones. They are props, not food-safe ingredients, so keep the styled drink separate from beverages intended for consumption.
For natural condensation, chill the glass and work quickly. Commercial stylists sometimes use mixtures designed to create longer-lasting droplets, but anything treated with glycerin, oil, or similar substances should be clearly marked as non-drinkable.
Choose garnishes that support the recipe and remain visually fresh. Cut citrus shortly before shooting, remove bruised herbs, and orient the most attractive side toward the camera. A decorative rim can add texture, but keep it even and wipe away accidental spills before photographing.
6. Compose the Shot Before Pouring
Use an empty glass or stand-in while arranging the camera, background, lights, and props. This prevents the real drink from losing bubbles, melting, separating, warming, or developing unattractive foam during setup.
Decide which feature is most important:
- a straight-on view emphasizes the shape and layers of the drink;
- a 45-degree view can include the surface and garnish;
- an overhead frame works well for several drinks or a styled table;
- a close-up highlights bubbles, droplets, foam, and texture.
Check the glass stem and rim for distortion, distracting overlaps, and crooked alignment. Use a tripod when the composition needs to remain consistent across several frames or when you plan to combine exposures.
7. Use Camera Settings That Match the Shot
There is no single best group of drink photography settings. Begin with the subject and the type of movement you need to capture.
| Shot type | Aperture | Shutter speed | Other considerations |
| Still product shot on a tripod | f/5.6–f/11 | Set for the required exposure | Low ISO, timer or remote release |
| Shallow-focus detail | f/2.8–f/4 | Fast enough for stability | Focus precisely on the key detail |
| Handheld drink photo | f/4–f/8 | Around 1/125 sec or faster | Raise ISO if needed |
| Pouring action | f/5.6–f/11 | Around 1/500 sec or faster | Strong continuous light or flash may be necessary |
| Splash photography | f/8–f/16 | Fast shutter or short flash duration | Protect equipment and expect multiple attempts |
These values are starting points. Lens choice, magnification, subject distance, ambient light, and flash synchronization all affect the final exposure.
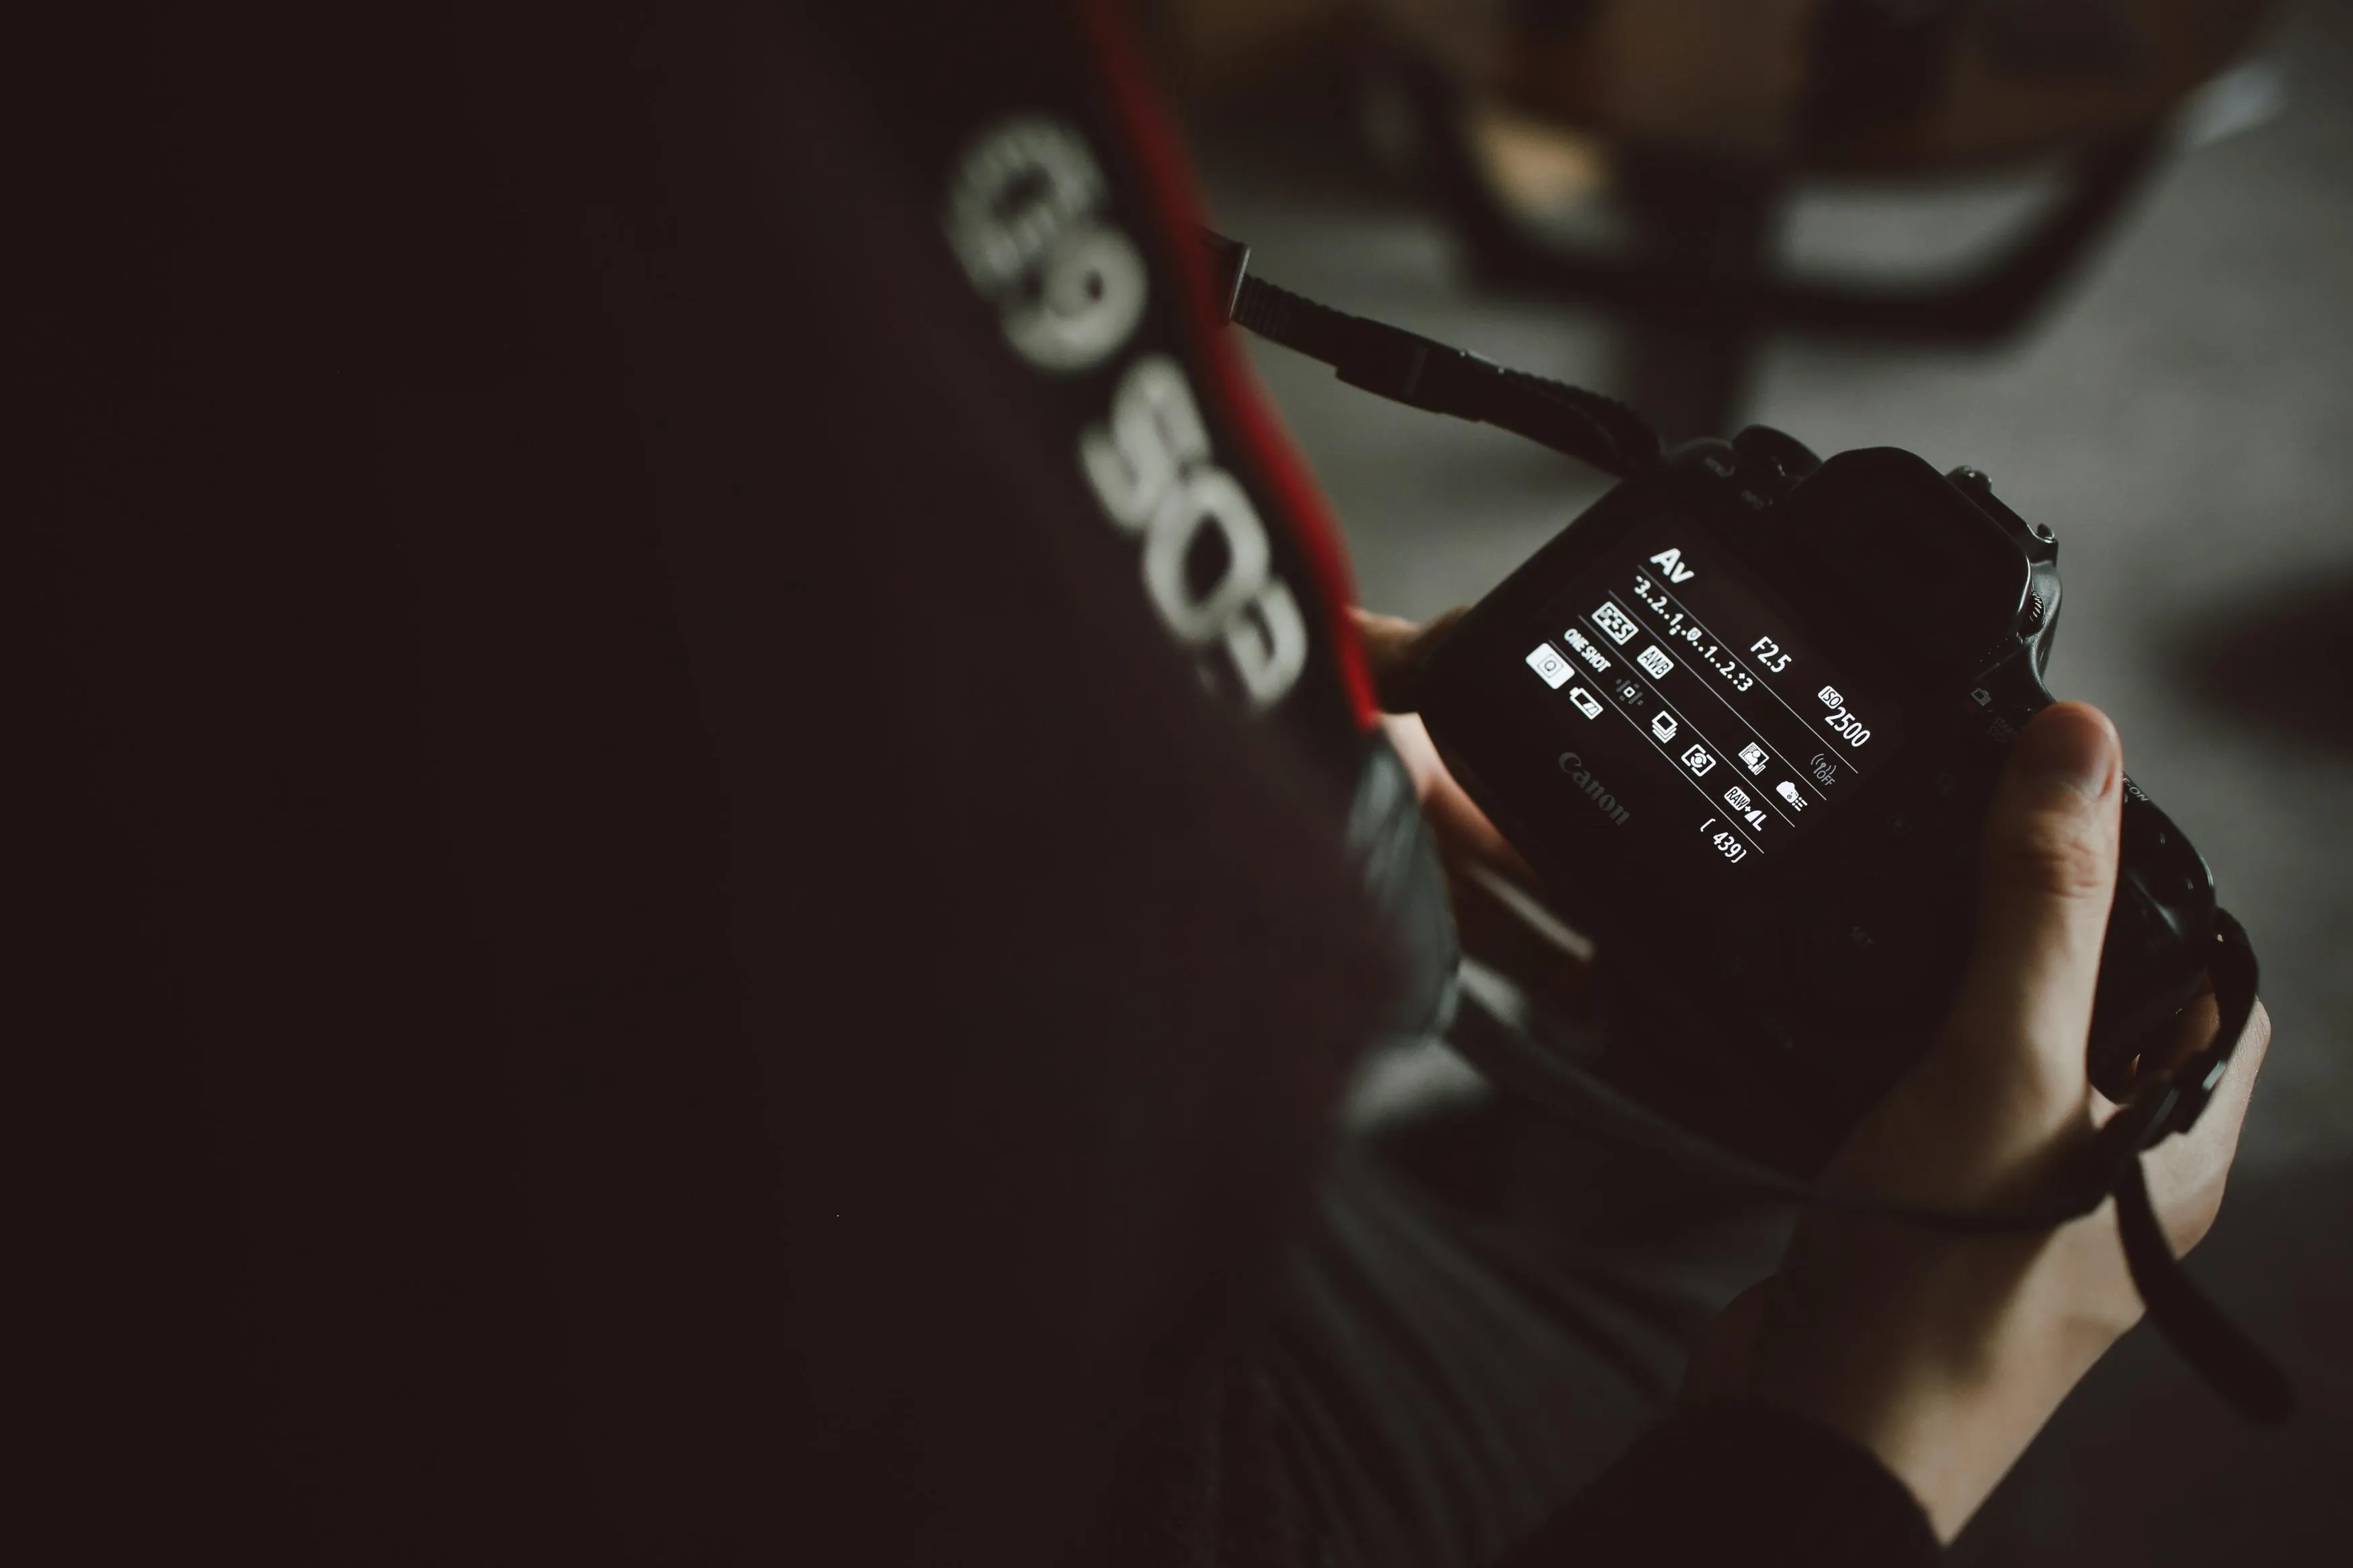
Shoot RAW when possible for greater flexibility with highlights, shadows, and white balance. Use single-point autofocus or manual focus on the front edge, label, garnish, or another deliberate detail. Review the image at full magnification because reflections can make a soft edge appear sharper than it is.
8. Photograph Pours and Splashes Safely
Mount the camera on a tripod and pre-focus on the point where the liquid will enter the glass. Use a test pour with water before preparing the final drink. Burst mode can help with timing, although flash recycling speed may limit how many frames are illuminated.
A fast shutter speed can freeze movement under strong continuous light. With flash, motion sharpness often depends on the flash duration rather than shutter speed alone, provided you remain within the supported synchronization settings.
Protect the camera, lights, cables, and floor from spills. Keep electricity away from wet surfaces and use an assistant when the pour requires precise timing or a large amount of liquid.
Editing Drink Photos With Luminar
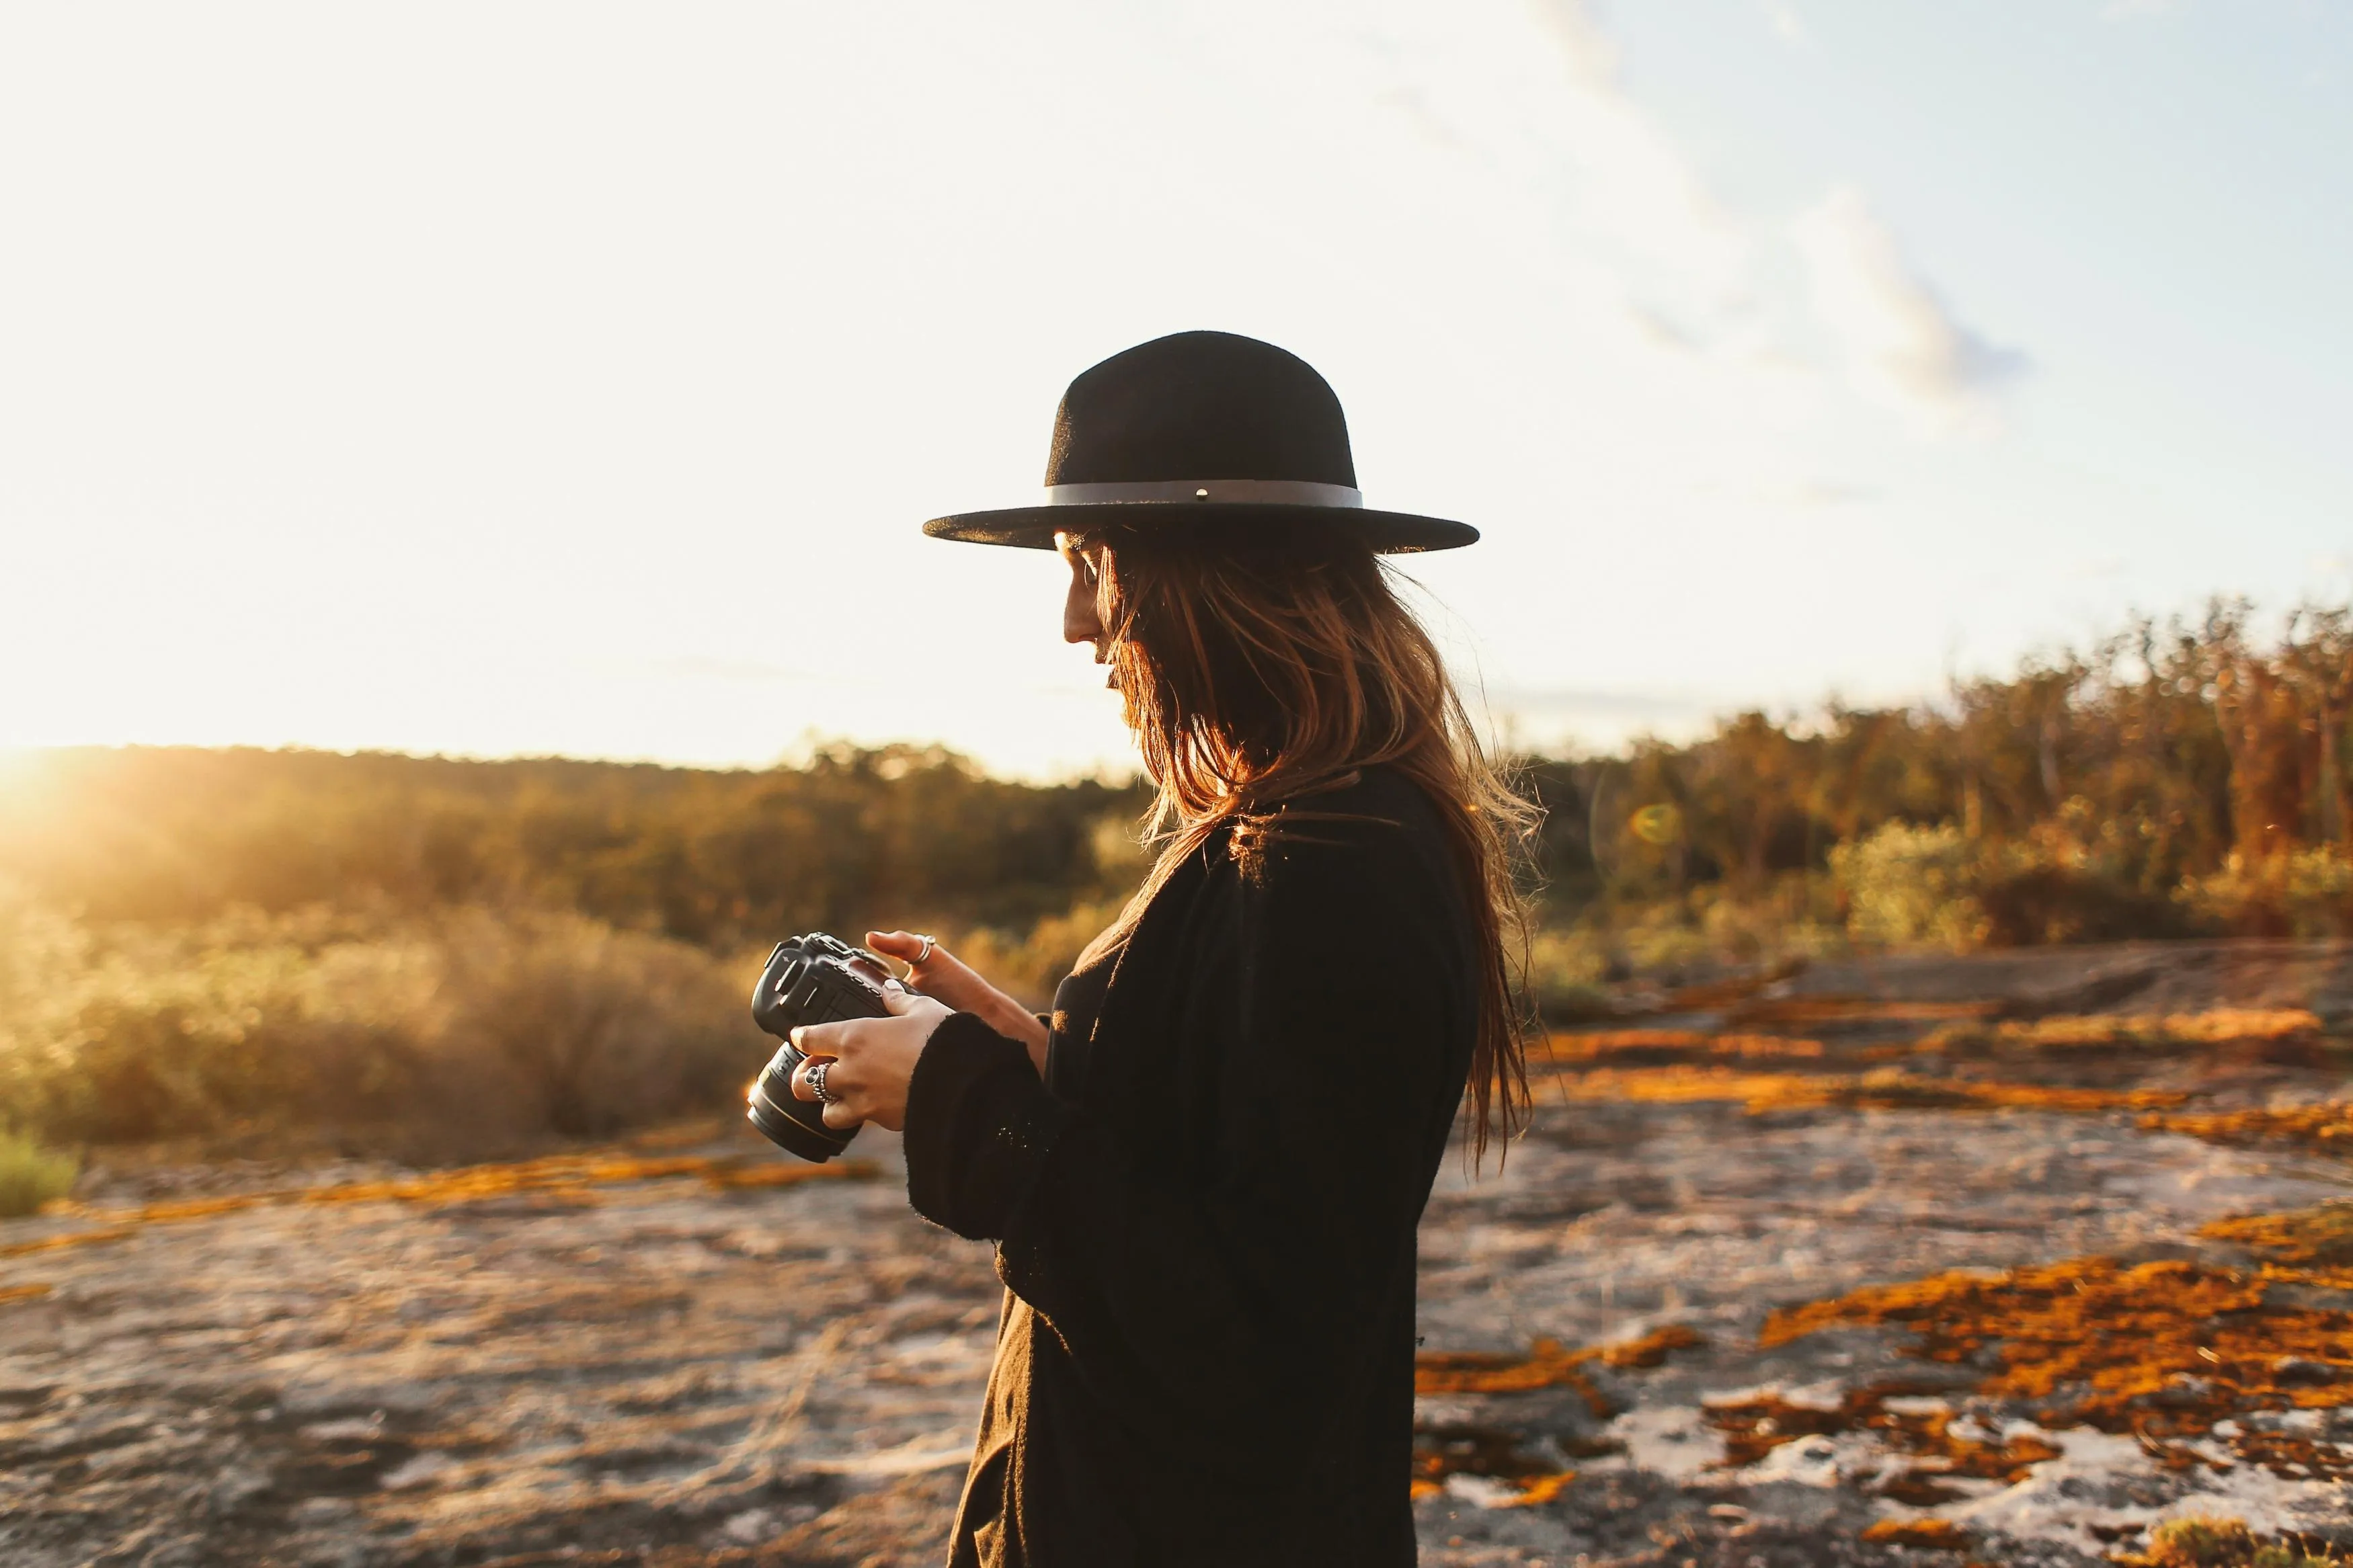
Editing should make the beverage look clear and appealing without changing what customers would receive. Luminar can help refine exposure, white balance, color, contrast, and detail, as well as remove small background distractions.
Pay attention to:
- clipped highlights along the glass;
- muddy liquid shadows;
- color casts in clear beverages;
- oversaturated garnishes;
- halos created by excessive sharpening;
- duplicated or unnatural bubbles and condensation.
For simple product images, correcting the strongest frame is often more efficient than creating a composite. Compositing is useful when the glass, label, garnish, and splash require different lighting, but combining frames accurately demands consistent camera placement and careful masking.
Your AI-Powered Photo Editor for MacOS and Windows
Final Checklist
Before taking the final photograph, confirm that:
- The glass is clean and level.
- The drink has the intended color and fill level.
- Ice, garnish, foam, and condensation look fresh.
- Reflections define the glass without hiding the product.
- The background and props support the intended mood.
- Important areas remain within the depth of field.
- Equipment is protected before any pour or splash.
Frequently Asked Questions
Backlight or side-backlight through a large diffuser is a strong starting point for transparent drinks. Add white or black cards to shape reflections and preserve the edges of the glass.
For a still drink on a tripod, start near ISO 100, f/5.6–f/11, and set the shutter speed for the exposure. For moving liquid, use a faster shutter speed or a flash with a short duration.
Removing every reflection can make the glass lose its shape. Instead, control reflections by changing the light size and angle, surrounding the set with white or black cards, and moving unwanted bright objects away.
Artificial ice is easier to control during a long shoot, while real ice provides natural imperfections and interaction with the liquid. Artificial cubes should be treated as styling props and not placed in a drink intended for consumption.
Pre-focus, stabilize the camera, use sufficient light, and take several attempts. Freeze the movement with a fast shutter under continuous light or with a sufficiently short flash duration.