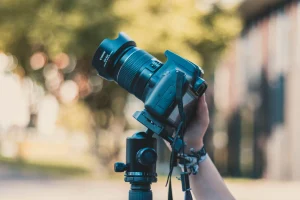
Learn how to photograph mountains up close with the right lenses, camera settings, compositions, safety gear, and creative ideas for dramatic detail.
To photograph mountains up close, stop treating the entire range as the only subject. Use a telephoto lens to isolate distant ridges, a standard lens for paths and people, or a macro lens for rock, plants, and other small details. Side light, fog, human scale, and layered compositions can communicate the mountain’s size without showing everything at once.
This guide explains which equipment helps, how to choose camera settings, what to photograph beyond the summit, and how to work safely when conditions change.
Key Takeaways
- A telephoto lens is the most versatile choice for close mountain photography. It isolates peaks, compresses distant layers, and reveals patterns that disappear in a wide view.
- Close does not always mean macro. Mountain details can range from a distant cliff face to moss, ice, flowers, or mineral textures directly beside the trail.
- Side light usually reveals more texture than flat frontal light. Shadows describe ridges, cracks, and geological layers.
- Bad weather can become part of the photograph. Fog, cloud, rain, and snow simplify the scene and create separation, but safety comes before the image.
- Scale needs a reference. A hiker, hut, path, tree, or animal can show how large the surrounding landscape really is.
- Carry less equipment than you think you need. A practical kit leaves enough energy and attention for the hike itself.
What Is Close-Up Mountain Photography?
Close-up mountain photography focuses on selected parts of the landscape rather than always showing the complete mountain range. The subject may be a peak isolated with a long lens, repeating ridgelines, a section of exposed rock, a winding path, a mountain hut, or a tiny natural detail.
This approach is useful when a grand panoramic view is hidden by weather or feels visually empty. By narrowing the frame, you can simplify the composition and show texture, rhythm, scale, or human activity more clearly.
Close mountain photographs generally fall into three levels:
| Approach | Typical subjects | Useful lens |
| Isolated landscape detail | Peaks, ridges, cliffs, snow fields | Telephoto lens |
| Environmental detail | Paths, huts, hikers, streams, trees | Standard or short telephoto lens |
| True close-up or macro | Rock texture, plants, insects, ice | Macro lens or close-focusing lens |
If you also want to photograph the mountain within a broader environment, our guide to mountain landscape photography explains how to work with a mountain background and wider compositions.
Exclusive Tools of Endless Possibilities in One Editor
Best Lenses for Photographing Mountains Up Close

Telephoto lens
A telephoto zoom is often the most useful lens for this style. It allows you to isolate a distant summit, remove empty sky, compress overlapping ridges, and concentrate on light or texture across a cliff face.
A moderate telephoto range is enough for many mountain landscapes; an extremely long wildlife lens is not automatically better. Longer focal lengths magnify camera movement and atmospheric haze, so stable technique and clear conditions become more important.
Standard zoom
A standard zoom is useful for environmental details such as hikers on a trail, a hut beside a ridge, or a stream passing through the landscape. It provides context without making the mountain feel as distant as it may through a very wide lens.
Macro or close-focusing lens
A macro lens is optional rather than essential. Bring one when small subjects are an intentional part of the project: alpine plants, lichen, insects, mineral patterns, frost, or ice. Many standard and telephoto zooms also focus closely enough for larger details, which may save weight.
Wide-angle lens
A wide-angle lens still has a role. Move physically close to a foreground rock, plant, path, or person and use the mountain as context behind it. Be aware that a very short focal length can make distant peaks appear smaller than they felt in person.
Essential Camera Gear
You do not need to carry every lens you own. Build the kit around the route, weather, and images you actually plan to make.
- Camera body with weather protection where possible
- One versatile zoom or a small two-lens combination
- Spare battery stored somewhere warm in cold weather
- Spare memory card
- Lens cloth and simple rain cover
- Lens hood
- Lightweight tripod if long exposures or low light are expected
- Circular polarizing filter when reflections or glare are a genuine problem
- Neutral-density filter only when longer daylight exposures are planned
A polarizer can reduce glare from wet foliage or water and may deepen parts of a blue sky. However, it is not essential for every mountain photograph. With a wide-angle lens, polarization can look uneven across the sky, and the filter also reduces the amount of light reaching the sensor.
Mountain Photography Settings
There is no single group of settings for every mountain scene. Use the following as starting points and adjust for light, wind, subject movement, focal length, and stabilization.
| Subject | Aperture | Shutter speed | ISO | Main priority |
| Distant ridge or cliff | f/8–f/11 | Fast enough to prevent shake | Lowest practical ISO | Detail and stability |
| Layered telephoto landscape | f/5.6–f/11 | Based on focal length and wind | Low to moderate | Separation between ridges |
| Mountain path or hut | f/5.6–f/11 | Adjust for people or foliage movement | Lowest practical ISO | Context and depth |
| Wildlife | Lens-dependent | Fast enough to freeze movement | Auto ISO can help | Subject movement and safety |
| Small plant or texture | f/5.6–f/11 | Tripod or stable handheld speed | As low as conditions allow | Focus placement |
| Flowing stream | f/8–f/11 | Experiment from moderately slow to several seconds | Low ISO | Intended water texture |
Focus carefully
For a distant mountain detail, single-point autofocus or precise manual focus may be more reliable than allowing the camera to choose among several ridges. Review the image at high magnification, especially when haze or low contrast makes focus difficult.
For a close subject with limited depth of field, decide which detail must be sharp. If the entire texture needs clarity, consider focus bracketing when the camera and software workflow support it.
Watch the shutter speed
Telephoto lenses exaggerate camera movement. Image stabilization helps, but it cannot correct subject movement caused by wind. Increase shutter speed when branches, grass, falling snow, hikers, or wildlife need to remain sharp.
Protect important highlights
Snow, mist, clouds, and sunlit rock can lose detail quickly. Use the histogram and highlight warning rather than judging exposure only from the rear screen. RAW files provide more flexibility for balancing bright and dark areas later, but they cannot restore completely clipped highlights.
The Best Light and Weather for Mountain Details
Golden hour and side light
Low, directional light casts shadows across geological features and makes the mountain’s form easier to read. Position yourself so the light travels across the subject rather than directly toward or behind you.
Midday light
Midday is not automatically unusable. It may provide enough light inside dense forest, reveal color in water, or create strong graphic contrast on bare rock. Instead of forcing a wide landscape, look for patterns, reflections, textures, and smaller scenes.
Overcast conditions
Cloud cover produces softer contrast, which is useful for forests, streams, waterfalls, plants, and wet rock. It may be less dramatic on a distant gray mountain, so build the frame around color, layers, or a clear foreground subject.
Fog, rain, and snow
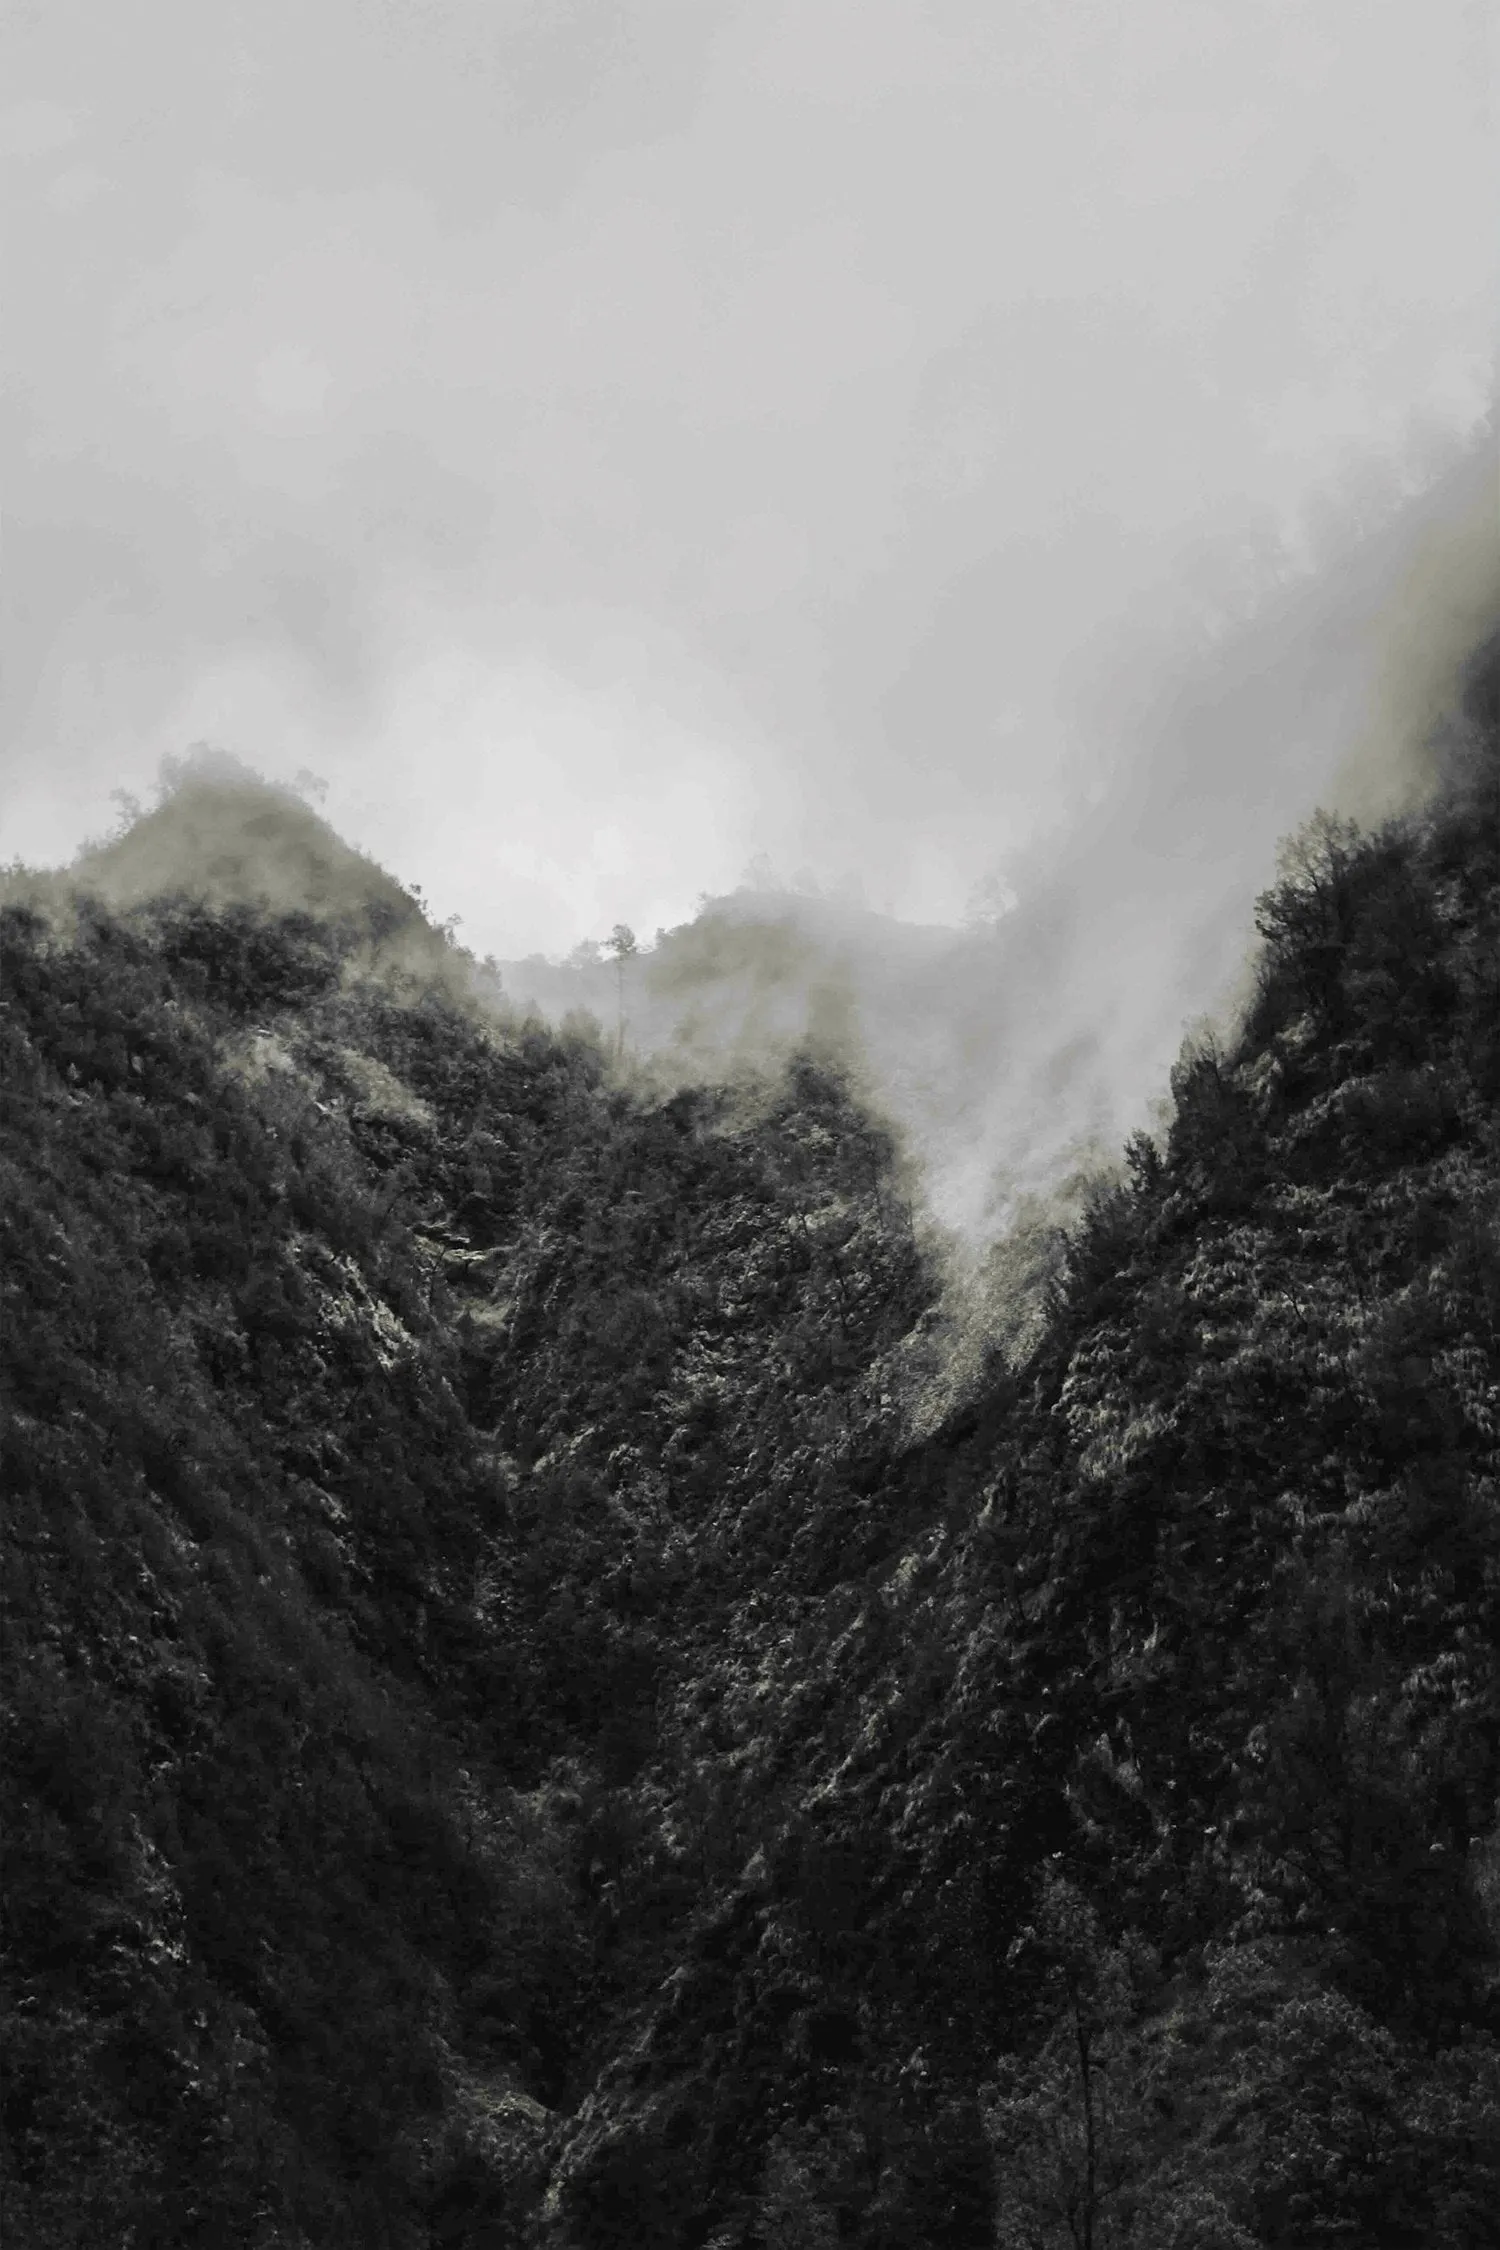
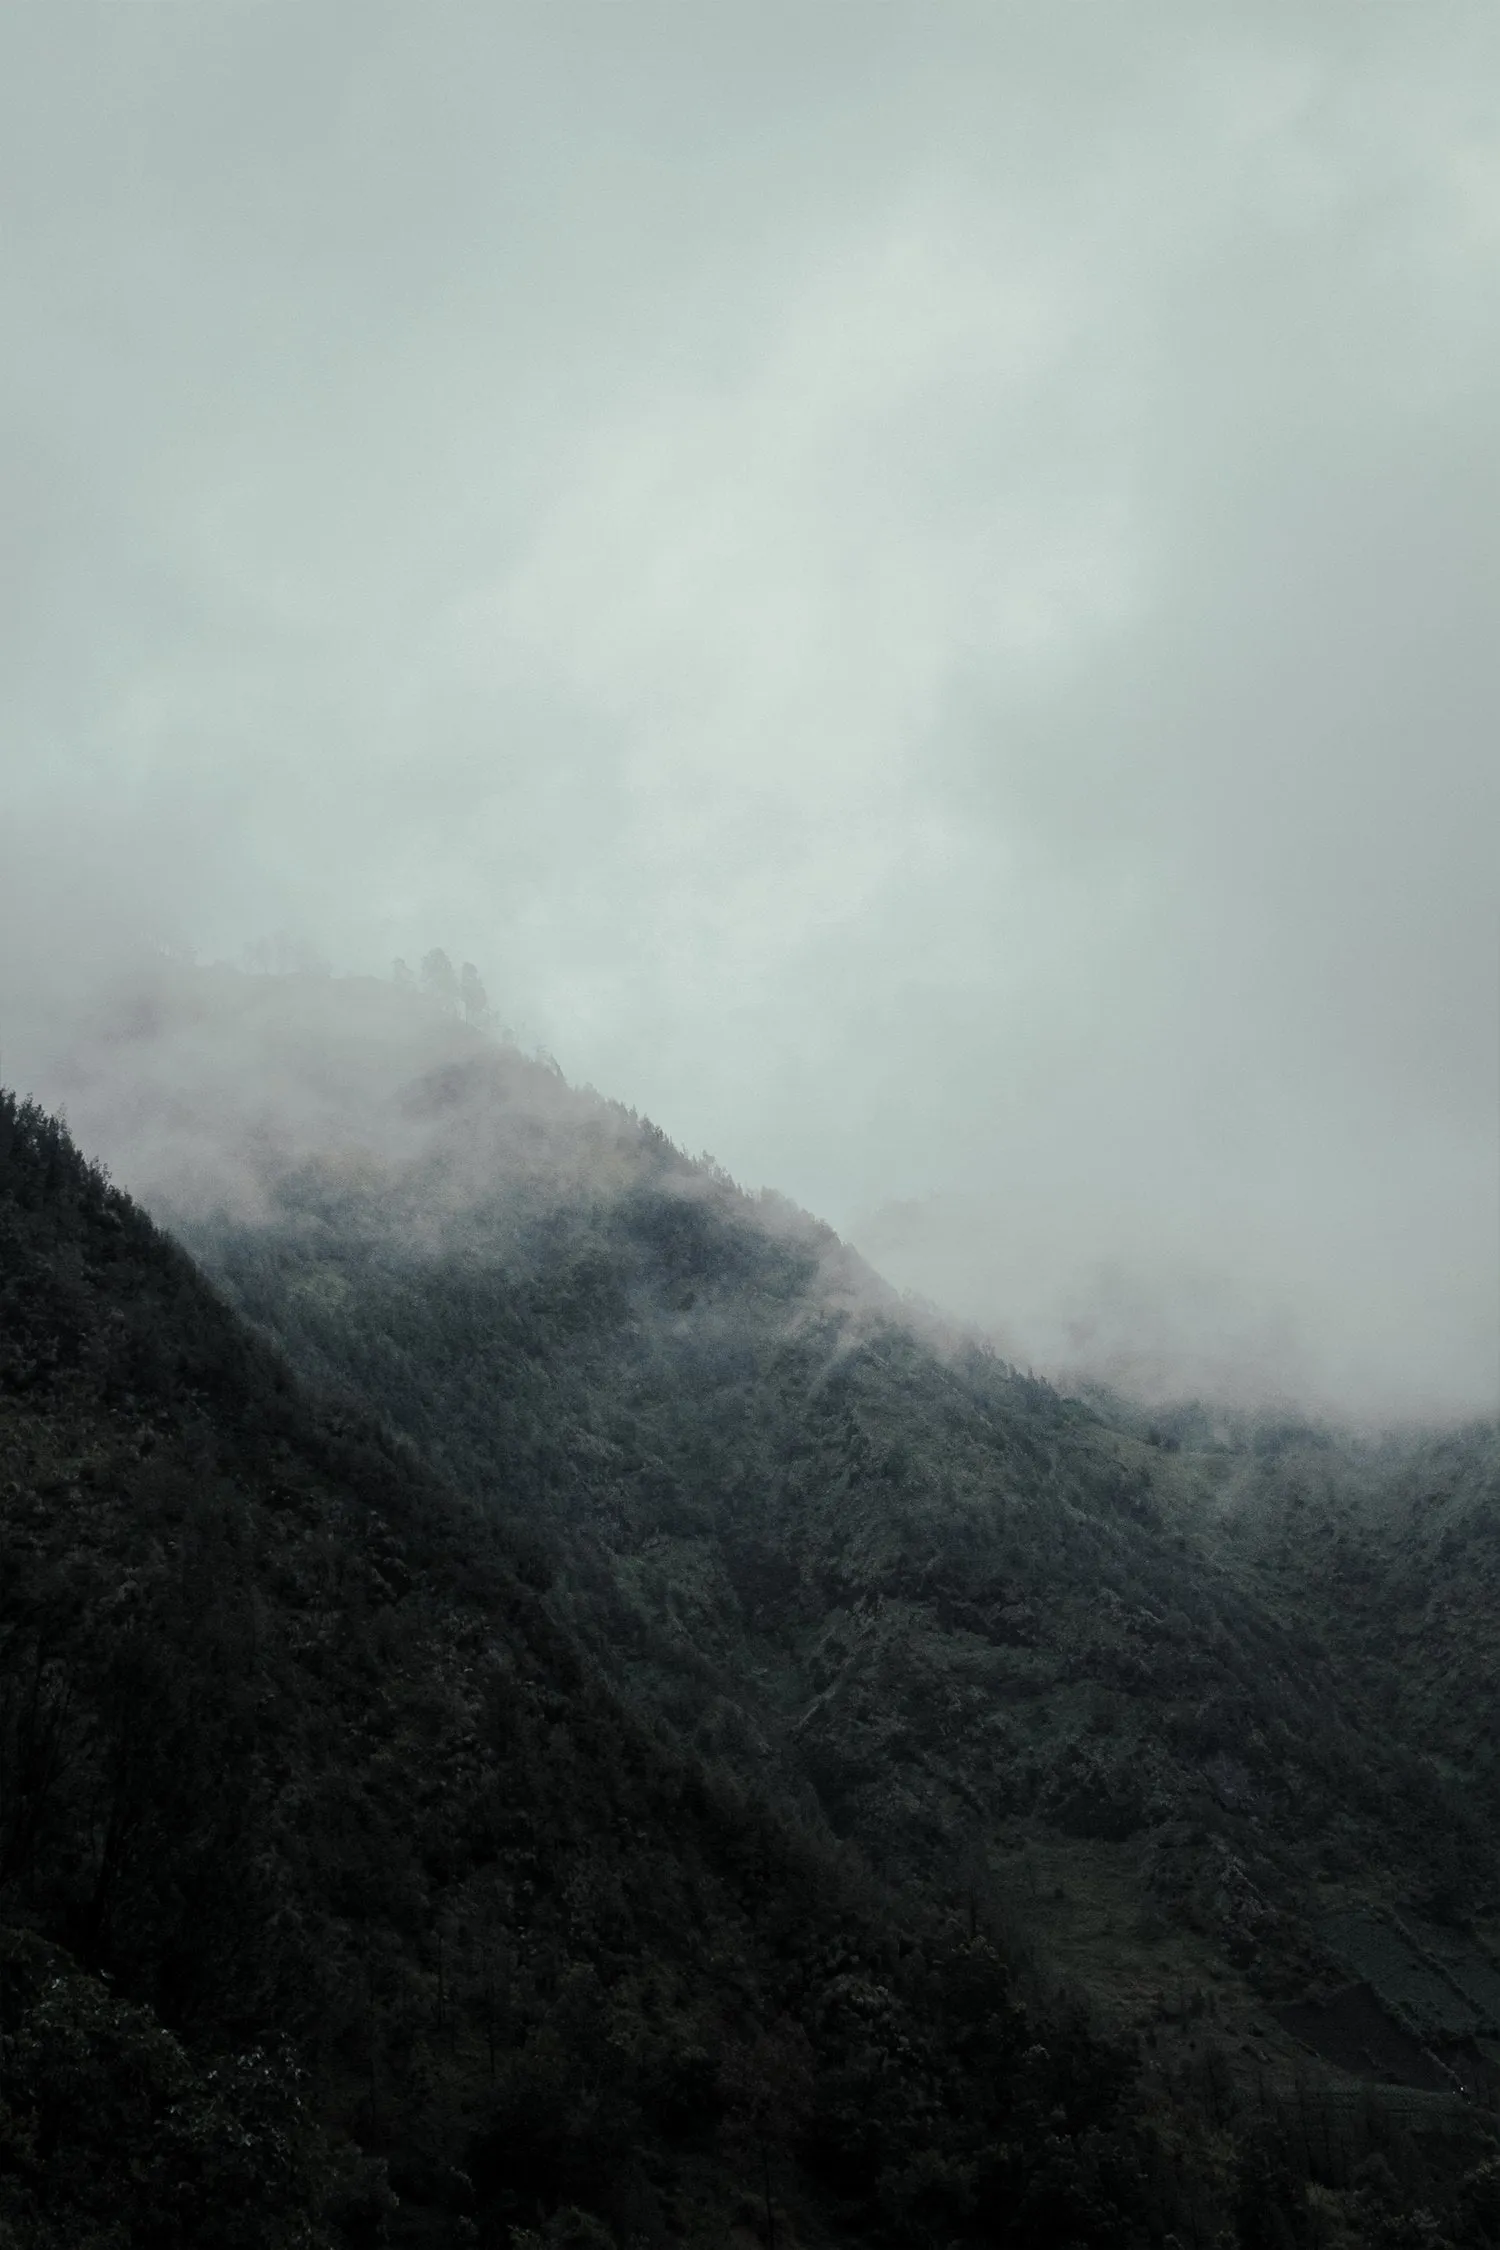
Weather can hide the expected view but reveal a stronger photograph. Fog separates trees and ridges, rain saturates color, and snow simplifies distracting terrain. These conditions also reduce visibility and make navigation harder, so photograph only when you can remain on a safe route and return before conditions deteriorate.
Mountain Photography Safety Checklist
Photography adds stops, equipment, and distraction to an ordinary hike. Plan the route as a mountain trip first and a shoot second.
- Check the local forecast, trail conditions, access restrictions, and sunset time.
- Tell someone your route and expected return time.
- Carry an offline map and know how to use the navigation method you choose.
- Bring a dedicated headlamp even if you expect to return during daylight.
- Wear suitable footwear and pack warm, waterproof layers.
- Carry enough water, food, and any personal medication.
- Pack a small first-aid kit and emergency items appropriate to the route.
- Protect exposed skin with sunscreen, clothing, sunglasses, and a hat.
- Turn back when visibility, weather, trail conditions, or fatigue make continuing unsafe.
- Keep a safe distance from wildlife and never block its movement.
A phone and portable charger are useful, but reception is not guaranteed. A phone flashlight is also a poor substitute for a headlamp when the trail becomes dark. Equipment such as traction devices, trekking poles, a satellite communicator, or specialist climbing gear may be necessary on particular routes, but only when appropriate and when the user knows how to use it.
At higher elevations, ultraviolet exposure can be intense even when the air feels cool or clouds soften the light. Reapply sun protection during a long day instead of treating it as a one-time step.
Elevate Your Photography with Our Advanced Software
10 Close-Up Mountain Photography Ideas
1. Use a path as a leading line
A path gives the viewer a route into the frame and connects small foreground details with the wider mountain environment. Try a low viewpoint to emphasize stones, curves, or footprints, but remain on durable or designated surfaces.
2. Photograph streams and moving water
Mountain streams combine texture, reflection, plants, and movement. Test several shutter speeds: a slightly slower exposure can show direction while preserving some structure, whereas a very long exposure creates a smoother, more abstract result.
3. Document huts and shelters
A hut can provide scale, color contrast, and evidence of how people use the landscape. Photograph the structure within its environment, then move closer for doors, tools, weathered materials, and other details. Respect private property and local rules.
4. Include local life and human activity
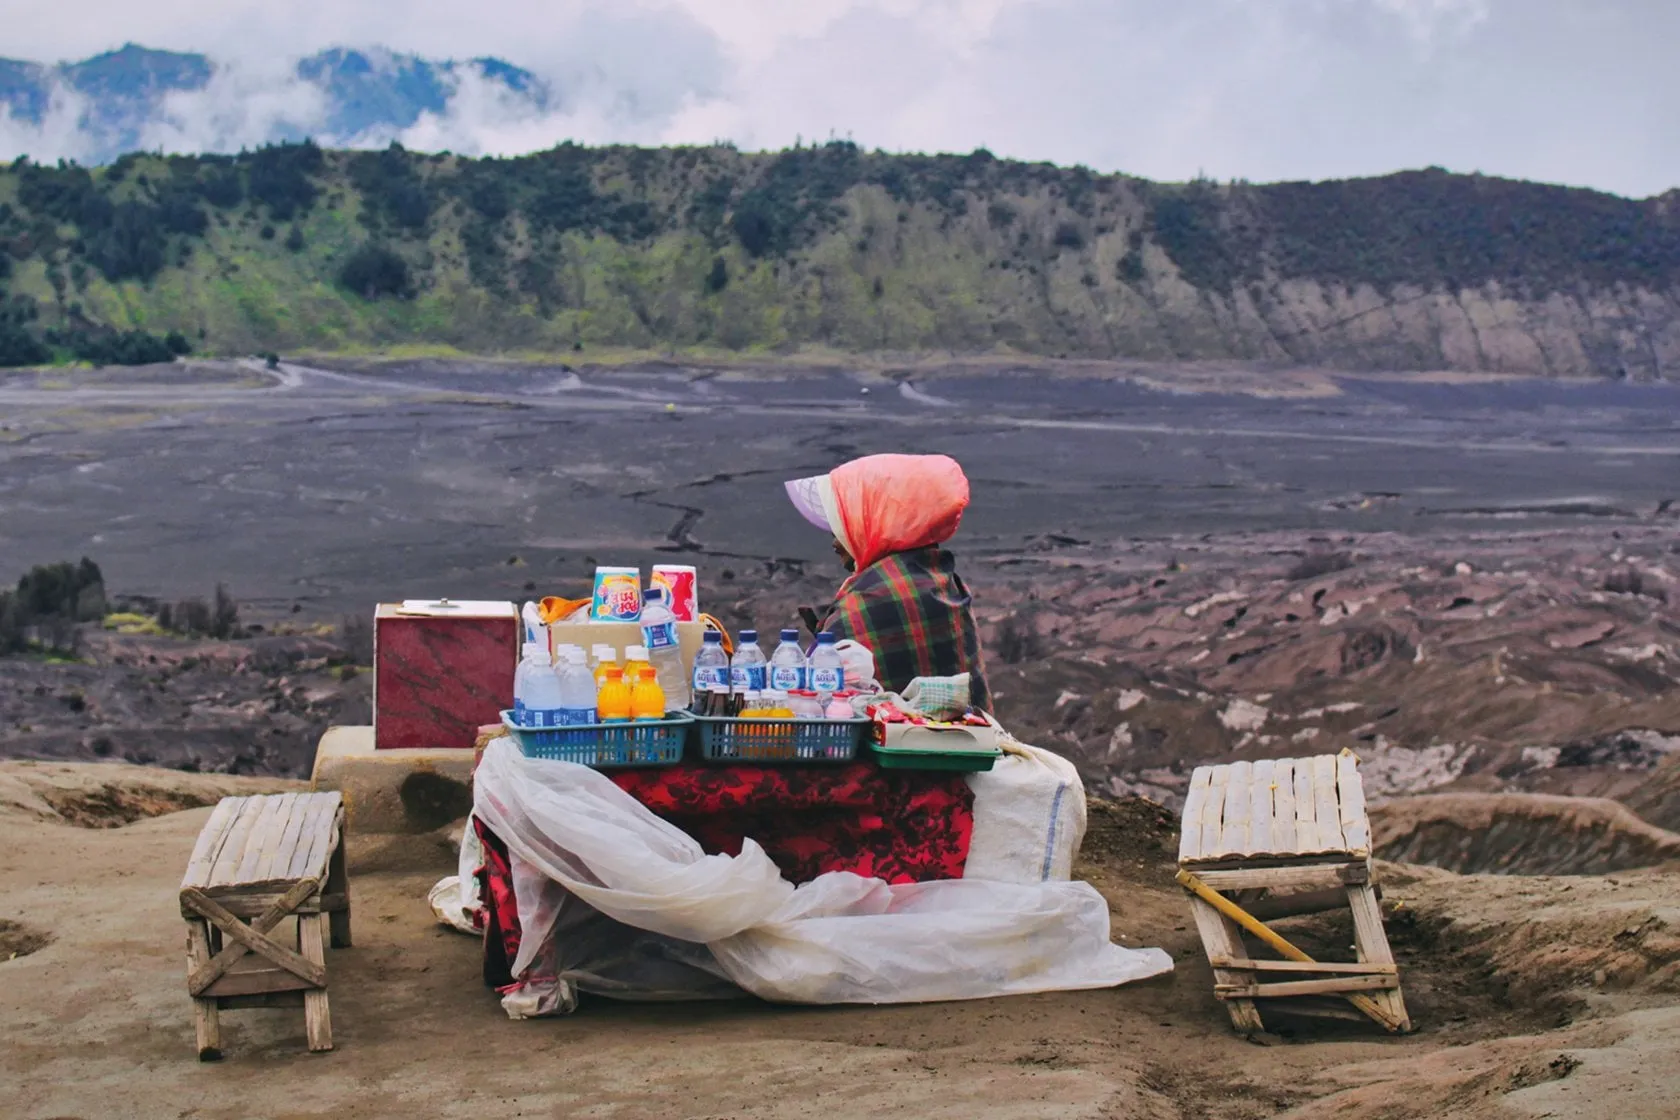
People can turn a beautiful place into a story. Vendors, guides, residents, riders, hikers, and workers reveal how daily life relates to the mountain. Ask permission when someone is clearly identifiable or becomes the main subject.
5. Photograph wildlife from a distance
Use a telephoto lens to avoid approaching or disturbing animals. Anticipate movement, choose a fast enough shutter speed, and show some of the surrounding habitat when it adds information. This bird photography camera guide also explains the autofocus and lens characteristics that matter for moving subjects.
6. Isolate geological layers
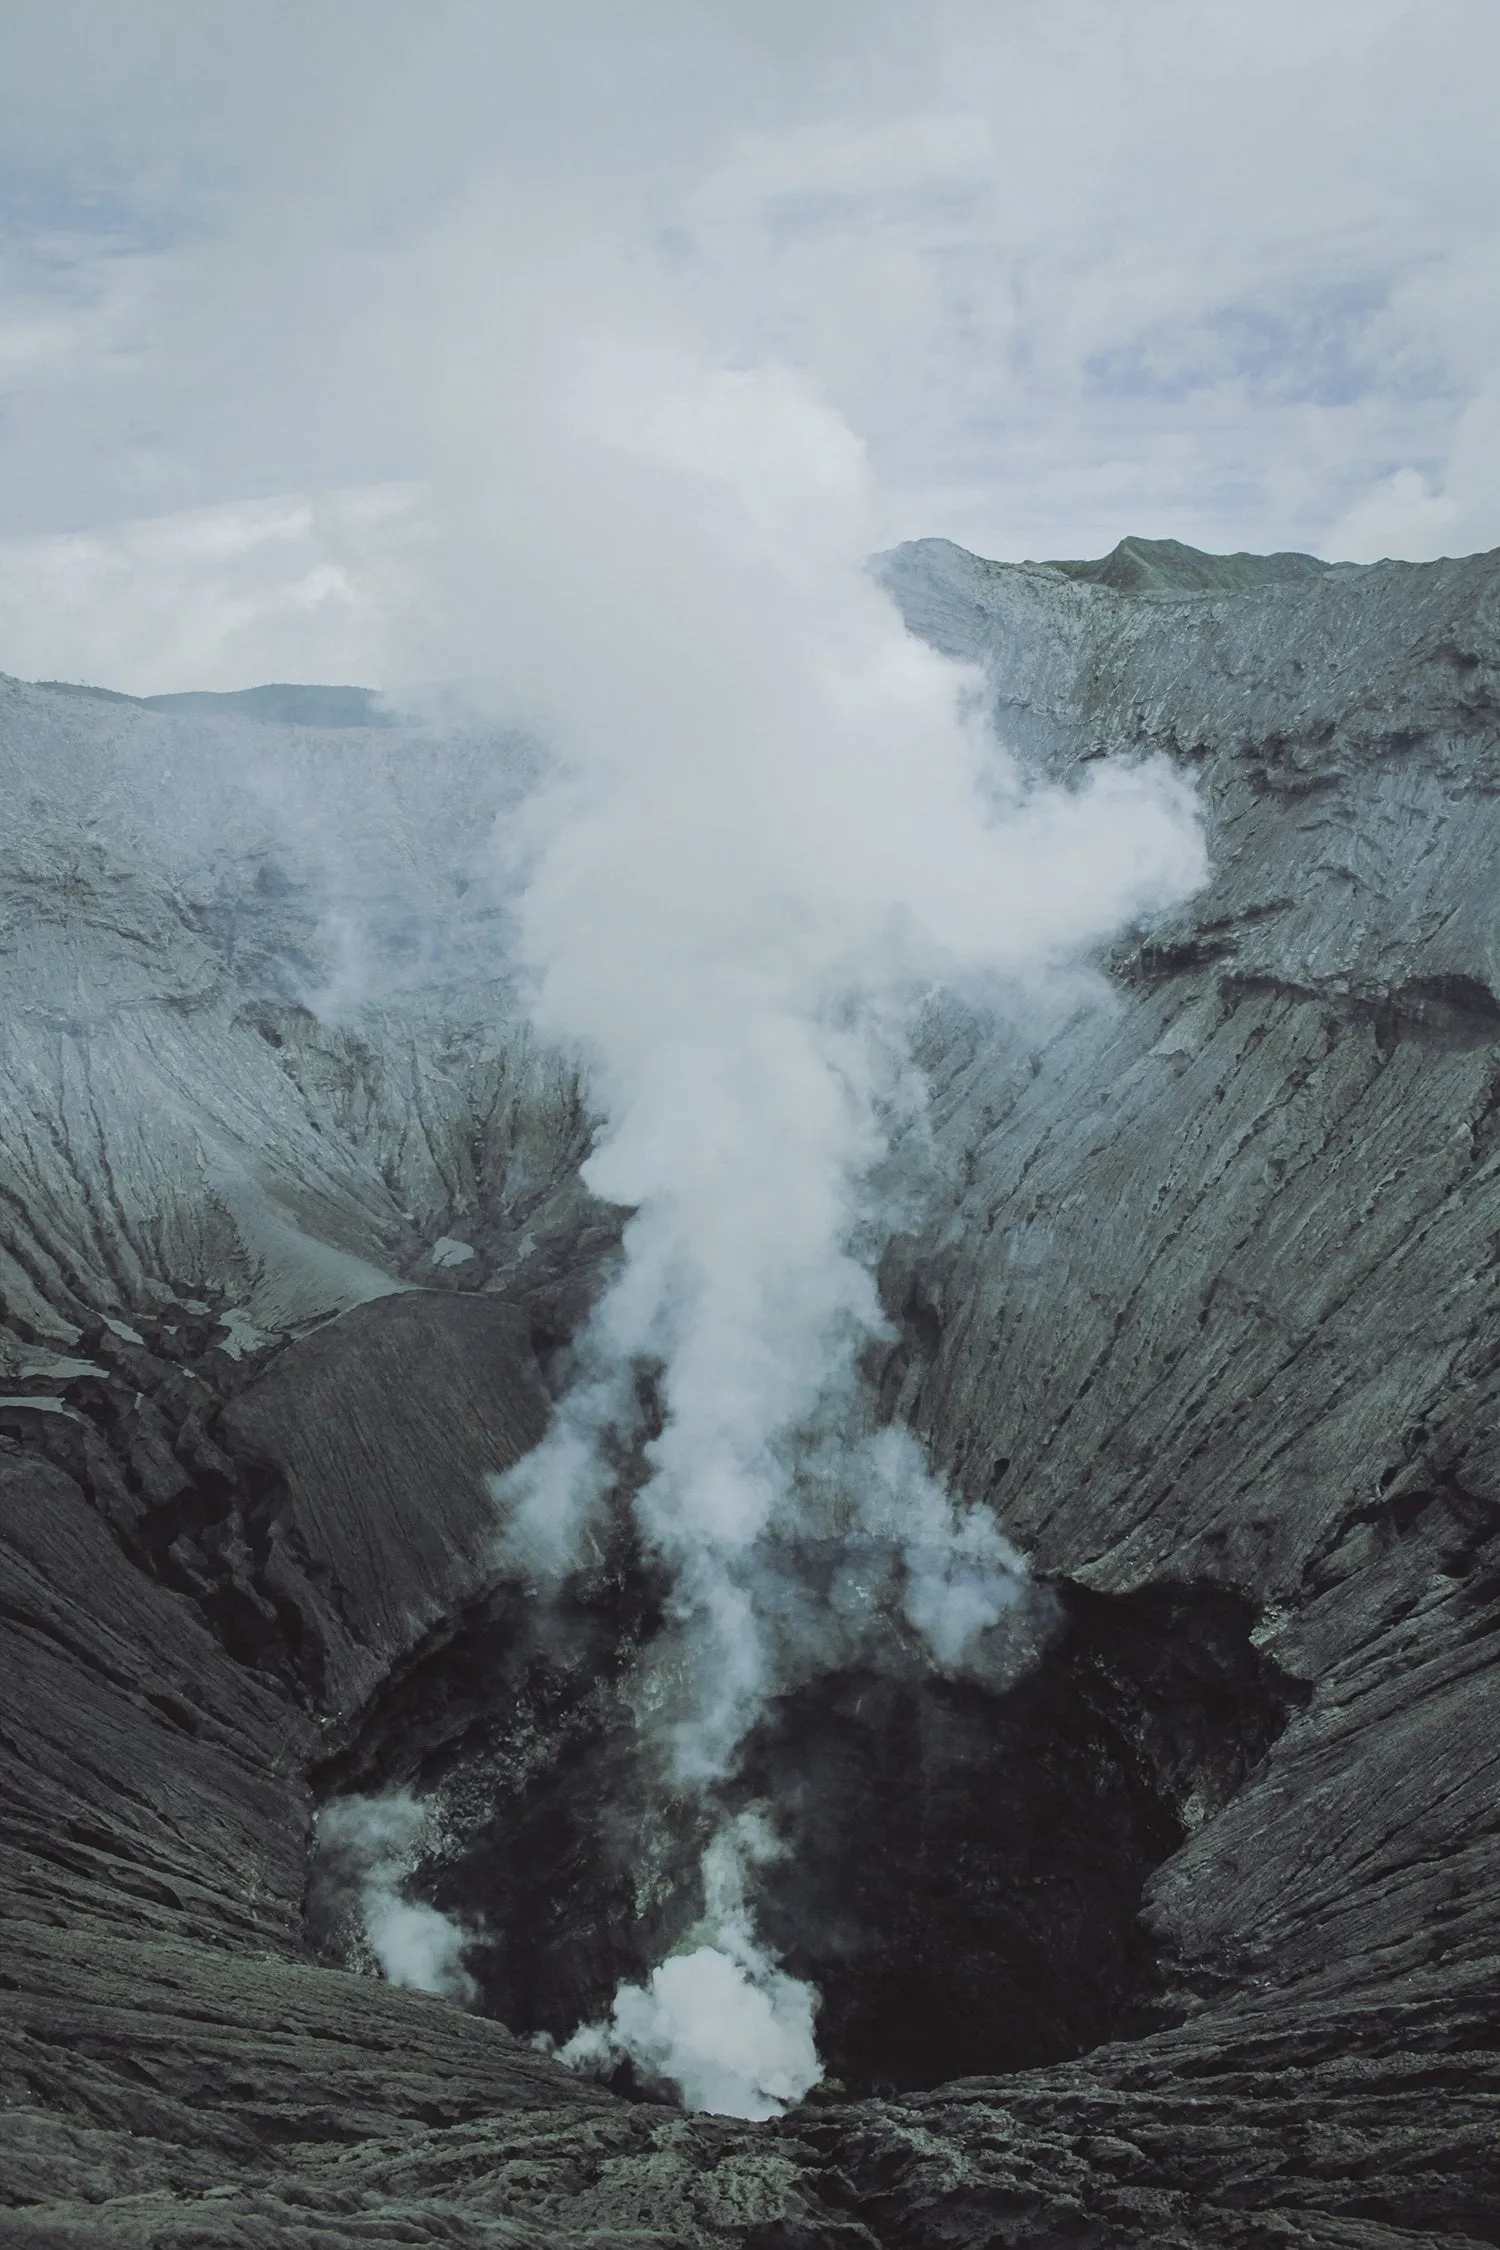
Look for strata, erosion lines, mineral colors, cracks, and repeating shapes. A telephoto lens can flatten these features into a near-abstract pattern, while side light makes small changes in surface depth more visible.
7. Build a study of textures
Create a sequence rather than relying on one photograph: rough stone, wet leaves, ice, bark, moss, and volcanic sand. Keep color treatment and framing consistent so the images feel like one visual study.
8. Use weather to simplify the frame
Wait for fog or cloud to reveal and hide different sections of a ridge. Exclude empty areas that add nothing, or deliberately use negative space to emphasize isolation. Small exposure changes can strongly affect subtle detail in mist.
9. Make an environmental portrait
Position the subject where the environment remains recognizable and use clothing color to create separation. Avoid placing a person near an exposed edge merely for the image. A portrait should communicate the place without creating unnecessary risk.
10. Show scale with hikers, riders, or trees
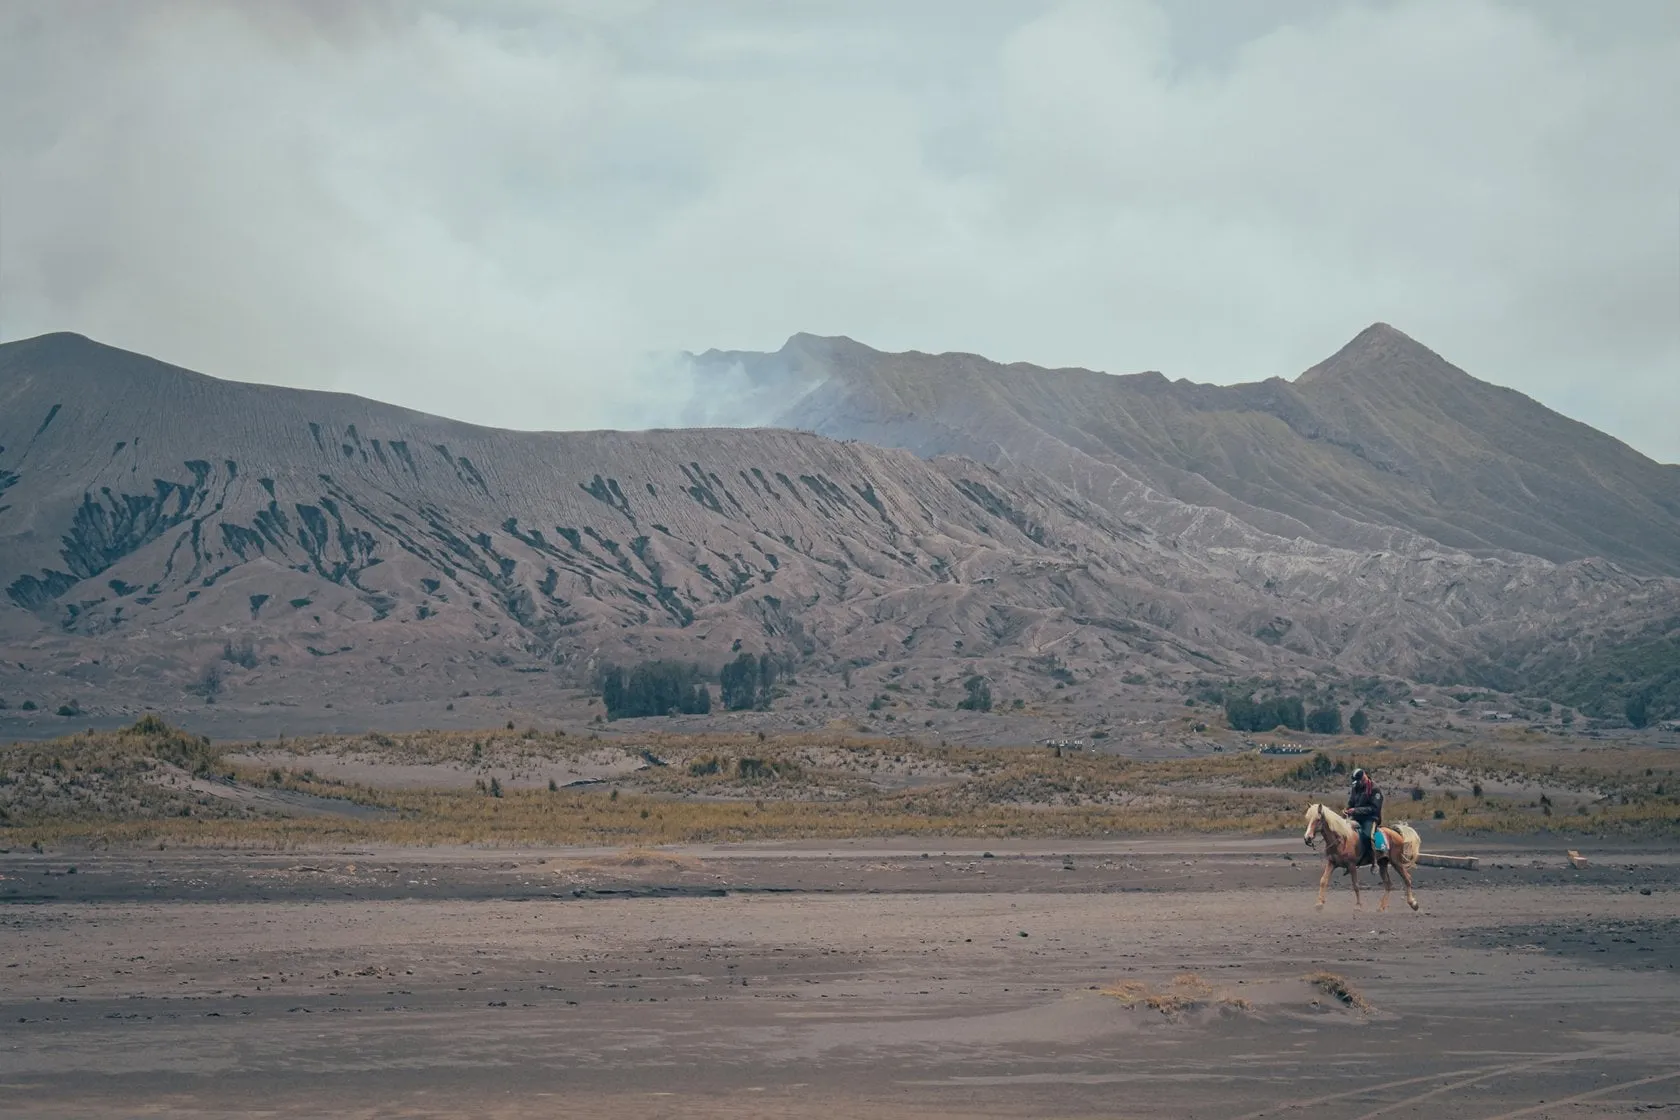
A small figure helps the viewer understand the size of the mountain. Use a longer lens to align the figure with a distant ridge, and leave enough surrounding space for the scale relationship to work.
How to Edit Close-Up Mountain Photos in Luminar
Begin with global corrections before trying to create drama. Adjust white balance, exposure, highlights, and shadows, then refine the crop. Local changes should make the structure easier to read rather than applying maximum contrast everywhere.

Useful adjustments include:
- adding moderate contrast to separate overlapping ridges;
- recovering highlights in cloud or snow;
- lifting selected shadow detail without flattening the image;
- using local masking to brighten a path, peak, or human subject;
- reducing color casts caused by haze;
- applying restrained structure or sharpening only where real detail exists;
- removing small distractions near the frame edge;
- controlling noise in photographs made at higher ISO.
Luminar combines global corrections, masking, local adjustments, and landscape-focused tools in one workflow. Avoid aggressive dehazing or structure across the entire image: distant mountains naturally contain less contrast, and removing all atmospheric perspective can make the layers feel less believable.
For broader shooting and editing principles, read this guide to landscape photography for beginners.
Your AI-Powered Photo Editor for MacOS and Windows
What Mount Bromo Taught Me About Getting Closer
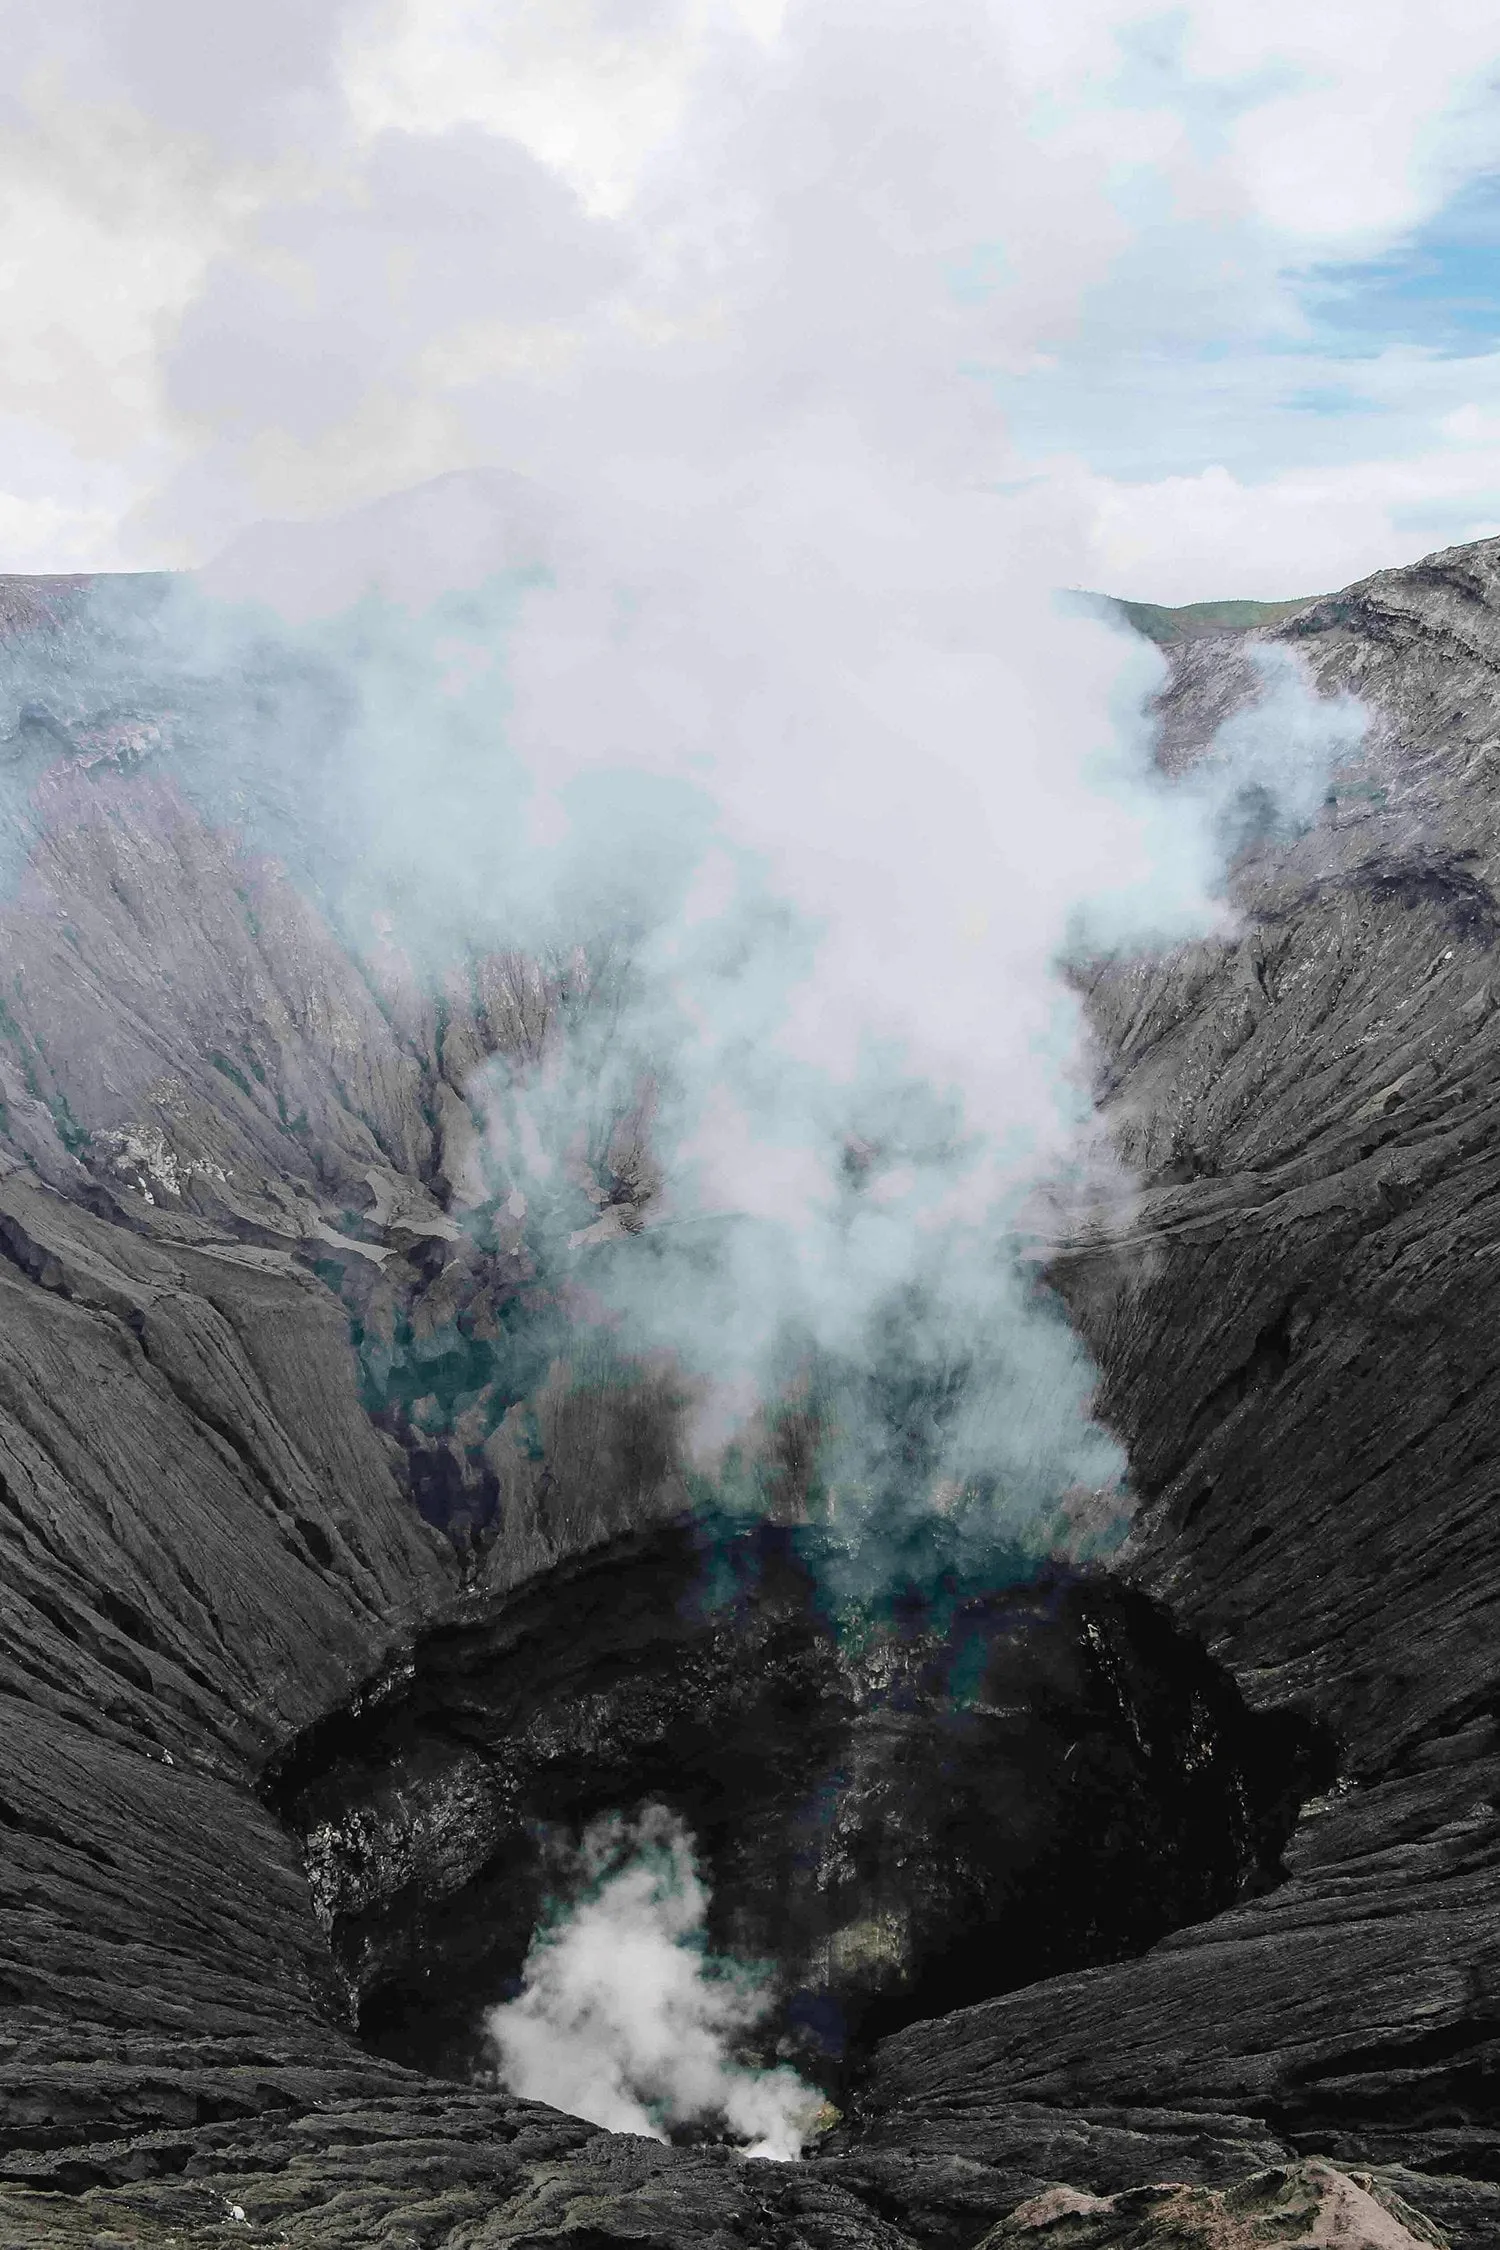
At Mount Bromo, the original plan was to photograph sunrise over the volcano from a distant viewpoint. Dense fog arrived and reduced visibility, removing the grand scene I had expected. The conditions initially felt like a failed shoot, but they encouraged a different approach.
Once the fog lifted, moving closer revealed more distinctive subjects: ridges emerging through cloud, the crater’s layered walls, rising smoke, riders crossing the volcanic plain, and vendors working beside the route. Those images communicated more about the environment than a single postcard view would have done.
The experience also reinforced a practical warning. Cloud does not remove the risk of sun exposure at elevation. Mountain photographers need to protect themselves even when the light feels soft and the temperature is comfortable.
The Bottom Line
Photographing mountains up close shifts attention from the obvious summit view to the details that define the place. Telephoto compression, paths, streams, geological layers, weather, people, and tiny natural subjects can all communicate the mountain’s character and scale.
Plan the route carefully, carry only the equipment you can manage safely, and remain flexible when the expected view disappears. Getting closer does not guarantee a better image, but it often reveals a more specific story than the grand landscape you originally planned to photograph.
Frequently Asked Questions
A telephoto zoom is the most versatile option because it can isolate peaks, ridges, cliffs, and distant details. A macro lens is useful only when very small subjects such as plants, lichen, insects, or mineral patterns are an important part of the project.
For a static mountain detail, start near f/8, use the lowest practical ISO, and choose a shutter speed fast enough for the focal length and wind. Change those settings when wildlife, moving foliage, low light, or intentional water blur becomes the priority.
Use a telephoto lens, include a recognizable scale reference, and avoid excessive empty sky. Layering a person, tree, hut, or path against the mountain helps communicate size more effectively than a wide frame with no reference point.
No. Midday light can be harsh for broad landscapes, but it is useful for forest interiors, reflections, graphic shadows, geological patterns, and close details. Change the subject rather than assuming the entire shooting period is unusable.
Use fog to separate layers and simplify the composition. Focus on the clearest visible edge, watch the histogram, and make small exposure adjustments. Stop shooting and turn back if visibility makes the route or navigation unsafe.