Use paths, shadows, architecture, and gestures as leading lines. Find practical framing tips, common mistakes, and a simple photo editing workflow.
A shoreline curves toward a distant building. A hand points toward a face. The edges of a corridor narrow around a person. Each arrangement gives the viewer a visual connection to follow through the photograph.
Leading lines are visible or implied lines that help direct attention toward a subject or through a composition. They can be straight, curved, continuous, or suggested by separate elements. Roads and fences are familiar examples, but shadows, gestures, and repeated objects can serve the same purpose.
Their usefulness depends on the frame. A strong line can support the subject, compete with it, or lead toward an area you did not intend to emphasize. The practical task is to recognize that relationship and choose a camera position that makes it clearer.
This guide explains the main types of leading lines, how to use them in different subjects, and how editing can refine an arrangement already present in the image.
Don’t feel like reading the whole breakdown? We’ve pulled together a quick summary below.
Key Takeaways
- A leading line has a compositional role. A visible edge does not automatically guide attention toward something useful.
- Lines do not have to be straight or continuous. Curves, gaze, gestures, and repeated shapes can suggest a direction.
- Camera position shapes the relationship. Small changes in height or viewpoint can connect a line to the subject or separate distracting overlaps.
- There is no required starting corner or subject position. Centered, symmetrical, and off-center arrangements can all work.
- Editing should clarify the visual route. Refine cropping, brightness, and local detail without making every edge compete for attention.
Why Are Leading Lines Useful?

They Connect Parts of the Image
A foreground detail can feel disconnected from a distant subject. A shoreline, wall, or row of objects may link them, giving the composition a more readable structure.
The line does not have to touch the subject exactly. It can point toward the surrounding area, curve around it, or establish a sequence that makes the subject easier to notice.
They Can Suggest Depth
Lines that recede into the distance help describe spatial relationships. The edges of a hallway appear closer together farther from the camera, while repeating objects may look progressively smaller.
Not every leading line adds depth. A shadow across a flat wall may guide attention sideways without suggesting much distance. Its function can still be useful.
They Organize a Busy Scene
A recognizable direction can connect several elements that might otherwise appear scattered. A diagonal sequence of people, for example, can create order within a crowded setting.
This works best when the line supports the photograph’s purpose. A neat arrangement is not enough if the viewer cannot distinguish the subject from competing details. Consider leading lines alongside other photography composition techniques, including contrast, framing, and negative space.
Exclusive Tools of Endless Possibilities in One Editor
Types of Leading Lines in Photography
These categories describe different characteristics, so they often overlap. A curved line can also recede into the distance, while several diagonal lines can converge around a subject.
| Type | What to look for | Possible use |
| Horizontal | Walls, shorelines, table edges | Connect elements across the frame |
| Vertical | Columns, trunks, building edges | Emphasize height or connect lower and upper areas |
| Diagonal | Railings, sloping edges, shadows | Establish a route across the image |
| Curved | River bends, paths, staircases | Connect foreground and background gradually |
| Converging | Receding corridors, rows, paired edges | Emphasize distance or a shared destination |
| Implied | Gaze, gestures, aligned objects | Suggest direction without a continuous edge |
| Intersecting | Crossing shadows, beams, or streets | Create a junction or relationship between directions |
Horizontal Leading Lines

A horizontal edge can connect a subject on one side of the frame with another element elsewhere. A wall passing behind a seated person might establish that relationship, especially when other details remain simple.
A horizon is not automatically a leading line. It may mainly divide sky from land or establish orientation. Ask what it connects or emphasizes in the particular photograph.
Horizontal arrangements are often associated with stability, but their effect depends on the rest of the image. The same long wall can support a quiet portrait or divide a tense street scene.
Vertical Leading Lines
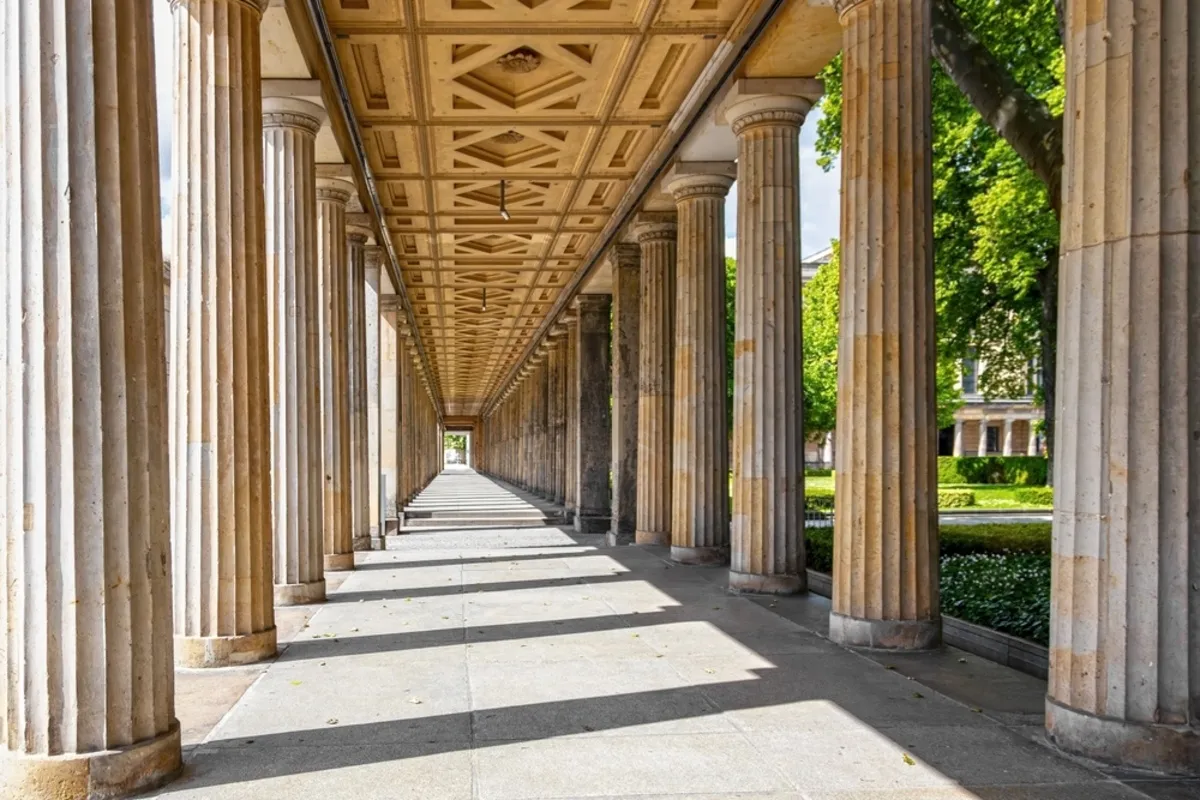
Columns, tree trunks, and building edges can connect the bottom of the frame to something higher. In an architectural photograph, a vertical edge might draw attention toward a balcony or roof detail.
Watch for distracting overlaps. A narrow pole appearing to rise directly from a person’s head may attract attention for the wrong reason. Move slightly to separate the outlines unless the overlap is intentional.
Verticals can also act as frames around a subject. In that case, framing and leading lines work together rather than belonging to separate rules.
Diagonal Leading Lines
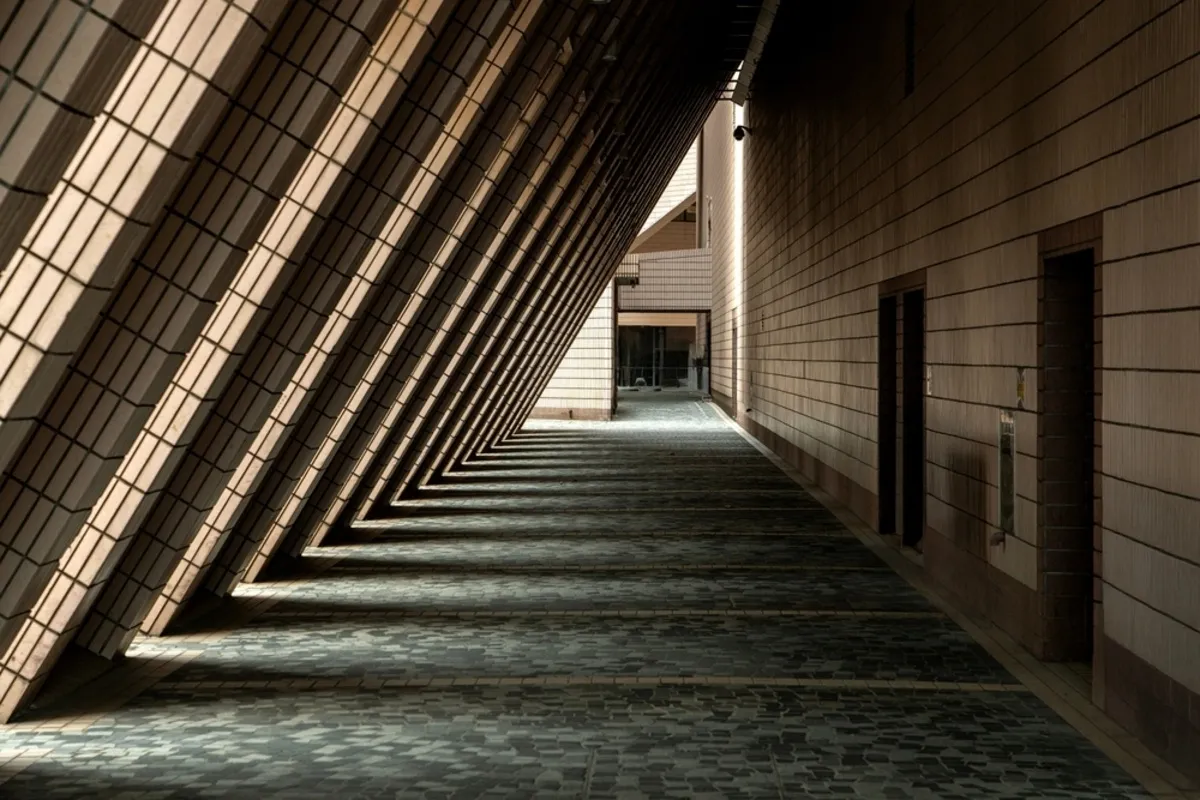
Diagonals move across both the height and width of the image. A railing or long shadow can link the foreground to a subject farther away or connect opposite areas within a flatter scene.
They often suggest energy or movement, but there is no need to tilt the camera to create one. Look for an angle already present, then choose a position that makes its relationship to the subject visible.
Check whether the diagonal leads toward a useful part of the image. A very bright edge crossing away from the subject may become the main attraction instead.
Curved Leading Lines
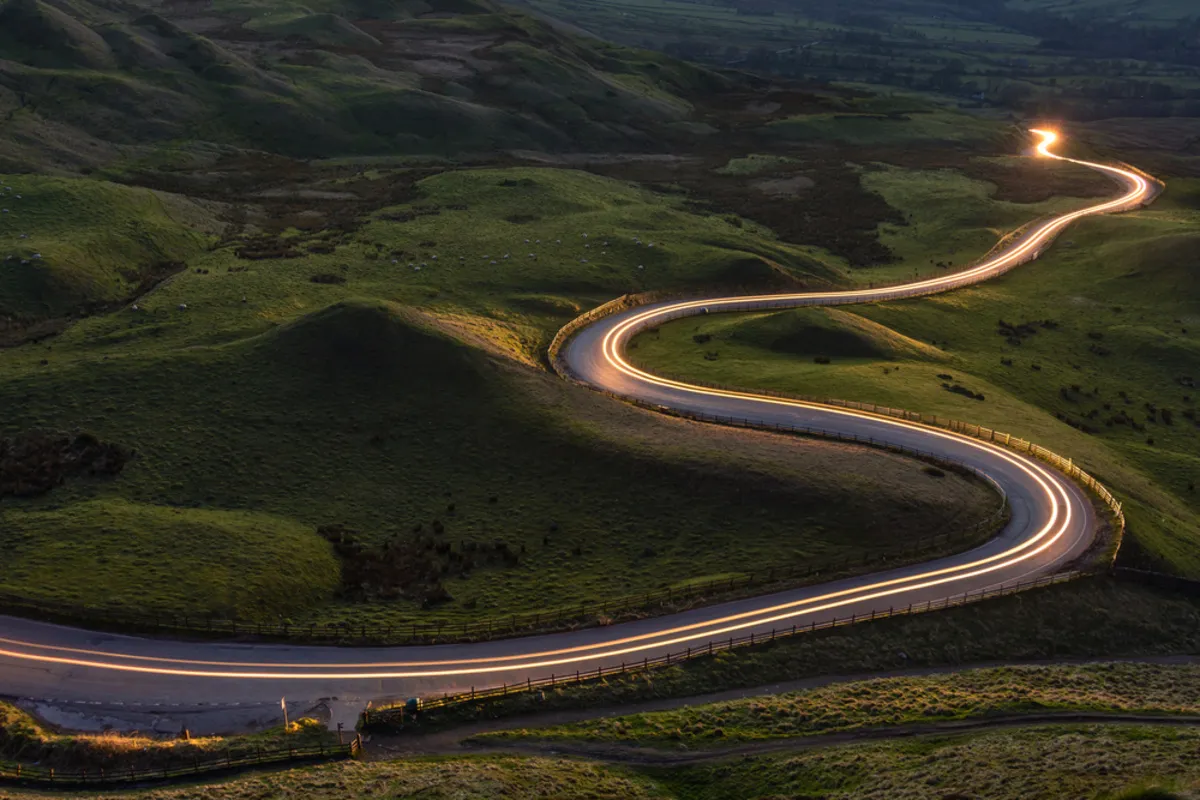
A curved shoreline, winding footpath, or spiral staircase can connect several parts of the composition without a direct straight route.
An S-shaped curve is a familiar example, but a simple arc can work too. The important question is how much of the curve the frame needs. Including too much may weaken the subject; cropping too tightly may remove the connection.
Look for an angle that separates the bends. From some viewpoints, a winding path overlaps itself and becomes difficult to read.
Converging Leading Lines
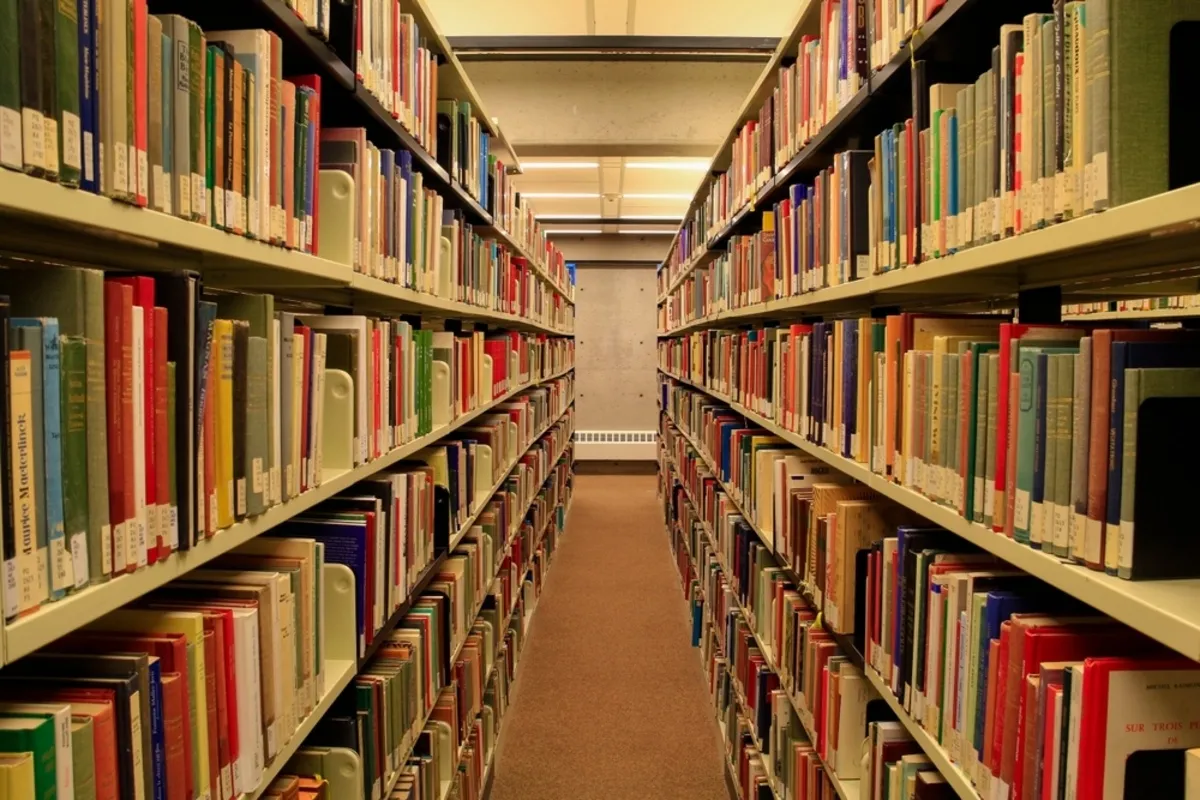
Parallel edges appear to approach one another as they recede into the distance. Corridors, colonnades, and rows of planting can make this perspective especially clear.
The apparent meeting place is a vanishing point. It does not have to sit at the center of the frame or on a visible natural horizon.
A centered person within a symmetrical corridor can be effective. So can an off-center subject beside a receding sequence. Choose according to the image rather than assuming that one placement is always more sophisticated.
Implied Leading Lines

An implied line is a direction suggested without a continuous mark. A person looking toward another subject, an extended arm, or a sequence of separated objects can establish that direction.
In a portrait, hands and gaze can connect the face to another part of the scene. These connections should remain natural to the pose. For related placement decisions, explore composition in portrait photography.
A line of similar objects can also imply a route. Their alignment matters more than whether their edges physically touch.
Intersecting Leading Lines
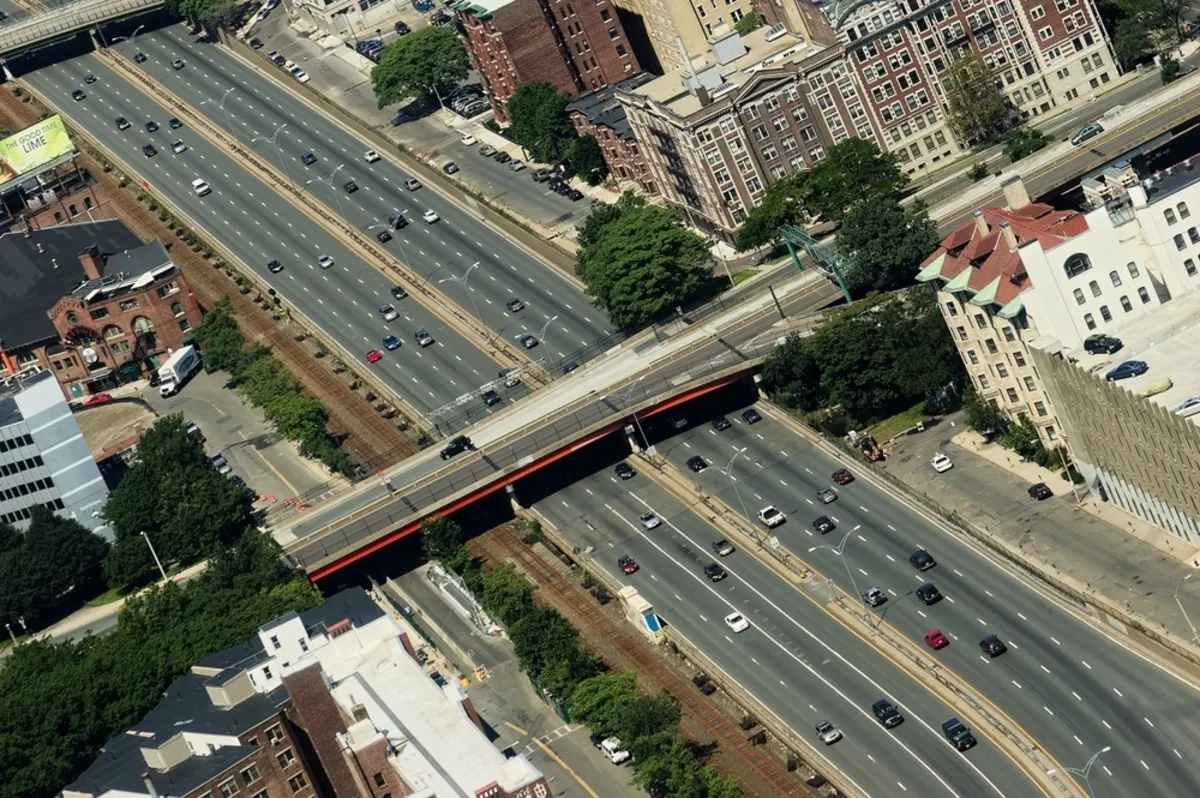
Crossing beams or shadows create a junction that may become visually prominent. That junction can support the subject or compete with it.
Do not place the subject at an intersection automatically. Try a version near it and another with the subject separated. The stronger arrangement is the one that makes the intended relationship easier to understand.
Multiple lines can work together when they share a direction or purpose. When each points somewhere unrelated, the photograph may need simpler framing.
How to Use Leading Lines: A Practical Workflow
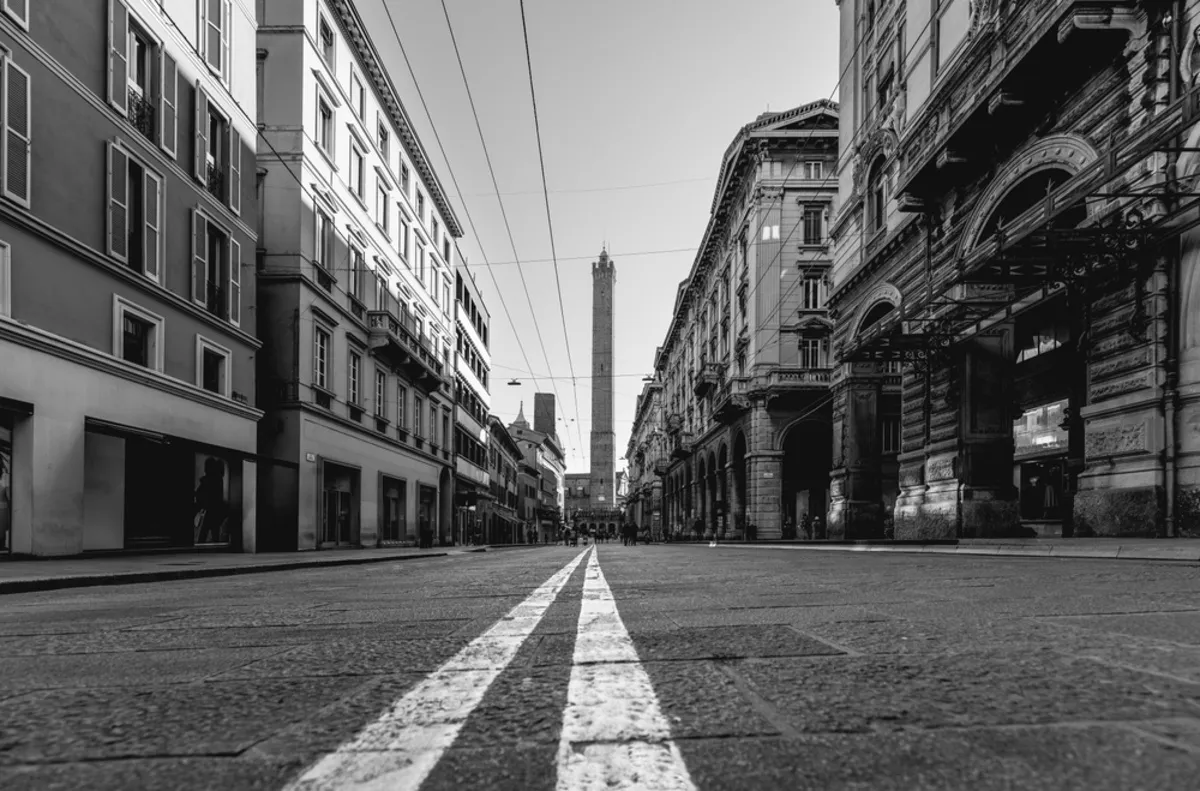
1. Decide What the Photograph Is About
Identify the subject or relationship first. It might be a person, a building, a distant tree, or the geometry itself.
Without that decision, it is easy to photograph an attractive line that leads toward nothing important. There is nothing wrong with an abstract study, but the arrangement should work as the subject rather than as an unfinished route to another one.
2. Find a Line That Supports It
Look beyond obvious paths. Check the boundaries between light and shadow, the edges of furniture, a row of windows, or a gesture.
Trace the line through the frame. Where does it begin, what does it pass, and where does it appear to end? Look for bright interruptions or objects that compete along the way.
A line does not need to enter from the bottom-left corner. It may begin at another edge or be contained entirely within the composition.
3. Move the Camera
Try changing height, stepping sideways, or moving closer. These changes alter how edges overlap and how the foreground relates to the background.
A low viewpoint can make a nearby edge more prominent, but it may also hide a subject behind foreground objects. A higher viewpoint can reveal a curve or separate repeated elements.
Compare alternatives before settling on a dramatic angle. The best viewpoint is the one that makes the photograph clearer, rather than simply more unusual.
4. Place or Anticipate the Subject
For a posed photograph, move the subject into a useful relationship with the line. Check the outline around the head, hands, and body.
For an unposed scene, compose first and wait for a person or other subject to enter the relevant area. A small timing difference may separate an outline from a busy background or place the subject within a brighter patch.
The destination can also be an area rather than a precise point. A curve may guide attention into a village or around a group of trees.
5. Check the Entire Frame
Look at the borders as well as the center. A distracting bright object near the edge can overpower a carefully chosen line.
Notice where the visual route leaves the frame. That can be intentional, especially when you want to imply continuation, but it should be a choice rather than an overlooked distraction.
Take a wider alternative when possible. It gives you room to compare crops later, although it cannot replace a better viewpoint.
Your AI-Powered Photo Editor for MacOS and Windows
Lens Choice, Perspective, and Camera Settings
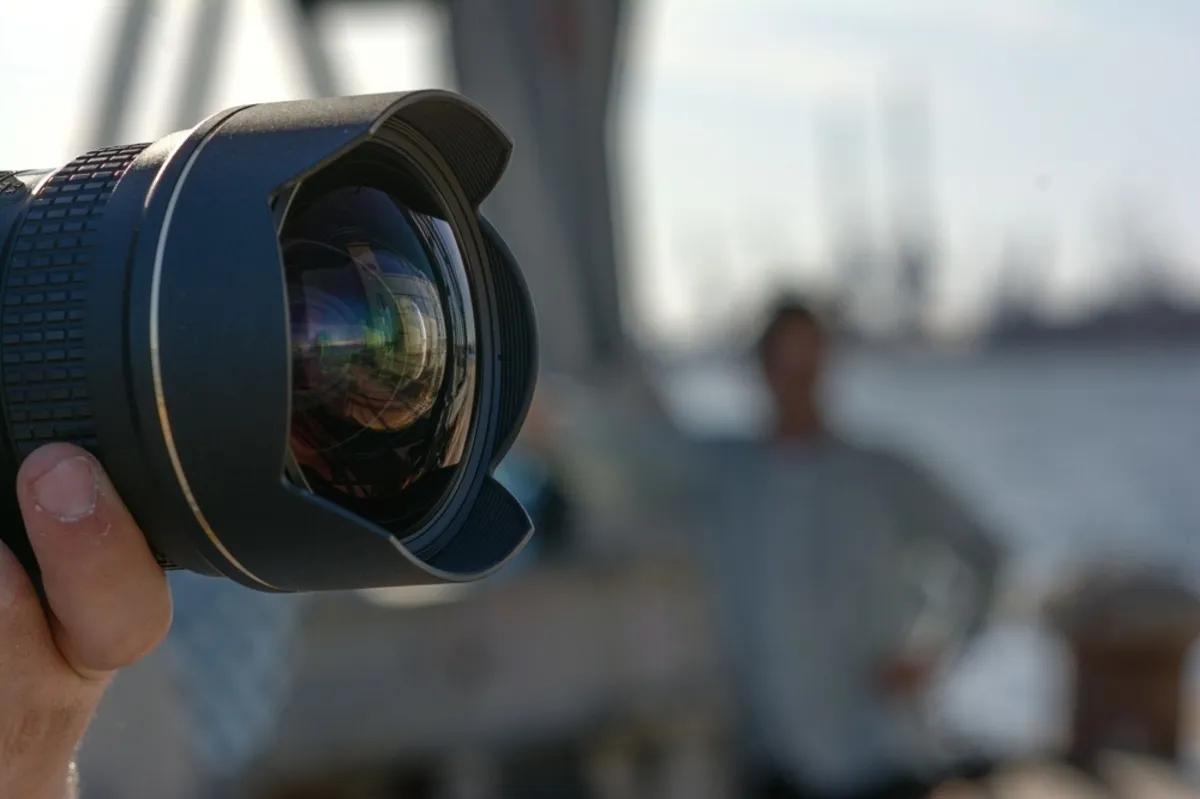
Wide-Angle Lenses Are Optional
A wide-angle lens makes it easier to include a nearby foreground line and a broad background. Moving close to the foreground can then create a strong near-to-far relationship.
The camera’s position determines geometric perspective. Changing focal length from the same position mainly changes the field of view and image magnification. The familiar difference between a close wide-angle view and a distant telephoto view includes a change in camera position.
A longer lens can isolate a smaller sequence, such as overlapping balconies or distant street lamps. Neither lens type guarantees a stronger leading line.
Choose Enough Depth of Field
If the line and subject occupy different distances, decide how much needs to appear sharp. On an interchangeable-lens camera, f/8 or f/11 can be useful starting points for some landscapes, but the right choice depends on the scene, focal length, and shooting distance.
A shallow depth of field can still work when a softer foreground line remains recognizable. Avoid stopping down automatically if it forces an unsuitable shutter speed or reduces fine detail through diffraction.
Set Shutter Speed for Movement
A stationary building and a walking subject need different handling. Keep the shutter fast enough for the subject when sharpness matters, and increase ISO if necessary.
A tripod helps maintain precise framing and supports longer exposures of static scenes. It does not freeze a moving person.
Try It With a Phone
Use the grid to check alignment and make small position changes before zooming. Compare the main camera with a wider view if your phone offers one.
Keep important edge details away from extreme corners when they become visibly stretched. If a portrait or simulated blur mode breaks up a railing or other fine structure, compare it with the normal photo mode.
Examples to Try in Everyday Scenes
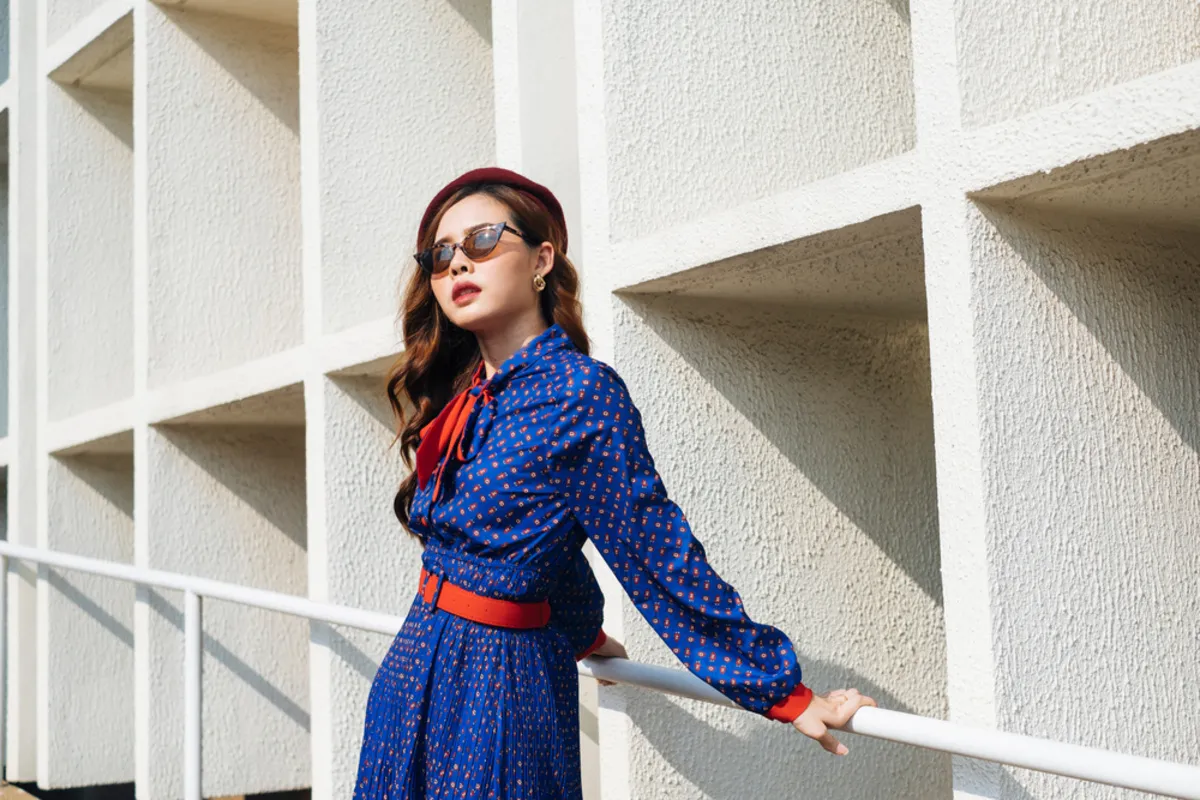
A Portrait Beside a Wall
Position a person where the wall’s receding edge points toward their general area. Move sideways to prevent the edge from cutting awkwardly through the face.
Try centered and off-center versions. Compare the relationship between the line, the person’s gaze, and any open space.
A Shoreline Leading Into a Landscape
Use a shoreline or stream edge to connect the foreground to a distant feature. Change camera height until the curve remains distinct.
Light can make the separation clearer or hide it. These principles of light in landscape photography help when deciding whether to change viewpoint or return under different conditions.
A Corridor With Repeated Columns
Compare a symmetrical view from the middle with a position closer to one side. The first may emphasize balance; the second can give one foreground edge more prominence.
Wait for a person if the photograph needs a sense of scale. Leave the corridor empty if its geometry is the main subject.
A Tabletop Photograph
Use a cloth fold, cutlery, or the edge of a tray to connect supporting objects with the main subject. Keep the arrangement plausible and remove items that create unrelated directions.
This exercise shows that leading lines do not require a dramatic location. A small scene gives you direct control over position and lighting.
How to Emphasize Leading Lines in Luminar
Luminar on desktop provides cropping, tonal adjustments, local masks, and detail controls that can help clarify existing lines. It is useful when a good composition needs a tighter boundary, more readable separation, or a small reduction in competing detail.
Start by deciding which relationship needs improvement. Making every line darker or sharper can create more competition rather than a clearer route.
Refine the Crop and Alignment
Use photo cropping tools to compare framing options. Preserve the part of the line that connects the image’s elements, and remove edge distractions when that improves the arrangement.
Straighten or correct perspective when the result calls for it. Converging verticals are not automatically a mistake, and correction can crop away useful foreground information. Compare the corrected version with the original.

Adjust Brightness Selectively
Use exposure and tonal controls to make the subject and relevant line readable. A local mask may be more useful than a global contrast increase when only one area needs attention.

For example, gently reducing a distracting bright patch can help the intended relationship become clearer without making the whole image more dramatic. Keep transitions smooth and watch for halos around edges.

Apply Detail Carefully
Luminar’s Structure AI tool adjusts detail and clarity. Use it with restraint on textures or edges that need definition, and apply masking when a selective treatment suits the image better.

Do not expect detail enhancement to repair a blocked line, missed focus, or motion blur. Check faces, skies, and noisy shadows to make sure they have not become unnecessarily harsh.
Finish by viewing the photograph small as well as close up. If the line is crisp at full size but the subject is lost in a thumbnail, the arrangement may need a different crop or tonal balance.
The Photo Perspective Correction Tool You've Been Waiting For
Common Leading-Line Mistakes
| Problem | Why the composition may feel unclear | What to try |
| The strongest line points away from the subject | Direction and emphasis compete | Move the camera or choose a different crop |
| Several equally strong lines lead to unrelated areas | The photograph lacks a clear priority | Simplify the frame or make one relationship dominant |
| The line merges with the subject’s outline | The connection becomes an awkward overlap | Change height, position, or timing |
| A dramatic foreground overwhelms a small subject | Scale and detail favor the foreground | Rebalance the framing or move the subject |
| An automatic perspective correction removes useful context | The correction changes the composition | Compare a gentler correction or the uncorrected view |
| Every edge receives strong sharpening or contrast | Unimportant details compete with the intended route | Reduce the effect or apply it selectively |
Do not turn these observations into rigid bans. A central vanishing point, multiple lines, or a line leaving the frame can all work when they support the image.
A Simple Practice Exercise
Choose a location with one clear edge or curve and an identifiable subject. Make three photographs:
- Change the height: Compare eye level with a lower or higher viewpoint.
- Change the relationship: Move sideways or reposition the subject so the line connects differently.
- Simplify the frame: Exclude a competing element and compare the remaining arrangement.
Review the images at the same size. Identify which line matters, what it connects, and whether the subject is easy to recognize. Explain the difference in concrete terms rather than choosing only the most dramatic version.
Give the Line a Purpose
Leading lines work when they support a clear relationship within the photograph. Start with the subject, find a useful direction, and adjust the viewpoint until the two work together.
You do not need a wide-angle lens, a centered vanishing point, or a line entering from a particular corner. Careful placement, readable separation, and a deliberate frame are enough to begin practicing.
FAQ
A shoreline curving toward a distant building is one example. A corridor edge pointing toward a person or a gesture directing attention toward a face can also function as a leading line.
No. They can curve, zigzag, or be implied by gaze and the alignment of separate objects. Their role is to suggest a useful direction within the composition.
No. It can point toward the subject’s area, connect several elements, or guide attention through a scene. A strong line should still support what the photograph is trying to emphasize.
A physical path is a subject or feature in the scene. It becomes a leading line when its appearance helps guide attention through the image. Leading lines can also come from shadows, edges, gestures, and other features that are not walkable routes.
No. Wide-angle lenses can include prominent foreground lines, while longer lenses can isolate smaller sequences. Camera position and framing determine how the chosen line relates to the subject.