Capture expressive dance photos with better timing, autofocus, and shutter speed. Explore shoot ideas and ways to handle low light and motion blur.
A successful dance photograph brings together movement, expression, and body position. A technically sharp frame can still miss the gesture, while a small amount of deliberate blur can communicate the rhythm of an entire sequence.
To photograph dancing, anticipate the movement, choose a shutter speed for the effect you want, and keep focus on the intended performer. For fast action in continuous light, around 1/500–1/1000 second is a useful starting range, with faster speeds sometimes needed for hands, feet, and rapid turns. Review the result and adjust rather than treating one setting as universal.
Good preparation matters as much as camera speed. Understanding the choreography, knowing where the movement will happen, and collaborating with the dancer help turn a burst of frames into a photograph worth keeping.
Don’t feel like reading the whole breakdown? We’ve pulled together a quick summary below.
Key Takeaways
- Anticipate the gesture. Watch the preparation and follow-through rather than reacting only when a dancer is already airborne.
- Set shutter speed according to movement. A fast exposure helps freeze action; a deliberately slow one can create expressive trails.
- Adapt focus to the scene. Continuous autofocus is useful, but face detection may struggle with turned heads, groups, and low light.
- Keep exposure and lighting practical. Raise ISO when necessary, protect important highlights, and test for stage-light flicker.
- Edit to support the performance. Preserve body lines, natural texture, and lighting intent rather than relying on sharpening to rescue missed focus.
What Is Dance Photography?
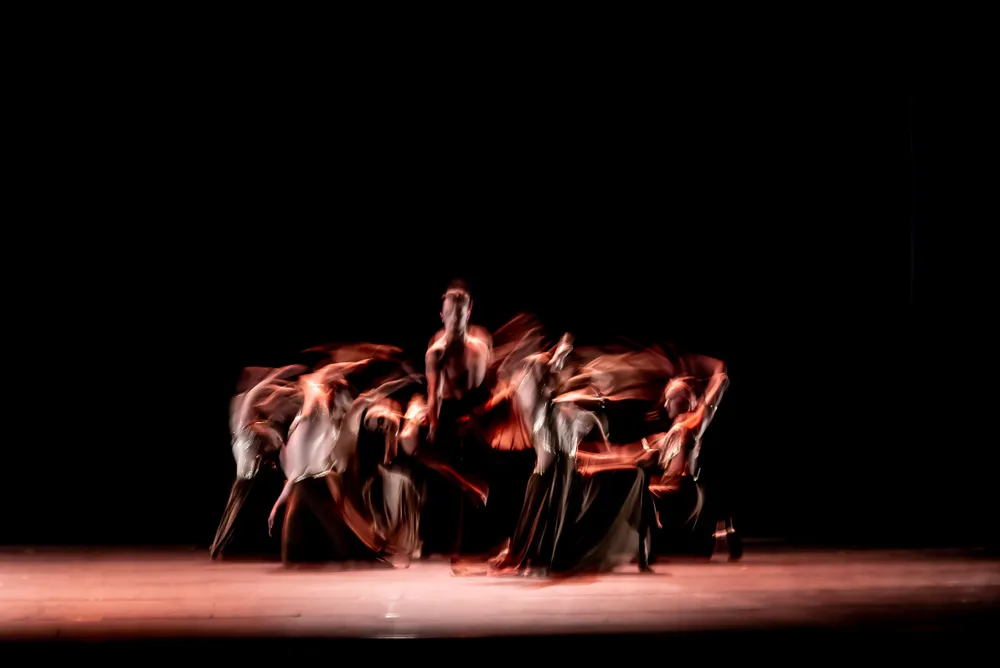
Dance photography records dancers through posed portraits, rehearsals, live performances, and staged movement. Its subjects include athletic technique, relationships between performers, facial expression, and the shapes that bodies create in space.
It does not always require a leap. A suspended hand, a grounded stance, or a moment between movements can carry as much meaning as an airborne pose. The right moment depends on the dance style and the purpose of the photograph.
A portfolio image may prioritize a clear technical line. A performance photograph may emphasize atmosphere and storytelling. An experimental image may use blur or abstraction. Establishing that purpose helps guide every later choice.
Exclusive Tools of Endless Possibilities in One Editor
Three Types of Dance Photography
Live Performance Photography

During a live show, choreography, lighting, and access are largely outside the photographer’s control. The work depends on anticipation and adapting quickly without interrupting the performance.
Confirm where photography is allowed, whether flash is prohibited, and which positions are available. Arrive before the show to check sightlines and prepare settings. A rehearsal can provide a valuable opportunity to learn the movement and lighting changes.
Studio Dance Photography

A studio session allows the team to plan movement, background, lighting, and camera position. It is useful for portfolios, promotional images, and a carefully developed visual concept.
Control does not mean endless repetition. Build the image around movements the dancer can perform comfortably, allow warm-up time, and review results between short sequences. Agree on where the dancer begins, where the key action happens, and where they finish.
Outdoor Dance Photography

Outdoor locations bring architecture, landscape, and changing daylight into the image. They can provide strong shapes and atmosphere, but the surface and available movement space matter as much as the background.
Choose a stable, suitable area with room for the planned steps. A visually appealing stairway or uneven pavement may work for a standing portrait while being unsuitable for repeated jumps. Let the dancer help decide what movement fits the location.
Plan the Shoot Around the Dancer
Learn the Movement Before Raising the Camera
Ask the dancer to demonstrate the phrase at a comfortable intensity. Watch how it begins, where the body reaches the intended shape, and how the landing or transition follows.
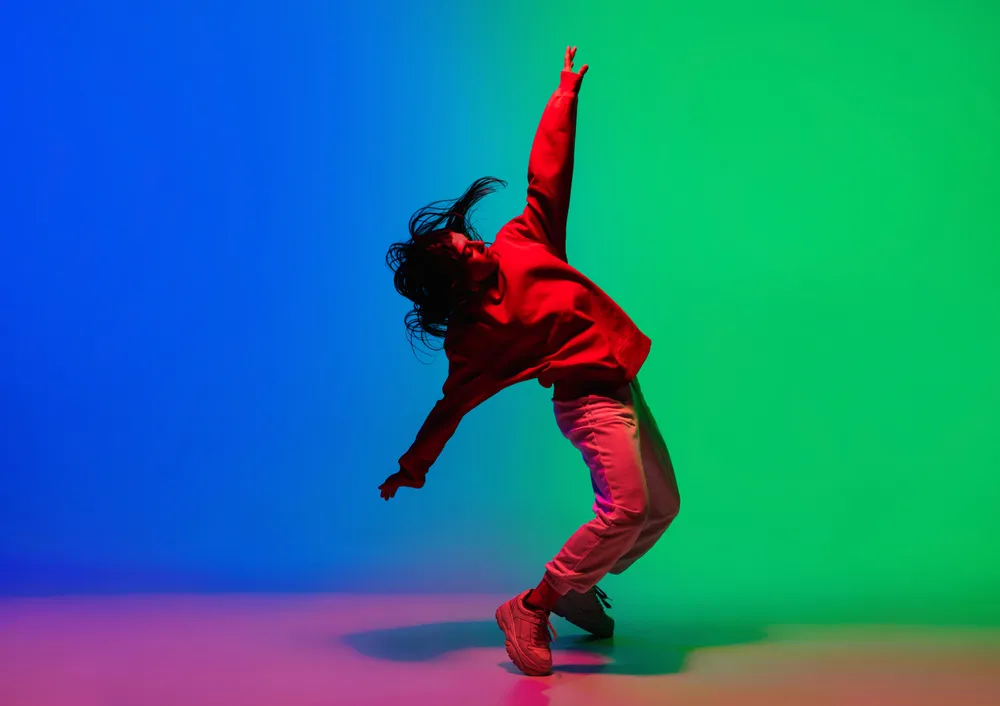
The top of a jump is not automatically the best frame. A technically stronger extension may occur just before or after that point. A powerful expression can also arrive during preparation rather than at maximum height.
Agree on a cue for staged sequences. A count, gesture, or shared starting position helps the photographer anticipate without asking the dancer to react to an unpredictable shutter.
Define the Required Images
Decide whether the session needs full-body technical images, expressive portraits, group arrangements, or a sequence for promotion. This prevents a collection of impressive jumps from arriving without the quieter images needed to tell the story.
A compact shot list might include:
- One clean full-body pose or movement.
- A wider image showing the setting.
- A close portrait with a quieter expression.
- A detail of hands, costume, or a gesture.
- A frame showing interaction between performers, where relevant.
Check Clothing, Space, and Timing
Discuss how the costume moves and whether it conceals important lines. Loose fabric may add shape but can also cover a face or hide a carefully placed hand.
Leave time for warming up, setting the light, reviewing results, and taking breaks. Ask before adjusting clothing, hair, or body position. Describe the visual change you need and let the dancer make the physical correction.
Choose Gear for the Working Distance
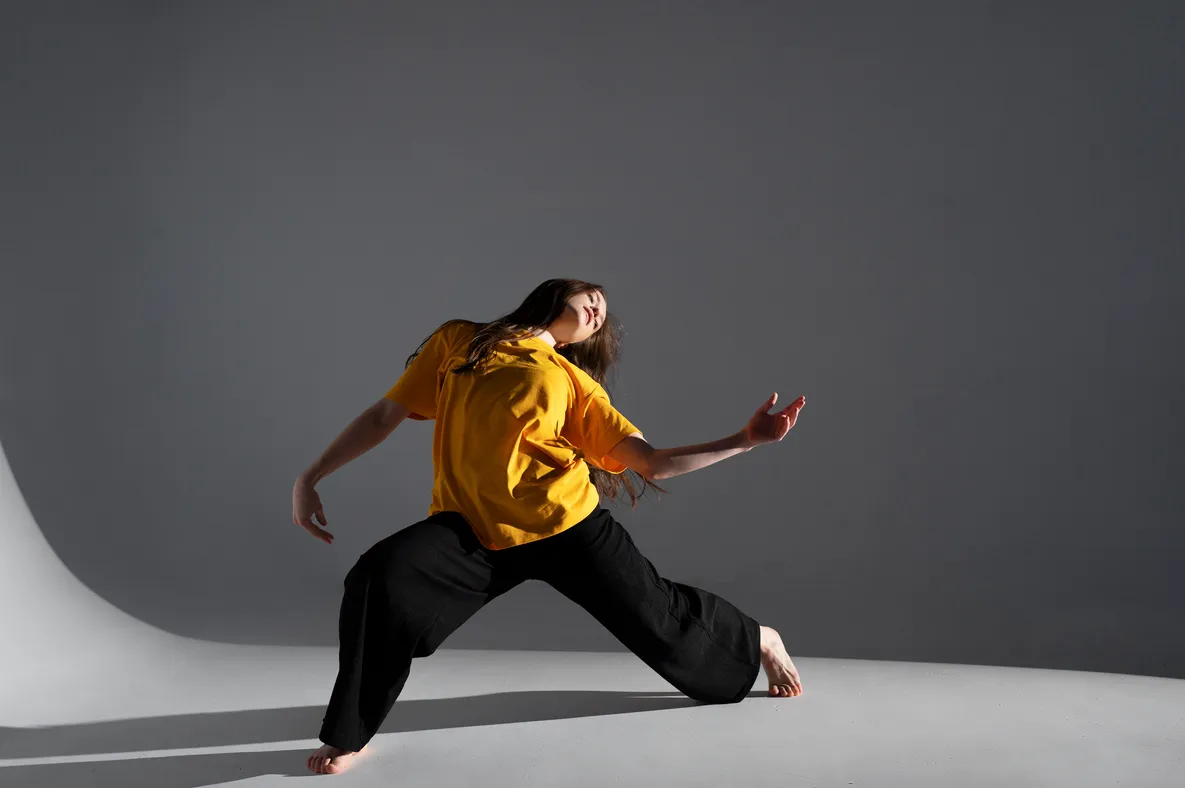
A full-frame camera is not a requirement. A camera that gives useful autofocus, suitable exposure control, and acceptable results in the available light can be enough to begin.
Lens choice depends on access and framing:
| Lens type | Useful situation | Main tradeoff |
| Standard zoom, such as 24–70mm | Studio work, rehearsals, and environmental views | Wide settings used close to the dancer can exaggerate near limbs |
| Telephoto zoom, such as 70–200mm | Stage photography from a distance | Requires space and may be heavy during a long show |
| Fast standard or short telephoto prime | Dim locations and controlled working distances | A fixed view can make rapidly changing framing harder |
| Wider lens | Deliberate environmental compositions | Needs careful camera placement to manage perspective |
These focal lengths describe common full-frame examples. Equivalent framing differs with sensor size.
A wide maximum aperture can help in low light, but using it fully open may leave too little depth of field for the movement. Choose the lens and distance that preserve the intended body shape rather than selecting equipment only for background blur.
Camera Settings for Dance Photography

The settings below are starting points for continuous light. They do not describe every studio-flash setup.
| Situation | Shutter speed to try | Aperture to try | ISO approach |
| Fast movement on a lit stage | 1/500–1/1000 second | f/2.8–f/4 if available | Raise as needed for the selected exposure |
| Outdoor leaps in good light | Around 1/1000 second or faster | f/4–f/5.6 | Begin low and adjust to the light |
| Controlled standing pose | Around 1/200–1/500 second | f/4–f/5.6 | Use enough to avoid unwanted movement blur |
| Dancers at different distances | Match the movement | f/5.6–f/8 if light allows | Increase if needed to preserve shutter speed |
| Intentional motion blur | Around 1/15–1/60 second | Adjust for exposure | Usually start low in bright conditions |
Subject speed, movement direction, camera distance, and output size all affect whether blur is visible. Test an actual movement and inspect the face, hands, and feet.
Prioritize the Motion Effect
When the goal is a sharp action image, choose the shutter speed first. In manual mode, set an aperture that gives adequate depth of field, then use a suitable ISO or Auto ISO within limits you have checked.
Shutter-priority mode can also work, but monitor the aperture and exposure warnings. In dim light, the camera may reach the lens’s maximum aperture without providing the brightness you need.
Understanding the exposure triangle makes these compromises easier to manage. A slower shutter admits more light but may blur the movement; a wider aperture admits more light but changes depth of field.
Do Not Keep ISO Low at the Expense of the Moment
An image with manageable noise can be more useful than one with an unintentionally blurred face. ISO should support the shutter speed and aperture needed for the photograph.
Avoid a fixed ISO recommendation for every venue. A dark theater and an outdoor rehearsal require different values. Check the important highlights as well as the apparent overall brightness; a dark stage background does not necessarily mean the performer is underexposed.
Use Autofocus Deliberately
Continuous autofocus is a useful starting point for a moving dancer. Face or eye detection can help with an unobstructed solo performer, but heads turn, hands cover faces, and tracking can jump to someone else in a group.
Use an appropriate tracking area or zone to tell the camera which performer matters. If the system repeatedly selects the wrong person, a smaller area can be more useful than allowing it to search the entire frame.
For a staged movement that repeatedly crosses a known position, prefocusing can be another option. Confirm the dancer reaches the focus plane and that depth of field covers the intended body line.
Shoot Short Bursts With a Purpose
Begin a short burst just before the anticipated moment. Review whether the frames contain the intended gesture rather than simply increasing the burst length.
Long bursts can fill the buffer, delay the next sequence, and produce more images to sort without improving timing. Leave capacity for the next movement, and check whether the selected burst mode affects autofocus or image quality on your camera.
Make Your Photos Pop with Image Saturation Tool
Lighting for Stage, Studio, and Outdoors
Stage: Preserve the Lighting Design
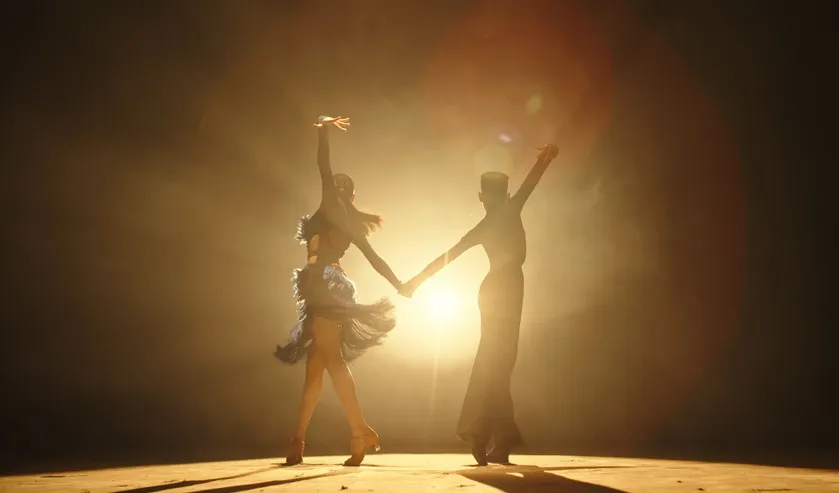
Stage lighting is part of the performance. A saturated red wash or a strongly backlit silhouette may be intentional, so neutral-looking skin is not always the correct target.
Shoot RAW when practical to retain flexibility. Auto White Balance is one starting option, while a fixed setting can keep a sequence more consistent under stable lighting. Neither approach guarantees neutral color under narrow-spectrum LEDs.
Watch for clipped faces and costumes, not just a dark overall histogram. Exposure compensation or manual adjustment may be necessary when a spotlight illuminates a dancer against a black background. RAW does not guarantee recovery of fully clipped highlights or color channels.
Test for Flicker and Banding
Some artificial lights can cause brightness changes, color variation, or bands across the frame. Test the camera under the actual lights before an important sequence.
Check whether the camera offers anti-flicker or high-frequency anti-flicker controls. The available settings and their effectiveness are model-dependent. Shutter mode and shutter speed can affect the result, so inspect saved test images rather than relying only on the live preview.
Studio: Understand Flash Duration
Flash can be appropriate during a planned studio session when everyone agrees to its use. This differs from introducing flash into a live performance, where it may be prohibited or distracting.
When flash supplies most of the recorded light, a sufficiently short flash pulse can freeze movement even at a camera shutter speed much slower than 1/1000 second. The effective result depends on flash duration and how much ambient light contributes.
Stay within the relevant synchronization limits for the chosen equipment. If ambient light remains significant, it can create a blurred trail around the flash-lit subject. Test the complete setup rather than assuming any studio light will freeze a jump.
Outdoors: Choose the Light and Background Together
Open shade can give a practical starting point for portraits and controlled movement. Low-angle sunlight can add separation and long shadows, but backlighting requires attention to exposure and flare.
For a planned evening session, check the timing and direction of golden hour light. Leave enough time to establish focus, framing, and the movement before the light changes.
Composition: Show the Movement Clearly
Leave Room for Hands, Feet, and Travel
Frame slightly wider during unpredictable action so an extended hand or foot does not leave the image. A close crop can be intentional, but an accidental cut at a joint often weakens the gesture.
Leave space in the direction of movement when it helps the photograph. In a more enclosed composition, use the tight framing deliberately rather than allowing it to hide a technical line.
Separate the Body From the Background
Check whether an arm disappears into the torso, a dark costume merges with the background, or a railing seems to continue through the dancer. Small changes in camera position or the performer’s angle can make the shape easier to read.
These portrait composition principles also apply to dance: the background, viewpoint, and spacing affect how the subject is understood.
Let the Dancer Assess the Technique
Show selected frames during a staged session and ask which ones represent the movement well. A photographer may prefer the expression in one frame while the dancer identifies a stronger hand, foot, or hip position in another.
Use that feedback to refine the next sequence. Do not ask for a more extreme extension simply because it appears dramatic from the camera position.
Six Dance Photography Ideas to Try

1. A Full-Body Shape Against a Simple Background
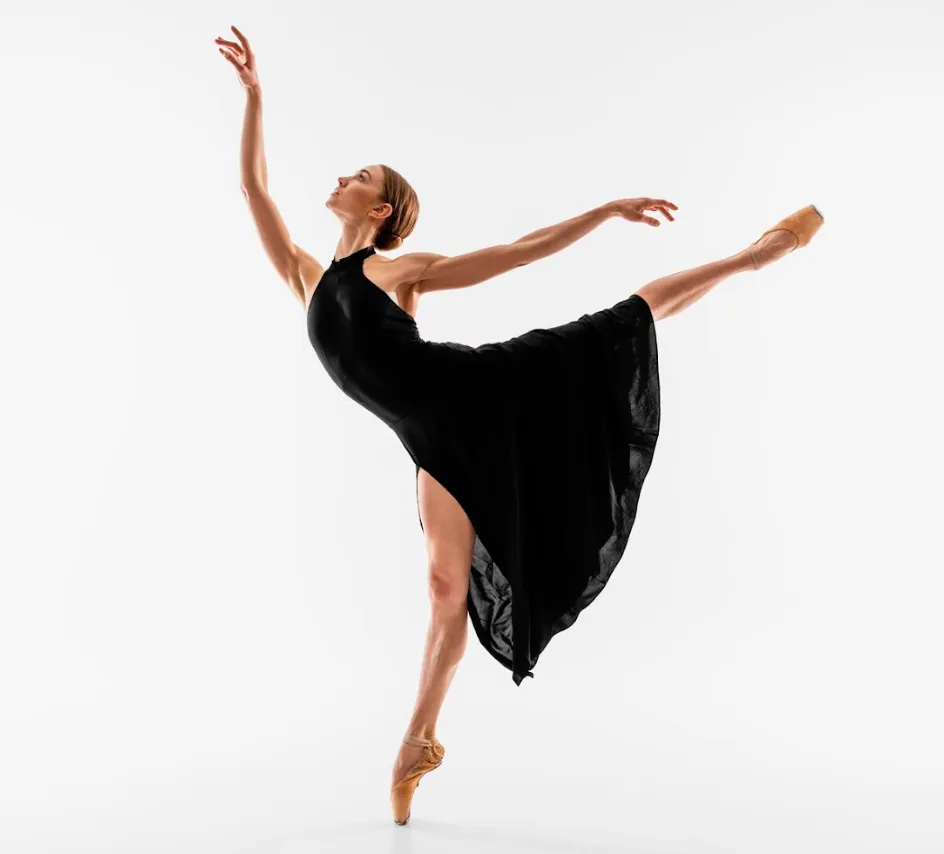
Choose a plain wall, studio backdrop, or uncluttered outdoor setting. Start with a clear standing shape, then add a turn or small movement. This makes it easier to study body lines before adding more visual elements.
2. A Silhouette That Reads Immediately
Place the dancer against a brighter background and expose to retain that background. Ask for a shape with visible separation between limbs. If an arm overlaps the torso completely, the silhouette may become difficult to understand.
3. Fabric as Part of the Gesture
Let a sleeve, skirt, or lightweight fabric extend the movement. Coordinate the action so the material supports the pose rather than covering the face. Keep the movement area clear and choose fabric the dancer can control comfortably.
4. A Reflection With a Clear Relationship
Use a suitable window, mirror, or still reflection to create a second view of the gesture. Check the entire frame for unwanted equipment reflections and make sure the main body line remains understandable.
5. Intentional Motion Blur
Begin around 1/30 second and adjust after viewing a test. Follow a lateral movement for a panning effect, or keep the camera steady while the dancer moves through the frame.
Choose an anchor for the image: a relatively clear face, a stable foot, or a recognizable body shape. The purpose is a controlled sense of motion rather than an accidental failure to hold the camera steady.
6. A Quiet Frame Beside an Action Image
Pair a movement photograph with a calmer portrait or a detail from the same session. Keep light and color consistent enough that the two images belong together. The contrast can communicate preparation, exertion, or the transition between movements.
Common Problems and How to Correct Them
| Problem | What to check first | Useful adjustment |
| Face is sharp but hands are blurred | Local movement is faster than the chosen exposure freezes | Increase shutter speed if a fully frozen gesture is required |
| Background is sharp but the dancer is soft | Focus target, focus timing, and subject movement | Refine autofocus area and review shutter speed separately |
| Focus is on the wrong performer | Tracking has selected another subject | Use a more restricted focus area or select the intended subject |
| White costume loses detail | Important highlights are clipped | Reduce exposure and reassess the performer rather than the dark background |
| Color or brightness varies across frames | Changing stage cues or artificial-light flicker | Test lighting behavior and supported anti-flicker settings |
| Body line looks awkward despite sharp focus | Timing, viewpoint, or the chosen movement phase | Review the sequence with the dancer |
| Every frame feels similar | Framing and moment selection | Add wide views, details, relationships, and quieter transitions |
Focus stacking is not a general solution for moving dance sequences. It combines different focus planes and requires an appropriate capture setup. A burst of changing poses cannot simply be stacked into one sharper performance photograph.
Your AI-Powered Photo Editor for MacOS and Windows
Editing Dance Photos in Luminar
Luminar provides light and color adjustments, local editing, and AI-assisted tools for refining a selected dance collection. It is useful when the edit needs to bring the performer forward, manage distracting noise, or coordinate a sequence without losing the character of the original lighting.
Begin by choosing the strongest movement and expression. Then correct the image according to its purpose. A documentary performance frame and an openly creative promotional image may call for different treatment.
1. Establish Exposure and Color
Adjust overall brightness and highlights before adding creative effects. Keep stage blacks believable and avoid lifting every shadow until the image loses its lighting structure.
Use photo color editing tools to coordinate the collection while preserving intentional changes between scenes. A blue-lit sequence does not need to match a warm spotlight scene exactly.

2. Refine Light With Light Depth
Current desktop versions use Light Depth, which replaced Relight AI. Its depth-based controls can help adjust the relationship between nearer and farther areas and refine the apparent direction or softness of light.

Use a restrained amount and inspect the dancer’s outline. The adjustment changes the image’s appearance; it cannot recover information that was never recorded or make an unsuitable exposure equivalent to a correctly lit capture.
3. Use Structure and Sharpening Selectively
Structure AI can increase perceived detail and local contrast, but a strong setting may make costume texture, noise, or skin look harsh. Review the face and hands as well as the wider image.

Supersharp AI can be evaluated for slight softness. Compare its output carefully and avoid promising that it will repair substantial motion blur or a seriously missed focus plane. Closed eyes can also be part of the expression; choosing another frame is often more appropriate than changing the face.

4. Reduce Noise Without Flattening Texture
With a high-ISO stage image, use the Noiseless AI tool to reduce distracting noise while checking hair, skin, costume detail, and small background lights. Some remaining grain may be preferable to an unnaturally smooth dancer.

5. Export a Consistent Set
Check crops, output dimensions, and color treatment across the selected images. Keep room around hands and feet unless the crop is deliberate. Inspect the saved files at the intended viewing size as well as close up.

A Simple First Dance Photography Session
Choose a manageable location and ask the dancer to suggest three comfortable movements. Photograph one clean full-body shape, one short action sequence, and one expressive portrait.
Review each sequence together. Adjust one variable at a time: timing, focus area, shutter speed, camera position, or the movement itself. This makes it easier to understand why the next attempt improves.
The aim is a small set with convincing technique and expression. Anticipation, communication, and clear framing will contribute more to that result than an oversized burst or an aggressive edit.
FAQ
Around 1/500–1/1000 second is a useful starting range for fast movement in continuous light. Faster gestures may need a shorter exposure, while intentional blur needs a longer one. Test the actual movement and inspect the result.
No. Useful autofocus, suitable lenses, exposure control, and familiarity with the camera matter more than meeting a particular sensor-size requirement. Choose equipment that works at the available distance and light level.
Follow the rules of the performance or venue. Flash may be prohibited during a live show, while an agreed studio session can use it creatively. When flash dominates the exposure, flash duration is important for freezing movement.
Start with continuous autofocus and a focus area suited to the intended performer. Use face or eye tracking when it works reliably, and switch to a more controlled area if it selects the wrong subject. Anticipating where the movement happens also helps.
Editing may improve slight softness, but it cannot guarantee an accurate repair of strong motion blur or missed focus. Choose the best original frame first and use sharpening only after inspecting whether the underlying detail is usable.